New Convoy C8 – Clearly better

Let me address these things…

The color:
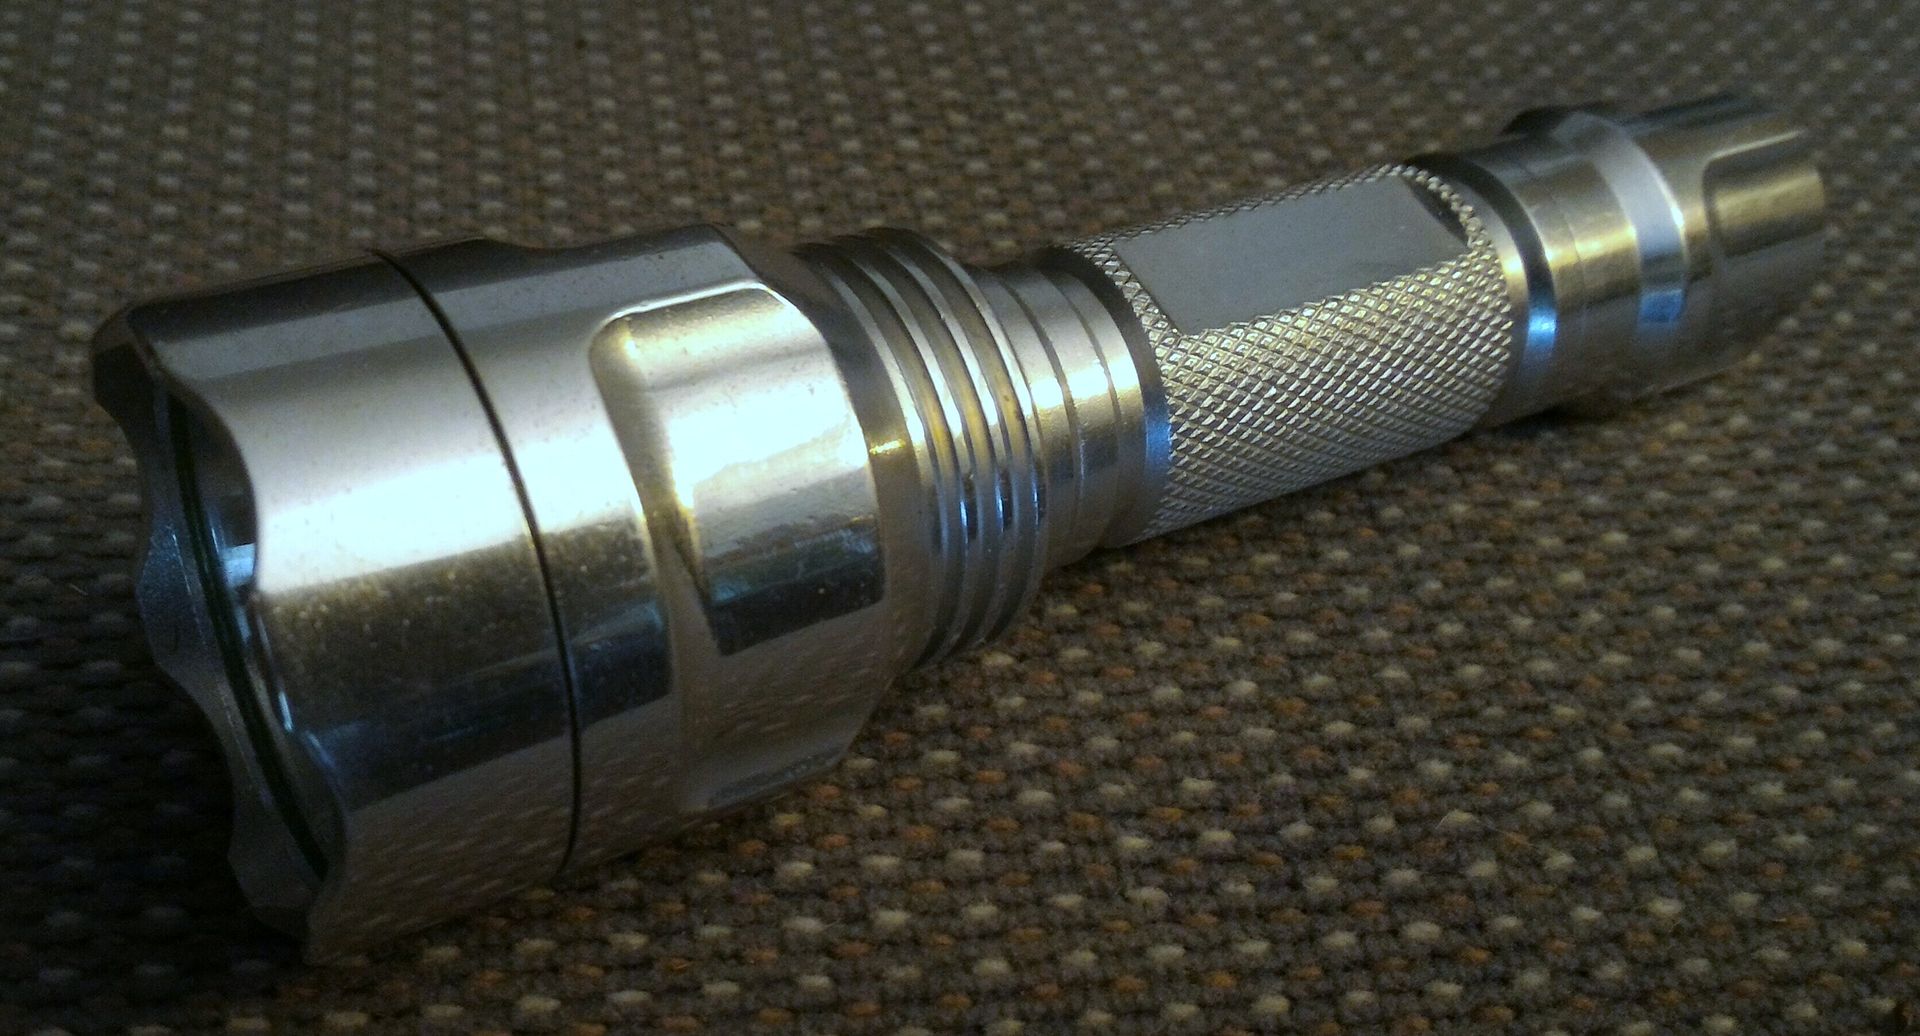
To the best of my knowledge there is no dye used at all. I believe the metallic look is caused by the light being bead blasted prior to clear anodizing. For example, If you bead blast aluminum and then clear coat it, the result is a silver look. I am awaiting official confirmation of the details of the procedure and am also seeing if we can get a just machined look in the future which should involve nothing more than skipping the bead blasting process prior to anodizing.

Throw:
My C8 lights do out-throw my Kronos X6 though I don’t have any equipment to test the numbers. The Convoy C8 with the XPL-HI throws pretty well stock but can definitely be improved if you can get the emitter a bit further into the reflector. The simplest method I’ve heard of to achieve this (modders correct me if I’m wrong) is to sand down the centering ring to make it thinner. This allows the reflector to sit a bit lower, then replace the stock o-ring at the lens with a little thicker one to make up for the difference which will probably be 0.5mm or so. I may get brave and test this over the weekend. That would be my first real mod. LOL

Chip clip:
Thank you for the pictures! That is exactly what I needed to see. I’ve already sent them to Simon along with an explanation of what would need to change to make this home-user-flashable. I don’t know how difficult it will be for them to rearrange things on that board and I can’t make promises but I will try to make this happen. If it’s not doable does anyone know of a smaller clip or clipping method?

Edit: Once again proof that I type too slowly. I see there were two possible clip solutions posted while I was typing! :person_facepalming:

got mine. My first light (it is convoy!!!) have few problems here and there including few scratch, just consider it “additional features”. Keep up the good work.

Yes J-Dub74 a C8 out throws amd stays cooler then the Kronos x6
I have a Convoy C8 with the exact same driver, led and tail pcb of the X6 so have compared them side by side.

Just ordered mine on Ali. Waiting on the order processing now. I’ll report any QC issues here when it arrives.

But it’s ugly.
It’s not the “C8 look”.

+1 !

It seems (to me) to be the obvious thing to do, in stead of pulsing 3 Amperes.
.
edit:
It’s been discussed further, should have read on…

So i read the whole topic, only skipped some of the chip programming stuff.
For all i care LOW - MED - HIGH is enough, maybe a ‘moon’ mode too.
Finally on this page i read this, which i think is a kind of an issue:

So this is not solved in this newest version, unfortunately.

It seems the C8 is made for XM-L(2) with dome.
The base of the XM-L is thicker than of the XP LEDs, and the XP-L HI has no dome to optically raise the die.

I recently got a black C8 with XP-L HI and not only was the spacing between reflector and MCPCB too big, on the top the centring spacer shrouded the LED.
So i filed down both sides, and now it’s okay.
Looking in the head (at a certain angle) i can now see the edges of the die reflected in the reflector.
So it would be good to use a flatter centring spacer ring, with 0.7mm maximum spacing between reflector and MCPCB and lower rim around the emitter.
But, indeed, you will need a thicker O-ring in the bezel too
Or two normal ones on both sides of the lens maybe (haven’t tried that).
But the reflector now rests on the head, it can not go in deeper, even if you remove the centring spacer.

Another solution would be a thicker MCPCB, say, 2+ mm thick in stead of the regular 1.6 mm
Maybe you can discuss this with Simon, it would improve the C8 for XP (3535) LEDs.

For the rest:
I’m not too sure about the clear anno looks…
I would personally prefer it as seen here: New Convoy C8 – Clearly better - #51 by vwpieces from member vwpieces

But this seems to be polished bare aluminium, which scratches easily (or is it anodized?).
I could de-anodize my UltraFire C8 with the ‘American oven cleaner’, but haven’t found it here in NL yet…

For the other rest:
I saw a picture of a Convoy C8 with a 18350 battery tube and i love the idea.
Anyone know of a short tube that fits the C8?

For the remaining rest:
Great stuff, i’m a Convoy fan, especially the C8. (actually, i only have 2 C8s by Convoy)
Will get a grey one too at some point and hoping for that SS bezel to become available.
Simon is cool and so are all of you who participate in creating these lights.

I was getting kind of annoyed that Simon wasn’t replying to my message, but it appears he had actually replied within 4 hours and I didn’t receive an alert notification from aliexpress. :person_facepalming:

He offered to send me a new piece of glass.

I’ve noticed that you don’t always get notifications from existing message threads on Aliexpress.

So i have 2 Convoy C8s, an old one and a new one.
Yesterday i braided the tailspring of the old one.
It has a brass hat (in which i drilled a hole for copper wire), it has a high current switch (parts of thick metal)
Now i’m gonna do the new one.
It has no brass hat but only a conical spring, it has a rather tiny Omten switch with thinner metal parts.
I would say, not clearly better.
In the latest version it is the same as in my new one.
But maybe (apparently) it is good enough.
Any thoughts?

The little Omten can handle much more power than you would think. People have taken them over 20amps in real-world use. There is a thread of tests floating around by Djozz as well.

This^. I have used the stock tailswitch in an S2+ (same as C8 I am pretty sure) to over 17 amps and had no issues besides melting the spring before I braided it.

IIRC in the Djozz test the little switch lasted longer then the large one and only had something like 100mv of voltage drop @ 15 ish amps (been awhile since I looked it up).

I destroyed one back in Aug, due to unknown short-circuit.

Did the switch itself fail or just the springs?

Alright, thanks for the reactions.
It’s good enough then.
Cool. :sunglasses:

Both. It was my very first failed switch due to high current iirc.

If you have a spring bypass in place and get a short circuit, you can then easily melt down a switch internally, maybe even externally. That’s the thing we need to keep in mind when bypassing springs, where’s the weak link? A direct short and at some point the cell is the weak link and then we have big trouble. On really big current drain lights I like to use Arctic Alumina Thermal Adhesive on top of the contacts on the mcpcb just to make sure that if I heat it up enough to flow the wires off the board they’re still not going anywhere. :slight_smile:

Decided to put in a bigger Omten anyway…
Have some in stock.
Skipped the switch PCB too, the braided spring soldered to the long contact strip (braiding inside the spring).
Only have to figure out the best way to isolate the long strip from the tail-part yet.
(edit) done. (/edit)

Did i already say how much i like the deep matte anodizing? It’s :+1: :sunglasses:

A quick question - is that the correct .hex file that I could use to flash old convoy drivers to have new UI? Or is it adopted to the new HW already?
http://bazaar.launchpad.net/~toykeeper/flashlight-firmware/trunk/view/head:/ToyKeeper/bistro/biscotti/biscotti.hex

That’s the one I used to flash some old Nanjg 105D and 105C drivers and it worked fine.