Nice work. I might have a go at it myself. You didn’t paint anything, you used shrink tube and sugru? (have no idea what sugru is other than what google tells me).
I think heat shrink tubing is a very nice finishing option. Just learn from my mistakes and leave it a bit longer than needed. Heat almost to size, trim ends and then heat some more to fix. Lot less messy than paint.
Excellent, zipelgas! I really dislike those stock knobs.
I need a lathe for many things…
Where the hell is the fun in that :smiling_imp:
Everything is done, just pay and wait to arrive ![]()
Any codes for that B158B? :laughing:
For now there is no code. Code can be used for b158 U4 and b158 HI V3.
I modded mine today.
One pill I built with an AK 101-A1 driver (L-M-H mode order), a filed down bergquist star & oram oslon SFH4715AS IR led.
I first blew a SFH4725S led, but fortunately I ordered the 860nm variant as well. It’s for some to-be-built nightvision hunting gear.

Second pill I built with unmodded BLF A6 driver(Bistro), filed down Noctigon MCPCB & XPL V6 0D Led.

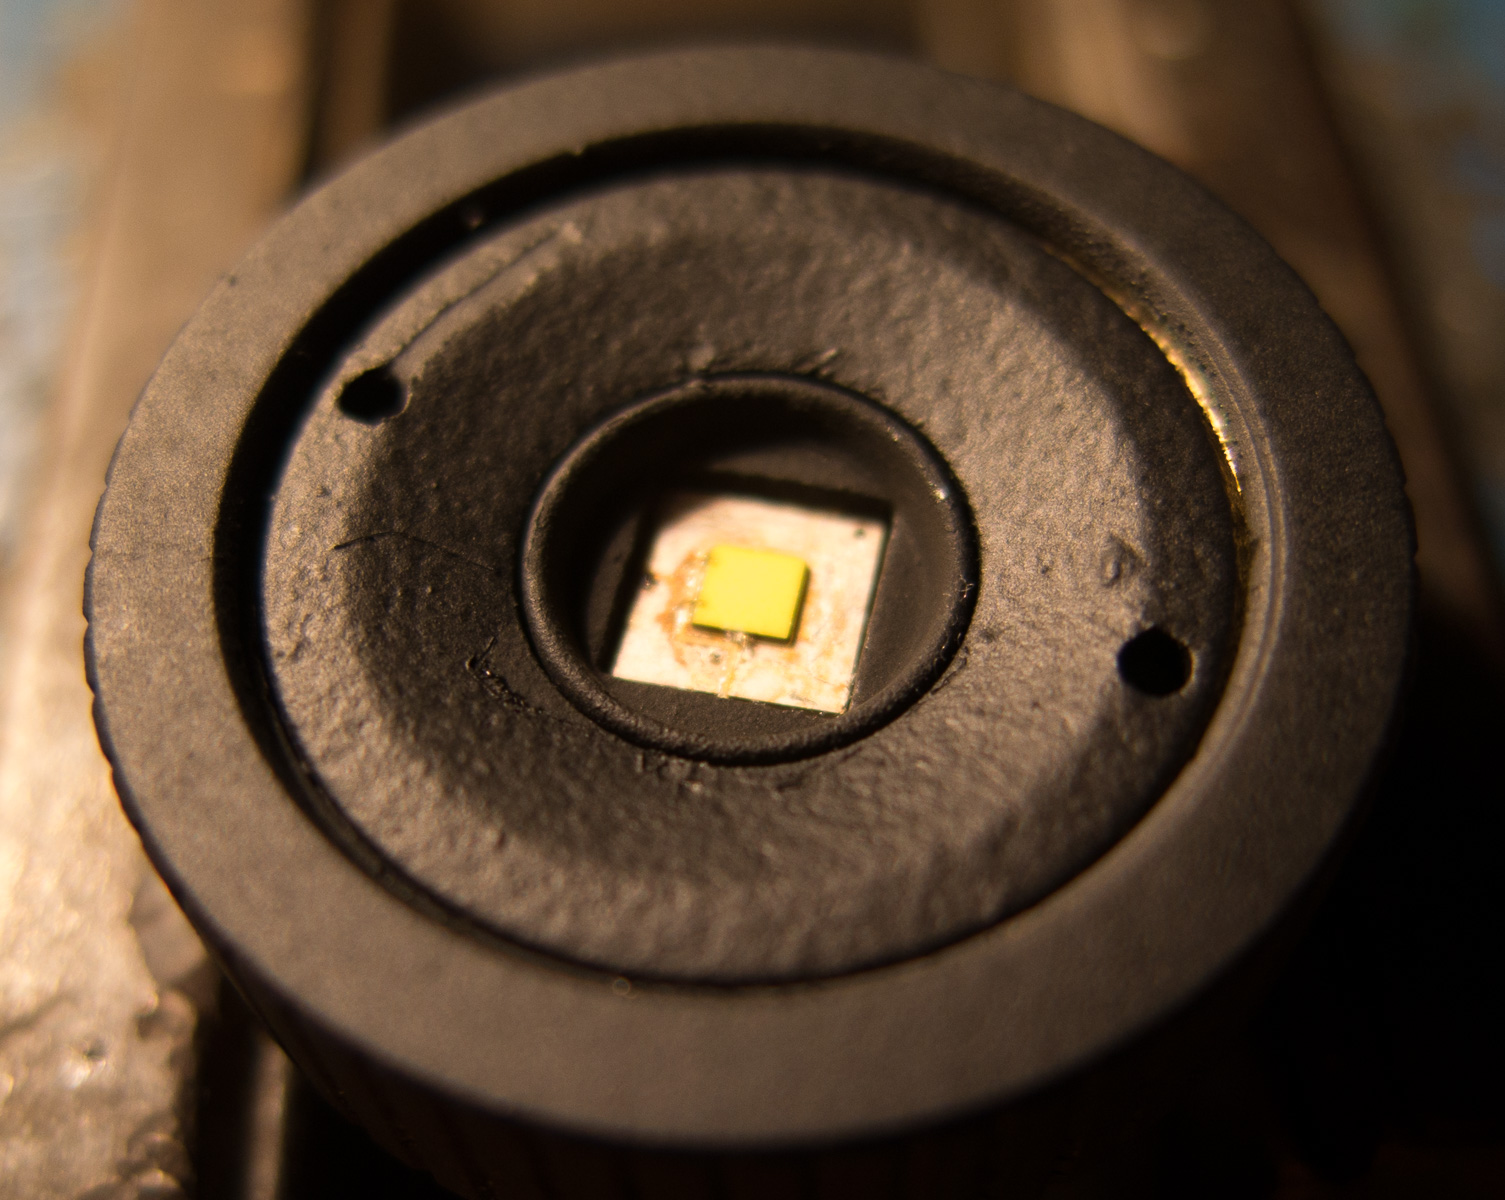
Thereafter I dedomed the led with a knife and built the second pill. I got a bit messy, but it works more than well in the end! Bypassed both springs and it pulls 5,2Amp. It has quite a nice white/yellowy tint to it after the dedome.
I tried to measure lux with my phone, but it went straight to >211Klux @100cm, wich is the max the sensor can measure… There’s a first time for everything ![]()

Crazy thrower, can’t wait to use it in the field. I can just pop in another pill for the task needed and only carry one light with me.

Test pic

Building 400mtr away over city light.
Best thrower I own to date!
![]()
That’s crazy. They should make upgraded “super” pill though XPL-HI is good. I like this light. Does it dissipate heat good?
Yes, it does. I didn’t run it too long. It doesn’t feel too hot in any particular place and didn’t desolder itself or anything. No complaints yet :+1:
I’ve been wanting to do this since before I decided to actually get one and the other day I finally disassembled one and cut the lobes off with a hack saw. Then I chuckle it into my drill press/wannabe lathe. 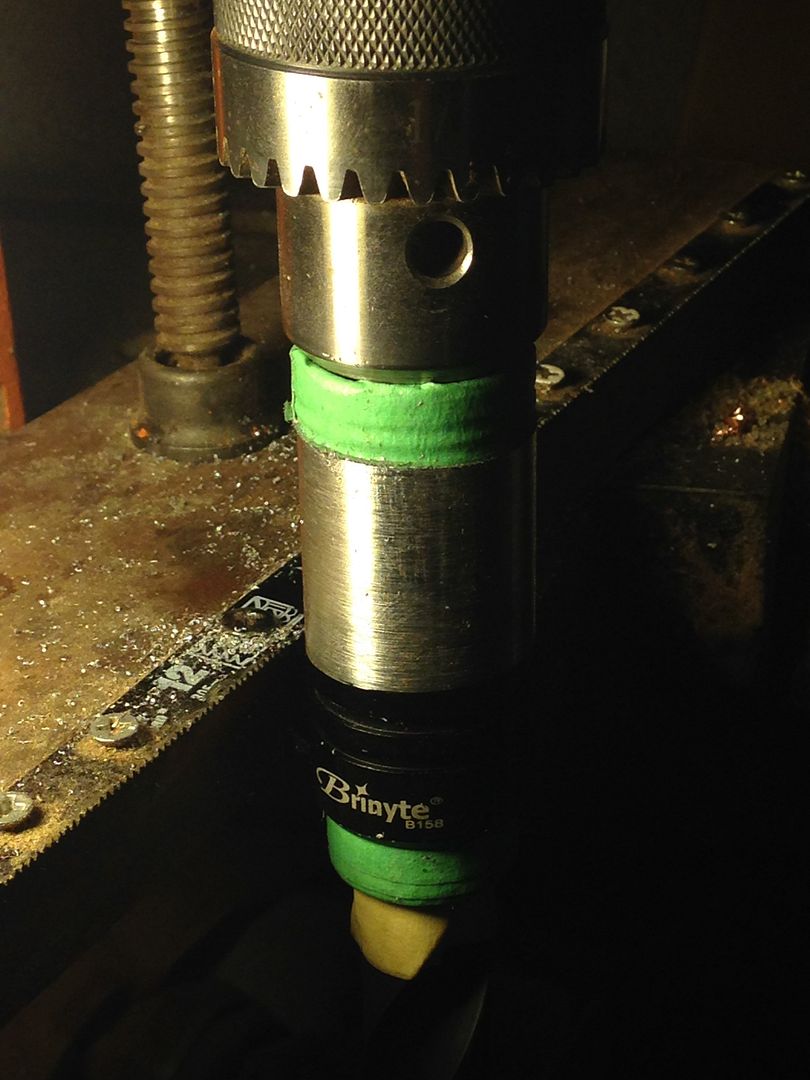 I continued further but stopped before getting to the bottom of the slots as that would reach the internal o-ring groves(very bad).
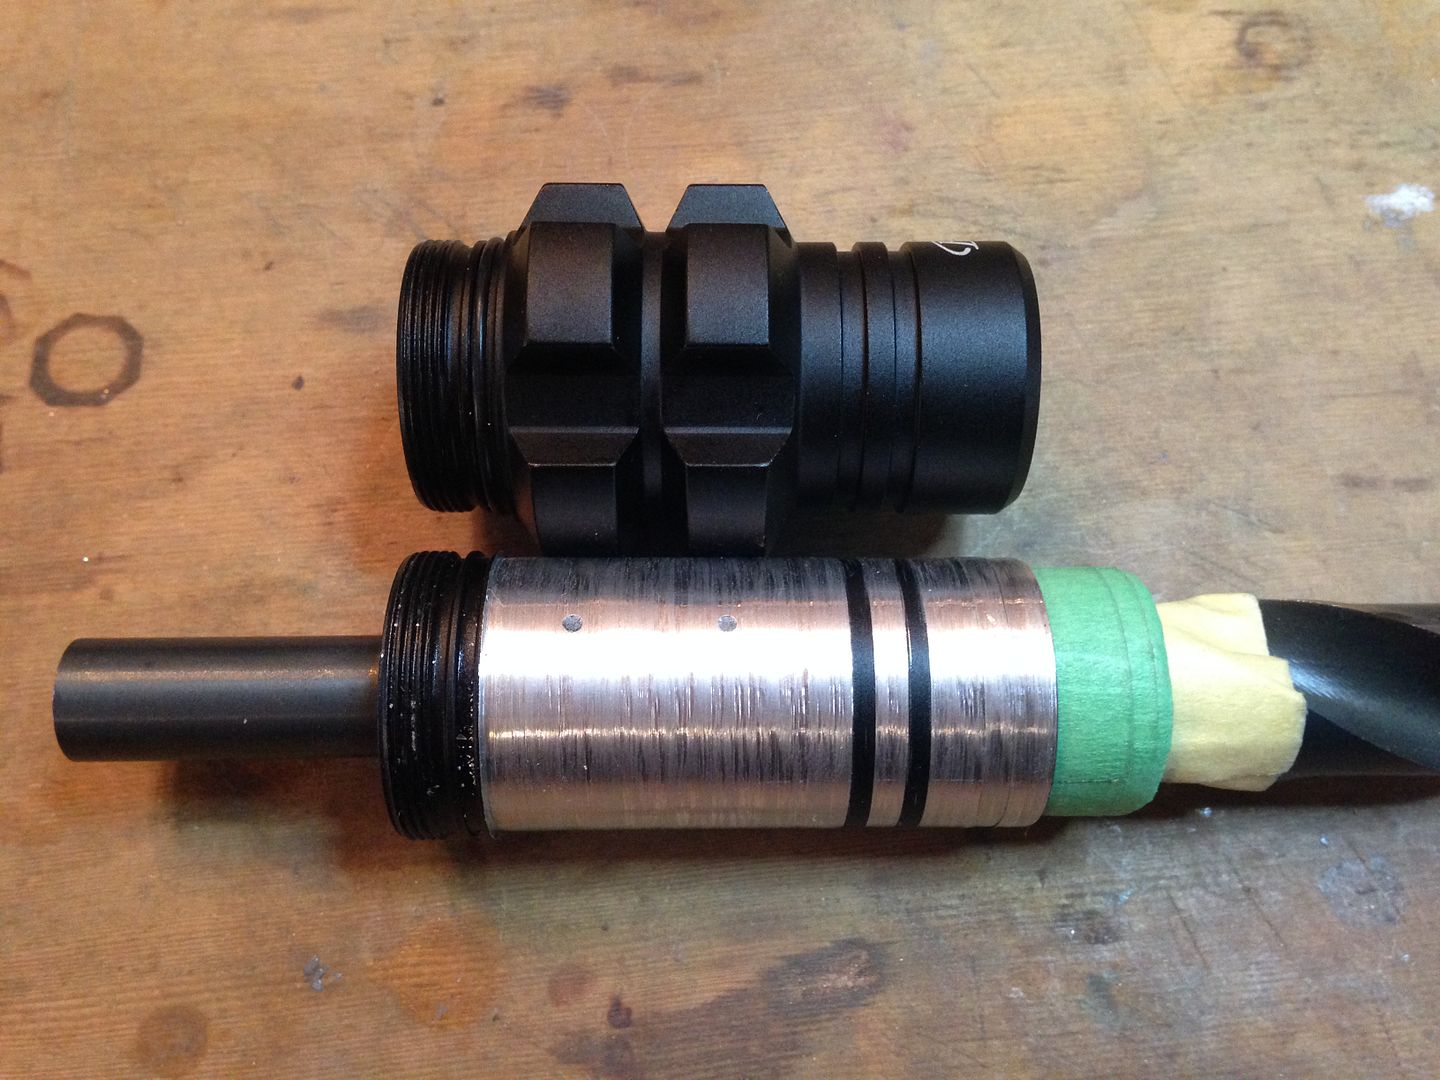 I have a piece of Teak that might go well with a few fins. I’ll see which metal looks best to me.
Wheres the popcorn. :+1:
I got yesterday my B158 with XML U4
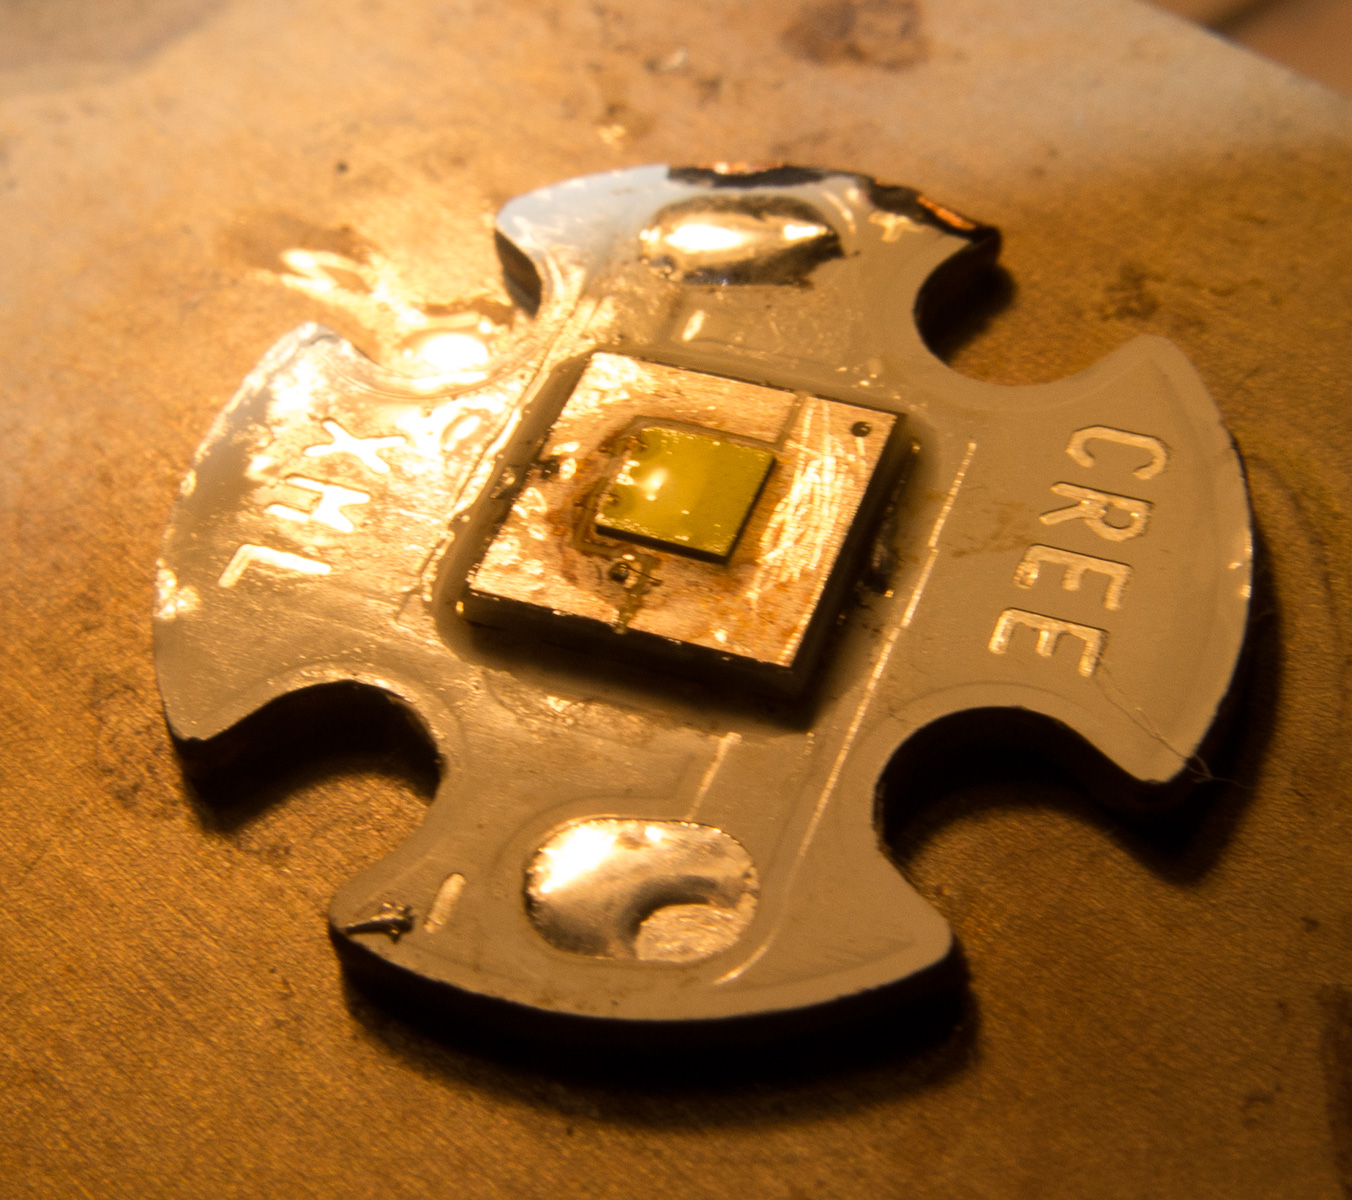
Dedomed the LED in gas and sealed it with clear laquer
The Nanjg 105C driver was hanging in the pill between a contact board and LED
Changed the driver to Biscotti and removed the contact board and soldered the driver to the ring that is pressed in pill again
Spring bypass on driver and tailcap
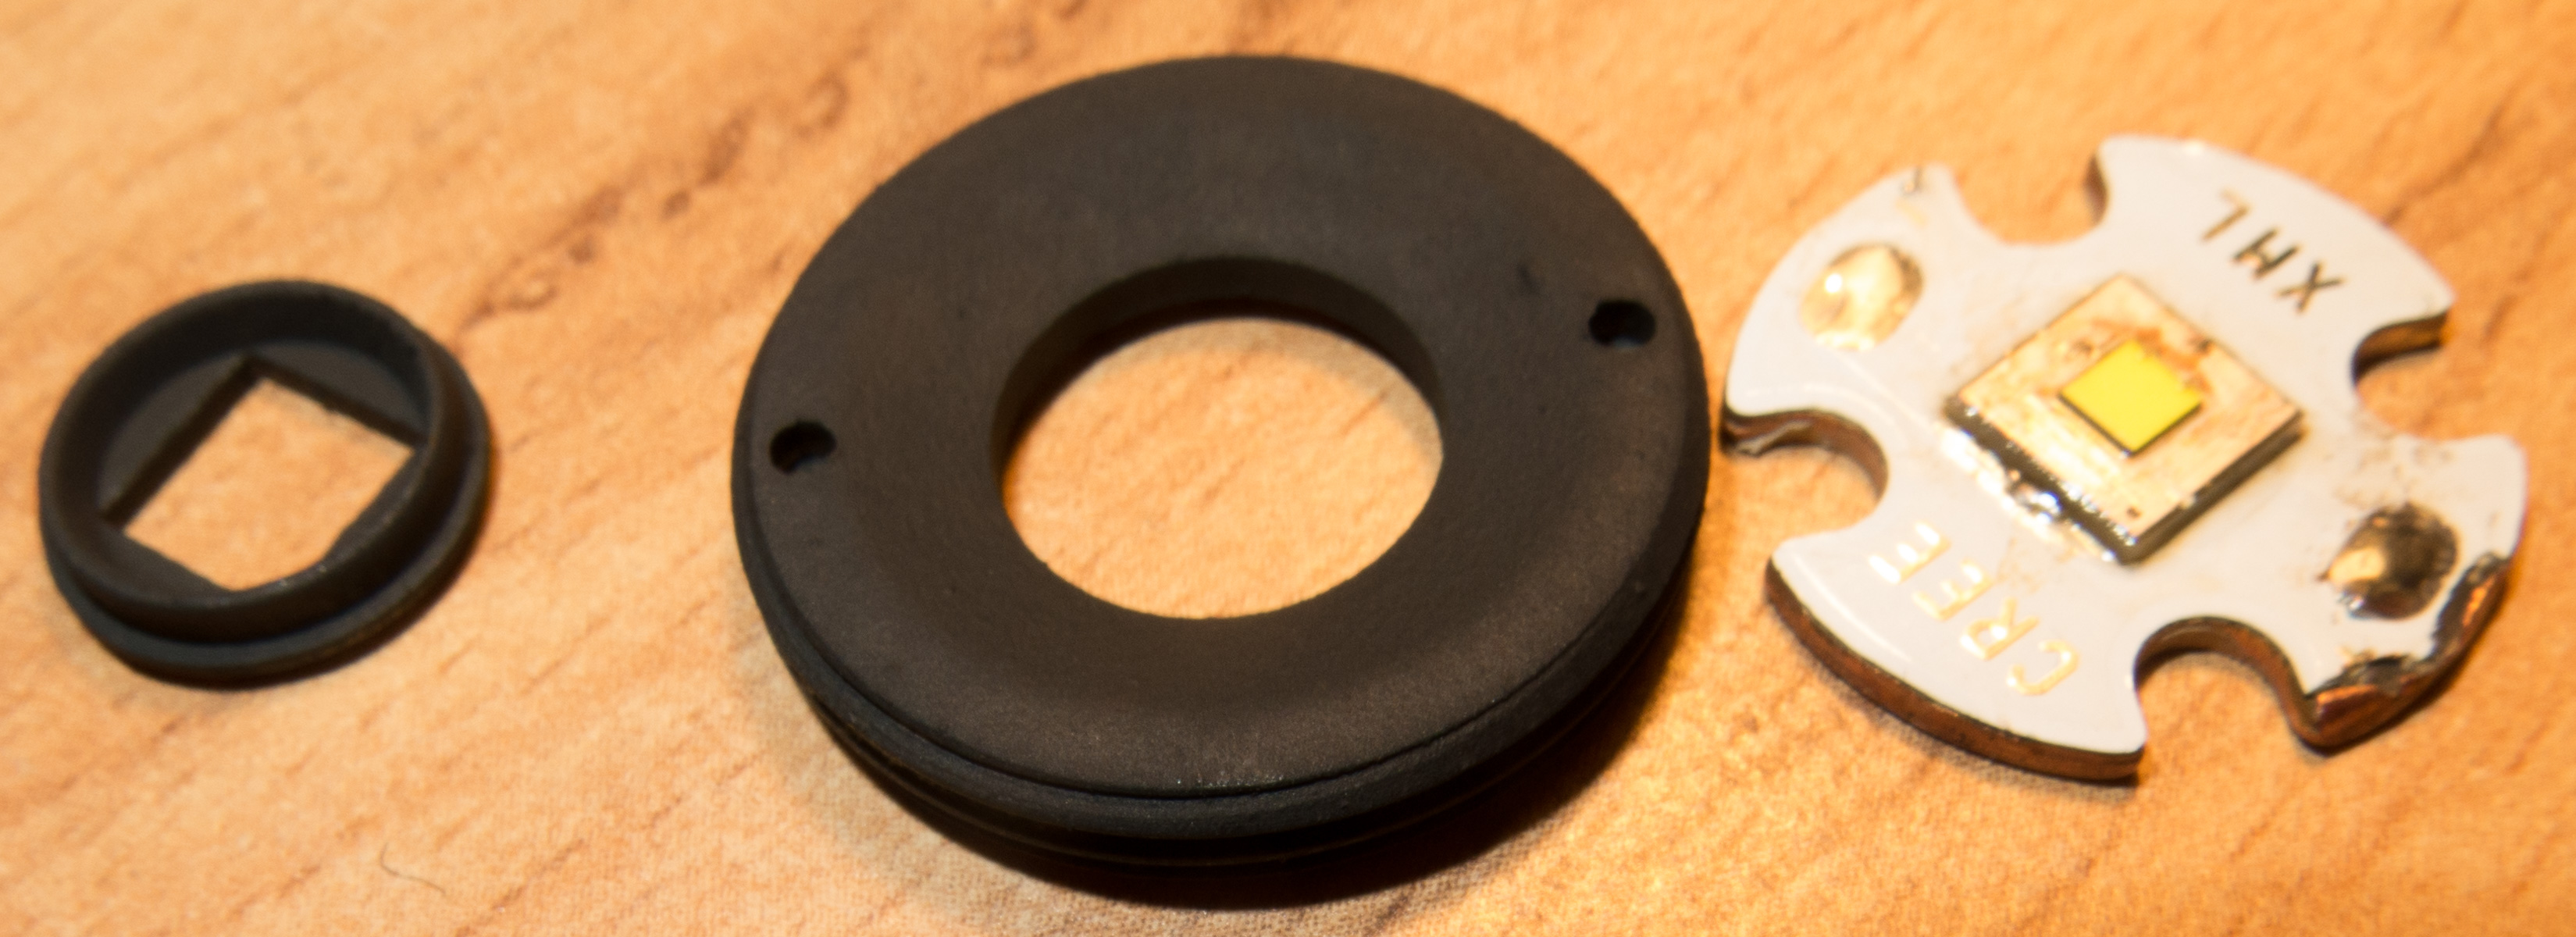
The star is DTP copper but a bit thin, mounted with Arctic Silver 5 again
LED centering ring and gasket painted black
Pill painted black mounted with thermal paste to the tube
Lexel, did you remove the LED to confirm the MCPCB is DTP, or is there some other way to confirm it? You can have copper MCPCB without DTP.
I thought the way to test for DTP (instead of just a copper MCPCB with no DTP) was to test for electrical continuity from the bottom of the MCPCB to the LED heat pad.
Is it possible to confirm if an MCPCB is DTP with the LED still attached to it?
DTP confirmation, if there’s excess solder squeezed out from the center pad then check continuity to the bottom from there. It’s trueness that not all copper boards are DTP.
Rufusbduc,
I support what you did to your B158 :+1:
Zommies should be as light as possible in their lenses caliber and unnecessary hunch design does not help with heat sinking anyway so this is the way to go…
Very good my friend, I have a restlessness, I paint the pill black and centering to eliminate the annoying rings of light? Eliminates them completely? Thank you
It reduced em, but eliminate is not possible
I hope you’ll still like it when finished as some of the weight will be added back but with a significant increase in surface area(at least where the pill is located). To be honest though, it’s mostly cosmetic since any gain made by the copper could well be offset by the addition of the aluminum to copper thermal break. I could do wood only but fins just look neat.