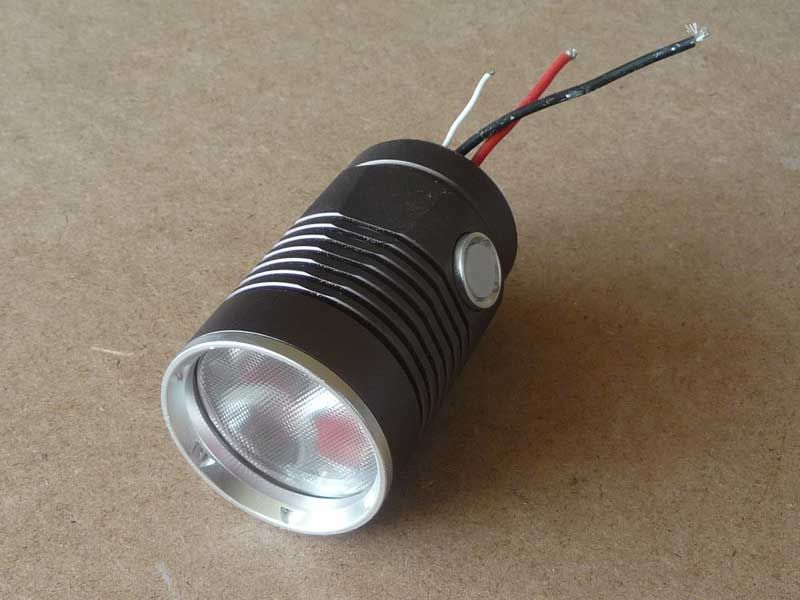
The head has the same O.D. as the X6. After I dissassemble it I’ll find out if it will be possible to use a triple Noctigon with the Ledil triple optic. Then I’d need to come up with a spacer. It’s a thought, and we’ll see how feasible after tearing it apart. But first i want to play with it as is for a bit.
Nice. The one thing I didn’t like about the L5 was no lockout. Thanks for sharing.
Ditto. That looks awesome! thanks!
Thanks for posting this up Don. Looks like a nice light.
There are also sellers who offer just the light, no cells for about US$15
Well, the USB charger that is built into the light sucks. No it SUCKS! I kept checking the voltage every so often. It hit 4.17. I plugged it back in and a short time later, still going, it hit 4.3 volts. Put back on charge it hit 4.4 . Still going…. I don’t think I’ll miss the charger when I swap out the driver. Sad, but what the heck. Amps had fallen to .20 from a high of close to 1 amp when the cell measured 3.8 volts.
Nice mtndon! I wouldn’t give up on the charging circuit. You could put a small charging model in there. I’ve been slowly working on a charging circuit that will integrate with our blf drivers. You might want to take a look at my thread.
I have been eye-ing this, which looks like a re-brand of some sort.
Interesting LightRider. I had seen that thread. If that is a charge board to be used as a piggyback the problem then becomes how to replace the stock board with a new one with the modes / features I want. It is a 30mm if the same as the previous L5. That could be done with oshpark I guess.
kramer5150, that does appear to be a clone… Since it is fulfilled by Amazon it should be returnable if the charger didn’t work as it should. It would be interesting to know if this charger is an anomaly.
FYI, One cell I tested came to test to 3425 mAh, about 8% less than the 3700 label.
Well, here we are 2-1/2 months later. I have finished step one with this light.
I have installed a Noctigon 32mm MCPCB with XP-L HI emitters along with the ledil Cute optic. For the driver I’m using one from mtnelectronics. This one. It is one of the FET + 7135 drivers. This has moonlight and is set up with the e-switch option. The driver has 6 custom levels plus the moonlight using STAR momentary firmware, which allows you to start on either the lowest or highest mode from off with either a short tap or long press of the switch. The tailcap switch allows an easy lockout. The e-switch firmware also permits an OFF as well as the various levels. It is very nice being able to back down the levels as well as click your way up the levels.
I also did a bypass on the tailcap spring. I have photos (below) with most of the steps. I neglected to photo the tailcap spring bypass. I also forgot totake any pictures of the disassembled light showing the driver. Stock it has a dual board design driver. I had planned on stripping it and piggybacking the FET driver, leaving out the charger that did not shut off properly. However, I had a misfortune with the board and broke it.
It uses an odd size / shape board. It’s about 29 mm in diameter and has two “ears” that slip into grooves in the head. This makes the board auto key for the USB socket, keeps it in place.
So first thing I needed a board for the driver. I made one from 0.030” brass stock.
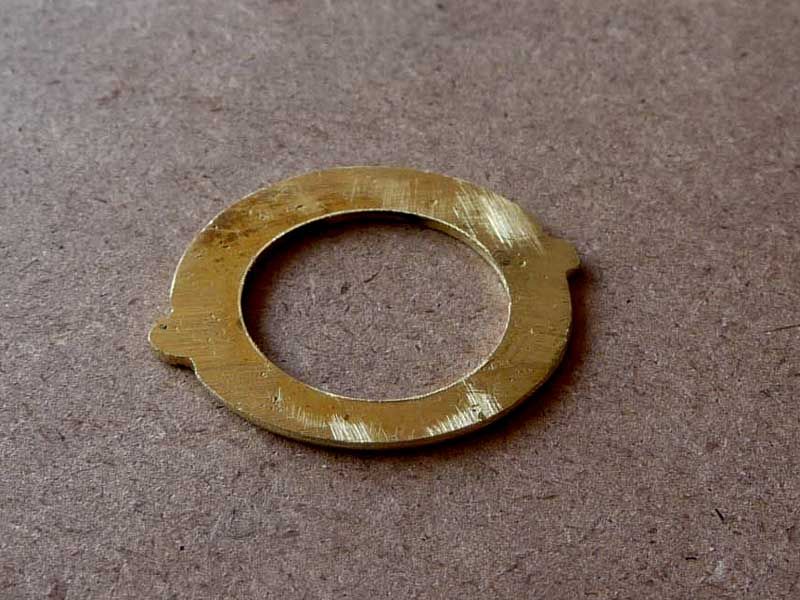
I trimmed to a rough size with snips, then filed. The center hole was drilled with the brass between two blocks of hardwood.
I fluxed the brass, applied a little solder paste and positioned the driver on the brass adapter. No picture, but I placed the brass on a piece of 1/8” aluminum stock that had a hole drilled through where the center hole was. Then I applied a little heat to the aluminum plate and in a jiffy that was done.
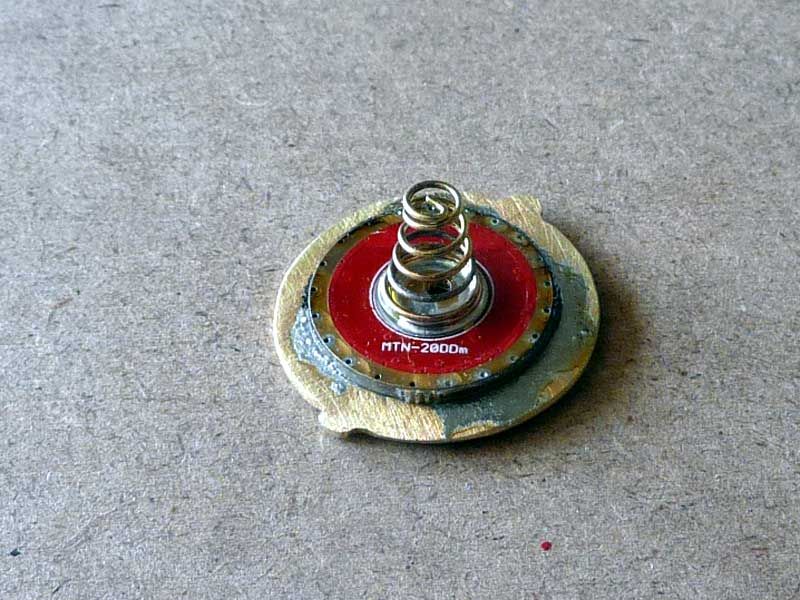
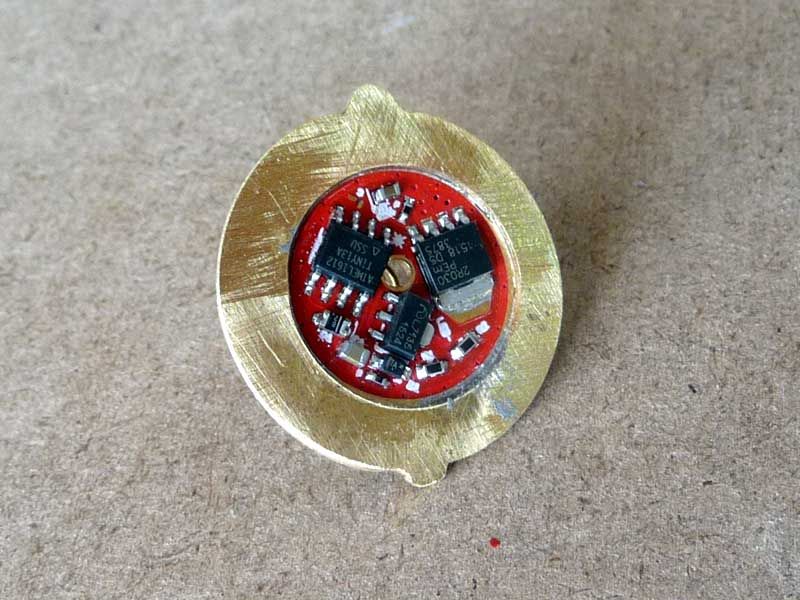
View of the adapter and other side of the driver.
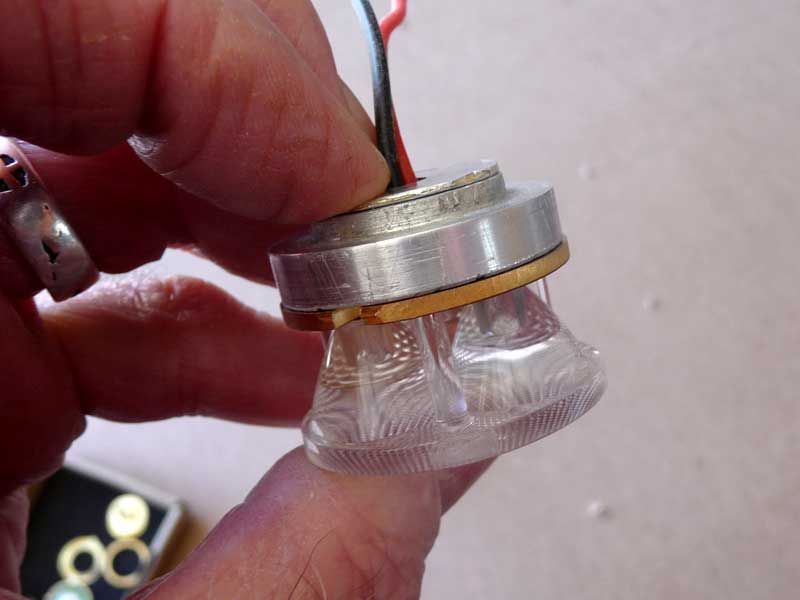
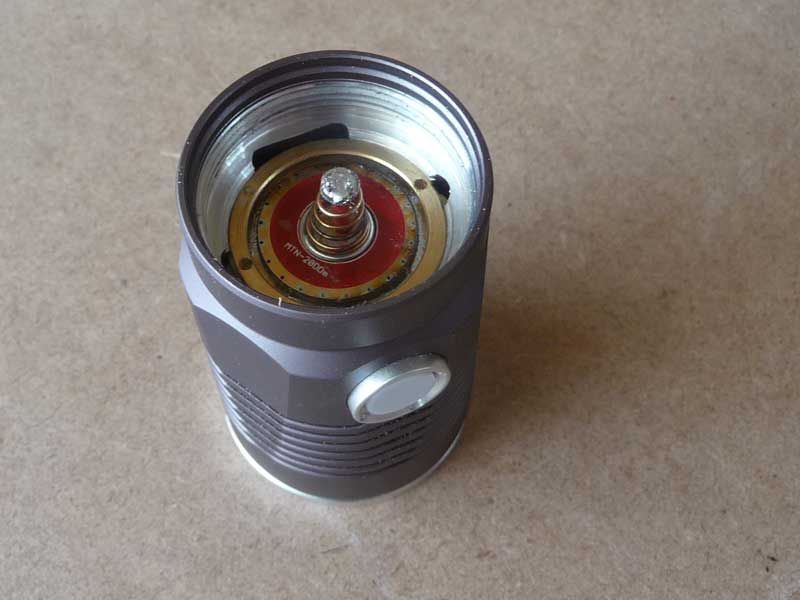
For reference, this is the view in the front of the head. The aluminum disc is removable. It threads in and out.
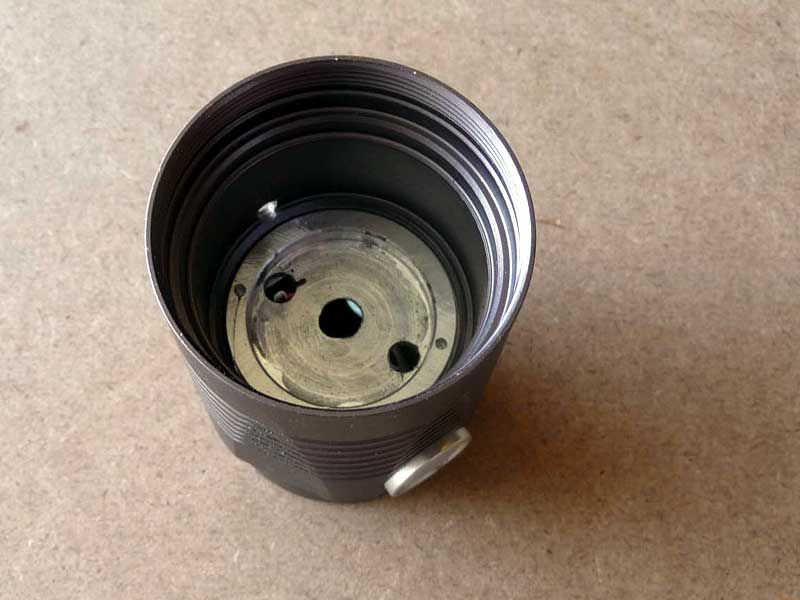
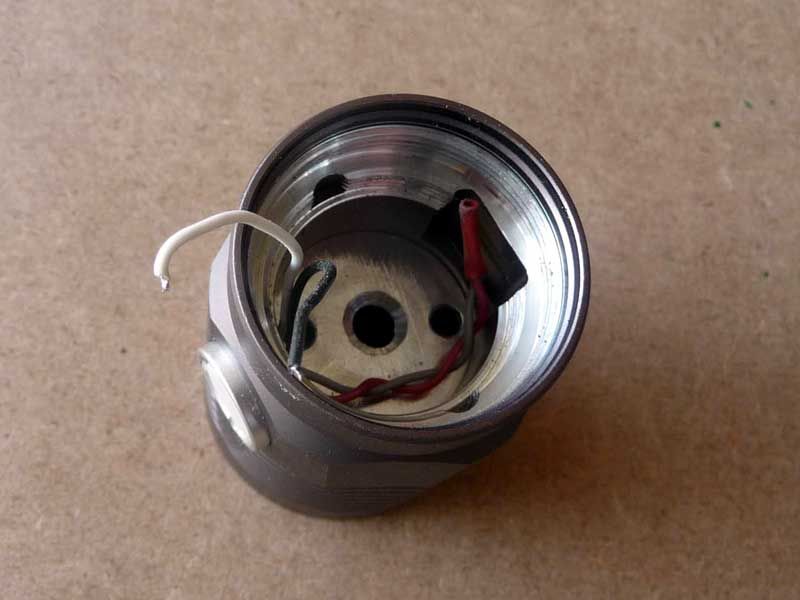
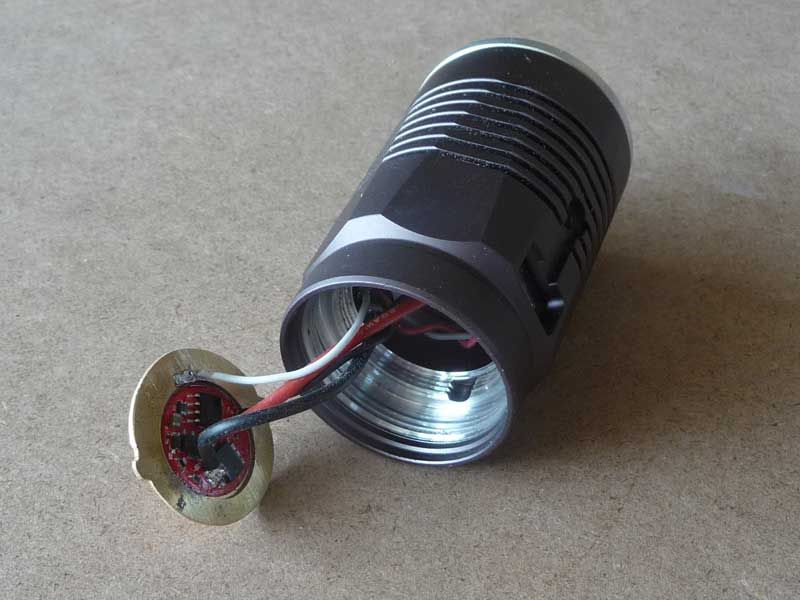
This is the battery tube end of the head. The wires are for the e-switch. Four wires, two for the e-switch operation (black & white). The other 2 are to illuminate the charging indicator LED’s in the side switch location. I capped those leads off for now.
OK. We need aspacer between the Noctigon MCPCB and that threaded shelf insert. If I had a lathe the ideal would be to make a thread in shelf that was appropriately thicker. I don’t so I could not. However I had an aluminum spacer that was for the X6 triple mod. It slips into the head okay as far as diameter. However the stepped part does not reach far enough into the recess in the center of the thread in shelf. It is 1 mm short.
I dug through my scrap box and found a piece of 1mm thick aluminum. I cut and filed a piece to fit. Optic, MCPCB, shelf and head then test fitted pretty good. Here’s a stack image
The X6 spacer was about 0.4mm too long. The bezel would not thread in all the way with the glass lens in place. I did some impromptu machining with my drill press and an end mill.
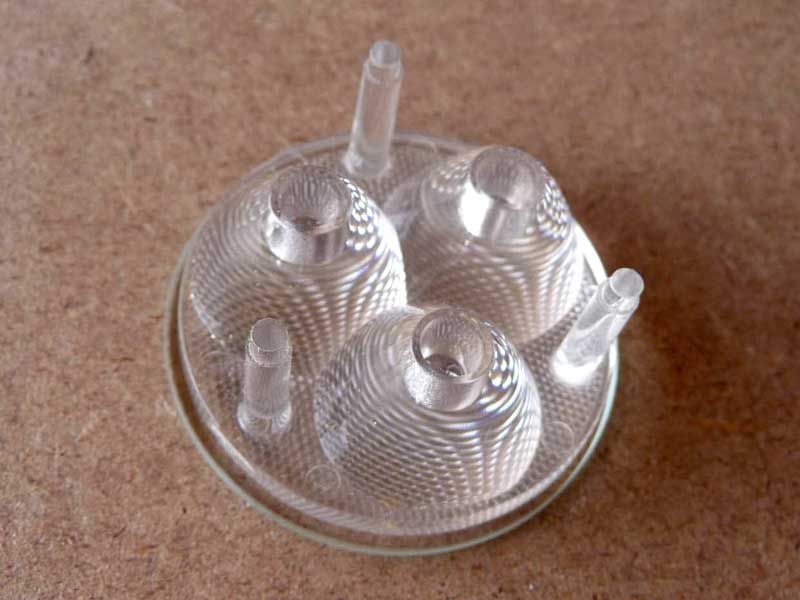
The next issue is the size difference in the optic and the glass. The glass lens is about 2mm larger. Placing the o-ring between the optic and lens as can be done in the X6 achieves nothing. The o-ring is pushed into the head. A flat gasket might work. So for now the front end is not waterproof. I’m ok with that for now.
Here’s a shot of the size difference
I assembled the front end of the head; bezel, glass, optic, MCPCB, spacers.
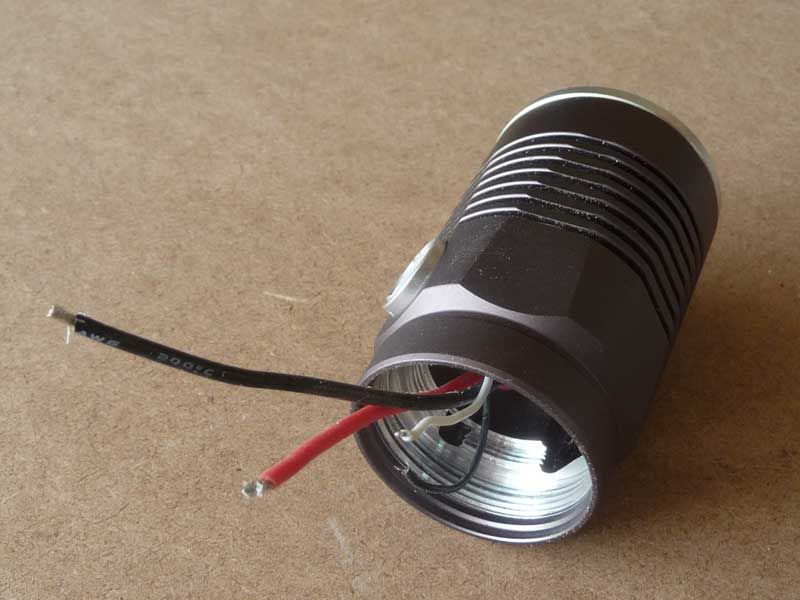
The driver was soldered to the wires from the MCPCB and e-switch
Driver retaining ring threaded into place.
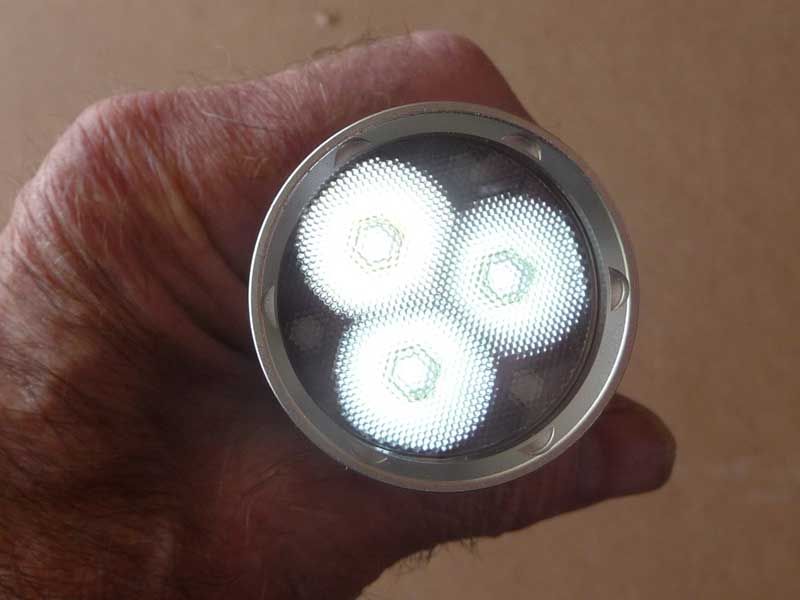
It works!
I have an idea of how to mount a charger board (TP4056) inside the head. I believe there is plenty of space. We’ll see.
When it gets dark I’ll have to go for a walk!
Its good to see the light finished and working Don. :+1:
Nice mod! I really like these lights, shame Richard stopped carrying them. If you know me, I don't need the tail switch. I got 2 of the 1st models, and one with the metal side switch which I like much better.
$32 is a bit steep for this light but not that bad really. Was wondering if Ali stored like this: https://www.aliexpress.com/L5 are actually selling the new model, just didn't update the listing.
MtnDon, take a look at these two chargers. I have done a lot of looking researching these small charge circuits and these are the smalles and best I have found. And up to 2amp charge. Heat management needed at 2amps though. I have used them both in different lights. They charge perfectly. Atleast mine did.
Thanks for those LightRider. The second link led to a page with 24 items. Which item or was that a slip?
I went for a walk with the modded L5-S. Oooh, I like it! I have a couple of other triples and both have the Ledil Cute-3-SS with a FWHM angle of 19 degrees. This L5-S has the Cute-3-M with an angle of 24 degrees. On paper not much of a difference, however, I think prefer the 24 degree versionfor how I will likely use the light.
I need to charge up one of my Keeppower 5200 cells and see what the light sphere indicates . Tomorrow I hope.
Give it a try now. It’s 17x18mm and a nice charger
Thank you, that works now!!
Nice work MtnDon ![]() If you get the charge module installed as well then it will have the spec’s of a much pricier light :+1:
If you get the charge module installed as well then it will have the spec’s of a much pricier light :+1: