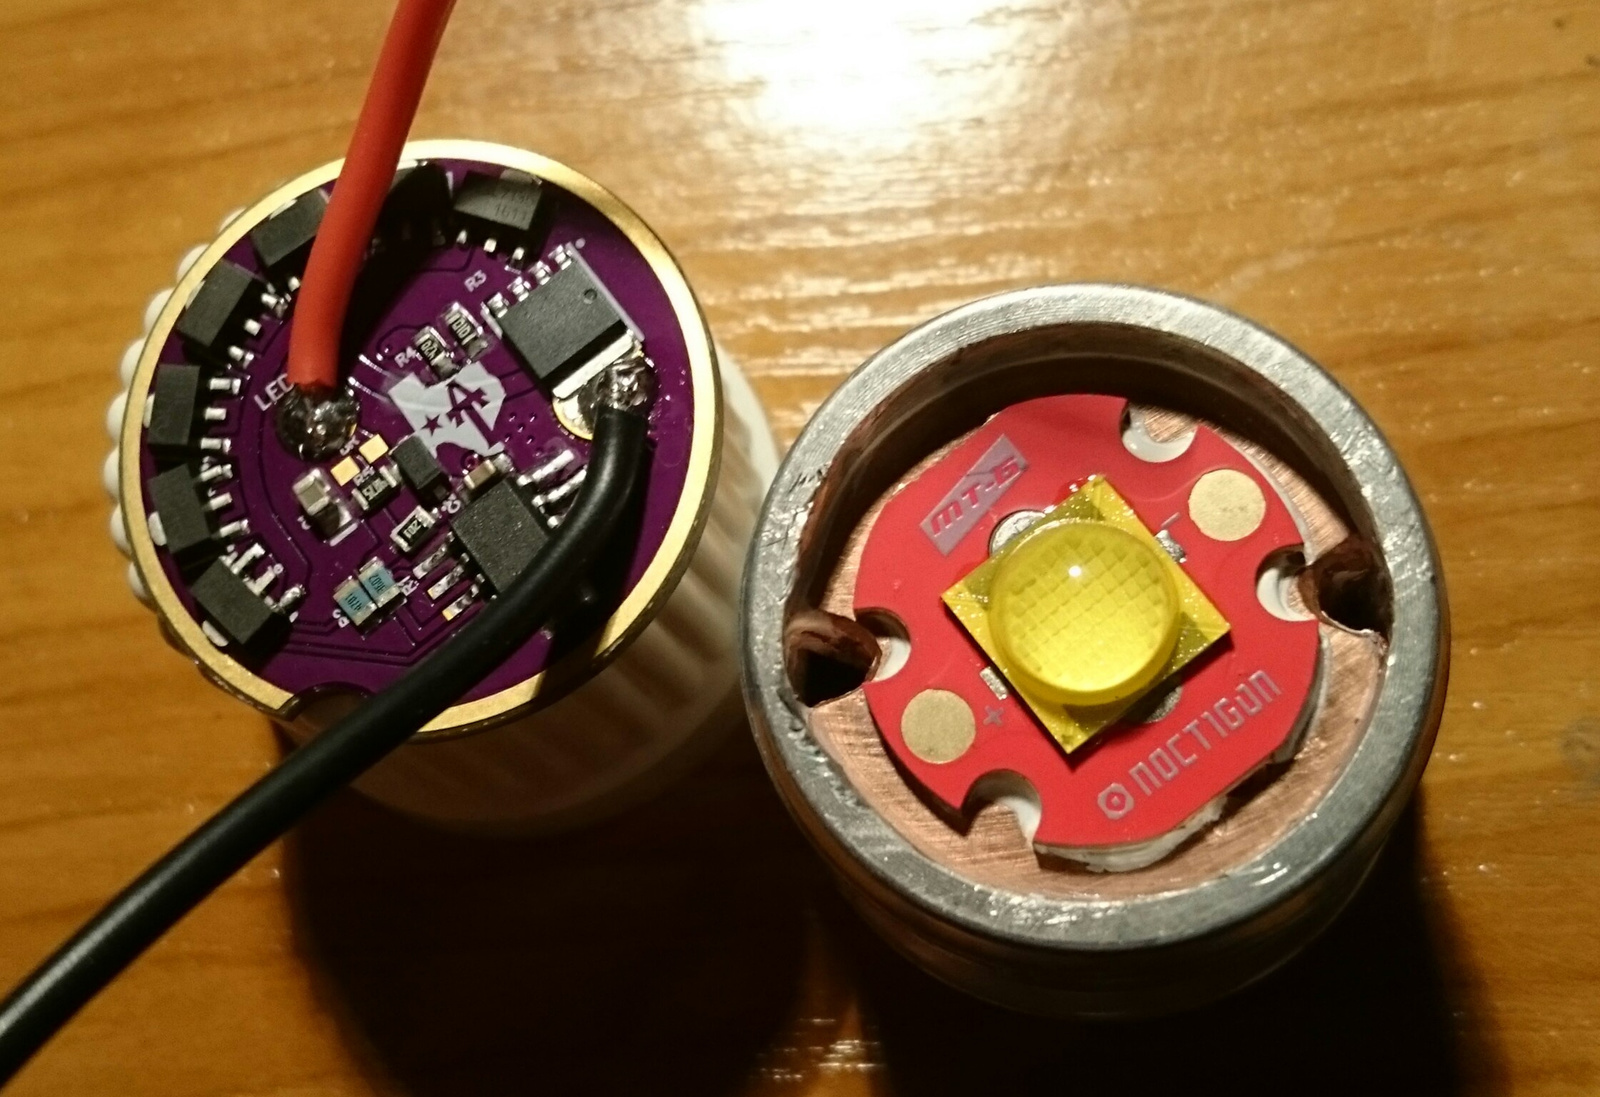
What did you mod today?

I had read that one person claimed that Museum wax worked well, I canā€™t confirm that of course.

Edit: By the way I have a lot of Mothers aluminum polish and I am reasonably certain that not only does it polish it also puts a protective coating down as well, how durable I donā€™t know but I do know that once Iā€™d go through a spend a lot of time polishing the rims on my collectable it would hold up real well and for quit awhile in this rainy muddy state of WA. I could just hose spray the mud off and dry and it would still be shiny like when I polished.

Raw Aluminum Oxidizes instantly. It takes special primers to get paint to adhere so Clear Coat isnā€™t a great idea. After sanding and polishing it it does take some time for ti to generate actual cristals of oxidization, like years, if itā€™s not exposed to salts or other harsh environments. Oh, your skin oils may cause faster corrosion if your PH is acidic.

Once it is polished it will last for a long time. And already being polished makes it easy as cleaning it to get it back up to shiny with another quick polish. Car Wax will help on long term storage.

@ T18
I use Sodium Hydroxide crystals (Lye) dissolved in water and warmed in the microwave for a minute after dilution to help a weaker solution work better. Please read up on it as there are potential dangers involved. Wet sanding starts with 400 on a sanding block moving the block around the circumference. 800, 1200, 1500 and working up to 2000 Grit. Polishing with a Bounty paper towel with Mothers polish worked into the towel before using. Once the desired finish is achieved I use Dish detergent to wash off the Black polish from light and my hands. You will want to grease the threads after stripping anno off. Raw threads can be coarse and gall if tightened dry.
ALL sanding and polishing is by hand. Machines, buffers, dremels can not achieve a smooth mirror finish.

Have heard the Museum wax but never tried it. I like to wash anything I polish after. It changes the color to more silver, brighter IMO. Any wax willad the protection after washing. No joke some car enthusiasts use Pledge furniture polish as a quick shine. I am partial to Mothers Carnauba Gold. Easy to apply and get off the residue.

Thanks for the Info VW, cut and pasted to book of important stuff, to do someday very soonā€¦ :slight_smile:

I did a driver mod.
FET+1 modded to 19+1, totalling 20x 7135.
Hereā€™s the pics:

Iā€™m just not a fan of direct drive, so the FET had to go.

Original plan was 12x or 14x 7135 for an Astrolux S3, but:

Inside a copper sheet 16mm circle 19 of them will fit. :slight_smile:
This will fit snugly in most pills for decent cooling (with some thermal goo).

Positioned them with grey epoxy before soldering them to the copper enclosure.

Added solder paste for thermal and electrical path to the copper ā€˜wallā€™.

Heating it up inside a pill to keep the wall in shape.
Had to do it twice because the paste loses about 50% volume when soldered.

Thin ring for the + and a fatter one for the - output. Both have lips for soldering leads.
Behold a 6.65 Ampere Constant Current donut.

Leads on driver PCB for + to the 19x 7135 and - from the on board 7135 to the - output of the donut.
Made some room with a rotary tool so the copper wall can be soldered to the outer ring trace of the PCB.
Hole in PCB for + wire spring bypass.

More epoxy as solder mask and to keep the parts in place and to join PCB and donut.

Donut and PCB soldered together, bypassed spring added.

Output side. Black wire soldered to output lip of the donut.

Epoxy added to secure the lot a little extra.

NOT TESTED YET ! :open_mouth: Praying it will workā€¦ :person_facepalming:

Iā€™ll be using it (if it works) in a S2+ triple with either XP-G3 or 219C.
Waiting on blue S2+ host and XP-G3 S4 3A from Fasttech.
Planning on de-anodizing and polishing the S2+, especially after seeing that beauty vwpieces produced.
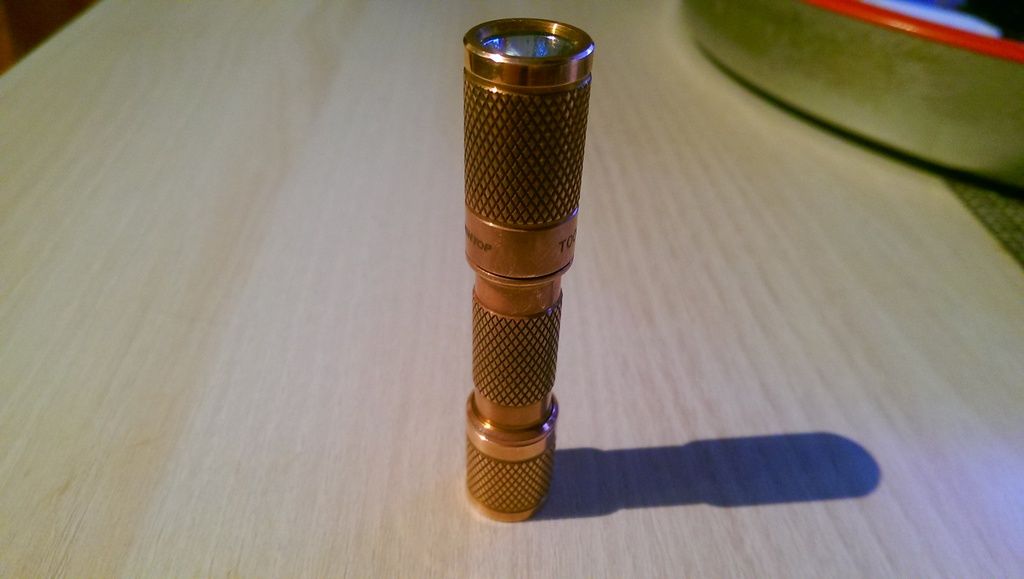
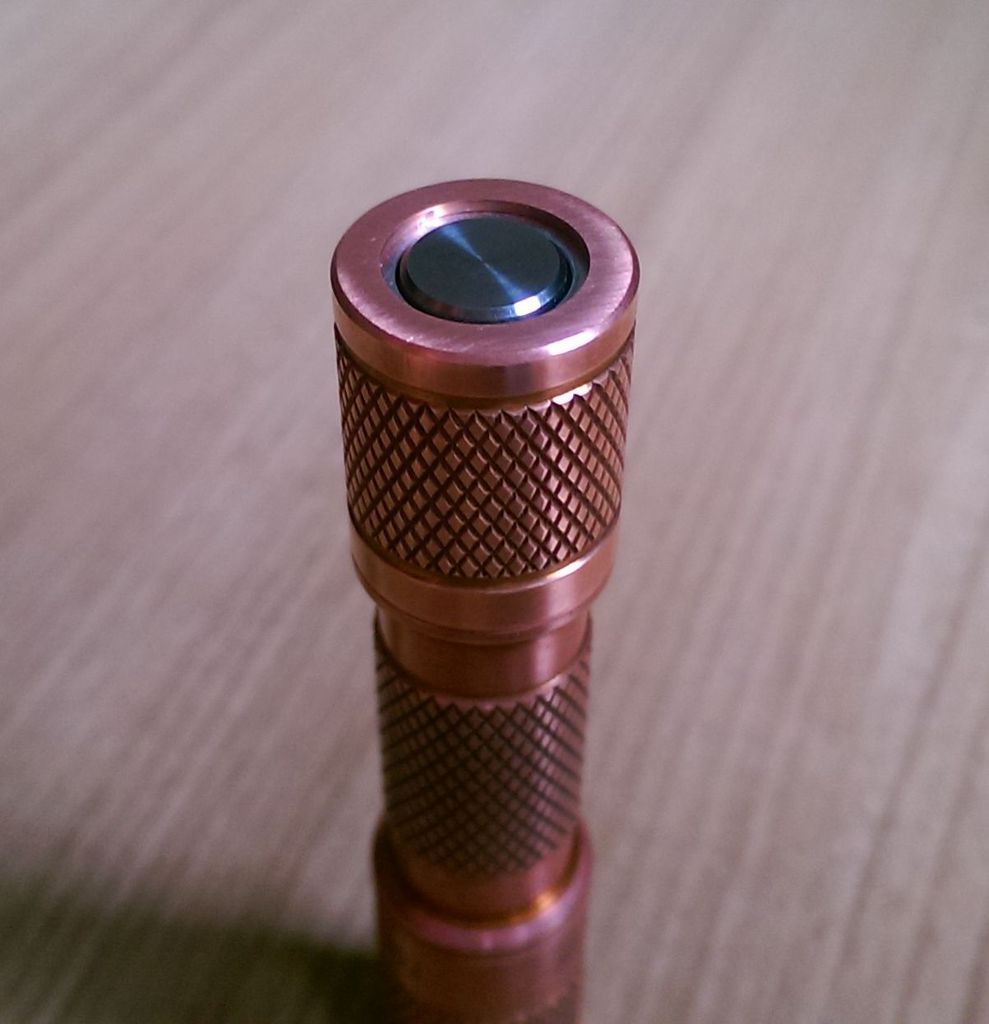
I donā€™t like coloured lights too much, but i wanted that switch boot. :slight_smile:

:+1: :+1: Jerommel!
Someone said it canā€™t be done.

Nice job, great way of packing all those chips in a small space :slight_smile:
I personally would have tested before filling it with epoxy, but watevs :stuck_out_tongue:

Youā€™re right of courseā€¦
I ā€˜beepedā€™ with DMM for short circuits and conduction and all was well.
The driver was working before i removed the FET.
The risky bit was soldering the donut to the PCB, so i can only hope it went wellā€¦ :person_facepalming: :partying_face:

Weā€™ll seeā€¦

this a USA penny, thats the year on itā€¦ i made my own USB soldering microscope. based on pictures from a sub-100 dollar commercial unit? i have more magnification and 10x the working heightā€¦

the tech is done, just nuts and bolts to go from mock up to prototypeā€¦ i think i might be able to blow the commercial units out of the water, maybeā€¦ iā€™m thinking of a moveable table under it maybeā€¦ heh hehā€¦

Manker E14 18500 battery tube

Went through one of these cheapie unbranded 18650 lights. Has a charge port but it is dependent on the charger or wall wart for the charging capabilities. 3.5mm power port.
Modes are H, L, Strobe on a softer remote SW feel. I do like these lights and have a few around the house. Snagged off ebay auctions for $1 or $2. They have plastic reflectors but offer a nice spot and no artifacts.
I swapped the 20mm MCPCB with an aluminum DTP Nichia 219B 4000K high CRI. It has a pressed in emitter shelf and that was removed, sanded flat and good thermal paste. Driver output was about 900mA on High and I stacked another 1R0 resistor to the existing 2 already there. I used the same value as the existing resistors 3X 1R0 is now 0.333 ohm from previous 0.5 ohm. Jumped the output to 1.3A and is a nice increase but well within reason for this light. Also replaced the wires and added some lead to the solder.
Others have emitter swaps but the results of this one turned out good. May go through the others to put the resistor into those too.

spacer looks like its not seated flat but it is, just shadow from the light I used for the pic. Reflector is actually shiny too and that looks dull, but its not.

little better in some waysā€¦

This was a $1.75 light off ebay auction. Advertised as 12W but only drew 4.7W. Swapped all the beads to 3W WW 4000K and stuffed one of those 20W Flood light drivers into it. Had a few drivers and first used one I knew was going to deliver 20W. Ran the light about an hour and just thought it got too warm. Dug out another ā€œ20Wā€ driver and gave it a test. 12.4W and it really is not noticeably dimmer than it was at 19W on the other driver. These 20W drivers should deliver 600mA with voltage between 24-38V DC, so the 9X 3W fall into the range.
This light has good bonesā€¦ Good fins, good pressed in shelf for the board with descent thickness. Used a moderate anount of thermal grease spread evenly. Locked the shelf and MCPCB in better, 3 screw holes that were not originally used, with some Stainless metric socket head screws and washersā€¦ Itā€™s tight now. There is also some added pressure from the outer bezel on the optics.

Not sure where I am going to use this but it was something to do today. Confident it could run 24/7 without issues.


Nice work vwpieces ā€¦

I modded an Ultrafire S5 some weeks ago , with a Nichia 219C 5700k 80+ CRI on Noctigon , flashed biscotti on a 7135x8 driver that i installed , and changed reflector for an OP reflector from Convoy S2+ .

One great light for 10$ ā€¦ :beer:

Now i have still to mod the one you did too , i just have to get some Nichiaā€™s (probably 219B) and some 16mm DTP boards .

I like to have the Lumintop Tool Copper with the electronic switch from the Tool Ti, here it is.
The whole story: Lumintop Tool Copper with electronic switch


Finished my Small Sun ZY-T08 MT-G2 mod with TA driver

Built up a tiny10 7135 driver(2 chip stack) with guppy drive and installed it in a BLF 348.

Modded a DQG26650 with one of Everettā€™s colour drivers. The only thing left is to order a lens for it.

Glad you saw the post. Was thinking of sending it to ya.
Wish I could program a driverā€¦ Still learning basics. I was proud of the resistor mod on that one because I was flying by the seat of my pants and generally copy what others do on electronics mods. May do 2X 1R0 stacked on the next. 0.25 ohm may still be under 2A, shooting for 1.5A to be safe.

Itā€™s really easy to get into flashing firmwares .
If you want to , just send me a message and i think i will be able to help you .

Did another 18650 rechargeable. Added 2X 1R0 resistors and get 2.0A as I guessed. Some pics


Sanded the spacer and fitted

Double stacked resistors and the driver. This one had a hot glue Booger between the SW and charge port. Made it miserableā€¦

Used a Jaxman Nichia 219B 4000K high CRI on a 20mm DTP aluminum.

Bypassed the driver springā€¦ because I was in there and the iron was on.