Selfishly I would love to see a backpack liquid cooled system! Haha that would be something else. ![]()
Haha that’s definitely possible, battery and cooling in a backpack, only LED and reflector in the light ![]()
Some day I will build that, although not soon cause I have no money :C
You’d be a true Ghostbuster!
Cree PCT - way more practical than any datasheet! Together with measurements from djozz that show high-current performance it is possible to calculate most values and get very realistic results.
Of course, it is all specualtion until someone actually tests the XHP-50.2, but I think it will be very good.
By convention, the larger L2 dies on the XHP70 can handle higher outputs than the XHP50 G2 dies.
The harder you drive the LED, the more difference there is.
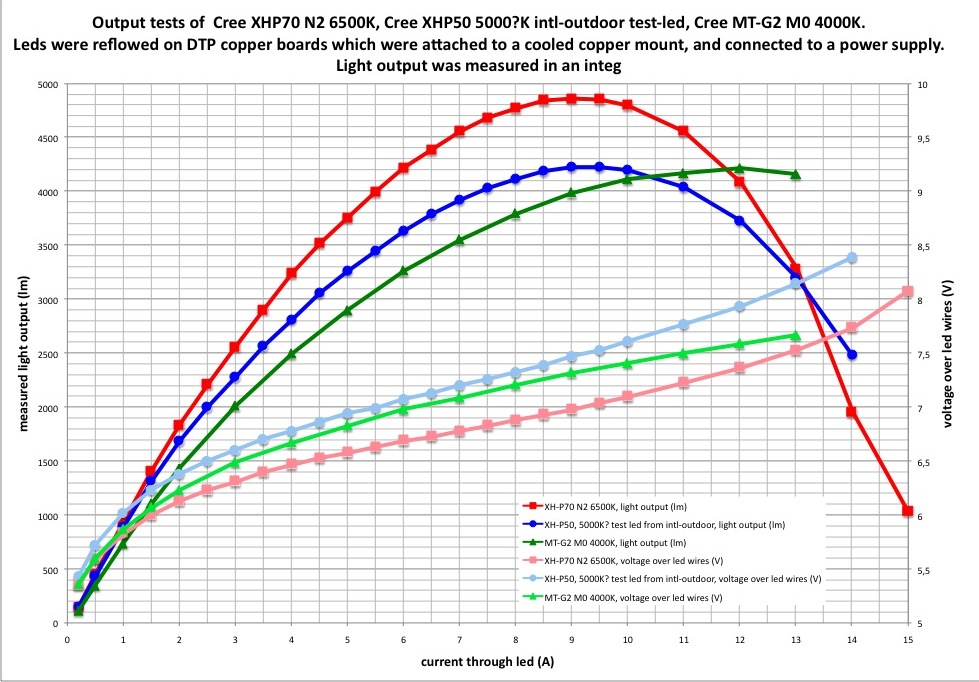
The tests in the link you showed are only for very low currents, so the difference is minimal.
The 50.2 is actually not much brighter than the old 50, it’s just more efficient.
Hopefully someone can make a graph of the 50.2 outpupt soon.
Kinda big for an EDC light… ![]()
I second the suggestion about using something other than a drill-bit on the 1” hole. Reamer, countersink, something to gradually open it up, maybe even a Dremel to grind away the inside of a scribed 1” circle.
Or if you can get a step-bit to at least 25mm, that should do it. I (carefully!) use a 20mm to match-mod Minimags.
Haha thanks ![]()
I’ll try the countersink bit, the regular drill bit didn’t work very well.
If bits don’t work I may just try widening it with a rounded file, it will take a while but should work out.
To widen round holes you can use sandpaper head on a dremel
Will try that too ![]()
Finally got the hole drilled and the new plug inserted!

Took like 12 hours to get this part done… was a huge pain to shape such thick aluminum.

This was the easy piece, only a few mm of aluminum.

7075 aluminum is really tough!


The plug was pressure fitted with a hammer, it will never go anywhere.
Unfortunately I didn’t think about the plug that needed to fit inside the connector, so after pressure fitting the plastic socket I realized the plug didn’t fit.
Then I ended up spending 6 more hours grinding away at the inside of the plug with files to make the plug fit again.
In hindsight I should have spent the extra 2 hours to widen the hole in the aluminum a millimetre more…

Soldered the wires coming from the switch too.

All closed up!

Here’s the end result. Pretty clean IMO, minimal scratches to the aluminum handle during the whole process.
Finished pics coming tomorrow. ![]()
Nice start. :+1:
Here is what I did for the external battery case. This case can be used for any flashlight or device that takes 12v, I just need to put a connector on the device and it plugs right in!

Got the batteries on sale for about $50 each ![]()

4x 3s, 11.1v, 6Ah, 65C continuous, 130C peak, aka 780A per battery!
Total is 24Ah so it should last about 3-4 hours at full power with the XHP70 I will use.

Made a 4x parallel connector for the batteries.

It’s a tight fit inside the case, everything fits just perfectly.


The connector from neutrik is very good quality. The cable is 10/3 SOOW, about 1m long. One conductor is unused.


There is a on/off switch and a voltmeter on the case, I used a 0.28” DROK meter from amazon, very good quality.

Can be carried by hand or easily put in a backpack with the cable coming out.


Nice project Enderman. :+1:
(but why 2.5 MB pictures when you reduce them to 600px width ??)
Thanks ![]()
I take the pics at full res and upload them to imgur without compressing or resizing because that takes long to do.
People who want to see the original can just right click and open in new tab and see the full pic.
I just set them to 50% width here otherwise they go off the right of my screen.
I understand, but it takes quite a while to load the page…
None the less, great stuff.
…but why not make a Powercon® connection to the battery pack too? ![]()
Oh I see, sorry lol
The connectors are expensive so I can save like $50 and some space by just attaching the cable directly.
I also will never need to remove the cable from the battery pack anyway ![]()
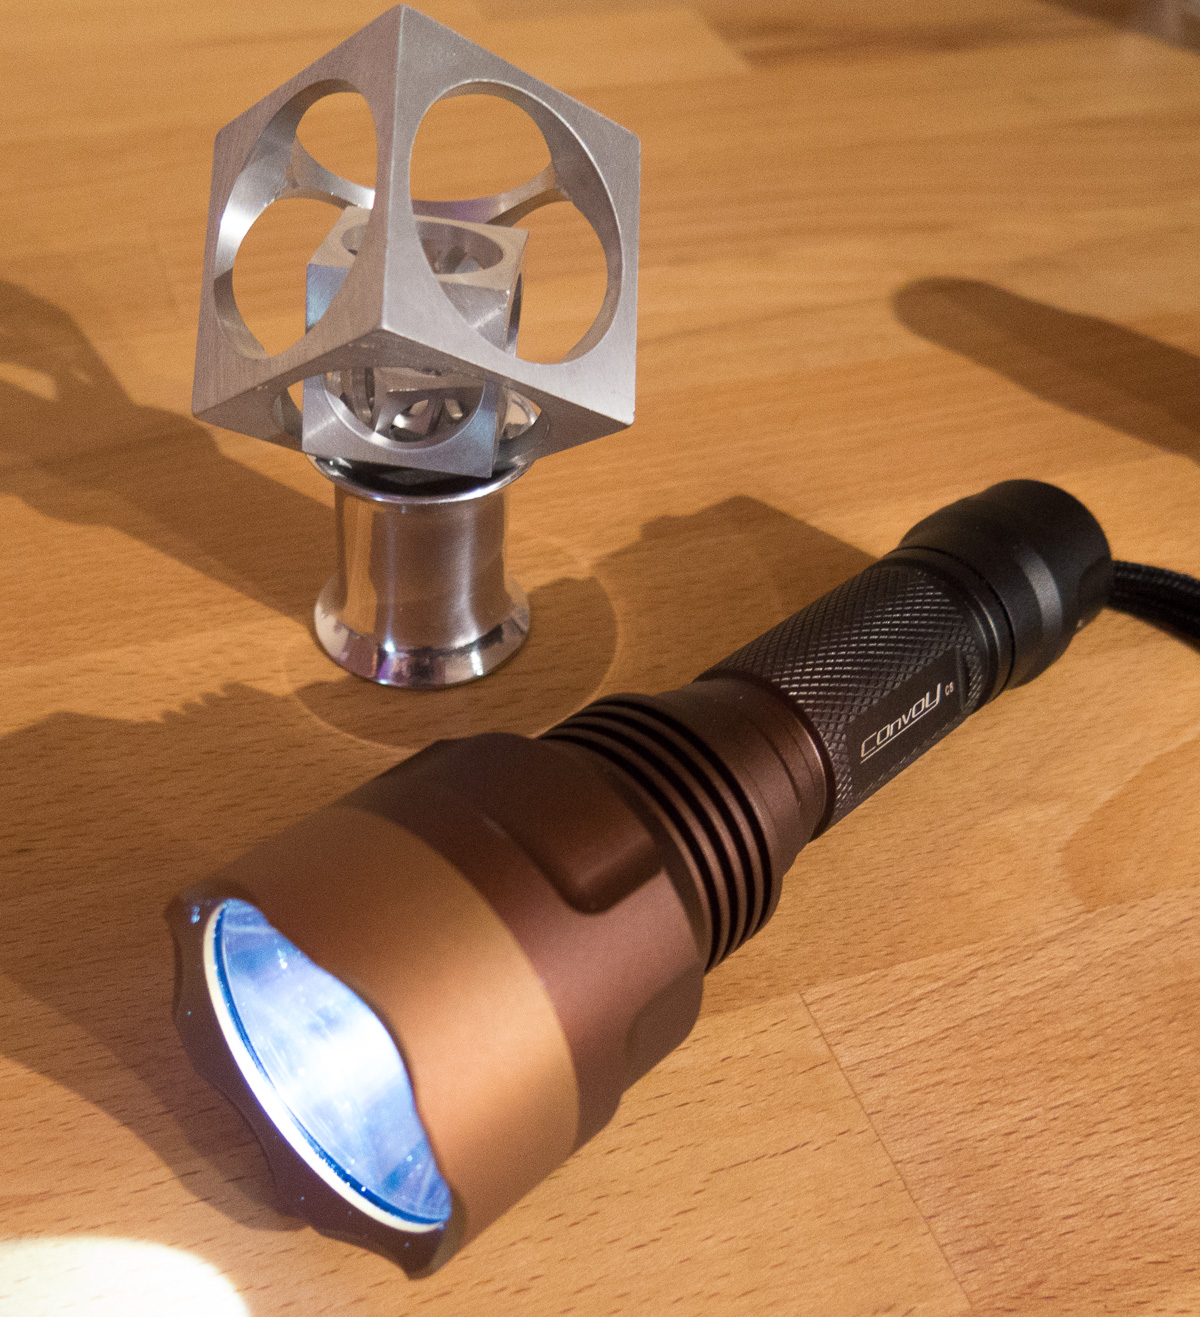
With the new plug in I have the light working again ![]()


Something interesting is that it seems like the HID lamp isn’t focused properly, at a few meters distance there is a large spot, rather than being focused in a tight beam.
Maybe this is to give it more usability for lighting up areas rather than just long distance.
Unfortunately the whole light is filled with potting material and it would be a mess to try to move the bulb a few millimeters just to focus it, so I can’t wait to be able to upgrade it to LED ![]()
I would seal the battery case
use 2 component glue mixed with carbon to get it black
maybe want to get it a bit colored like this
You mean around the switch and cable exit?
Yes around cable exit, switch and the LCD panel
I would aslso seal the inside of the battery voltage indicator with acryl or silicone so the whole case stays watertight
or add a transparent cover on top of the display
for the cable there are cheap strain reliefs like this you can find in any home depot or ebay
