New build inspired by the most inspirational member here. OL. Updated 26.3.17 post 235. One light has been completed.

another option but you would be lucky to get the correct size would be second hand pipe fittings from a scrap merchant,they would probably be cast I guess.

or you could try something like this on ally.

http://www.caswellplating.com.au/store/store.php/products/copy-chrome-plug-n-plate-brush-plating-445

These two lights are very close to being finished.
The head’s of the light were drilled and tapped to locate the MCPCB.

Out of the blue lostheplot sent me a message asking why I dont buy the piece of brass and use a holesaw to cut the middle out for the bezel instead of turning the middle into swarf. I thought to myself what a good idea and wondered why I dont think of things like that. :person_facepalming:

This still cost me a pretty penny but as it was an off cut and considerably bigger than I had previously costed, (was the same price as the previously costed smaller piece) so I have quite a bit left over for future projects.

The hole saw went through the brass like a hot knife through butter.

The first bezel was rough cut out.

Perfect fit.

The left over material with two bezels left to be finished of.

The reflector, lens and bezel were taped into the head and holes drilled and countersunk for eight M2.5 x 16mm button head cap screws.

The reflector in the head.

And finally the bezel’s were profiled internally.

So only about 1/4-1/3 of the cost is for these two lights. :money_mouth_face:

Yes. Or is that no? :slight_smile:

Wow every time I see a new update here I hear AvE’s voice: “gentlemen today a treat especiaal”
Nice read and look with the morning coffee!
Thanks once more.

One flashlight is now finished, approximately ten months after OL gave me the nod to build these two lights.
As mentioned previously I tried to use Justins flashlight building methods where possible and keep the specs as close as possible to what he desired along with my own ideas thrown into the mix.
The first thing I did this morning was to charge up six 30Q batteries in the hope I would have one light up and running.

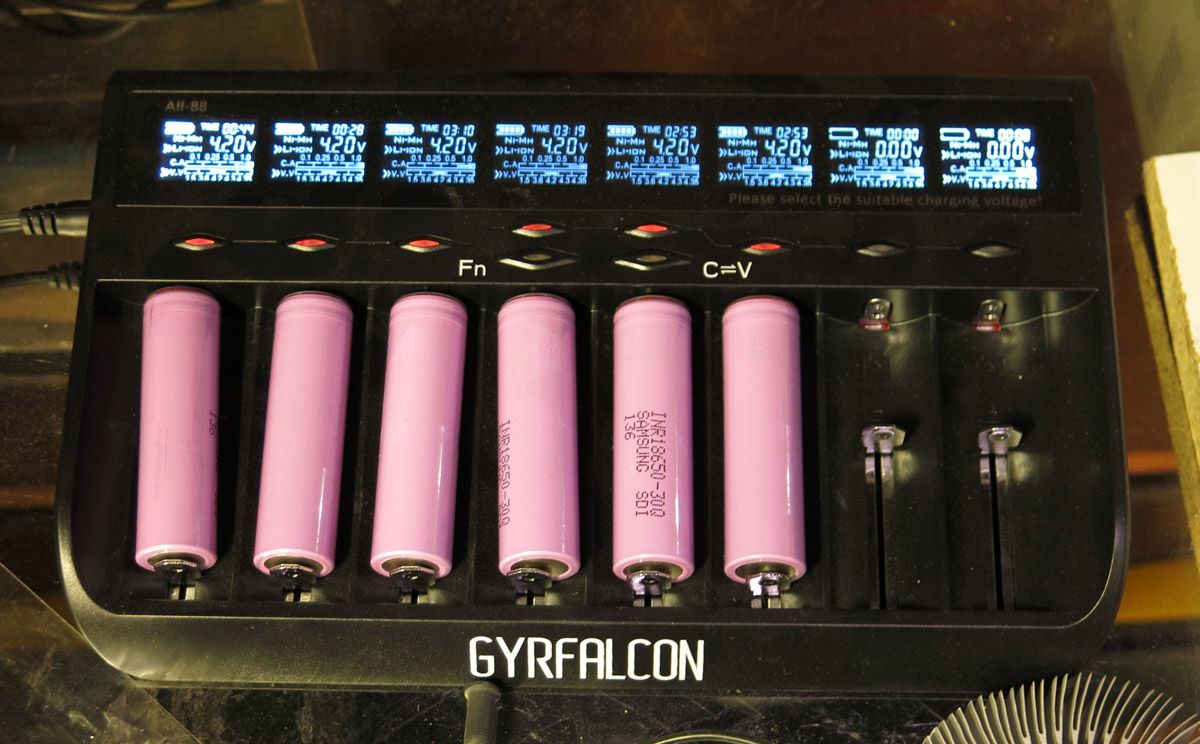
There was a few hours spent in front of the idiot box last night getting these items to shine. Justins favourite polish being Mothers was used to good effect.

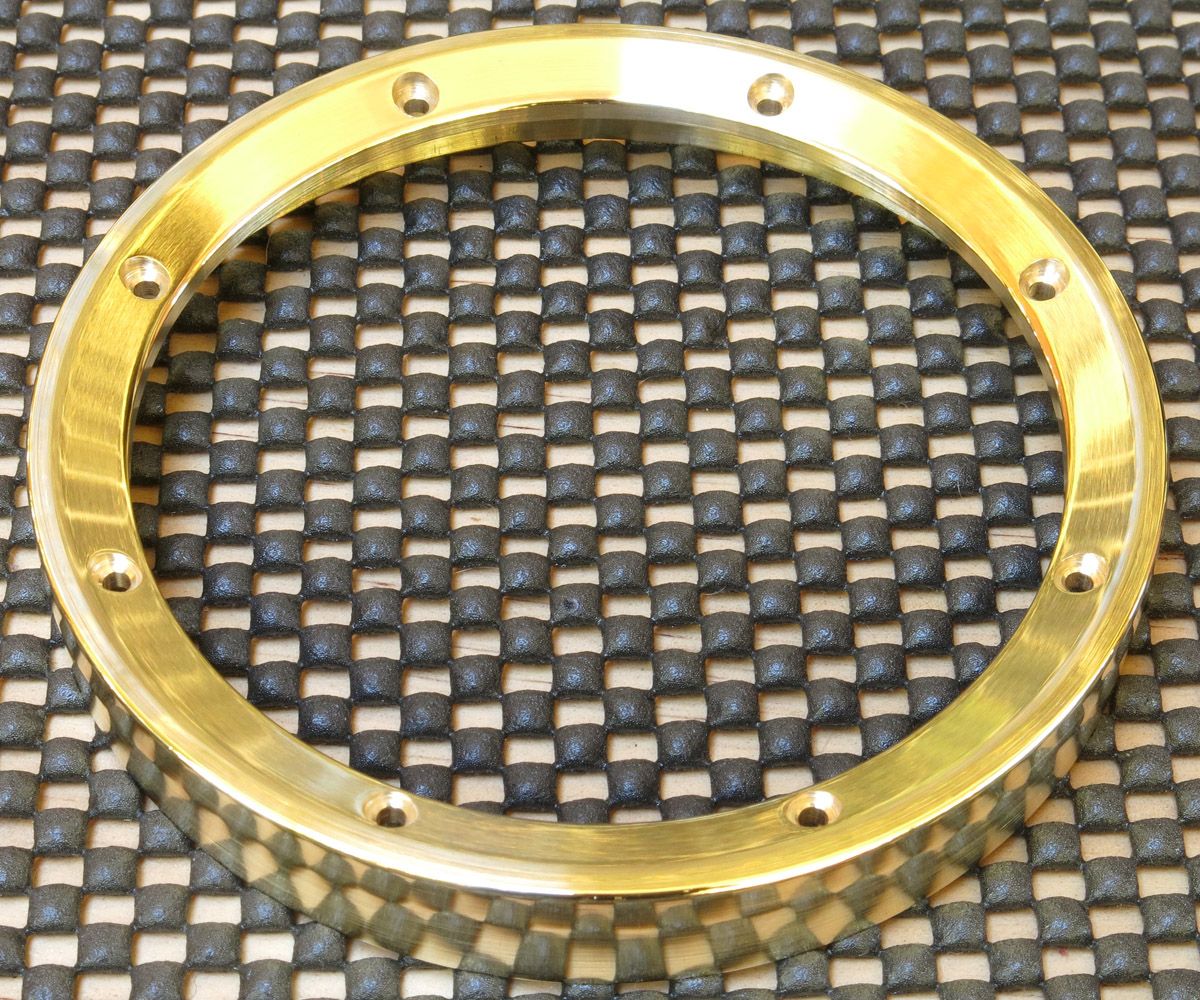
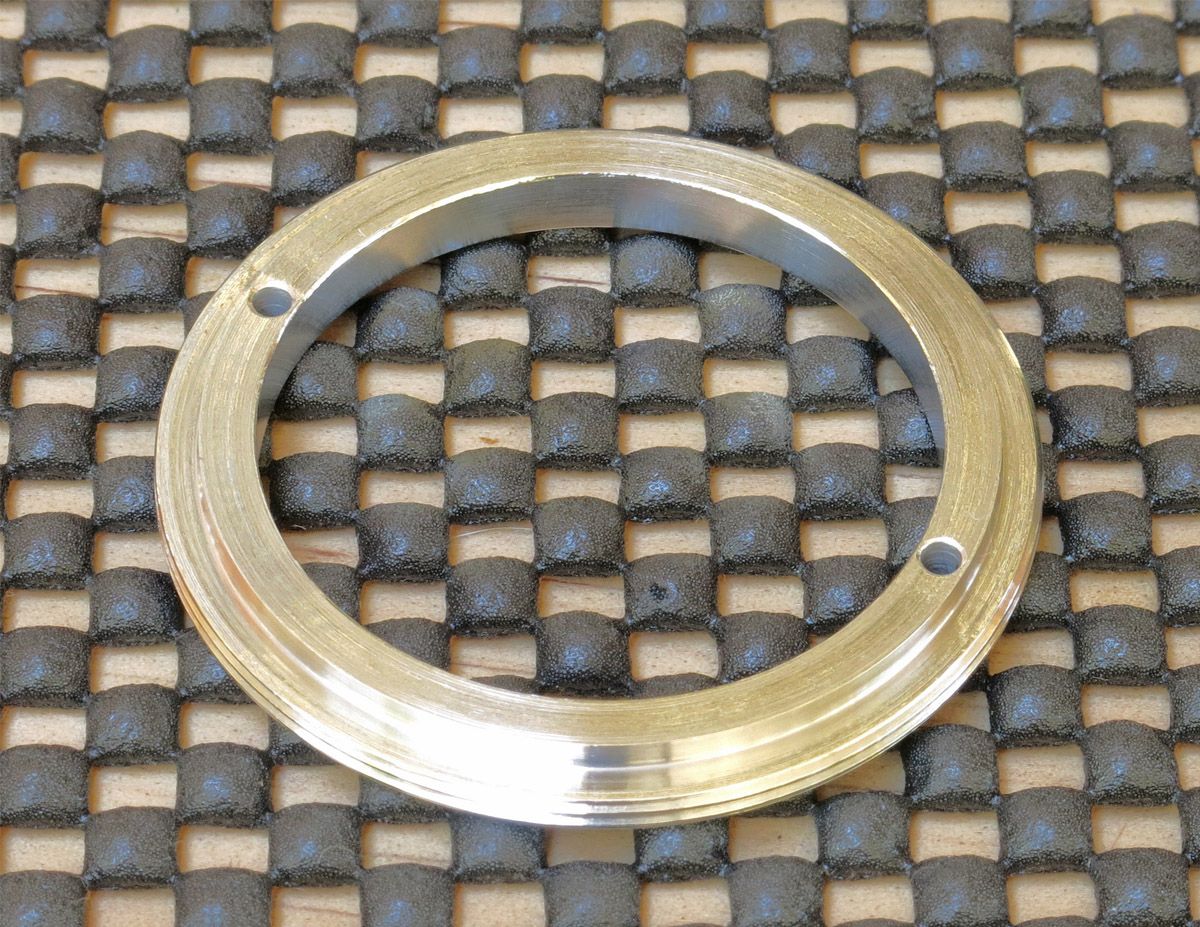
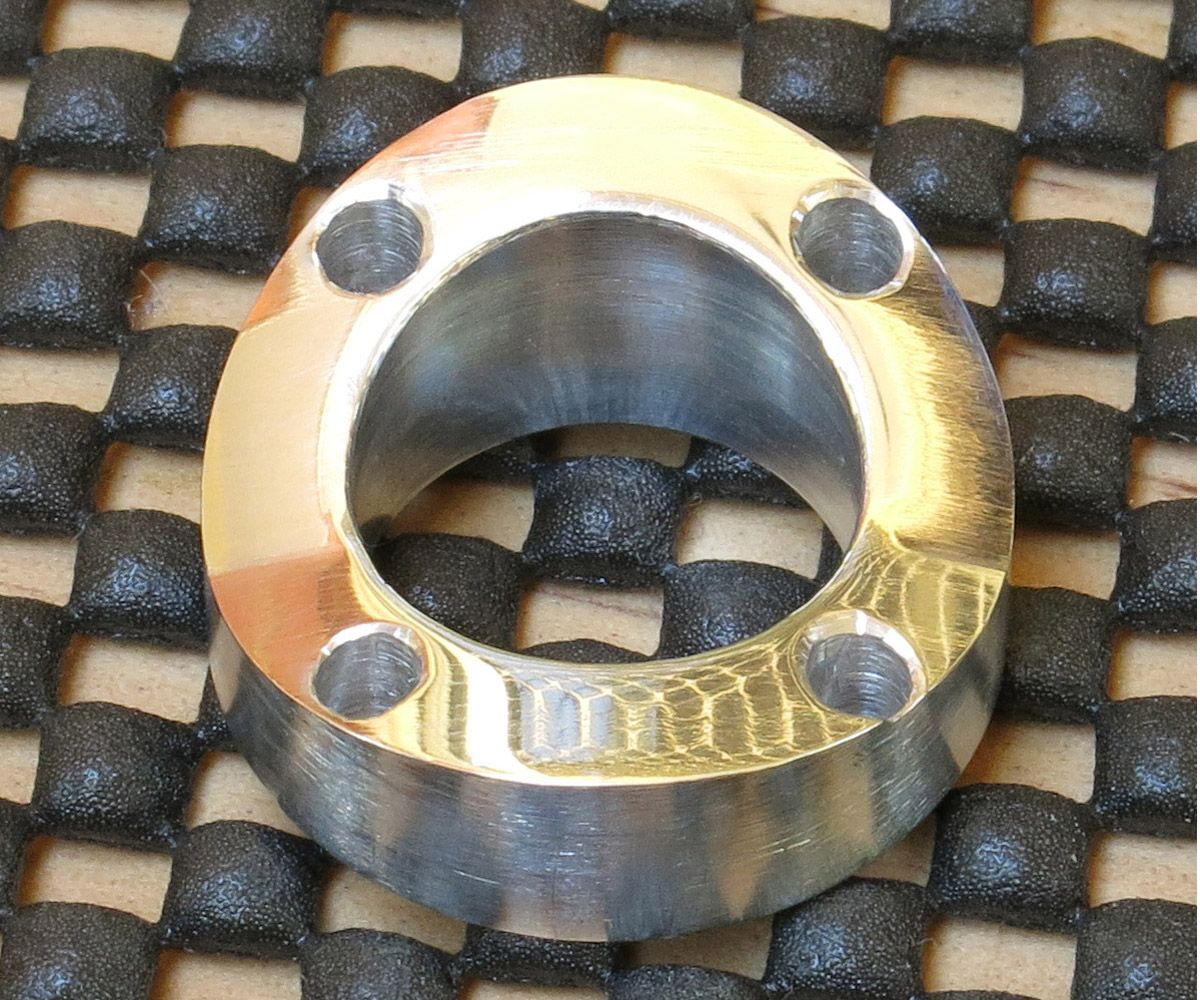
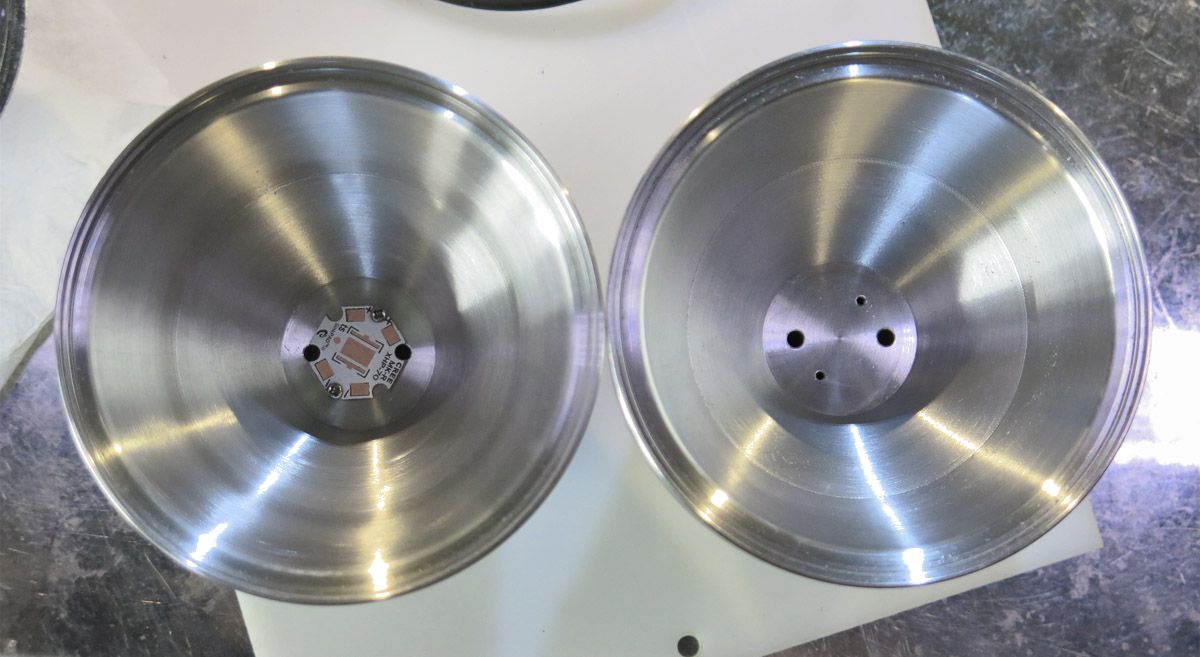
The front and back of the now finished bezel. No threads here for attachment. Just eight M2.5 x 16mm button head cap screws.

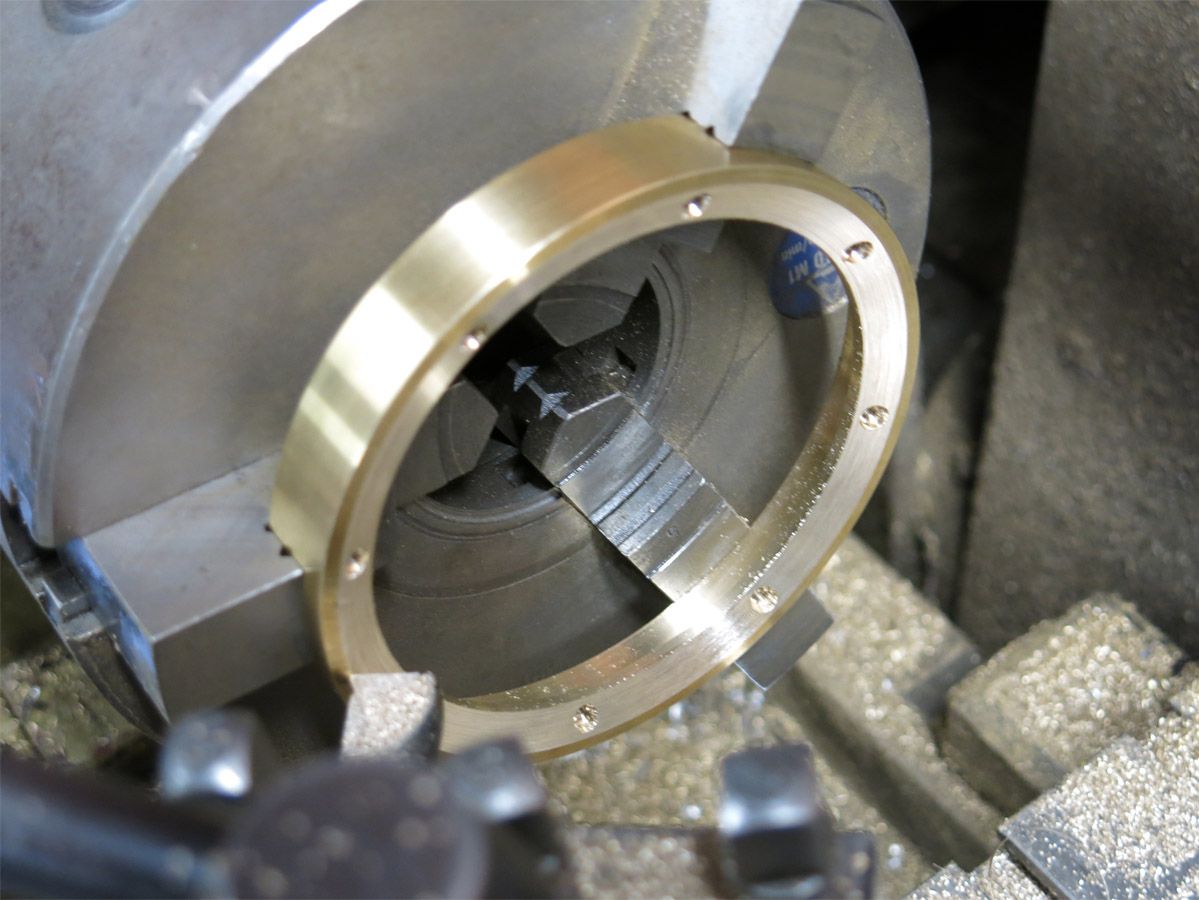
The driver retainer with a spigot to locate the battery tube adapter.

The battery tube to head adaptor. This bolts to the head of the light with six M3 cap screws. The groove is for an o’ring.

The battery tube bolts to this end of the adaptor with 3 M6 x 100mm stainless cap screws. The cap screws travel the length of the battery tube before screwing into the adaptor.

The battery earths travel to the battery tube through this adaptor. The locating pins locate in the same holes as the 3 x M6 battery tube cap screws. The three springs are djozz copper springs.

The tailcap. I love the colour of brass.

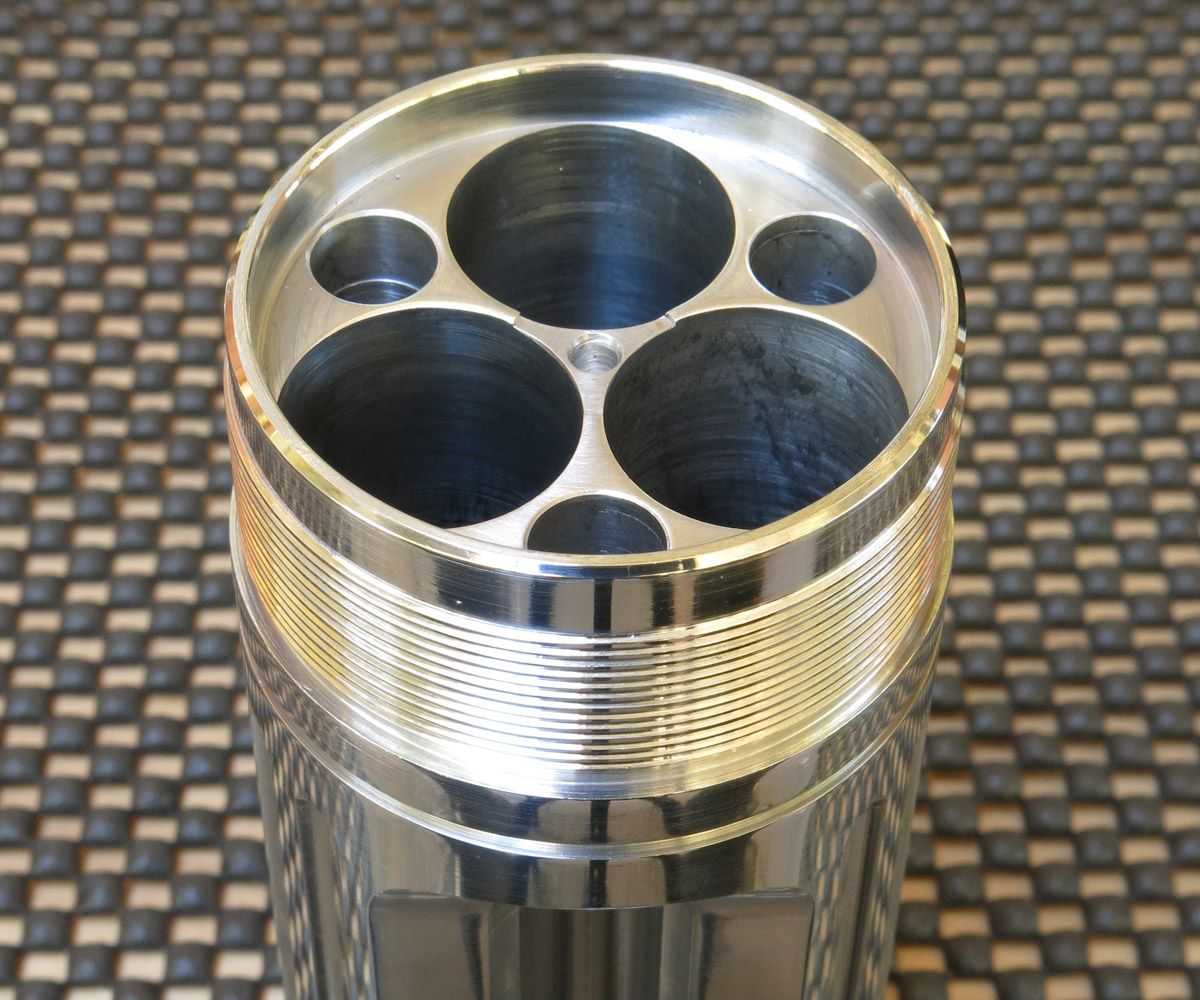
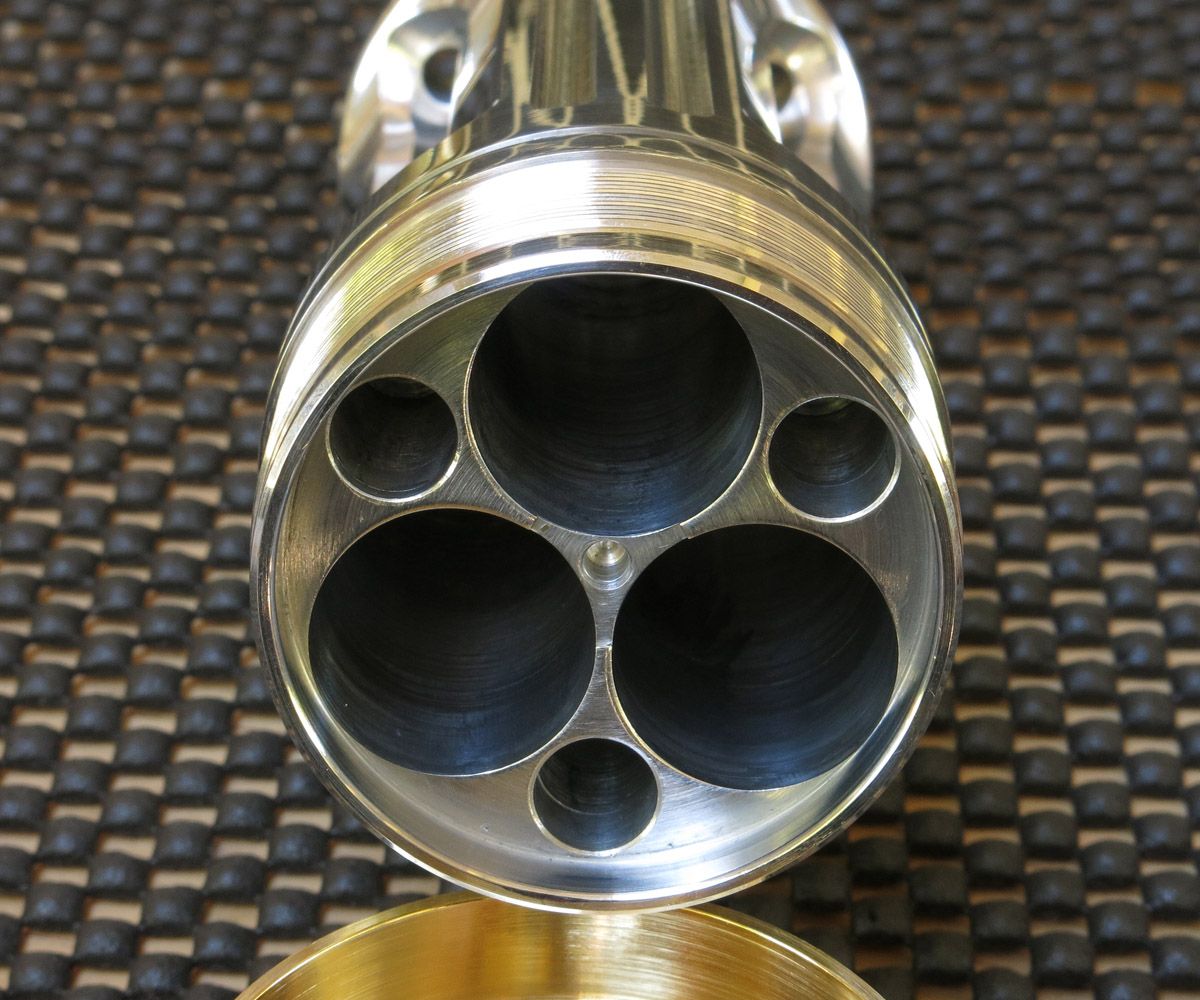
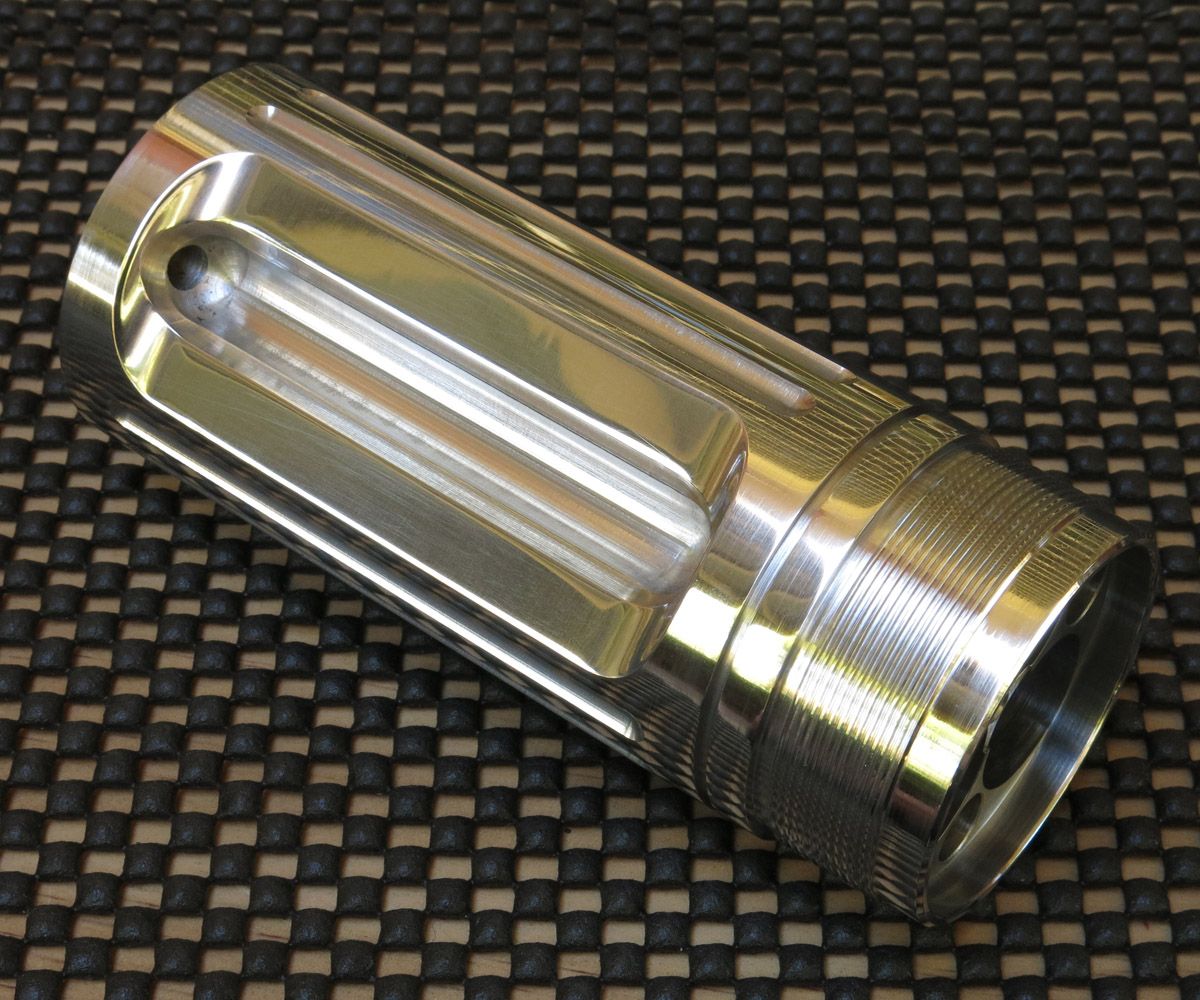
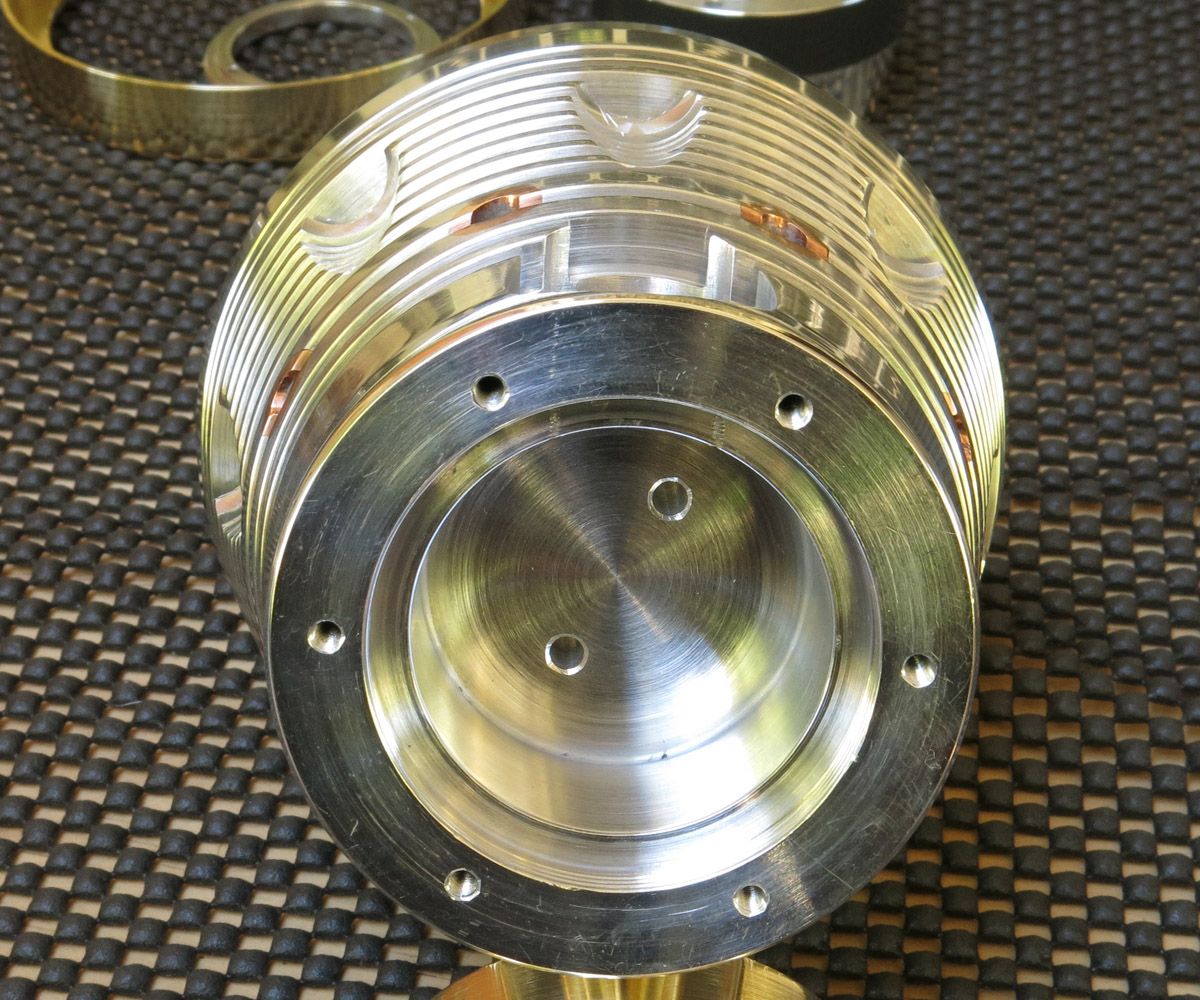
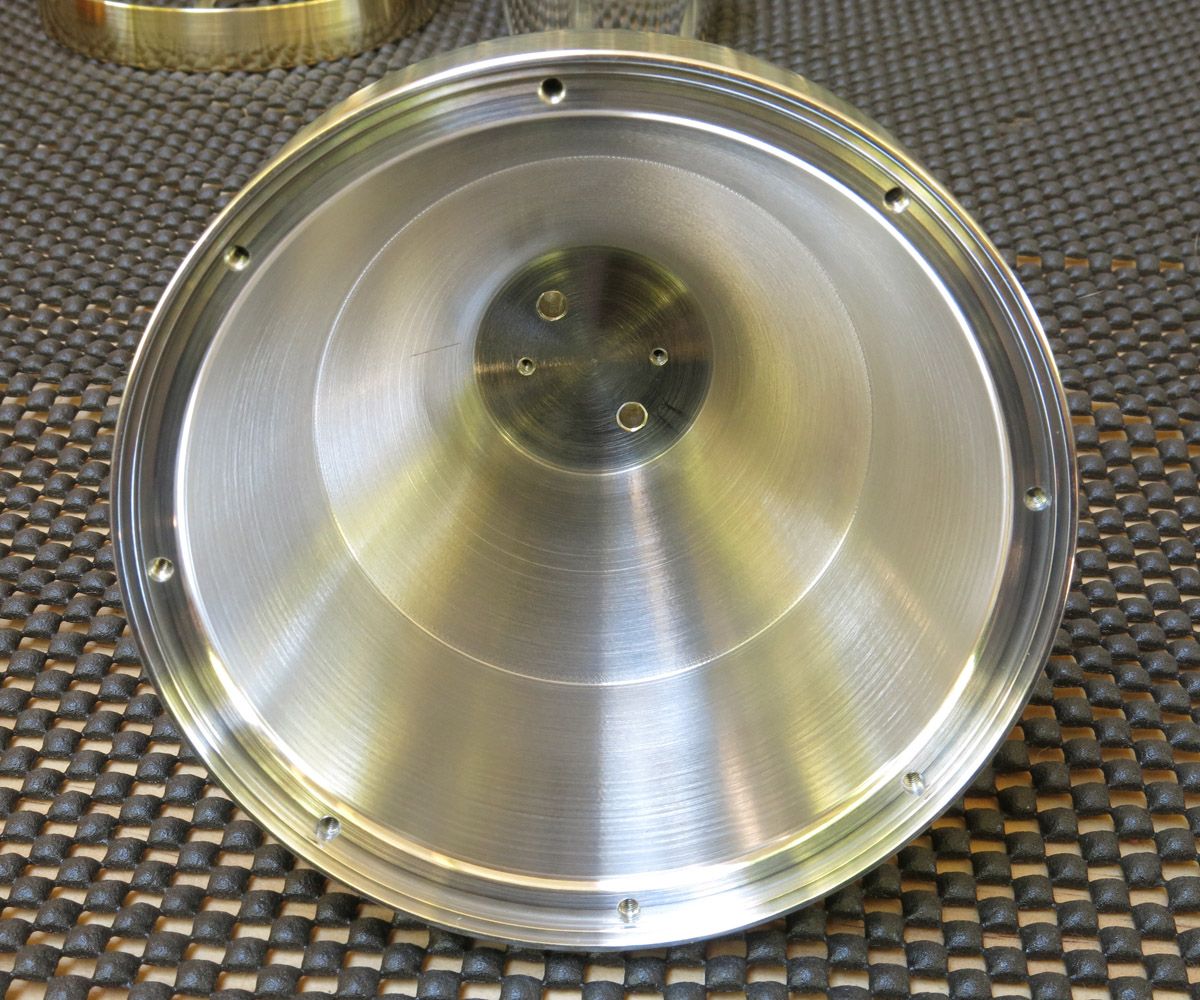
An end shot of the battery tube showing the holes for the cap screws and battery earth adaptor locating dowels.

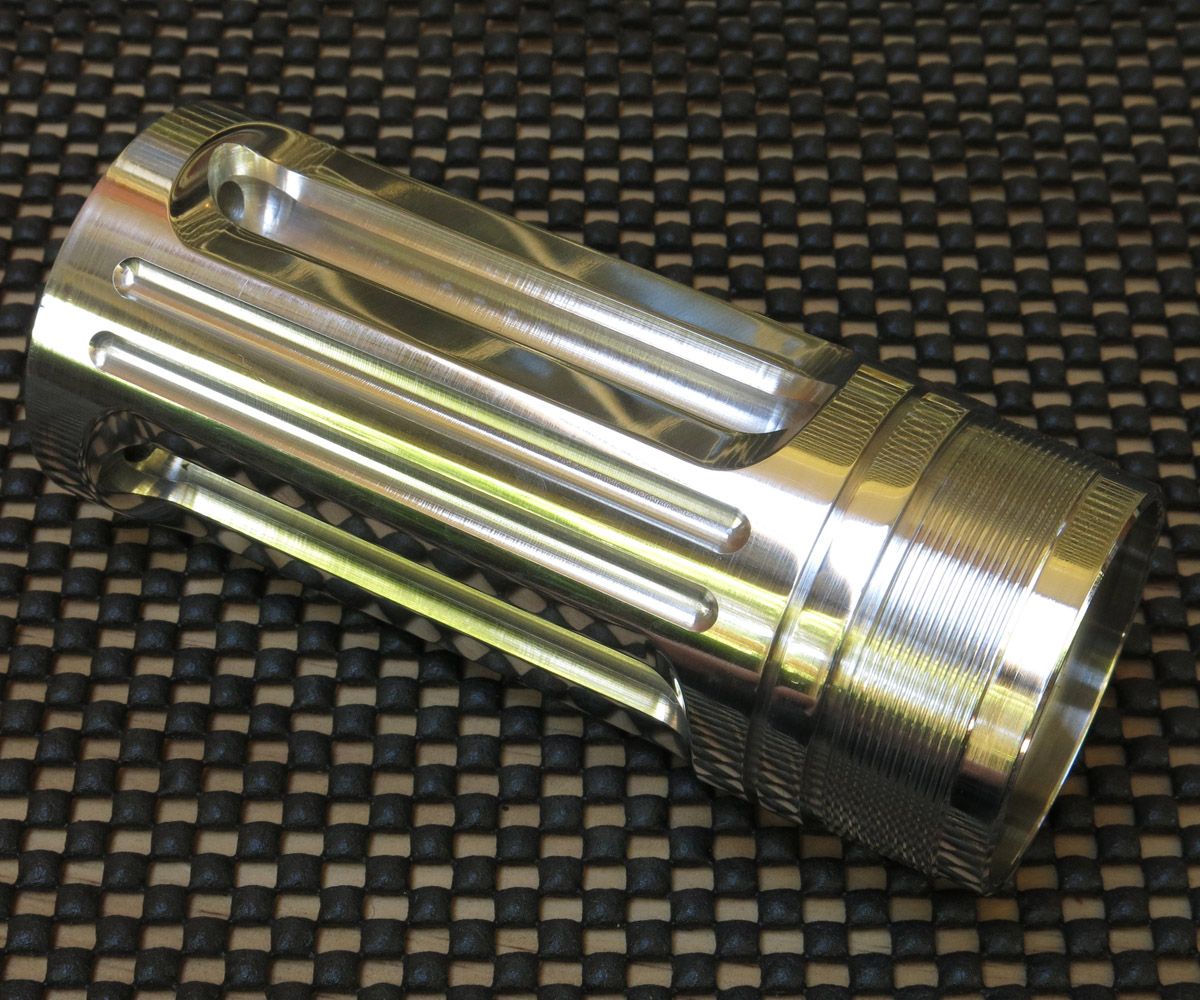
I tried to show in this picture that the outer profile of the battery tube is the same shape as the internal holes for the batteries.

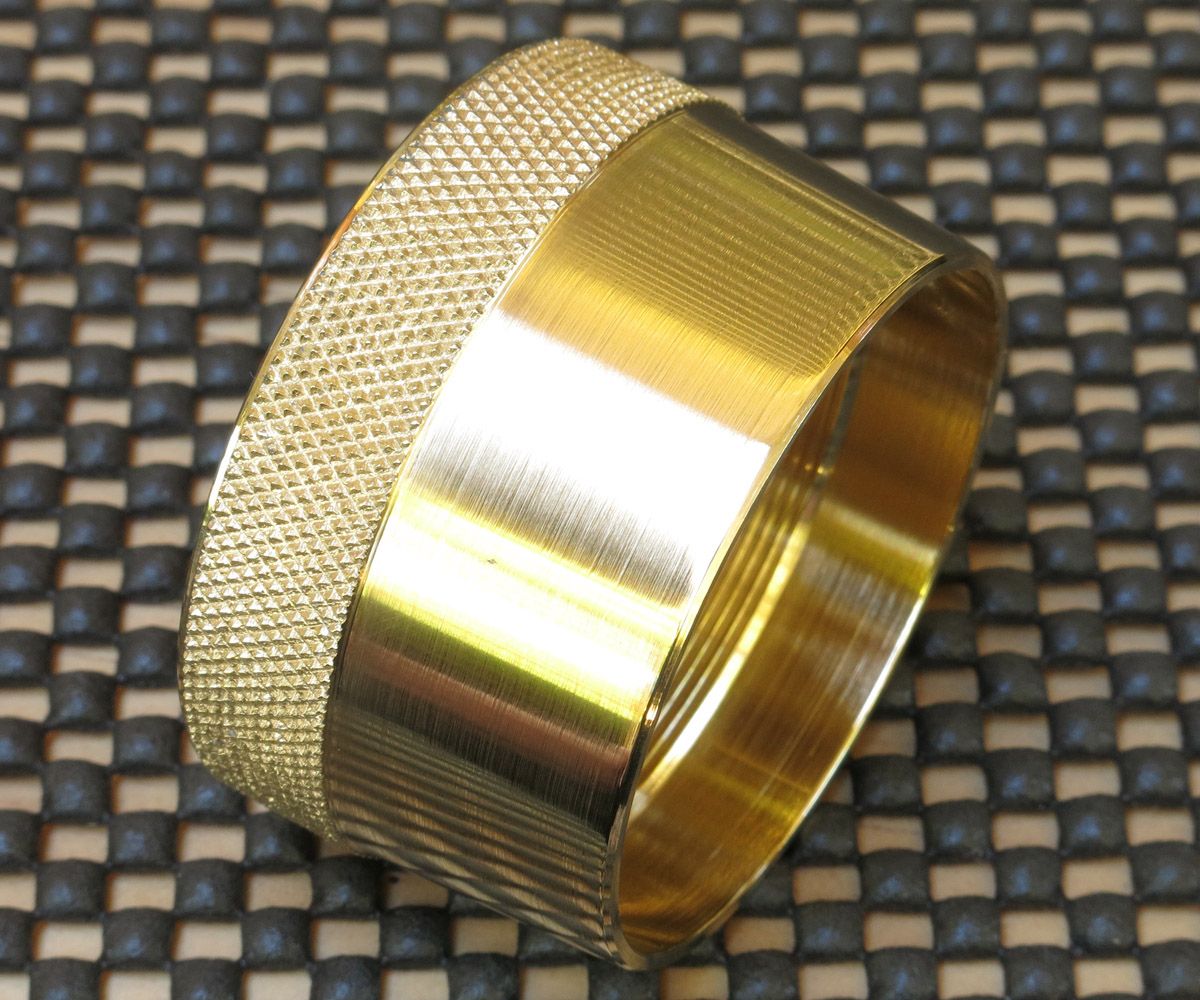
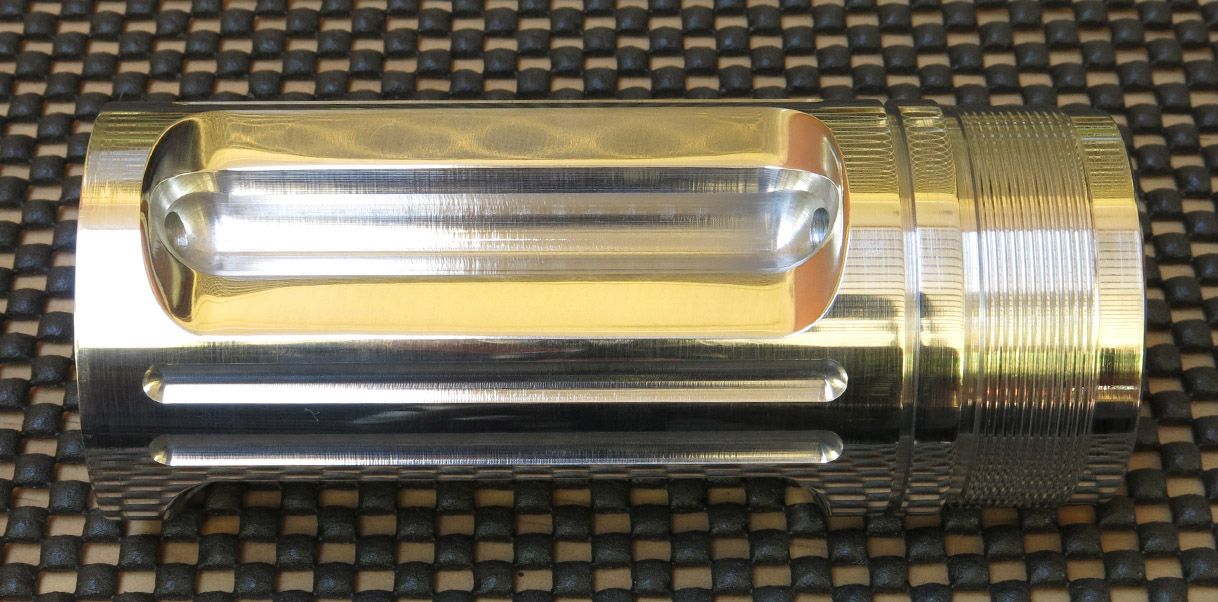
Some different views of the battery tube. The groove in the tube is for an o’ring to seal the tailcap when screwed on.

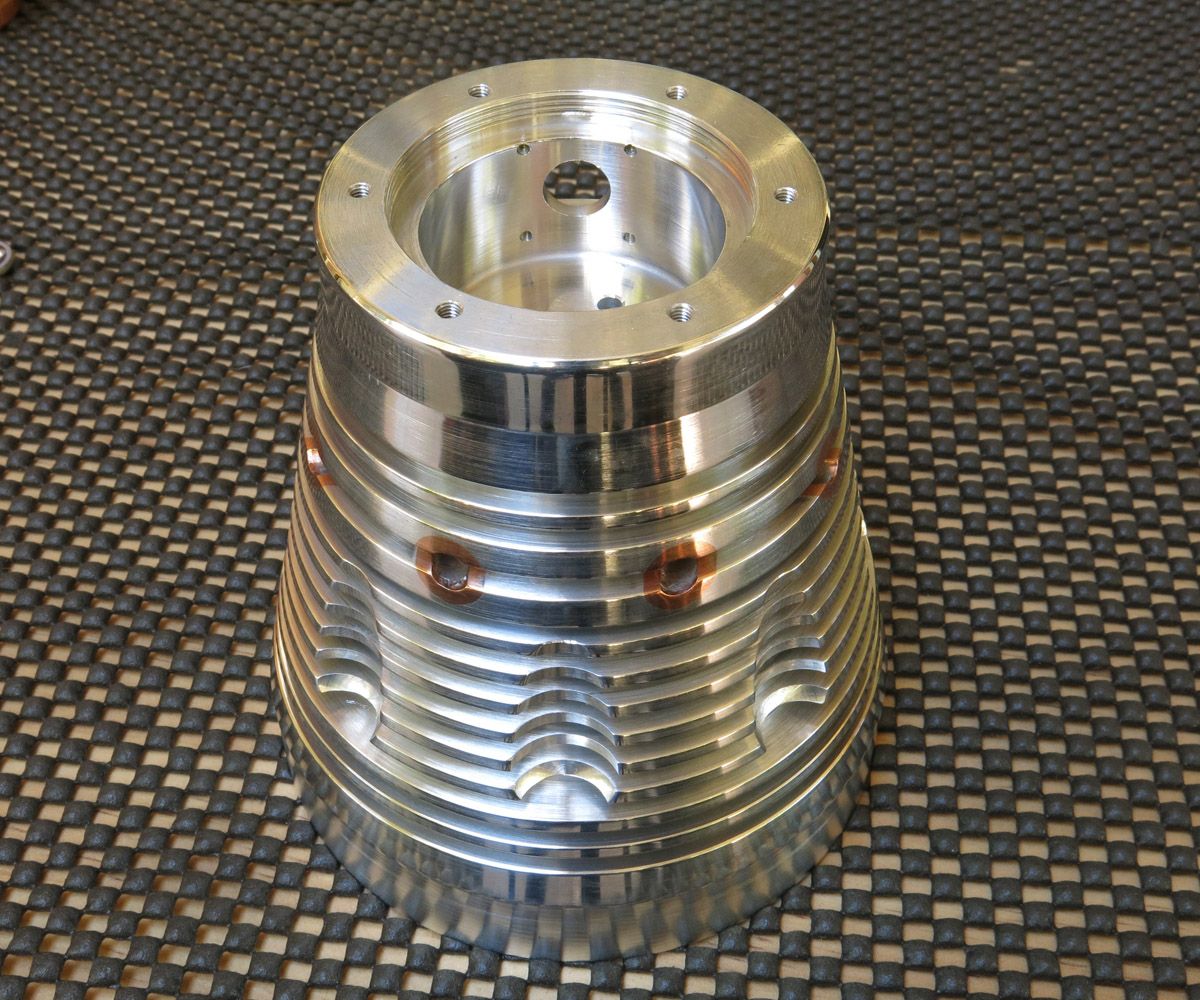
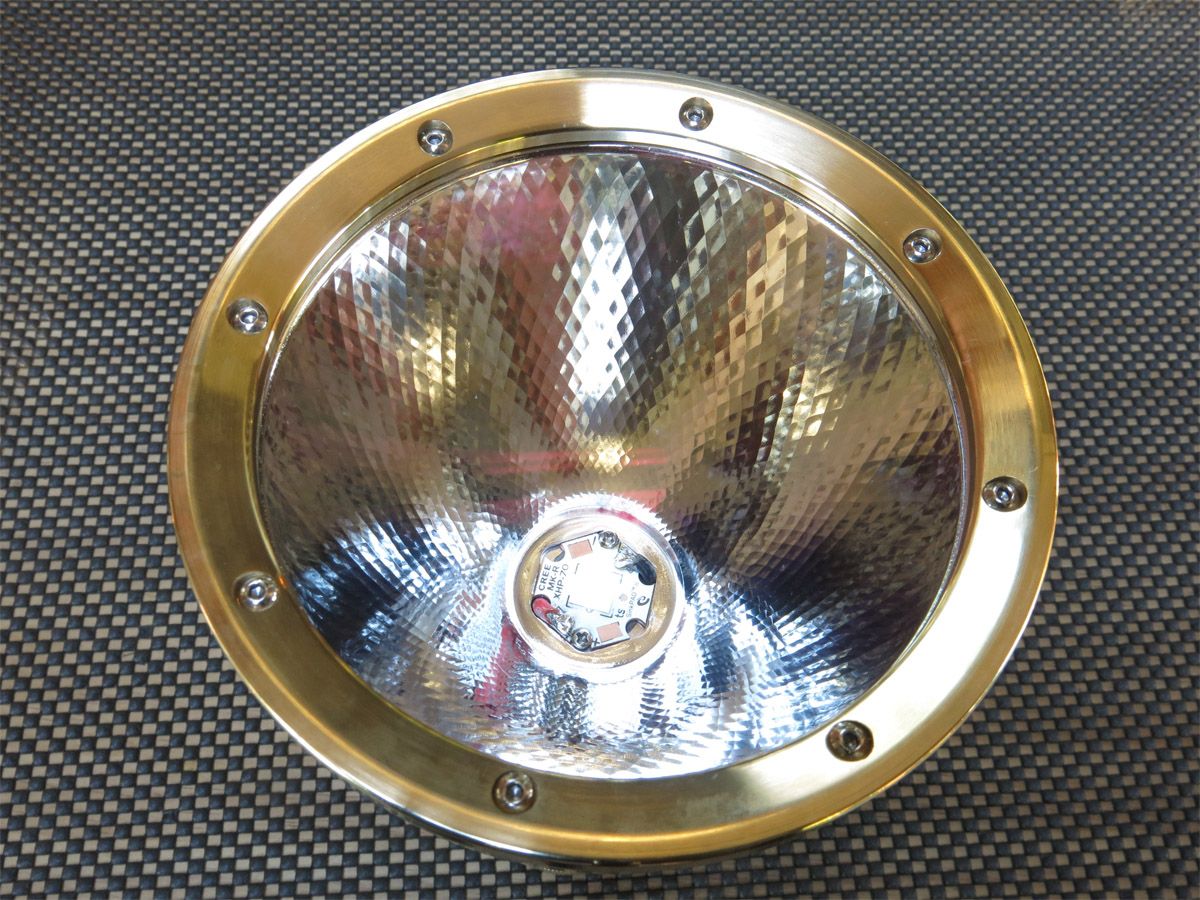
Different pictures of the head. Six M3 threaded holes for the battery tube adaptor to bolt to.

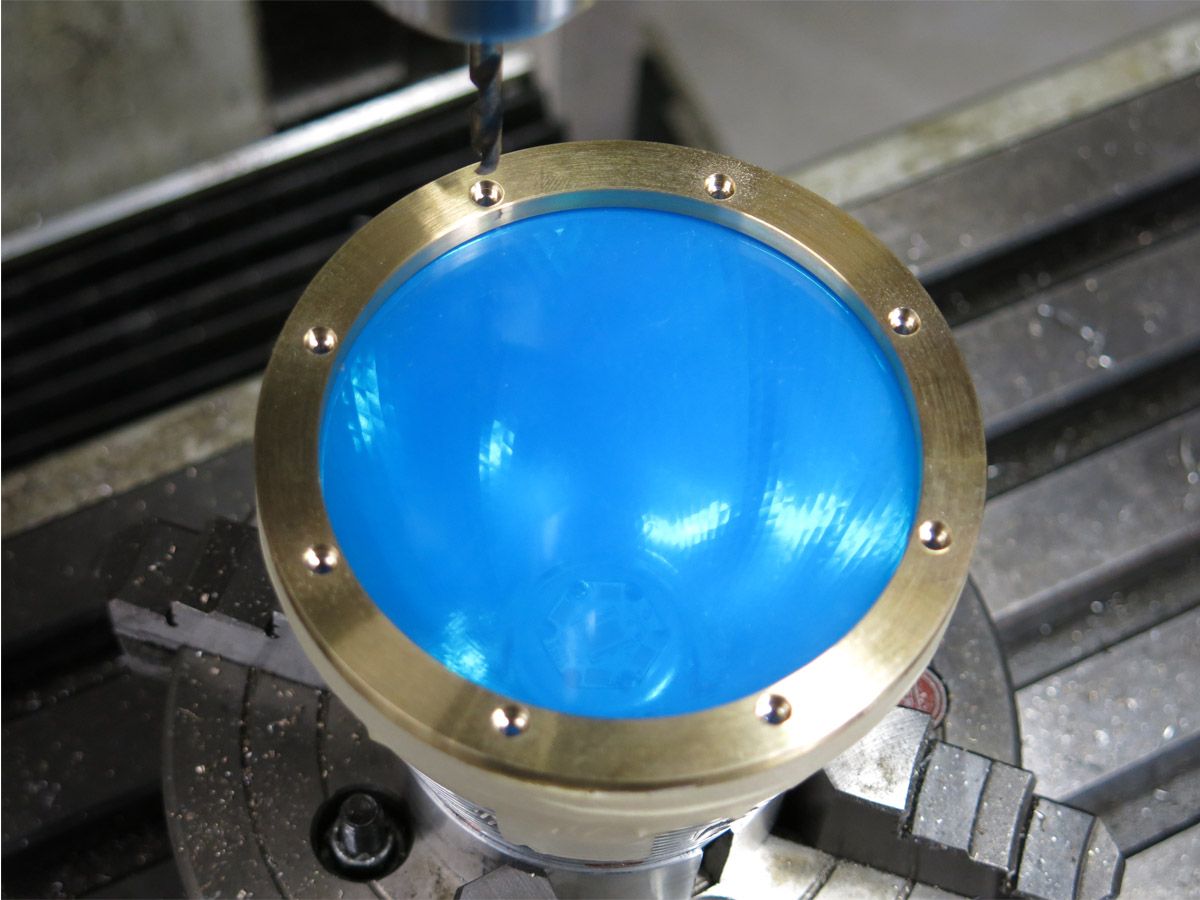
Eight M2.5mm threaded holes for the bezel to bolt to.

The switch retainer. Its held to the head with four M2 cap screws.

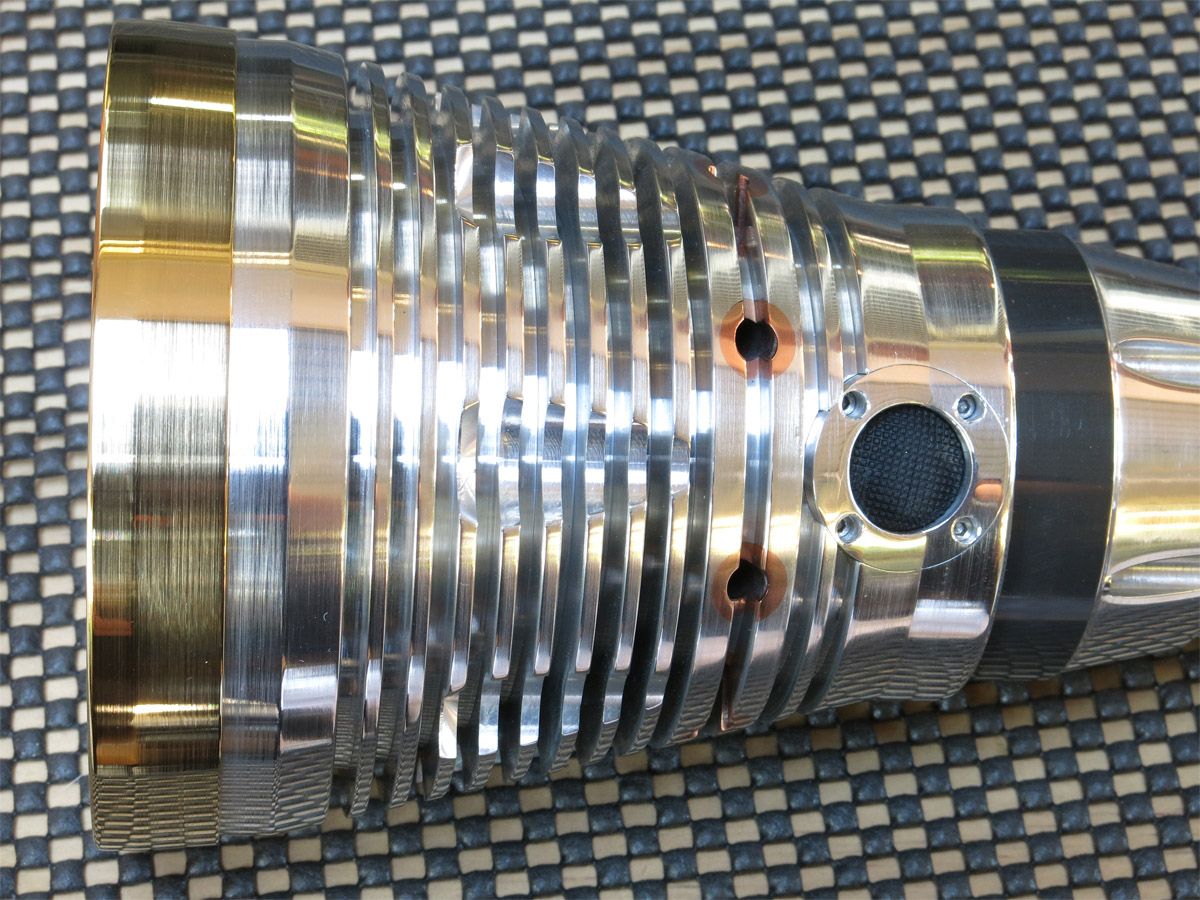
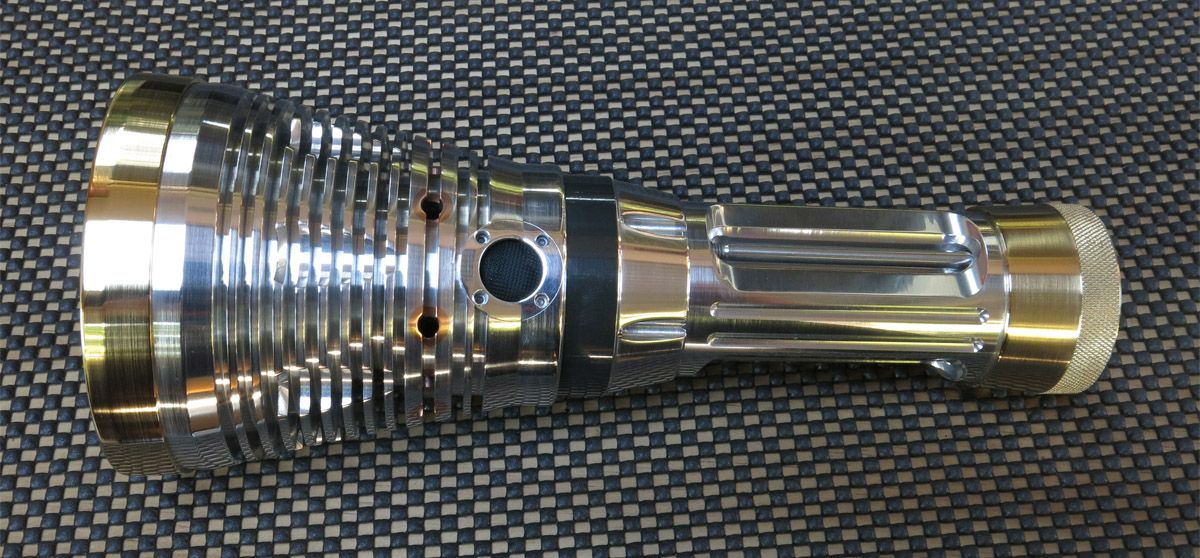
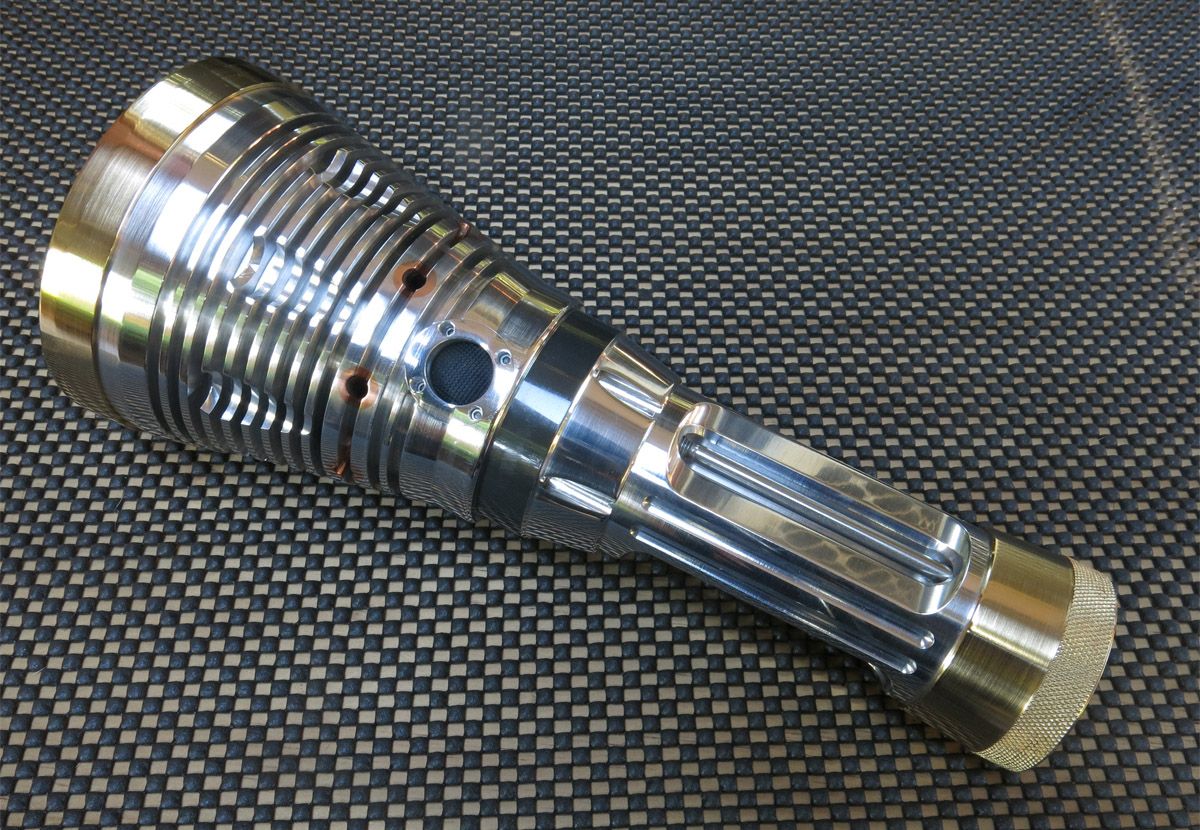
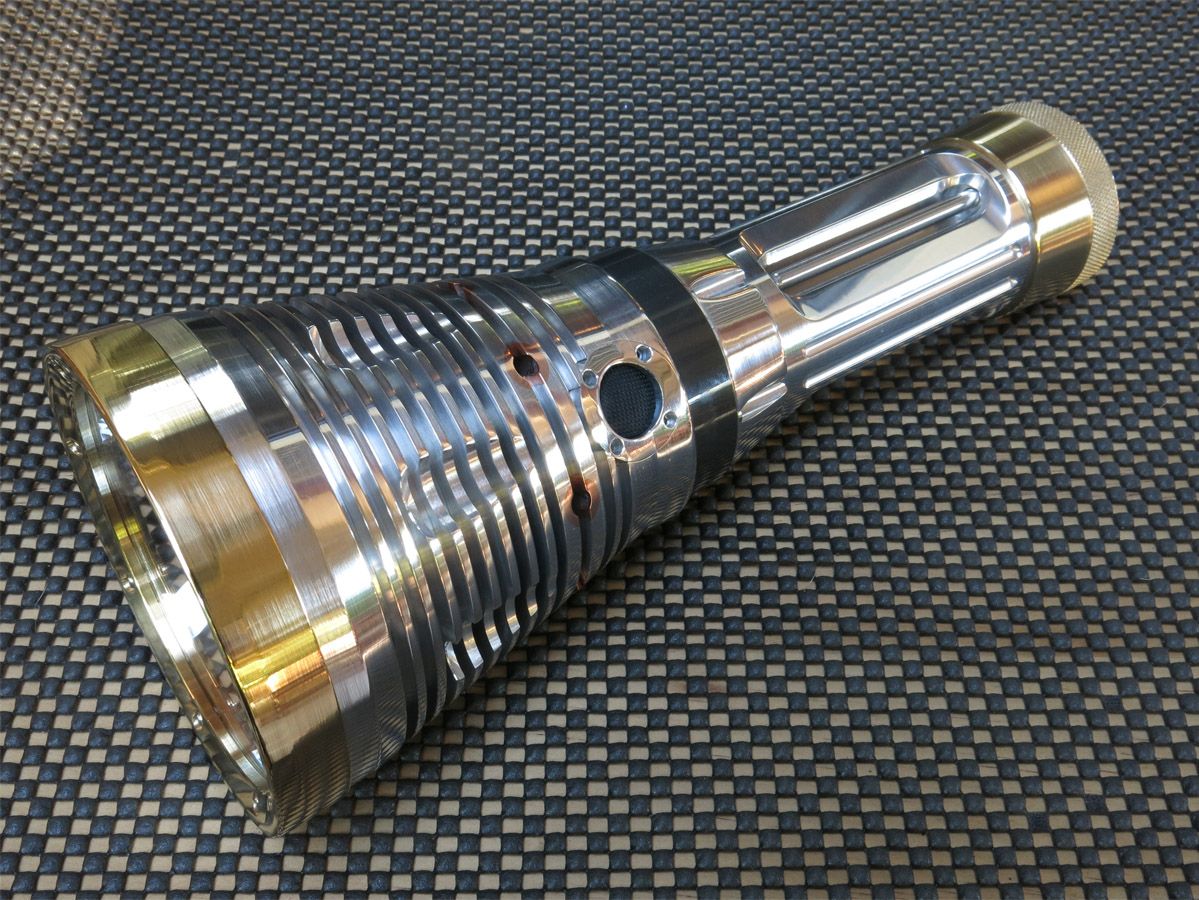
And finally some pictures of the assembled flashlight.

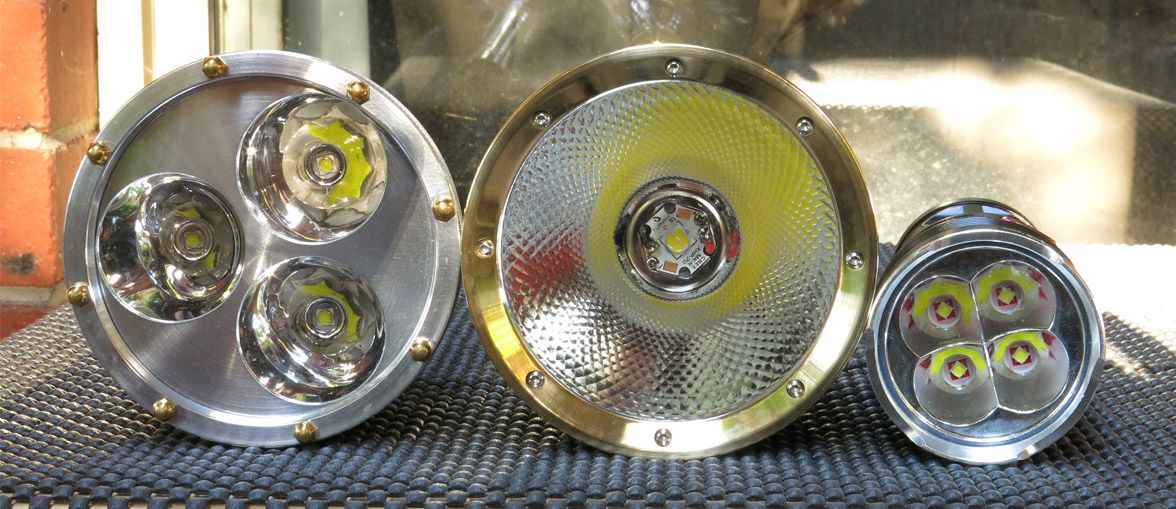
A picture to give an idea of the size of the light. Left is the C83 which uses three x C8 reflectors, centre is this light and on the left is a SRK.
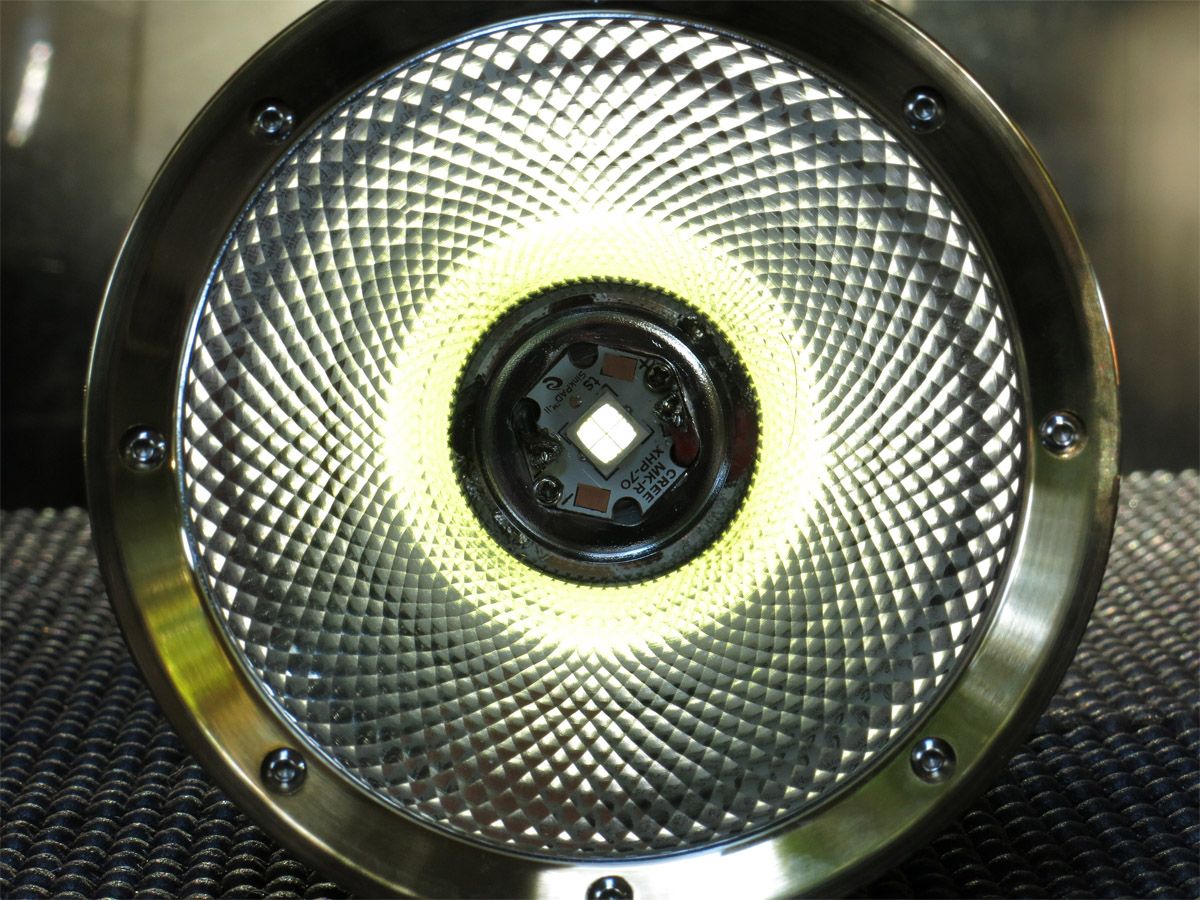
And we have light.

Thanks for following. :beer:

Thanks Miller. You snuck in on me while I was updating with the finished light. Have another coffee for the last post. :slight_smile:

NICE!
AWESOME!
THIS JUST DESERVES ALL CAPS SO GOOD!

WOWser!

that is breathtaking!


That’s just lumebelievable craftmanship :open_mouth: :+1:

Could you please post a pic of this beauty tailstanding with thatSRK next to it, I cant get my head around the actual size, I think it is much bigger then it looks because of the nice elegant design and proportions.

This is even better than your other builds. You are very skilled. It kind of resembles something of importance, like a light saber. It looks weighty but definitely something you would enjoy holding. Justin would no doubt be giddy over this. [quote=ToyKeeper]

Behold! The wondrous rod of light! [/quote]

Makes me want to buy a lathe….
Very nice work…

Beautiful—Just Plain Beautiful—- OL is smiling down on this one

Absolutely INCREDIBLE! :heart_eyes:

I LOVE the refined Industrial look of it, the fastening of the battery tube using thru bolts, fasteners in general is just a raw hardcore industrial visual and the different Metals, just Gorgeous!

Outstanding job!! :beer:

Wonderful work. My hat’s off to you, and I am pleased at such a fitting tribute to Justin. Thank you.

Wow! Awesome! Inspiring! This is the first time I ever see Aluminium being polished until “mirror image” for the external of flashlight. Thanks for the hard works, very impressive. :+1: :+1: :+1:

Wow, just beautiful!
That is truly a testament of skill, knowledge and honor.

What a wonderful and impressive flashlight with so many custom details (again, I love your habit of bolting stuff instead of threading it in), certainly very OL-worthy, he would have been delighted!

I’m looking forward to the performance of this beautiful beast.

Is it going to have any lettering on it, showing the tribute to Old Lumens?

As a side note: I’m secretly a bit proud that my custom springs have made it into such a fantastic flashlight. I never got as far as having a new batch of those springs made but I have 15 of them leftover. I see that you have far better use for them than I ever would have, so if you run out of them I could send you 10 of my springs to have a tiny bit of extra stock.

What an outstanding creation, I love all the detail work you put into it.