That’s awesome. With the new pics you can really appreciate how short you made it.
Very cool mod. Thanks for sharing.
Bob
That’s awesome. With the new pics you can really appreciate how short you made it.
Very cool mod. Thanks for sharing.
Bob
Here’s a picture of the Shortened S2+ next to an unmodified S2+


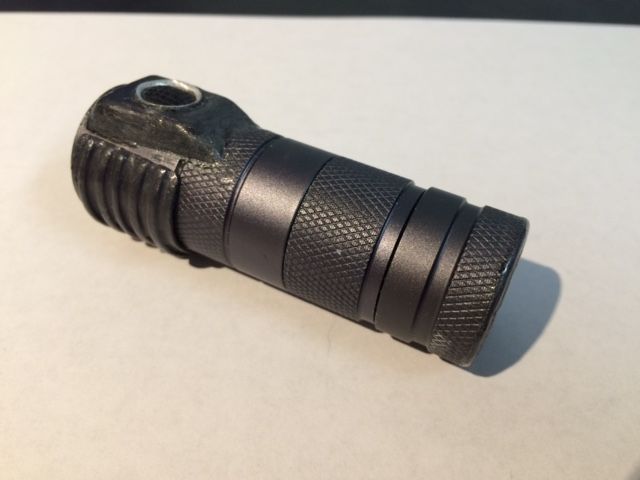
Alternate shortened Convoy S2+ host in polished bare aluminum.
I soaked the light in Greased Lightning to remove the anodizing. Then to remove the final bit of green anodizing I soaked it in Clorox bleach for 6 hours. The bleach also turned the aluminum a dull dark grey. I sanded and polished off the grey from the raised portions of the light, but left it in the cracks as much as possible as it provides a nice contrast.
Great mod, better for EDC, buy what about heat dissipation?
By removing alle that material it will heat up even faster
Yup heats up very fast… which is why I have it set to 3 amp max output and have the driver’s temperature sensor set to its most sensitive setting. With such a small head and no heatsinking, it does heat up very fast.
That said, the light you have on you is always more useful than the light you left at home because it was too big. There’s certainly something to be said for a small and compact light. And these are capable of very high outputs, even though due to heat they can only sustain it for a very brief time.
So little is removed and most heat transfer is to the hand anyway that it shouldn’t be very different.
I actually found I could run the shortened S2+ on the second highest FET setting for extra output. The head gets too hot to comfortably touch after awhile. The body tube especially near the head gets hot, but not too hot for the hand and the battery is fine. The temperature sensor kicks in to keep the light from getting too hot.
It’s perfectly usable like that even when left tailstanding. However, I’d probably want to wait 30 seconds for it to cool before putting it back in my pocket.
Does it work with a lit tailcap?
Btw. I like your strip and polish. I stripped mine and did minor cleanup. I think I’ll polish because I like how tired looks.
Unfortunately no.
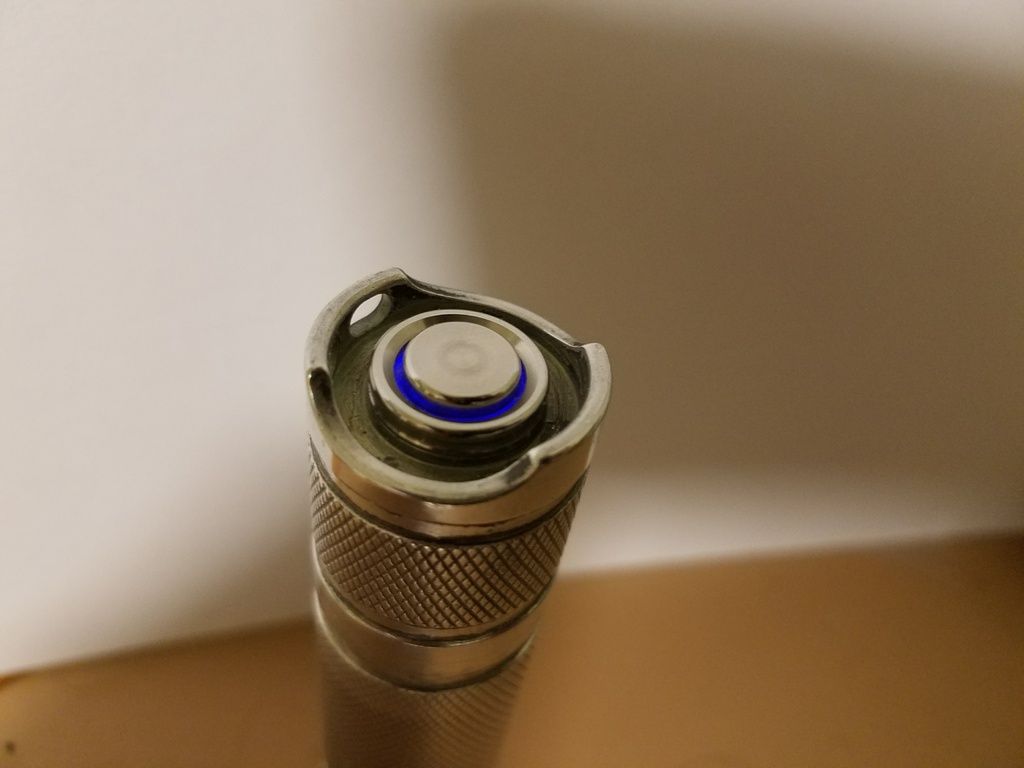
If I hold the illuminated switch to the end of the battery tube without the tailcap I can see the 2 blue LEDs on the tailcap dimly lighting. But when I assemble the tailcap their output is far too dim to actually make it out of the cap. And this after I replaced the metal washer above the switch with a transparent one and verified that the rubber gasket around the metal plunger is full transparent.
I need an illuminated tailcap switch mechanism with a brighter LED in it.
Does it work with that driver? No bleeder resistor needed?
Works as is without a bleeder resistor. Just not very bright.
What’s the bleeder resistor do? If I add one will it be brighter?
Got the lighted tailcap working in my shortened polished S2+. It’s not blazingly bright, but is quite visible in the dark.
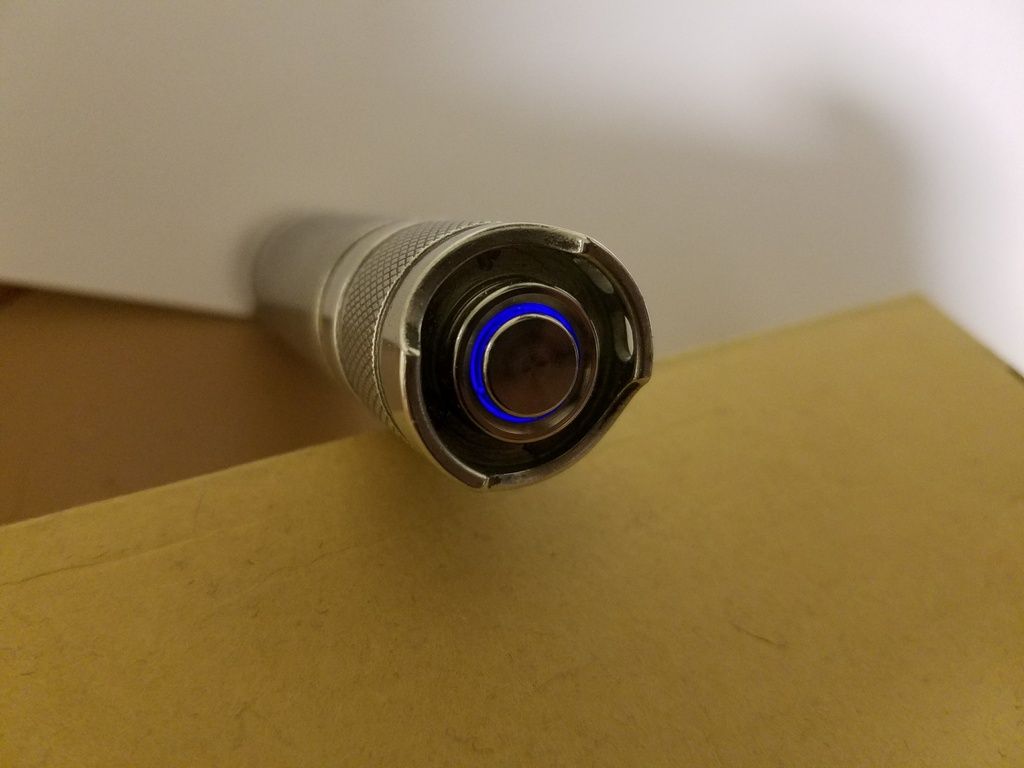
Since I had 8 of the lighted tailcap switches from Banggood, I decided to try resistor modding one by stripping the resistors from one module and stacking them on the other. This resulted in slightly brighter LED output.
Nice mod! I find flashlights more EDC-able if they are short.
Also nice to know that the DrJones driver works well with no bleeder and no resistors for the tail leds.
I do not really understand what happened in thse post above though.
Are you btw aware that there are led-rings allowing 6 leds in a circle available at Oshpark, that can replace the washer in the tail assembly, so that the leds shine more efficient through the gap?
I have an H17F+ that is the same as the H17F but made for multiemitter higher output lights. It should be the same outherwise and it works with the lighted tailcap and no bleed resistor. Actually, the driver starts freeking out if a bleed resistor is added.
I am now! I should get one of those. Should be much better than what I am using now.
I really like this mod. The shortened s2 with the 18350 tube is so small! ![]() Nice job! I’m looking forward to seeing what it’s like when you replace that washer with the PCB LED ring!
Nice job! I’m looking forward to seeing what it’s like when you replace that washer with the PCB LED ring!
Thanks so much for the inspiration Firelight2!
I have built a few blue S2+ configurations. Never loved them, so sold them all. Seeing what you did inspired me.
So, I went ahead with a few mods.
EDIT: never mind, just needed to unscrew it more.
I didn’t shorten mine (yet?) because I like the way it looks with 18350 tube, and because I wasn’t comfortable reaming out the head threads.
I’ll need to pick up a few more lit switches for future mods! So glad you told us about the H17F not needing a bleeder resistor.
Can you take a picture of your current shortened 18650 light next to say, a standard S2+ with 18350 tube, a Zebralight 18650 light, and the Sunwayman V11R? I want to get more of an idea of the size. I may try shortening the head on mine. I have a short copper pill I can use after some modding.
I was all gung ho about getting a Jaxman E2L for modding but this mod is too sweet.
I’ll try to post pix soon.
Here you go:
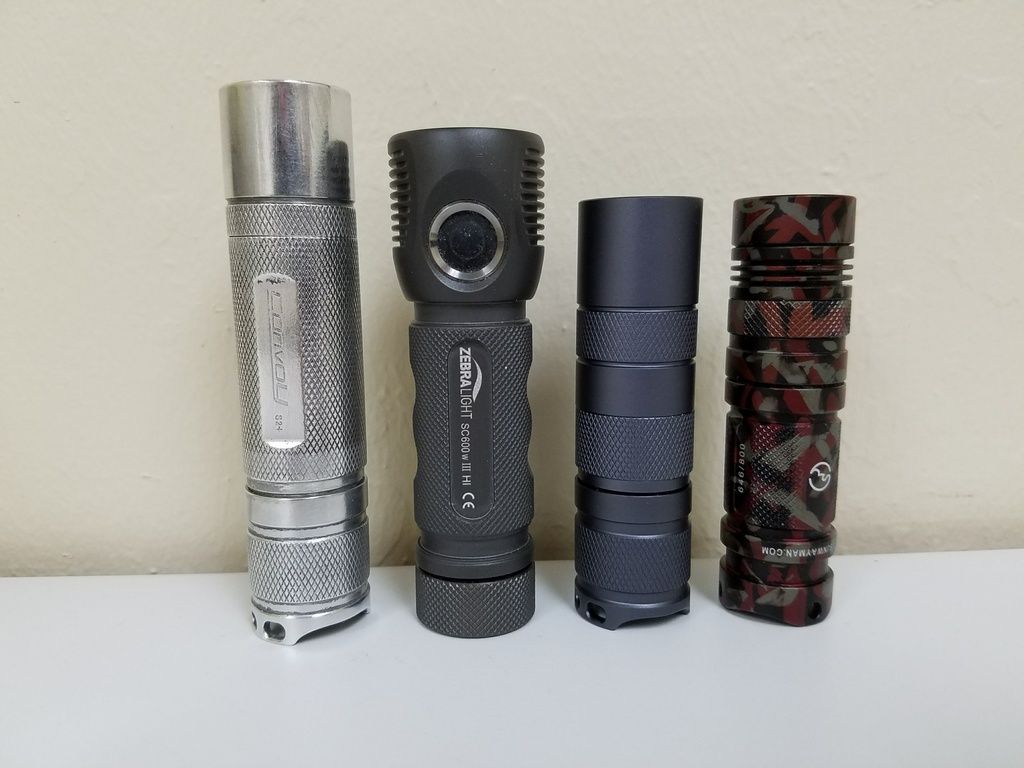
Left to right: Shortened Convoy S2+ with 18650 tube (105mm long), Zebralight SC600w III HI, Convoy S2+ 18350, Sunwayman V11R
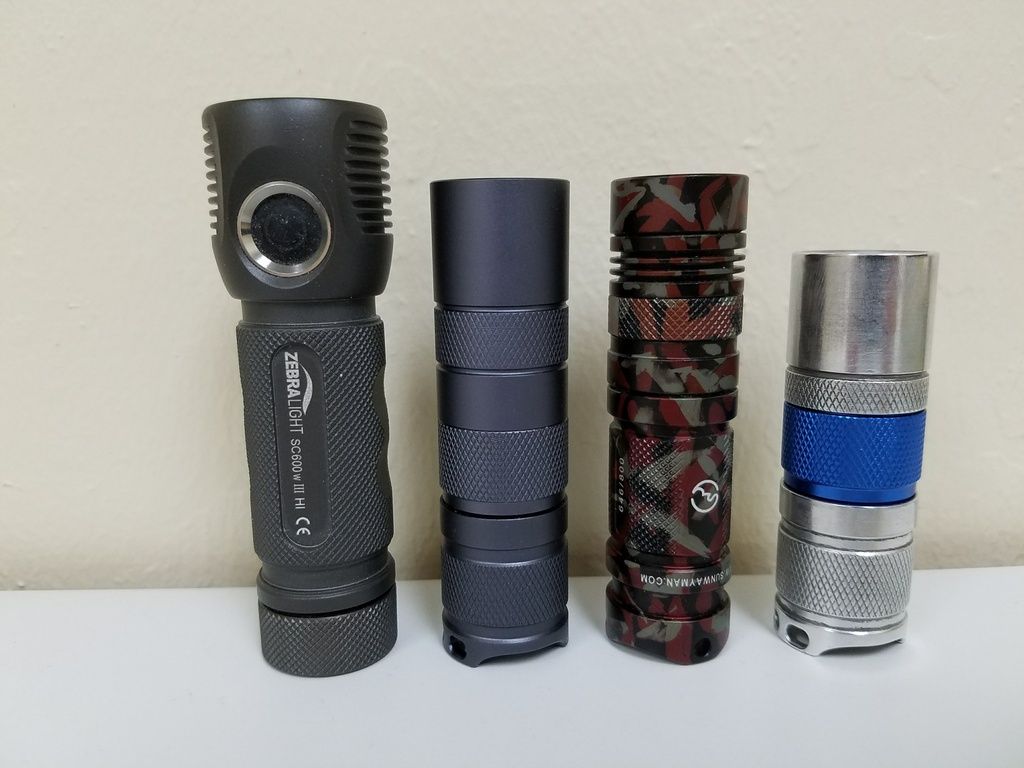
Left to right: Zebralight SC600w III HI, Convoy S2+ 18350, Sunwayman V11R, Shortened Convoy S2+ with 18350 tube
One option for those who don’t want to shorten the head of the light: If you shorten the pill only, you can use the stock head and 18350 tube with an 18500 cell and the metal clicky. This would give you a light more compact than my metal clicky 18650, while still having a lot more power than an 18350.
With the tailcap clicky, the shortened S2+ isn’t really my most compact Convoy. That honor belongs to my old Convoy S2+ sideswitch mod
The S2+ with sideswitch is shorter than a Zebralight SC52, but uses an 18500 cell. However, the sideswitch mod left a lot to be desired. My efforts to paint it to match the anodizing look lousy, and I doubt it’s as durable or waterproof as the metal tailcap clicky. If I were doing that mod again I might just leave it bare aluminum.
Ok. I was feeling like I needed to do something for this light. It’s cool but needed something. So I did a shortening like this thread indicates.
I took the short copper ReyLight pill that came with the triple ti. It was meant to be used with a single LED and reflector and was about 4.5mm shorter than the stock triple pill.
Then:
- I used a dremel and hand file to remove the big copper lip. A big pain.
- Drilled a centre hole in the pill and sanded and polished the heatsink surface.
- Filed the top few threads on the pill. Smoothed out a section around 5mm to allow the pill to screw in farther.
- Cut the smooth section off the Convoy S2+ head and filed/sanded smooth. This removed about 10mm.
The end result is a nice 108mm Convoy S2+ triple! It fits button tops too.
When I have more time I’ll need to grind out the head to allow the use of an oring in the head again.