What did you mod today?

Nice polishing job, Kawi!

My mod yesterday, just a few pics of the mod:

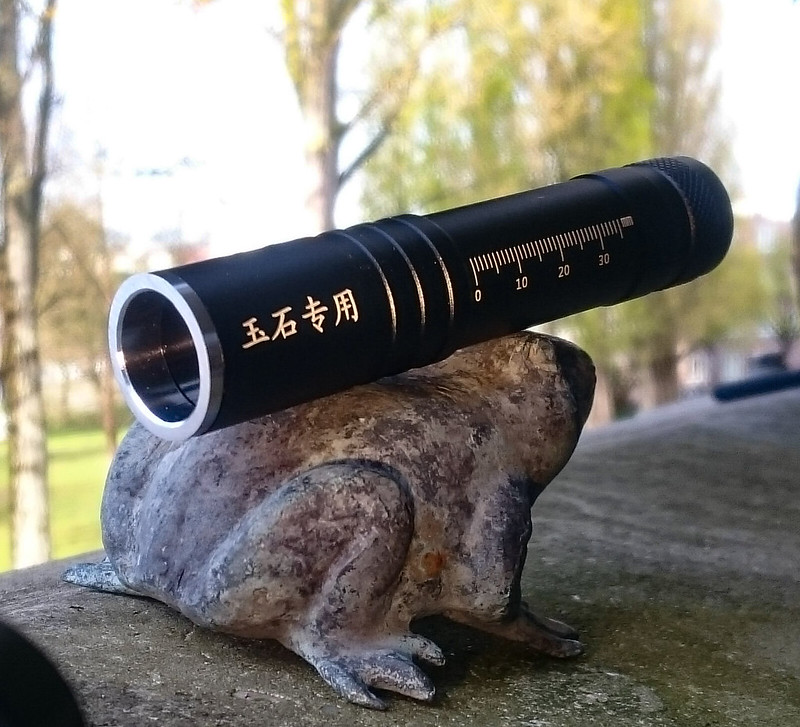
I had this triple for some time, waiting for an idea:

From Aliexpress: link

Cheaply made, it came with chinese lettering that is chinese to me, but with an interesting driver: a toggle between the three leds, with on the (20mm diameter) driver for each channel a little FET and a 1.2 Ohm resistor in series for current limiting. So this driver can do more! The design does not support that though, a P60-like floating pill pushed against the lens with a spring: the heat management is not great.

I decided to not make use of the driver (it sits in the parts box now for a future mod), but make use of the triple reflector feature: UV-leds can not use plastic TIR optics because it absorbs the UV, so a UV-led triple must either be build as a mule or use a triple reflector.

What did I do?

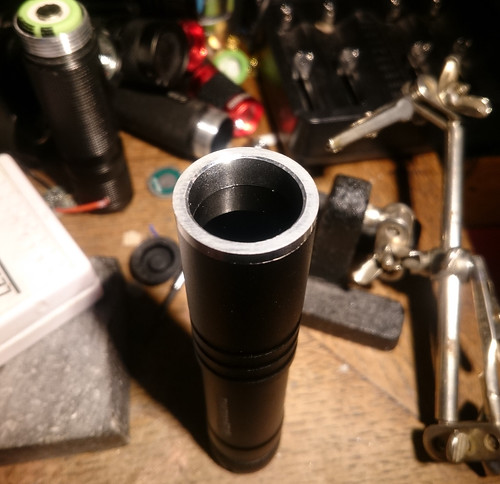
*After precisely measuring what length was needed, I replaced the spring by a copper ring. One of the EU standard copper piping sizes is exactly the size and nicely fits an 18650 inside. This copper ring should transfer the heat from the pill well to the (pretty thick) battery tube.

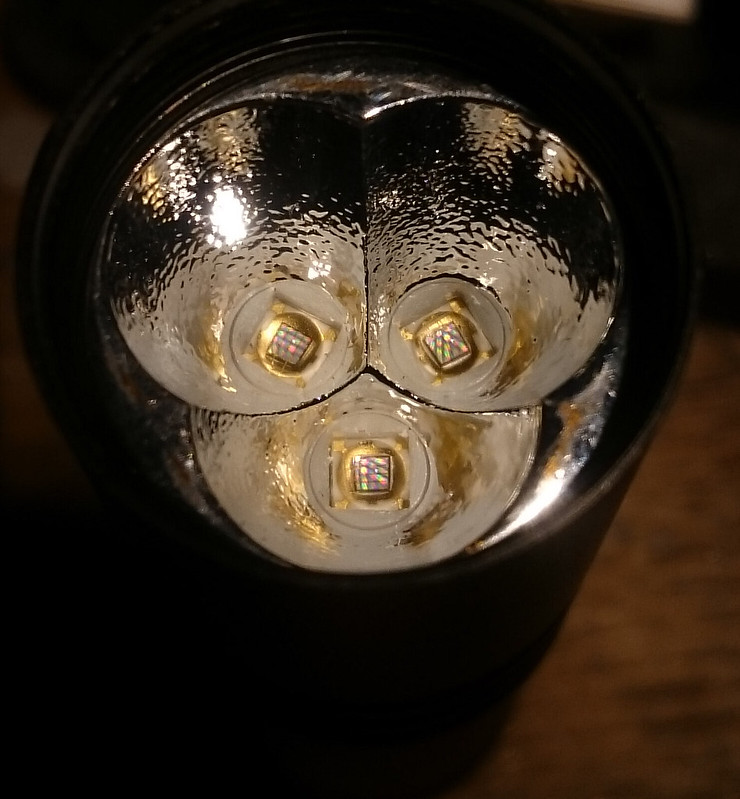
*The three plus-pads on the MCPCB were connected by a (sorry about the wrong colour) copper wire to make it a triple parallel board

*Three Lite-On 365nm 3535 leds were reflowed on the board (my test of this led here)

*the three (connected) plastic led centerpieces were opened up a bit more with a countersink tool to use the reflector more effectively

*The conical (made for gem-inspection) bezel was sawed off and sanded flat to make it into a (still pretty deep) standard type bezel

*the ZWB2 filter was too small to fit the inner diameter of the head, but just wide enough to cover the bezel opening, so it was placed on top of the reflector with a black o-ring pressed snuggly around it to center it (and waterproofing the head as well, the stock light had no waterproofing there)

*I wanted a 8x 7135 driver, to get 1A for each led, not more because it is not a DTP board. But I have no 20mm lineair drivers so I had to use a brass ring soldered onto a 17mm driver to get it fit, but that ring did not easily allow the 7135-chips on the spring-side, and the pill was too shallow to stack the 4 chips on the led-side of the driver. So I gambled on a direct driver and hoped that the relatively high voltage of these leds, the resitance of the springs and the use of a low-drain battery would keep the current in control

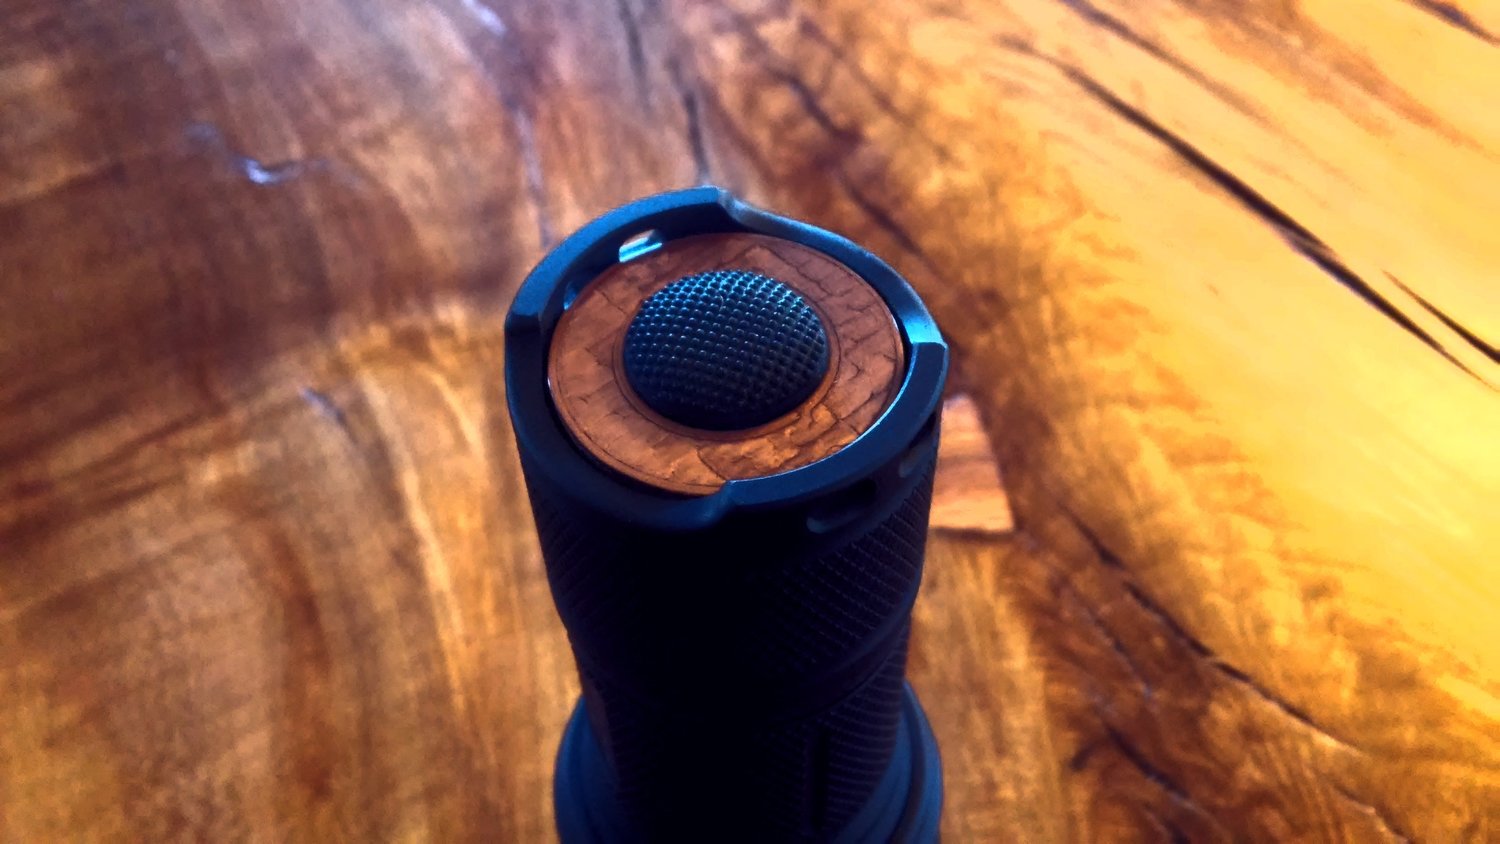
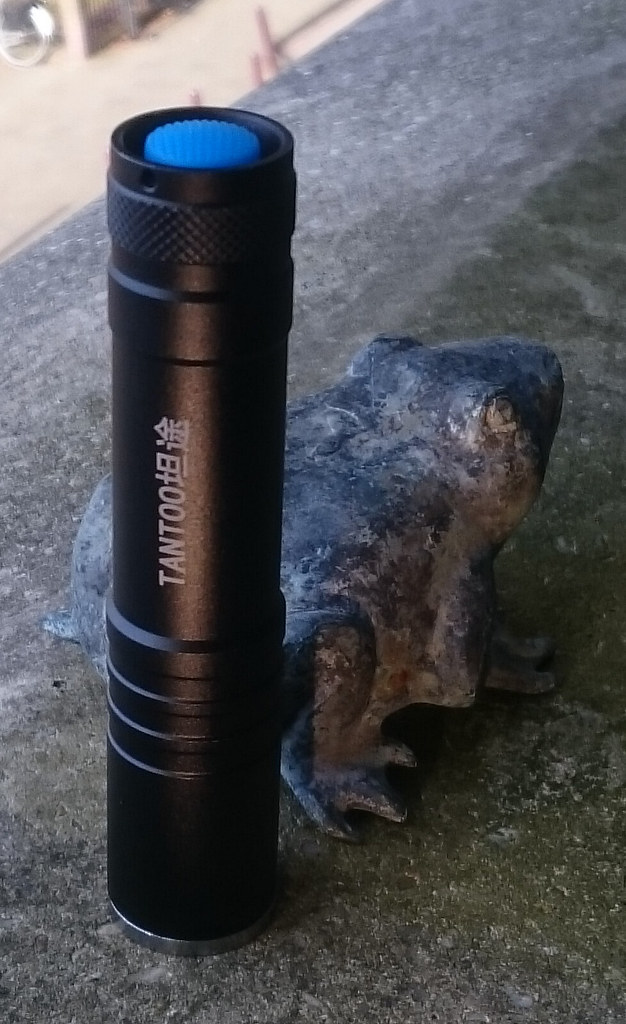
*swapped the unknown quality switch for a small Omten on a 16mm PCB, this is an almost direct fit. Replaced the red tailcap for a blue one which had the correct depth for the new switch.

Just before closing up:

Aaaaand gone:

The bezel pushes directly against the filter that via the reflector presses the ledboard to the pill and the pill to the copper ring. So the complete assembly is pressed tight without the dampening of any o-ring, maybe a tiny bit by the centering pieces. Good for heatsinking and if the filter breaks at some point I have enough spares.

Then I got careless and tried the first battery I could find: a NCR18650PF, so pretty high drain. I measured more than 6 amps, not good for the leds, . And sure enough:

So it was repairing time! Opening it all up again, replace the damaged led (the bond wires were visibly blown), replacing the led wires from driver to ledboard with the thinnest ones I could find (must be 30AWG or so) and assembling again. Now, on a NCR18650B (a lot lower drain cell) I measured, without tail, 3.7 A, so with tail on a bit less, maybe 3.5A. That feels healthy enough for these leds.

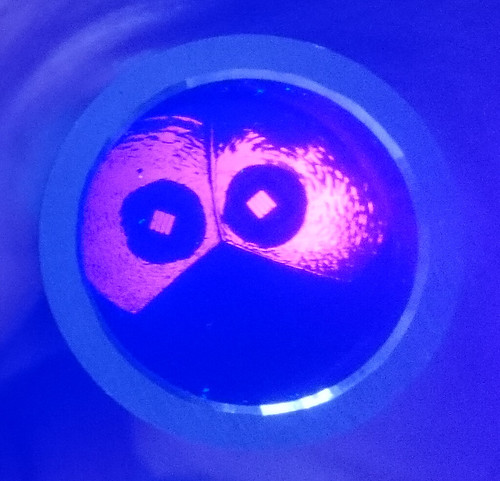
Here's projection (projection lens before the flashlight) of the leds on a piece of white paper:

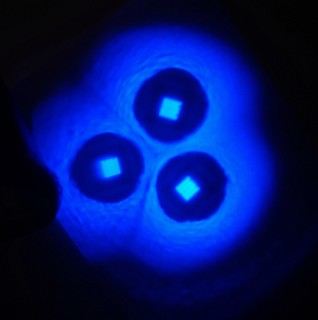
It looks like the remaining two leds survived the 2+ amps without visibly loosing too much output :-)

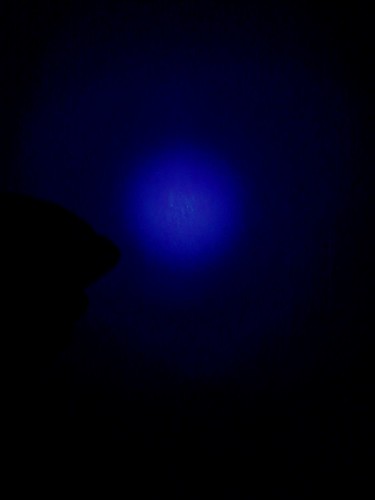
It was not easy to catch the beam, here's an attempt on a white wall, the center of the hotspot looks messed-up in the picture but it is fine in reality. A nice broad hotspot and plenty spill.

And it is bright alright. Meet my gas stove after I prepared the evening meal yesterday:

You did not want to see that! :party:

So now I'm stuck with the the brightest 365nm light that I made to date. I do not have a way to measure radiometric output but it must be over 2W output. I know no one who works in forensics, but I would guess that this brings the 365nm light that they normally use to a new level
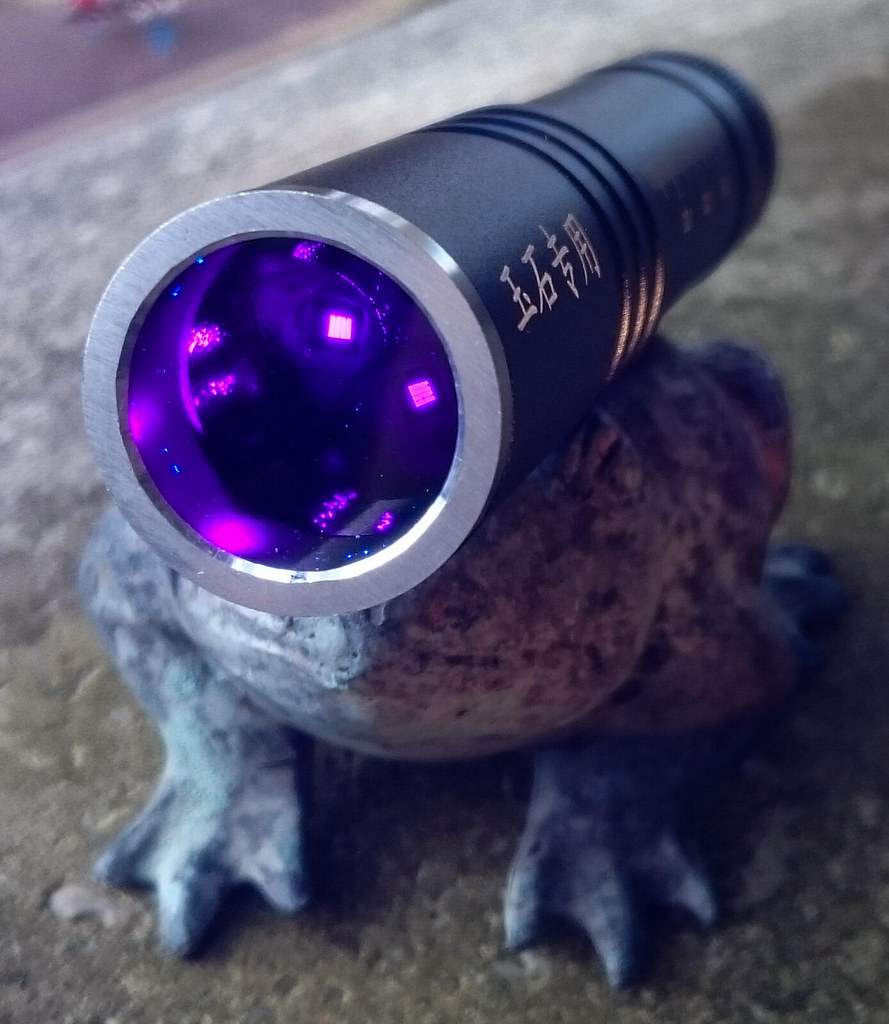
A few glampics:

Disclaimer: this light puts out a truck-load of completely invisible UV light that if watched directly or even in diffused reflection will (possibly permanently) damage your eyes. May you repeat such a mod, wear safety goggles (standard polycarbonate goggles will block 99% of the 365nm UV light, but test your goggles first to be certain) and do not use the light for a prolonged period.

That is stunning djozz in more ways than one. One bit confused me though, I prepared the evening meal yesterday. :person_facepalming:

Thanks Moose! Actually, I do the shopping and prepare dinner for the family every day. Keeps the hobby in gear at least :partying_face: :person_facepalming:

You have just cracked me up. I’ll be around tomorrow for dinner. What are we having?
Speaking of grocery shopping I was banned years ago as I wanted to buy the best bang for the buck where the wife just wanted to put items straight in the trolley without checking.
Would you be able to get your toys out while I’m there so we can play together? :slight_smile:

Tomorrow will be chili, with tortilla’s and creme fraiche.
Yes sure, I have enough weird nerd flashlights around to make it a fun evening :slight_smile: We will just have to endure the scornful laughter from the girlfriend, but that’s business as usual. :person_facepalming:

Oh no! Now we need to source that 20mm triple reflector.

Yes its that intense when first charged, and it slowly dims over a period of 8-12hrs. Here is a link, search around the site, they had some brightness/time tables for the Glow On vinyl film. I have the paint too, but it is not nearly as good!

http://glow-on.com/products.html

Be careful with this one. With no extra resistance it probably won’t take much time at all to bleed your battery dry.

It’s amazing how much brighter the good SrAl based glow materials are than the old ZnS stuff found in most chinese GITD parts. I’ve been making tail rings for lights with the SrAl stuff for awhile now and in the dark they are amazingly bright. Like these.

Probably. But I tend to charge my EDC everyday. Also, I left the anodizing on the tailcap threads so this light can still lockout even with the bare aluminum exterior.

I want to replace the lighted tailcap with the 6-led ring washer tailcap. That one is so much brighter. Not sure how to go about getting it though. What parts do I order and where do I order them?

You know I would love it if somebody would come up with scales to put on the flats of battery tubes, to match the radius and make the battery tube full diameter. I often thought about this but never attempted!

I have small enough screws, flat heads, button heads ect. that would look really cool bolting down exotic or plain scales made of wood, micarta, black delrin or something like Pachmayr rubber grips!! But now they have some pretty strong glues and 2 side tape that would works just as well!

This would look so cool on lights with flats on both sides if it matched the radius and made the battery tube full diameter!!! :heart_eyes:

Wow this is bad to the bone, what an amazing pic, looks like pearlescent LED’s!! {width:100%} https://c1.staticflickr.com/3/2945/33900716276_2ba75d78f4_c.jpg!

is this footprint of the MCPCB the same as in DTP triples from Kaidomain?

Just considered this with an Osram IR diode, Nichia UV LED modifying footprint and a Nichia 219C

I have not measured it before closing the light but I think that I remember checking it before and that these leds are closer together than a triple Noctigon/Carclo triple optics.

Just considered this with an Osram IR diode, Nichia UV LED modifying footprint and a Nichia 219C

using a TA triple driver with modified mode groups and a low drain battery

FET channel goes to the Nichia 219C, springs not bypassed and thin wires to add resistance
second AMC stacked over the single 7135 to the Nichia UV LED
4 AMCs to the 5.8W Osram Ir diode giving 2W 850nm

having as output channels
white only
white plus IR 50% PWM
IR only
UV only
UV plus IR 50% PWM

That does sounds pretty cool, paired with a matching tailring would really make a plain black light look more refined. Most lights have fairly shallow cutouts and rounded ends to those cutouts so getting the complex shape right so they fit in perfect might be tricky. I’ll look into it with either that copper composite or wood. Been working a lot with wood lately since we just launched the Eye of Sekhmet line.

About the dedomed xp-l2 option , is that xp-l2 sliced or fully dedomed ?

I would appreciate a pic :slight_smile:

They are sliced and diced, the dicing improves the performance by about 12% and in the end they end up a only a little below a really good dedomed XP-L in throw but keep a really good lumen output and are more stable due to the silicone still being intact to protect the phosphor. They are a nice balance of throw and lumen output, not really made for max throw like the high throw version which does 260kcd.

I made a p60 drop-in out of a copper rod and pipe bits. I used a Nichia 144a led, djozz’s mcpcb, H1-A boost driver, and a shorter smooth reflector to fit the whole assembly. I soldered the mcpcb onto the drop-in shelf for better heat sinking as well. Then I put it in a SF P1D I had laying around w/ a orange tritium in the tail and pflexpro’s MT lens. I still have to bypass the spring on the driver side and polish up the copper but the drop-in is working fine. I still need to figure out how to make the driver always start on the lowest setting, since it seems to have next mode memory.

!

!
!

!
!

!
!

!
!

!
!

!!

!

Cool, is that the boost driver from Kaidomain for MT-G2’s etc?
Next mode memory?