I used an moist eyeglass lens cleaning towelette. It took it right off.
Thanks Tom
I used an moist eyeglass lens cleaning towelette. It took it right off.
Thanks Tom
That smaller pill could be made to work to your favor by removing the raised outer wall so the emitter shelf would be smooth/flat and then using a 26mm MaxToch copper mcpcb. This would move the contacts as far away from the center as possible. Then a bit of a bevel on the base of the reflector should clear it nicely. Make sure to press the wires flat with the solder when making the contacts and it could help to even file the contacts before assembly. I apply the Kapton tape to the base of the reflector and cut out the hole with a scalpel, sometimes even additionally apply tape over the mcpcb so it’s a tape to tape contact, this can help avoid any tears in the tape when tightening the bezel.
Nice ideas Dale! You're right, I've used kapton tape both ways (on reflector, over wires), but not together - should do that from now on, because with dis-assemblies, I've seen it tear up.
Morning all
I messaged the seller of the light I bought, and spoke of the issues I mentioned earlier. I got the typical, oh so sorry schpeel and was offered $5 refund.
After a couple more message swaps, I mentioned that I was under the impression I was buying a "working" flashlight. That simple.
Seller agreed to refund me $8 so the rear clicky and front spring can get replaced. Done deal. Now to move forward.
Hi Dale.
If I understand you correctly, I file down the outer ring on the threaded pill, then add the Maxtoch copper mcpcb on top. A little thermal paste between?
Then file if necessary, a bevel to the bottom (outer) circumference <Maybe not necessary if the lip is removed from the pill.
Your info gets my thinking in the right gear of comprehension. That sounds like a good plan!
Now I need to get my soldering iron fixed or buy another, and place an order for the mcpcb
One caffeine injection please. Oh, and make it a double.
Any suggestion for a new button assembly?
Wait, maybe I don't understand. The light did not work? In this post: https://budgetlightforum.com/t/-/45217/50
Granted, looks like some quality issues, but you said the clicky shorted out-- I'm not sure what that means exactly. If the switch is not working, did you try removing the switch, and jump the batt- end to the bare aluminum of the tube? If it works then, could be something loose with the switch assembly, might be the switch itself too Just adding my notes to your list for my experiences/observations:
Just so you are aware, budget lights like this typically need some extra TLC many times to even get them working, or optimized for use. For example, the threads and o-rings are bone dry, so should be properly lubricated first thing. Yes, frequently things are loosened, so all assemblies need to be checked. Going further, all solder joints of LED wiring and the switch assembly should be checked and corrected.
This has been pretty much par for the course here on BLF dealing with these budget lights. This light is selling for 1/2 the price of many "budget" lights of this size, so expectations should be very low.
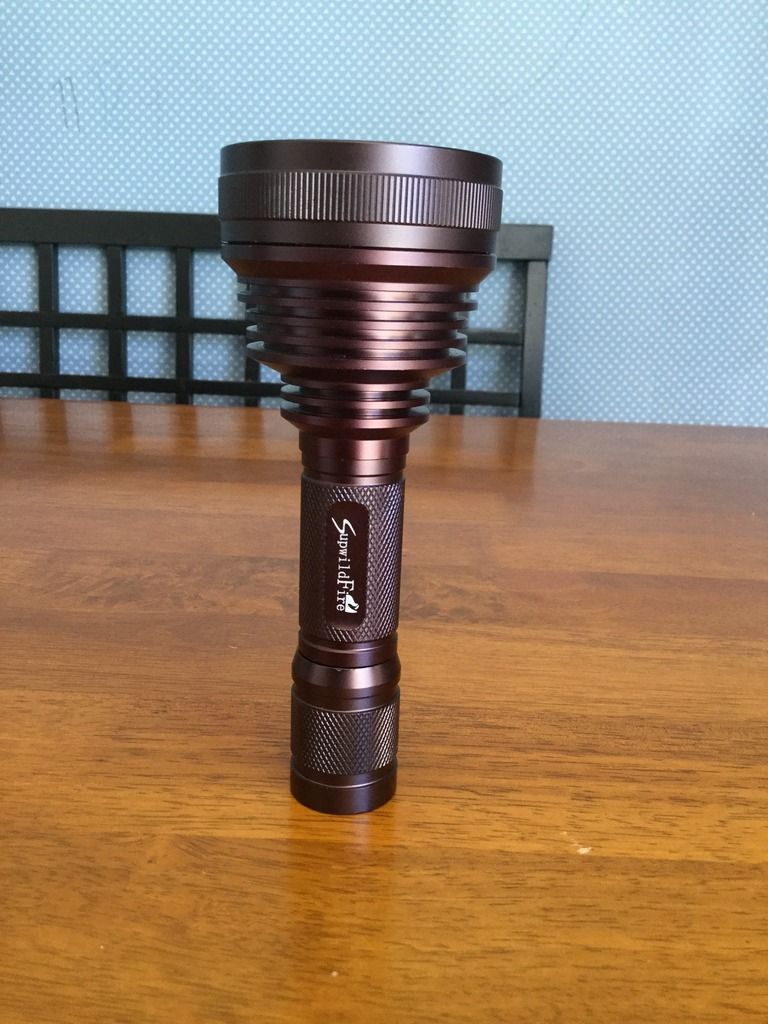
Also note the light I received seems to have the same body/host as Mitko's in the OP, but definitely came with a different driver, and different setup for the LED/MCPCB from what he describes. Mine has a small thin black centering piece that matches my last bought HD2010's exactly, he describes something larger, "huge centering bracket".
Again with these budget lights, no guarantees any two lights received will be exactly the same.
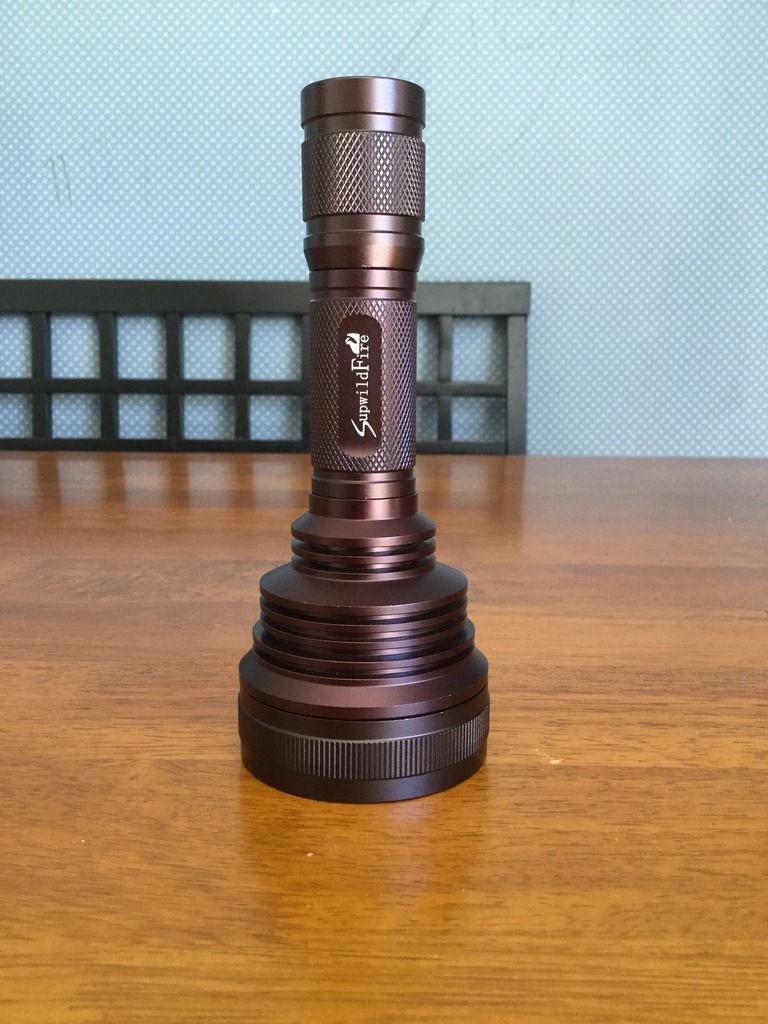
Love the listing on this light: "High Quality SupwildFire"  That should have been a clue...
Pretty much, yep. Depending on how the pill fits into the head of the light… if there’s room for the larger mcpcb to shift around… I would probably use Arctic Alumina Thermal Adhesive to glue the mcpcb onto the pill. And then yeah, take off whatever was needed for clearance on the reflector, wouldn’t be much with the radically larger mcpcb installed. The base area on that reflector is pretty wide though, so it might still be a pretty good bevel required. Easy enough to see by mating the loose pill to the reflector and eyeballing where the contact points fall…
I’ve got mini Omten switches working in excess of 23A, so there’s not much to fear using the little mini Omten and they’re readily available. I like to hold the silver tab coming out of the switch body with tweezers or such to give some heat sinking when I’m soldering the switch to the pcb, this helps prevent overheating the switch inside and getting a gummy action or even killing the switch. ![]()
“WhasUp?”
“Wildfire!”
Distributed by Runforthehills, a subsidiary of tuckyourhead inc.
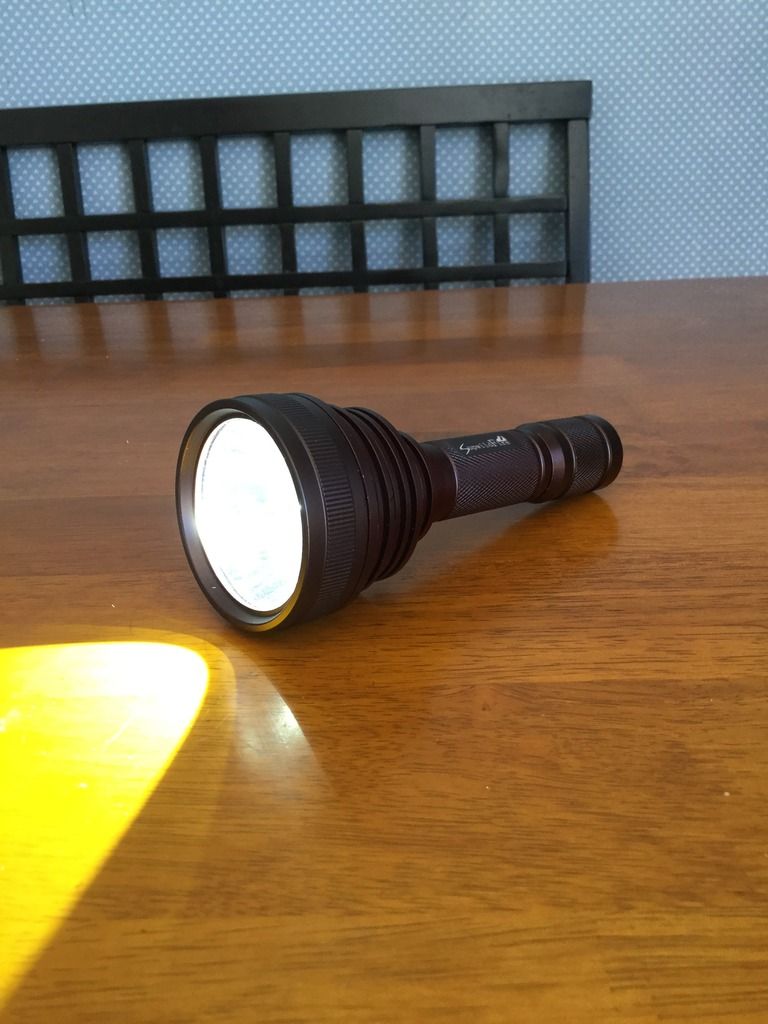
The comparison photo was before doing anything else with the light. After the photo, I popped a fresh 30Q battery in it and hit the switch. The light flickered a few times, then nothing. I put another fresh battery in, and nothing. I took the end cap and looked in towards the head of the light. The spring was partially blue and collapsed on itself. Then I took the tail cap apart. The brass cap over the spring was sunken into the threaded retaining collar, and the spring was also blue/collapsed into itself. I then pulled the tube, and grabbed the driver spring with my needle nose. I held the base of the spring and pulled the center coil, to extend the coils back out. Put the tube back on, put the battery back in, then jumped from the NEG to the body. LED was still working. The whole light smelled like burned electronics. I'm pretty sure the button internals were the culprit.
Here's the front spring after pulling on it a little. The button spring looked a lot worse. I wasn't expecting what happened.

That usually happens when the reflector shorts out on the positive contact on top of the mcpcb.
Very unlikely for the short to be in the switch itself as it’s only a breaker for the negative contact, it’s not in touch with the positive end of the cell.
I’d be checking the reflector to pill area…
Edit: To be clear, rainbowed and collapsed springs are a result of a direct short to positive, the springs overheated and failed. This is from the top end, the positive end of the cell, not the bottom or negative end. If the pill wasn’t screwed down tight and you tightened the bezel, you may have forced the reflector down onto the positive contact. This is inherent to the HD2010 design, the reflector is made wrong with that wide contact base, it should have been tapered and the pill should utilize an mcpcb with wide enough contacts to clear the reflector.
I'll have to get some calipers I guess, and look around where to get the needed bits and pieces to rebuild. I have a few places that were mentioned bookmarked.
I appreciate the tips and tricks.
Ohh - ok, a full short, ouch! The switch cannot cause a full + to - short as you had there because Batt+ or LED+ don't come down in the tail. I think Dale could have been correct - the reflector grounding out on the LED+ solder joint. -- this could cause a full short.
Now if you stretch out those springs that are blue, chances are they lost a good deal of conductance. Sometimes they work ok, sometimes don't work at all - believe me, I've experienced this and worked on a few lights with this happened. What I would do is wire bypass the springs, but you have to be absolutely sure the original short problem is fixed/addressed, because bypassing the springs means even more power being shorted. Before, the springs basically act as a fuse, a fuse that was blown.
If you have a DMM you can check that the switch works or doesn’t. If the springs collapsed from a direct short there’s a good chance the switch is still good. Replace the springs and correct the short circuit, should be good to go.
Edit: Most of the time, if the switch still clicks freely then it’s ok. If it feels mushy or like it’s hanging up inside, then it may be ruined.
Considering my knowledge, you are likely right. I have some learning to do if I want to be messing around with these lights. Odds are, I may be wiser ordering in multiples when I place any order. LOL
I think I'm about to open a big can of worms!!
Edit: The clicky feels OK. Reflector to pill also looks OK. The resistor was touching before I move it away.

You mean the cap on the right? Hard to tell, but looks dangerously close with some solder hanging off. Might be harmless if that end of the cap is going to ground anyway. What we usually do is locate part end close to the ground ring when they go to ground anyway - less risk.
Tom? Doesn’t that big Toroid look fried? Yikes! Wondering if the driver is any good. Toss it and put an FET in there. ![]()
Edit: Nice pictures by the way ARsee. ![]()
Oopsie, it looks pretty bad - you're right, looks black and silverish when it should all be copper colored. Don't think I ever had one fail, but if I were to guess, it might look something like this. Suppose that explains that nasty look'n stuff all over the inside of the pill, and also on some of those resistors, like the R130.
I'd have to agree - it's done, take'r out of the oven. Wow, that short did some serious damage.
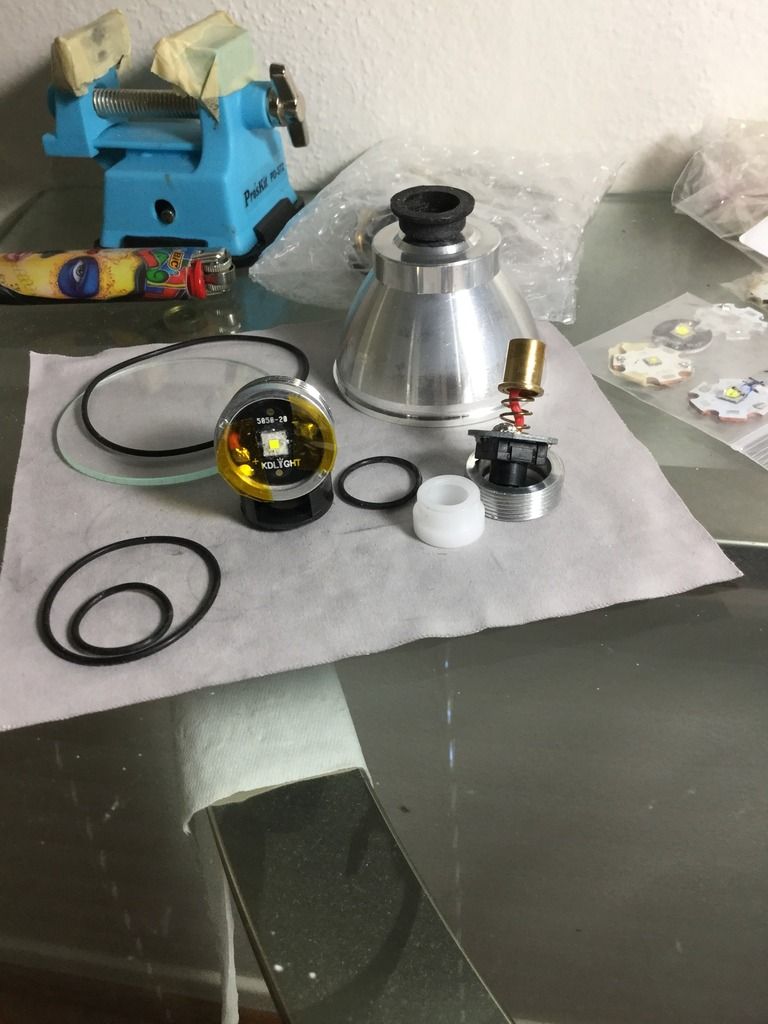
ARsee? Can you take a photo of the reflector to pill in the open, from the side, to show where the base is in relation to the wires? Simulate how it would be sitting inside the light, most of the time when the bezel is screwed down snug it presses the reflector onto the wire ends, making a short circuit. If you don’t have any Kapton tape, I’d highly recommend getting some. I bought a roll that’s 2” wide and find myself using it all the time. I cut off a square, lay it over the end of the reflector and press it snug onto the ring that seats on the mcpcb, then fold over opposing edges wrapping it to cover the entire end of the reflector. Then I cut the hole out. In this way, the reflector is insulated from touching those wires. It’s important when screwing the bezel down to hold some pressure onto the lens with your fingers to keep the reflector from spinning, sometimes if the reflector turns it can grind the soldered wire joint through the Kapton tape and short it out anyway.
The Toroid is a copper wire wrapped around a magnet. The wire has a thin insulation on it that is usually an orangy or bronze looking film. Looks like the entire Toroid heated up and melted all that coating off, spewing it into the driver bay. Bet it smells horrid! :confounded:
Sorry for the confusion in my previous post. I don't know the correct terminology yet. I mentioned, resistor. What I was referring too, was the magnet wrapped in copper.
Bare with me. I'm trying to pick up on the correct explanations to avoid confusion.
Dale, I "think" this is the photo you are wanting?
Taking pics with my camera, takes time for perfection. Good, but not perfect.


Thank you Mitko for sharing this with us.
Baked swap emitter and driver dedome xml2 u4 od, A6 fet+1 177,250cd 842m @5m
1,376 lumen after 30s no ar len yet, order some yesterday.