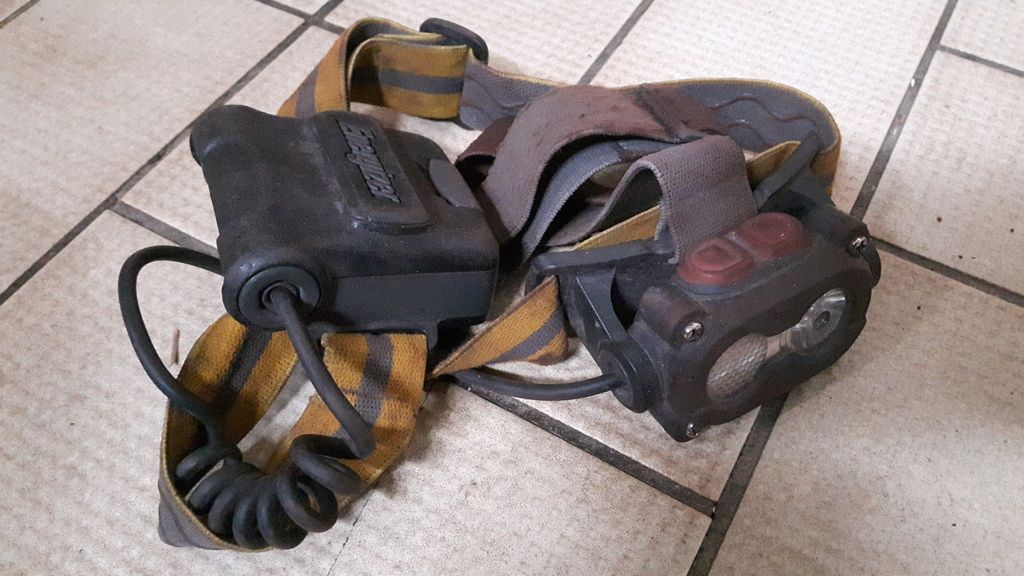
Can anyone suggest how to dismantle an ArmyTek Wizard Pro? I removed the tube using heat to release the glue but the bezel ring, switch, and board have me stumped.
! !
!
Can anyone suggest how to dismantle an ArmyTek Wizard Pro? I removed the tube using heat to release the glue but the bezel ring, switch, and board have me stumped.
!!
I admire your courage , this is not a cheap light ! My first thinking was to say : leave it as it is !..., but then I remembered that I saw some videos where were applied different techniques to remove the bezel and the switch ring , as follow :
Using a sharp blade and a wooden hammer , try to separate the bezel from the body , by going in a circular movement...You'll need a vice , with wooden protections to hold the head steady.The bezel is fit pressed , so , patience , go around as many time you can , in order not to scratch the body...
By breaking the tir optics ,and force the bezel from inside out . But only if you can find an other optic for change...
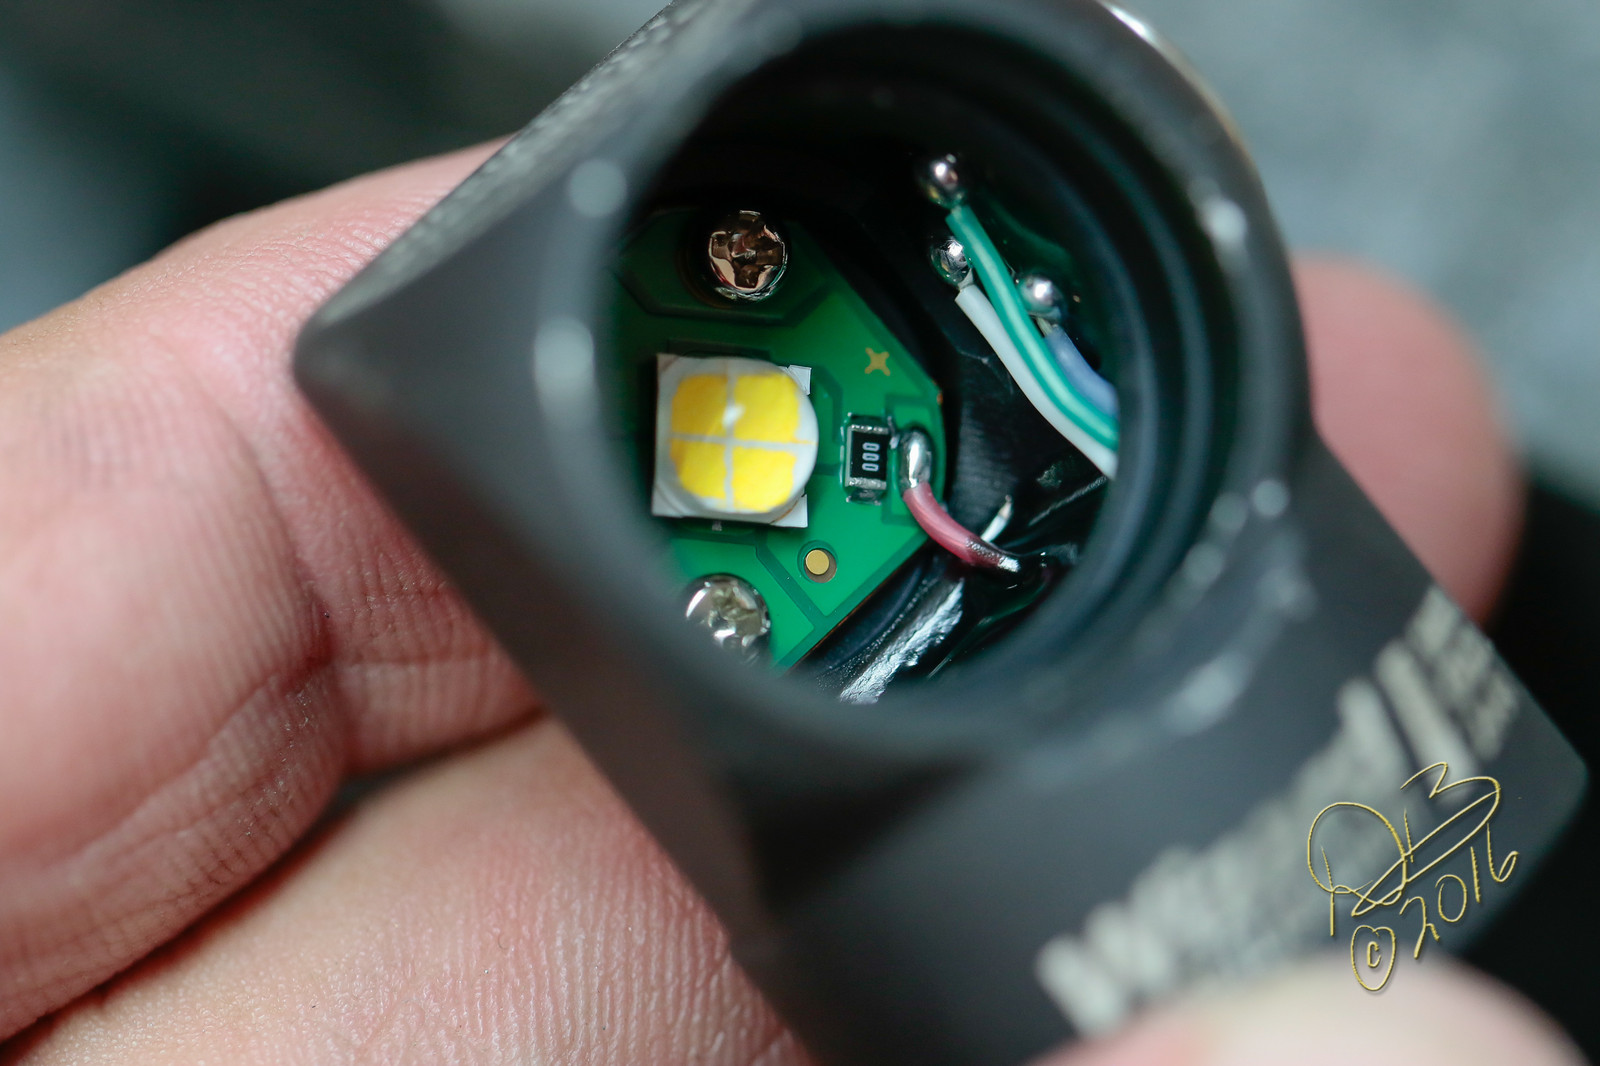
Once inside , you'll find that the led is glued on a piece of copper , fitted inside the head, so changing this is gonna be a PITA !
If you want to get the driver out you'll have to push it from inside , carefully ,not to break some smd components. Taking the driver out is not gonna help you too much , there are no room for modding , because this light is already working VERY hot , the internal heat protection is kicking somewhere between 85 to 90 degrees celsius !!!... But if you want to fit an other driver , and a new led , this should not be a problem...
I don't remember where I saw this , but spending some time on Google should lead you to the videos. Personally , I'll never try this , on a light of this league and well made.., if you want a better version , they are available !
So , think twice ,and if you decide to go for it , we'll be very interested how the things turned out ...!!! Here , on BLF , nobody tried this (or I do not know about...), we are all "budgetary"... 

Thanks for that very useful information Adrian!
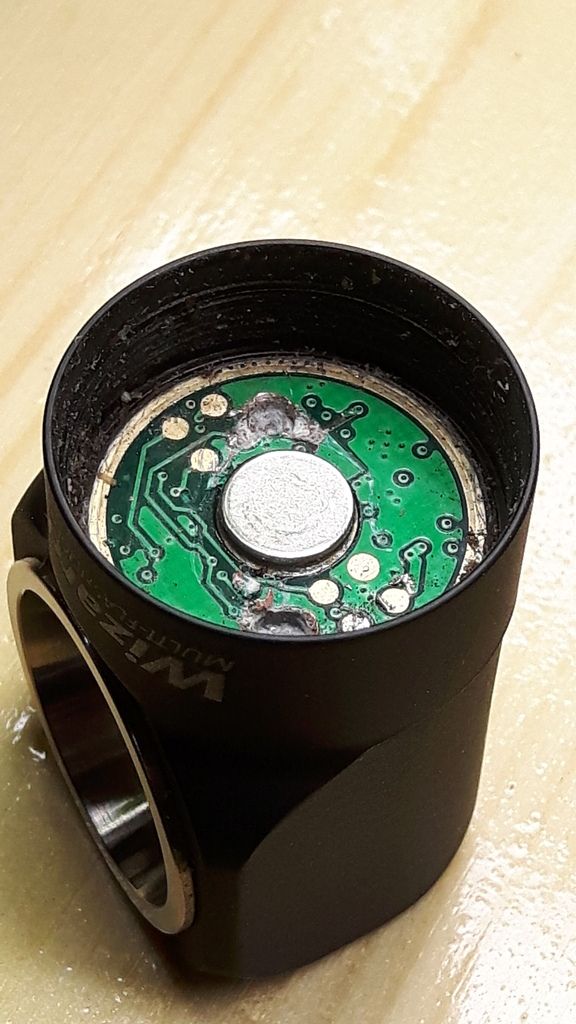
The light was destined for the bin having lost all but the lowest output modes so I don’t feel bad about tearing into a “quality” light. Really all I need to do is change the driver (unless I inflict terminal damage on the rest while trying to remove it). So far I’ve drilled two holes in the driver board for my snap ring pliers. No amount of twisting frees it. I’ve locally heated the board all around the edge thinking there might be glue holding it in but no luck. This one’s proving difficult…
So it takes a professional wizard to take it apart… ![]()
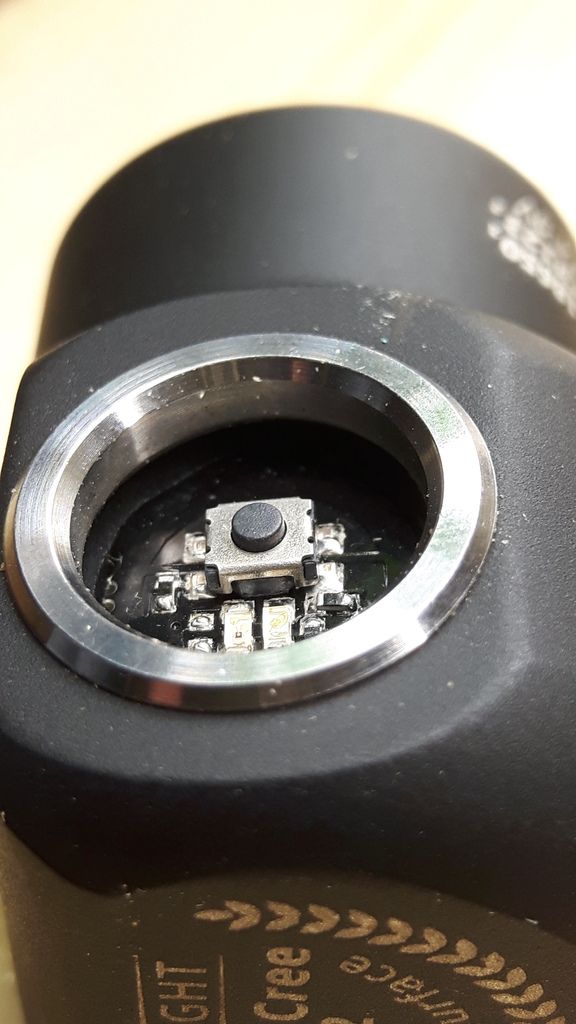
How about the side switch?
Is that not an entrance to the guts?
There’s no useful amount of space beside the switch. Tomorrow I’ll try more heat. Pictures of the results to follow. Hopefully this autopsy proves useful to someone in the future.
I would try to unscrew the bezel by placing it against a rubber mat and twisting.
The cutter plus xooden hammer is the technique you can see in my videso but I only used it on Olight S series since I don’t own any Armytek.
Maybe try to write to Armytek asking politely how the assembly is made ?
Oh , the resin ( Loctite ) seem to be the white-transparent one .., that means that the temperature for softening it is around 300- 350 celsius !!! The worst of all !
The red one is the most common (used by Fenix ) and is softening to around 200 degrees and remain soft up to 75 degrees ,when cooled...I was just saying , is not your case...
At this point you do not have many choices , but to continue.., heating the driver side with a heat gun , trying to stay with the heat away from the tir optics ( in order not to crack it !)
By the way , the bezel is PRESS FIT , not threaded , X3, sorry to disappoint you , I wish also , to be threaded...God , I hate so much the press fitting and the locked threads , that makes a modding so hard !...
From now on I don't think we can help you too much , you are the only one present there to evaluate the situation and, act accordingly with that you see and feel.
Thank you for your sacrifice , please keep us posted ,so we all could learn ..!
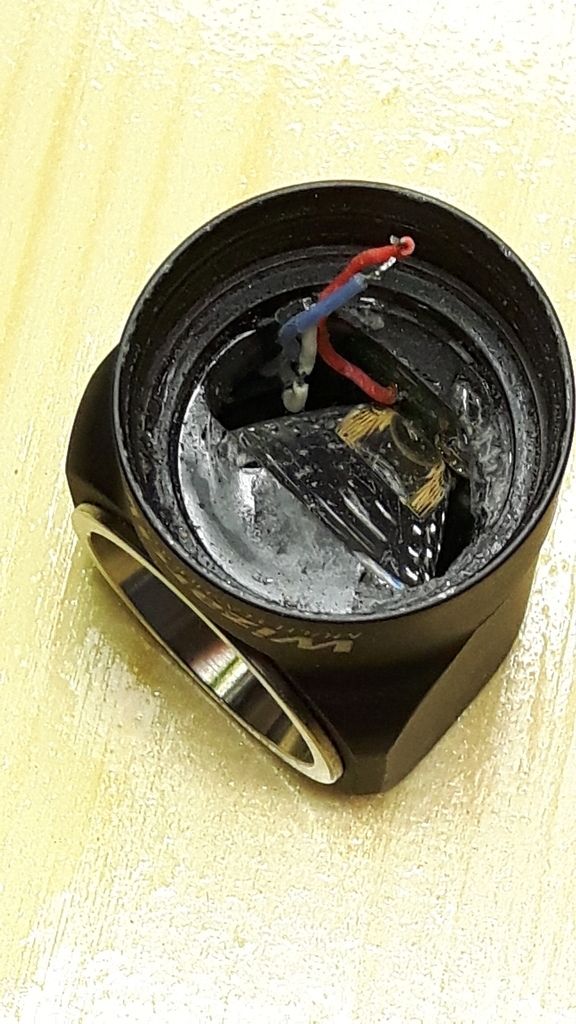
Progress!
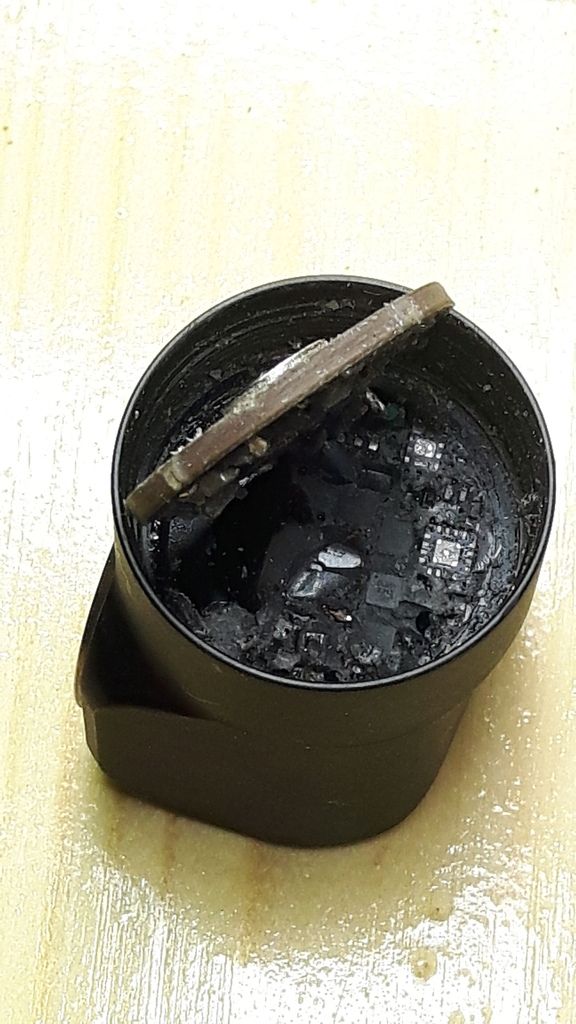
HEavily potted driver, yummy…
A modder’s drem for sure :weary:
A potted mess…that’s why I don’t like Armytek lights. I know…everyone will say that potting makes the electronics last longer…I’ve had three Armytek lights go bad…the latest being a Prime C2 Pro V3 XHP35. Their lights suck!
Geez, what a nasty way of assembling a rather expensive light… ![]()
This way it’s basically a disposable light…
“I’ve had three Armytek lights go bad…”
Headlamps have proven to be a real PITA for me. I bought a Surefire for my wife - a serious backcountry enthusiast - years ago. It drained batteries while “off” which led to stressful 2am return from a local mountain. Surefire replaced it but I’d lost faith and wanted something bombproof with 18650 support. Enter the Wizard which has been working for some time now. The Pro UI is too easily reprogrammed for the missus though and I have been ‘resetting’ it regularly. Finially, a couple of months ago it lost all output modes above low. Useless.
I’ve promised her a replacement. Have been thinking about a non-Pro Wizard but honestly I have more faith in a $6 plastic china light now. I’ve been using a cheapo 3xAA headlamp daily in a hostile work environment for 4 years without any issues whatsoever.
Exactly in the moment I was about to tell you that I remembered that the driver IS potted !!! You found it yourself .., sorry , now is no turning back ...
You'll have to drill thru , or, after you remove the switch assembly ,just let it soak for a day or two , completely submerged in a paint remover solution (no gasoline , is too slow ) and , maybe the remains of driver will get lose. I used that method for a Skilhunt K30 , the driver was potted too, but with a white stuff , in 2 days I was able to clean it with a tooth brush !!!
Man , you will remain in the history for " eviscerating " a Armytek... . What next ?
I’ve had really good luck out of the Skilhunt H02 that I’ve had for 2 years now and I hear that the Skilhunt H03 is a little better. I know they both have magnetic tailcaps and TIR optics for nice flood.
Thanks for the heads up on the Skilhunt. Looks plain and simple, the way I like things. Have you had it apart?
And for those following along on the deconstruction:
Some epoxy removed.
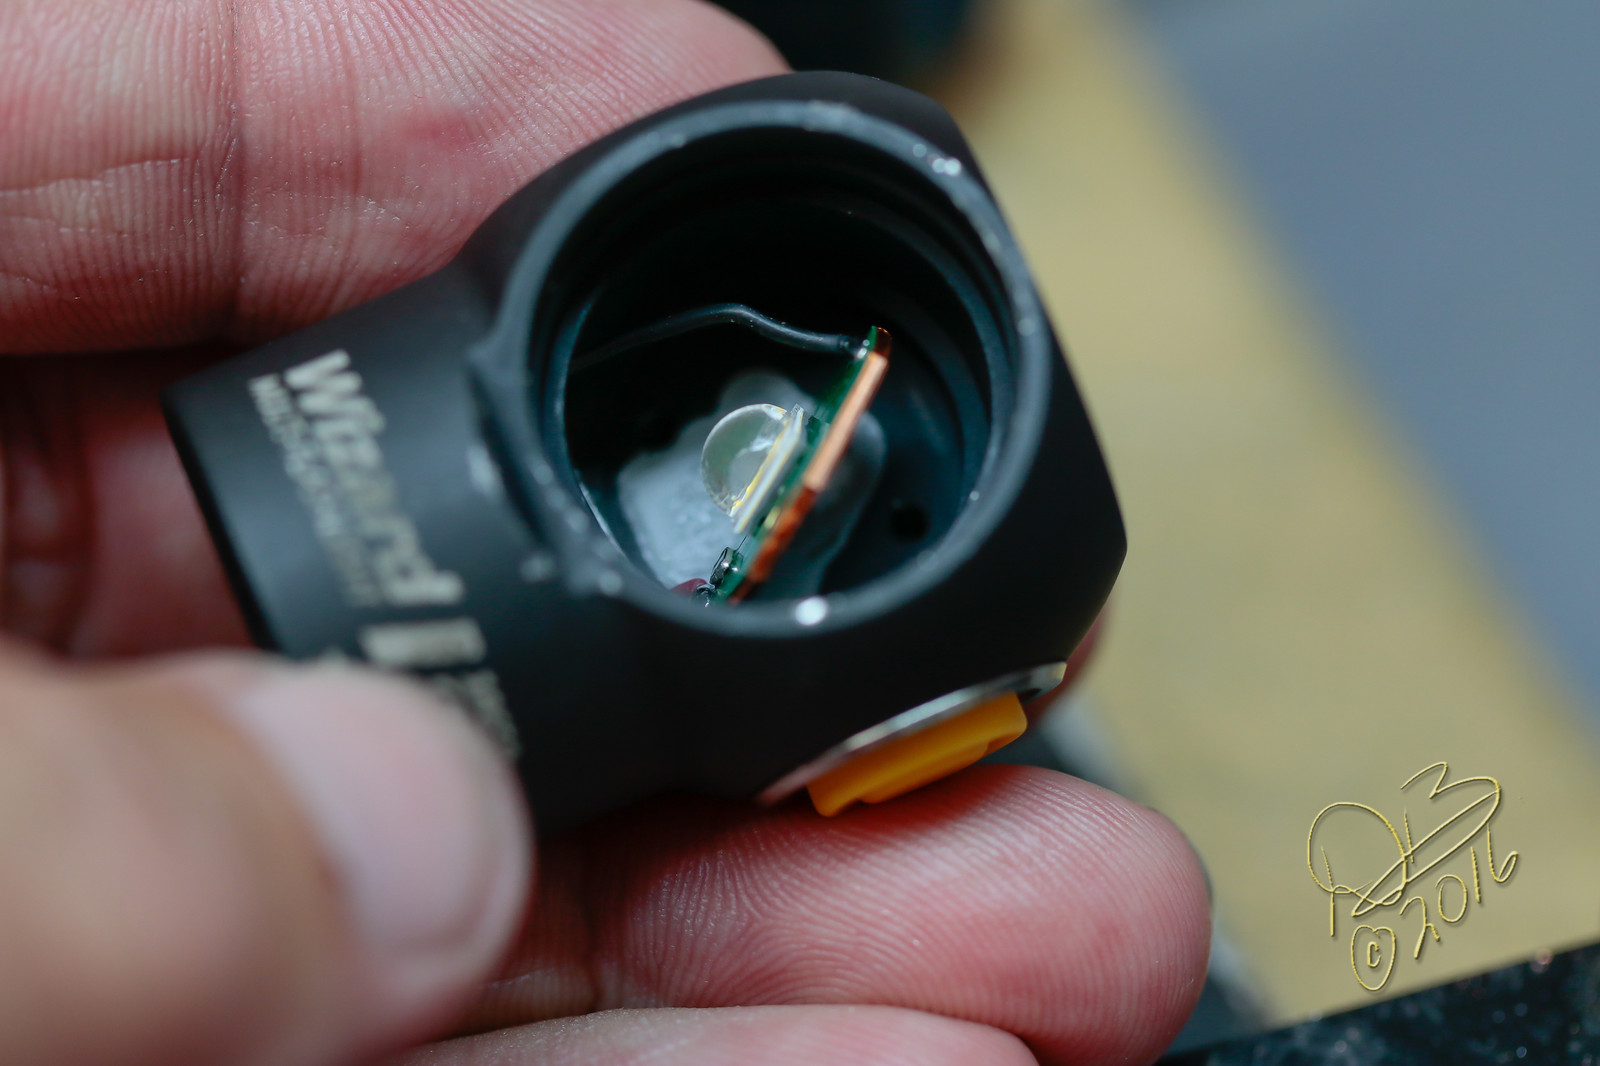
The switch is loose and comes out without removing the bezel. Only the potting held it in place.
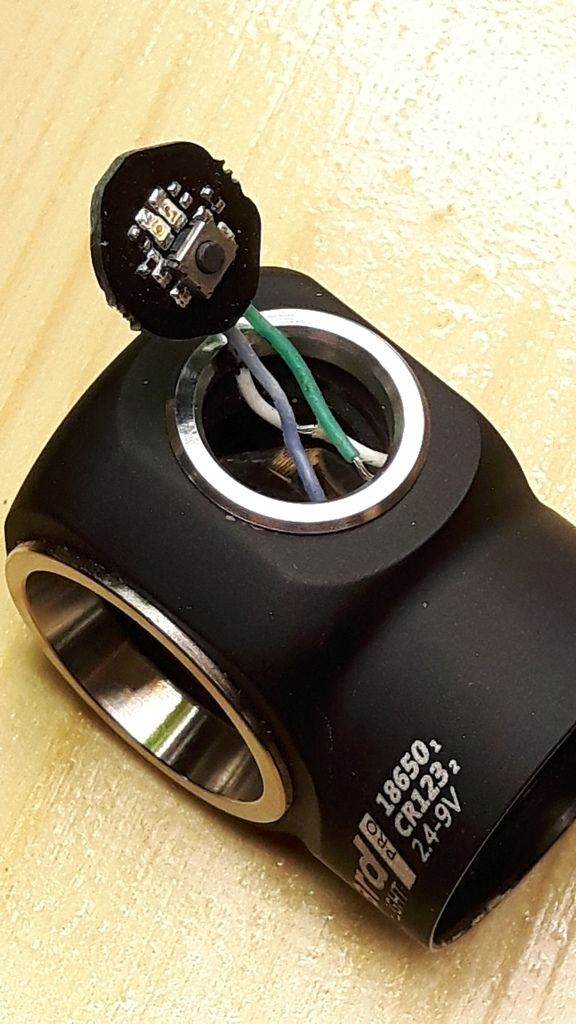
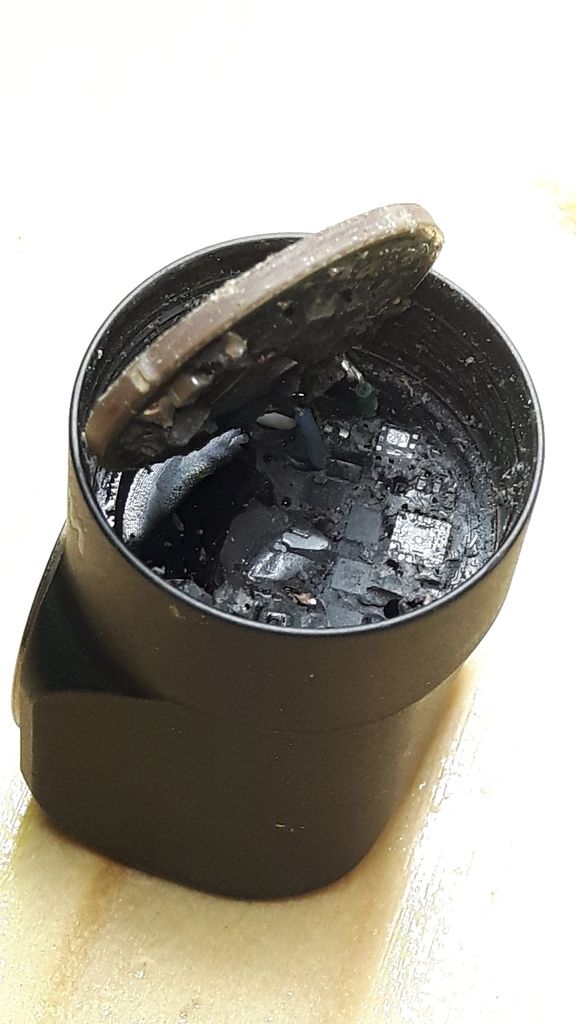
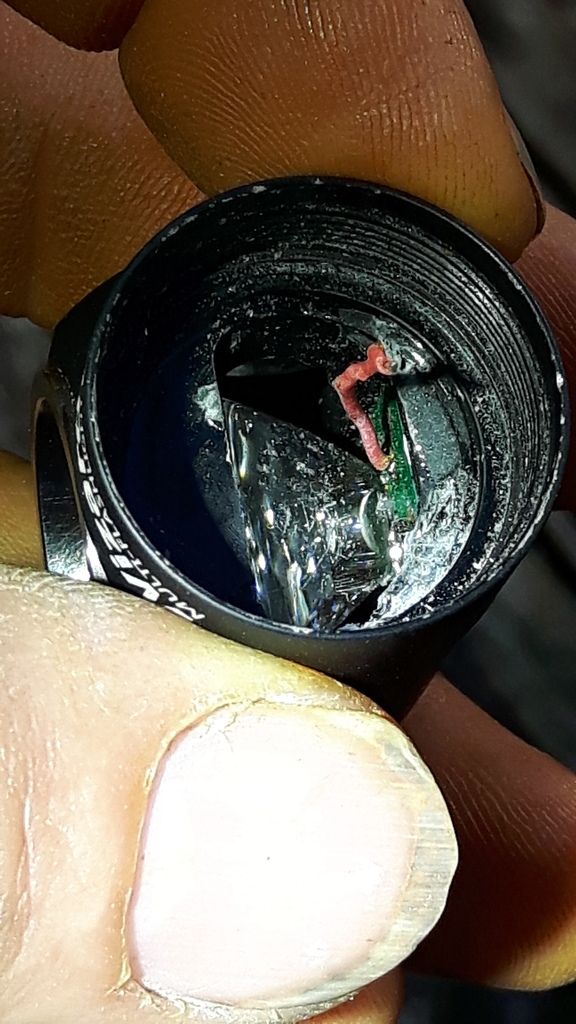
Looking a lot less ‘busy’:

Dale, tell me more… I’ll eventually want to reassemble this thing.
I wanted to find out if I could mod it, but with the small copper mcpcb glued directly to the back of the head and it already getting quite hot when in the higher modes, (not to mention the potting) I reassembled it and just use it like it is. Don’t really like the warm white, may change it out some day.
It was Really Hard to get apart. Did some damage cosmetically to the tube.
Used a blade to work around the SS bezel and patiently work it loose. It’s just press fit in but of course it’s a tight press fit.
I can see maybe putting an FET driver in it with Bistro or Narsil, maybe TK’s ramping, and use an XP-L or XM-L2 emitter, maybe an XP-L2 in which case it might be possible to hit 2000 lumens in it. I probably wouldn’t go back with the XHP-50, too much heat right there on your forehead.
@ DBCustom !
Dale , thanks for chime in , you are the ONE responsible for my memories !!! Now I remembered where I saw an Armytek Wizard dissasembled , was not a video , were pictures.., and if I recall good you were complaining about the fact that Armytek used your pictures ,without your agreement to do so...!!! Right ?
@ Greg_M ...Damn , my memory started to play tricks on me , the copper plate , that I assumed that was a heat sink was, in fact , the DTP of the LED.., I have to take some Lecithine and adjust my medication... 
Anyway , you'll have to take out the bezel & the Carclo optic in order to get to the Led...But , if you got so far you must continue.., I'm sure that is gonna be a hell of a light !...
Yep, that’s right cera… no biggie but still surprising.
I think I would use some JB Weld Stick, they call it Water Weld, the one I’d use. It’s like a jelly roll, white on the outside and dark grey in the middle. You slice off a piece then knead it til it’s uniform in color (quickly! It sets up really fast!) and I’d use this to put a 15mm or 12mm FET driver in place on the original contact board. The switch wires to the driver would need to be in place before epoxying it in of course. Then the same stuff to glue a new copper mcpcb into the head, replace the optic and bezel and you’d be in business. ![]()
The Water Weld sets up in minutes. You can drill and tap it in about 15 minutes, it’s hard to the touch in like 5 minutes, maybe 7. The stuff is so robust you can dive into a swimming pool and stuff it into a crack that’s leaking water, it’ll set up in minutes and no more leak. I’ve even heard of a leaking gas tank repaired with it. It doesn’t conduct electricity so you can use it to pot a driver or glue it to the side of a host or whatever.