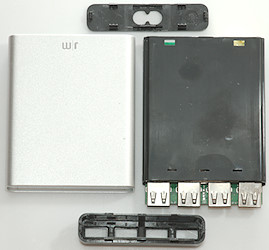
justMobile AluCharge 4xUSB 6.4A charger PA-188
Official specifications:
-
31 Watt 6.2A total output
-
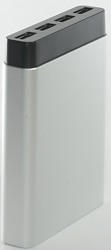
4x USB ports (2.4A max per port)
-
Auto-detect and allocate optimal charging for iOS and Android devices
-
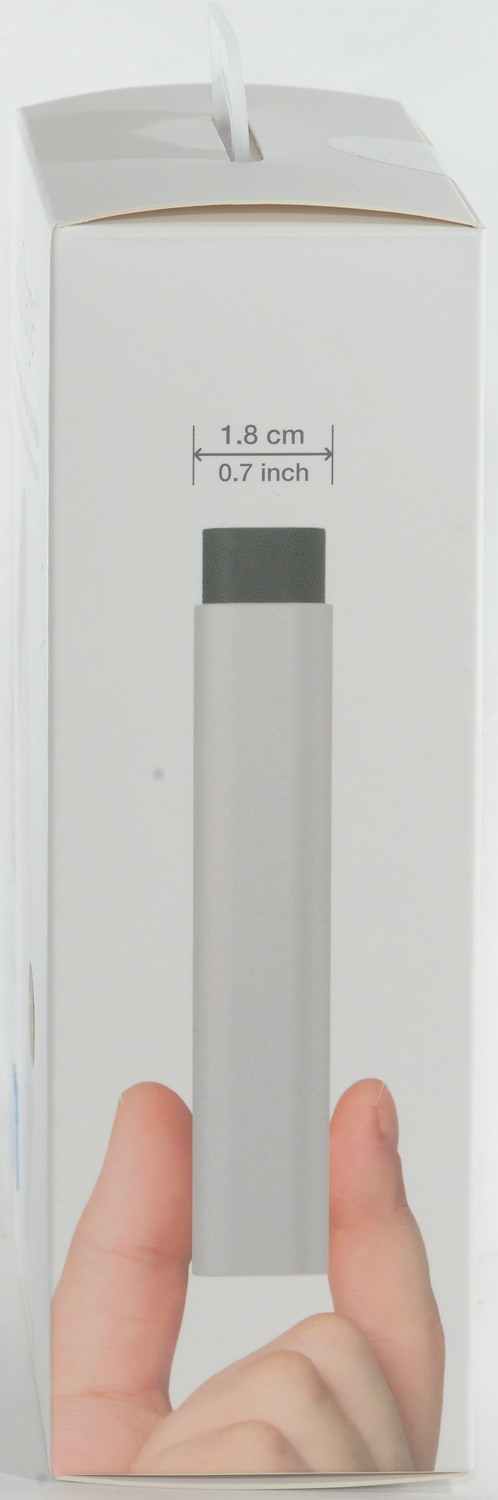
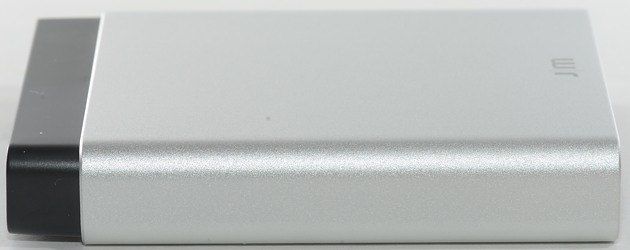
Ultra slim: only 0.72inch/1.8cm thick
-
Quality Aluminum construction
-
Super compact and worldwide travel ready (100V-240V input)
I got it on from: just-mobile.eu

The charger arrived in a cardboard box with specification on it.
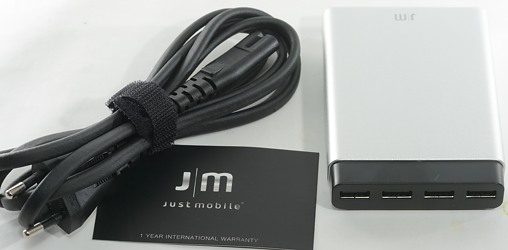
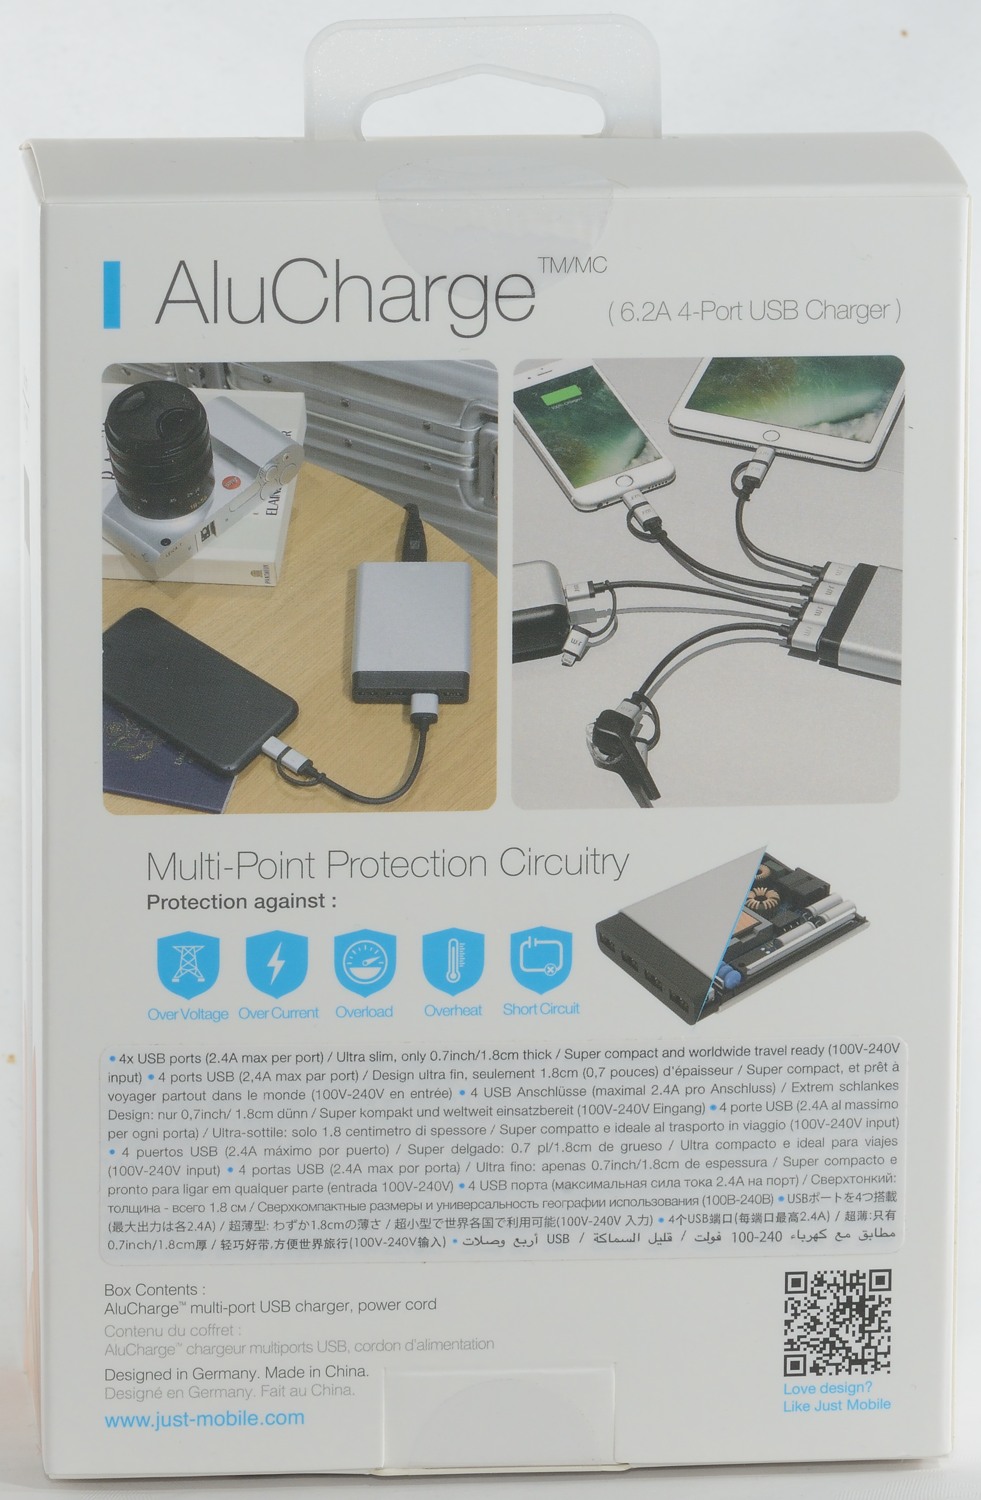
The charger, a EU power cord and a note recommending to register the product.
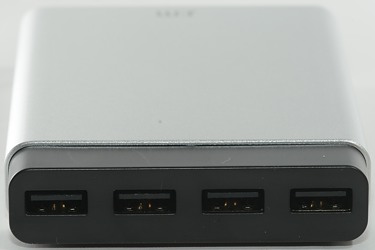
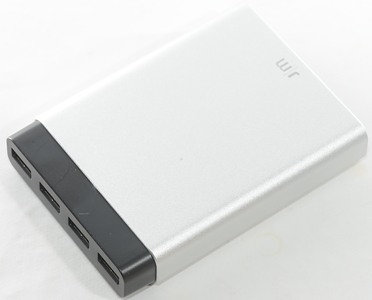
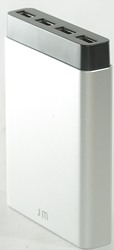
Most multiple output chargers has the outputs vertical to pack them as close as possible, here they are horizontal.

Measurements
-
Power consumption when idle is 0.06 watt
-
All usb outputs are auto coding with Apple 2.4A as maximum.
-
All outputs are in parallel, but with individual protection.
-
Weight: 172g
-
Size: 102 x 73.5 x 18.8mm
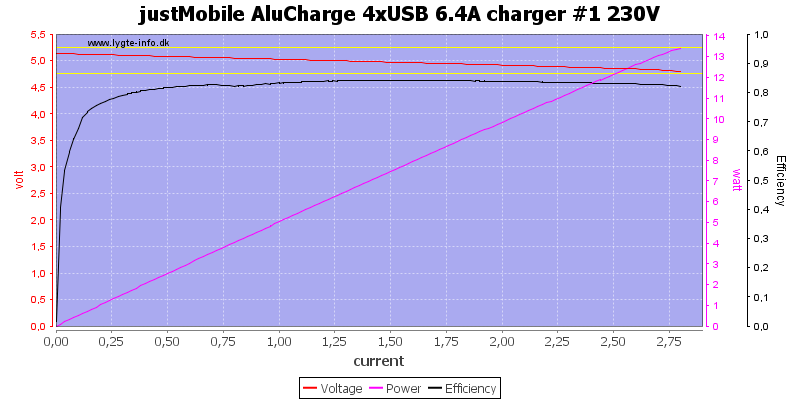
The charger is rated for 2.4A on a single port and can deliver about 2.7A, this is very fine.
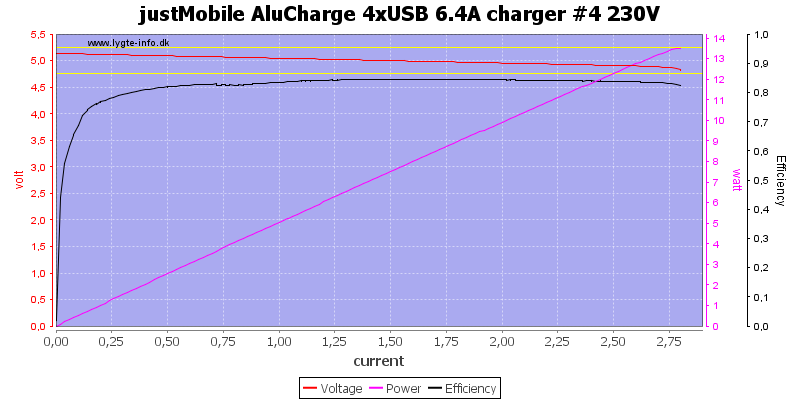
It is the same on this port.

Running all four ports in parallel give a bit above 7A at 120VAC
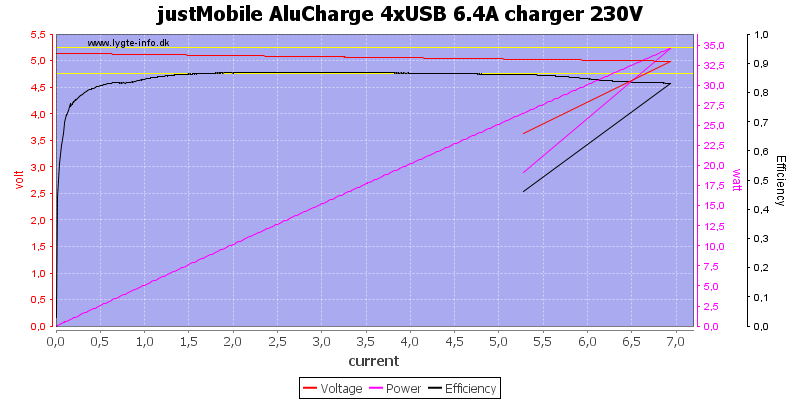
At 230VAC it is just below 7A, this fits fine with a 6.4A rating.
The efficiency looks very good.
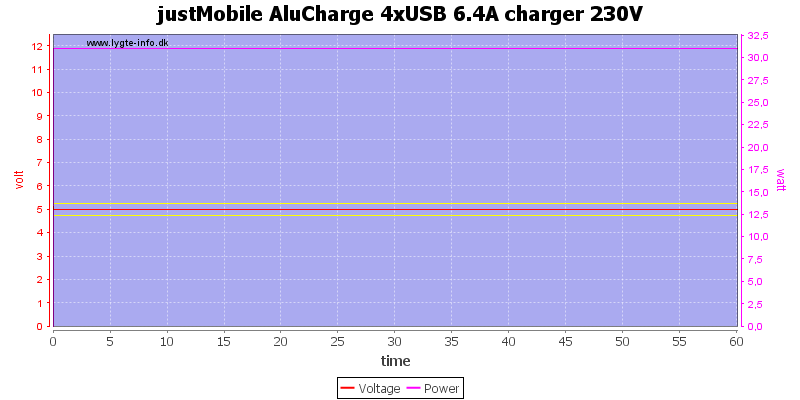
No problem running for an hour at 6.2A
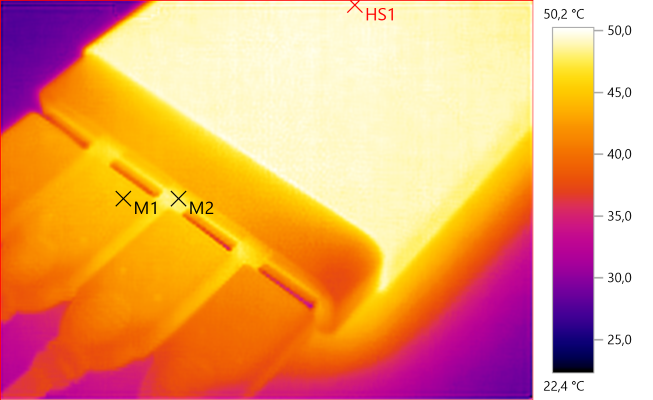
The temperature photos below are taken between 30 minutes and 60 minutes into the one hour test.
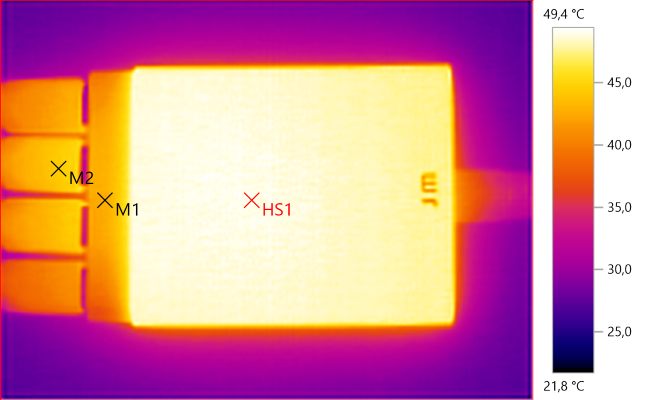
M1: 42,8°C, M2: 44,4°C, HS1: 49,4°C
Being made of aluminium means very good heat distribution and as can be seen the box is just about the same temperature all over, except the plastic parts.
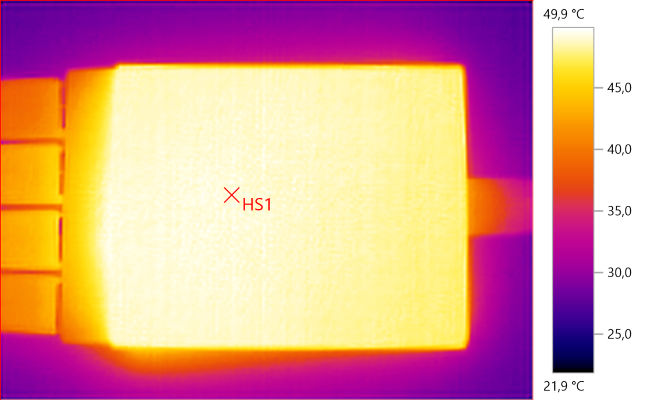
HS1: 49,9°C
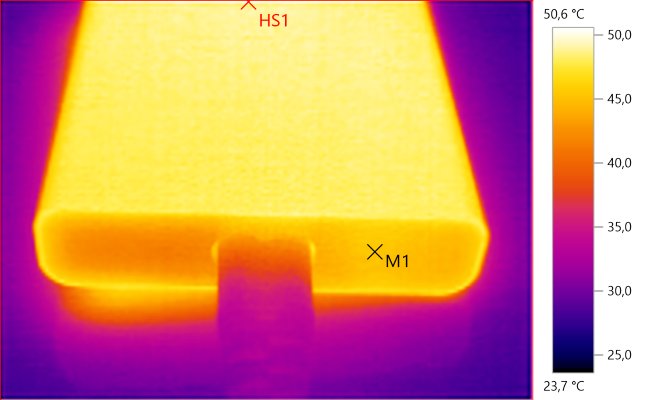
M1: 45,5°C, HS1: 50,6°C
M1: 44,8°C, M2: 47,8°C, HS1: 50,2°C
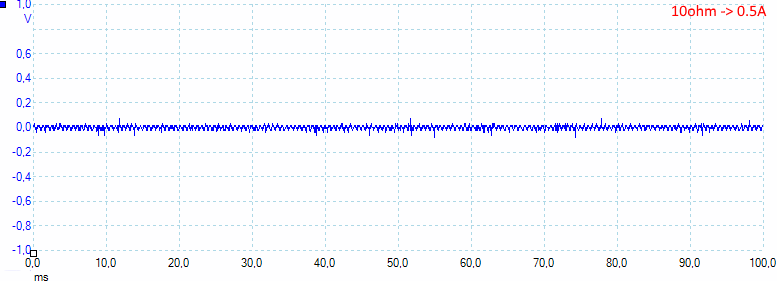
Noise at 0.5A load is: 14mV rms and 221mVpp.
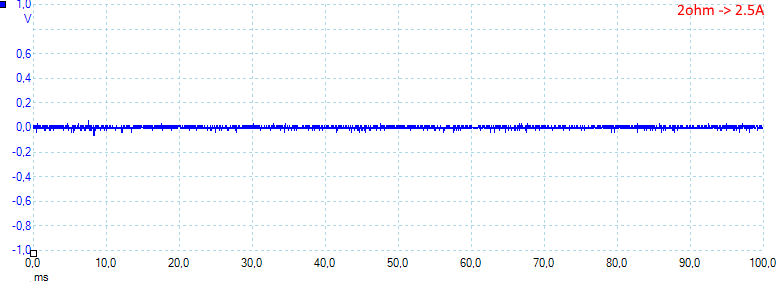
Noise at 1A load is: 7mV rms and 169mVpp.
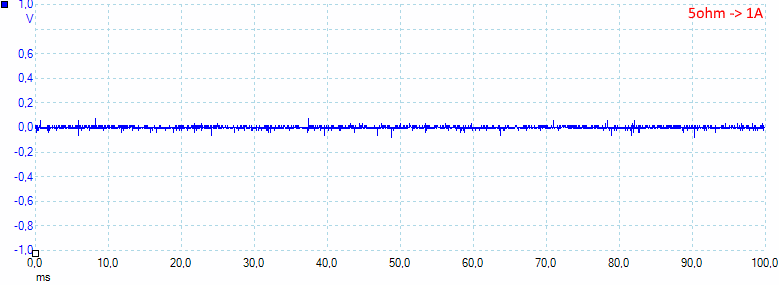
Noise at 2.5A load is: 9mV rms and 145mVpp.

Noise at 5A load is: 11mV rms and 126mVpp.
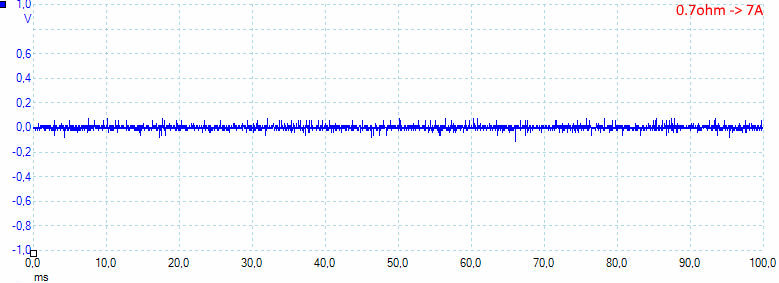
Noise at full load is: 12mV rms and 152mVpp. Generally the noise is very low.
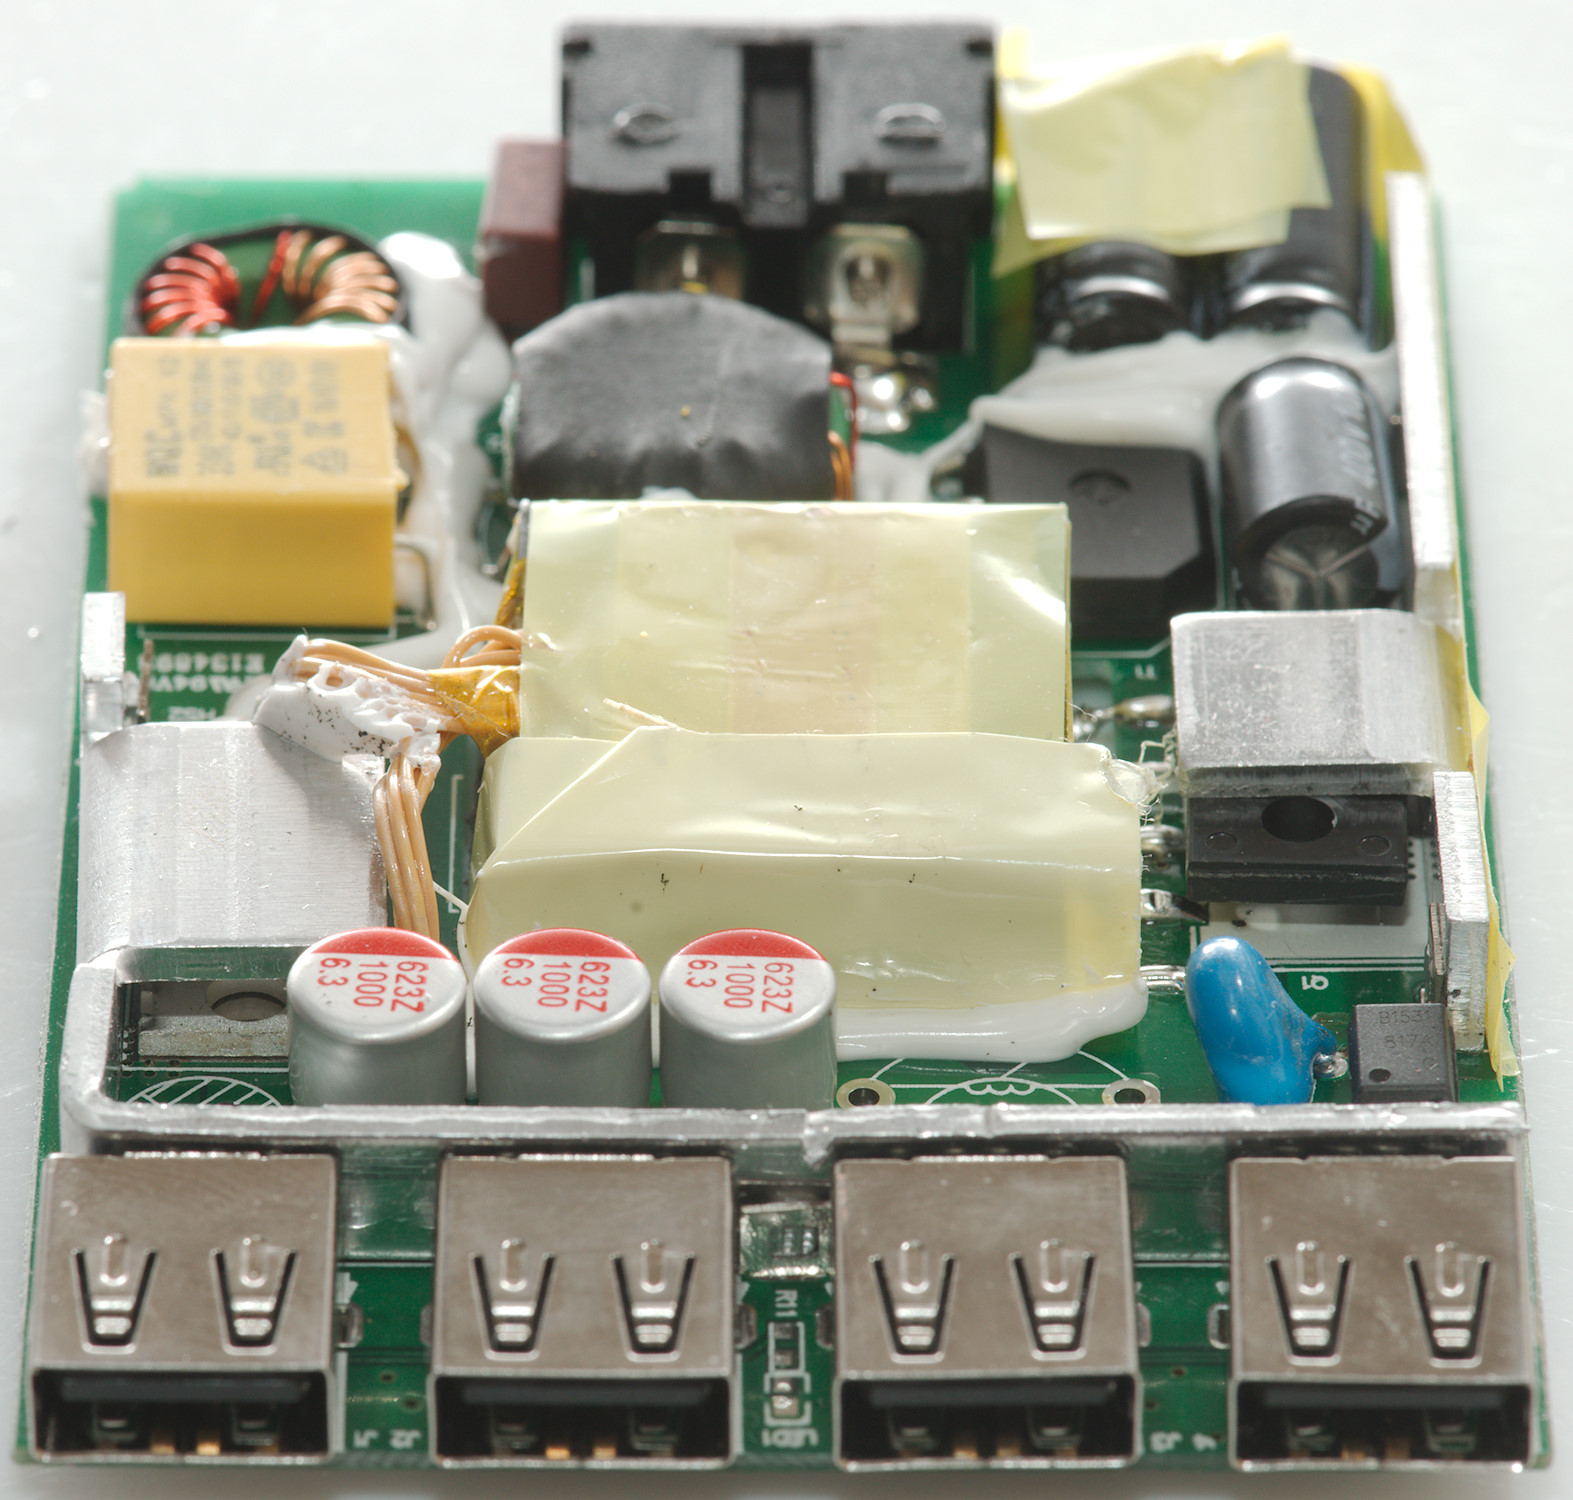
Tear down
The front was easy to break off, the glue did not hold it very well, it was more difficult to remove the back and push the inside box out. The inside plastic box secures that everything is isolated from the aluminium.

I had to break the box apart. The inside matches the illustration on the website fairly well.
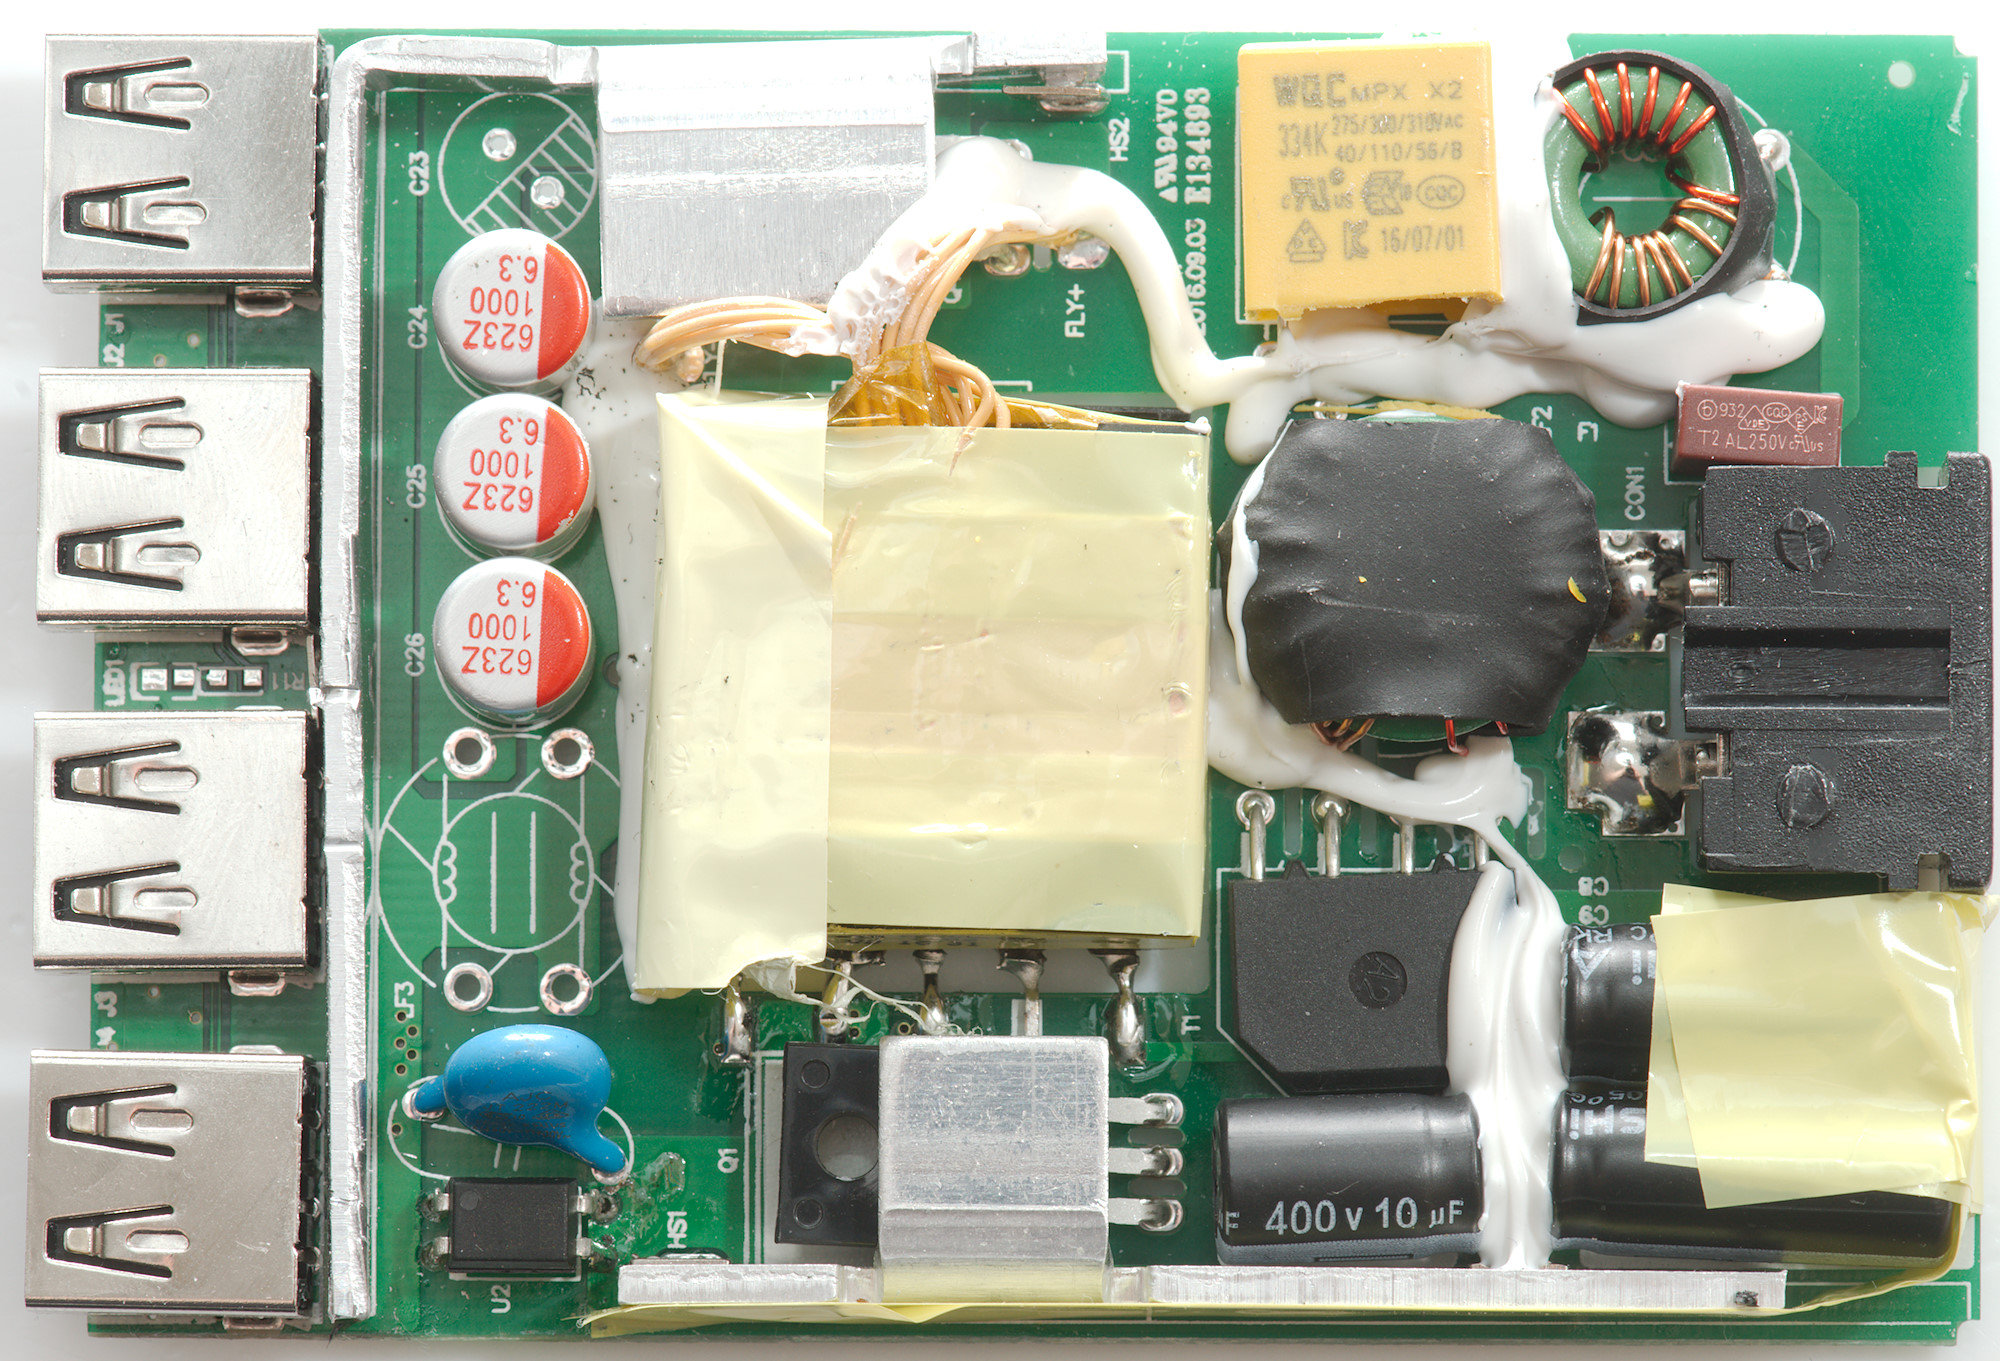
At the mains input is a 2A fuse (F1) and two common mode coils, before the bridge rectifier. The switcher transistor (Q1) is placed beside the transformer with the opto couple (U2) and safety capacitor next to it.
On the other side of the transformer is the rectifier, it is a transistor because the charger uses synchronous rectification.
There is space for a common mode coil on the output, but it is not mounted.
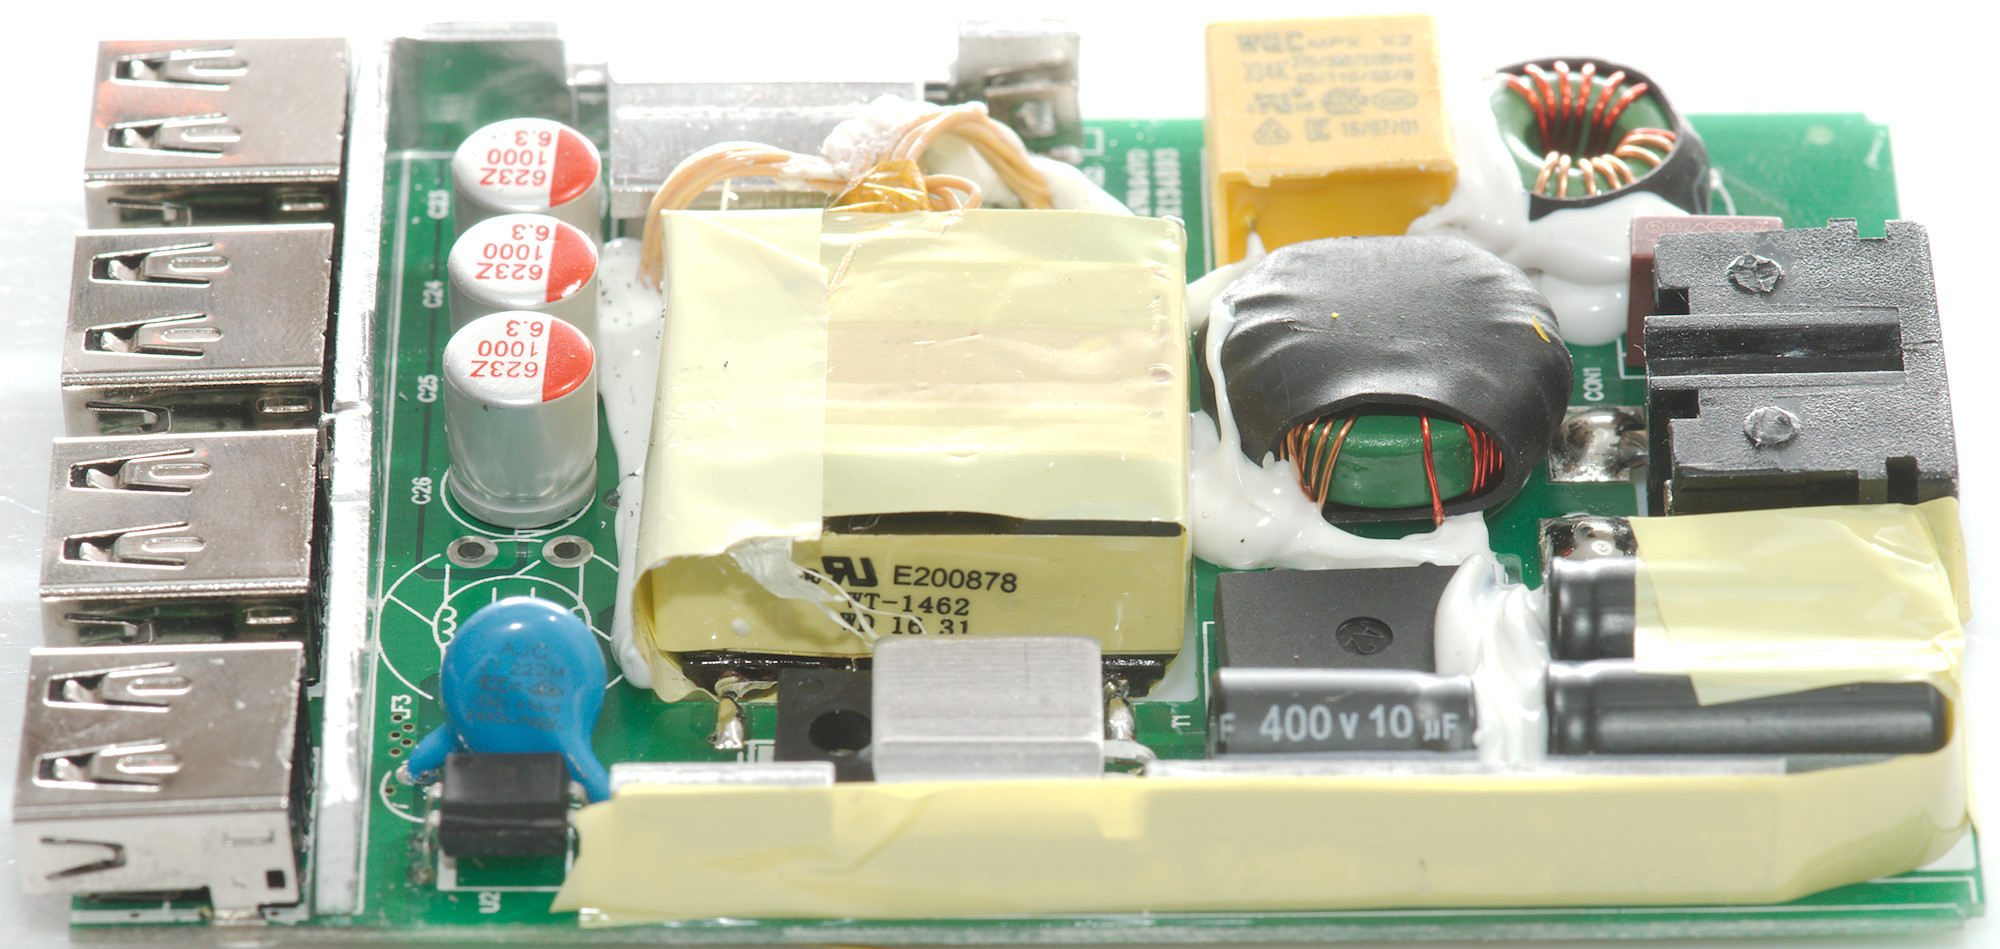
From this side the text on the safety capacitor can be seen, beside the opto coupler.
The switcher transistor is partially hidden behind its heatsink.
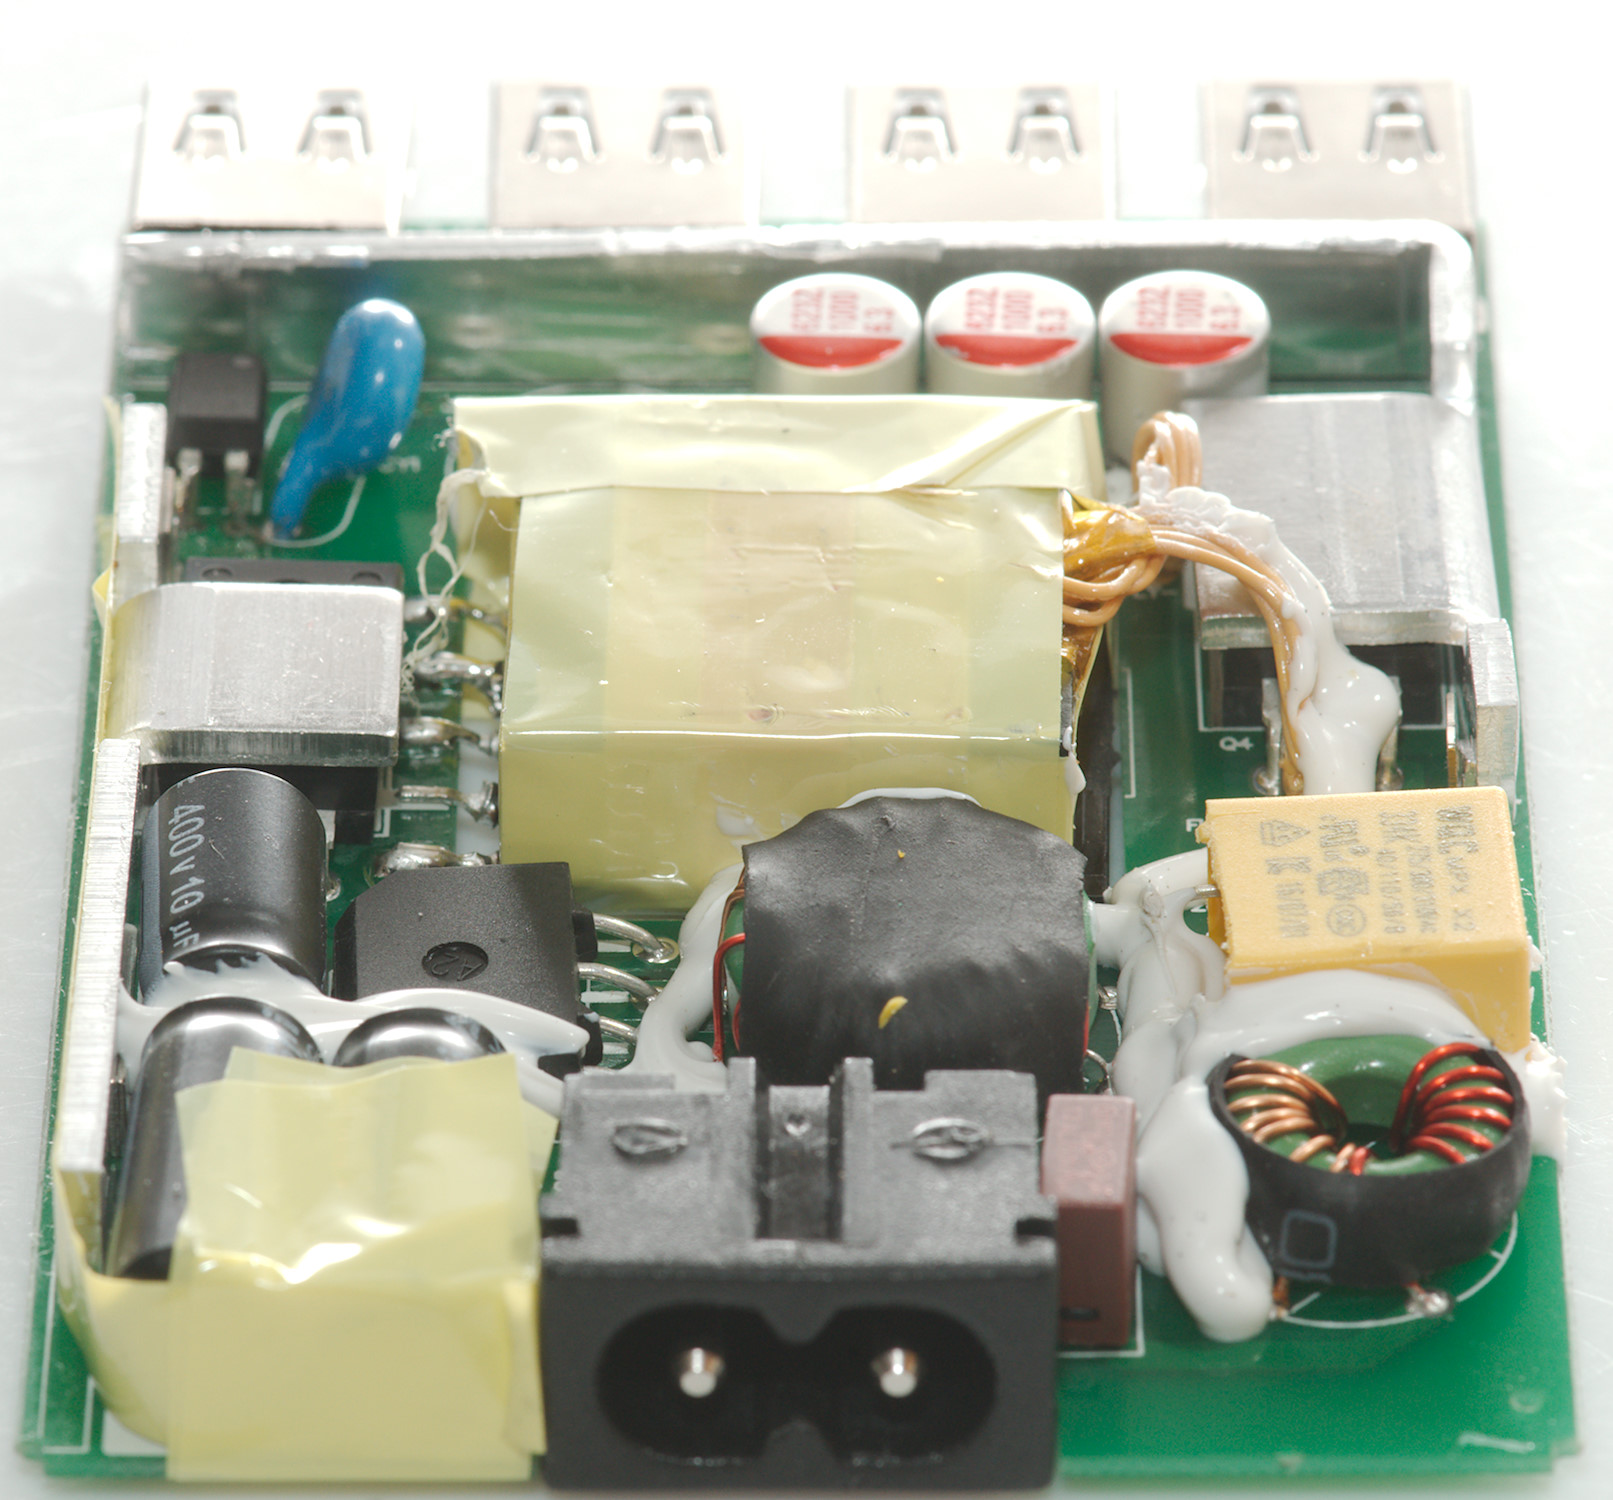
The red box beside the mains input is the fuse.
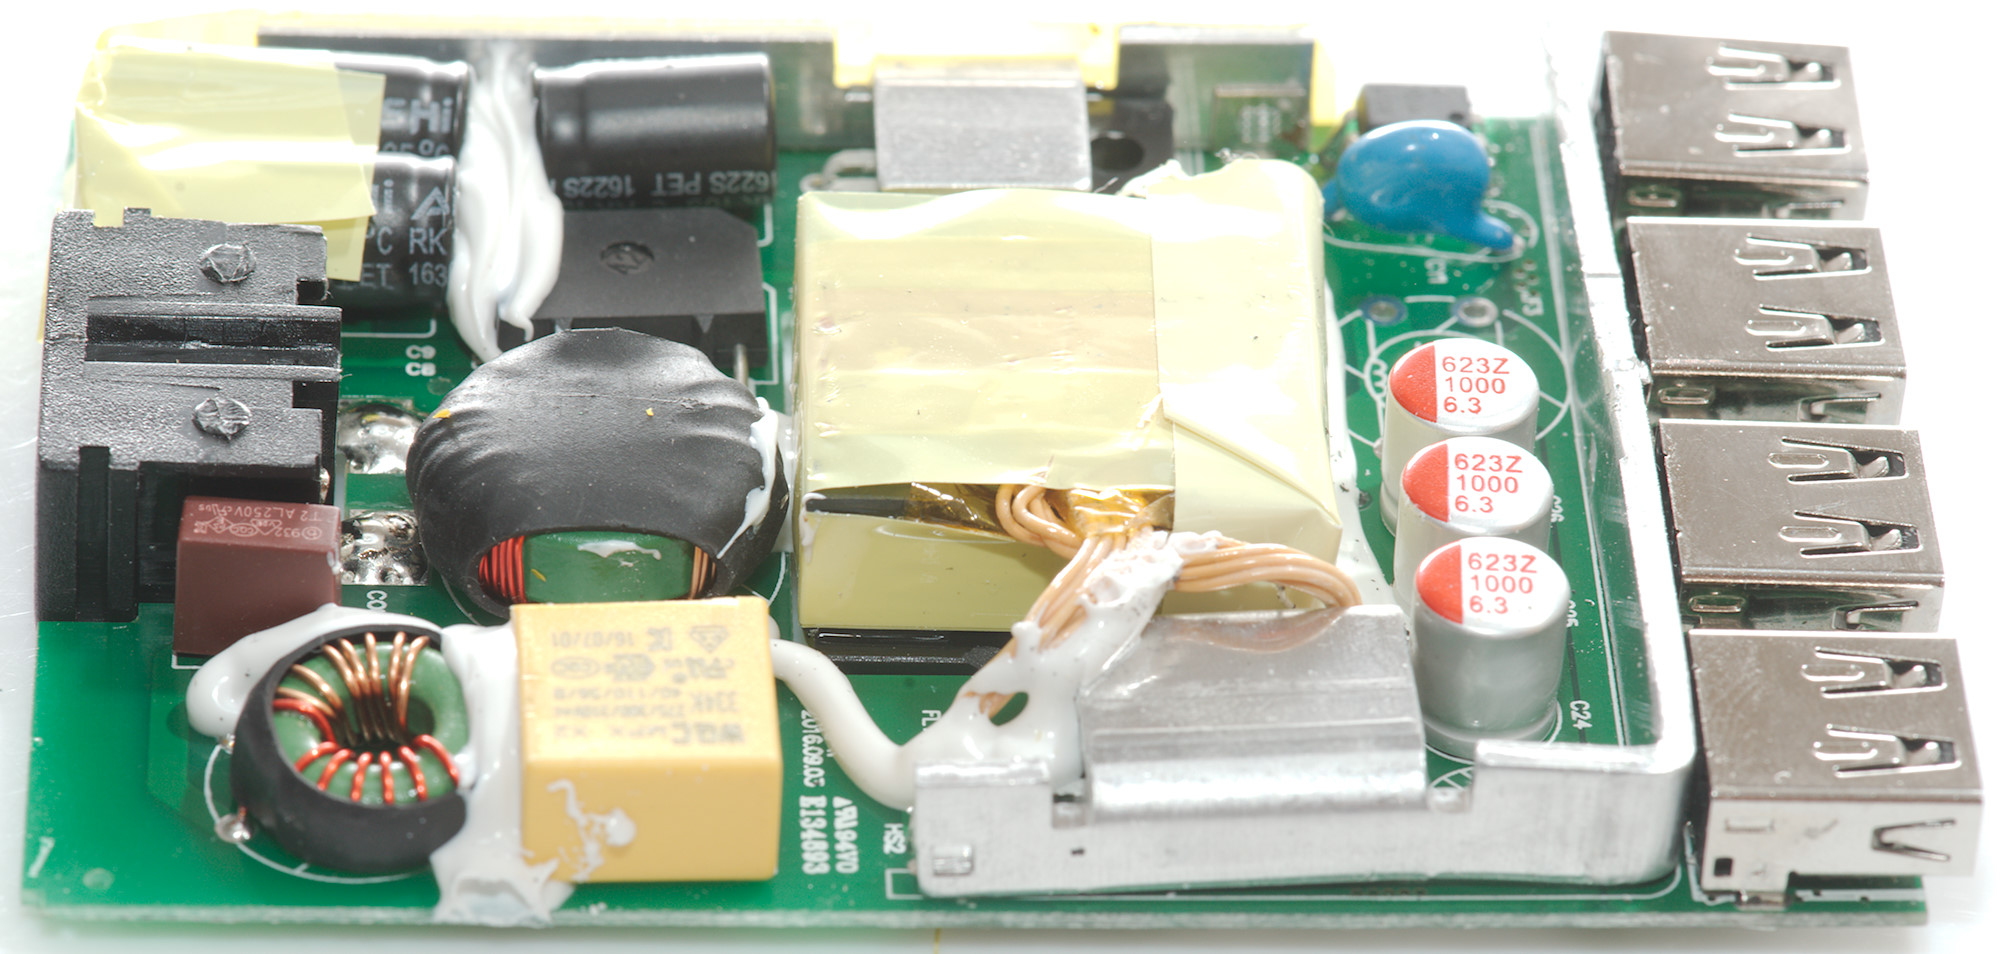
The two common mode coils are place close to this side. Also notice that the low voltage winding on the transformer is made with litz wire (Multiple isolated strands).
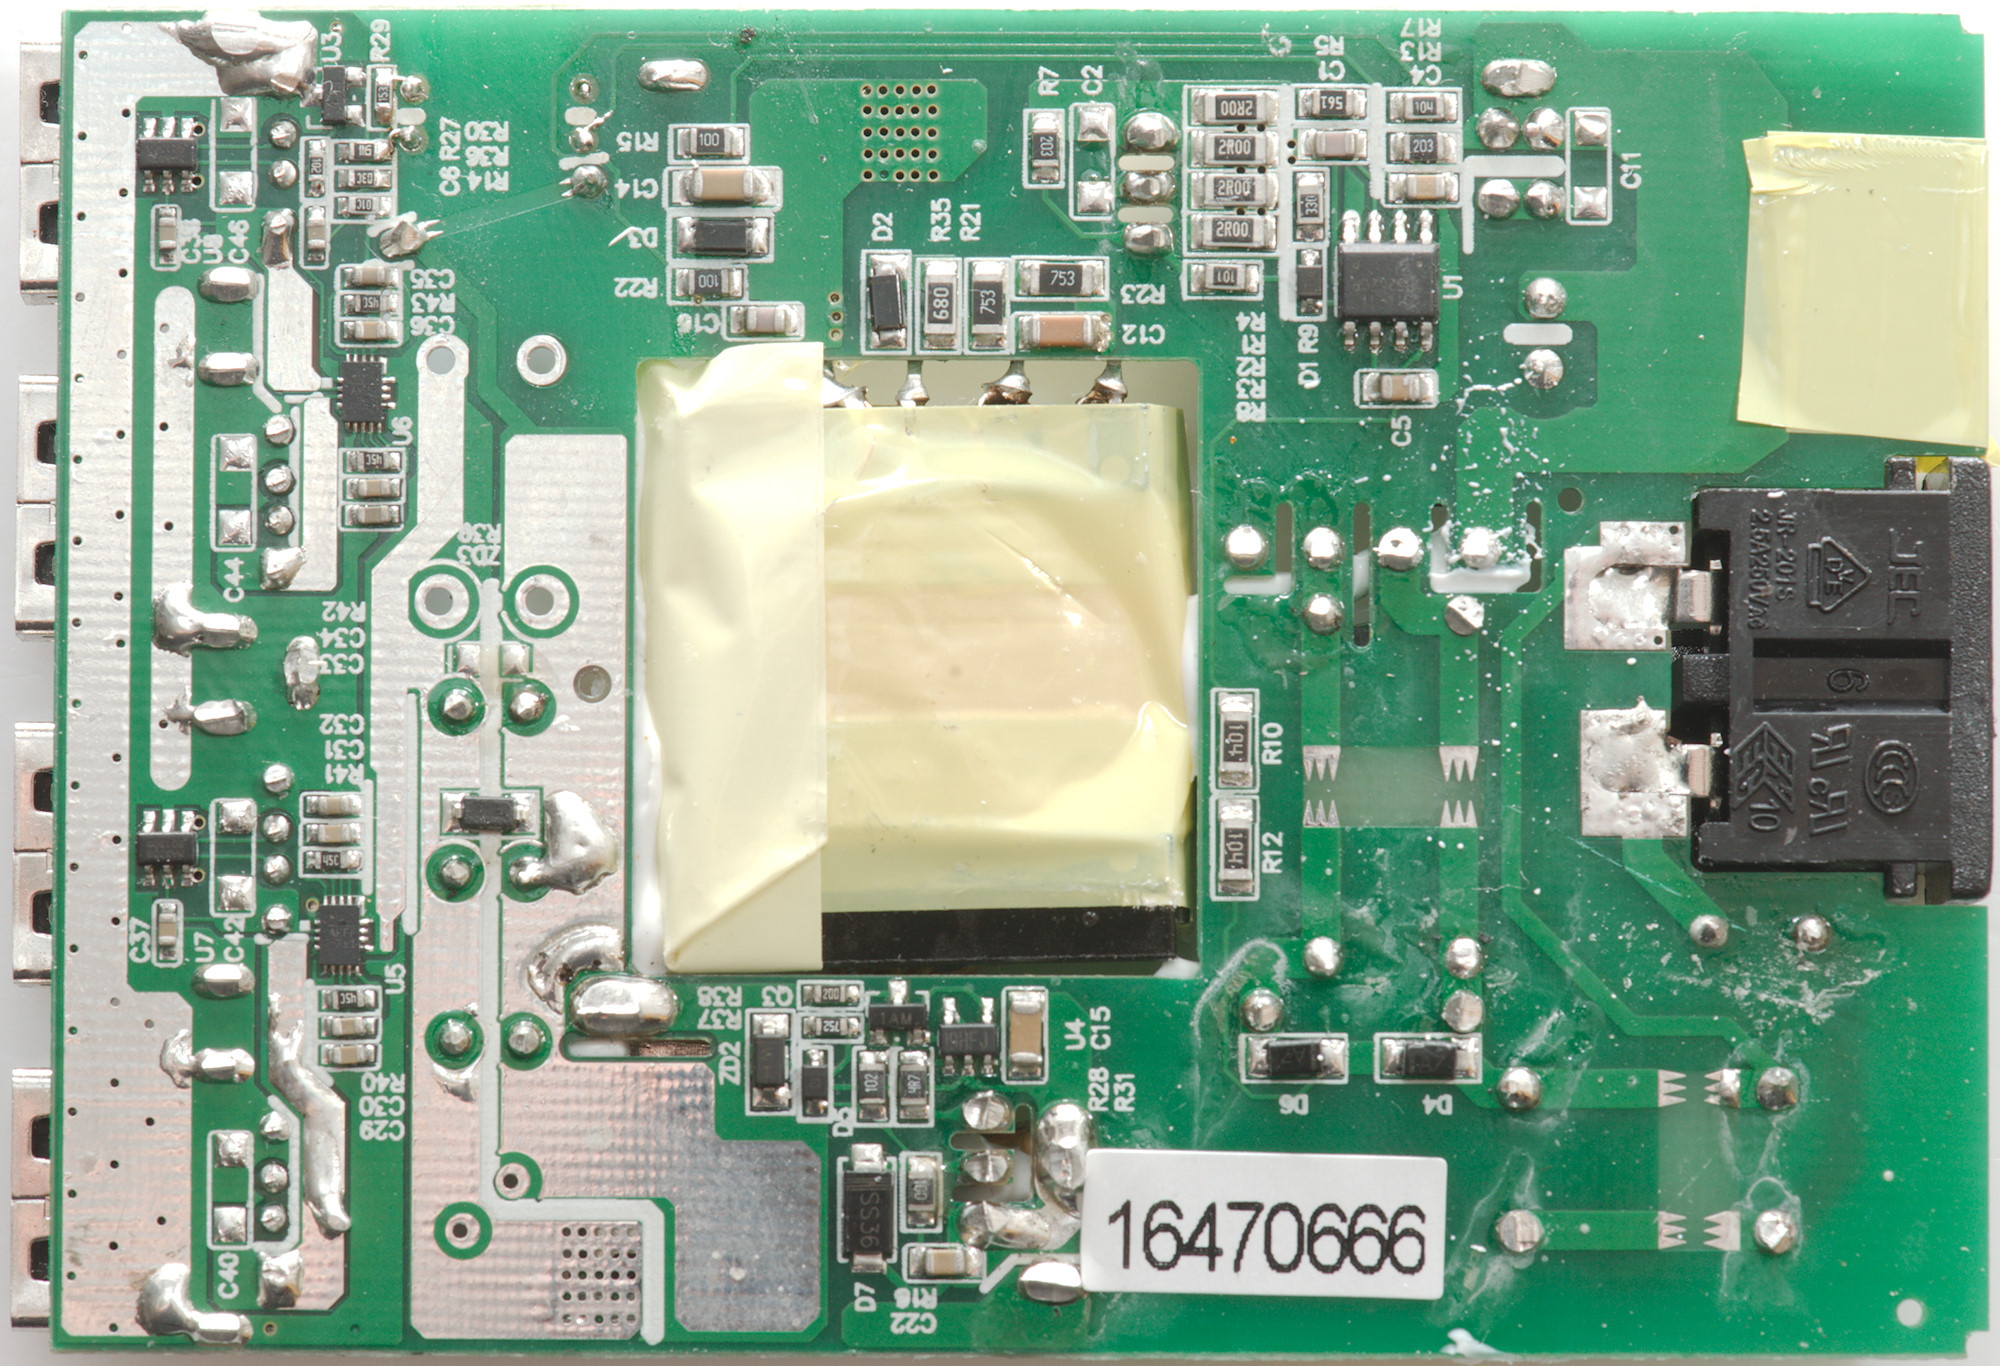
All the chips are here: The mains switcher controller (U1:OB5258CP), the synchronous controller (U4), the current limiter (U5 & U6), usb charge optimizer (U7 & U8: MA5889) and, of course, the voltage reference (U3: 431).
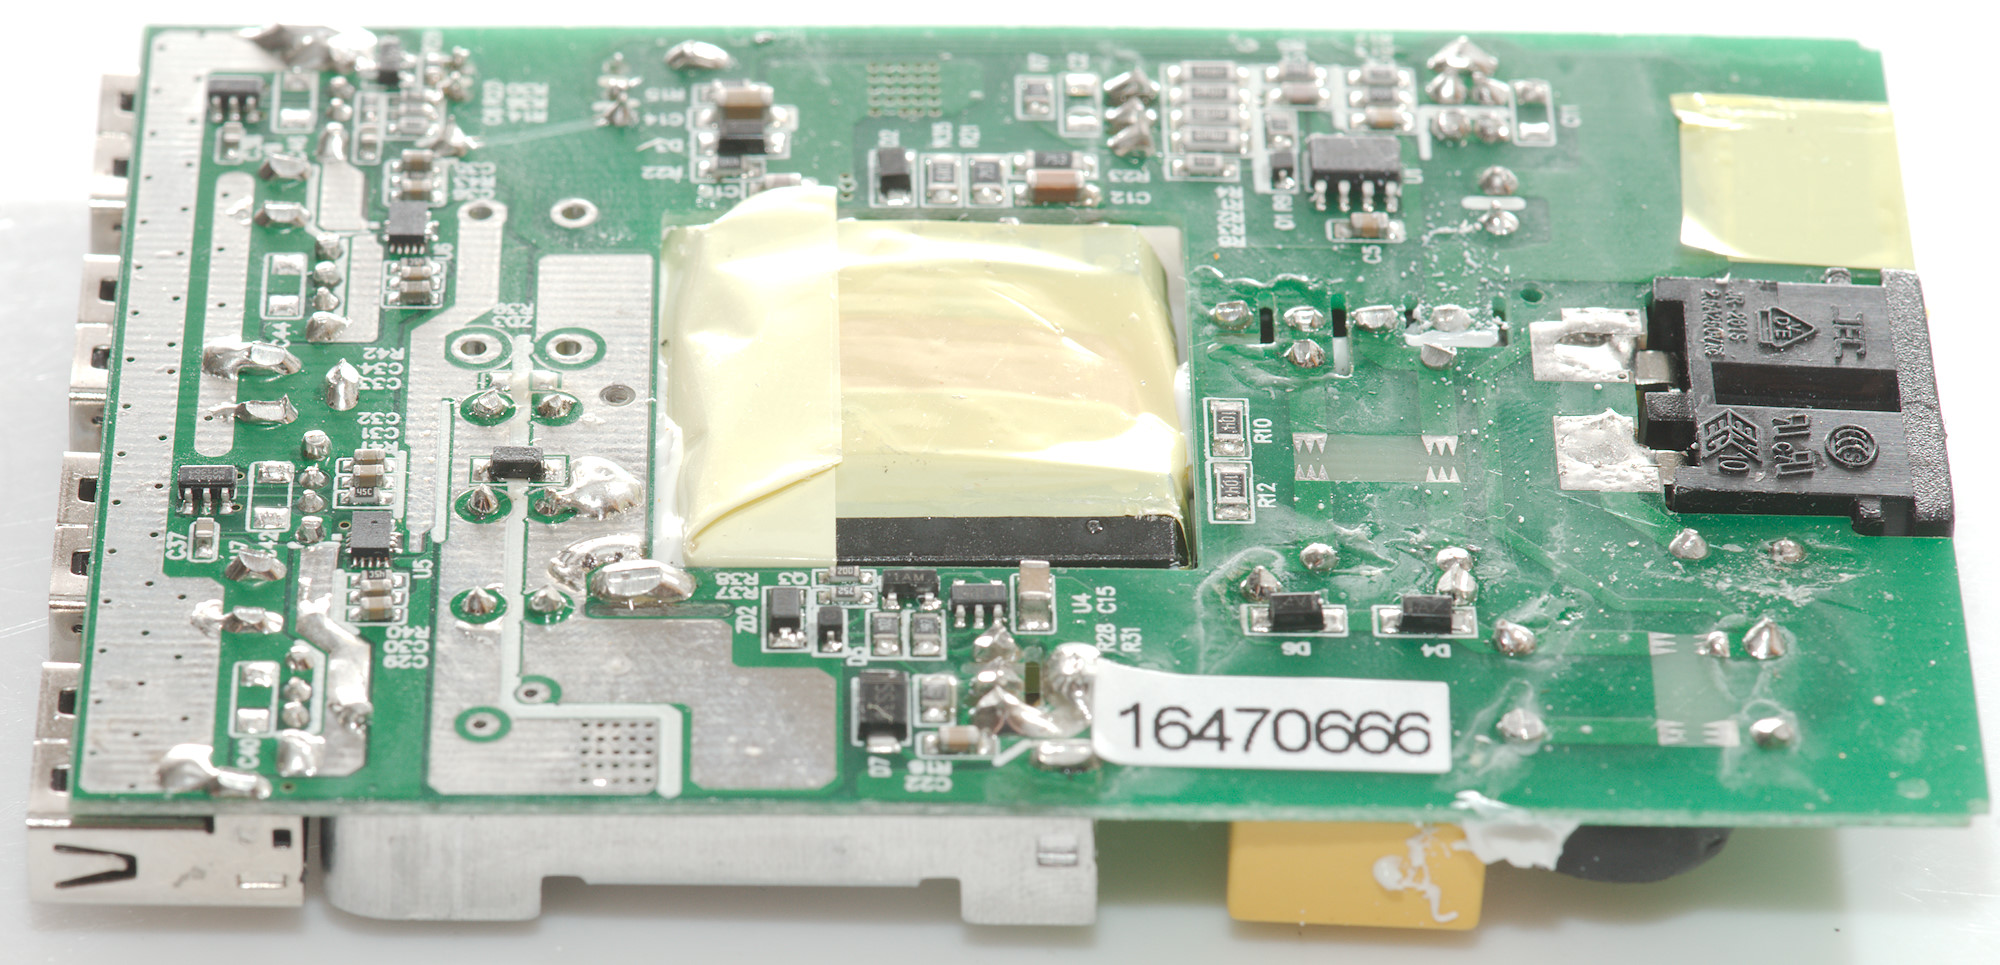
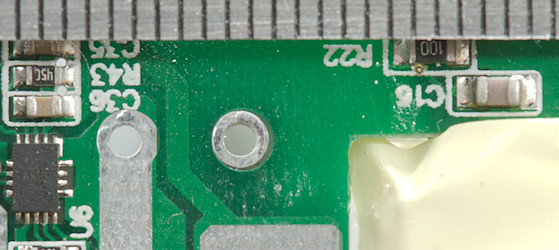
The isolation distance looks fine.
Testing with 2830 volt and 4242 volt between mains and low volt side, did not show any safety problems.
Conclusion
This charger can deliver a fair amount of current, but not enough to run all four ports at maximum. The noise is low, output voltage stable and it has auto coding. The aluminium construction secures good heat transfer from inside, keeping the internal temperature fairly low (60°C is low for electronic).
The safety also looks fairly good, except the glue on the front. Even if it breaks off there will not be any dangerous voltage to touch.
I will call it a good usb charger and if they improve the glue it will be very good.
Notes
Index of all tested USB power supplies/chargers
Read more about how I test USB power supplies/charger