Made myself some lanyard

Made myself some lanyard
Today I finished my Elbow Grease Trilogy (directors cut) by reaming the tube of my trusted Jetbeam RRT-0.
Using an adjustable handreamer (upper object in picture).
It consists of a shaft with 6 parallel HHS blades in tapered grooves that are lengthwise adjustable between two nuts. The act of tightening and loosening the restraining nuts at each end varies the size that may be cut.

The object of my exercize has a head that is big enough to accomodate an 18350, but the tube is not big enoough.
Problem is that there is no tailcap. The switch rests on a ledge (shelf with a big hole) at the backside of the tube.

I can stick the reamer in till it hits the ledge, but I have to widen the bore all the way up until I reach the ledge.
So I took a reamer for which I only had to widen the hole in the shelf a tiny bit in order for the top nut to pass it.
Now the blades of the reamer can do their job all the way up to the ledge.
Then the next problem knocked at the door: the reamer I used could not expand to the necessary 18.65mm.
So I used a bench grinder to take away a piece of the shaft that holds the HSS blades in place.
That way both restraining nuts can be moved a bit closer to the base of the shaft, allowing the blades to expand further.

See the red square in the blurry picture. That did the trick. Now my RRT-0 is upgraded from 16340 to 18350!
Nice, Henk. Modding a tool to get the mod done :+1:
That reamer is a cool tool! My tapered reamer never makes straight holes and this one does!
Nice work Henk! Interesting to see how you did it, that gives inspiration!
Don’t be afraid to kill something, it is just part of the learning curve.
And if it comes out as expected, a next mod will be easy ![]()
I got my some of my lights back from getting them cerakoted by n10sivern. Here’s the Ultrafire F13 in sniper grey, triple xpl-hi 5000k v2 70cri, 22mm bistro otsm driver (thanks Lexel), kiriba-ru copper triple spacer, kaidomain triple reflector and orange/yellow tail light switch.
!
!
!
!
!
!
I’ve been looking for a gray Lumzoo GH10 for a while and BLF member charles lin happened to have one that wasn’t working and sent it to me for the cost of shipping, since he’d already replaced it with a newer model. Thanks again, I really appreciate the light!!
The driver no longer worked so I replaced it with a mtn fet with moppydrv…also had to replace the e-switch…used one of those from mtn as well. I also replaced the led with a XP-L V6 3D. On a fresh flat top 30Q it pulls .06a on moon light and 5.26a on turbo. On a fresh flat top VTC6 it pulls .05a on moon light and 5.89a on turbo. She puts out a lot of lumens.


Very nice… is this light take 26650 too?
I decided to swap the led on my HM50R from an xm-l2 to a beatifull 219c 4000k 9050. Had to cut down an MCPCB, since the stock is a custom shape, and the 219c has a different footprint anyways.

Thanks, yes it does. I have the light running on a liitokala 26650.
I couldn’t pass up a Novatac Classic 2xAA on eBay for $23 shipped. It has the same driver as all the rest, just requires the 250 click crack to unlock features.
Replaced P4 with XP-L HI 5000k and it’s a nice little utility light.
Sad to say it is brighter and has a better beam than my Zebralight SC62d!
The 18650 in the SC62 will win in the end and the driver is probably much more efficient but the Nova will certainly get some use.
Downside is that it didn’t come with a clip and they’re hard to find.

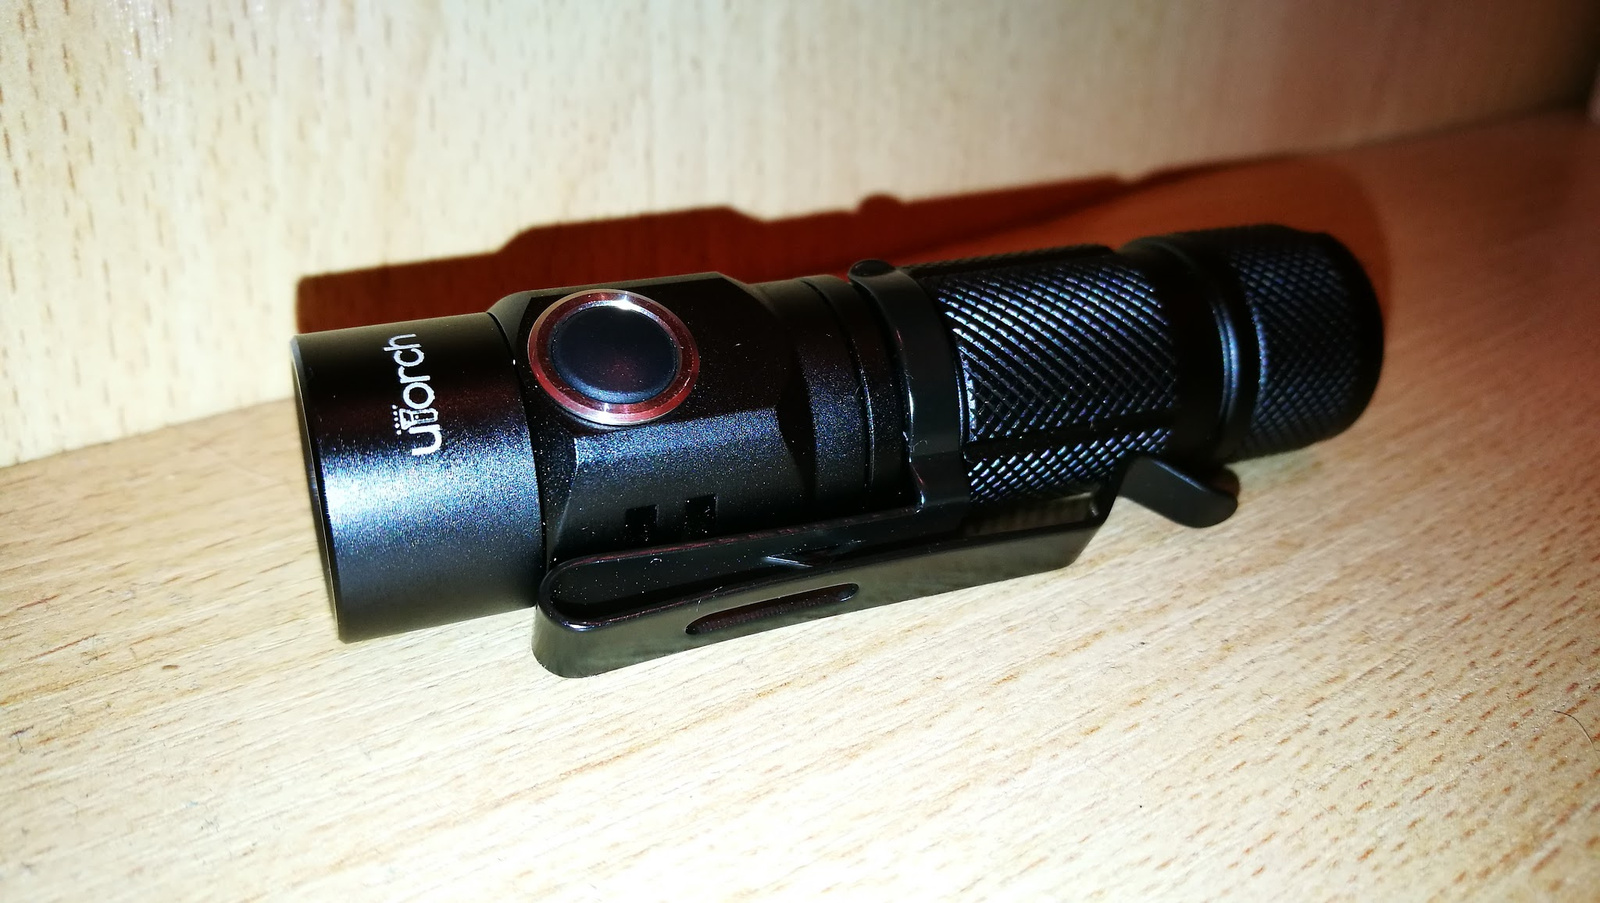
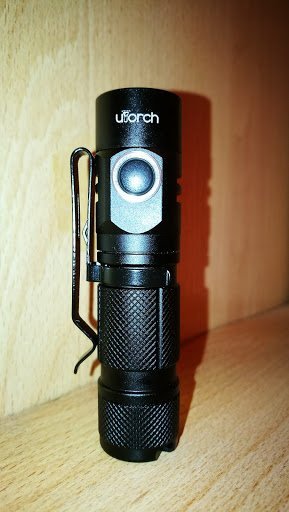
Not really a mod. Just putted a Skilhunt H03 pocket clip on my newly repaired Utorch UT01. I hated the original one because it rubbed the tailcap and in the way to untwist it. I needed to press the clip legs a little smaller but it fits very nice.
Cool light. I have an F13 with CUTE 3 TIR. Yours is pretty unique with the traditional reflector. Does that fit with the XP32 triple MCPCB or what MCPCB setup are you running? Also can you link to the reflector? Thanks.
The Kaidomain triple reflector does not fit xp32 mcpcb. Here’s the link, http://kaidomain.com/p/S025177.36mm(D)-x-14mm(H)~~SMO-Aluminum-Reflector-for-3-x-Cree-XM-L~~(1-pc). I believe fasttech also has a similar triple reflector. Here’s a link discussing the reflector Triple REFLECTOR for X6 or C8 . I used 3 x 10mm sink pads and wired them up together. The bean is a lot more focused than the tir, it produces a very tight hotspot but I haven’t had a chance to take it outside to compare yet.
Edit: You also have to file or dremmel under the lip of the reflector to have it fit into the f13.
Thanks, is the height the same as the CUTE 3? I think the spacer from kiriba-ru was designed for the CUTE 3, so it fits without modification?
Edit: I apologize if this info is in the discussion you linked. Have not read that yet.
I didn’t have to do any mods to the spacer, however I did use use a different o-ring (a black o-ring from the o-ring store) and changed out the lens to a coated lens (from Kaidomain as well). I’m not sure if that changed the height any. I think the new lens were 2mm thick but I’m not sure what the stock lens thickness is and the o-rings were similar thickness. At the end of the day everything ended up fitting nice and snug.
If I have time I can measure it but I think the dimensions for the reflector is on Kaidomain and you can reference the BLF link as well.
Assembled 3 pieces of TA17 OTSM drivers. One going in to my Jaxman triple XPL HI, one going in to my Convoy C8 XP-L2. And one for something future project.
I made a black Jaxman E2L triple shorty today. I have the Jaxman 18350 tube for this host but I still used a S2+ 18350 tube because it is a few mm shorter even.
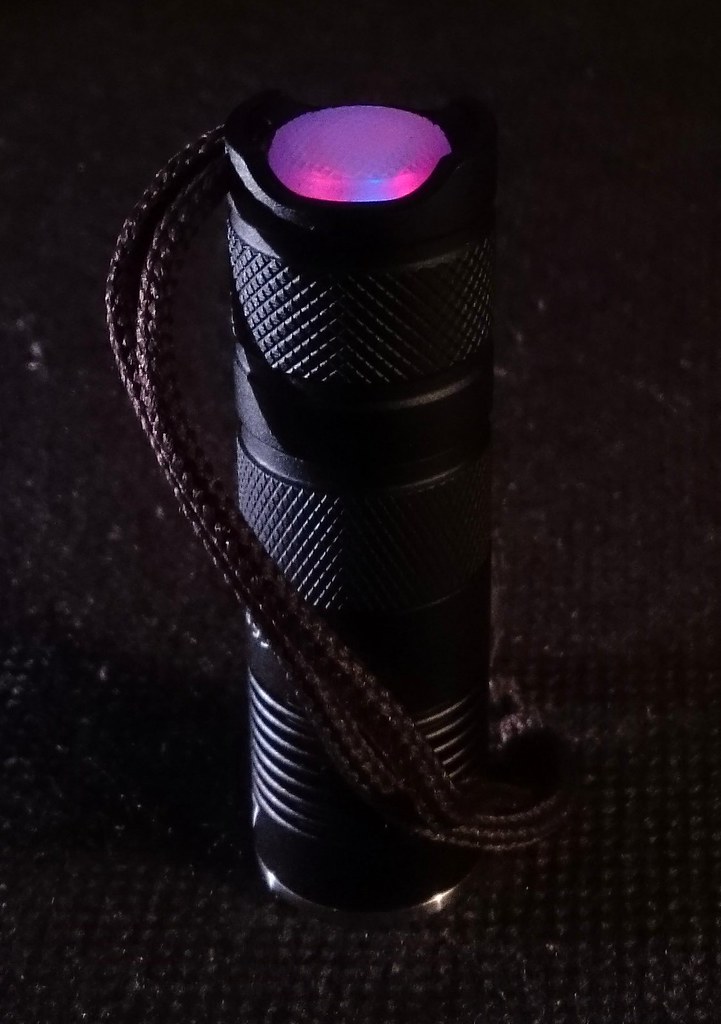
The leds are Nichia 219B V1 SW40 R9080 ( :heart_eyes: ) from Clemence. The board is a triple Noctigon sanded a lower diameter to fit the E2L. The driver a BLF-A6 driver from Banggood that I fixed for drop-out from turbo and I installed a 680 Ohm bleeder resistor. I changed the tail spring for a bit shorter one. I did no spring bypasses for these low voltage leds will run hot enough without them. I installed a lighted tail ring with 4 red leds and 2 blue ones, with a 6.8 kOhm resistor before each pair of two leds, at the rear a translucent silicon tailcap. A dark brown piece of cotton shoelace is the lanyard.
I like the result: using the A6 driver instead of a bistro driver allowed for a much brighter lighted tail, the E2L shorty with a 1200mAh Aspire battery is a perfect EDC-format, and it produces from a sublumen moon to 1280 OTF lumen of the IMHO best-tinted light on the planet.
Very nice light there, the aspire 18350 changes everything huh ![]()
I should try some CL Nichia’s, they are highly thought of.
Jos, I’m not following your logic on why an A6 driver would allow brighter tail cap than Bistro? You set the brightness level with your 6.8kOhm resistors, if you’d gone with 11kOhm they’d have been much dimmer (that’s what I tend to use, for longer battery life)
A6 never had a fall-out issue, it was the ATTiny85 in Bistro that had the issues. I’ve built lights up to 20,000 lumens with the A6 driver and never had issues.
Today I refined my Emisar D4. I had bored the tube for an 20700 and initially I used a copper spacer at the head, today I shifted to a brass 3mm spacer and a matching brass spacer at the head for the look of it. It’s pulling 17.6A for 3915 on a “B” cell and 21.14A for 4391 lumens on an “A” cell. ![]() Emitter’s are the Nichia 219C. By removing the spring from the driver and using a 3mm spacer at the tail, the 20700 cell just barely works… the tail spring is fully compressed to a single layer when assembled. Had to build up the ground ring on the tail cap pcb to allow it to work. Also moved the tail o-ring out to correspond to the tail cap so it maintains sealing. Seems simple enough to bore the tube, but it’s much more complicated than that. lol
Emitter’s are the Nichia 219C. By removing the spring from the driver and using a 3mm spacer at the tail, the 20700 cell just barely works… the tail spring is fully compressed to a single layer when assembled. Had to build up the ground ring on the tail cap pcb to allow it to work. Also moved the tail o-ring out to correspond to the tail cap so it maintains sealing. Seems simple enough to bore the tube, but it’s much more complicated than that. lol

Edit: Anyone picking up on the top end brass ring? I removed the step where it meets the head and put the brass ring there, so the battery tube isn’t exactly symmetrical anymore in looks. Notice at the tail cap there’s a groove, then back to the main tube surface, then a step up… at the top there’s the groove, then back to the tube surface, and the step up is brass. ![]()