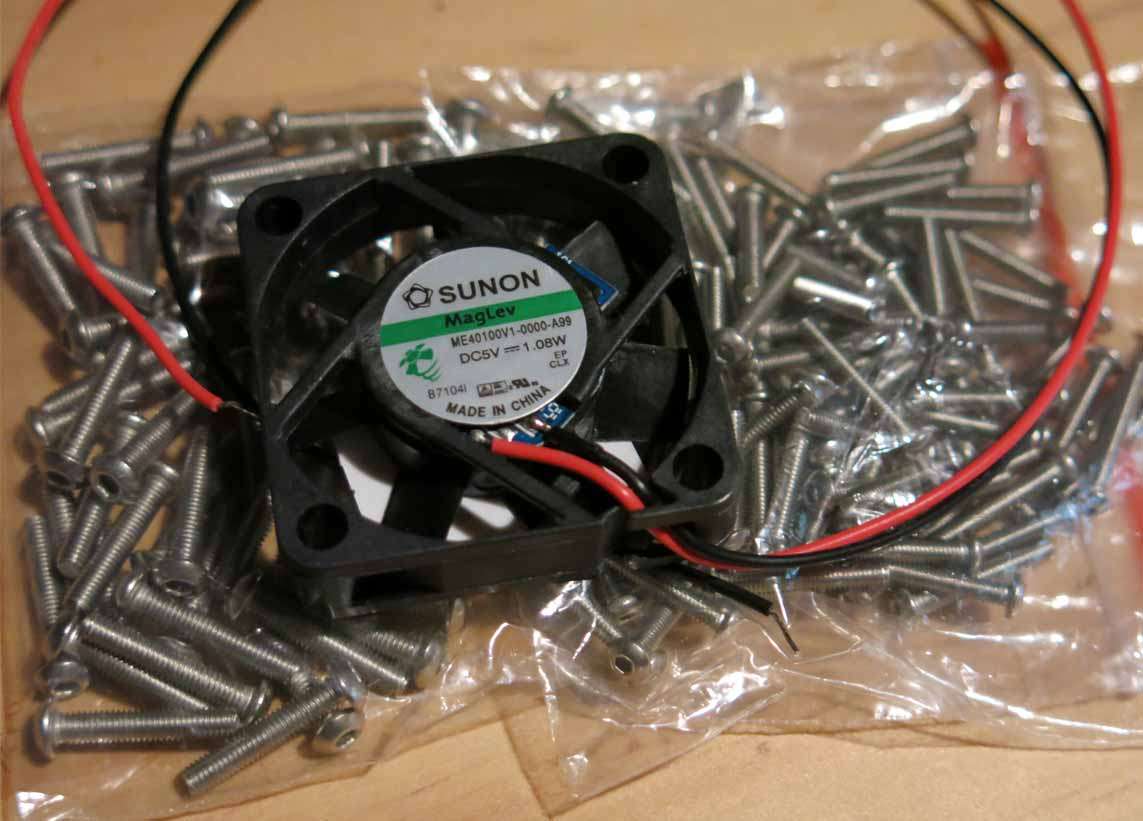
Being away last weekend nothing got touched on this build. I did receive some 2.5mm and 3mm button head cap screws and a fan which hopefully will somehow work its way into the torch for cooling.
Being away last weekend nothing got touched on this build. I did receive some 2.5mm and 3mm button head cap screws and a fan which hopefully will somehow work its way into the torch for cooling.
Active cooling, eh? Is that for the torch, or is it getting hot down there already?? :sunglasses:
Its for the torch. Its dam cold down here and its not warming up anytime soon. :weary:
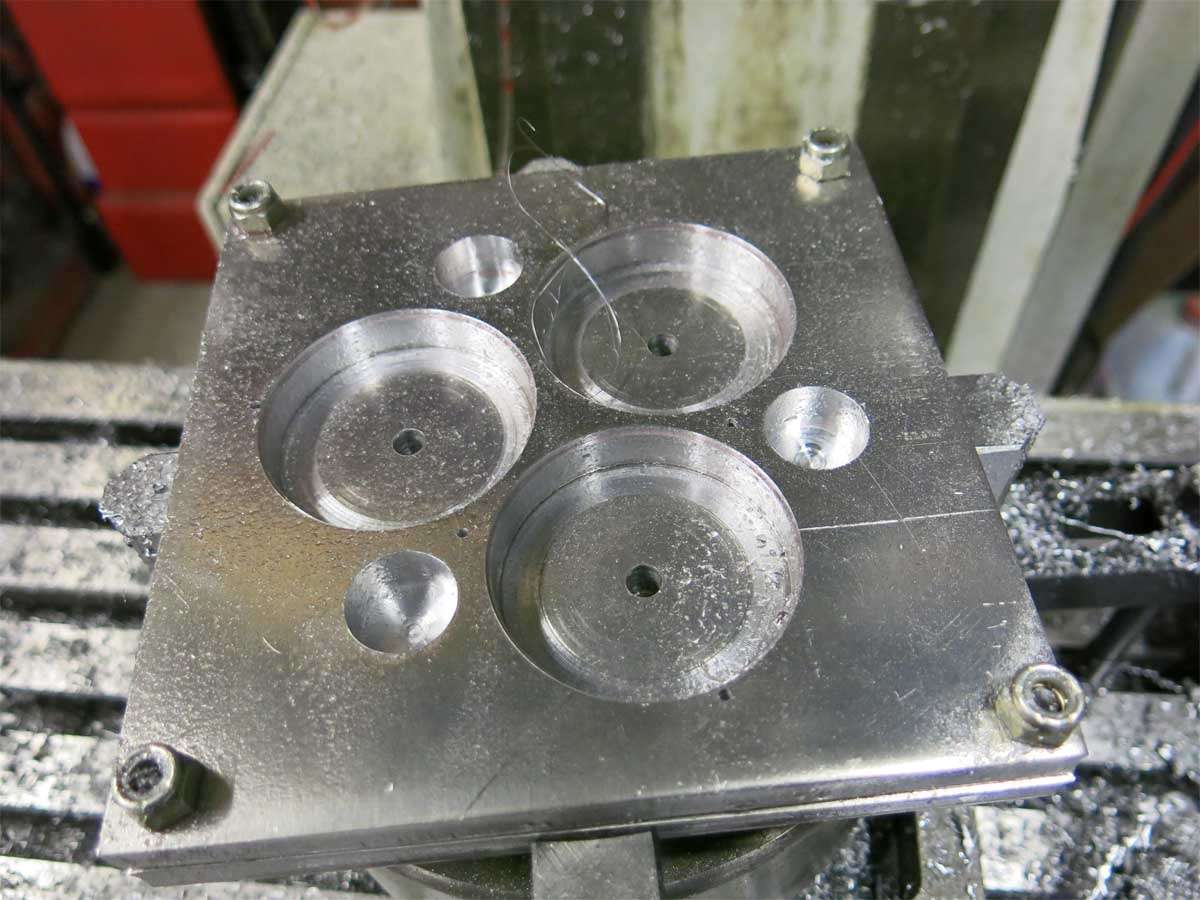
The process pretty much follows the same theme with the bezel retainer as it did with the bezel. Machining started of with three x 3/4’’ holes.
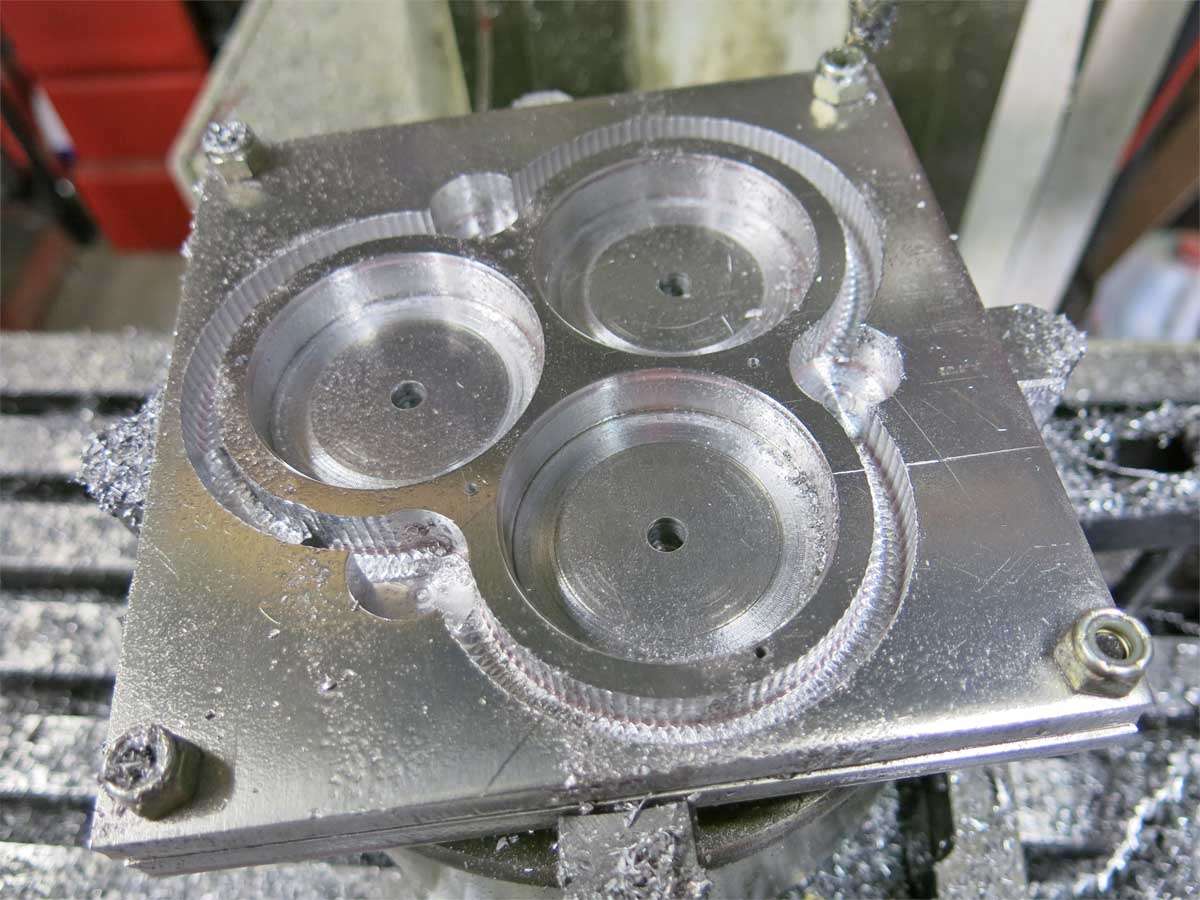
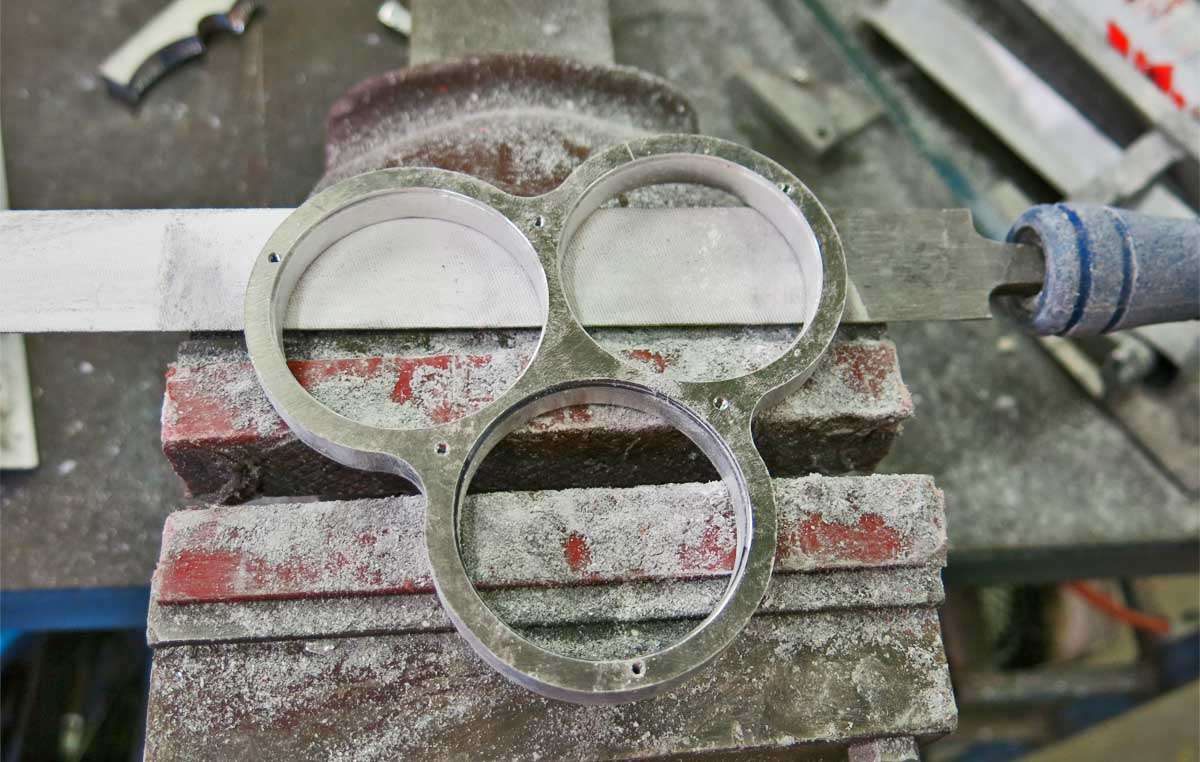
This was followed by plunge cutting 180 holes to end up with this shape.
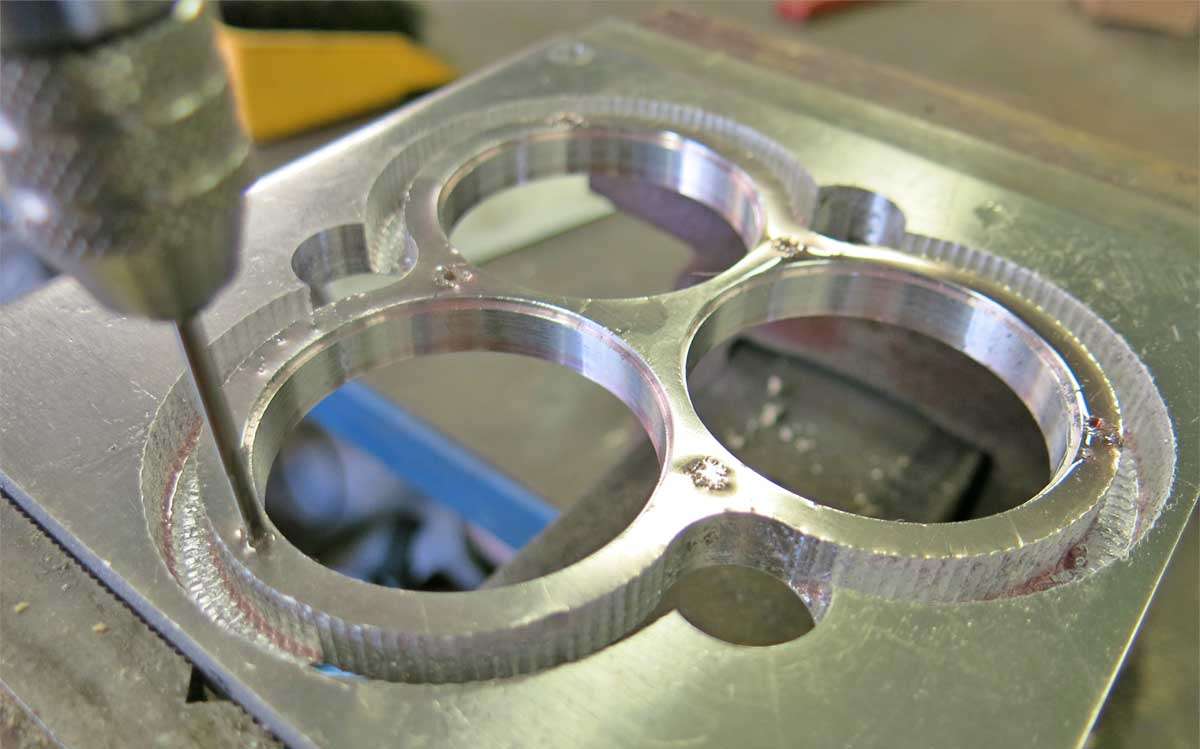
Tapping the six holes in the retainer was the most nerve racking part of the build so far with my reputation of snapping of small taps. These holes are tapped 2.5mm.
The bezel was then set up in the lathe held in the four jaw independent chuck so the reflector openings in the bezel could be tapered slightly. Of cause the bezel had to be positioned three times to do this.

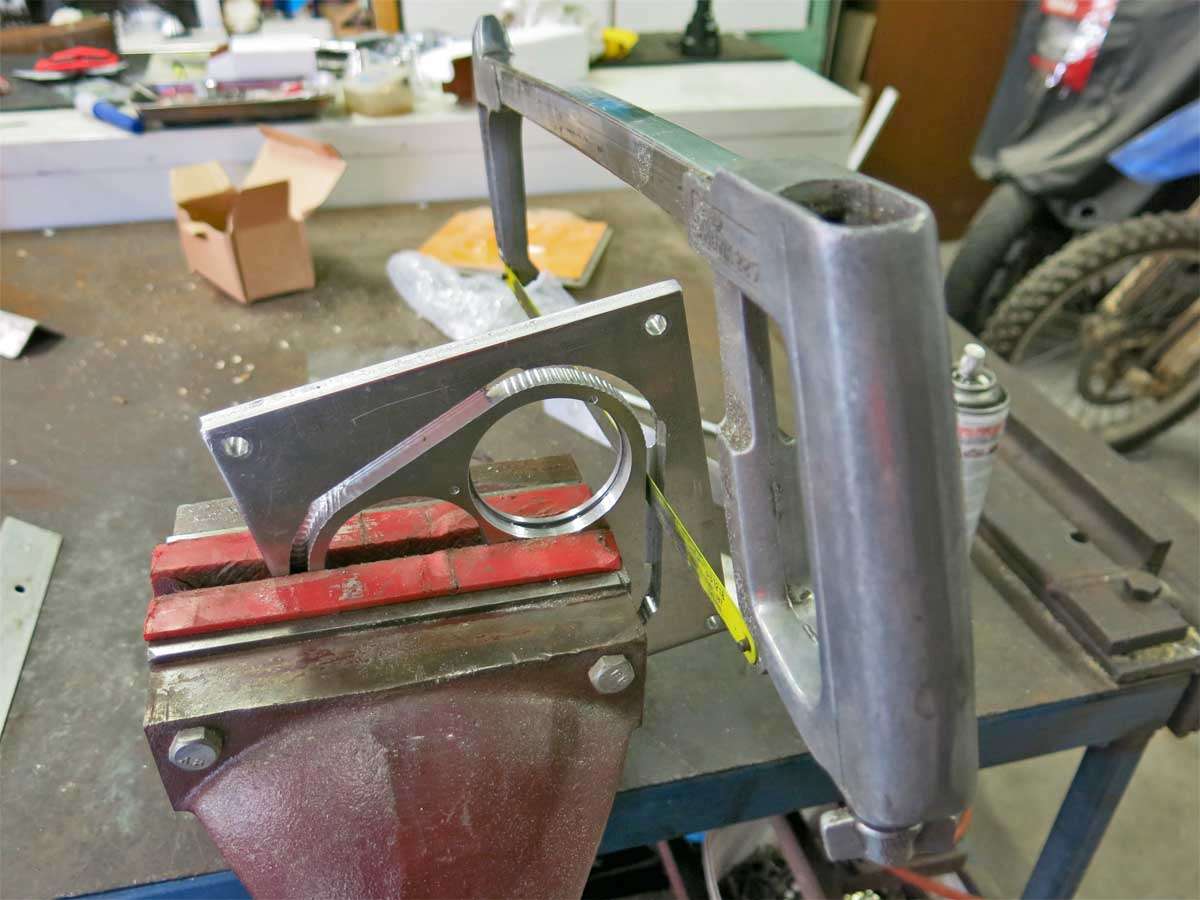
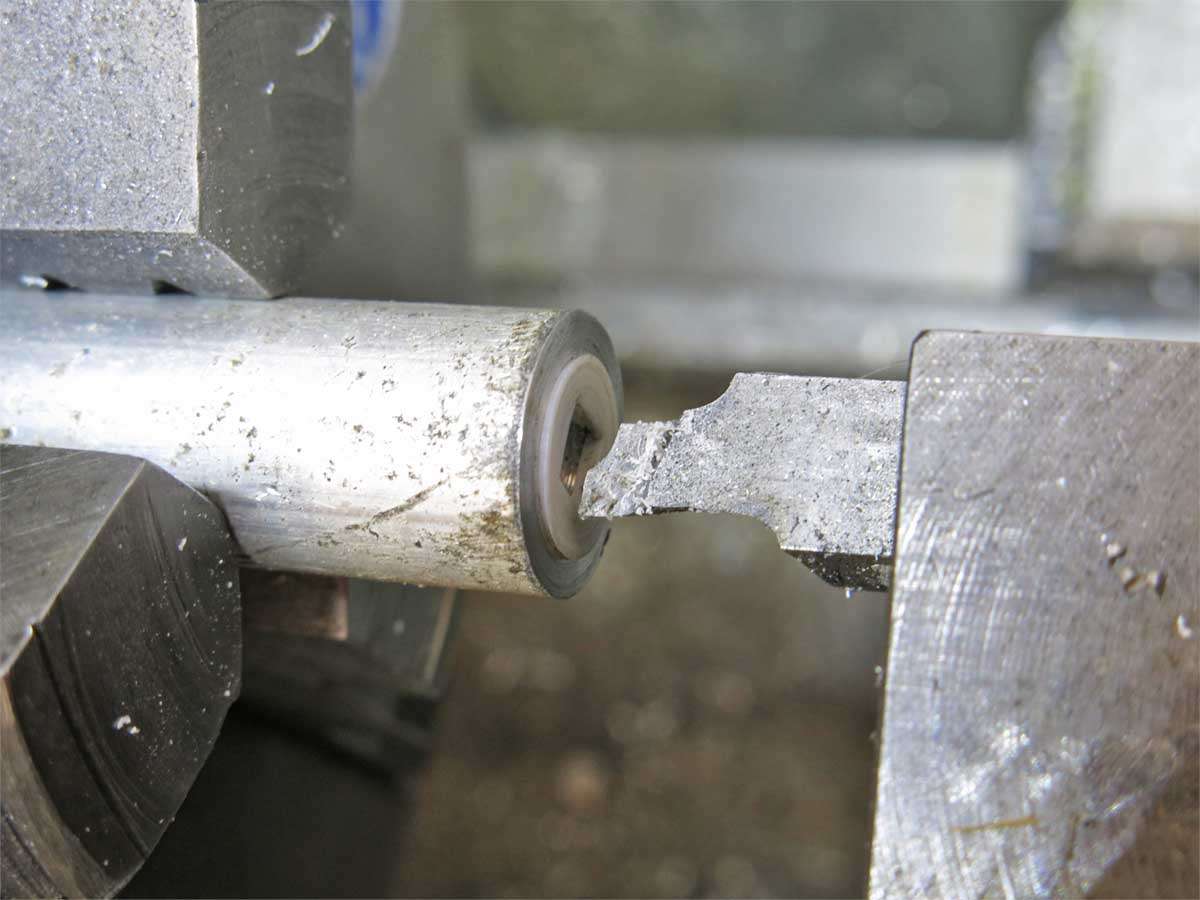
The hacksaw was then put to use to cut through the remaining aluminium in the slot to give us the rough final shape of both pieces.
With the help of a file and lots of chalk the parts started to take on their final form. The chalk in the file teeth helps stop the file clagging up with metal filings and scoring the filed surface.
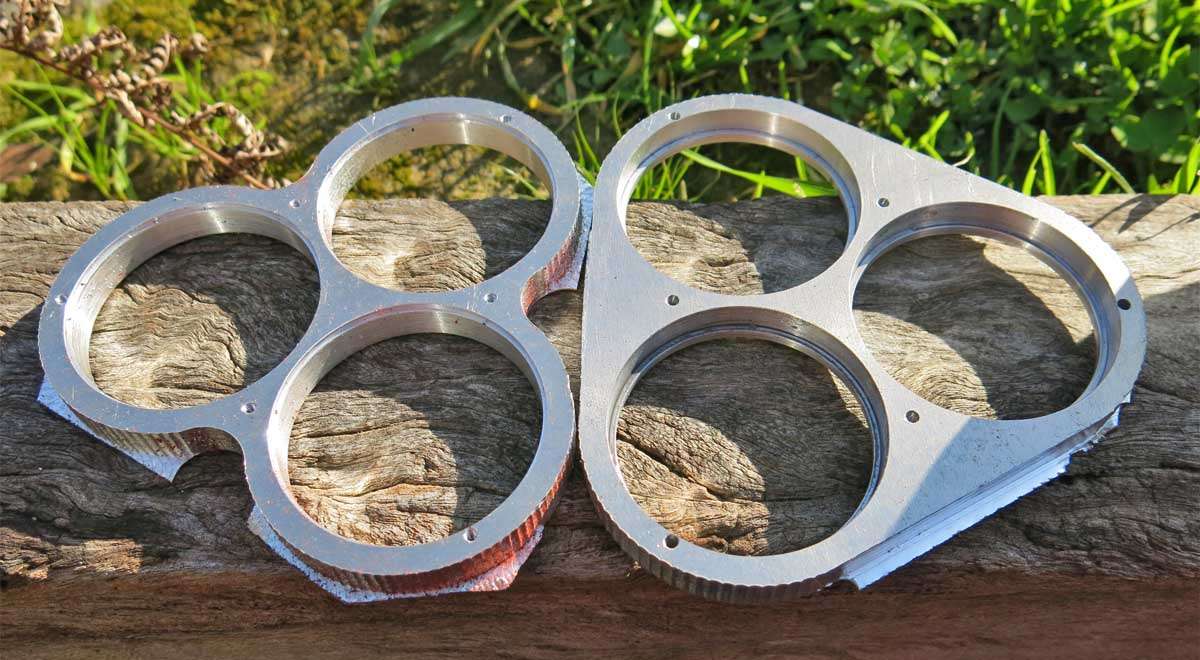
And here is the bezel and retainer after lots of filing and sanding. These are not polished or debured at this stage. I’ll do that later when the lights closer to completion as I’m sure I’ll get some scratching on them before its finished.
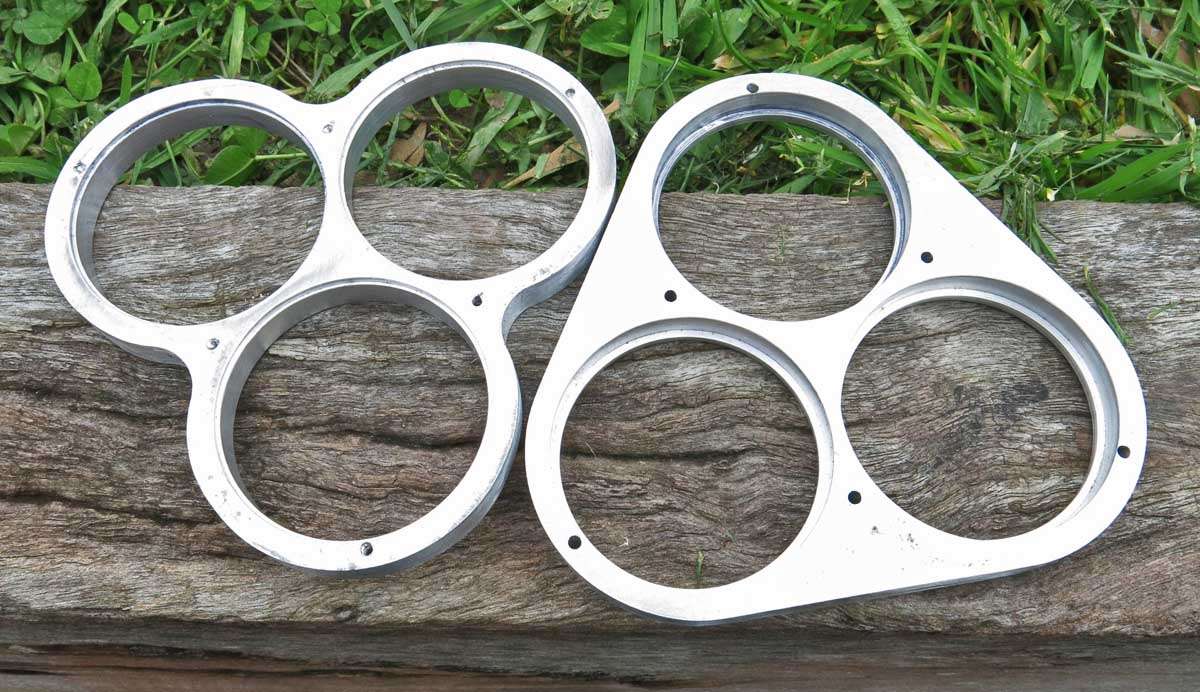
And finally the two parts bolted together.
Its now back to the drawing board to work out how to proceed next. :person_facepalming:
![]() :+1:
:+1:
That looks great :+1:
Oh my. :heart_eyes:
Skillz. :sunglasses:
This thread is making me thirsty lol Any one for some stubbies?
Going to the shop now ![]()
Sweeeet ![]()
great work hope to see the finished light soon
Just dont hold your breath on the finishing soon bit. ![]()
Just a small update today.
Lots of thought has been going on in my Moose mind which probably explains a lot, on how to incorporate the fan and drill lots of cooling holes without interfering with wiring and mounting holes for the different components.
I think I’m nearly there so just going to carry on.
This has been redrawn a dozen times and hopefully with a few more holes in it I can start machining. This part will have the reflectors threaded into in and also locate the MCPCB’s which will be screwed down into the next section which will house the fan.
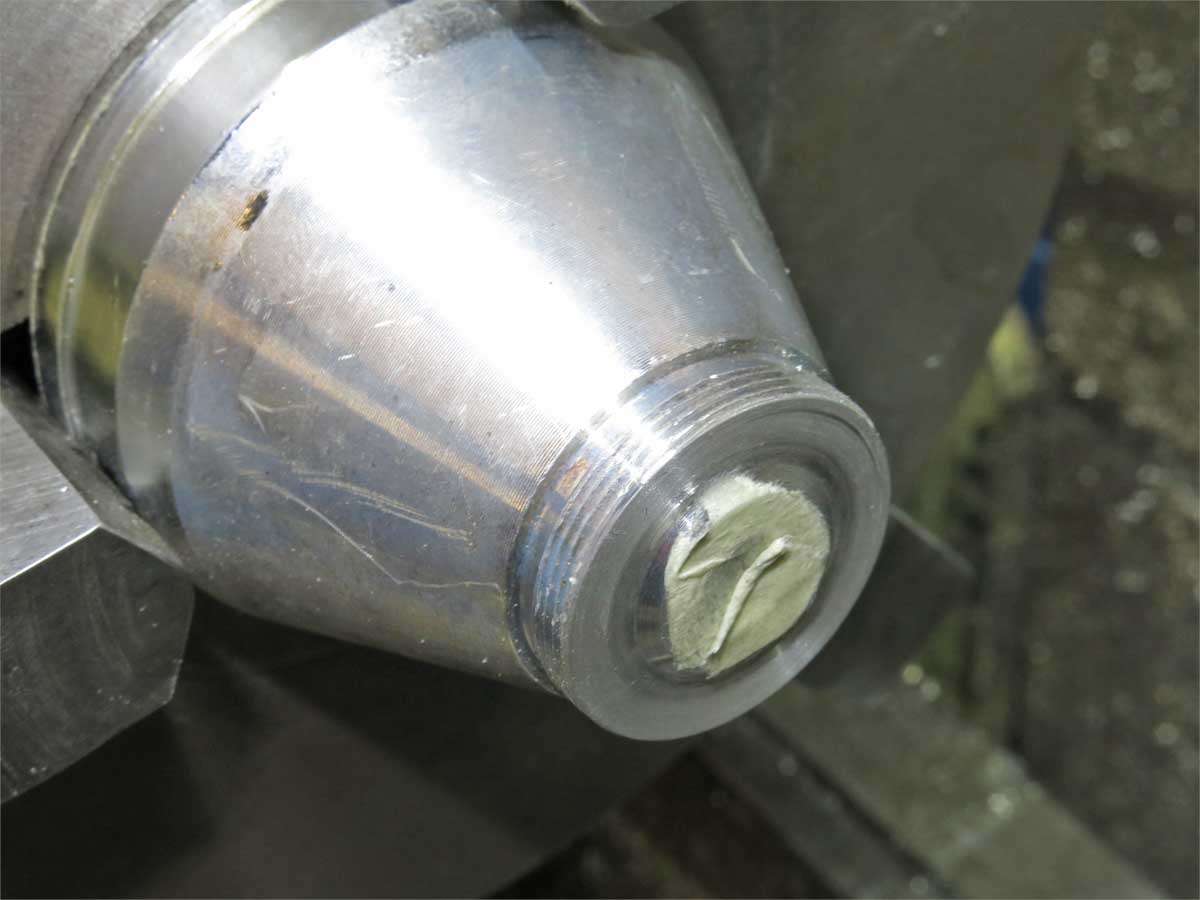
The test reflector was placed into the three jaw chuck to machine the ends of the threads off flush with the base to give clearance for the wiring.
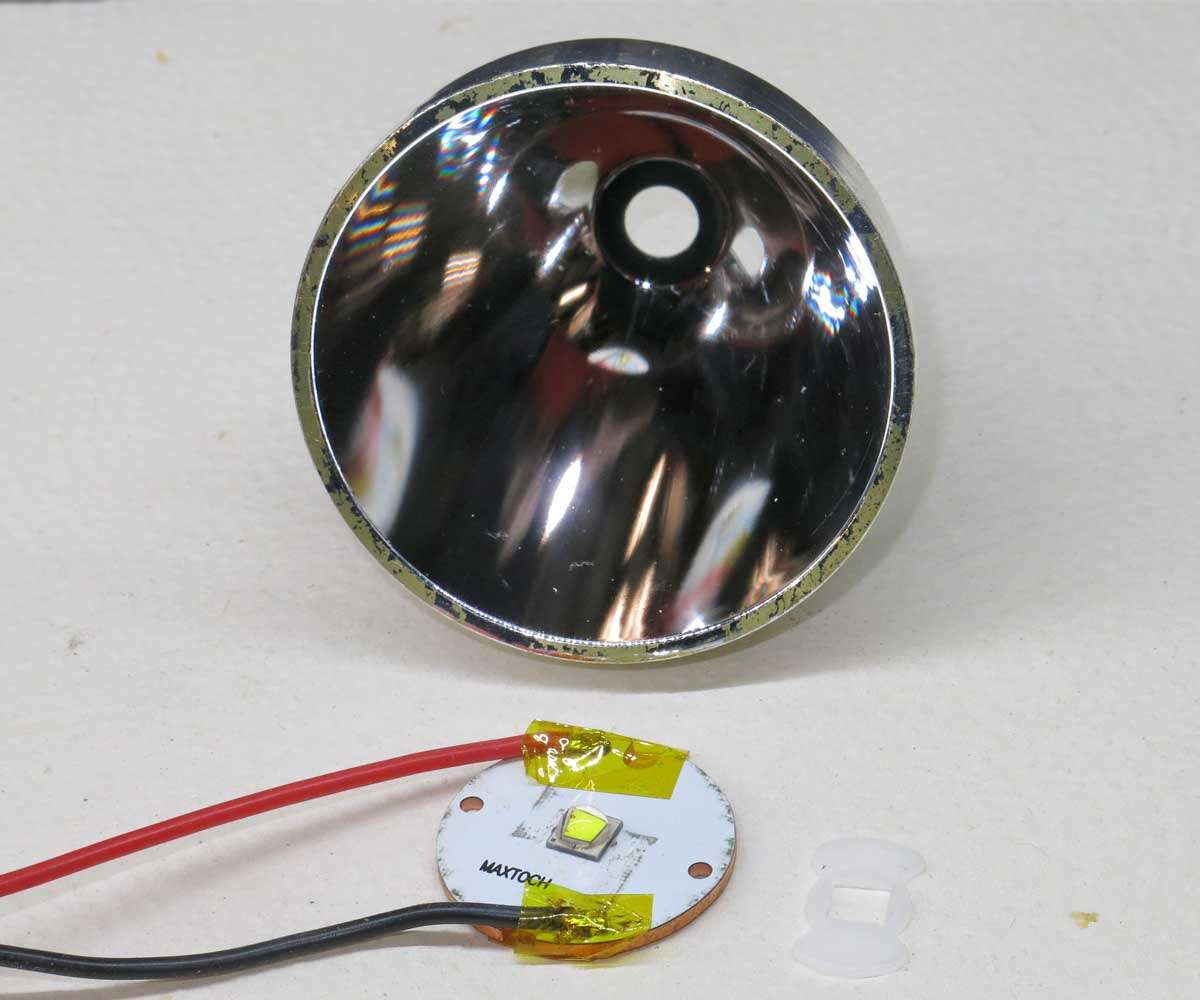
To tune the reflector to the led different width isolators were used.
This was an interesting exercise tuning the reflector as by shining the light on the door of the shed the further into the reflector the led was the smaller brighter the hot spot appeared.
On getting the light meter out to test what I saw with my eyes a different story emerged. The highest reading on the light meter at about 4 meters was with between .6mm to .8mm isolator. This gave a larger hot spot and a fair amount of spill compared with having the reflector base sitting on the base which gave a clearly defined tiny hot spot.
Looking like fun…. wish I had a lathe.
You could only take so much of with the lathe. It was taken down to .25mm thickness by hand.
![]()
Awesome built so far ![]() good luck with the rest!
good luck with the rest!
Looking pretty good - those small taps are fun to work with sometimes :person_facepalming:
Where can I get one of those magic hacksaws??
I didn’t know about chalking the file - thanks for the tip! ![]()
Welcome back FmC. That went quick. The magic hacksaw came from The Millers picture. ![]()