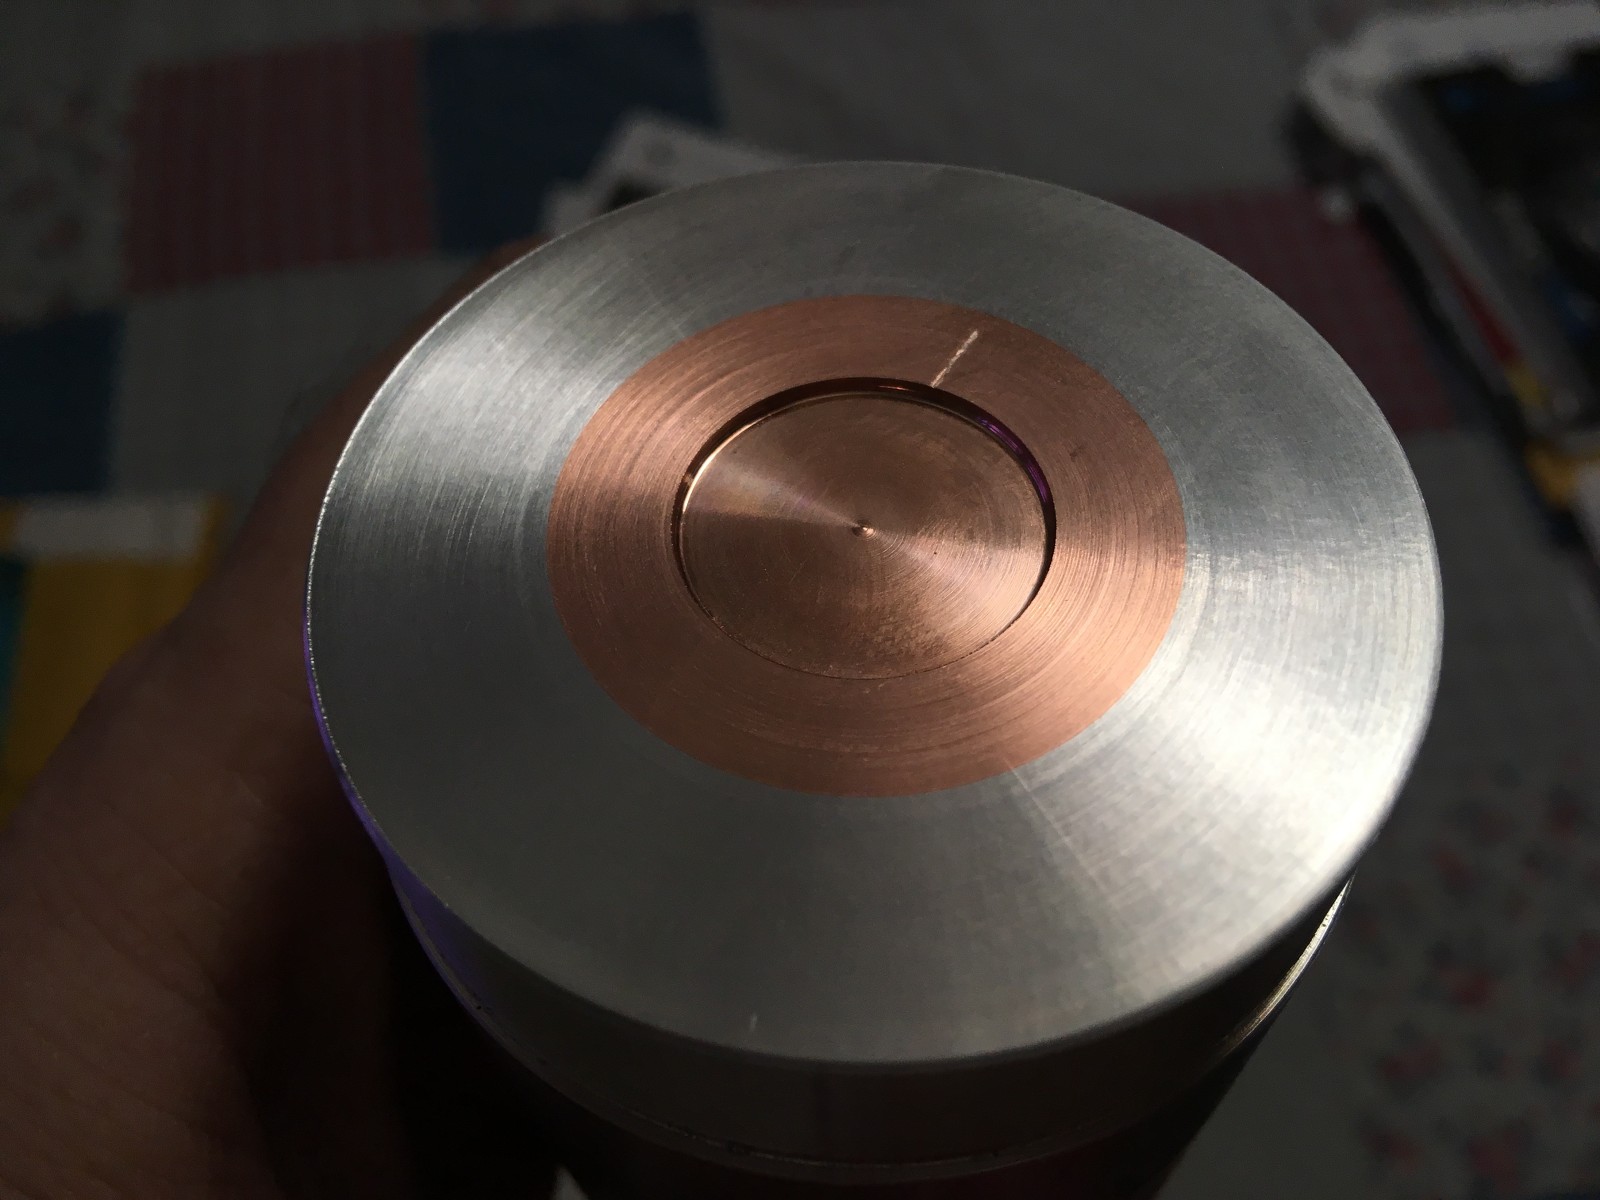
I waved my magic Grizzly at a bar of aluminum and turned it’s heart into gold. Er, well, copper anyway.
The copper pill is 35mm diameter and 35mm deep, with the top 10mm smooth and mated to the aluminum battery tube, the lower 25mm is threaded at 0.75mm thread pitch and has a driver bay cut in. This will be DBC-06.
Thanks robo, the tube is bored for a single 32650 due to it’s 6000mAh capacity. I have the reflector out of my Olight SR-90 Intimidator and am working out how to mount it, so I’m going for a thrower here… when I first got the Intimidator I had it doing 665Kcd in the big light with a de-domed XM-L2, so I’m hoping with the better emitters out today I can hit a mile. That’s the project goal anyway.
I’ve got a big 4 1/4” diameter chunk of 6061 in the chuck of the lathe and need to get back out there spinning it up…
Edit: Will try to remember to shoot a pic of this massive hunk of aluminum in the 5” jaws, before my hands get all oily and dirty.
Could be needed, or use two in series with buck driver.
Or for a modern led like 219C, XP-L2 or Luxeon V, a LiFePO4 cell together with a lineair or direct driver will form a very efficient flashlight, although the led will not quite be driven to the max.
Otherwise you would need to get them from aliexpress, and that would require a minimum order quantity, complicated shipping and import papers, etc etc etc.
3.2v actually, but yeah you would need a boost driver for most LEDs.
For me, even with a 1s flashlight I would like a boost driver because I thoroughly hate direct drive.
I think it would be pretty crazy if someone built a flashlight to use these massive batteries though
It’s been a while since I started to think about this, but as I am not a chemist, I took a while to perceive that I had at home all I needed!
So, today I decided to mod the Sofirn SF10 host!
Sure;) I followed djozz video in some things, so the process was quite simple, despite the precautions that must be taken.
In detail:
1 - I took everything out of the flashlight (internals, o-rings, clip)
2 - I put black adhesive tape on the threads to avoid water from entering, BUT during the process I ended up taking the tape out because this particular host can be ALL stripped, inside and outside, as there are no ways to make ‘shorts’, and the threads don’t allow physical lock-out. They are not anodized.
3 - I put some “pearls” of caustic soda (I had a bottle of drain cleaner, to clean the kitchen or WC pipes) inside a glass and added some water. I mixed it up smoothly (already with gloves and googles, to avoid skin contact).
4 - Then I started to put the flashlight parts inside the glass and checking how they were! I often cleaned them with flowing water to check the state, and re-inserted them on the glass. I also used an old tooth brush with the solution in the glass to “polish” the knurling in some points. ALWAYS WITH GLOVES
5 - When the parts were all “de-anodized” I washed them with flowing water and dried them with kitchen paper. After this, I lubricated the threads again and put everything back on its place
I took few photos as I was with gloves and with caustic soda on the hands so…
Here they are :
I’ll probably end up trying to make this in other lights as well!! Even my girlfriend said this light was prettier
Please be careful with the “needed” anodization, like threads or other important parts! :+1:
OH: One thing I forgot to mention is that I made this in my kitchen and I kept the exhaust ON to help on air ventilation!! The smokes and vapour and smell is quite nauseous!!
I got my first BLF Q8 in yesterday. It looked fabulous and worked the same, making 5409.6 lumens right out of the box on a set of Sony VTC5A with copper buttons soldered to the top. But of course, I felt like 5000 lumens was too weak, so…
I started off with small changes and checked for the differences with freshly charged cells. Like, I swapped out the screws for brass ones. Boom! 328 lumens for a mere brass screw installation. So I tried an UCLp lens swap, not so much gain, only 41 lumens, not worth buying a lens for. Then I pulled the pcb with springs from the tail, removed the dual springs, and re-flowed them onto a copper sheet cut to fit the tube. That netted another 93 lumens. So then I put 22 ga wire bypasses inside the dual springs. Tedious stuff, that! And it made the single most difference, 1214.4 lumens gained for the effort!
Then I decided to get real, I pulled the driver, replaced the leads with 18Ga Turnigy wires, removed the MOSFET and used a premium Vishay SIRA20DP, swapped the XP-L V6 3D emitters for new XP-L2 V6 1C. And a whopping 3000 lumens gain!!!
Yes, the Q8 started at 5409.6 and did 5213.64 at 30 seconds, now it makes an outstanding 10,212 lumens at start with a drop to 9,177 lumens at 30 seconds. I don’t have a way to measure amperage, but I don’t think I really want to know…. (of course I know how, I just don’t want to!) [based on previous experience, amperage is going to have to be up around 28A to maybe 30A, ridiculous, I know]
Nice work there, too I guess I won’t shorten it due to batteries and springs, but thats nice
I also thought about a illuminated tailswitch, I’m going to buy one for this and maybe for other lights
And then, driver and LED modification!
Thanks for sharing :+1: