DMM Aneng Q1
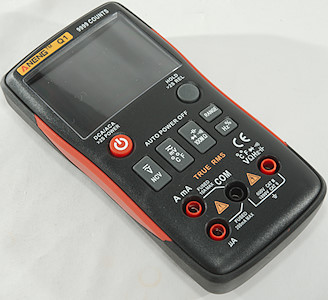
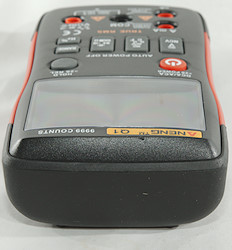
This is a new (Spring 2018) meter with the Aneng label and without a traditional range switch, instead it uses some buttons. The display is inverted and always use the backlight to be readable.
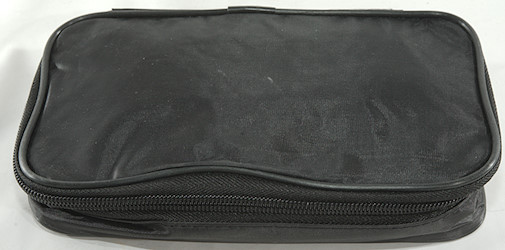
It did not include a box, but was delivered in an envelope that contained the pouch.

Everything was inside the pouch.
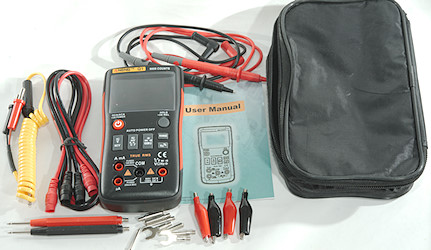
It included the DMM, two pair of probes, a thermosensor and a manual.

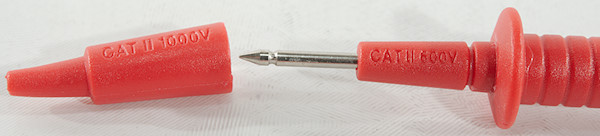
The standard probes has removable tip covers. It is rated CAT II 1000V with covers and 600V without.
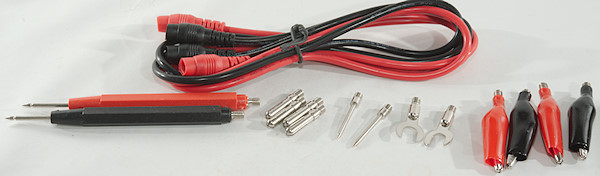
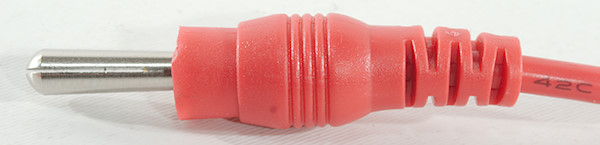
The other set of probes feels rather low quality, but has some nice functions. They consist of two wires with threads at both ends and a couple of different tips that can be mounted in each end. It is slow to use, but very flexible.

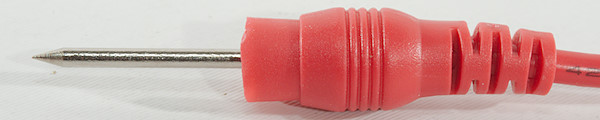
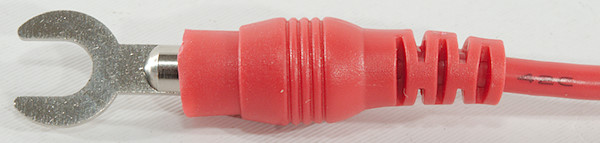
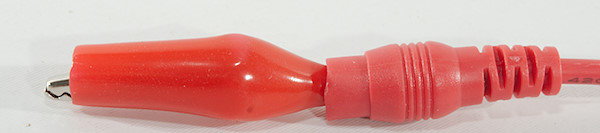
Here are all the different tips.

The thermosensor is a real probe, not just the small bead at the end of wires.
I am not convinced that this is better than the bead, that is smaller and easy to stick on just about any surface with some sticky tape (Buying one as supplement is cheap).

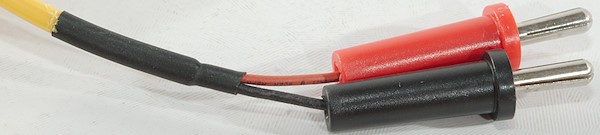
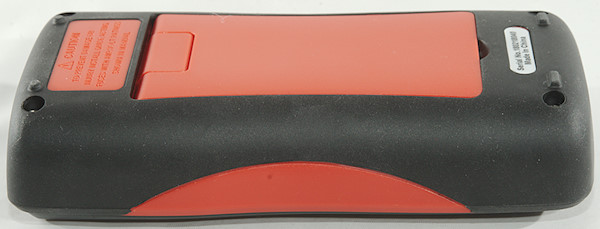
The red plastic is hard and smooth, the black is slightly soft and feels rubberized
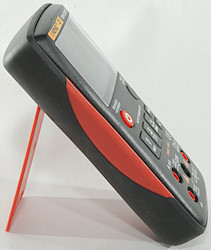
When on the tilting bale the meter will slide when the buttons are pressed.
Display
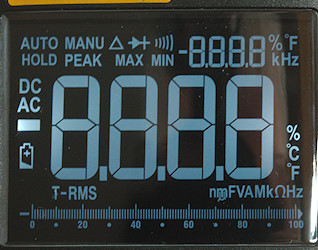
The above picture shows all the segments on the display, the bargraph is cheating, the segments are grouped and turns on together, the means the actual resolution is about 30.
Not all the segments are used on this meter.
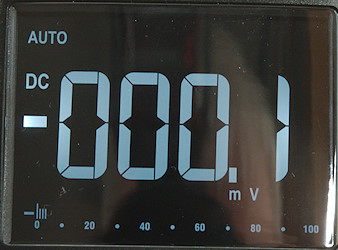
In DC, ohm, capacity only one value is shown, the secondary display is not used.
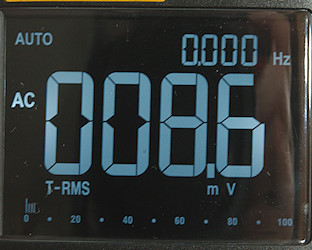
In AC the secondary display will show frequency or duty cycle.
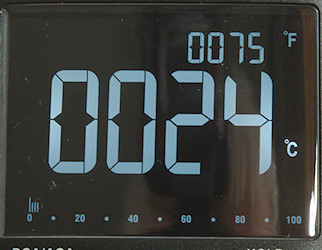
In temperature the secondary display is used for Fahrenheit, it is not possible to swap the two values.
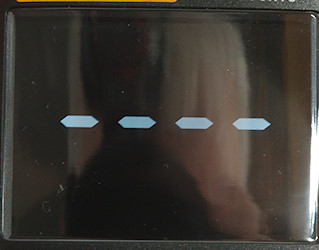
Non contact voltage will show from one to four bars depending on the electric field strength.
Functions
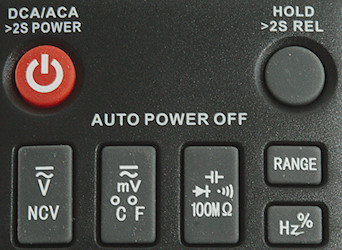
Buttons:
-
 : Hold down to turn meter on/off, a fast press is used to select DC/AC when a plug is in the current terminals.
 -
Hold: A fast press will freeze the display reading, holding down will remember the current reading and show subsequent readings relative to this (This will also switch to manual range while active).
-
V & NCV: Select VDC, VAC and NCV (non contact voltage)
-
mV & C°: Select mVDC, mVAC and temperature.
-
 : Select ohm, diode & continuity and capacity (diode & continuity is one range showing voltage).
 -
Range: Switch to manual ranging, hold down to select auto ranging.
-
Hz%: Can be used when the secondary display shows frequency and will move frequency to main display and show duty cycle in secondary display.
There is no switch for current, it will automatic be selected when a plug is inserted in uA or A terminal.
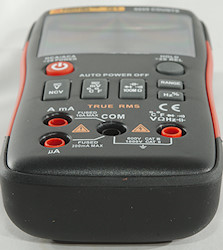
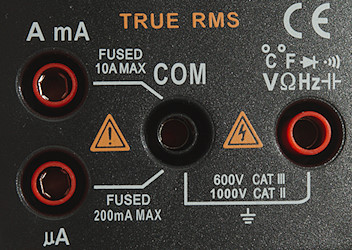
Input
-
A mA: A very low burden voltage mA range and a 10A that cannot really handle 10A.
-
uA: uA range.
-
CON: The common terminal for all ranges.
-
xxx: All other ranges.
Standard probes will work, but can not be fully inserted.
The A & uA terminals both are 19mm from the COM terminal.
Measurements
-
Volt and frequency
-
1 VAC is 5% down at 2kHz and a bit unstable (RMS will not work at the frequency).
-
At 0.01Vrms input on mV AC frequency range without Hz selected is from 1.2Hz to 500kHz
-
At 0.1Vrms input on mV AC frequency range with Hz selected is from 1Hz to 5MHz
-
Frequency counter and duty cycle requires a zero crossing
-
Input impedance is 10Mohm to 11Mohm on DC and AC
-
mV range is high input impedance for DC up to about 1.8V, then it drops to 2kohm, mV AC is similar, except it is capped by a 10Mohm resistor.
-
Duty cycle works from 2% to above 99% at 100kHz with 1Vpp, precision is within 0.2
-
Frequency input is high impedance up to about 1.8 volt, then it drops to 2kohm
-
-
Current
-
There is a software bug: Diode & Continuity mode will not change to current mode.
-
9.9A range will change significantly when current is in the 5-10A range due to heating.
-
9.9A range will give an audible alarm when current is above 9.9A (uA will not).
-
uA range is protected with 0.2A/250V 5x20mm fuse
-
AmA range is protected with 10A/250V 5x20mm fuse
-
-
Ohm, continuity, diode and capacity
-
Ohm needs about 2.6s to measure 100ohm
-
Ohm voltage is 1V open and 0.41mA shorted
-
Diode & Continuity is same range and will show voltage, not ohm.
-
Continuity is moderate speed (About 80ms).
-
Continuity beeps when resistance is below 33ohm.
-
Diode & Continuity voltage is 3.2V with display of up to 3.000V with 0.14mA, maximum current is 1.8mA shorted
-
70000uF takes about 9 seconds to measure.
-
10uF takes about 4.7 seconds to measure.
-
-
Miscellaneous
-
A beeper will sound shortly before the meter turns itself off
-
Current consumption of meter is 20mA
-
Standby current consumption of meter is 1.5uA
-
Meter works down to 2.5V where backlight is too weak to see digits, battery symbol turns on at 2.4V
-
Readings are stable with changing battery voltage.
-
Backlight changes brightness with voltage.
-
In bright light it is possible to weakly see digits at lower voltage.
-
Viewing angle is good, except from the top.
-
Display and bargraph updates around 3 times/sec
-
Bargraph looks like high resolution, but the segments are grouped.
-
Backlight is always on.
-
Will automatic turn power off in about 5 minutes.
-
The meter usual need a couple of display update to reach the final value.
-
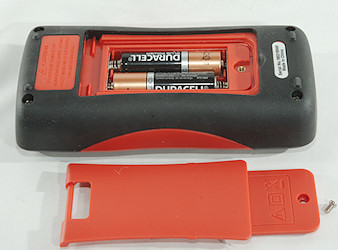
Weight is 219g without accessories, but with batteries.
-
Size is 145.3 x 73 x 33.5mm
-
-
Probes
-
Probe resistance 29mOhm for one.
-
Probe wire is fairly soft and 65cm long.
-
The probes with replaceable tips has 49mOhm with 4mm plug.
-
The probes with replaceable tips has 87cm long fairly soft wires.
-
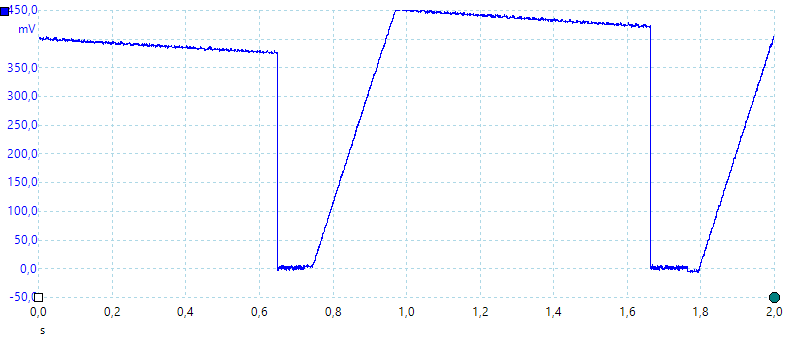
A look at the capacity measurement waveform.
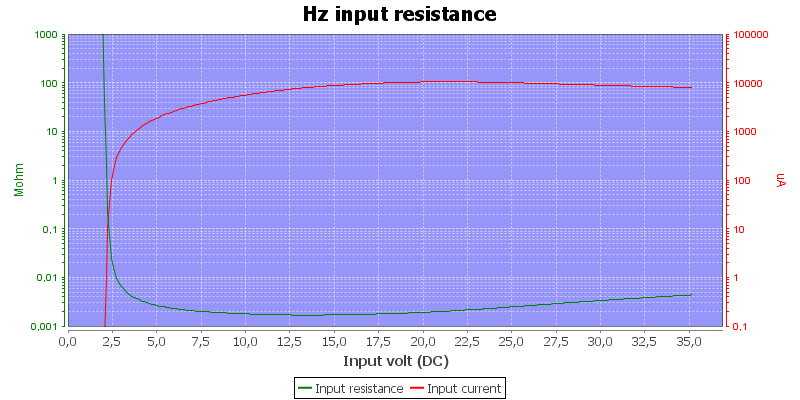
Frequency input resistance.
The uA range uses about –88uA for sense and has a –18mV offset on both AC and DC, the meter is precise on the range, but this affect the burden voltage.
A range will heat up near 10A and drift significantly (0.5A).
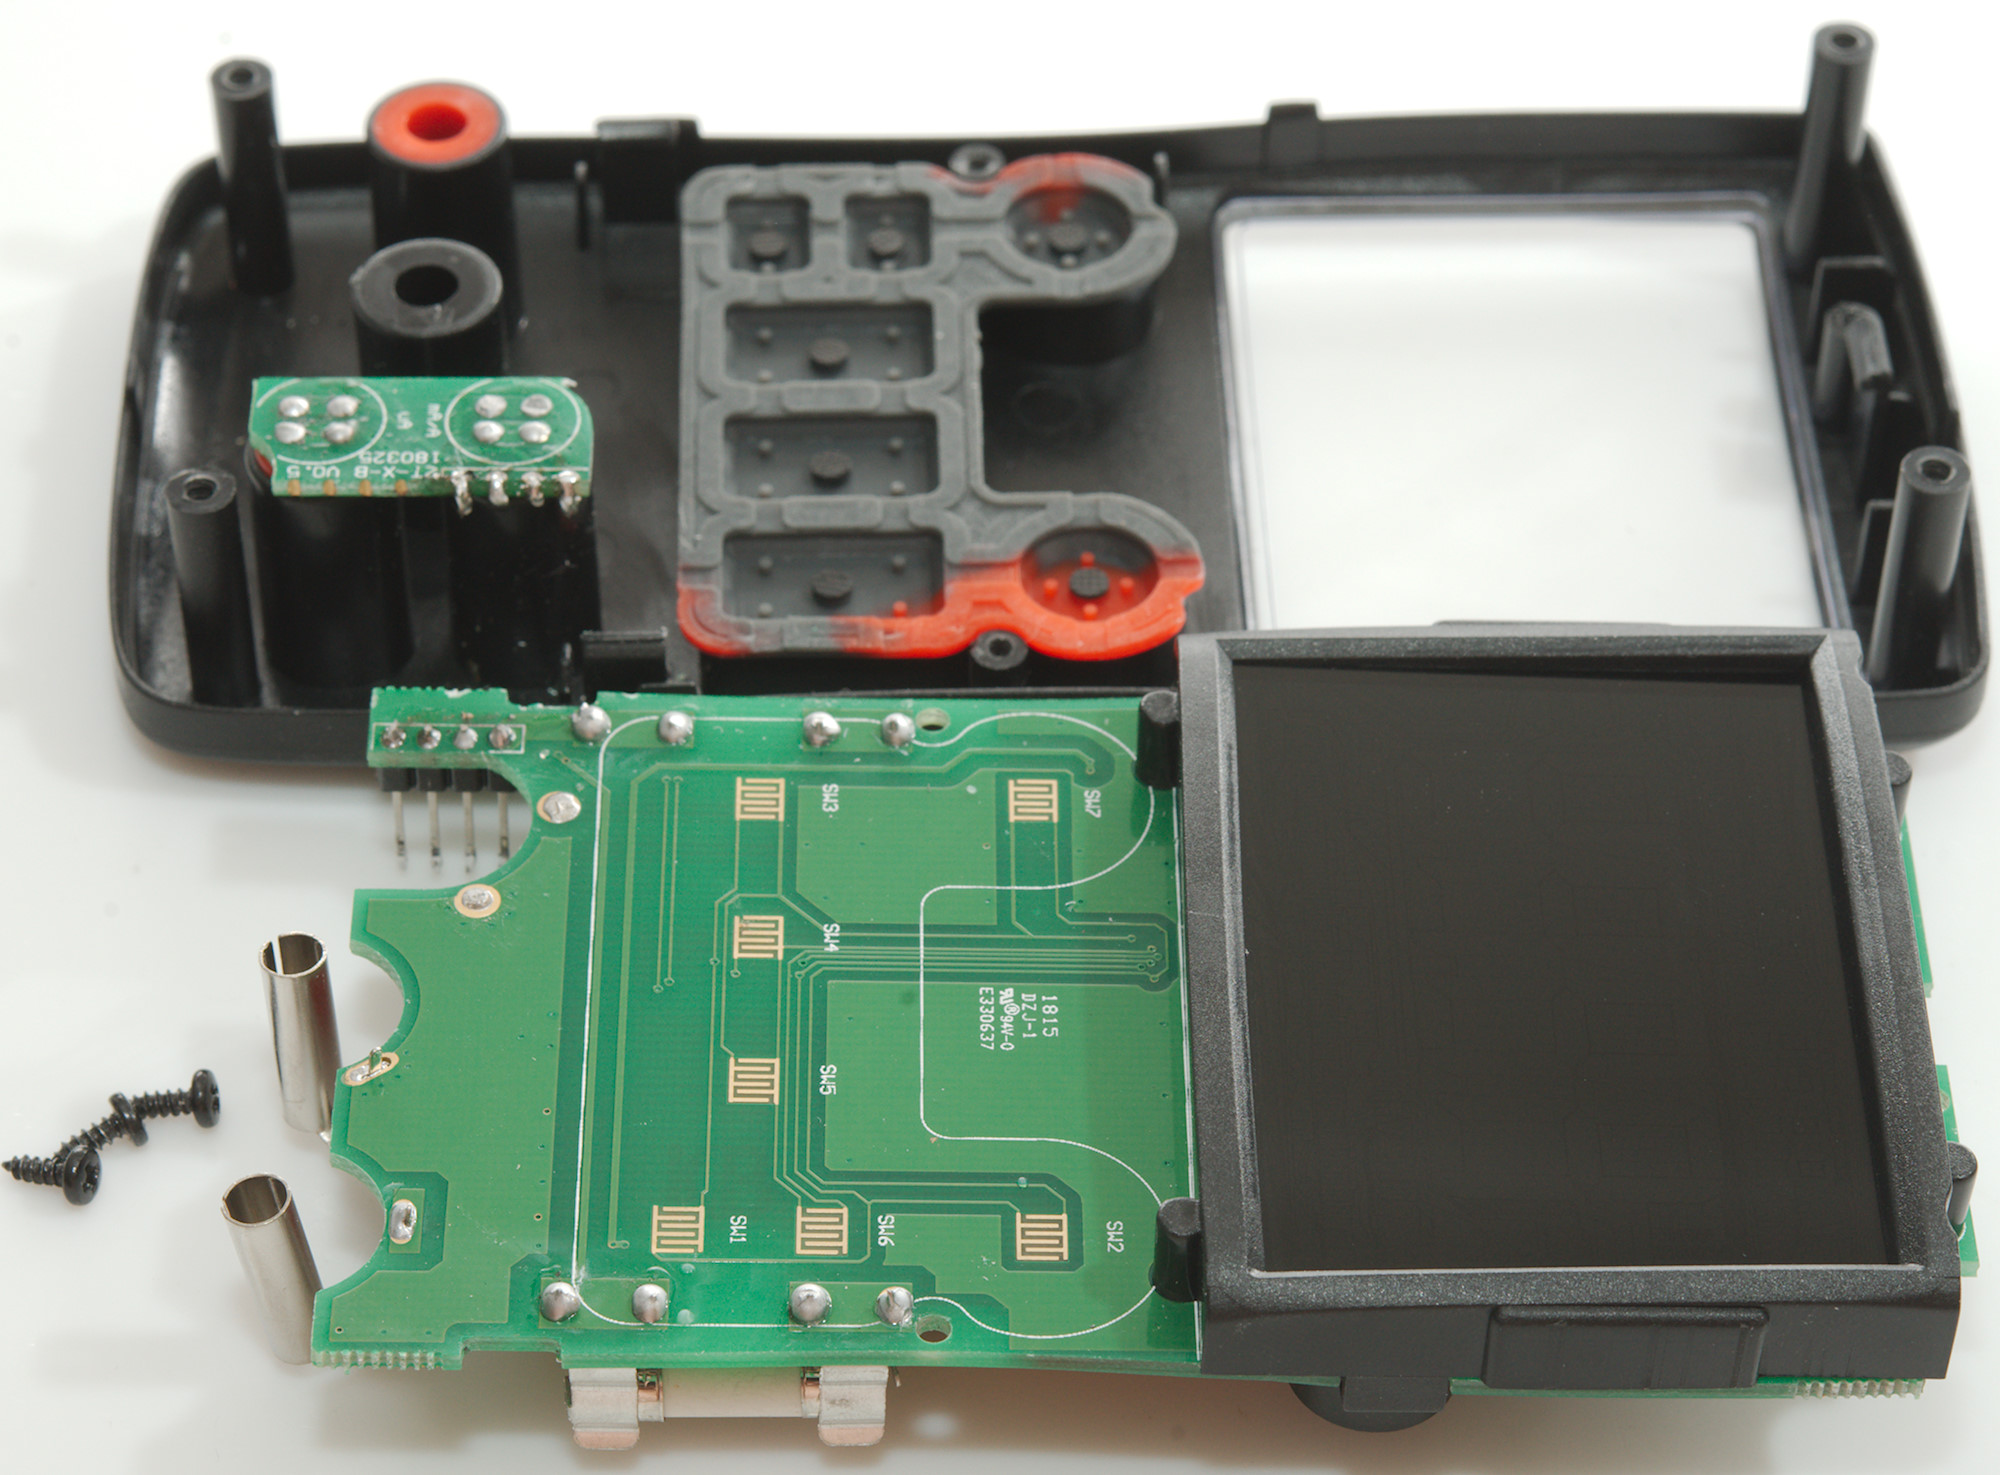
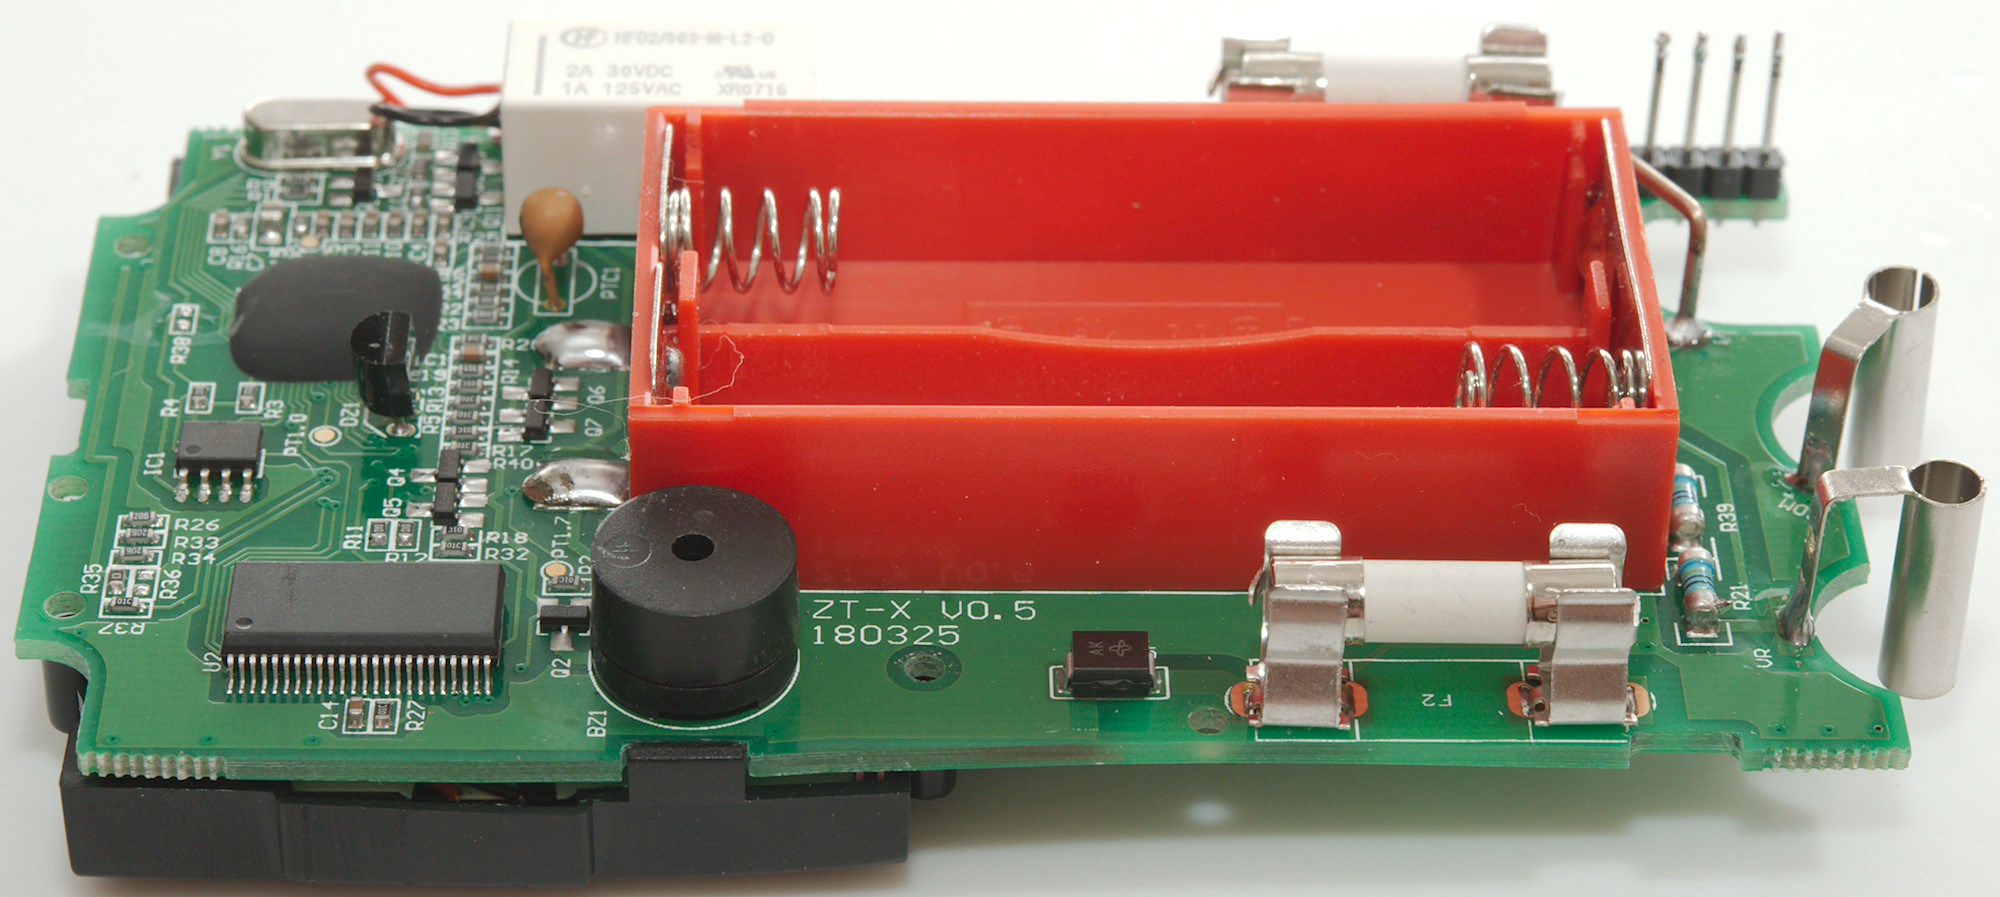
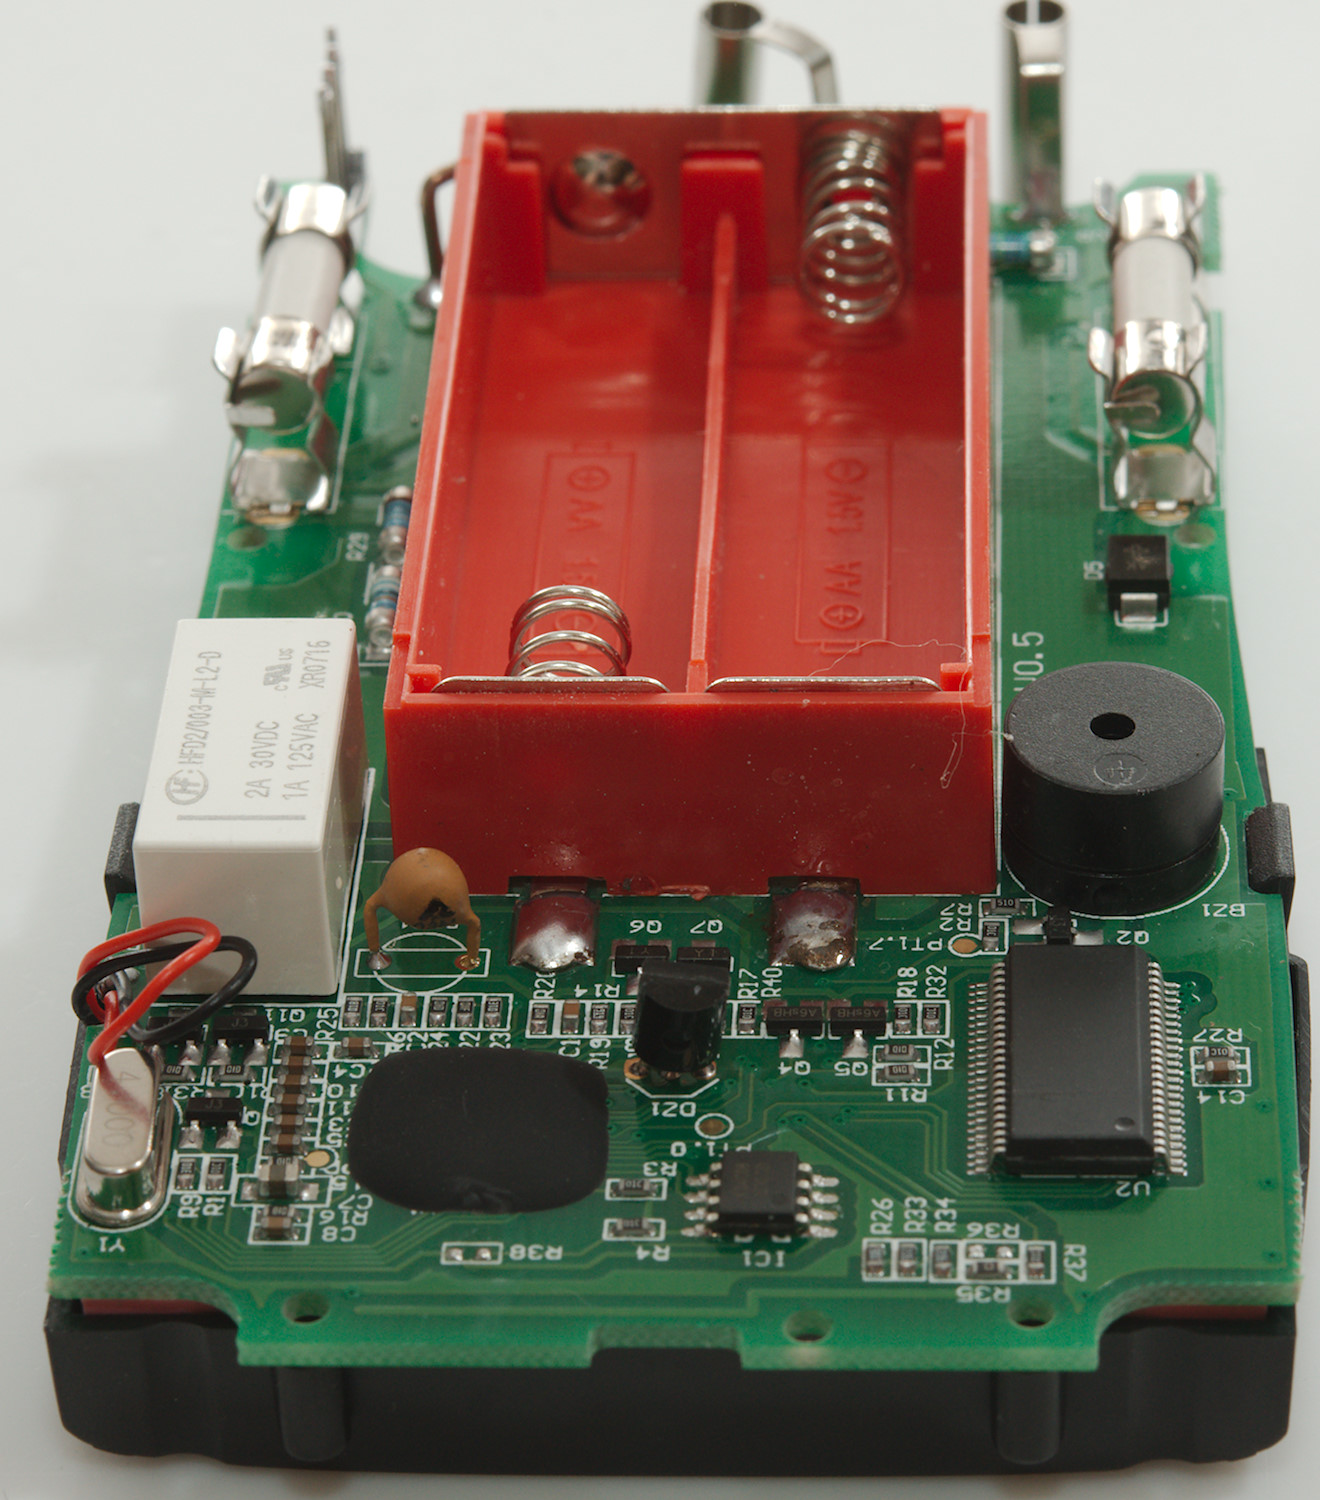
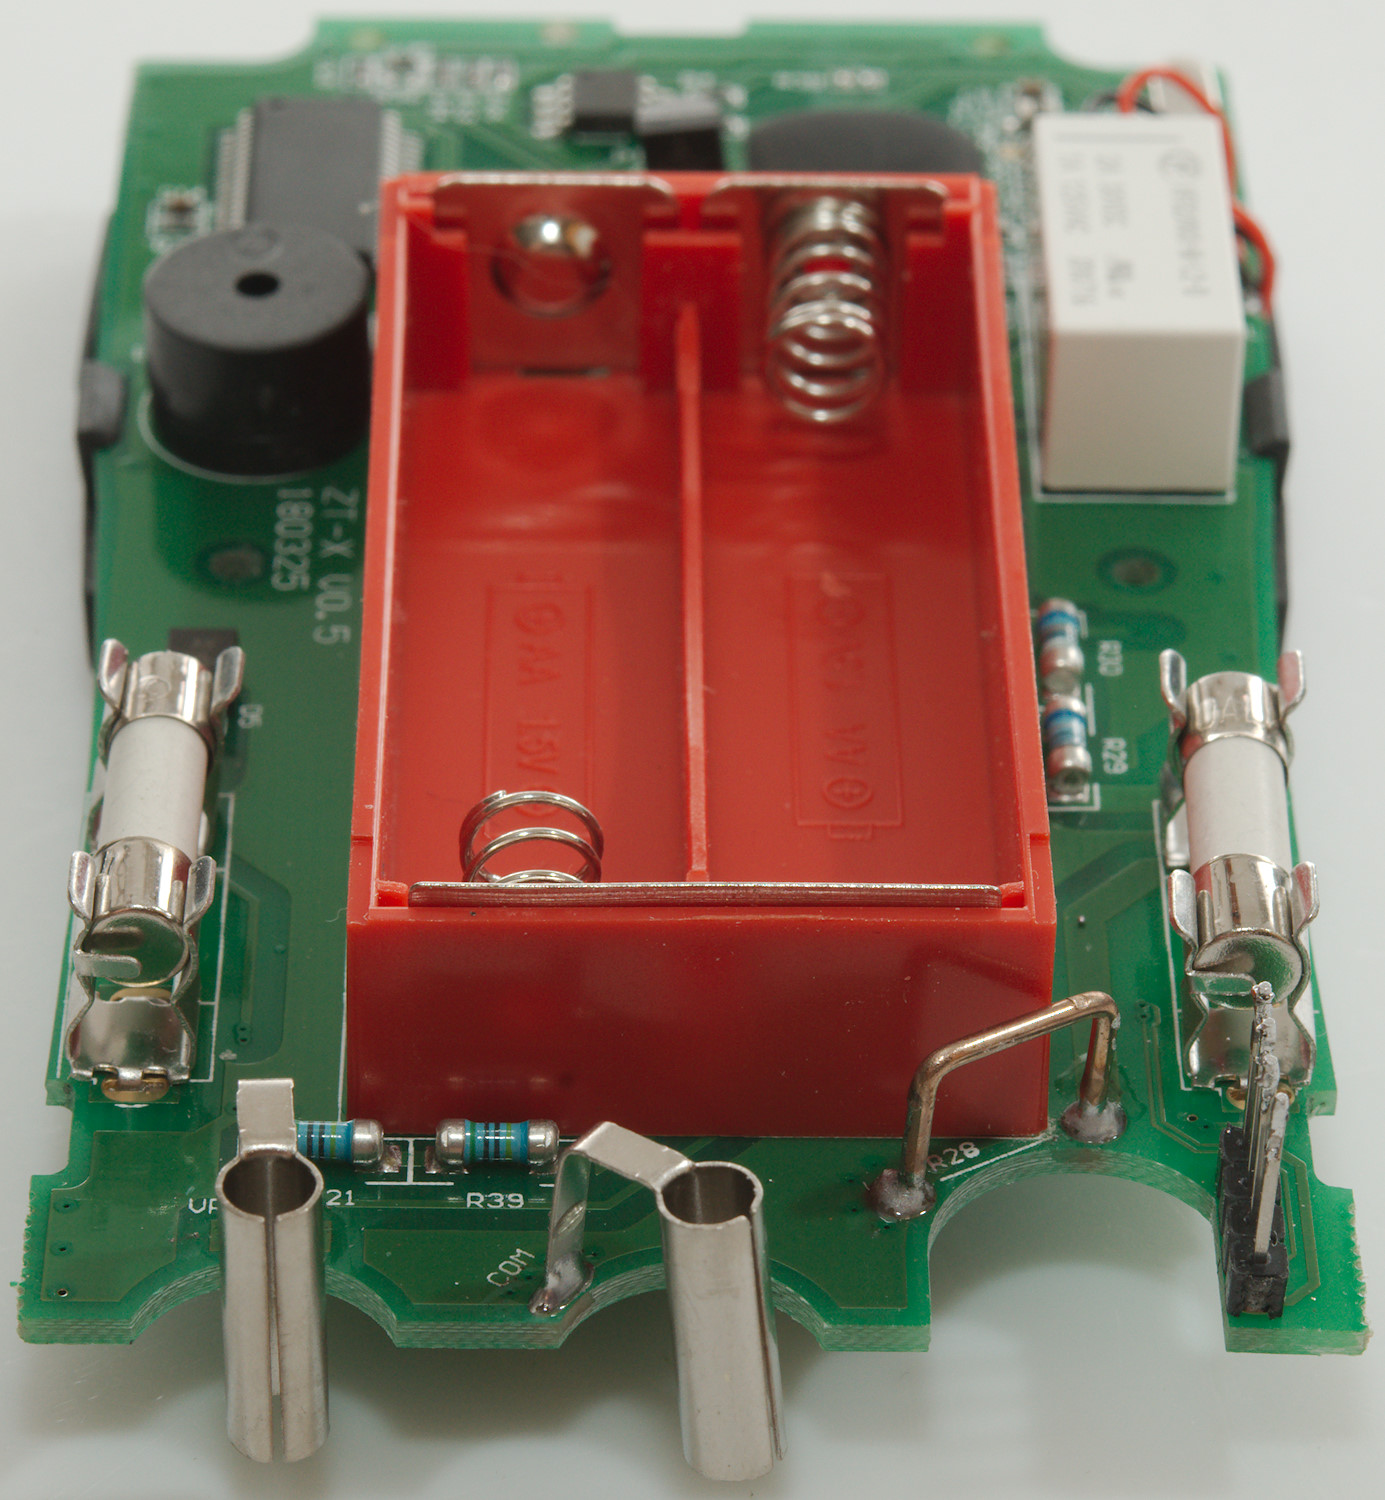
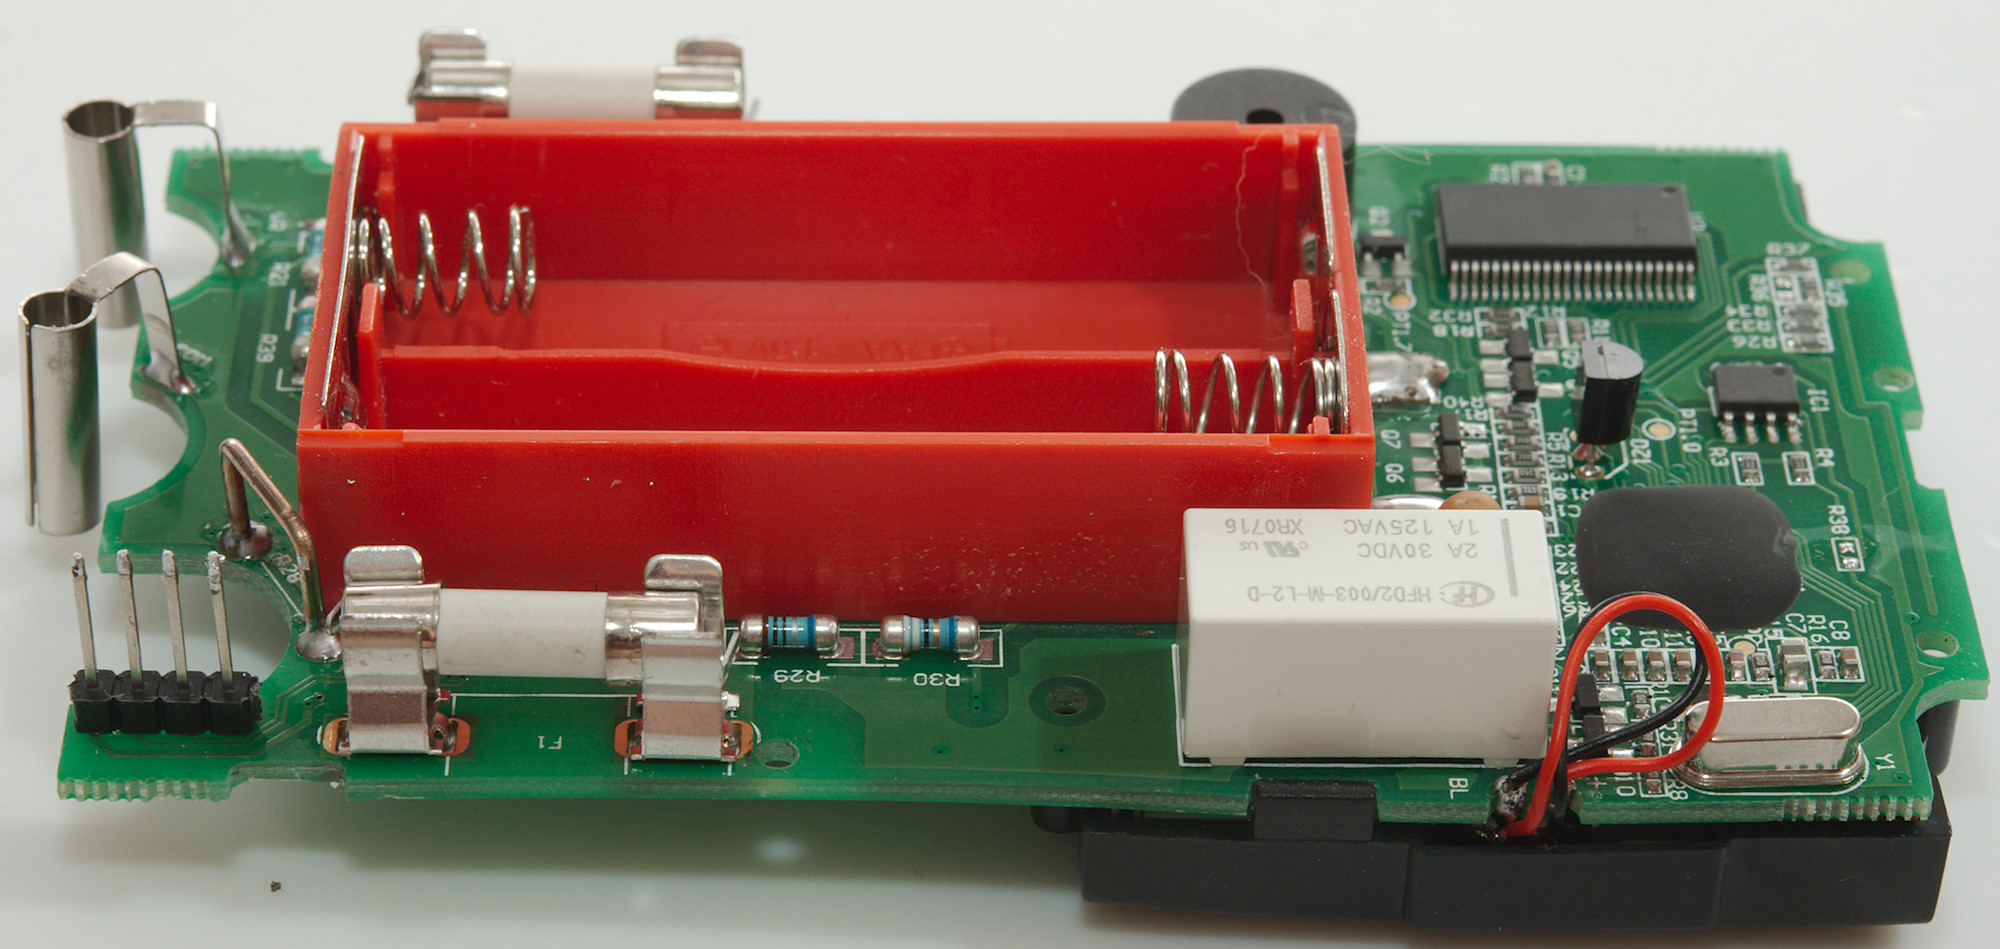
Tear down
Four screws and the back could be removed.
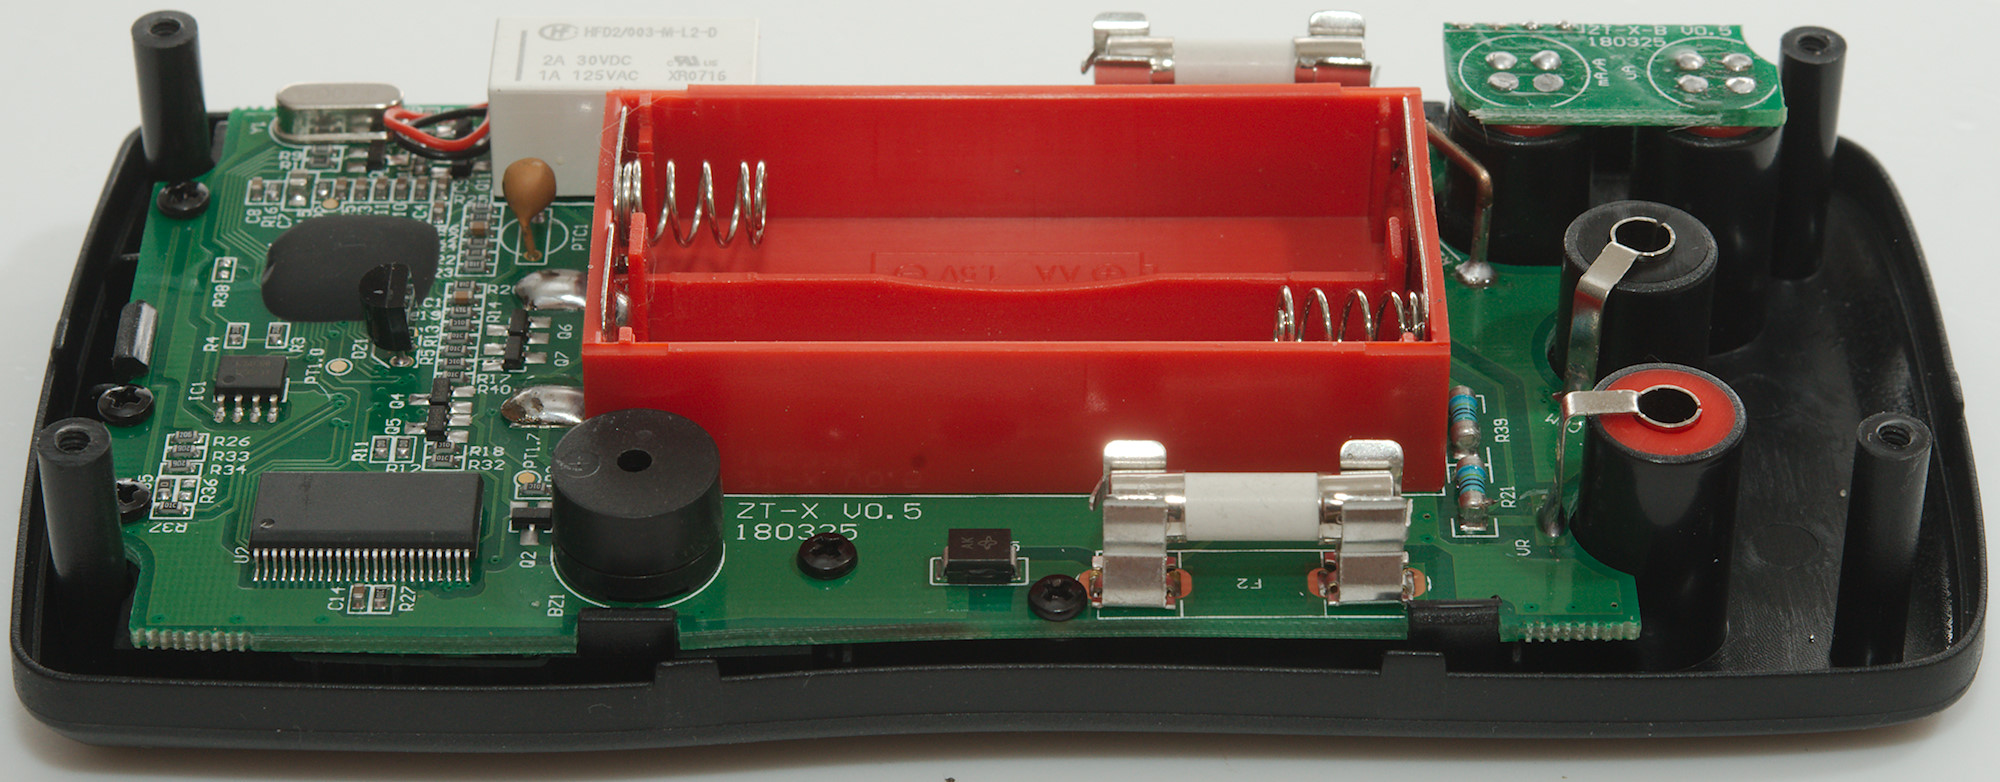
3 more screws and a few clips to remove the circuit board. The current terminals do not slide easily out and it was easier to desolder them.

The current input uses split terminals with a connection to each sides, this gives a total of 4 connections that is routed to the main board.

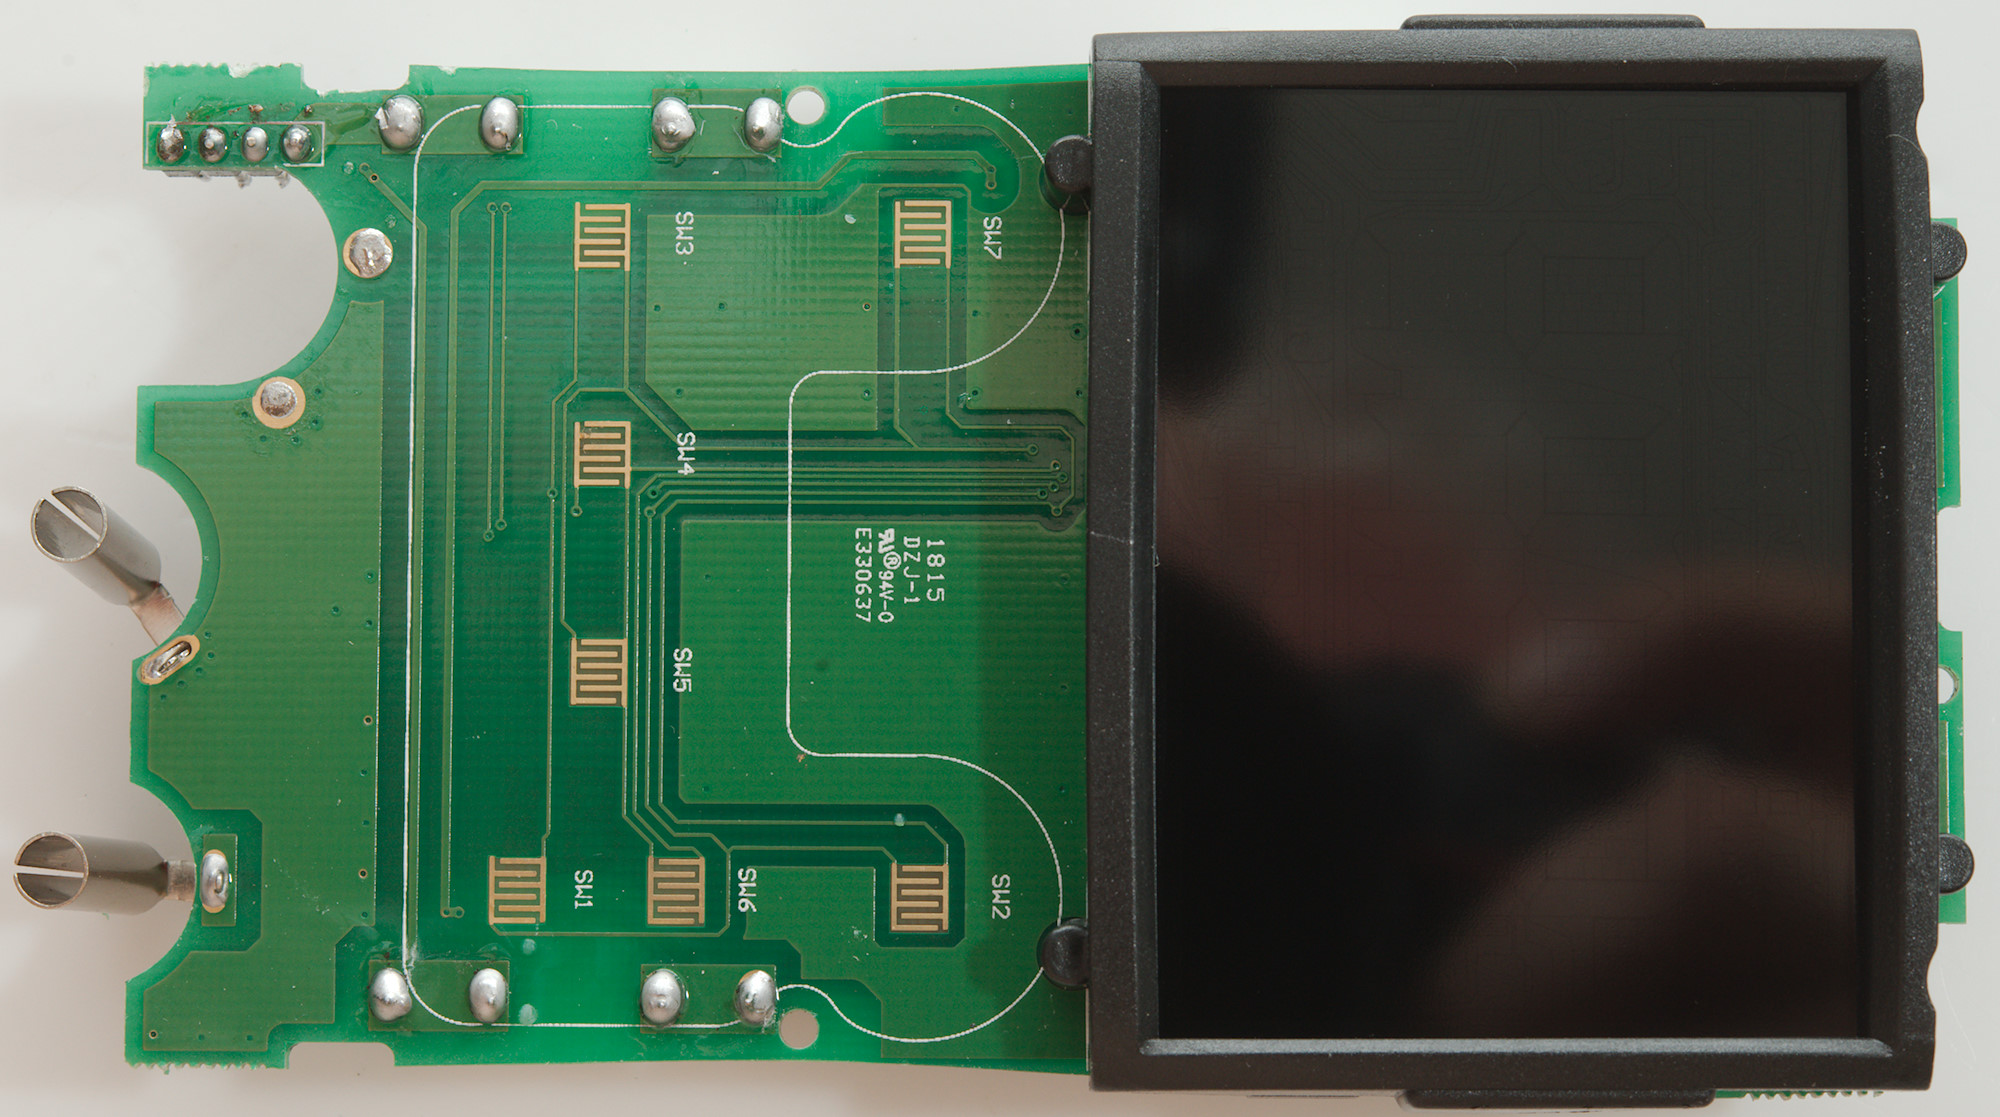
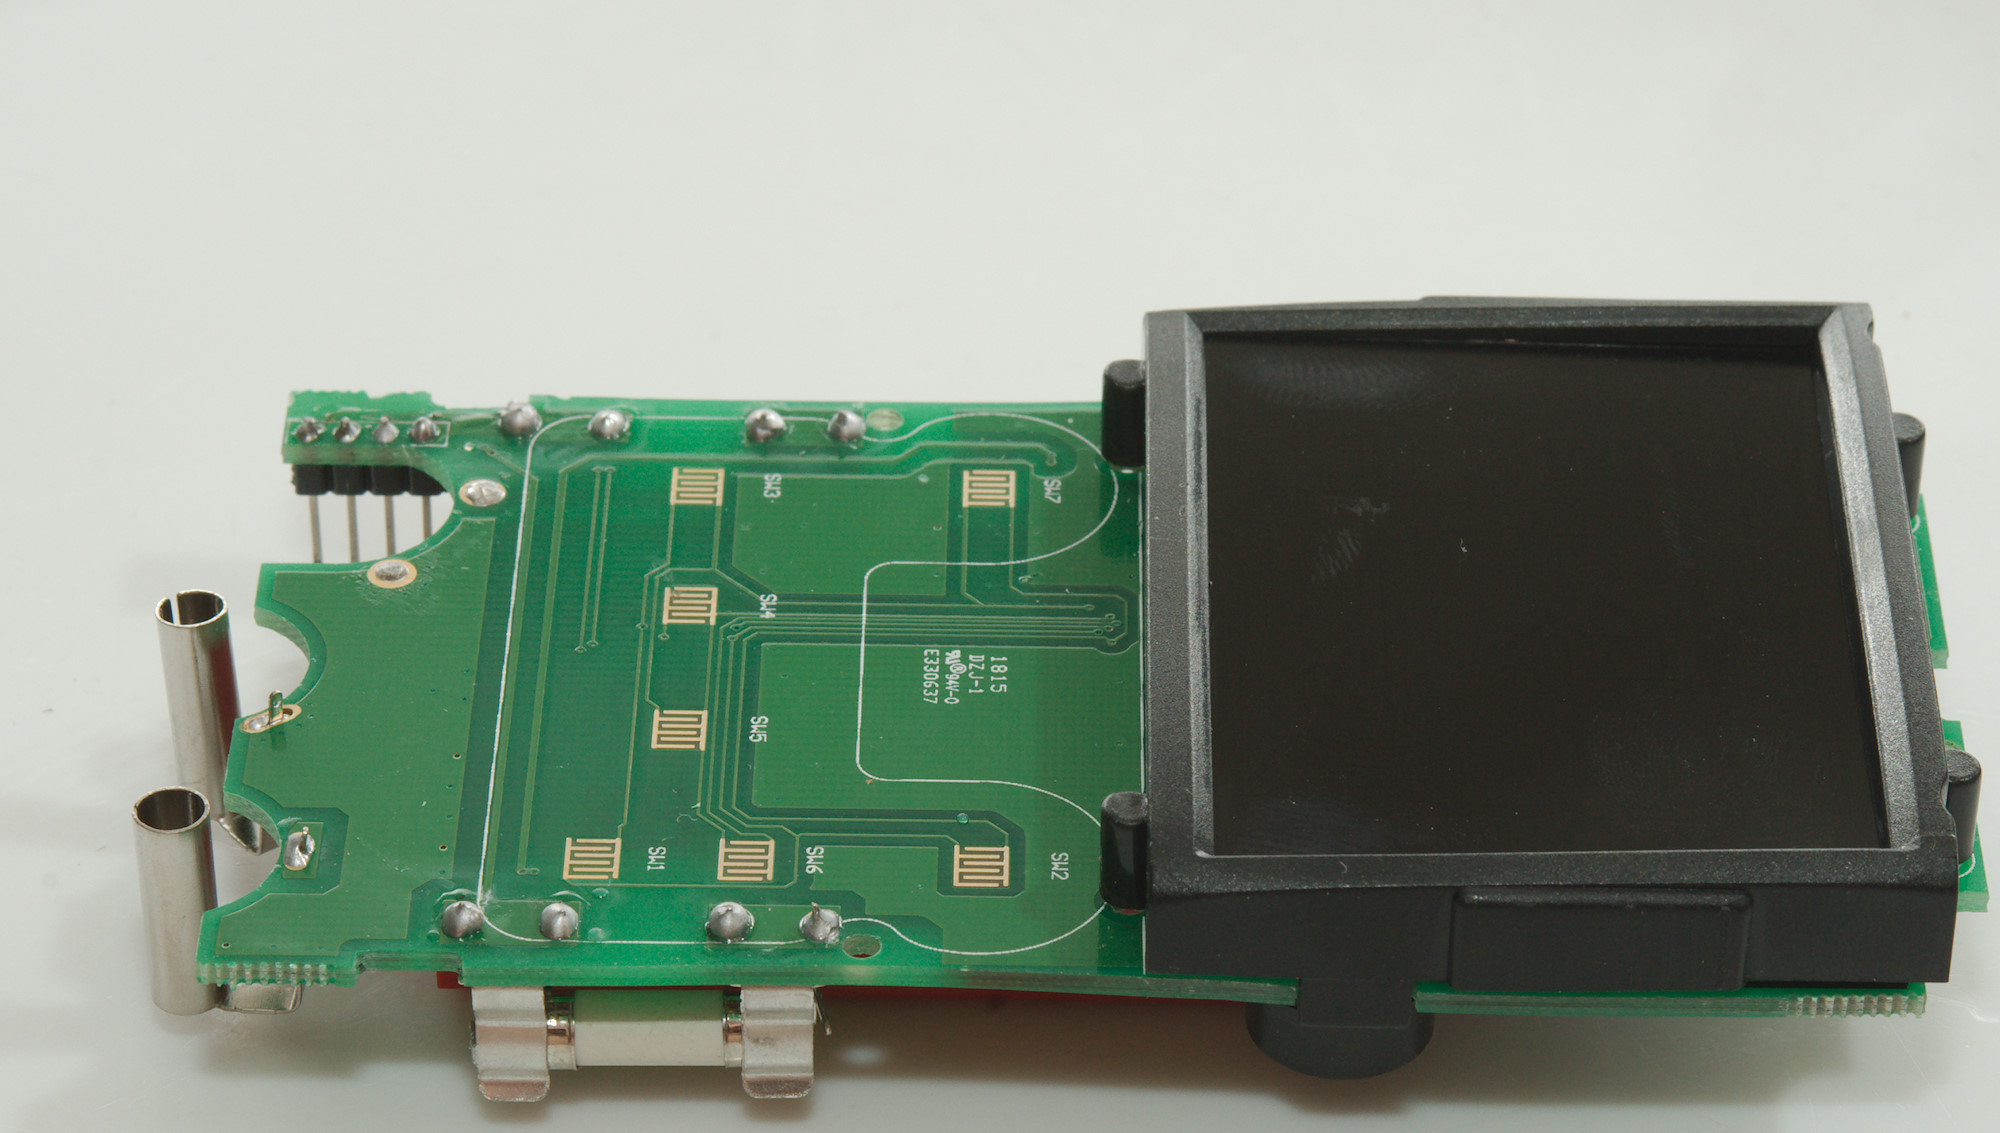
The display was four screws and two clips. There is two leds on the display for background light.

The two current inputs uses the 4 pin, two for sense and two for sense. i.e. one of the pins carry up to 10A. The 10A shunt (R28) is just a piece of wire and fairly thin together with a trace on the circuit board (Sense wire is connected at the fuse). The uA shunt (R29 & R30: 1ohm & 99ohm) is two resistors (One of the resistors could be used as a mA shunt). To protect the two resistors is a Zener diode (D5). The sense input goes to some smd resistors (uA to R32: 10k, AmA to R17: 10k), this will put a serious limit on maximum voltage with a blown fuse.
Voltage input has the usual input resistor (R21 & R39: 2x5Mohm) and also a direct connection to the relay (HFD2/003-M-L2-D). The relay is a latching relay with two toggle contacts, this means a pulse will change position and no power is needed to hold the position, this is very useful for battery powered equipment. Both contact are in parallel and only one position is used to route around the input resistor. The signal goes to the PTC (PTC1) and a resistor (R14: 910k). After the PTC is a transistor pair (Q6 & Q7) for protection.
The chips are the main multimeter IC under the black blob, a reference (DZ1: ICL8069), a EEPROM (IC1: K24C08) and a microprocessor (U2: Without code) to translate the switches and input sense to range switch coding.
At the top of the circuit board is the NCV antenna with some pull down resistor (R26, R33, R34: 3x20Mohm).
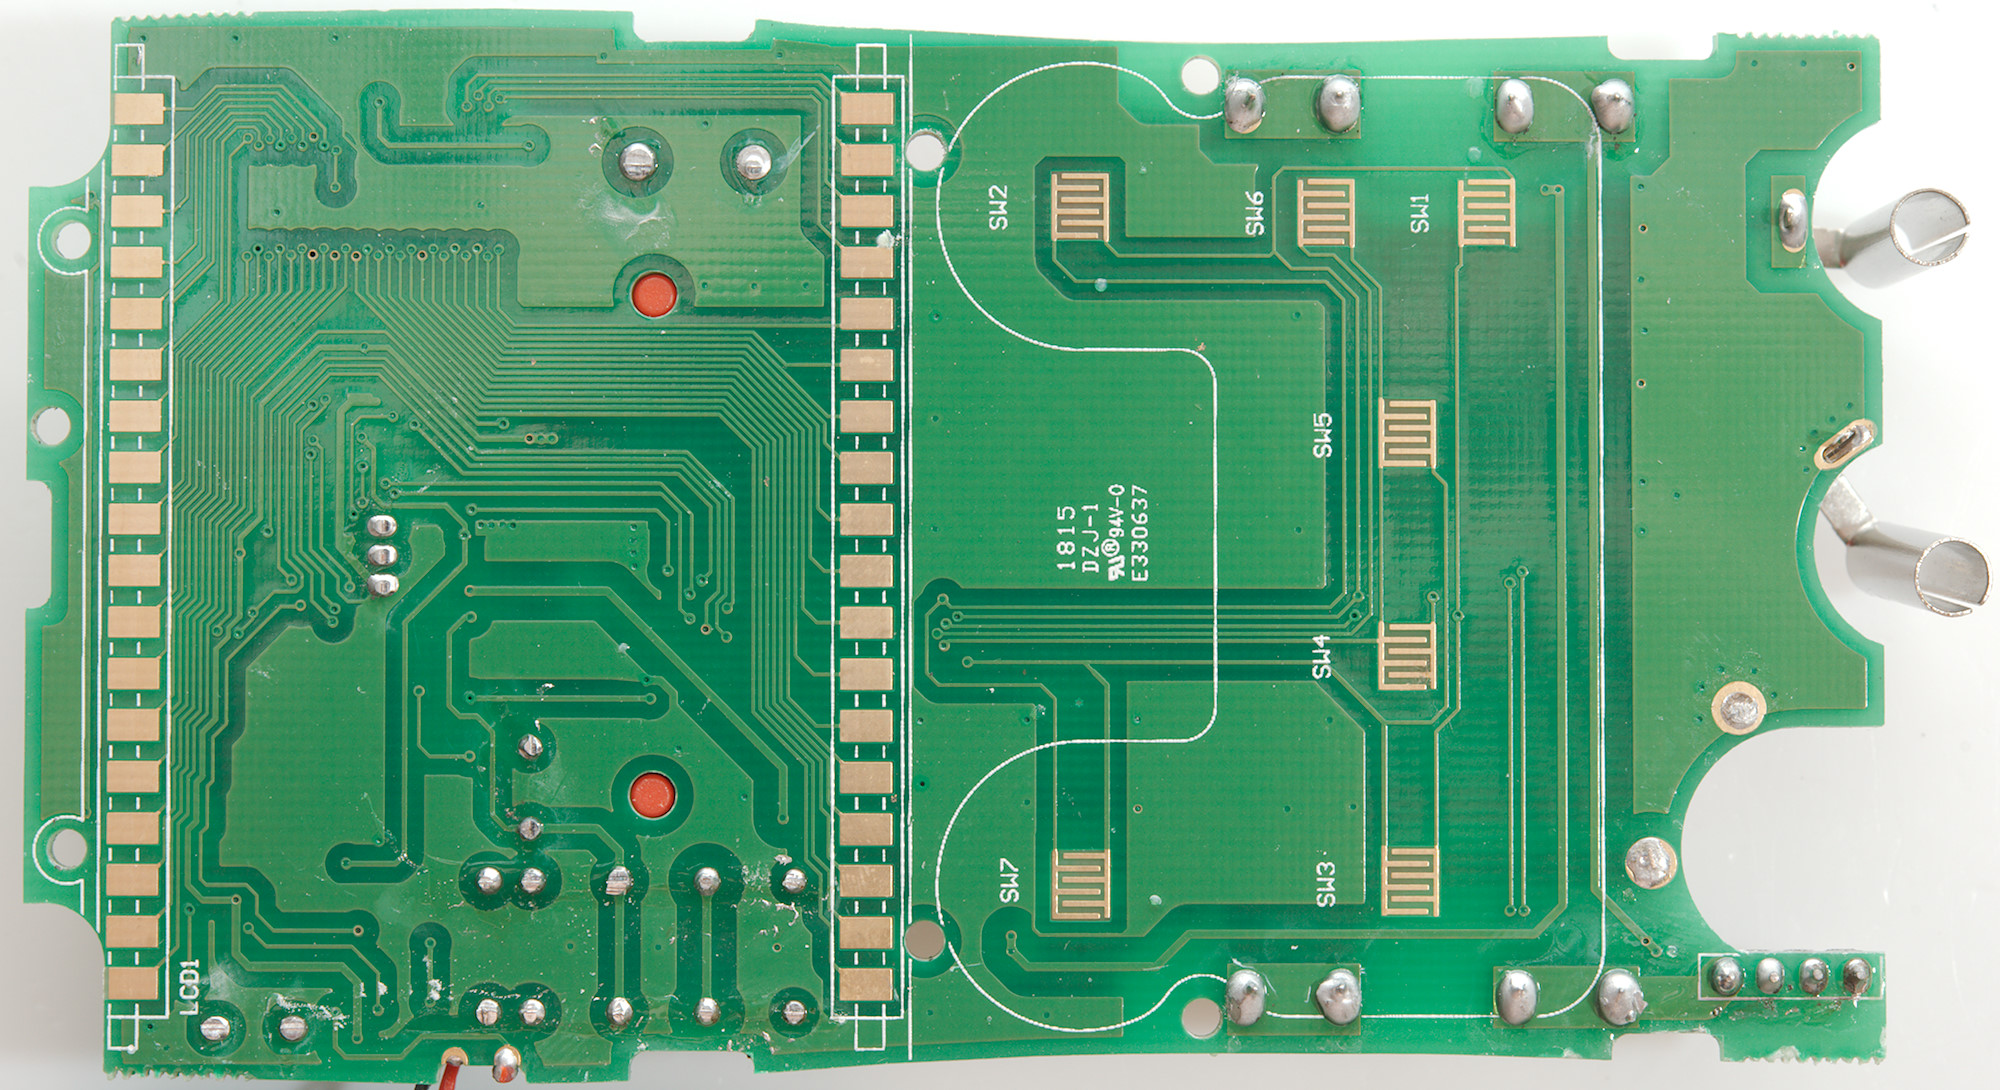
This side only has the pads for switches and the LCD display. The LCD pads are fairly large, meaning the placement of the LCD display are fairly uncritical.
Conclusion
The CAT rating is, as usual, way to high, a meter with 250V fuses cannot be rated for 600V or 1000V.
This meter has a different design with a black LCD and no rotary switch, the functions are about the same as many other meters and is a good standard meter (Except mA range is missing), there are no advanced functions.
Because the backlight must be on at all times, the battery do not last as long. The display can be difficult to see in bright sunlight.
The meter is a nice hobby meter, but the real reason to get it is for the design (If you like it).
Notes
This meter may exist with many different names on it and small variations in functions.
How do I review a DMM
More DMM reviews