Nice woodwork :+1:
Looks great Don :+1:
What color stain are you going to do on the frames?
Awesome work!
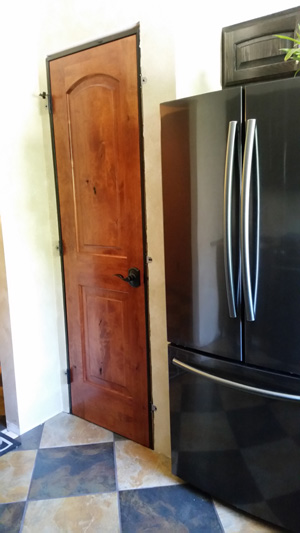
I have not decided 100% yet. Either ebony (black) or a rust color. The bookshelving (and kitchen cabinets) I did a year ago is ebony with the same shoji paper in the bookshelving sliding shoji doors, as this lantern will get. The rust color is what we used on the hardwood (home) doors.
Not to derail the topic, but hardwood doors… man, don’t seem to see too many of those going in. They do have a great feel though!
Back on topic… I like the rust color, but the contrast of the ebony against the shoji paper looked really nice on that bookshelf.
Well, although I like the rust color better (at least in this picture), I think if you’re making this lantern the same design as the book shelving, maybe you should use the same ebony color. It would probably look odd to have two similarly built items to be stained with two very different colors. But, I could be wrong. It’s your build!
Thanks very much. That picture does not yet have the ebony stained oak trim around the door. The door is knotty alder, left with the knots as they fall with no attempt to hide or fill them.
It’s our son’s place. I’m his contractor who works for something to do and food. ![]() Next spring summer we plan on the next level up, 5 more doors like that and a bathroom renovation.
Next spring summer we plan on the next level up, 5 more doors like that and a bathroom renovation.
If I stain this one rust, I plan to keep it and then maybe make another to be done in ebony stain and give it to our son.
Aha! Then I change my vote back to Rust color. ![]()
More progress….
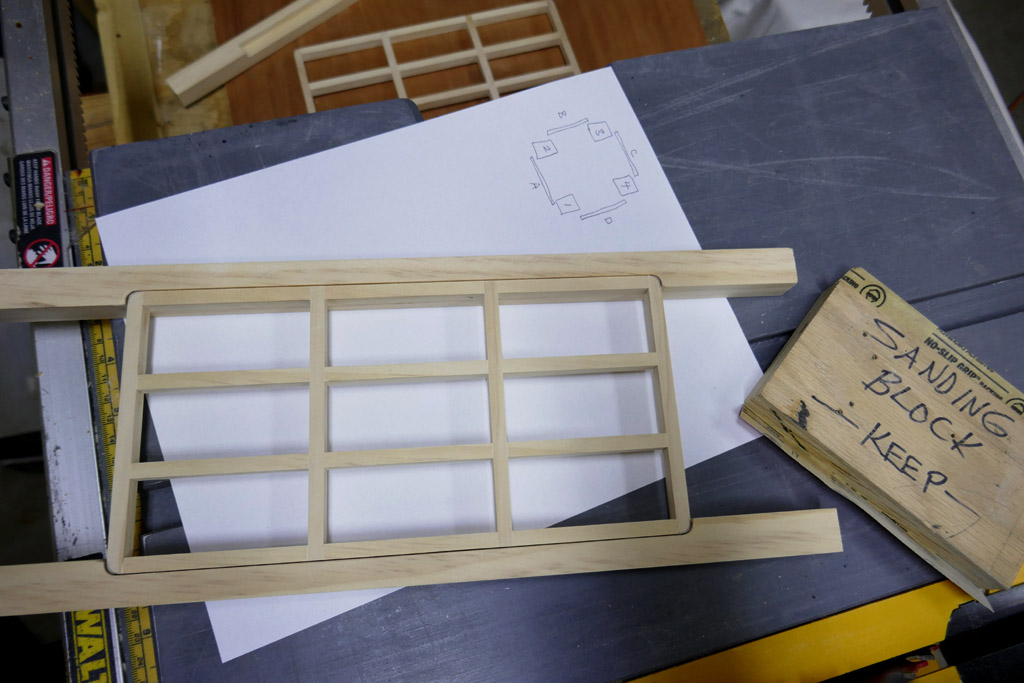
My original plan was to use a chisel to cut the round ends to the rabbet cuts to a square shape that would allow the screen frames to fit into the stiles. However, I changed my mind and decided to sand the screen frame corners round to match the rounded rabbet cut ends.
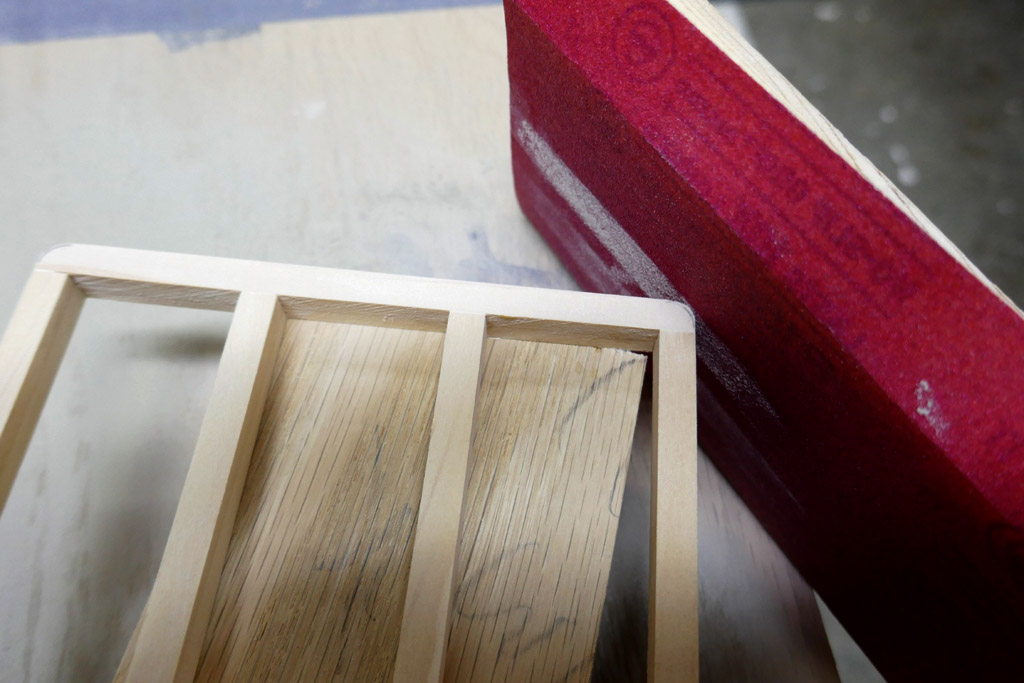
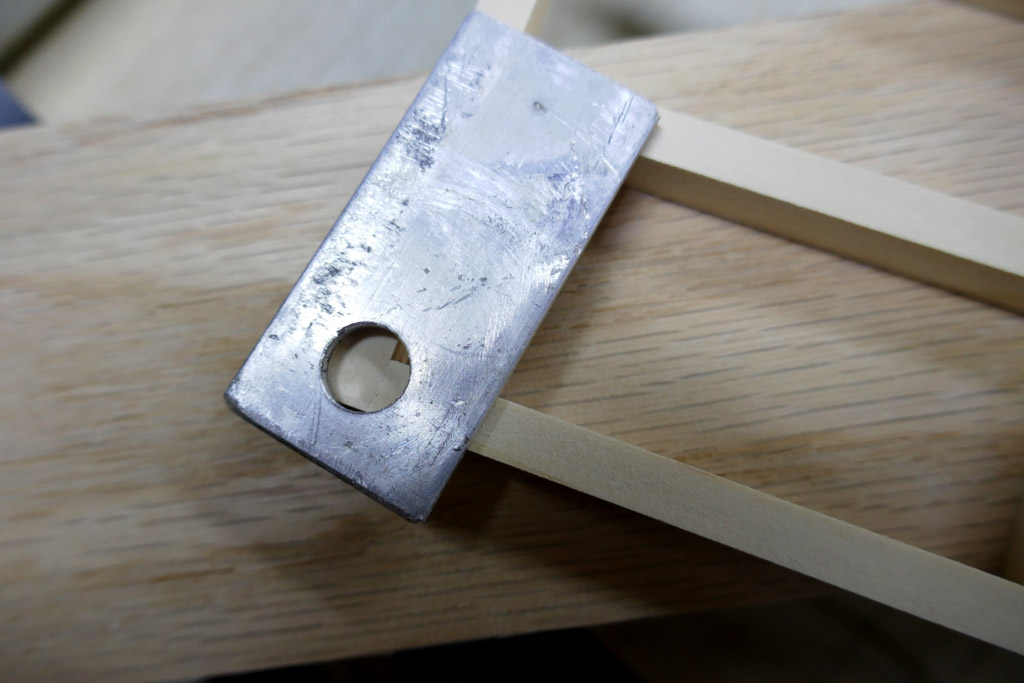
That’s 150 grit sandpaper. I used a block under the frame to be sanded to raise it off the worktable. I used a few different blocks to vary the height from poiece to piece to adjust where the work piece was on the sandpaper. The scribe lines were made using a scrap of aluminum with a 3/8” hole drilled… same size as the router bit used on the stiles.
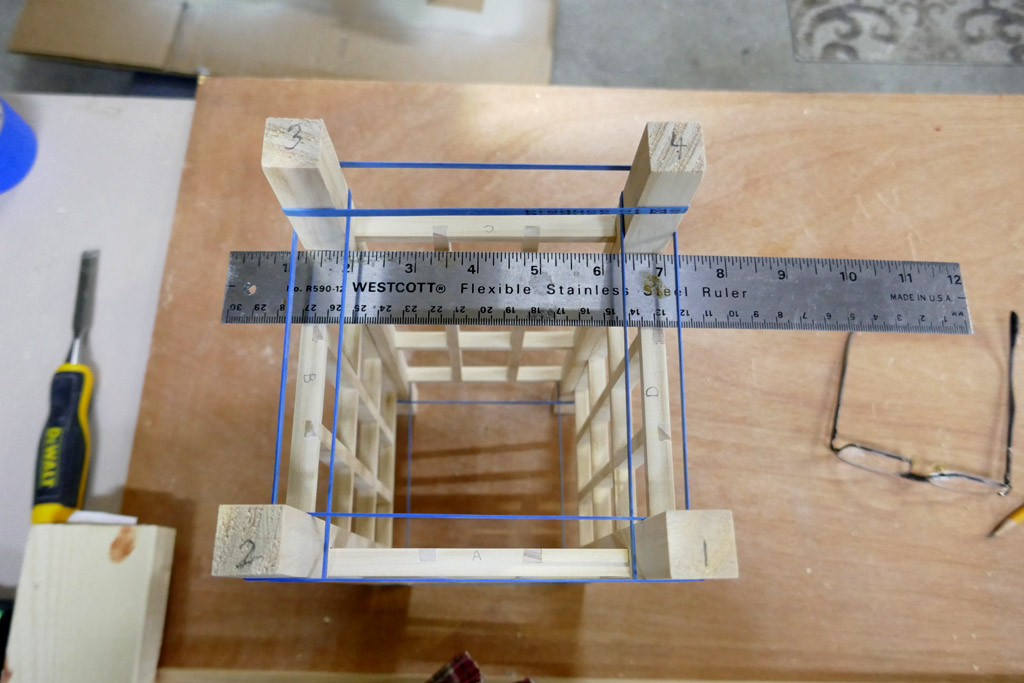
In theory each stile and each frame should be pretty much identical in dimensions. However, in practise that does not always follow. So I have assigned a letter or number ID to each piece, made a map and will follow that pattern.
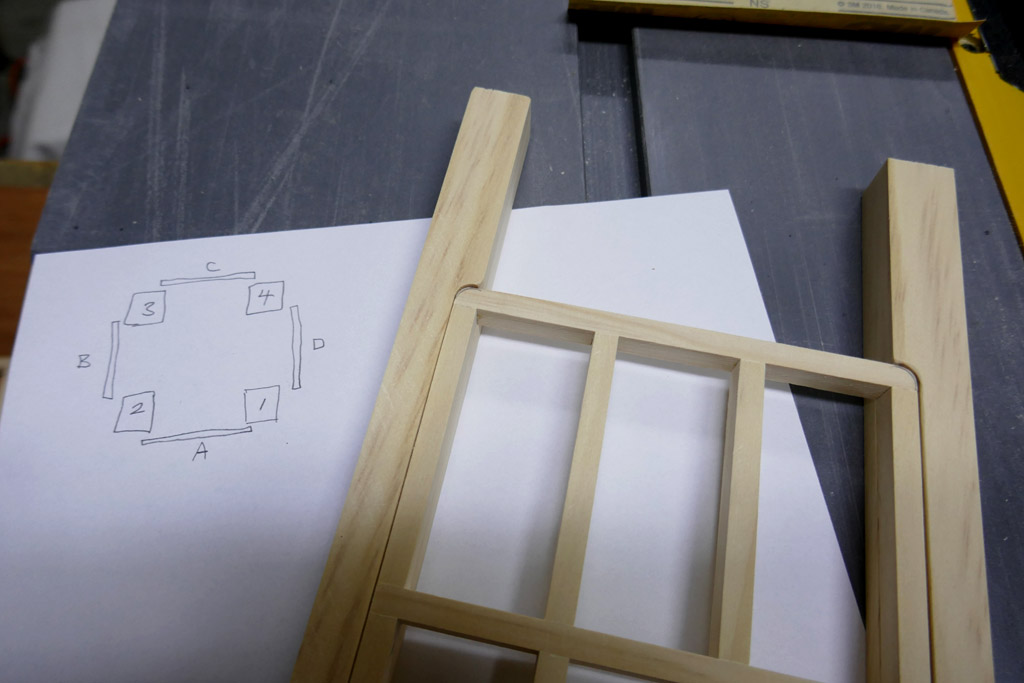
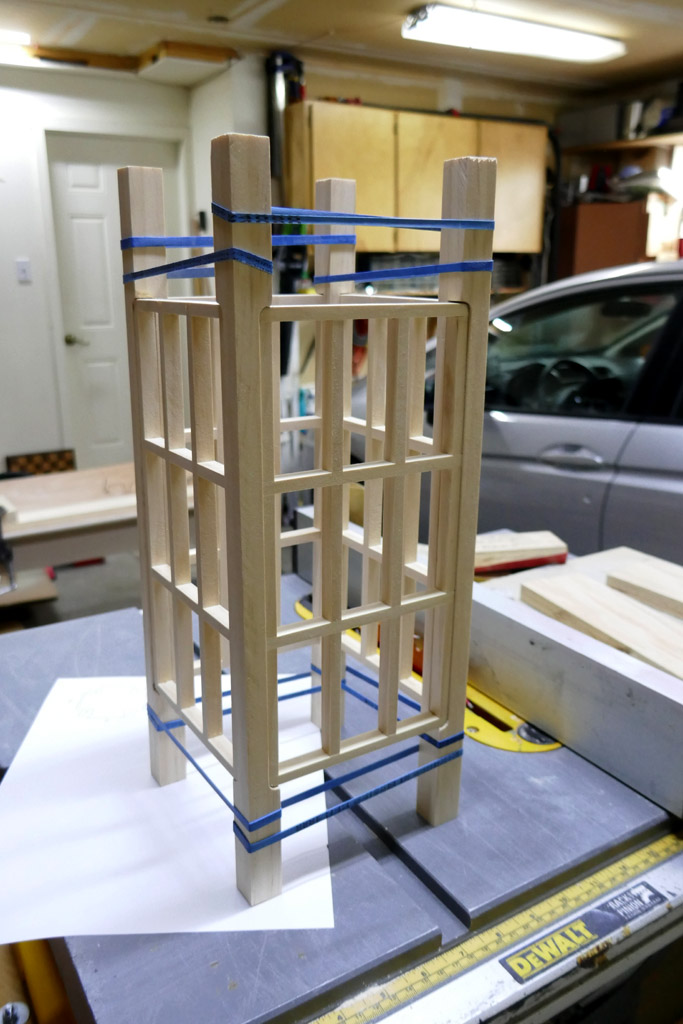
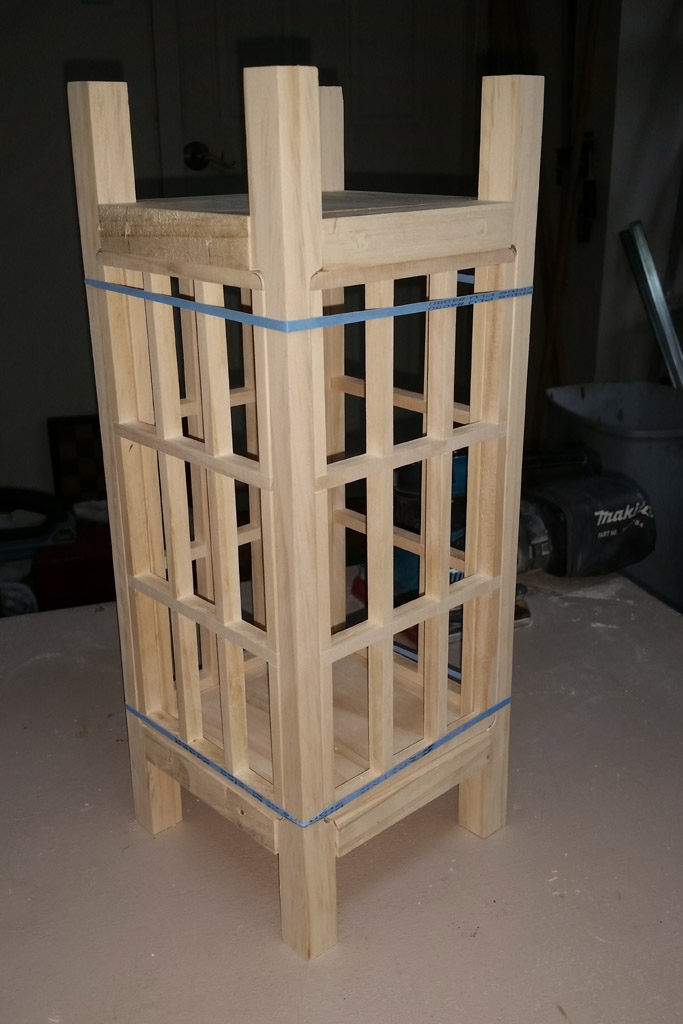
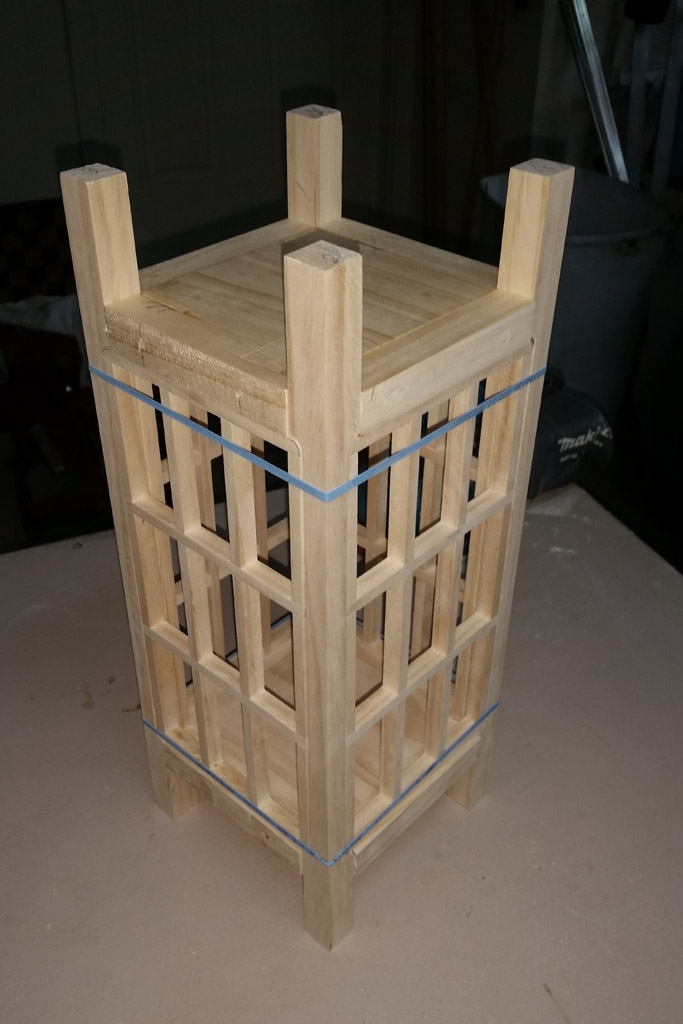
Here’s an idea of what this will look like. It was slightly tricky rubber banding this together with only two hands.
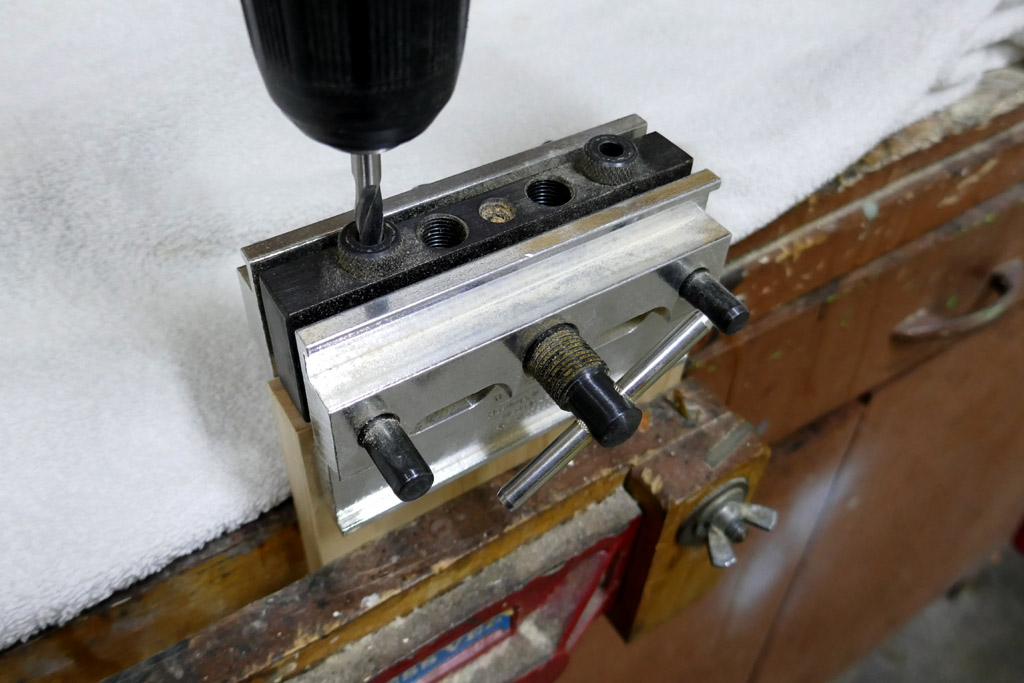
Next, I need a top and bottom. Not sure what they should be named, so I’ll just call them the top and bottom. I don’t want end grain showing so I need to cut strips to cap the end garin. These will be glued to the main piece and I’ll use dowels to make holding them in place easier. No metal fasteners. What I mean will be clearer as work progresses.
I have a jig for aligning the dowel positions and for holding the drill bit perpendicular to the edge of the pine board. It utilizes hardened steel inserts for three sizes of bits; 1/4”, 5/16”or 3/8”. It clamps and self centers.
Once those holes are drilled I used a couple of steel dowel centering pins to transfer the position of the holes to the piece of wood that is to be mated. Here are the pins in place. The smaller piece of wood has already been placed over the pins and tapped to allow the pin points to mark the positions.
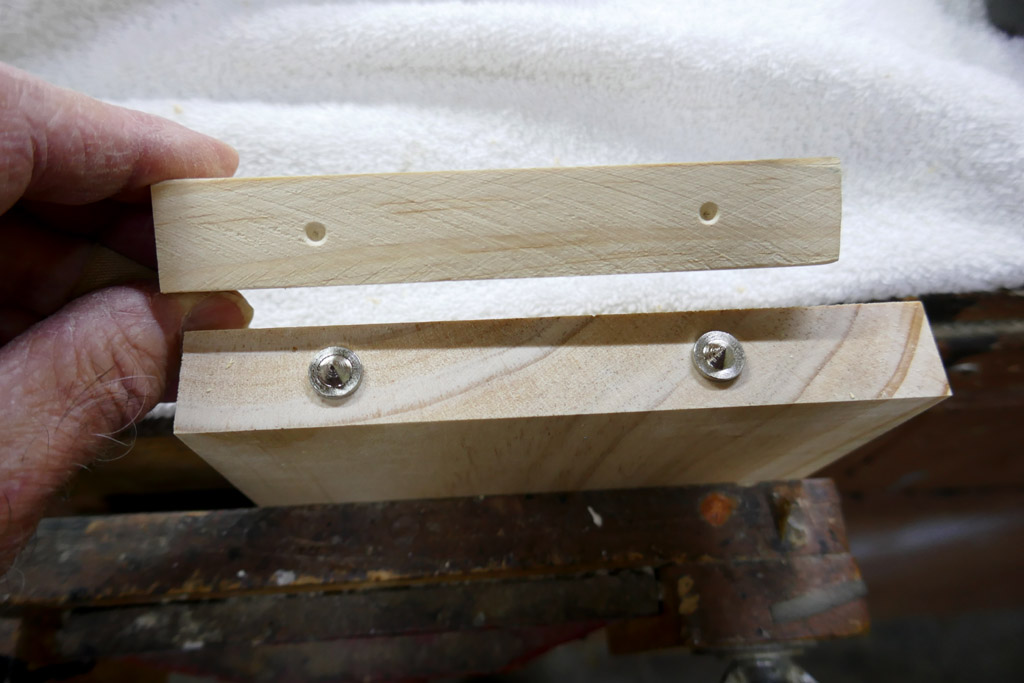
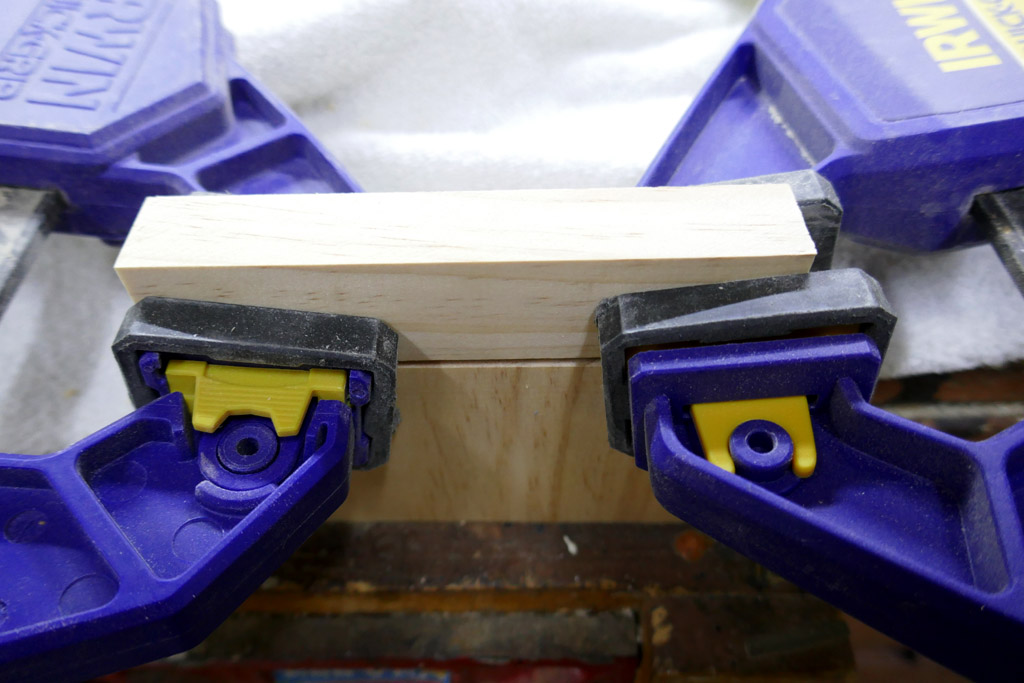
I use a couple of clamps, using a light clamping force, to hold the two pieces of wood in alignment, then tap the upper piece to contact the dowel pins. There are other ways to get the alignment, but that is what works for me.
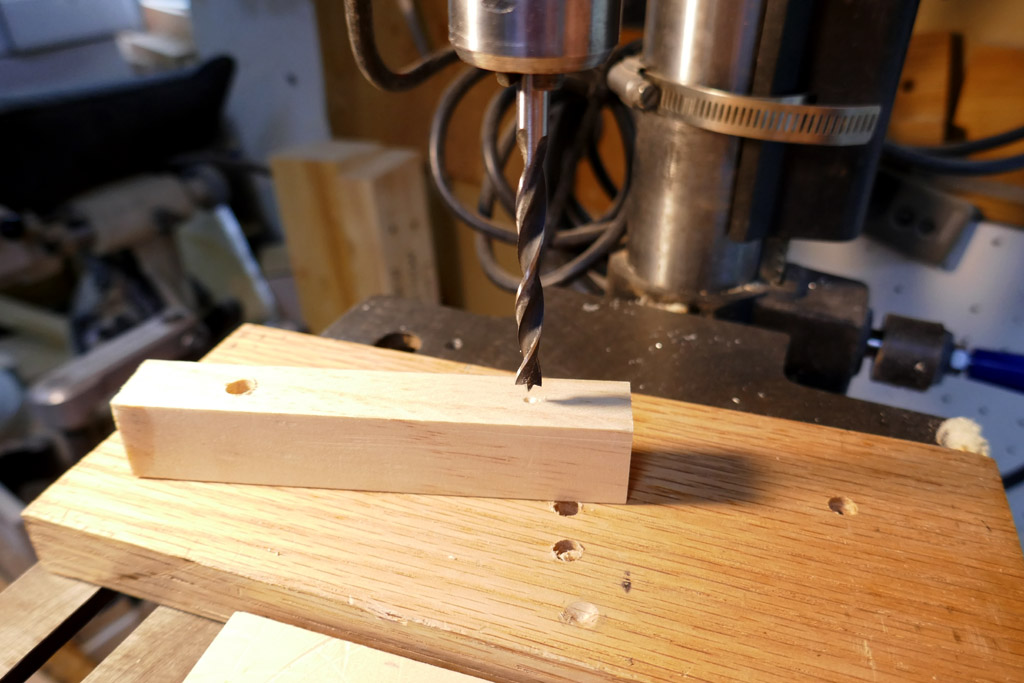
Then I drilled the small block on the drill press.
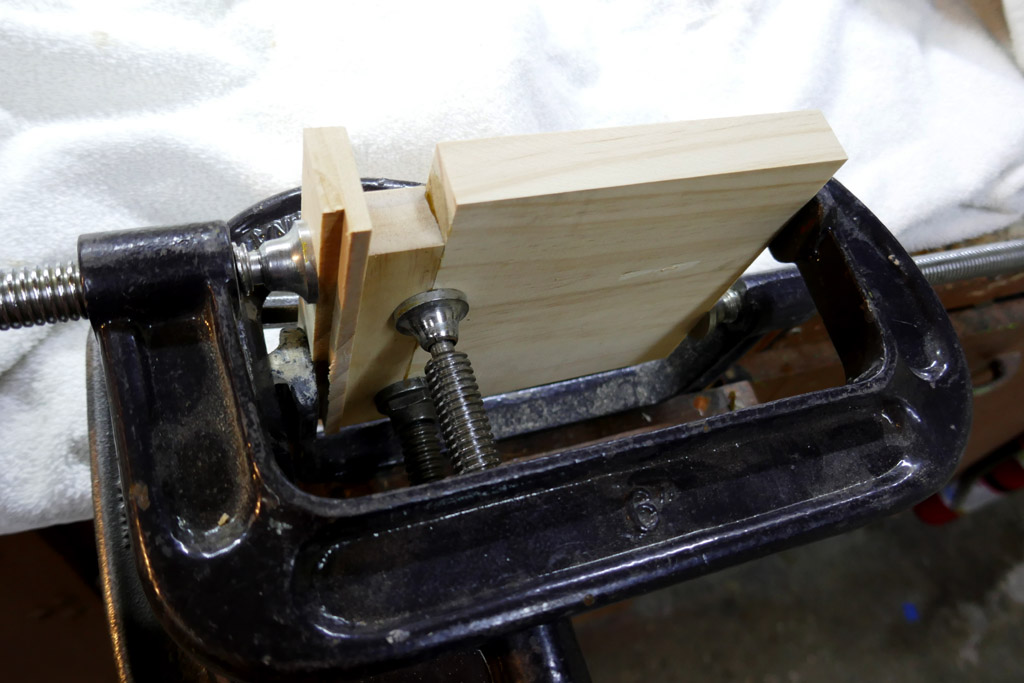
Last image for now… The small block is glued to the larger piece with assorted clamps to hold alignment. The dowel holes have just enough sloppiness to allow slight misalignment of the two pieces. ![]() The sideways clamps help with that. The two larger clamps provide the clamping force to make a good bond between the large and small blocks.
The sideways clamps help with that. The two larger clamps provide the clamping force to make a good bond between the large and small blocks.
Oh! I see! ![]()
Yep add me to the list as well. I think Don is speaking Martian. ![]()
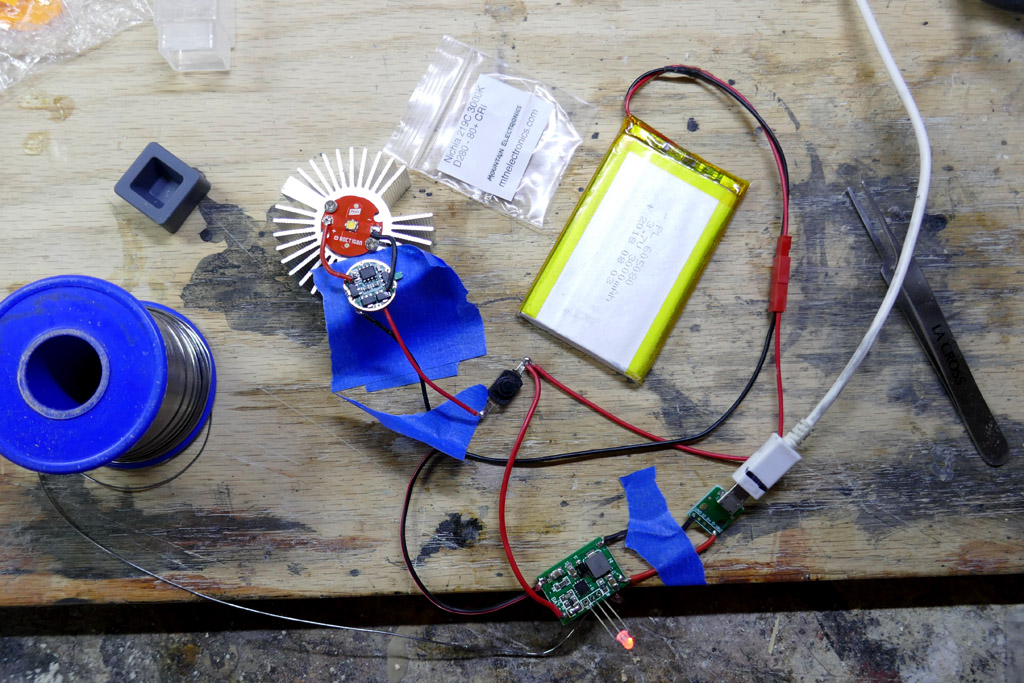
Nothing much to show today. I tested the Nichia 219C (3000K) led, Nanjg 101-AK-A1 driver, reverse clicky switch, lipo battery and charger board on the bench. The driver has a 1.4 amp max output with guppydrvr firmware. Everything works.
Rubber bands are wonderful tools!! The upper and lower plates have been glued up but need some more sanding and fitting before the exoskeleton is assembled. Just thought you might enjoy seeing the mockup
Since the lantern will be symmetrical top/bottom, it makes me think about gcharts’s flippin’ lantern idea.
Hahaha… a lot of my ideas tend to be “flippin’ ideas” ![]()
That’s looking great, Don. I assume you’re going to spray the finish?
By the time it is finished there will be a more or less obvious up and down. ![]()
Oh hi gchart! I didn’t see you there! Were you there the whole time? ![]()
Oh yeah. Spray clear coat but the stain will be applied to the screen frames by laying them in a tray of stain and letting them soak for a few minutes. The main skeleton will have the stain applied by brush. The stain then gets wiped by hand. To try a clear coating with a brush would be frustrating at best. So, yes, spray; even though maybe only 25% sticks to the wood parts.
Coming along nicely, Don.