case "tapping":
F = tool.getThreadPitch() * rpmFormat.getResultingValue(spindleSpeed);
if (properties.useRigidTapping != "no")
{
writeBlock(mFormat.format(29), sOutput.format(spindleSpeed));
}
writeBlock(
gRetractModal.format(98),
gAbsIncModal.format(90),
gCycleModal.format((tool.type == TOOL_TAP_LEFT_HAND) ? 74 : 88),
getCommonCycle(x, y, z, cycle.retract), "P" + secFormat.format(P),
feedOutput.format(F)
);
Interesting, unfortunately I'm not so adept in machinery lingo. I suppose the writeBlock() guy is sending the commands/data out to the machine, but some of those codes they use like 28, 98, 90, etc. I have no clue about.
CRX DQG Ti XP-L HD v6 3D - FET 15 - 14250 - Rv Clicky Sw - 750lm. Keyring Flashlight.Titanium body (can use 14500 cell with extra extension piece) Cree XP-L HD v6 3D on DTP MCPCB Mule MTN FET 15+1 driver (GuppyDrv3) Reverse clicky tail switch Green GITD bezel Hand made copper pill & switch enclosures
Nothing else needed modding, just waiting for PostNL.
Used a whetstone, a piece of 1000 paper, a small round file, an ounce of elbow grease and almost 2 hours
to turn a 98% copper Canadian penny into a C8-sized shim. (To rule is to think ahead ).
Bucket, I’d be interested in buying one of those set-ups for the Streamlight for my neighbor. He retired from the Police Department but still does work on special events, ball games, traffic events, funeral processions, that sort of thing. He was among the first to have the rechargeable Streamlight on our Police Force and loves his. I think I’ve modded it for him before but your kit would certainly make it more professional and with the blue stripe, he’d absolutely love it! Give me a shout and let me know what can be worked out please…
Love to see all those nice mods, they keep coming!
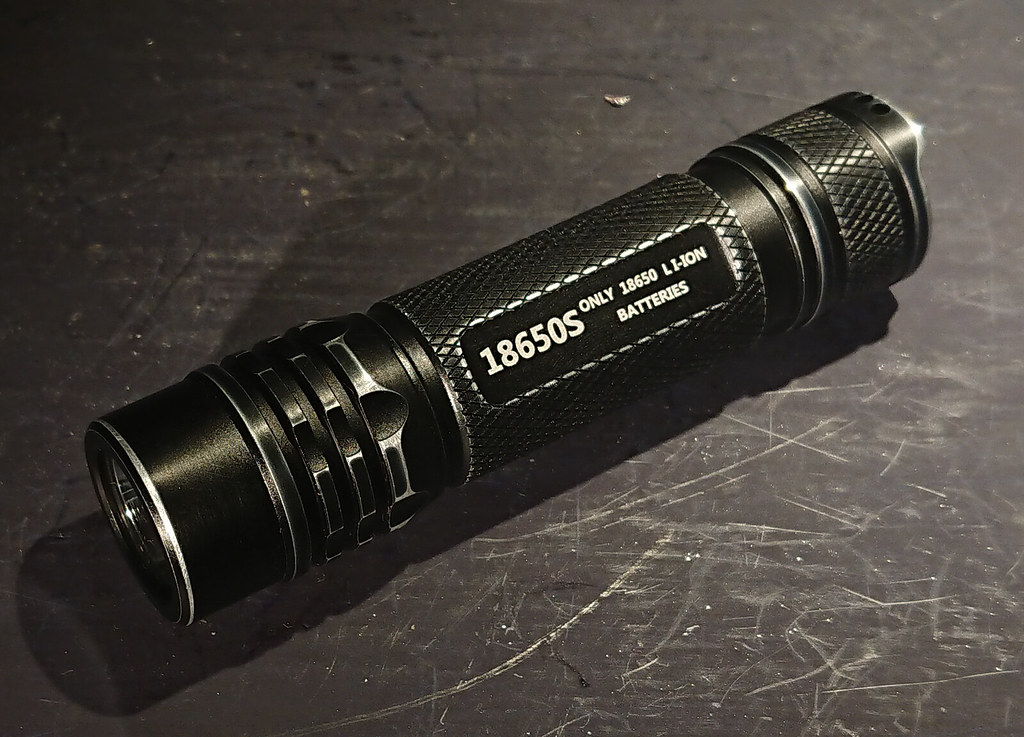
Further modded my Folomov 18650S today. Already swapped the 219D led for a Samsung LH351D 4000K 90CRI yesterday and now made it more suitable for bicycle lamp use.
First I was not happy with all the sharp edges on the outside, I was afraid that they will damage the pocket in my coat where the light will live. So the Folomov got the 180 grit sandpaper treatment until all the edges felt nice and smooth in the hand. I’m not neccessarily fond of a forced worn look but it came out nicer than I expected.
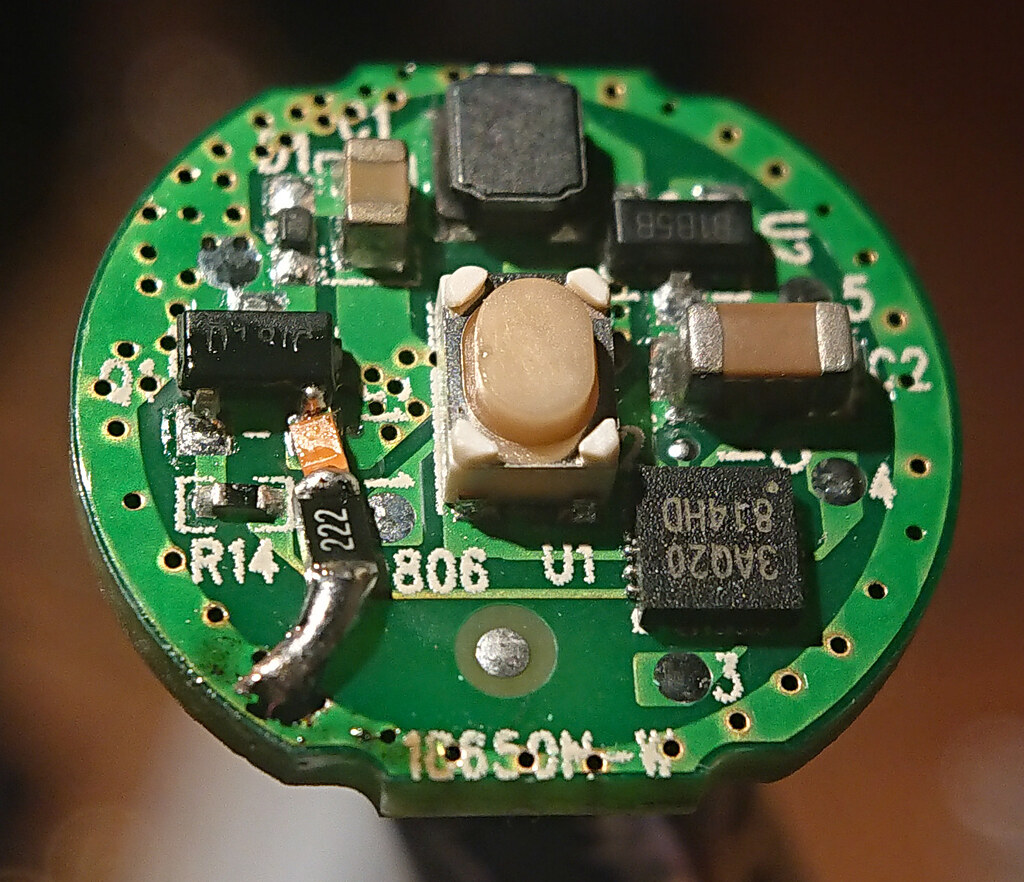
Then I really wanted a lighted tail because I tend to forget my bicycle lamp when switched off on my handlebar holder. A lighted tail makes me see it and not forget to take it off. (the bicycle lives on the street in front of my appartment).
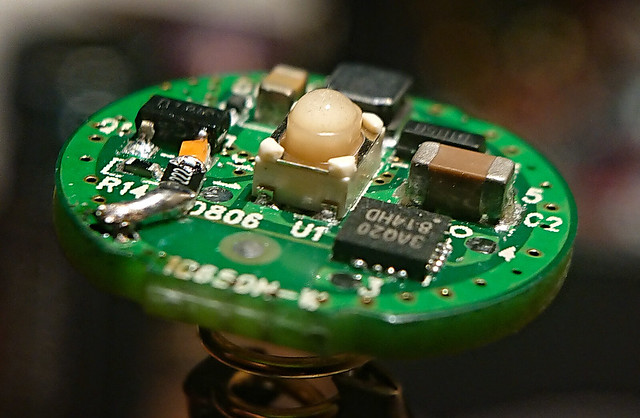
I was not sure if it would work and not mess with the electronics or user interface but the stock light already features a bleeder resistor feeding batt+ back to the tail. So I did some creative soldering with a pink led and a 2.2kOhm resistor from batt- slaloming between two exposed pads to the ground ring. It appeared to work without affecting anything else.
The pillar in the clear silicon boot that I used did not reach far enough down into the tail to engage the e-switch nicely so I extended the switch button with a drop of Norland64. Now the switching is good.
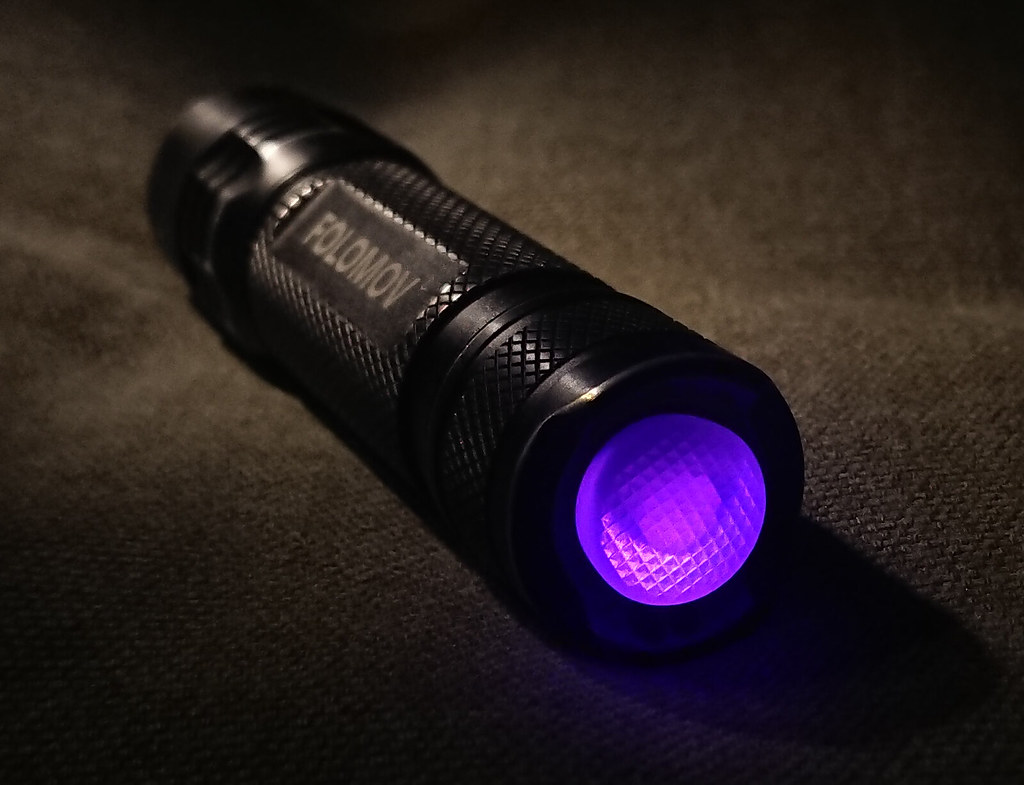
The tail lighting is not so nice symmetrical as the ring tail lights that I have in most of my lights but I think it looks good and it will do the job.
Nice mod Djozz. Can’t wait to get my Folomov too and I will do the same.
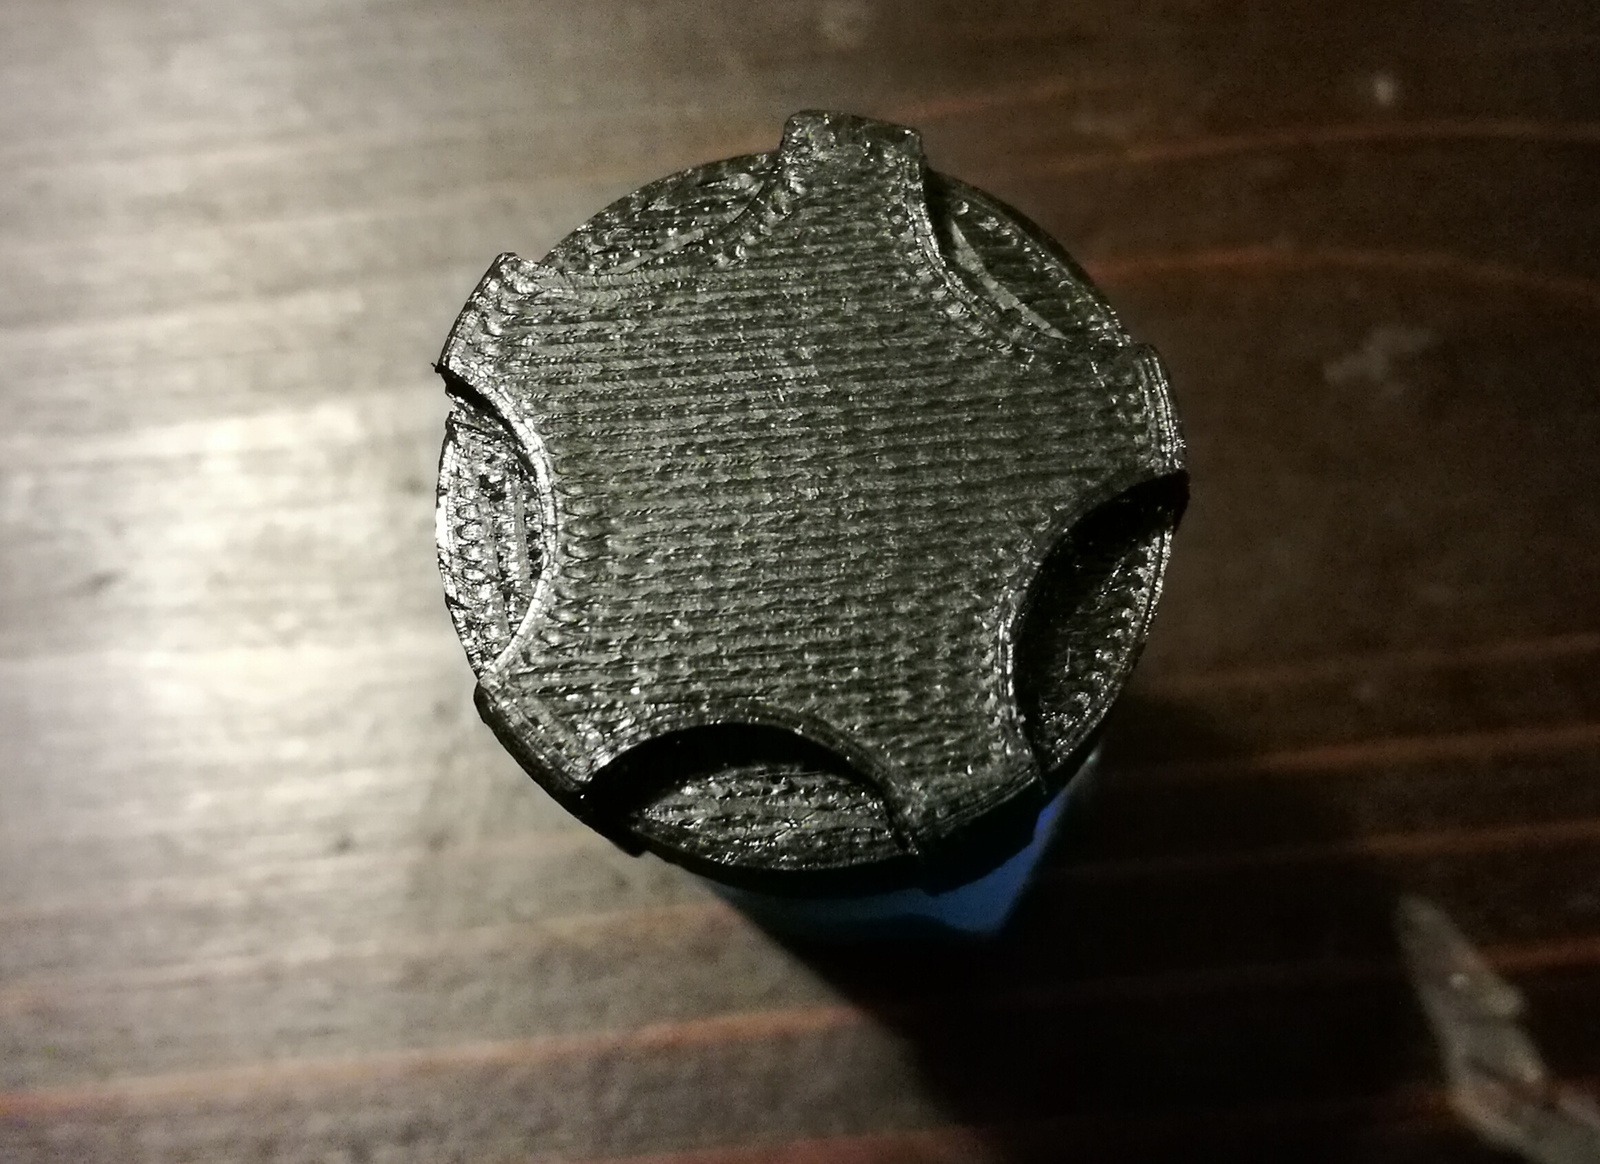
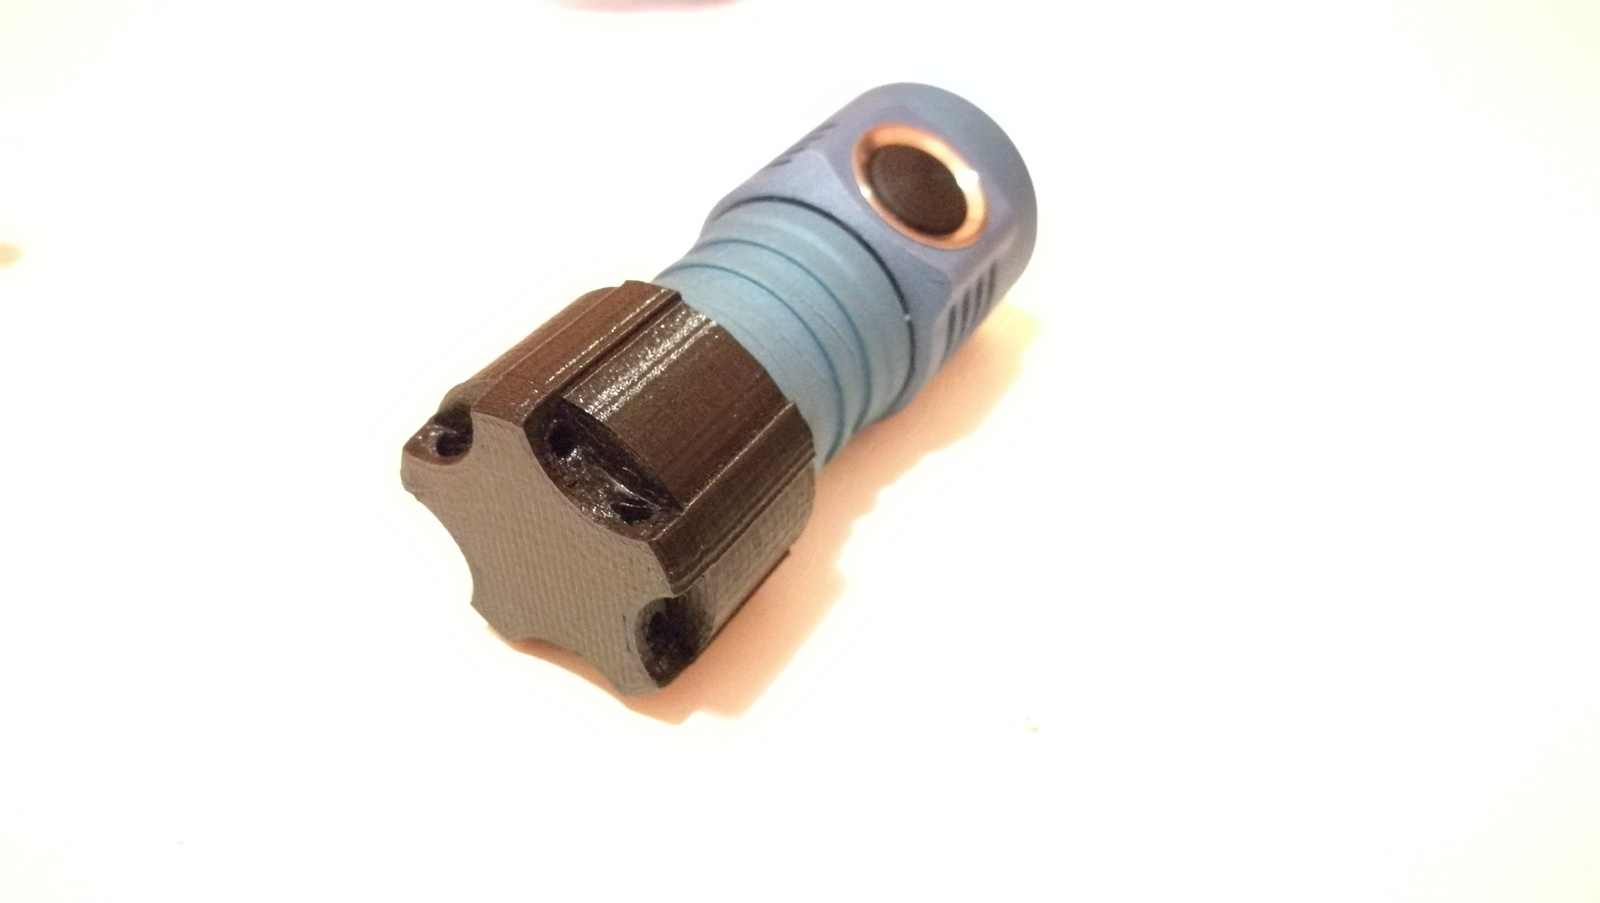
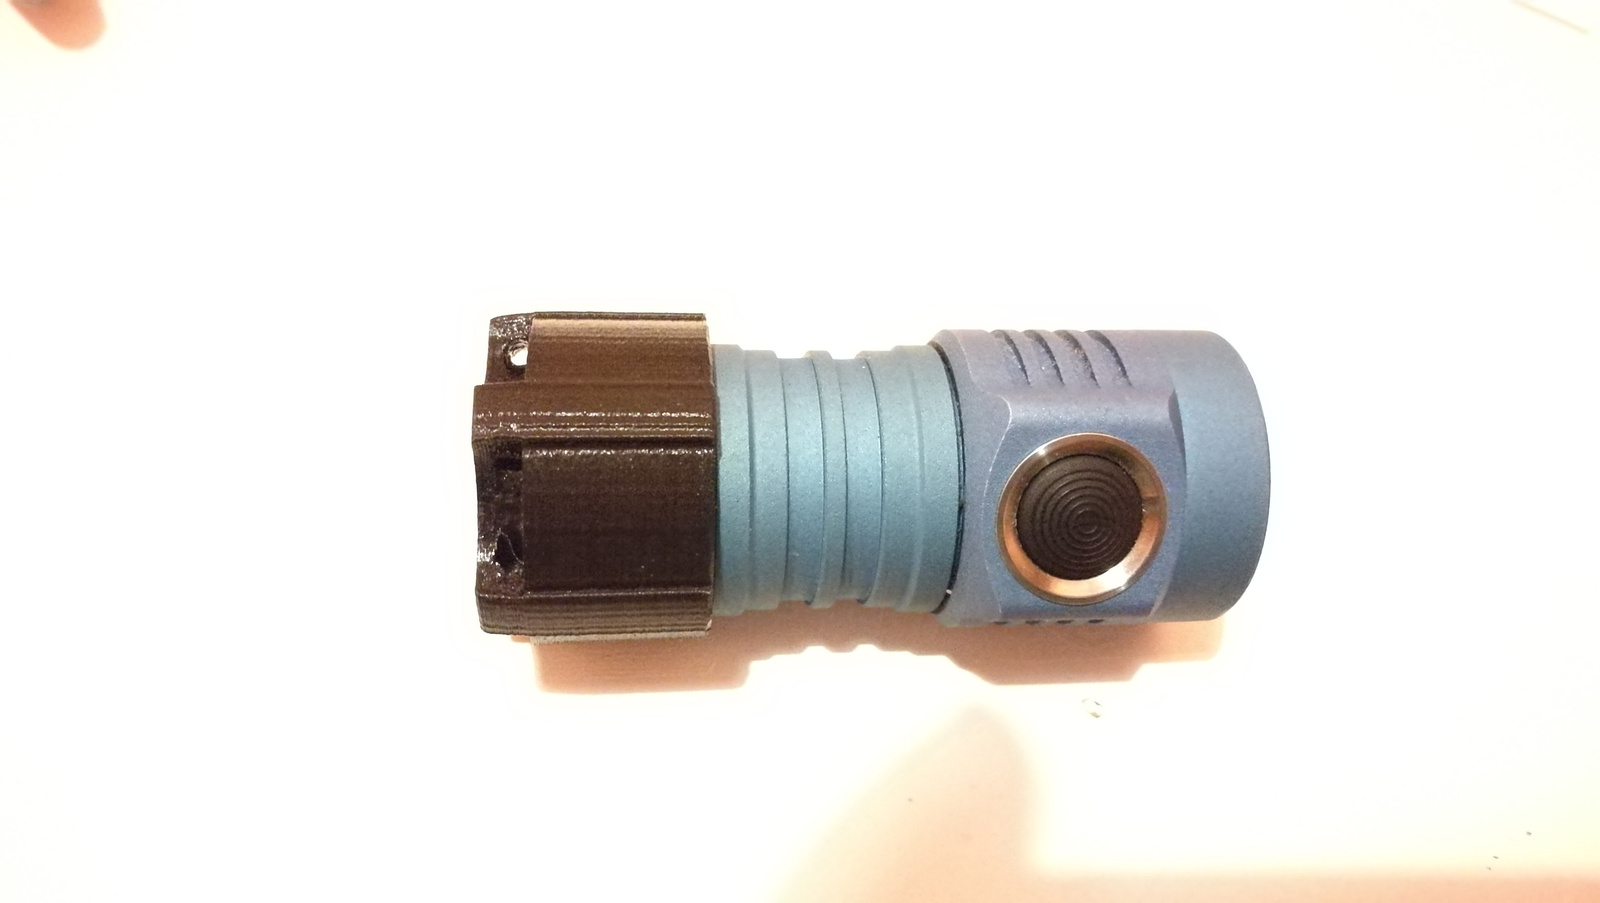
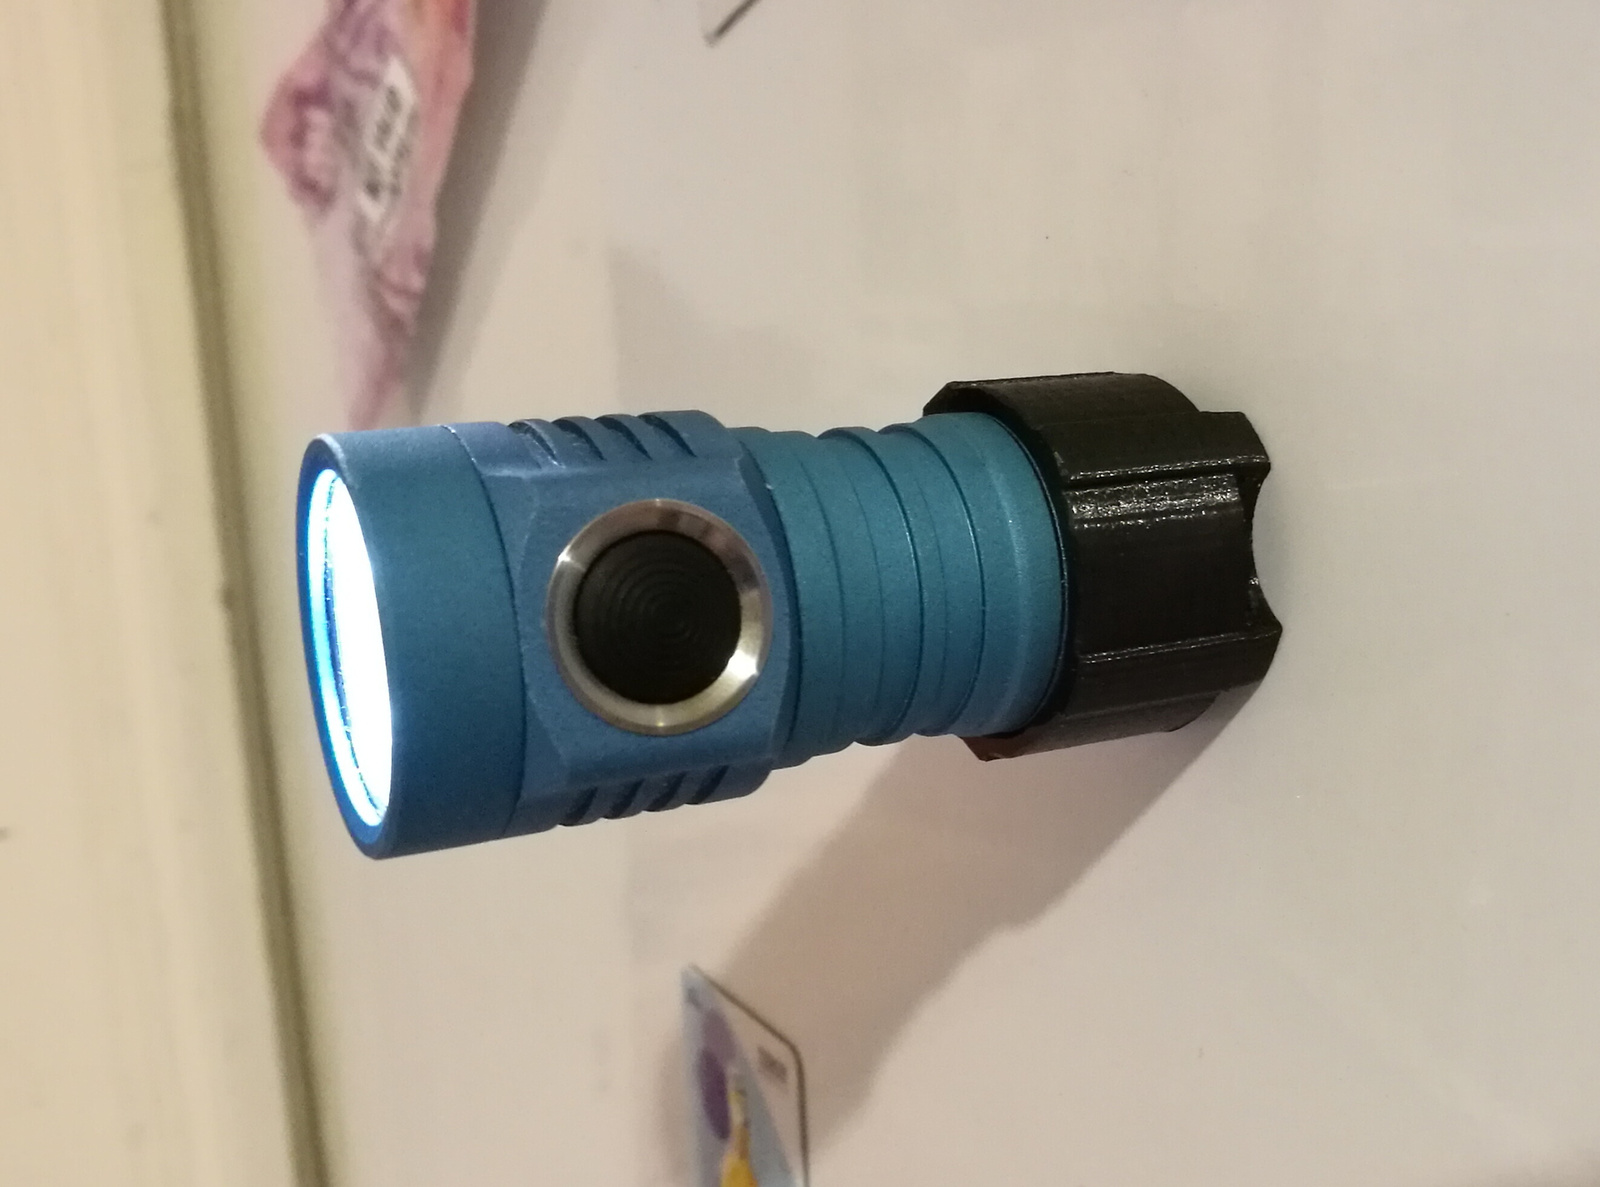
Today I 3D printed a cap to my Emisar D4 tailcap. The design done a few days ago and yesterday made one but I improved it today. The current version has inside two 18mm diameter and 2mm thick magnets. it has holes in all five star arms that can fit microcord or lanyard. And it has some side edges for anti roll. I always wanted to put the D4 shorty on my keychain and it is more versatile with a magnetic tailcap like that. It fits on stock tailcap tightly so no glue used. The overall length with tis become 67mm with the 18350 tube.
I need a little bit of advice… I’m not experienced in modding too much, so I have no idea what/why it happened.
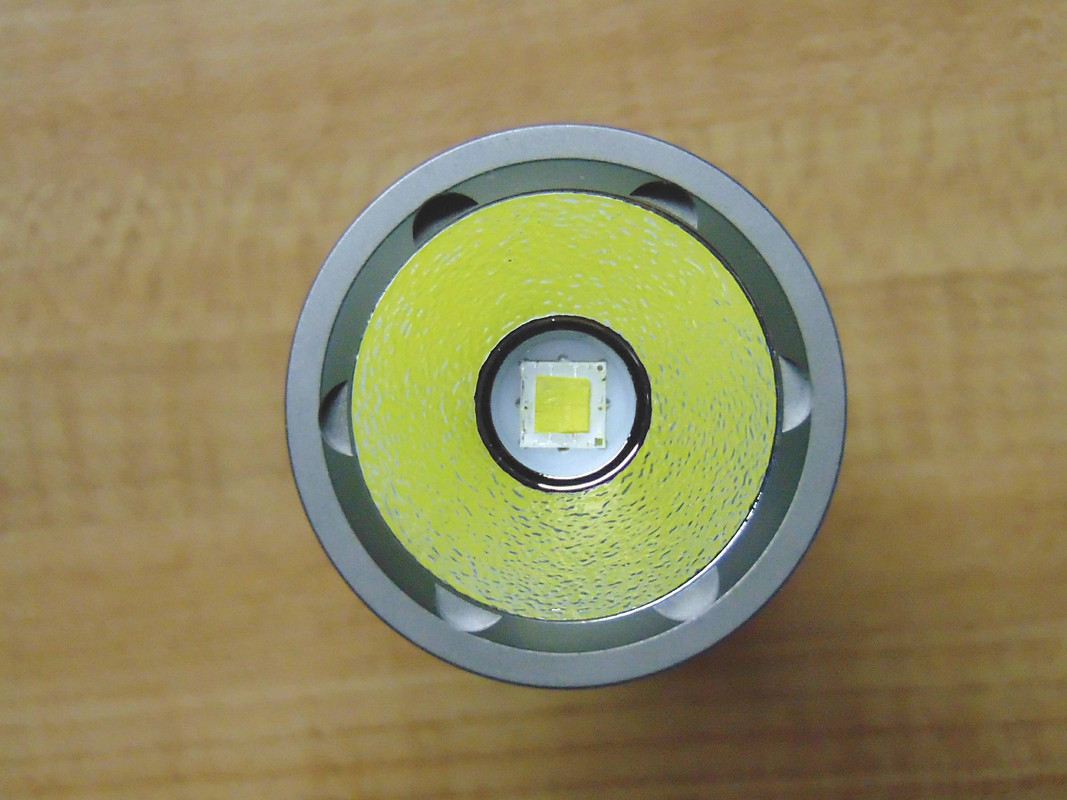
I really like my SRT-9 nitecore, but I wanted something a little bit warmer. So I bought XHP50.2 CRI 80 4000K LED
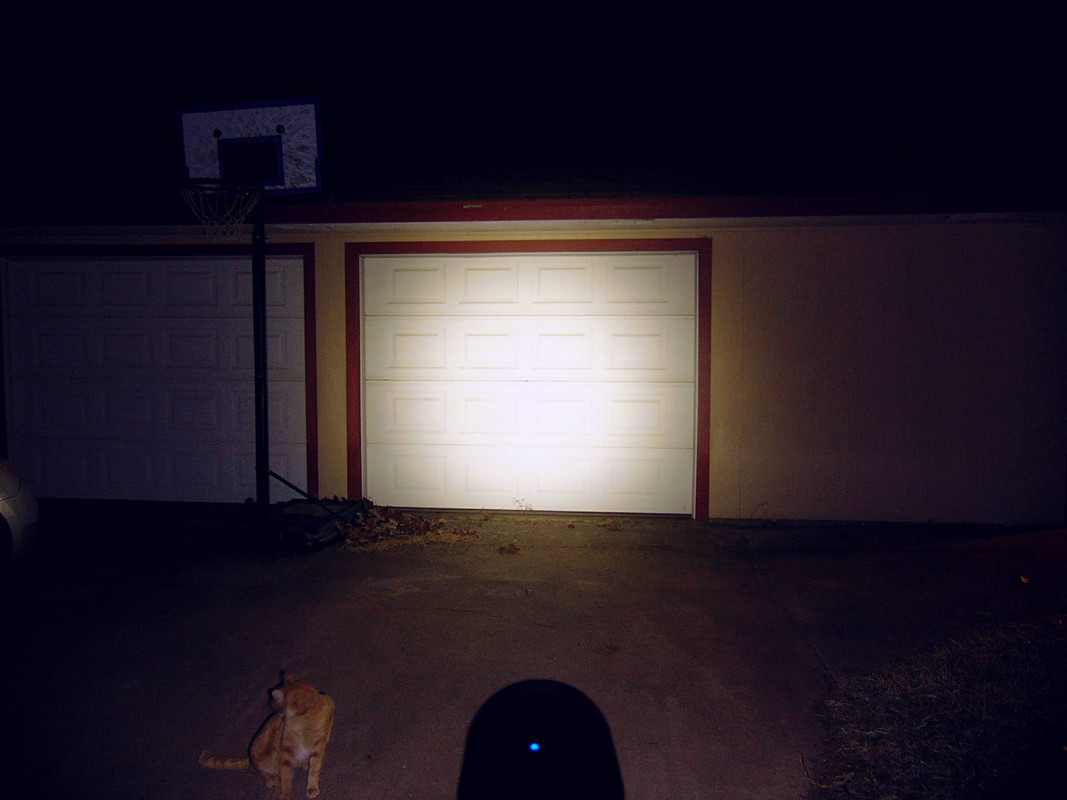
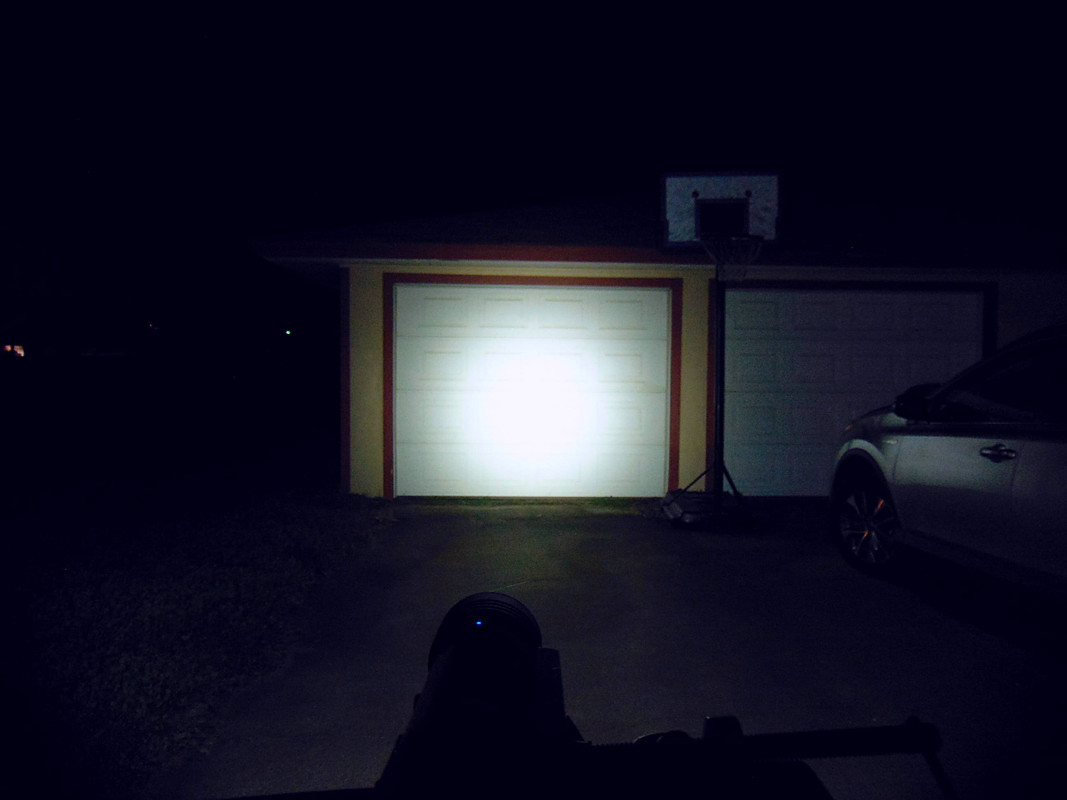
Replacing it was without any problem, but the result is terrible. Light is warmer, but awful tint:
(light is warmer and tint shift is stronger, corona is ok, but I can’t get better result from cellphone, the light on the left is 2500 K)
Same result is without the glass, so no coating there. When I remove the reflector (OP), I get flood circle that is almost perfect white, maybe very little rosy tint, if you try really hard to find it. With original XPH50 5000K (my guess), there was not such problem. What’s going on here?
What you see is the difference between XHP50 and XHP50.2. In the complete production line Cree used a new phosfor “system” that when the light is projected in a narrow beam, like we do in flashlights, produces a yellow to green corona around the hotspot. No one likes it, but the opinions go from not too bad to aweful.
The XHP50 gives a hotspot with donut hole in a smooth reflector while the XHP50.2 hardly has the donut hole, that is worth having that corona for many. But in the SRT9 the heavy OP reflector smoothes out the donut hole of the XHP50 so that is taken care of, but not the yellow corona of the 50.2.
I’ve investigated it a little bit more with spare XHP50.2 on mcpcb (ordered 2, to be safe). It produces pleasant white light in quite wide angle, but sides have very strong green-yellow tint. Without reflector, it’s ok, but when reflector is used, this side light is reflected forward and causes this awful color. So this is “normal” for all XHP50.2 (can’t imagine, anyone would buy that and be ok with it) or are both my emitters lemons?
I really hate this, it’s worse than how it looks on that photo. What are my options? Swapping it again for XHP50 (not .2) 4000 K?
The led manufacturers make their leds for the lighting market, not for flashlights, apparently in general lighting fixtures (that generally produce flood light) this strong tint shift does not happen.
In your case going back to XHP50 could be a good idea. The 4000K 80CRI leds from Cree usually have a nice tint so that may be still an option? (no idea where to buy one though)
with the “flip chip” technology a slice of the emitter is pretty easy as there are NO bond wires to worry about. You could try slicing with a good sharp razor blade , staying just above the phosphor layer. Then you cut straight down beside the main die and take off the outer layer of the phosphor to clean up the olive tint around the edges of the center of the beam.
Here is an example of the 70.2 in a ThruNite TC20 with a cool white 70.2 in it , but usually the end result is very similar with the 50.2 or the 70.2.
Before Slicing…
Not the greatest slice I ever done but here is the basic idea in the end…
 Titanium body (can use 14500 cell with extra extension piece)
 Triple Nichia 219B SW45K on 18mm L4P DTP MCPCB