I thought I should probably make a build thread rather than taking up space in the ‘what did you mod’ thread.
AFAIK mokuti = timascus so I have named this ti-mo = titanium (head and tail) + mokume (body). Inspiration from Tain :heart_eyes:
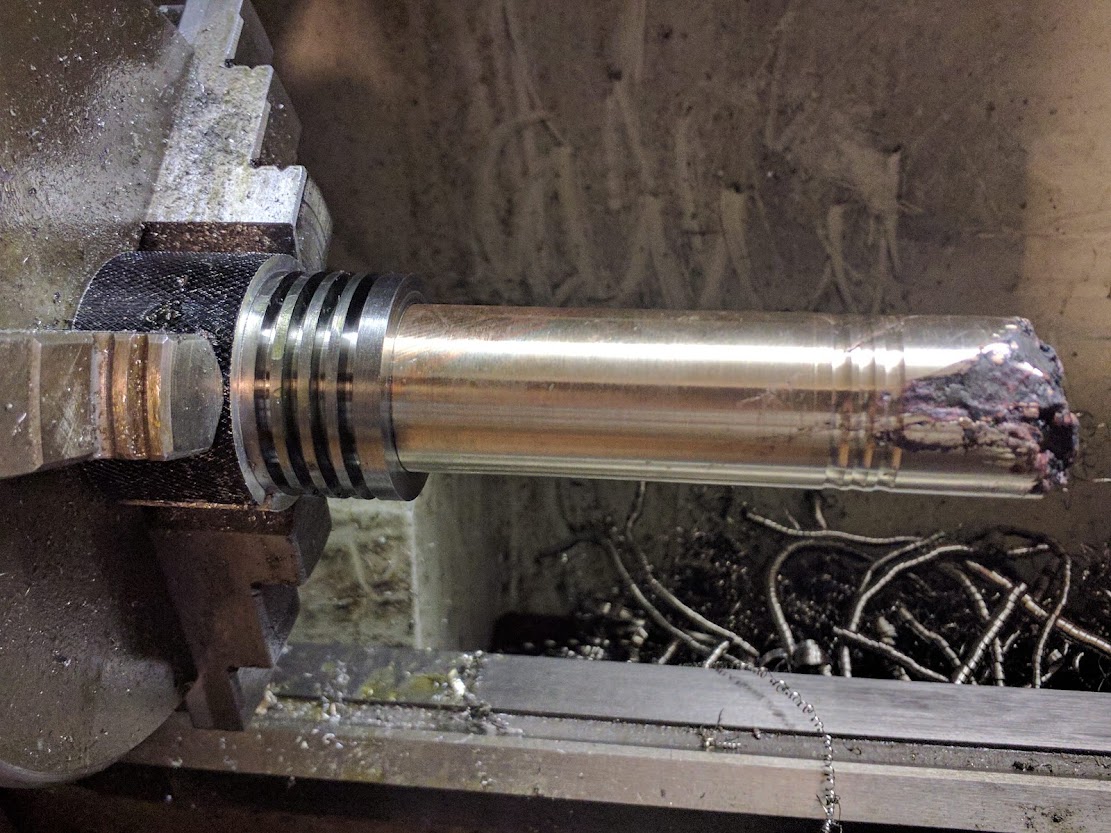
So I’ve had this mokume bar for a while now. I ordered 2 off 125mm*26mm (copper / nickel) mokume. The pieces I ordered must have been the last of the sellable bar because I received the end piece as well (free :partying_face: ). I used that end piece in this build. You can see in 1-2 of the pics the end which is all lumpy and jagged. On top of that the copper does not show on one side, so it looks plain silver. I didn’t get a before shot sorry, and now that I have machined it, it is difficult to make out that it is mokume at all. The copper needs to patina to really show nicely.
First thing I did was bore out the body, as close to the jagged end as I dared, and thread the end. I then made a pill and then started on the head. I did all the internal work before making and fitting a bezel.
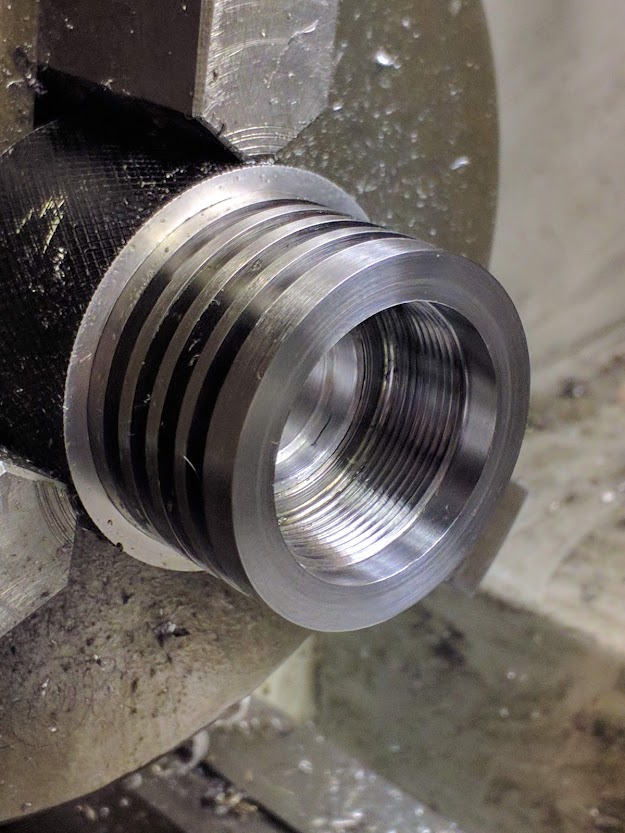
With the bezel screwed on I mounted the head in the lathe and finished the outside. The engraver motor clashed with the jaws of the chuck so I could not run the grooves all the way to the back end of the head. I later had the same issue with the tail.
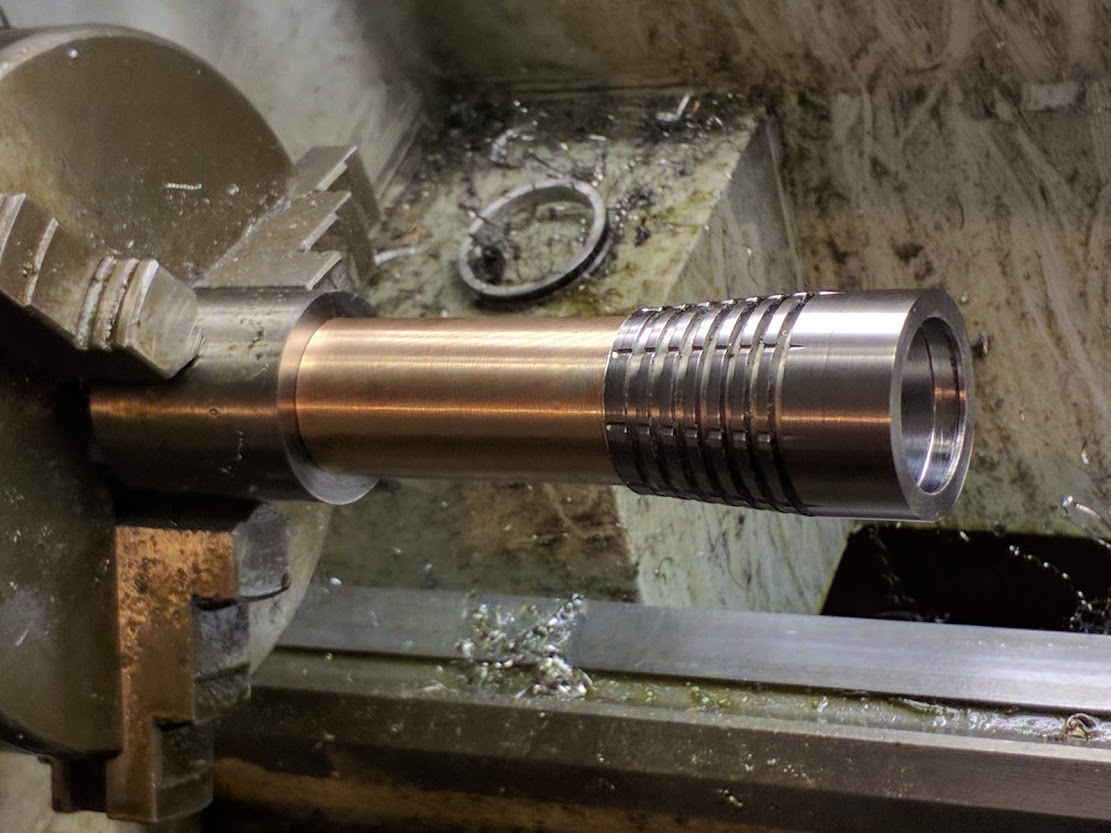
Once the body and head were fitted I cut the body to length and threaded the tail end. I wanted to thread it exactly the same as the other end. No particular reason other than test my skill. I wasn’t paying enough attention and failed :weary: It’s close but not close enough to it fit both head and tail universally.
As with the head I did the internals of the tail first then moved to the outside finish. You can clearly see in this pic where I ran out of room for the engraver and grooves stop short of the work piece. I actually haven’t finished the grooves yet, so it’s still mounted in the lathe as I write this.
About time this torch had its own thread.
I wasn’t game to ask why the steel was crappy on the end but you have now answered my un asked question.
Love the style and look. Personally I would not run the grooves to the end as i prefer the look of all the work being internal if that makes sense.
How did you go doing the cooling fins and what tool did you use?
Orsm job so far mate and looking forward to the completion.
I feel exactly that way when some of these guys talk about building drivers or writing code :laughing:
It’s not the first time I’ve cut ti. However this time I did need to replace some index bits and resharpen drill bits and HSS bits. I didn’t realize they were dull when cutting aluminium but ti is much less forgiving. When the bit is sharp and used correctly (height, angle etc…) then it cuts quite nicely. It is a must to use lots of lube. Aluminium cuts better with lube but ti needs the lube to keep it cool. I did like Dale and started a fire at one point. Didn’t ruin anything but I was definitely surprised when it happened. I do like using ti because it has helped me learn when I’ve got it right. Roughing out is slower but not by a lot (in my experience).
I don’t think I have the patience to wait for natural patina so I’ll look into forced patina. From memory some guys were using dishwashing liquid to bring it out??
My initial thought on the grooves was to mount the complete host in the lathe to groove the body and tail so they all lined up perfectly with the head grooves. I kinda forgot that when I was making the tail. At the time I made the tail I thought “I can cut the grooves now while the part is perfectly concentric”. I may be able to shave a little off the tube threads to try and line up the grooves, we’ll see.
I did the cooling fins with a 2.3mm HSS parting tool. Had to give it a quick touch on the grinder to keep it sharp but otherwise was no problem.
Your a better machinist than I. My HSS parting of tool has not been used for years as I never really had any success with it. To wide, not enough rigidity and not enough ability from me to get around the first two problems.
Nice effort.
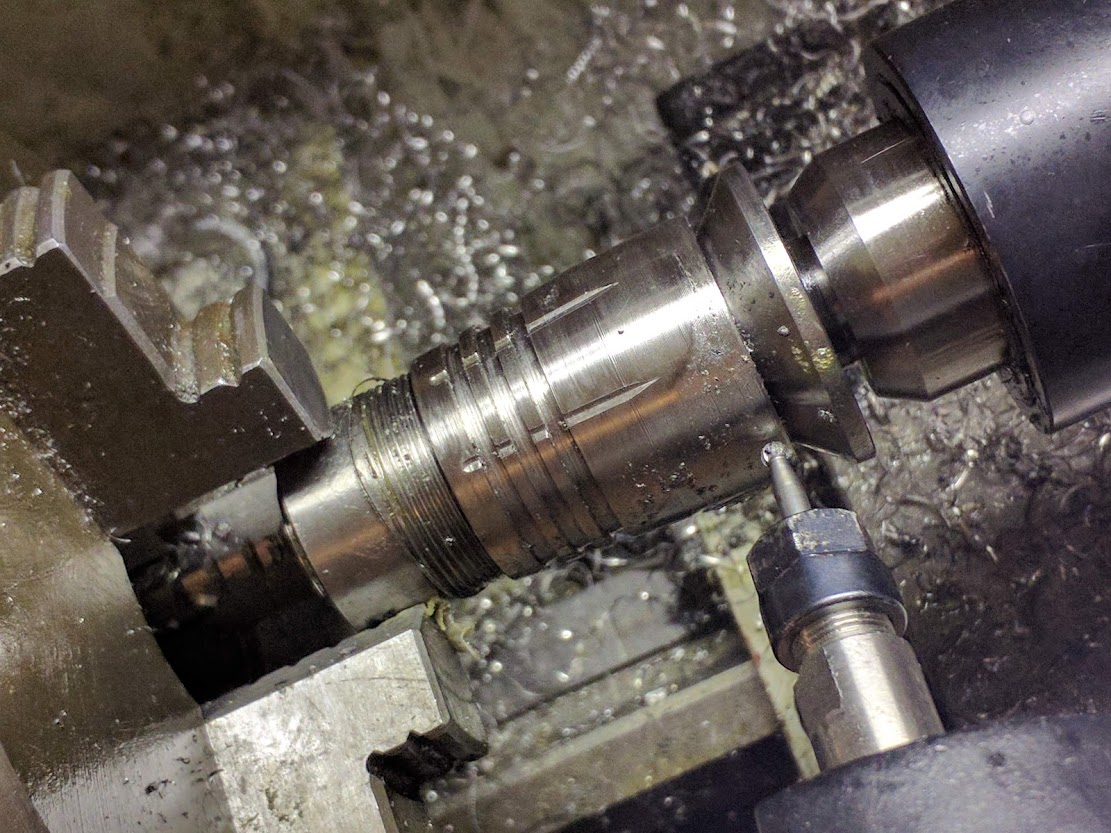
When I finished the grooves on the tail it still looked a bit over weight. I didn’t envision holes in the tail but that’s what I got. I am worried the tail (and head) might look too busy and detract from the mokume body.
Next is making a switch retaining ring. Then I’ll be at a bit of a cross roads. I think it looks pretty cool with a straight body as is. In which case I might have enough space to bore out the body some more to use 21700 cells. However my initial thoughts were to have a tapered, rippled or curvy body to pronounce the mokume grain.
… I’m still thinking my initial idea.
It doesn’t really show up in the pic but the grooves on the tail are not quite as deep (and wide) as on the head, I thought I had this suss’d So many things let me know how much I still have to learn about machining
I think it looks really wonderful as it is now , but considering the battery tube is made of mokume I can understand that it deserves emphasizing with a suitable texture