How fast did you spin the face plate set up? And how far out of balance was it?
Nice work btw. I hardly ever weld and it always turns out like cocky s#1t so your aluminium looks fine to me.
How fast did you spin the face plate set up? And how far out of balance was it?
Nice work btw. I hardly ever weld and it always turns out like cocky s#1t so your aluminium looks fine to me.
I’ll find out if the plan worked when l knurl the tube. At the moment I need to make a boring bar to bore the tube as mine are to small and the one at work flexed the tube to much.
A mandrel to hold the tube when it gets knurled will have to be made to hold it rigid. Hopefully all that will work. If not there will be a lot more work. ![]()
It was way out of balance. I’d guess I could only get about a 100 RPM before the whole lathe shook to much for comfort.
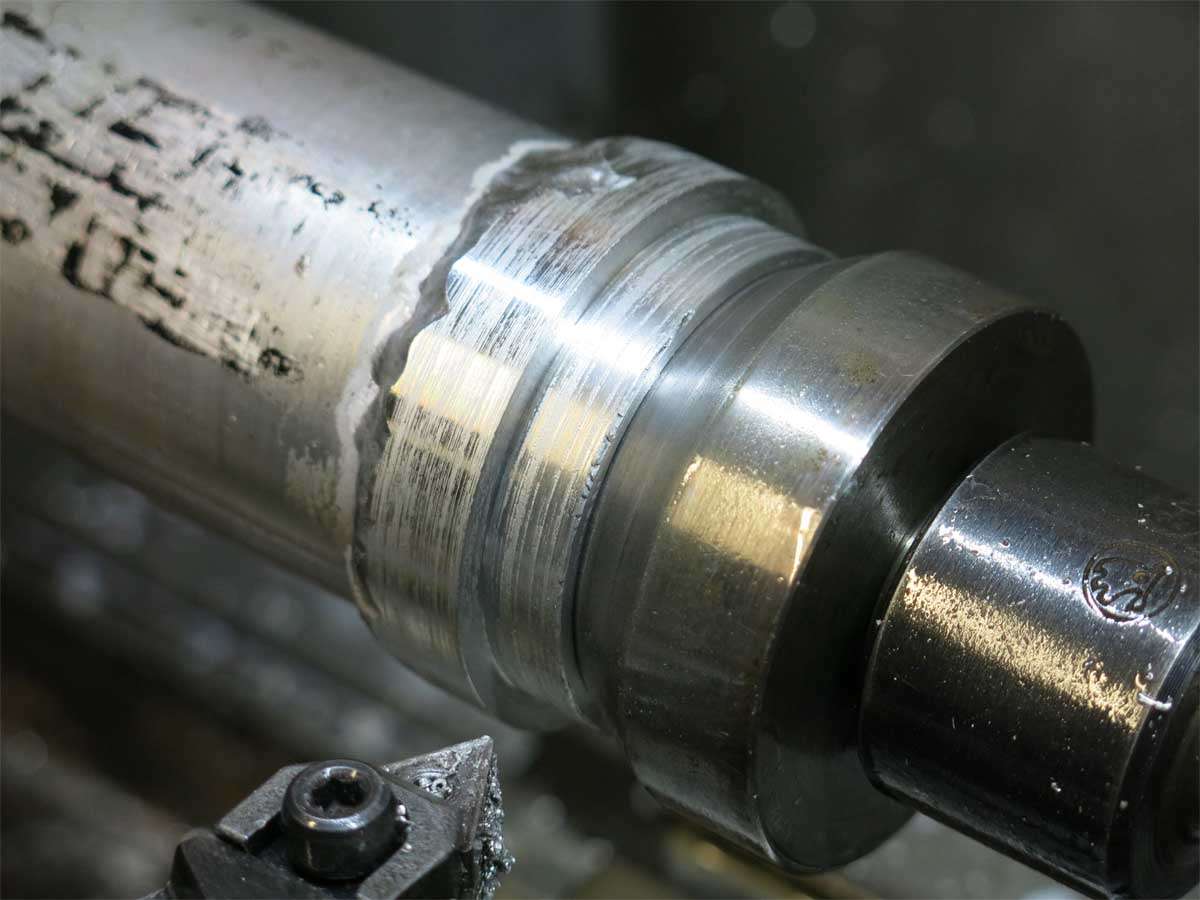
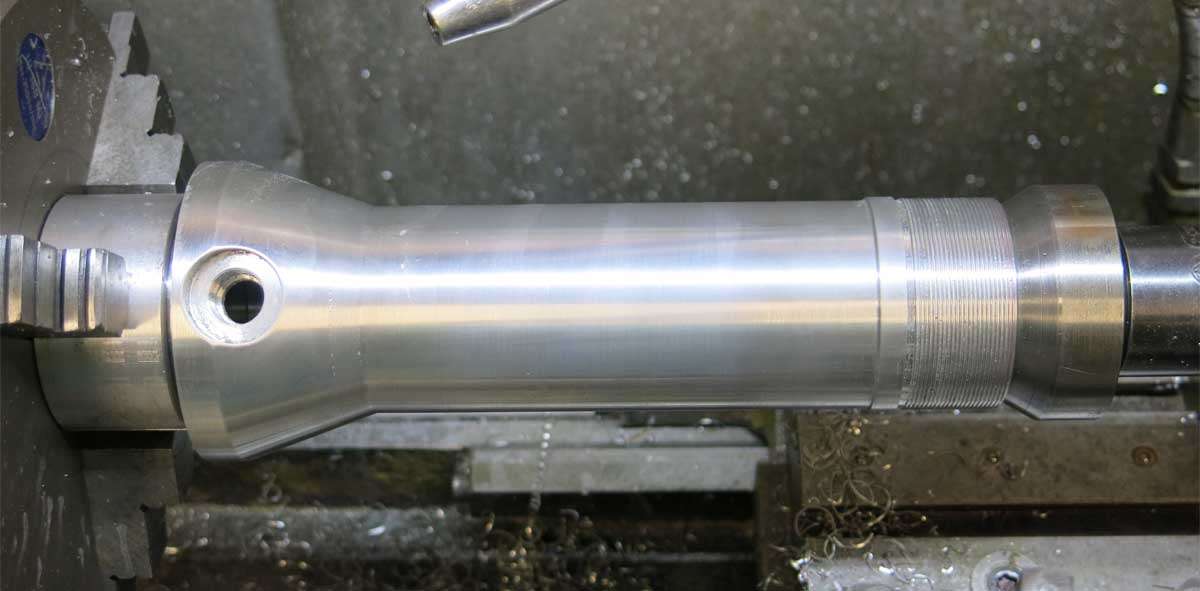
The battery tube has been a source of frustration and a lot of learning has happening.
The original battery tube in the above pictures has been tossed in the bin. It needed enlarging slightly on the inside diameter to fit the battery carriers. I thought the easiest way to do this would be with a hone as I did not have a boring bar that would do this job.
I was wrong as the hone wore itself out without really doing a lot to the inside diameter.
I decided to then make a boring bar and grind a piece of tool steel to do the cutting. When machining the inside diameter with the new boring bar the tool steel would lose its edge without really doing any cutting. It took far to long for me to realise that the cutting edge was being dulled from the hone stone that must have embedded itself in the aluminium.
The trash can came beckoning.
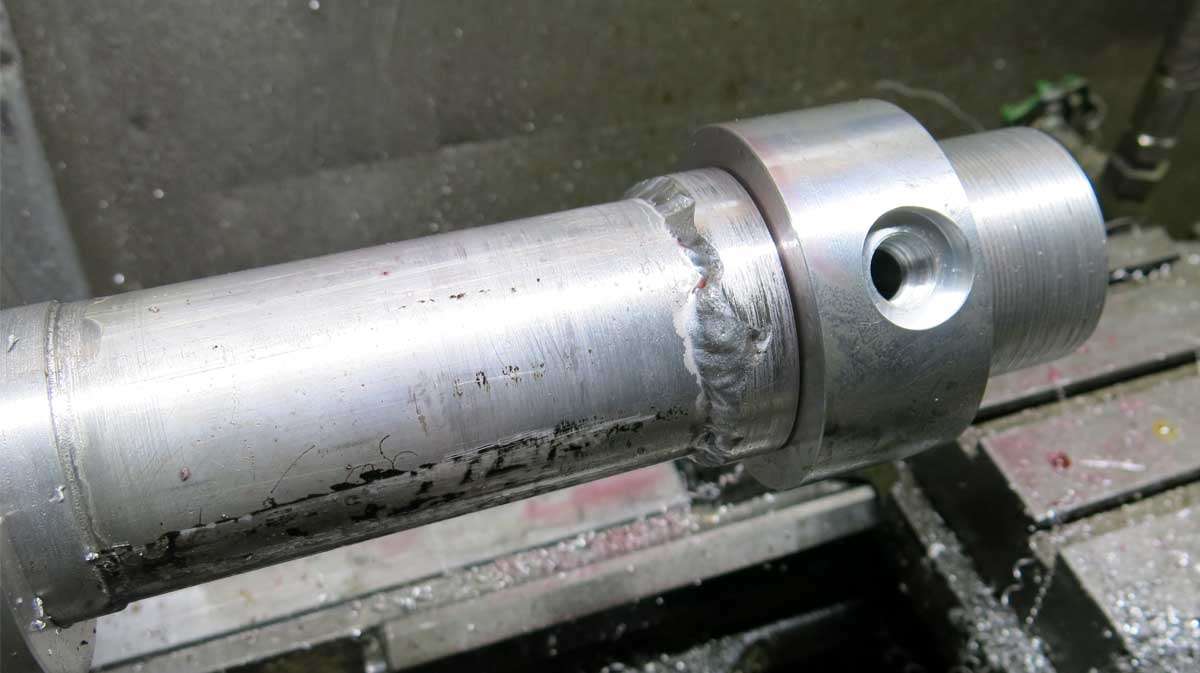
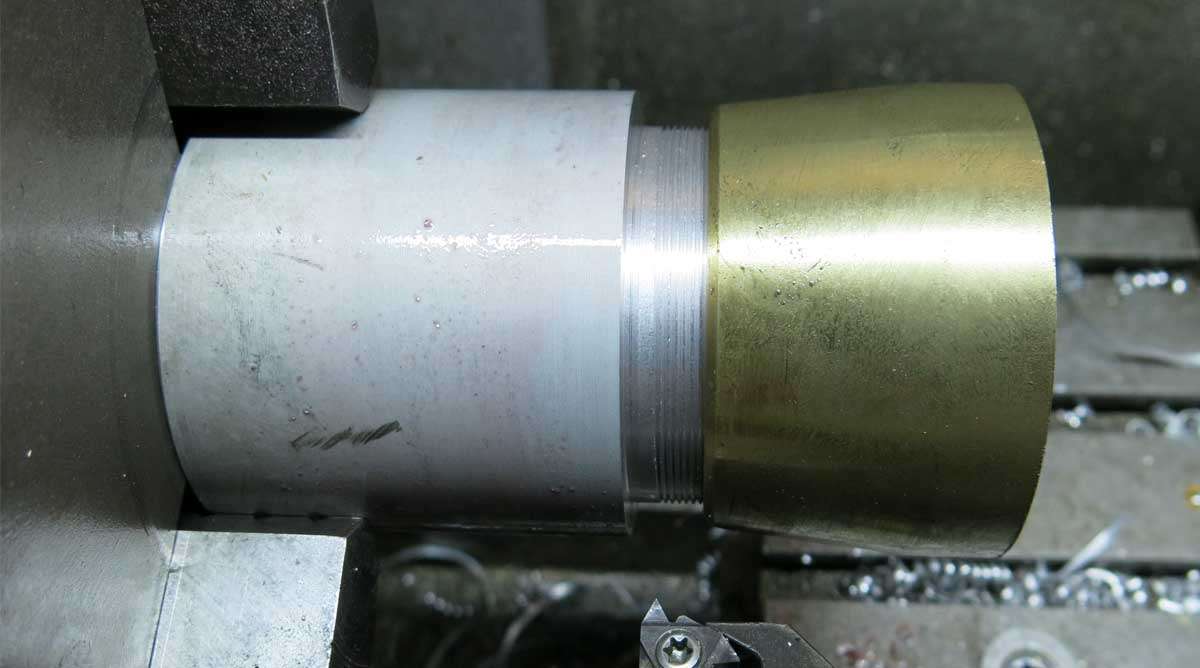
A new battery tube was started from scratch. The below picture is of the home made boring bar made from a piece of 1’’ round 1020 bar.
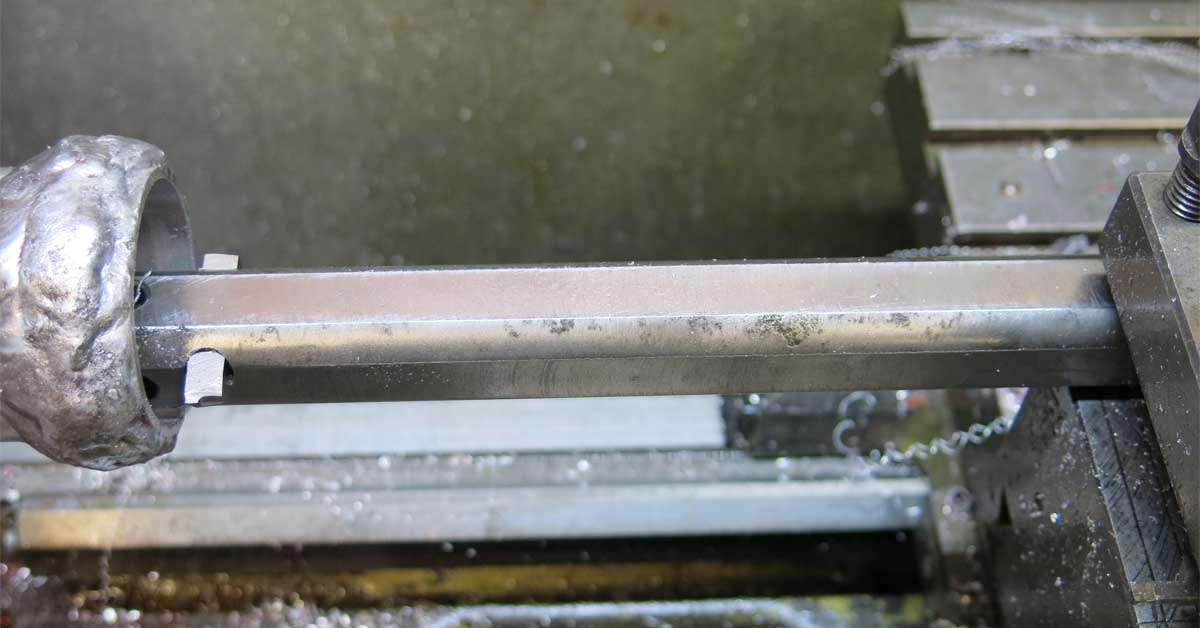
The length of the cut was about 165mm.
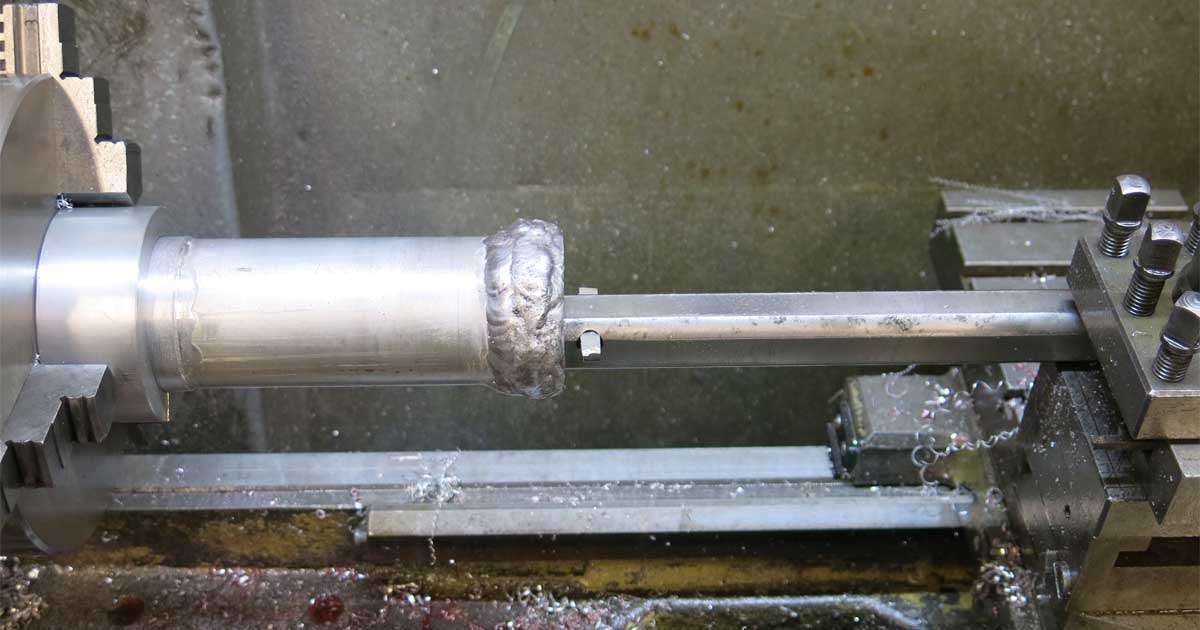
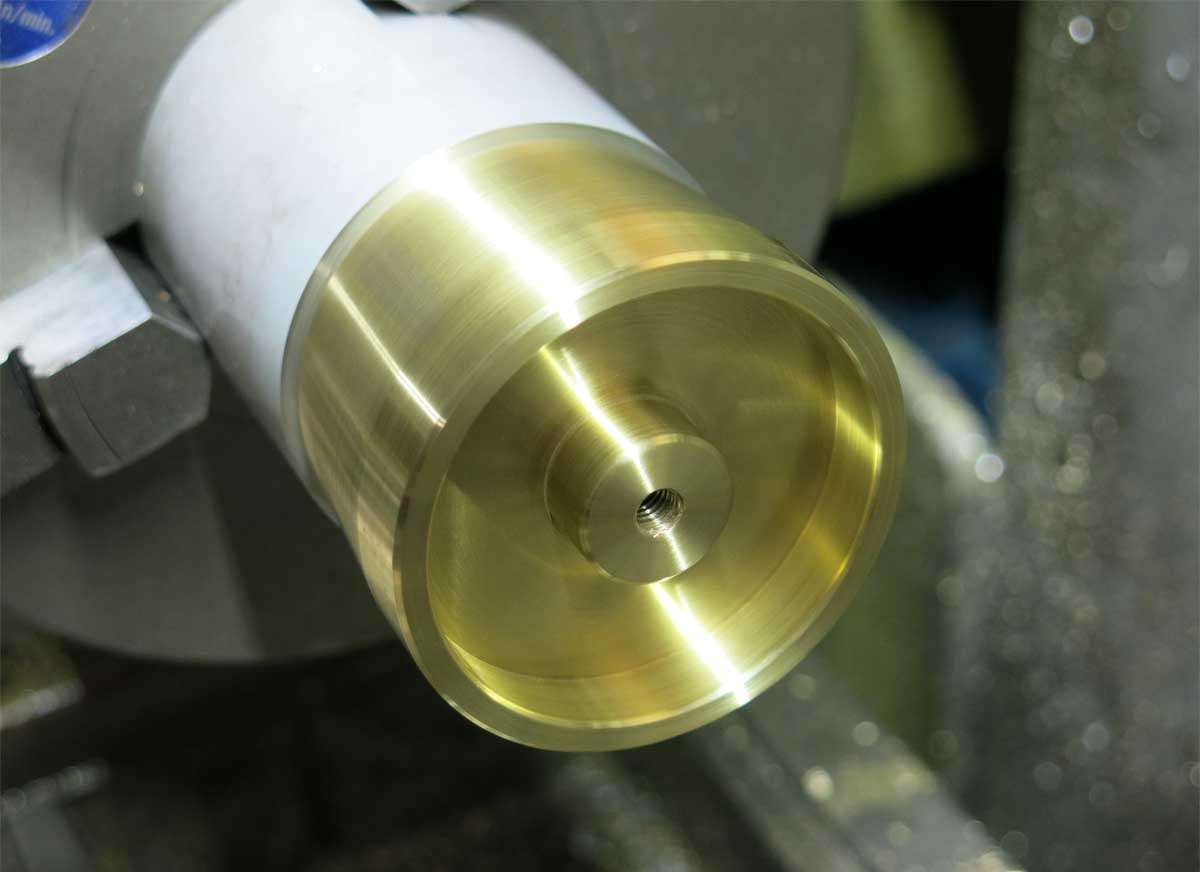
And at last we had success.
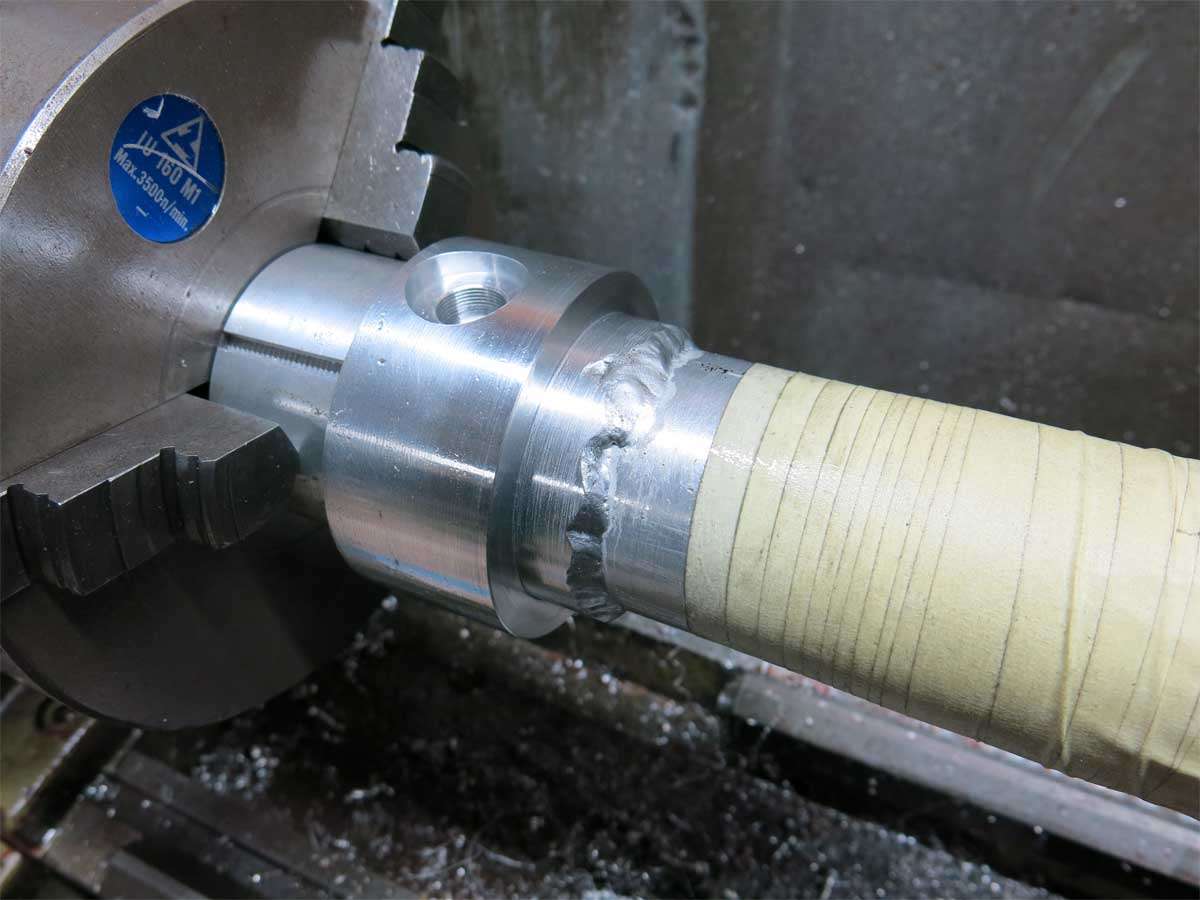
The weld was then machined down so the switch area of the head would screw on.
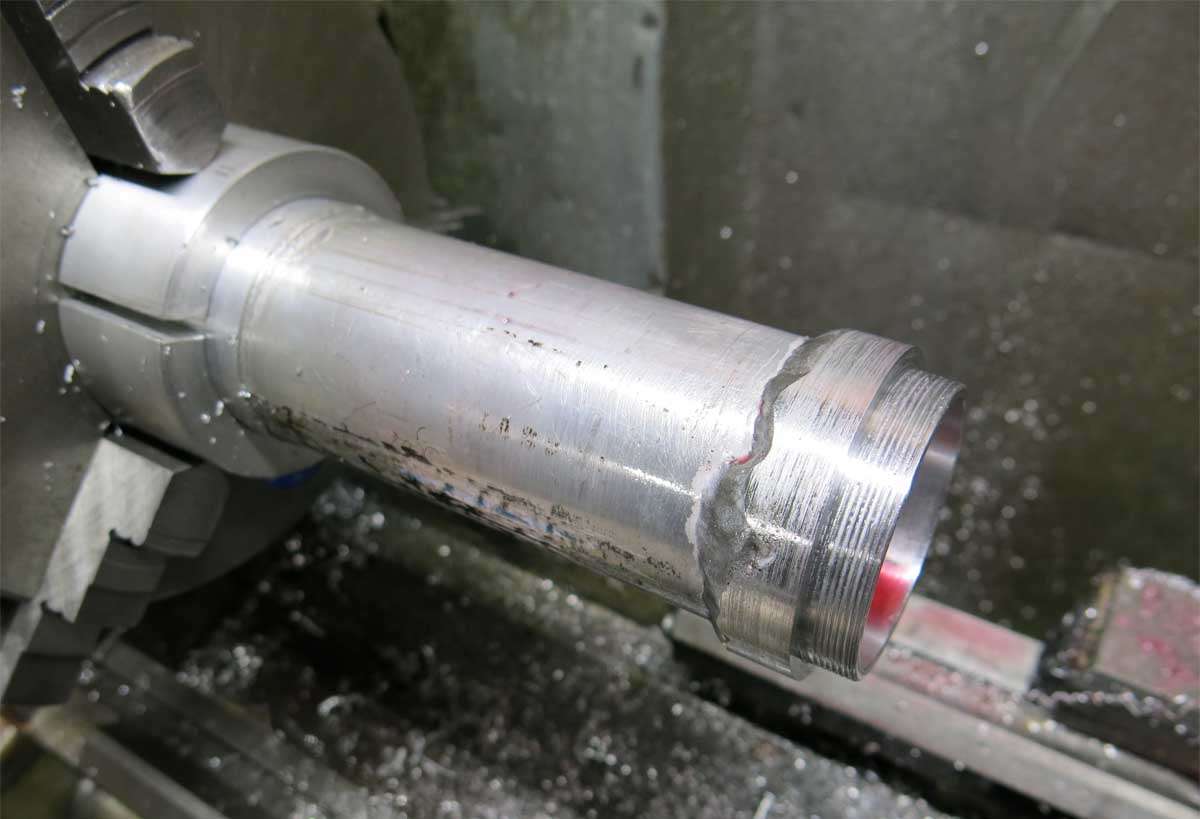
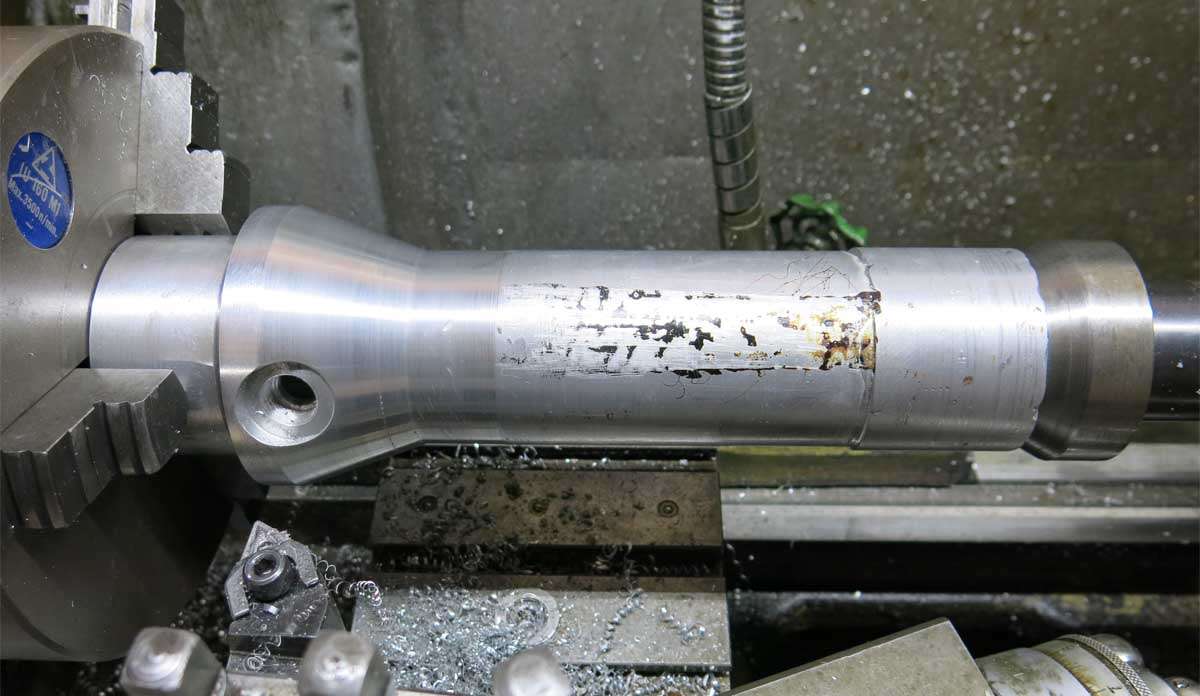
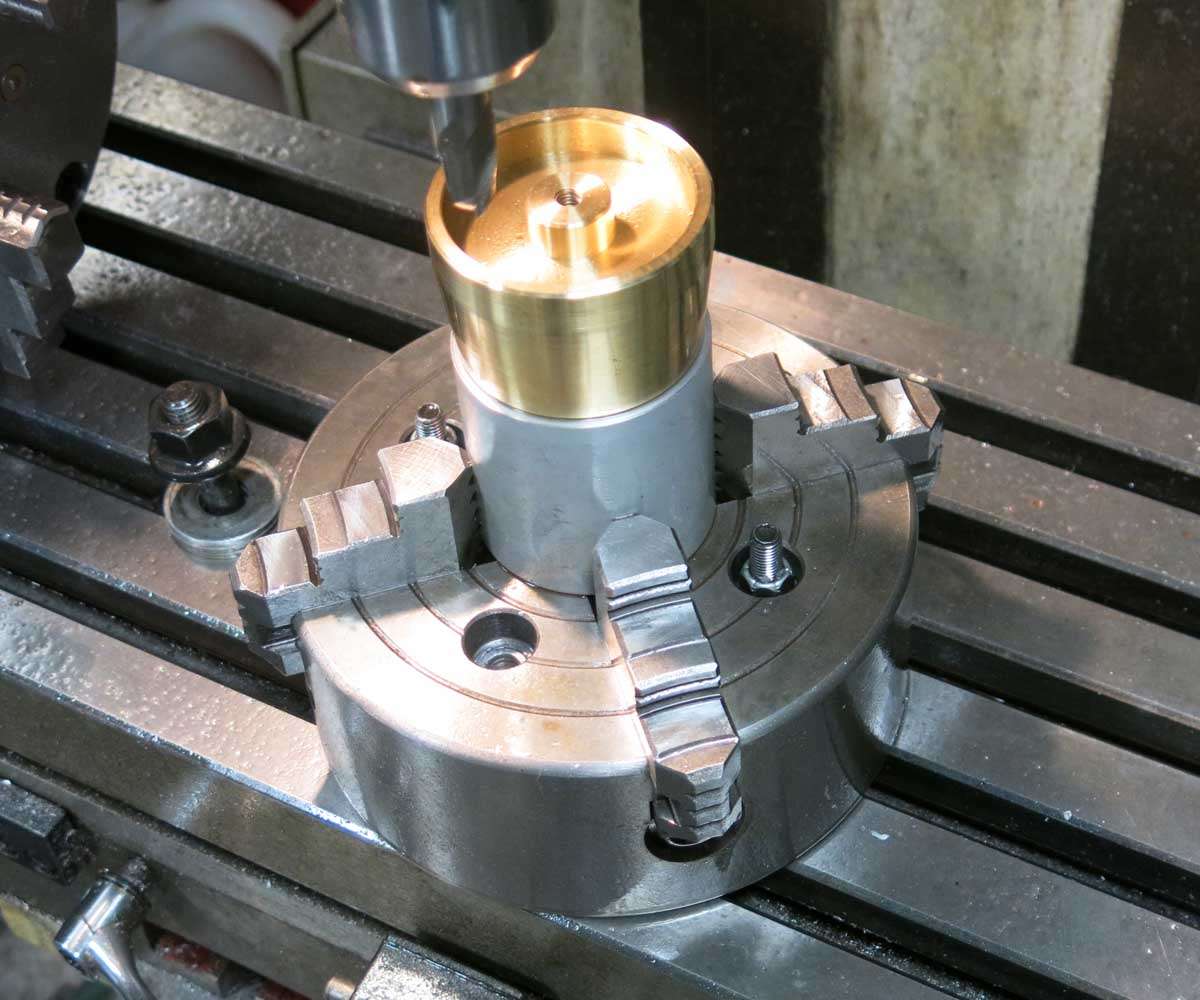
And at last.
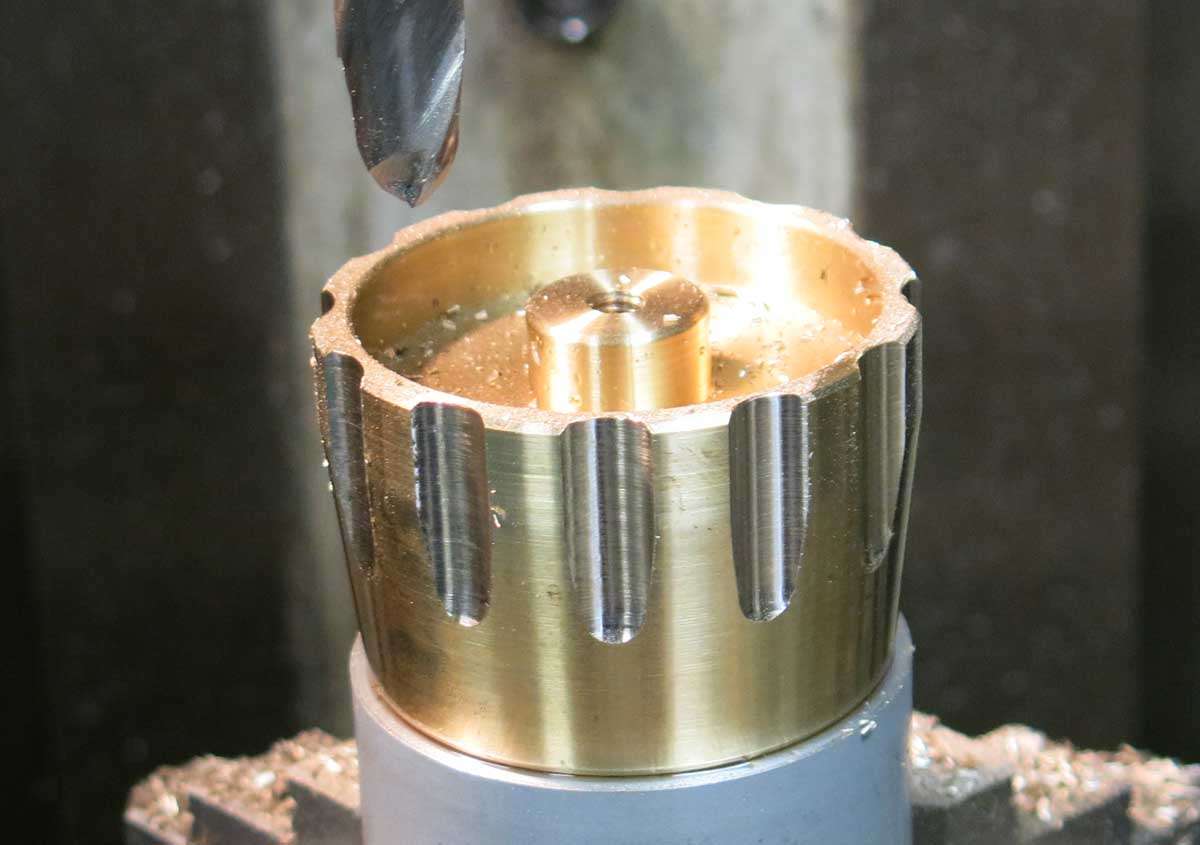
The pill section was placed in the chuck to hold the battery tube so the profile could be machined.
The thread for the tailcap was then machined and the tube surface turned flat. There was a slight mistake by me setting the levers for the thread pitch. Istead of the original 1.25mm pitch it is 1mm pitch which means the standard tailcap will not be used.
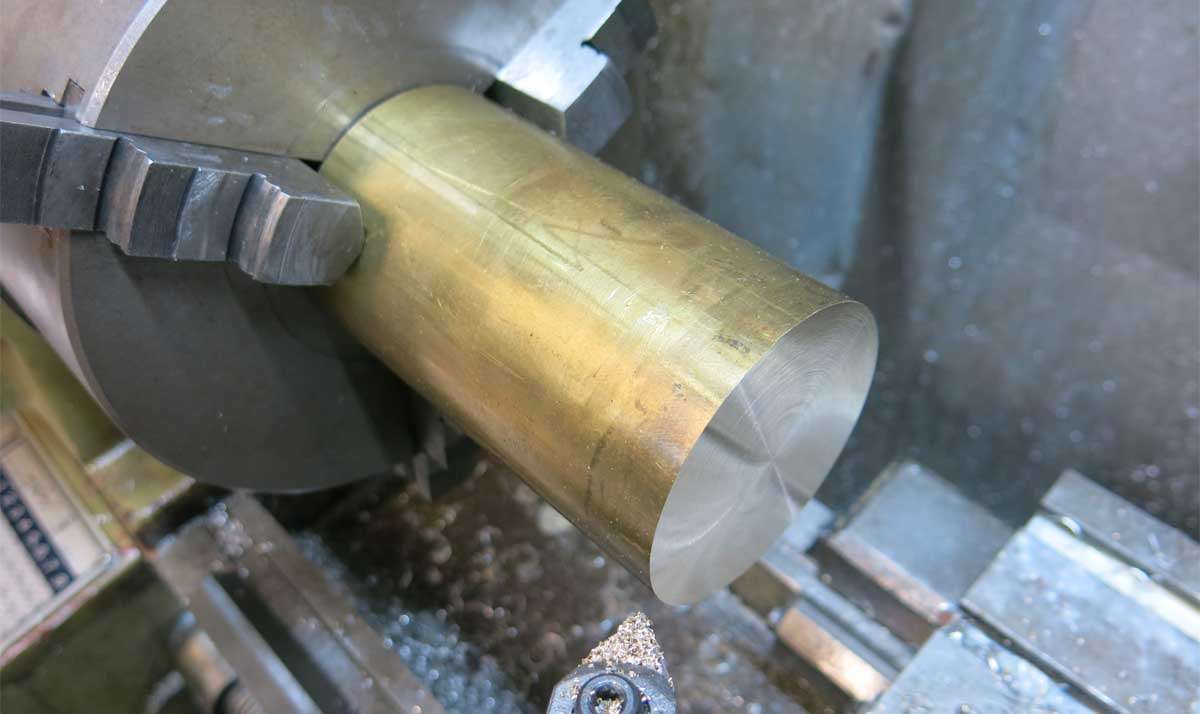
The tailcap is made from a piece of 63mm diameter brass bar.
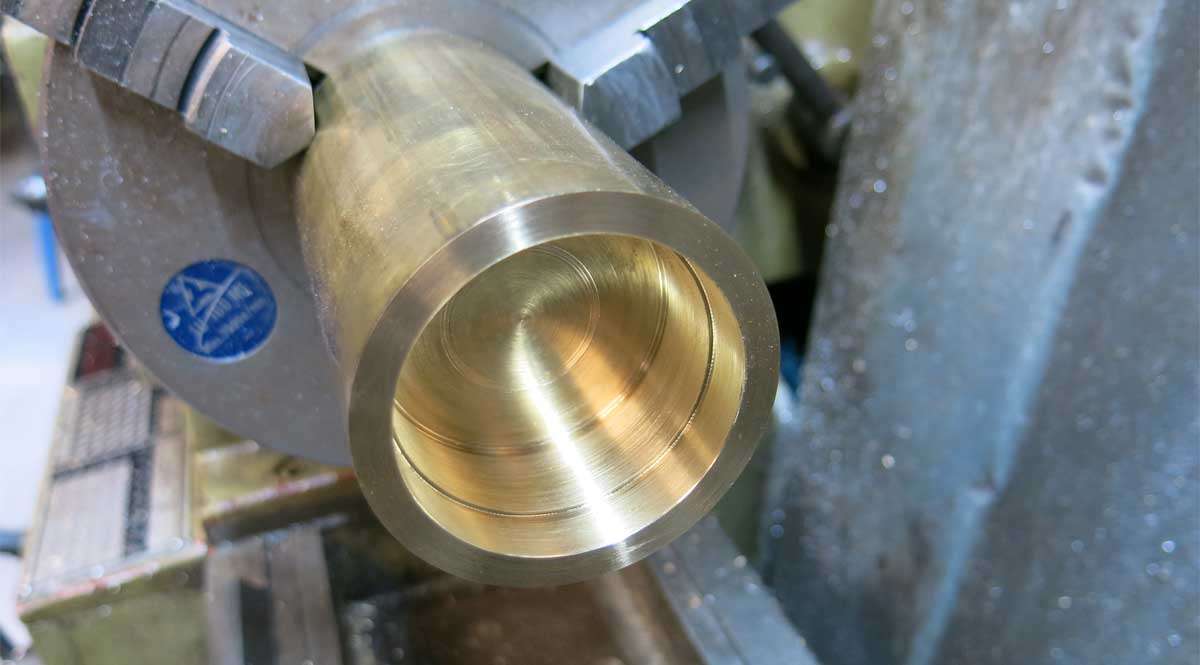
The inside of the tailcap was machined ready for threading.
A neat thread is always welcome.
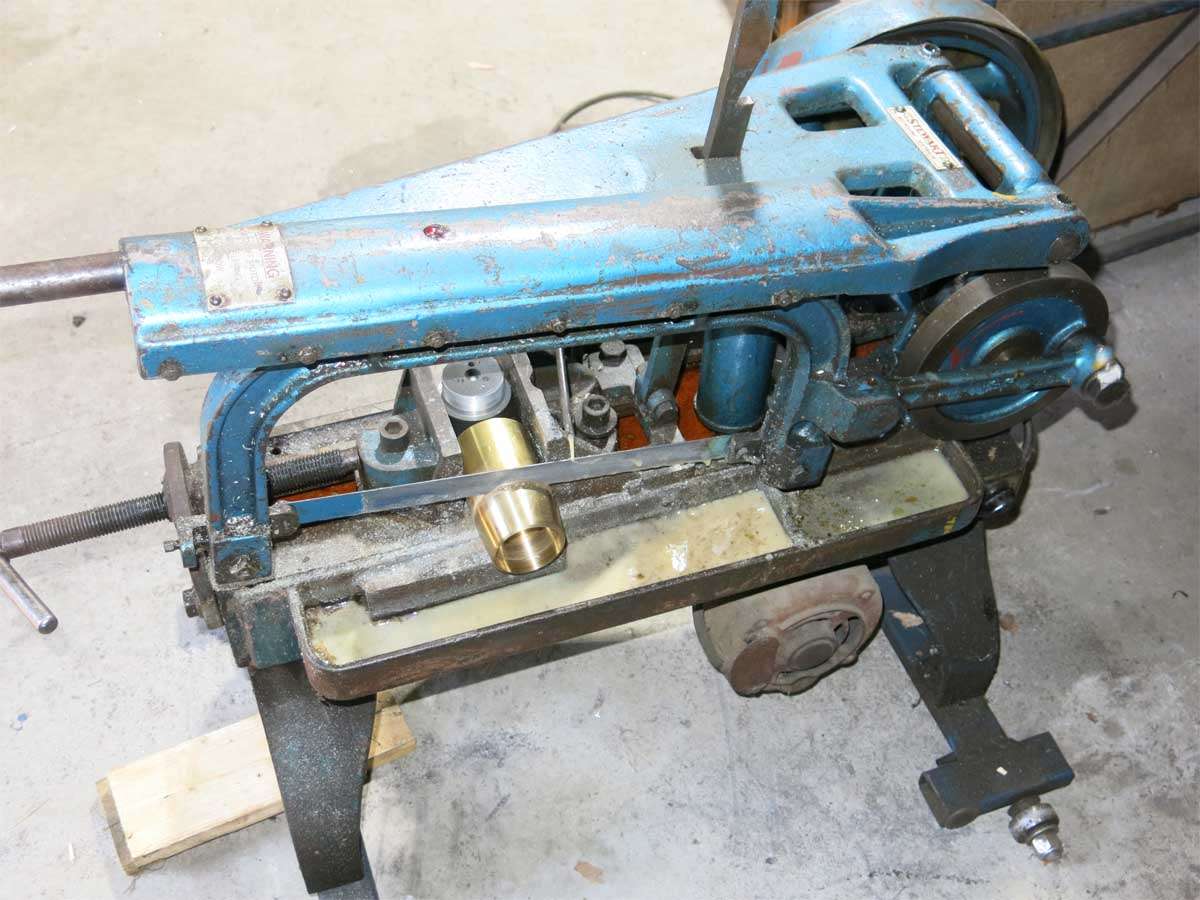
The power hacksaw was again put to use.
A mandrel was turned up to hold the tailcap to allow the end to be machined up.
Poor you, doing all that extra stuff! All for that classic ST90! Wayne will be proud though. ![]()
Wayne may have finished modding this light months ago. ![]()
Great work so far!!!
Very cool! ![]() Nice idea, save, comeback with the brass tail cap!
Nice idea, save, comeback with the brass tail cap! ![]()
The extra weight of the brass may balance the torch a little better as the head really is built like a tank.
Yep it is a Beast! Is the aluminum going to be anodized?
If I did not have a full time job and a spare shed I’d love to get into Anodising but at the moment unfortunately no. Acid here is also on the banned list of items we can purchase.
Some Rare Elektro Lumen lights…
Nobody anodizes down-under?
I’ll leave it up to the owner of the torch if he wants to get it anodised by a third party.
I wont be doing anything to the stock components so the torch can be converted easily back to standard.
I’m a bit of an old sentimentalist at heart. ![]()
Lol, how much of the original light will be used in this?
The less the better for us, we like watching ![]()
Great job ![]()
Appreciate the comment. ![]()
The head assembly is the only used item from the original torch.
Theres not a lot left to do. The tailcap to finish off and then assembly. Just need time.
There was a 12 hour race on idiot box yesterday that got in the way. ![]()
I missed this one awesome project!
The hacksaw looks like its steam powered ![]()
I was at the Bathurst 12 hours yesterday i watched about 6 hours from half way. It was so damn hot. I went for a walk to see if i could find Mick Doohan but could find him.
It was steam powered when l was using it as the shed was a sauna. Micky Doohan was in the 888 teams garage and the Mercedes area. Not sure he ventured much further than that. Was a good race on the tv.
How was the noise from the different engines? The Bentleys were a rockets at one stage. Shame the driver stuffed up twice at the end of the pit lane.
Yea most of the cars where not to loud compared to other events like V8 supercars or F1. Loudest car was the mustangs freaking deafening you could also hear the turbos spooling comming around the bend. Like the aston and merc must have been big bores they where just rumbling.
I think the Aston Martin is a V12. The Porsche GT3s didn’t sound that great but they got the job done.
The end was good safety car came out with a few laps left. I seen one of the Aston Martin retire with a few laps left i think. Also the KTM came back on car carrier with a few laps left. Bloody Nissan i didn’t see what happen but they hit some one and got disqualified.
I was at the start of the main straight where the start/finish is. I bought the mountain pass drove up but not much room by the time we got there so i headed back down.
Took my esky and fold up chair and decided to buy a beach umbrella from bunnings. Lucky we did it was a crazy hot day. I had a tarp and rope with me was hoping to set up under a tree lol.
The Nissan got disqualified because they did not come in for a drive through penalty. Just kept on going around.
Talking about being hot. Someone had a temp gun and pit lane surface was 69 degrees.
Sounds like you had a good time. Thanks for the update. ![]()
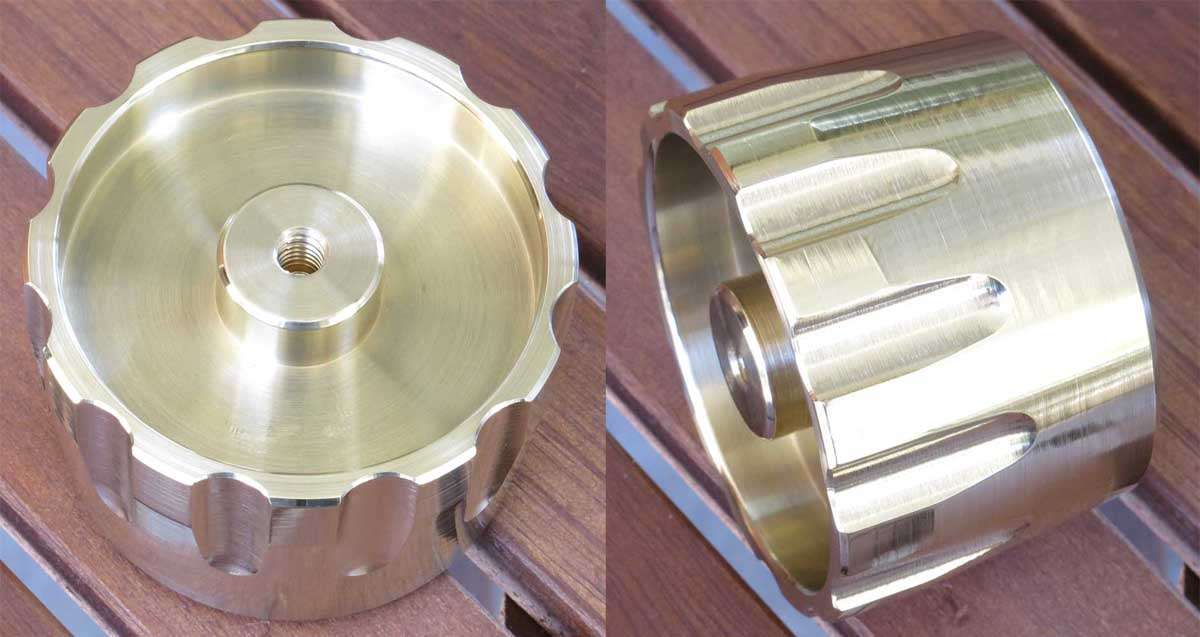
Todays update brings us very close to the finish of the upgrade.
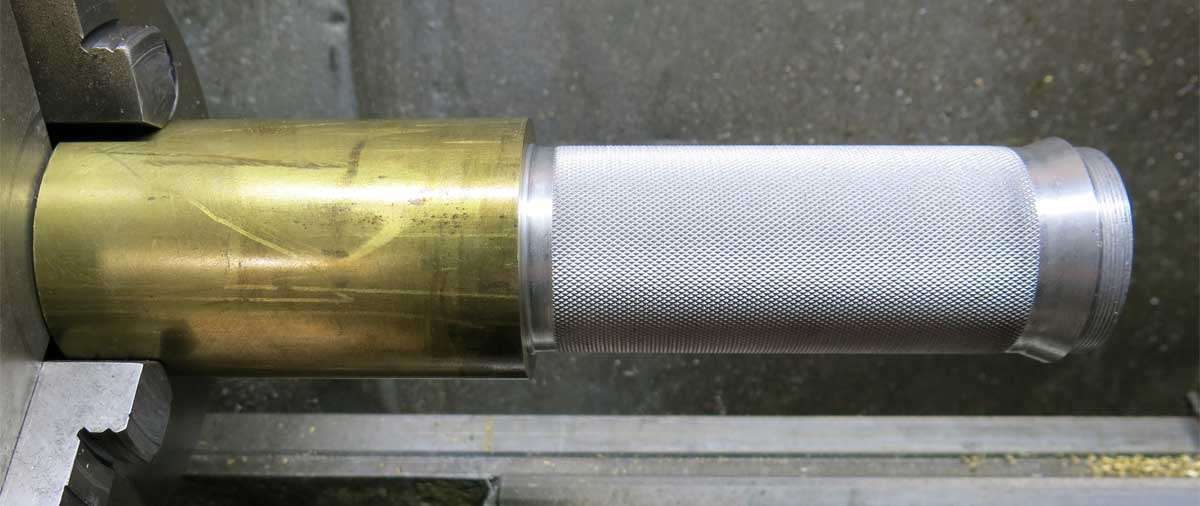
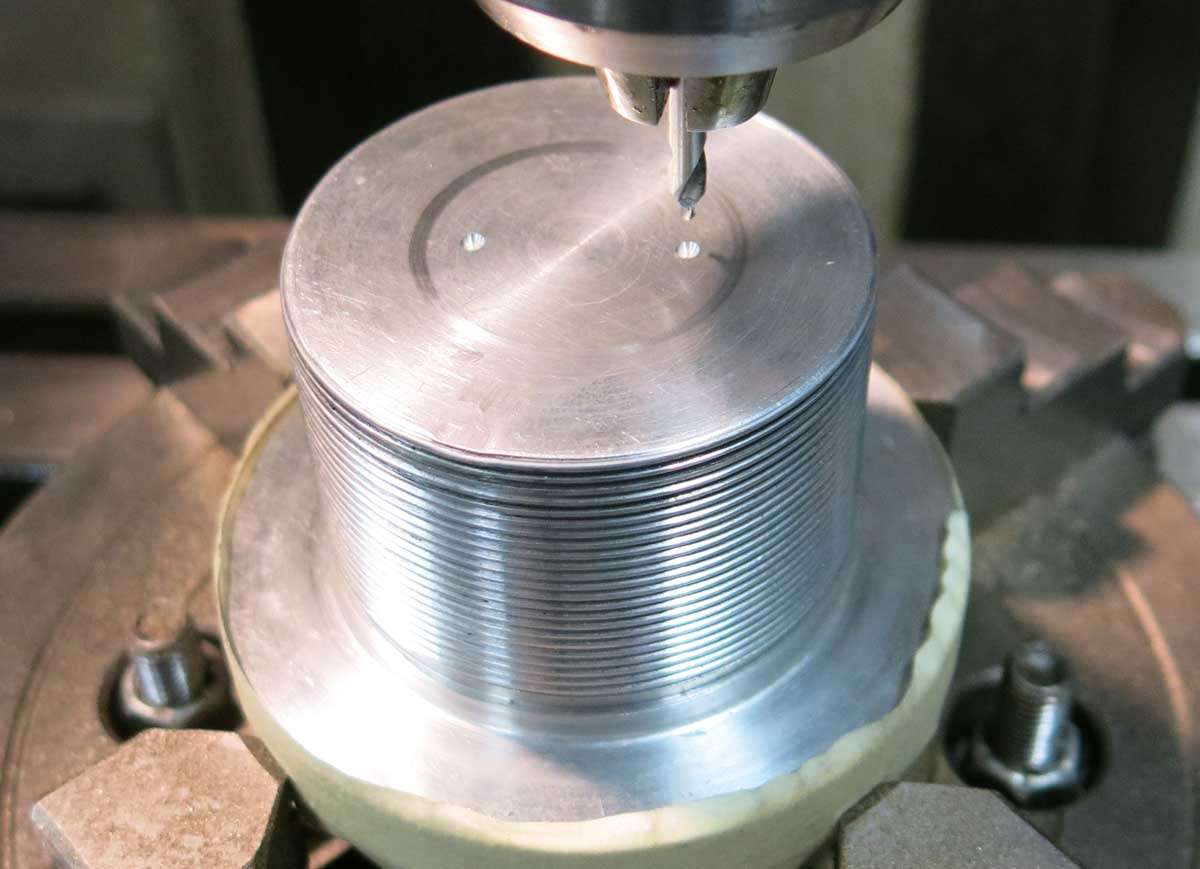
The tailcap was placed in the mill and 12 x 12mm grooves were machined into the side.
Holes for the wiring and hold down screws for the MCPCB were machined into the pill.
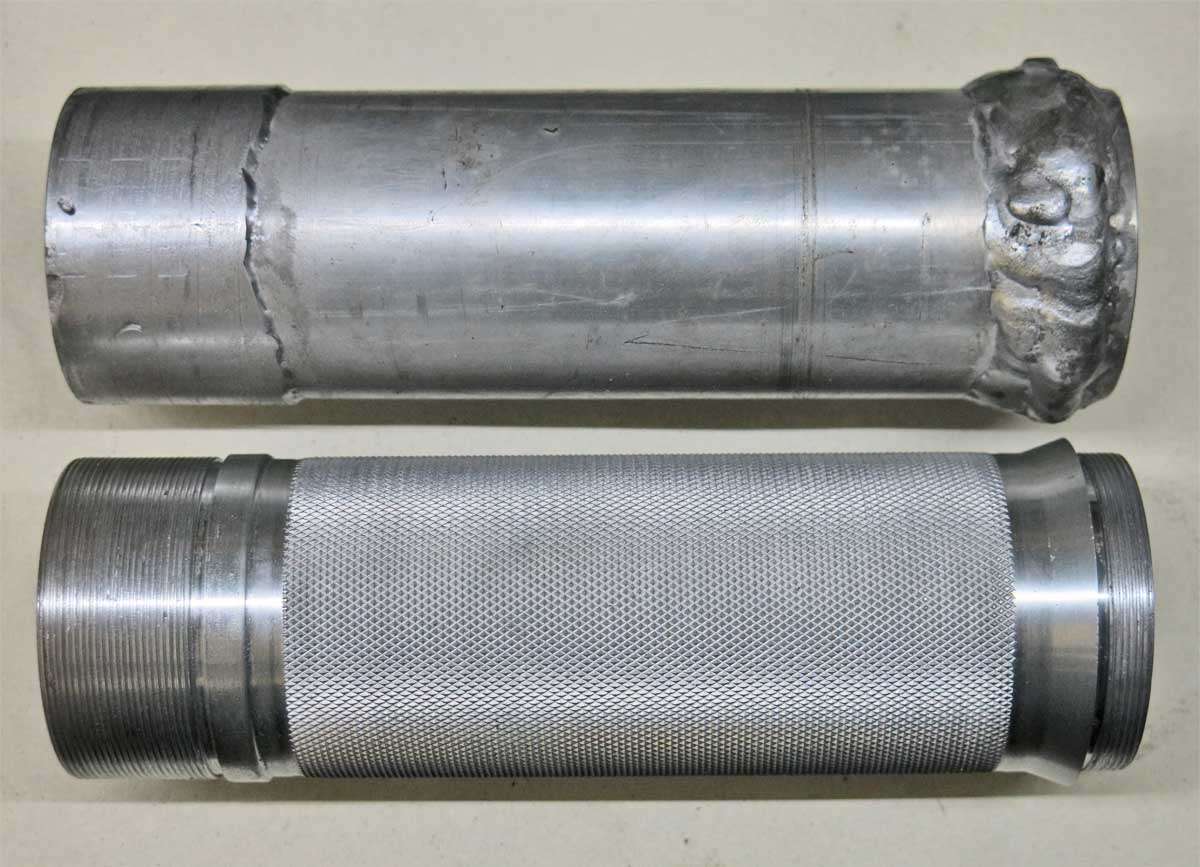
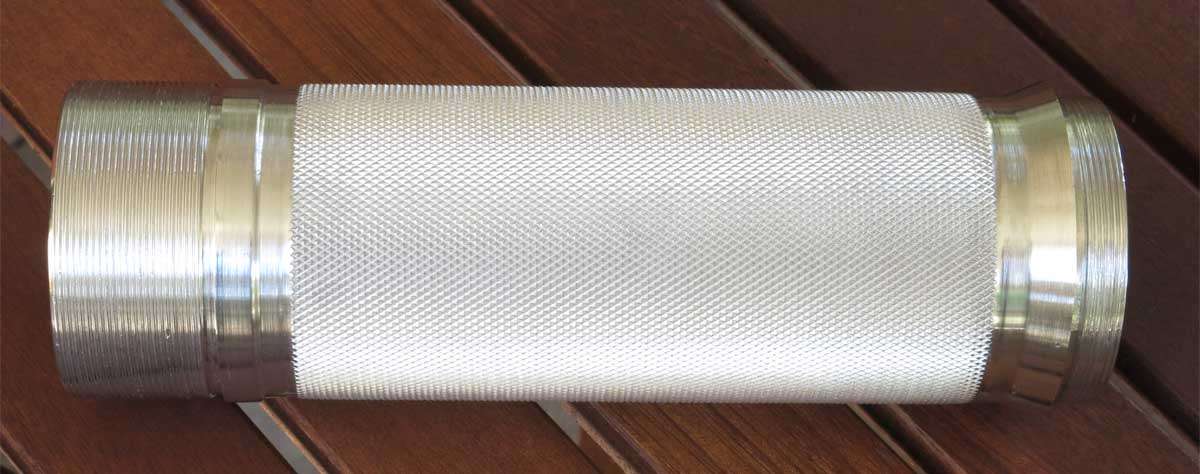
A comparison of the discarded battery tube with the final product showing why the tube was welded up.
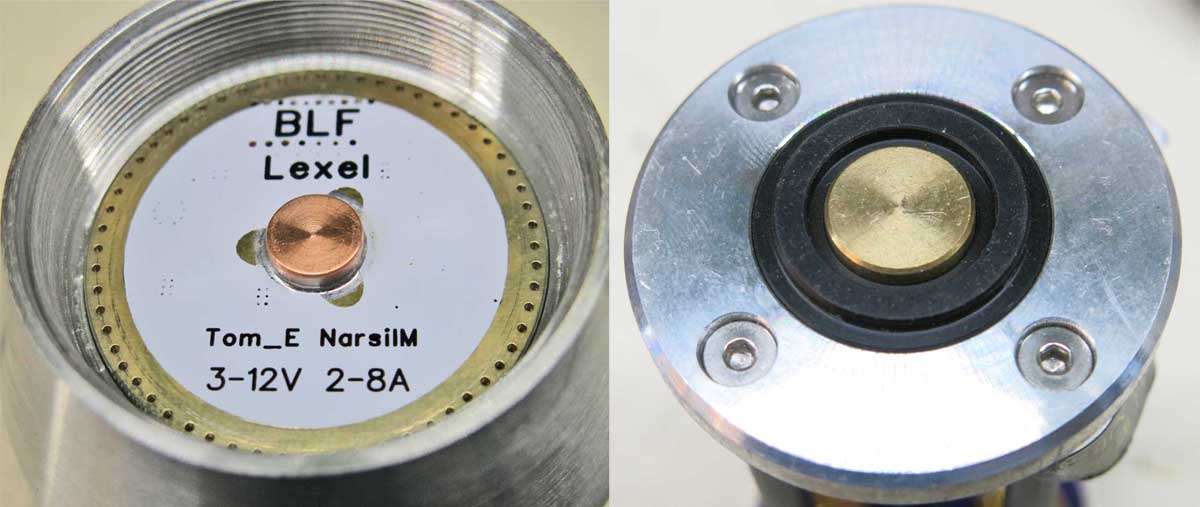
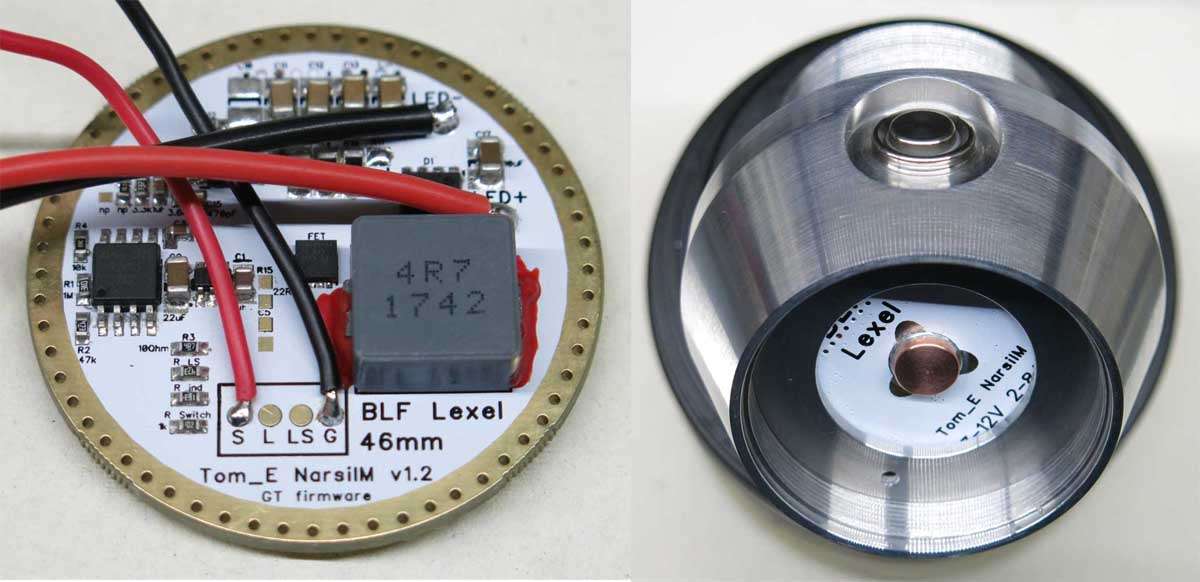
A copper plug 2.1mm in length was soldered to the Lexel driver to allow the battery tube contact to slightly compress when assembled.
And finally a few bling shots.
Battery tube.
The pill and driver retainer. The retainer was machined slightly as the earth ring on the driver sits slightly below the driver surface.
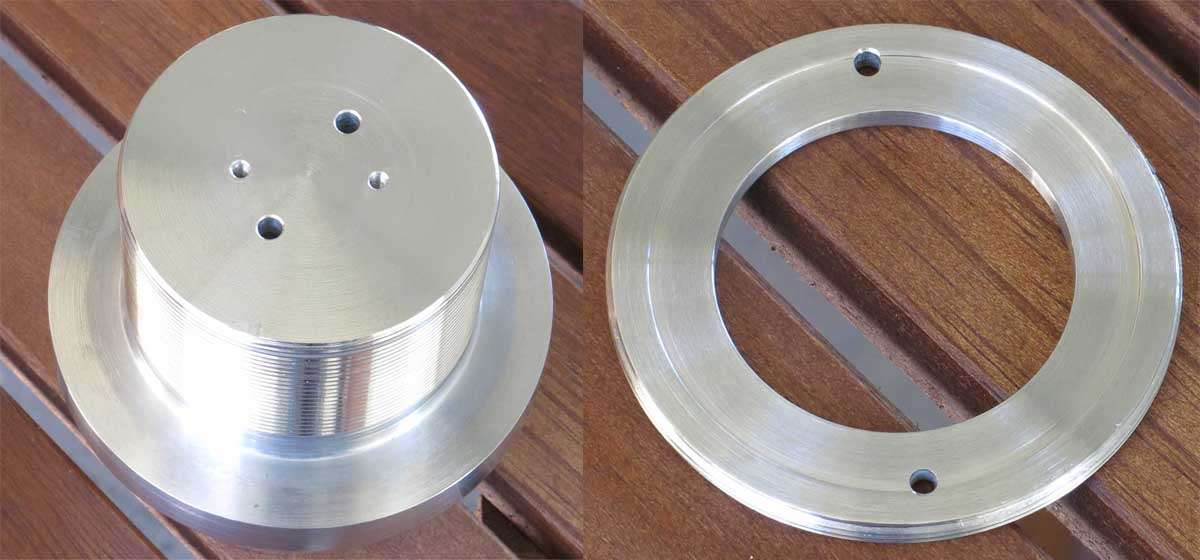
The pill.

The driver uninstalled and installed. On initial testing the driver did not work which was traced to a faulty switch.
And finally the completed tailcap.