Been busy lately so haven’t had much time to work on this. I came across an issue with the tail. The thread is 0.75mm. My lathe is geared for 0.6 and 0.7 but not 0.75 I measured it and figured there is enough room to fit a sleeve inside the existing tail cap threads.
Removed the original spring and packed it with spacers to hold the threaded section rigid
Mounted in the lathe
Difficult to see but I bored out a section as close to the thread as I dared.
I then cut a piece of titanium to the ID of the tail threads and press fit the two parts together
I then bored out the rest of the threaded section. Luckily the press fit was strong enough to hold it. I was very tentative when getting the ti to size.
Then pressed it the rest of the way
Bored out the ti to fit 18650 cells. Not much space left as you’ll see in the following pics
Protected Panasonic - sticks straight out
30Q - also sticks straight out
I didn’t measure it properly but I reckon the ti is about 0.5mm thick
That was as far as I got this weekend. I think I need to sit down and make a plan for the tail to make sure it can all fit the way I want it to.
Thanks I was pretty worried I was going to screw it up. Firstly when it was only half pressed on it could’ve slipped while boring. Secondly when I pressed it all the way it could’ve over stretched the outside ring and snapped it. I’m pleased with the result otherwise I would be scratching my head thinking of plan C.
To flip it the other way I had to make up a threaded section to mount it
Cut it to the length I need
I want to use this part from the original vaper since… well just because
I didn’t want to take the existing work piece from the lathe so I cut it by hand and made a bit of a mess of it. I’m kinda regretting that now After cutting I press fit the parts together
I had to screw around a bit to unscrew the tail from the mandrel.
After taking that bit of video I did a test fit with the switch (it didn’t fit ) and realized I missed a step and need to go back and machine it some more. Not today I’m sure it would have been easier to make a complete new tail but the 0.75mm thread kinda threw off that path
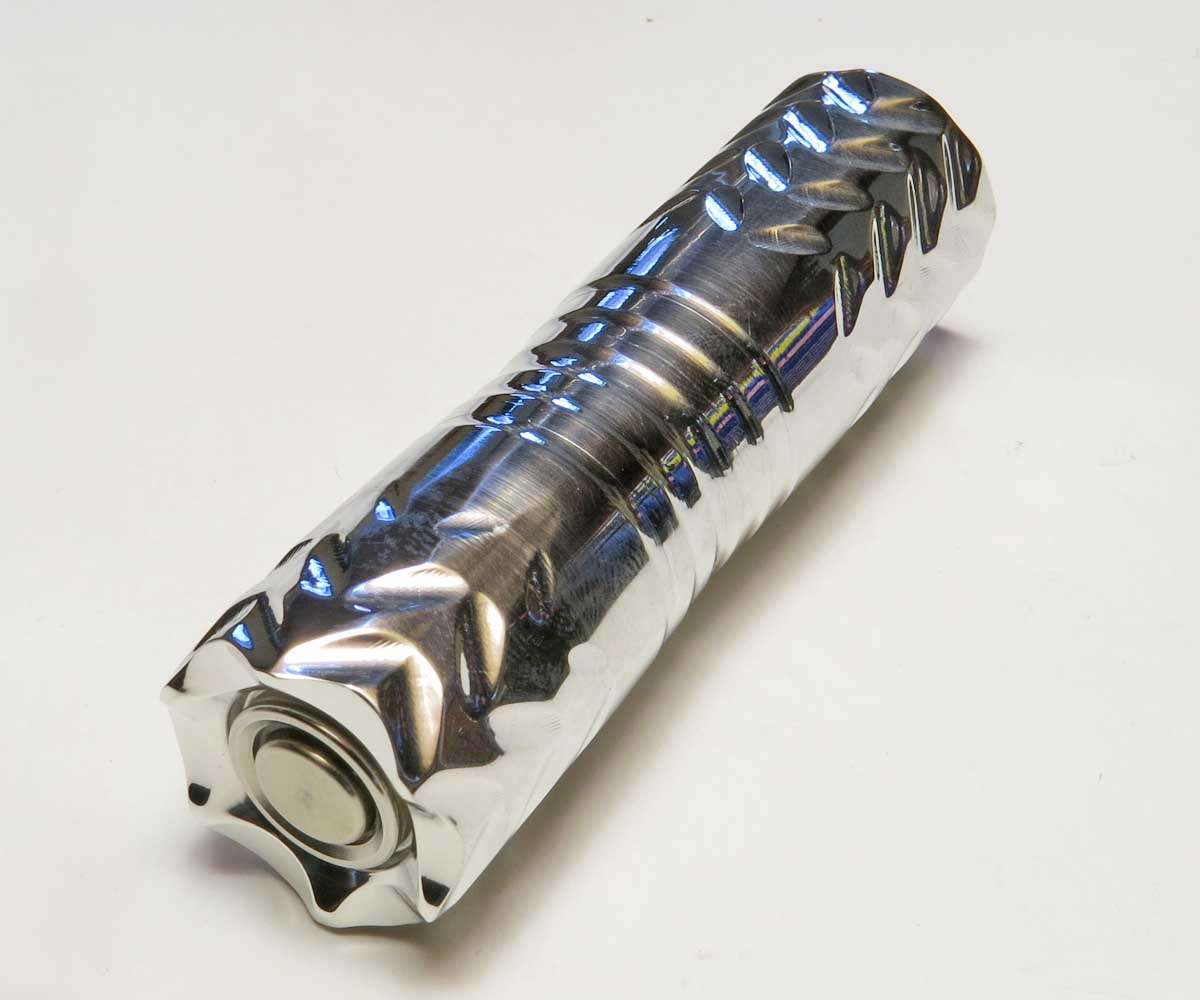
I gotta ask how you get that notch pattern in there? Either CNC or all manual with some complucated math and an indexing head? Im thinking of an end mill offset and angled making side gashes. If done conventional and manual then much respect! Ive got an indexing head with end gear drive on a knee and column mill that Ive been thinking of doing some intricate patterns with. We use it for making worm gears but I bet with some angle offset it would get interesting.
I dont know if there was pictures on this part of the build as it was all machined very quickly. I used an indexing head set on an upwards angle. Nothing to technical. The rounded corners came about when it was buffed.
You could get very creative with your indexing head with the end gear drive.
I want to do a “knurling” pattern akin to dragon scales at some point but from what I can figure I would either have to index each individual one or set up some form of oscillating setup with a cam or something.
Been busy with other stuff so haven’t achieved much with this lately. Yesterday I worked on the inside of the tail. Made a switch retaining ring and tried to fit a led4power RGB switch but I got a short and screwed something on the switch board so it no longer works A bit adjustment and mucking around later I got it sorted. Only have a BG blue switch on hand now.
Not much to do now until the clicky compatible driver arrives. If it isn’t delivered tomorrow I won’t get a chance to work on this for 2 weeks.