Just a quick Convoy S2+ SST-20 4000 K mod today. Replaced the stock SMO reflector with a 60° TIR and flashed my own firmware
Original SMO reflector:

60° TIR:

(Both images with same camera and post processing settings.)
Just a quick Convoy S2+ SST-20 4000 K mod today. Replaced the stock SMO reflector with a 60° TIR and flashed my own firmware
Original SMO reflector:
60° TIR:
(Both images with same camera and post processing settings.)
Oh yeah… :heart_eyes:
Opened a stock Niteye Eye10, removed stock reflector, installed replacement…


Original reflector gave 550 lumens, replacement gives 625 lumens, same battery.
the kaidomain 21514 reflector has a tighter hotspot, smaller opening at the bottom, than stock.
I like this kaidomain 23424 reflector better, the hotspot is a bit larger but without the “donut hole” in the middle of the hotspot)
the replacement reflectors are slightly taller, the bezel does not screw down quite as far. Although still far enough to cover the O ring on the body
thanks to moderator007 for researching and finding these kaidomain reflectors… much better beam, without the rings from the stock reflector (especially w N219b)
What’s that tool you used to help unscrew the bezel? Looks handy!
it came from darksucks… oveready sells them too
they are made for slightly larger diameter lights, hence the bits of leather I added…
super convenient tool, that was my first test to see if they would be strong enough to break open a stock factory glued bezel… so far… winner! Its a size specific tool, dedicated to my RRT-01 accumulation
does not hurt as much when I drop on toes… plus these are not as easy to pop on and off, but they have a more “universal” fit:-)

FW3 NovaTac Work Light (the final version) ![]() Maybe……
Maybe……


![]()
![]()
I have a feeling you really want an 18350 FW3A…
Fixed that for ya…
![]()
sweet mod!
thats what he has now ![]()
the novatac fits 18350, now that he got rid of the stock driver and signal spring
Yep…Vapcell 18350’s kick booty and it’s very dependable….never misfires, taken it apart hundreds of times, the retained style tail cap of the NovaTac is what the FW3A tail cap should have been…
Yes please ![]() :innocent:
:innocent:
First of the year…
Bought this cheepie headlight from one of BigClive teardown vids on YT.

Pretty neat has the hand wave on off option. Other button is Hi, Lo & strobe.
Neat light for what it is and the 1200mAh lipo made it worth the $8.
Cut down a Noctigon XP 20mm, flowed a L1V2 4000K on it and put some real wires on the battery.
Nice light weight light and it will get used.
Yeah guess you need a beamshot too. Not a fan of a headlamp with a hot spot… might sand the clear lens to help diffuse the spot. But I just got it today…
Nice one! My kind of mod. Got a few hacked up and modded cheapo headlights myself.
I learned I hate filing MCPCBs this weekend.
I decided somewhat recently that I wanted to swap a Luxeon V2 into my D25C Ti. So my D25C Ti had a filed-down Noctigon with XPL-Hi on it. At first, I kind of liked the extra little bit of throw I got out of the domeless emitter. But gradually, carrying the light every day, I started to dislike it. I wanted something with a bit more flood, while maintaining the consistent beam tint of a domeless emitter. Enter the Luxeon V2: this emitter has the same creamy tint throughout the entire beam. I got a pair in 4000K and in 5000K not too long ago from Led4Power, and finally got around to swapping it this weekend. So yesterday evening, I sat down and disassembled my D25C Ti. I unsoldered the leads from the Noctigon, and went to pull it out… and it didn’t budge. I looked closely, and there was a hard white adhesive peeking out from under the Noctigon around the edges. Great, I figured, thermal epoxy instead of paste. Installing the driver had been a PITA and I didn’t feel like popping it out and back in, so after a bit of misadventure trying to pry up the Noctigon, I threw in the towel. I went to solder the LED wires back on and… promptly broke the negative wire. Great, now I’ve done it. No extra slack. Even if I can’t remove the MCPCB, now I have to pull the driver anyway to replace the negative lead. So I unsoldered the driver from the pill and popped it out. I replaced both leads for good measure, because the positive wasn’t in great shape either. I also looked down into the pill and saw that there were four (4!) holes in the shelf. I had a plan, now. I grabbed one of my favorite poker tools and POW just slammed it right through that hole into the underside of the cursed glued Noctigon. It moved! I slammed the poker through the opposite hole and the other end moved too! I quickly flipped the pill around and extracted the Noctigon. I had done it! Now I couldn’t be too mad that I’d buggered up that negative wire. So I wire up my 16mm MCPCB with Luxeon V2 4000K and I slide the leads through the holes in the shelf and I smear some MX-4 on the shelf and… Well, I’d planned ahead. I had compared a 16mm MCPCB with the bezel of the light, and I’d even slid one part-way down with the head open and the reflector out, and it looked like a 16mm MCPCB would fit fine. Well, I hadn’t investigated thoroughly enough, and I learned the hard way that the inside of the pill gets just a bit narrower a few millimeters down from the bezel. I grabbed my files and got to work. A while later, I was getting close, only to realize there was also a narrow lip around the edge at the bottom, and that I’d need to clear that lip to get the MCPCB to lay flat on the shelf. But I got there. I finally got the MCPCB filed down enough and seated. I reinstalled the driver. I painstakingly cleaned the MCPCB of all flux (and then, of cotton Q-tip threads) and set it to dry out (isopropyl alcohol, so not long). I carefully probed for short-circuits with my DMM. When it was dry and I was convinced, I installed the head onto the battery tube and ran the light for a few minutes on high (33% of 6xAMC7135, so ~0.75A) and then stepped it up to “turbo” (just the full ~2.3A from 6x7135) to make sure nothing went wrong and nothing burned off inside the head. A smoke test, if you will - and I figured any isopropyl I hadn’t noticed would evaporate rapidly in that warm little environment.
Well, the beam is gorgeous now. I’m still not sure I would call it a flooder, because my Carclo quad/triple lights are a lot floodier, but the beam is definitely more useful for day-to-day tasks. I still has the punch to clear a parking lot easily, though. And just as with my favorite Luxeon V, the V2’s beam is remarkably consistent. I can’t see any tint-shift in any portion of the beam. I chose the 4000K, and I’d be surprised if it isn’t slightly below the BBL, because it’s picking up some pink tones on my cubicle wall now that I don’t recall noticing before. The reflector in the D25C suits this emitter quite well; I’m not noticing any artifacts or rings in the beam. It does help that it was designed for 3535 and that’s what I threw in there, but I didn’t try at all with the focus. I just used the original centering ring and popped everything together and it looks fantastic. I’m really happy with how this turned out. 
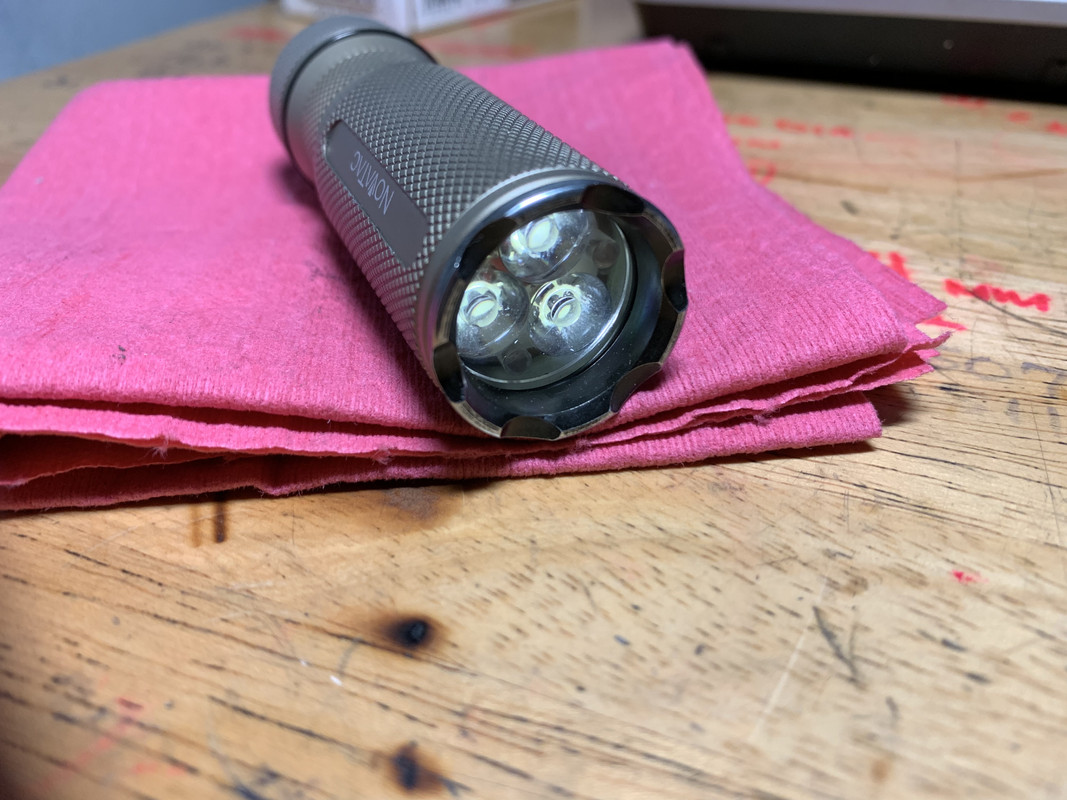
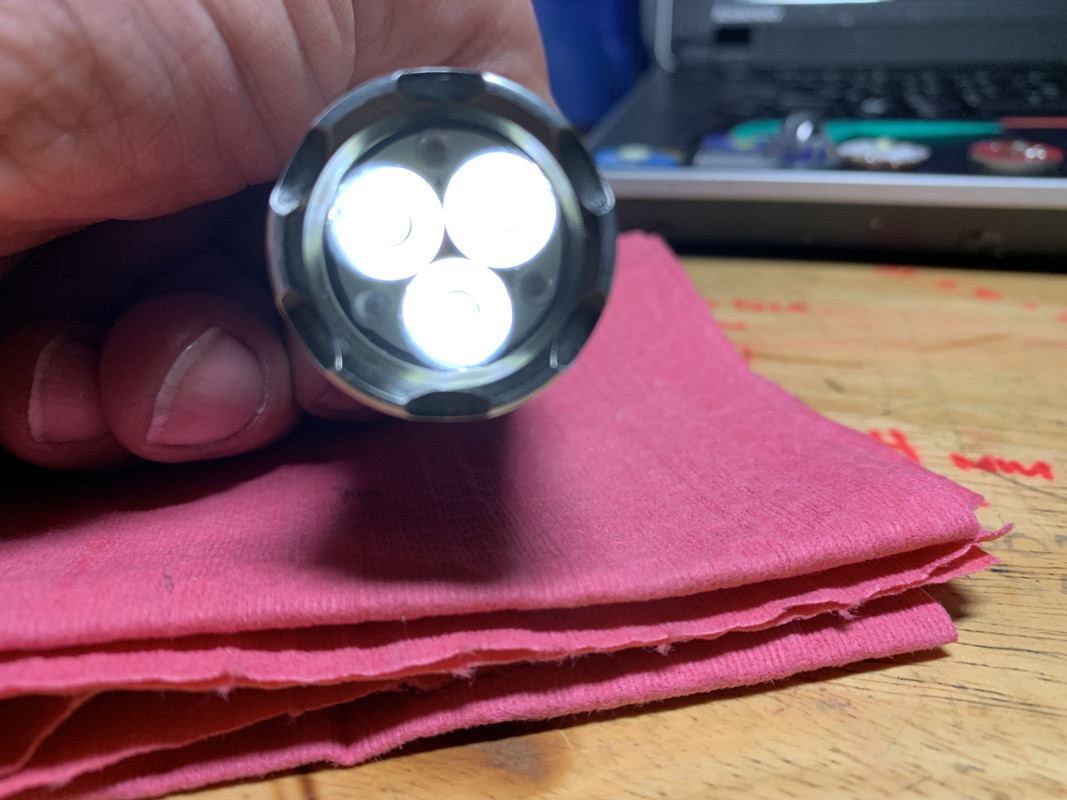
I also decided, nearly as soon as I got it, that I wanted to swap out the cool white XM-L2 in my Jetbeam RRT-01. However, I wasn’t really sure what I wanted to put in its place. I’ve toyed with putting a triple-219B in there, as it’s popular, high CRI, and a lovely tint. But I don’t have any 219Bs, and I understand they’re getting a bit hard to find these days. I also don’t have the resources to make my own spacer so the optics fit right (being much shorter than the reflector). So I decided last night that I had a few Luxeon V spare, and the 16mm MCPCBs they were on looked about right, so I cracked open the (frustratingly glued) bezel and went to work.
First things first, the MCPCB in there was strange. It looked like a four-leaf clover, but with one of the leaves pulled, and the XM-L2 in the center. I didn’t take pictures last night, but maybe I’ll add one later. It didn’t look like there was a particularly good reason the MCPCB was shaped this way, especially the part about the missing fourth of the board. I unsoldered the (TINY! really small gauge here) leads and went to plop in my Luxeon V.
Well, you guessed it, 16mm wasn’t really even close. I filed on that thing for what felt like an hour before I got it into a size and shape to sit flush on the emitter shelf. And flush is kind of an embellishment here, because the shelf isn’t flat. It had some weird shallow circles cut into it, and the start of the wall seemed to begin to slope up at a rather shallow angle, so I almost installed the new MCPCB sitting on that slop a bit. But again, I eventually got it filed down and the fit was good. I then considered the centering ring. Whoops. The “centering ring” for the RRT-01 is actually this large, almost bowl-shaped thing that actually cups the bottom of the reflector. I was not sure how well the reflector would accomodate a replacement centering ring, but I also didn’t feel like reaming out a 3535 centering ring to fit the 4040 Luxeon V after all that filing. So instead, I just threw the 5050-sized reflector on the Luxeon V, pressed it down firmly, and torqued it like a stubborn lug-nut. The centering ring held in the rotated position, which also means the Luxeon V is centered inside it. I decided not to mess with it more, figuring I’d never get it better than that, and threw the reflector on it. Closed it up, checked for shorts, and fired it up. 
Wow. So, I get why people have been ordering the Kaidomain reflectors. Aside from the hotspot, there are two large and distinct rings in the beam now. Occasionally when I first turn the light on, I won’t notice it, but moving the light even slightly immediately draws my eye to the rings. It looks like a bulls-eye, or a lyme disease rash. At least there’s no tint-shift in the beam, or the rings would be even worse. I’m glad this is not an XP-G3.
I also disassembled the heads of an IYP07 and Tool AAA. I’m planning to mod them for 10440 with FET drivers. On that note, has anyone disassembled the tails or have advice about doing so? I haven’t gotten too aggressive with the disassembly yet, but I’ll need to get it open because those cheap little springs will need some kind of bypass, even if it’s not likely to pull more then 3A.
P.S. Please forgive any dirty reflectors or lenses ![]()
Nice ![]()
Can you post some beamshots comparing tints, please?
I’m thinking about putting one of these Luxeon V2 in my Tool AA V2.0 (with an eventual driver from MTN), but wanted to check how good it looks like!
Currently I have a Convoy T2 with a Luxeon V 4000K (Led4Power driver) and love it ![]()
I may do that some night this week. I used 4000K V2 and 4000K Luxeon V (and I also have those in my D4), and the beam consistency and tint is the same to my eyes. Other than the rings on the RRT-01, but that's not the Luxeon V's fault.
Unless you need CRI, you'll like the Luxeons.
Liking this cheapo headlight a lot after 2 days. Wasn’t fully charged on day one but got a couple hours out of it on Hi. Was doing a lot of work, laying on my back, under a car the other day and it did not fall off. Clutch job on a 1968 Mercedes 220.
My H03 does not stay on my head laying under a car and that is really annoying to loose the light in the middle of a task with hands full. Not certain of the run time on Hi but it is a few hours, possibly 4 hours with the L1V2.
Too much text to read…
Have a break then come back to it, little & often is the way to go.
That might be directed at me :person_facepalming:
TL;DR for my post: Swapped emitters in D25C Ti and Jetbeam RRT-01. Copper dust everywhere. Luxeon V (2) is the best.


