I can try it, but how do I remove the button?
unscrew the ring around the button with rubber gloves or a tong.
That‘s right. :-)
I experienced more trouble getting out the sideswitch than the driver.
Even the sideswitch had some glue underneath, so i had to pry it out.
Then using the bent nail (thanx for the tip) i popped out the driver without any trouble. I didn’t even have to use much force, just pushed the nail firmly onto the driver with my bare hands until i heard some cracking noises, that was the sound of the glue on the driver letting go. Some more pushing and the driver came loose completely.
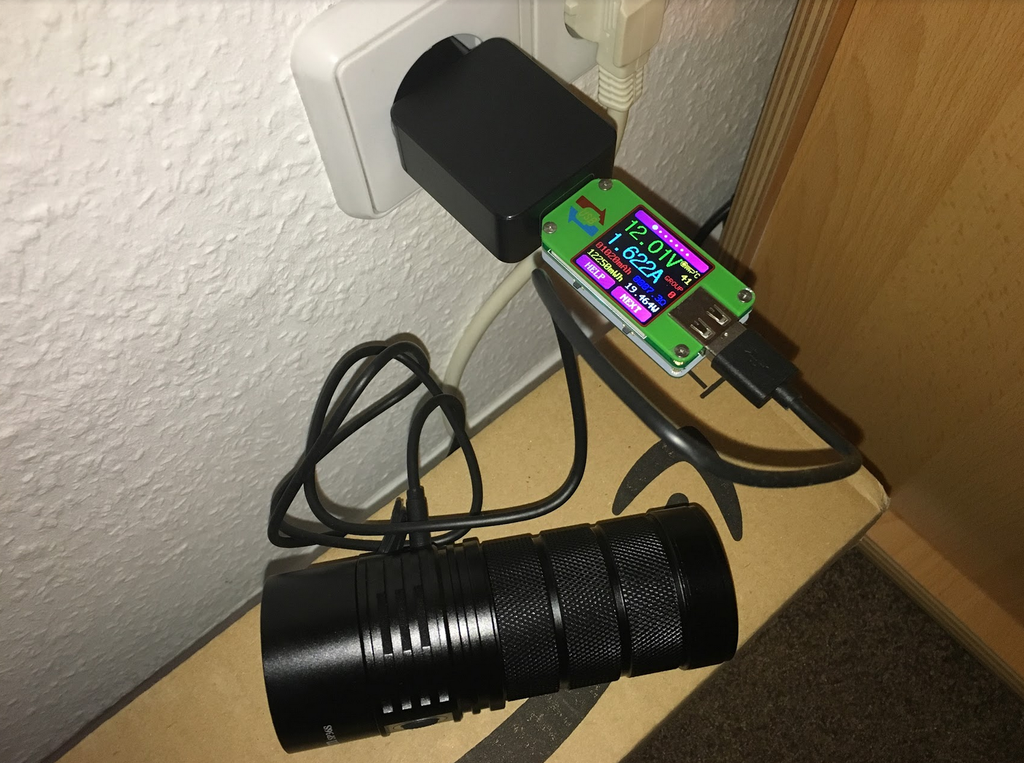
Now just wait for the new MCPCB from Barry (just 10$ for a MCPCB with the Samsung LH351D LEDs including shipping)


Managed to unscrew button bezel, but cant get button out. There is a lot of glue and I used metal needle with slightly bent end, but it doesn’t move when I pulled with a lot of force. I am afraid to damage something.
By the way, does Sofirn sell spare drivers and buttons in case I damage mine? Or maybe there are non OEM buttons and drivers that will fit?
UPDATE: button is out. Will try nail method now.
UPDATE2: driver is out. New firmware flashed. Everything works!
P.S. HATE GLUE.
:+1: :+1:
Hope this does not have the serious issues the SF-11 had with parasitic drain.
Mine was a “battery killer”
Are the internal builds different ?
NarsilM and Anduril handle parasitic drain so it's quite low, #'s published in many places, unless there's some real problem with the driver electronics.
If the ramp ceiling is set to turbo, momentary mode will also be able to run at full brightness. It simply uses the last-ramped level.
As long as the button LED is off or in low mode, it should have parasitic drain lower than the cells’ self-discharge rate. The button LED’s high mode could drain a set of cells in about a year though.
Thank you for the answer, ToyKeeper! ![]()
Any thoughts on a UV mod of this light? Thinking of trying 4 x 365nm LEDs. Also, does anyone have the dimensions of the lens please?
I finally bought the LH351D Anduril version. It’s a lot heavier than I expected. I don’t have a Q8 and don’t look at weight ratings so don’t really know what I was expecting ![]()
Overall feel is great, I love the simplistic design, although a SS bezel would be a nice feature. My only complaint is that the fins are pretty sharp. Same with the SP10S. Some chamfering would make them feel more comfortable and refined.
First thing I did was to open her up. I firstly tried soldering a wire and pulling but that didn’t work. In the end I went through the switch. Turned out to be pretty easy and wish I tried that first. Hardest part was unscrewing the switch without damaging it.
I’m now left with solder over the contacts from my initial attempts. I’ve tried removing it with solder braid and flux. Most of it got removed but some remains and has kinda just smeared into the grain. Any tips on how to completely remove it? Do I just need to get better solder braid?
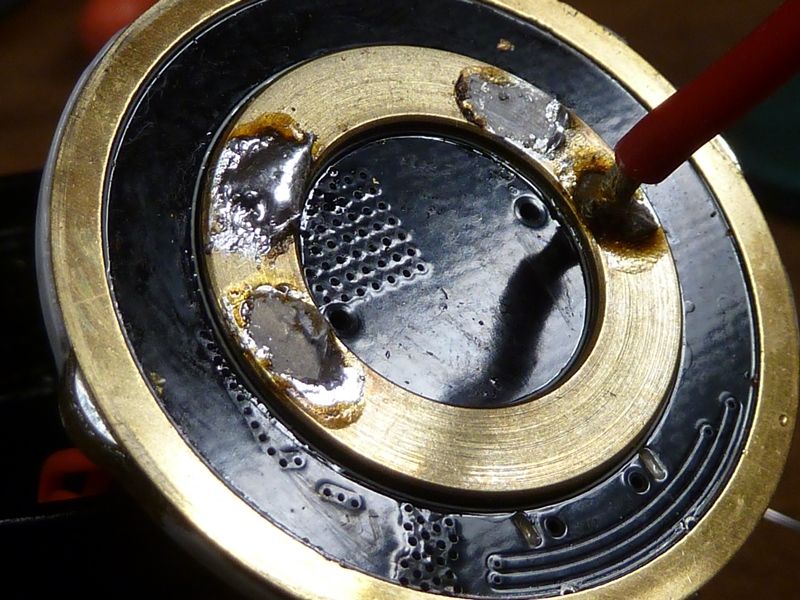
Photo courtesy of Tom E
Put sand paper on the flat surface and start sanding, keeping the driver flat. The brass ring sticks out so that should work without problem.
Good idea, thanks ![]()
I’ve played around with the light some more and the voltage reading is off. Charging is ok and terminates at 4.2v but checking through the UI reports roughly 0.1v higher. IIRC the real value can be obtained by flashing some code to get the values to then tweak the “fudge factor” in Anduril?
I didn’t get a manual, should the switch led indicate low battery? Or does it only light up red when charging?
hodor, djozz's suggestion is good but it should also work with solder braid and flux. You need to make sure the soldering iron tip's heat imbues well into the solder drops and the driver's brass ring, this means using a big tip with plenty of contact surface over the copper braid. The iron tip may need a very slight soaking, and of course plenty of flux over the surfaces.
The entire ring may unsolder itself when made hot enough to melt the solder on top.
I still have some solder on the ring on mine, I used a braid to get most of it, then used a wide flat soldering tip to smooth the rest of the solder so it’s just a very thin layer. Works fine.
That’s pretty much how I’ve left mine. I may sand it down at some point as Djozz suggested.
hello my friend sp36 narsilm v1.2 on / off switch accidentally switched off no longer lit just lit when charging how to reactivate
On my 2nd SP36, the other night I tried the heavy gauge wire and pulling, as I did the 1st, but couldn't get it to budge this time. So, I removed the switch and hammered lightly on a pointy tool, like a thin ice pick, and it easily popped out. I knew though what part of the driver I'd be damaging, knew it was a safe area away from any components. It did get scratched up but no harm.
Re-programmed the NarsilM v1.2 with v1.3 and calibrated the voltage and temps so readings are now accurate.