I've had an old 1K movie light sitting around for awhile, probably from the 1960s. It still worked, though with a 750W lamp in it was way too bright for around-the-house use, not to mention some serious heat generation. You can find these on Etsy converted to a standard E26 screw base so you can stick a regular household bulb in there, but doing that seemed a bit boring, like neutering the light in some way. I figured it'd be a fun project to convert it to LED while making only minimal changes to the fixture itself. I wanted to turn it into a nice decorative light, one bright enough to use a reading or task light, but not overpowering. Here's what I came up with.
Parts list:
- 8 x Nichia Optisolis 3500k
- 2 x Virence VR21P4 MCPCB
- 5 x copper penny
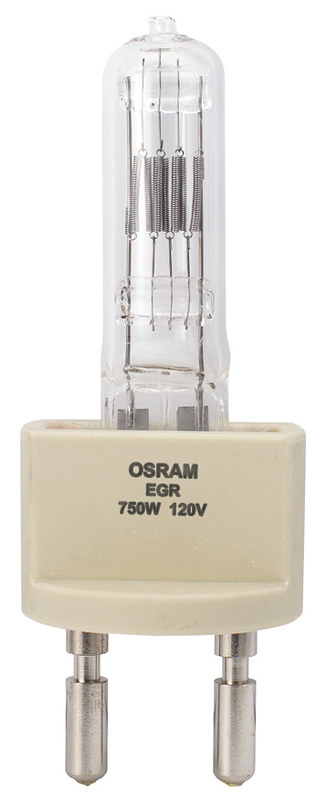
- Philips 750W 120V EGR lamp (existing)
- LuxDrive BuckPuck 700mA LED Driver
- TRACO Power 15W 12V 1250mA Encapsulated AC/DC Power Module
The original lamp looked like this:
My plan was to cut it open, take out the filament, and replace it with a 2-sided LED module. Then I could use all the existing wiring in the fixture, just step it down from 120V AC and add a driver somewhere in the middle, since I wanted to keep the original beefy electrical cord and switch. A 2-sided LED module because the original lamp is omnidirectional so the fixture has a parabolic reflector sitting behind it to reflect some of that light back out the front. Not the most efficient setup, but might as well duplicate it as closely as possible for authenticity's sake.


The heatsink is 5 copper pennies bonded together with Arctic Silver. The middle one I filed down on the sides and bottom, then drilled a few holes in various places to allow the two MCPCBs to be wired in series. Then bring the power up the same way it came in the original lamp.
So it pops into the fixture same as always.


Now the only thing left was to rewire things a bit so I had the proper voltage and current being sent to the lamp base. Fortunately I found a very compact AC/DC transformer and since the rear spot/flood adjustment lever had gotten broken off years ago, there was a natural spot to stick the transformer and the driver. Much better than having a manly light like this plugged in via some wimpy wall wart :-)
This is inside the back of the fixture, looking down.

Plug it in, flip the switch, and it works. Not super bright, but good enough for its new role as a decorative light fixture, once I find a vintage stand for it. Makes a fun reading light. The beam profile is nothing to write home about, but it's passable, and the spot/flood adjustment works fine.


And you have to admit, this fixture is a sweet bit of industrial design, all around.
