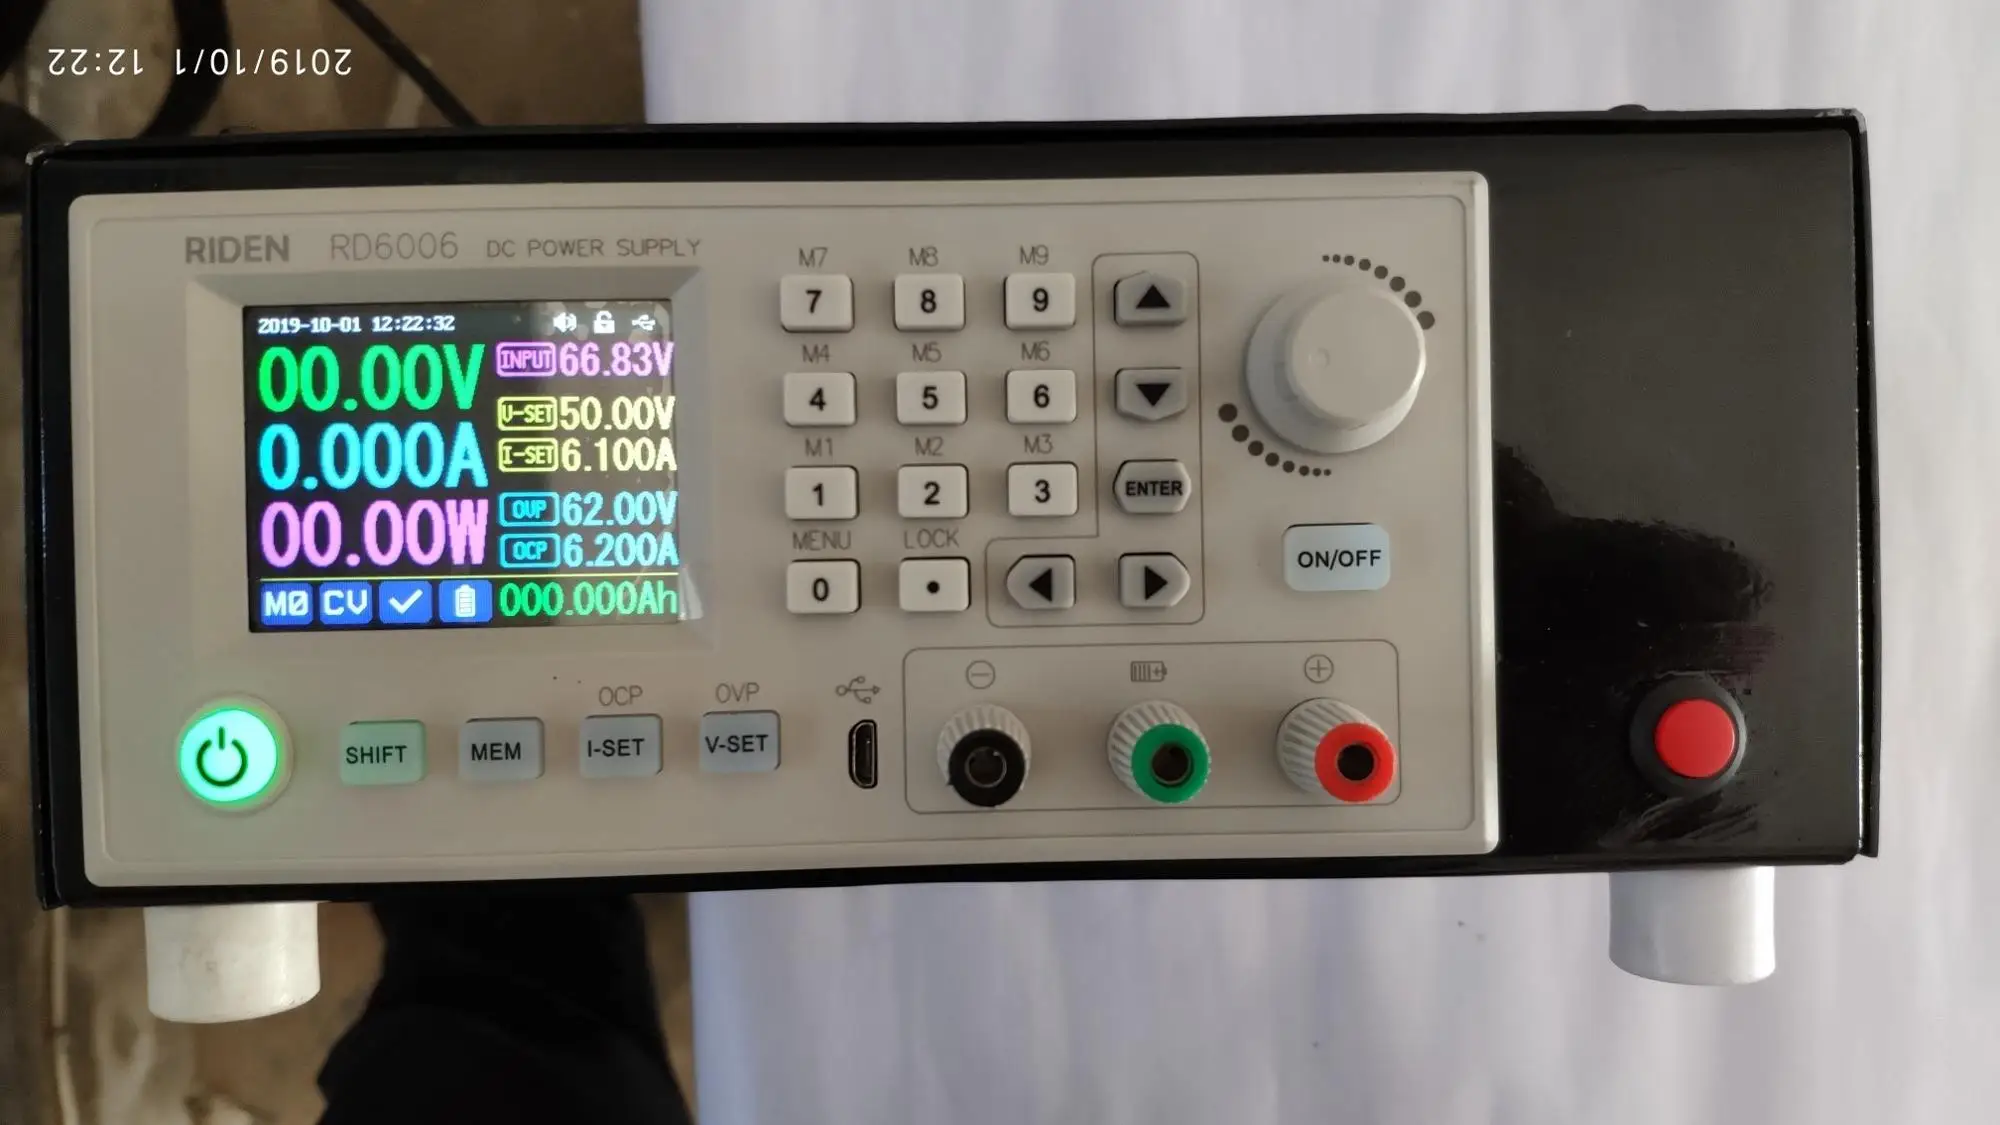
customer DIY based on RD6006
link: https://www.aliexpress.com/item/4000282551930.html
Just recently, I want to make a workbench and need to buy some equipment, I like this big colorful screen. As I work overtime on National Day, I just want to give myself some compensation.
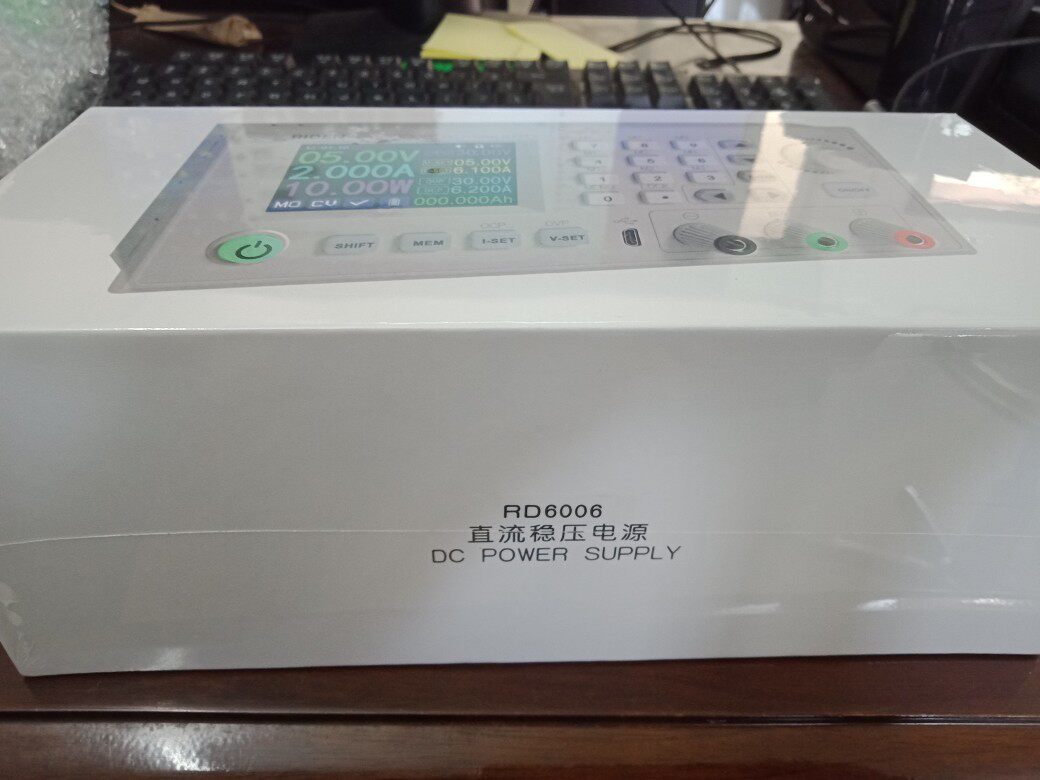
The delivery speed is also fast. It arrived in a few days. It has been there since I opened the box. I have no idea about how to do the shell.
There are two cases on the official website, but the small one I have no suitable battery and the big one, 31cm is too long for my desk
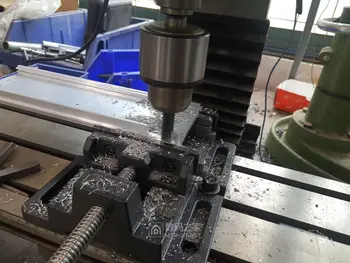
So I decided to make the case myself
I have a power source :GERM4815T 53.5v15a, good but it seems too large


and a friend give me advices, here is his plan, after I got it , I think it is not what I want!!

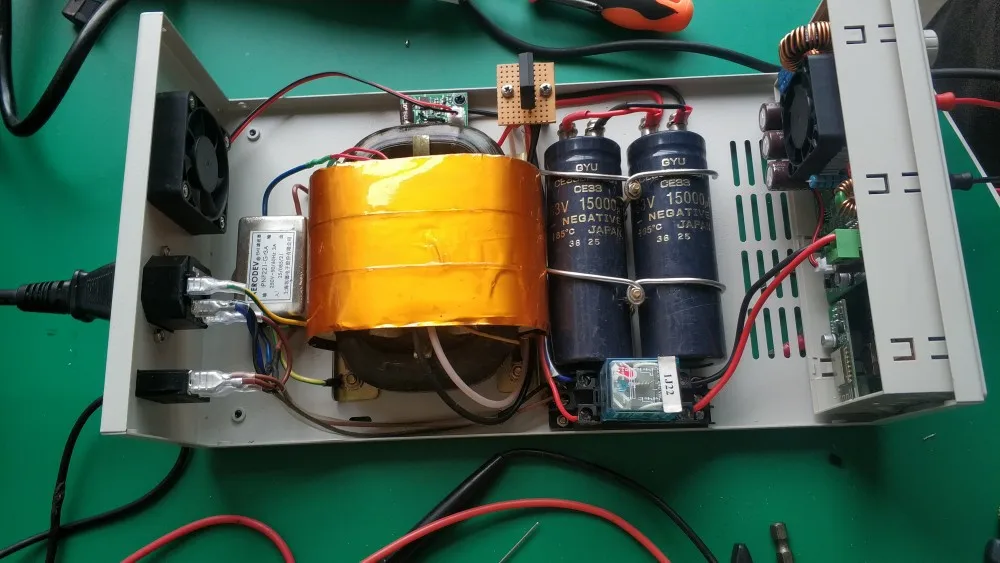
300w 48v, and use converter to 70V, suitable for RD6006 input, and I design the case


go to sleep, leave the 3D printer working

get up, still working

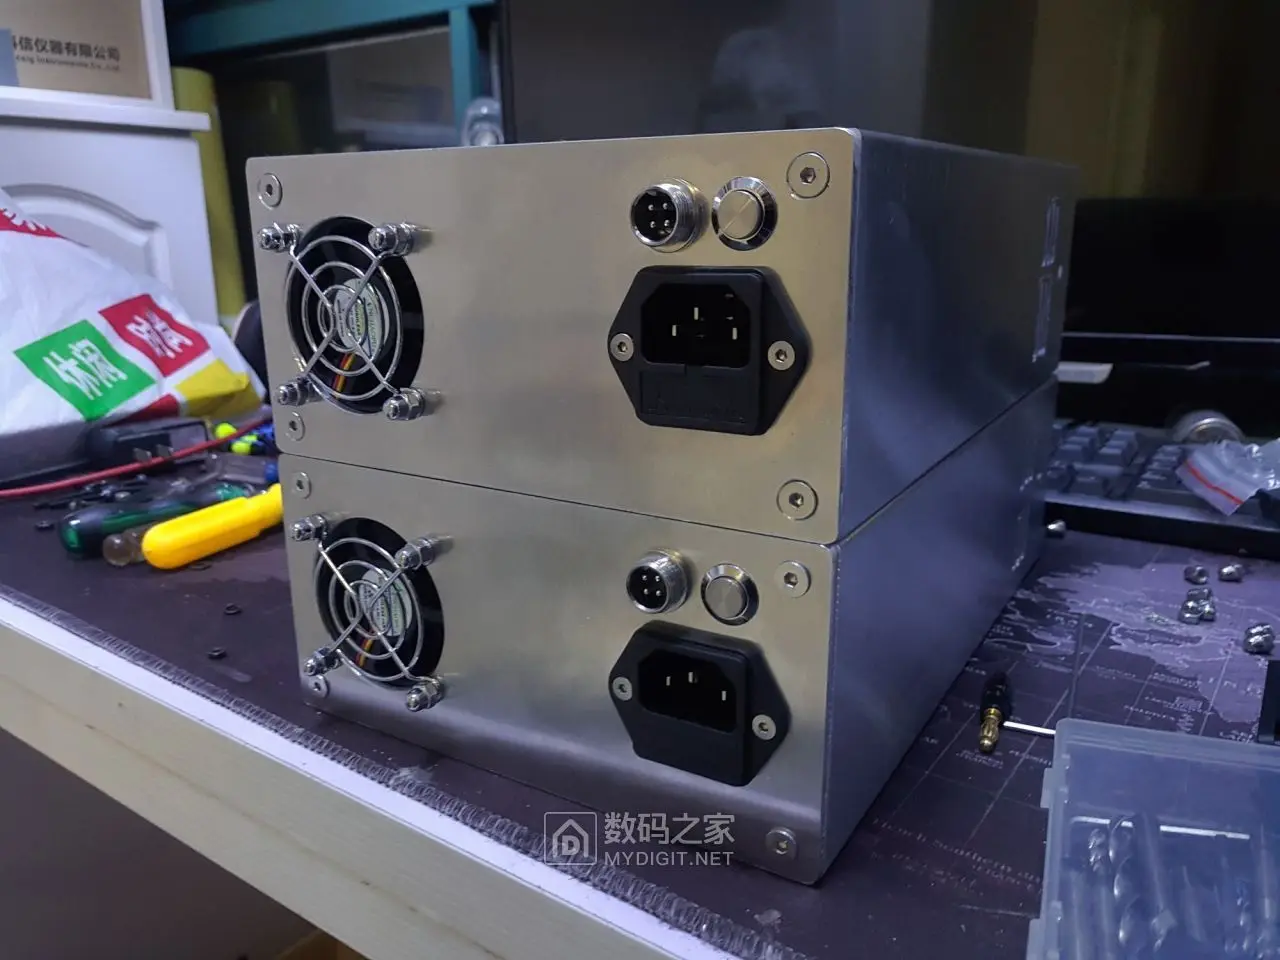
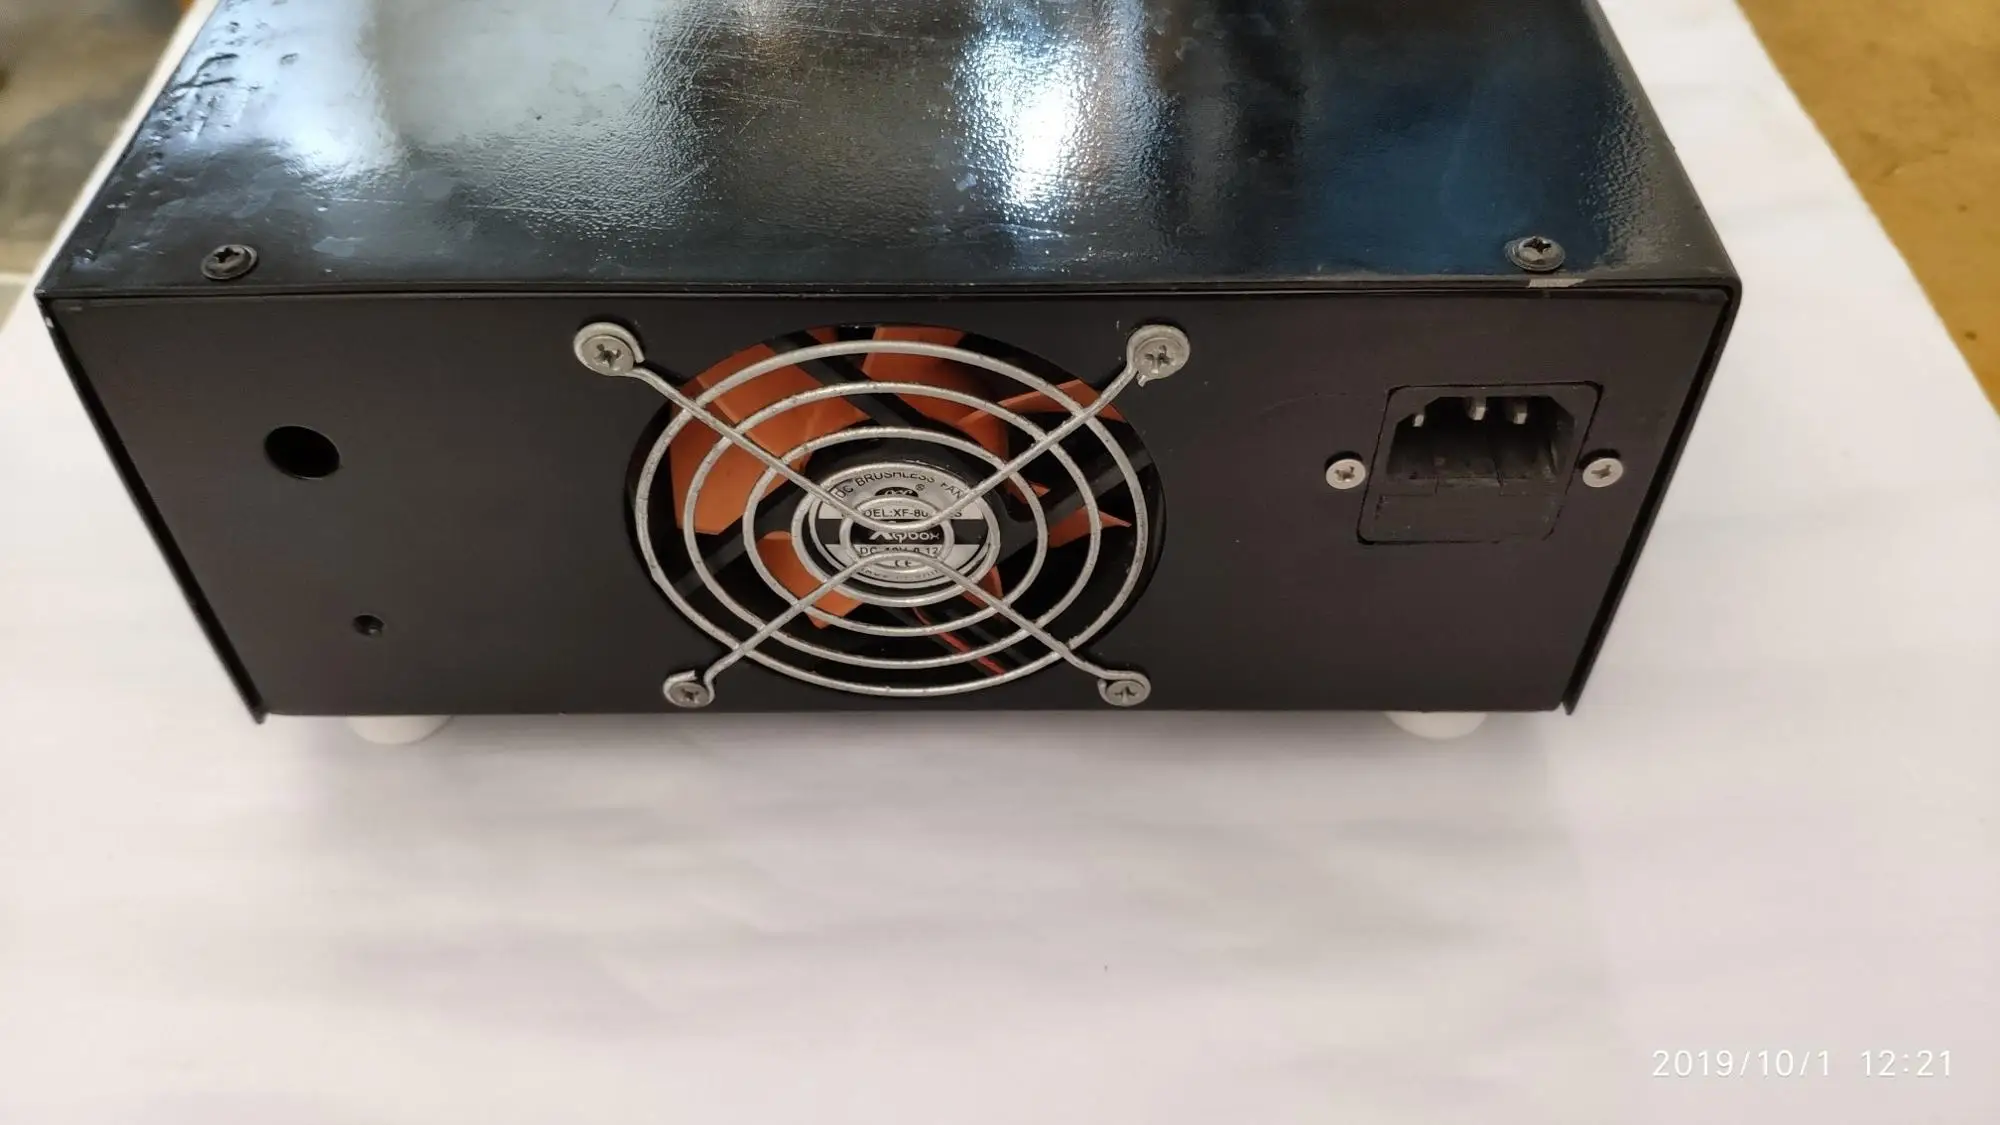
assembly

Painting the outer casing

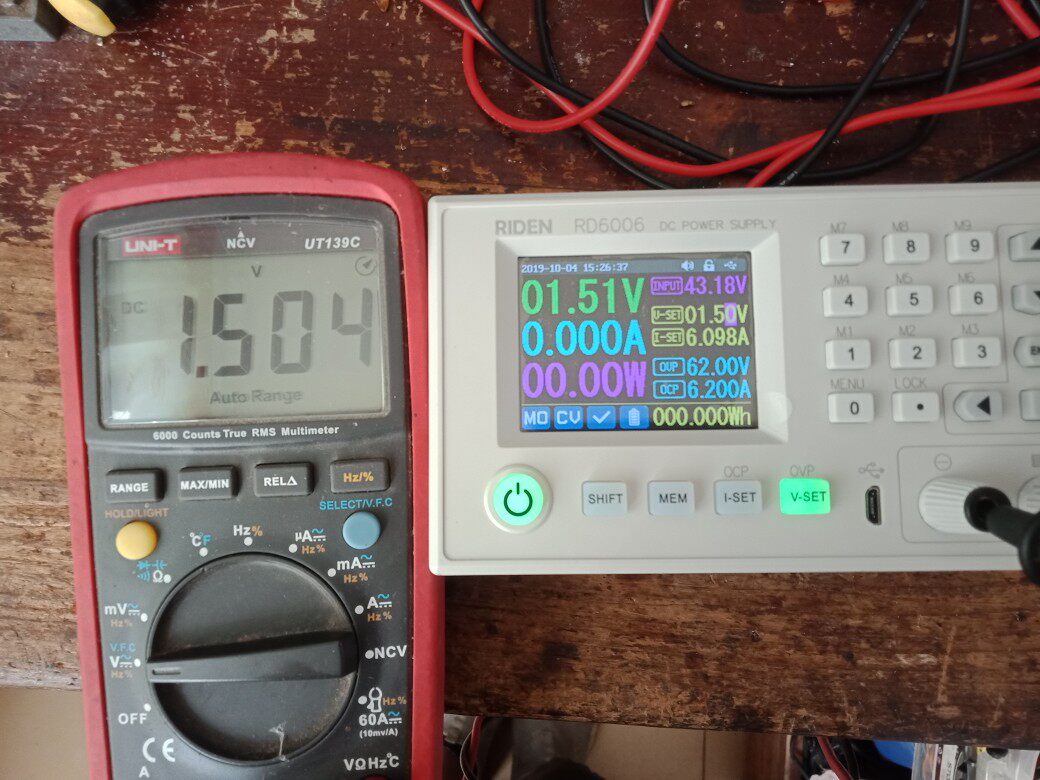
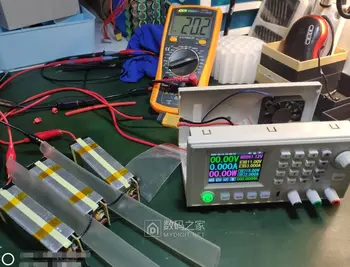
after assembly, have a test, it can work

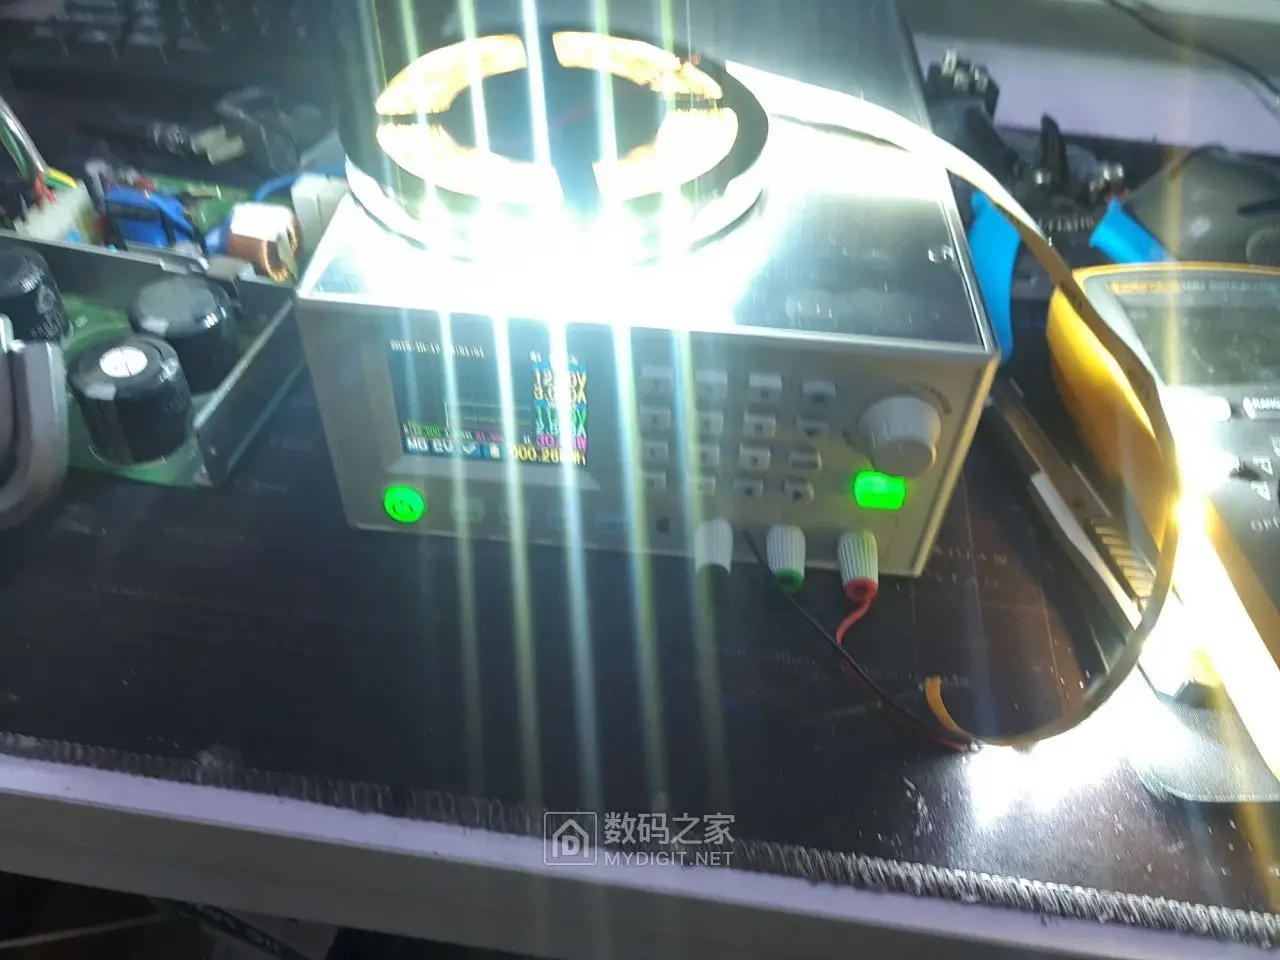
add a light strip

emmmm, seems out of fashion

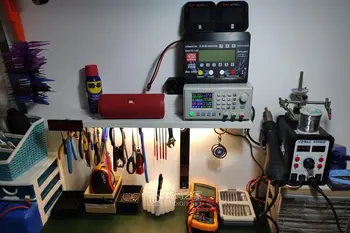
make a new upper board and final apperance


looks cool maybe I should carve some patterns