Just to be open these lights were posted on another forum, no not that one ![]() , with intentions to post up here when the time came. This is more a story on how the lights in this build came to be.
, with intentions to post up here when the time came. This is more a story on how the lights in this build came to be.
Time is short these days, not sure why but must have something to do with rapidly turning grey.
As some of you know my other passion is motorbikes of which I have spent most of my recent spare time sitting on the saddle travelling to different parts of Australia hence the time spent building torches has rapidly diminished.
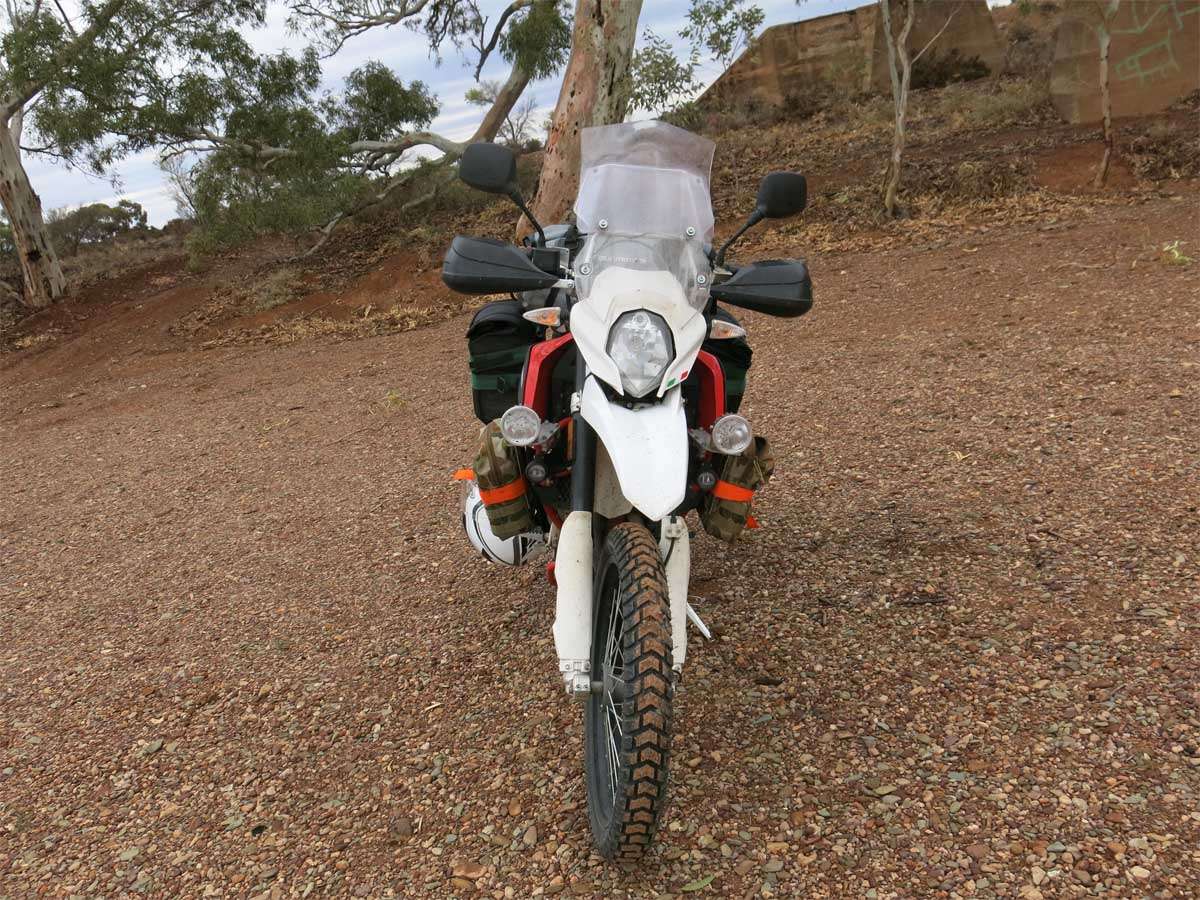
The bike itself is a SWM Superduel and has just turned over 15,000 Km since February this year.
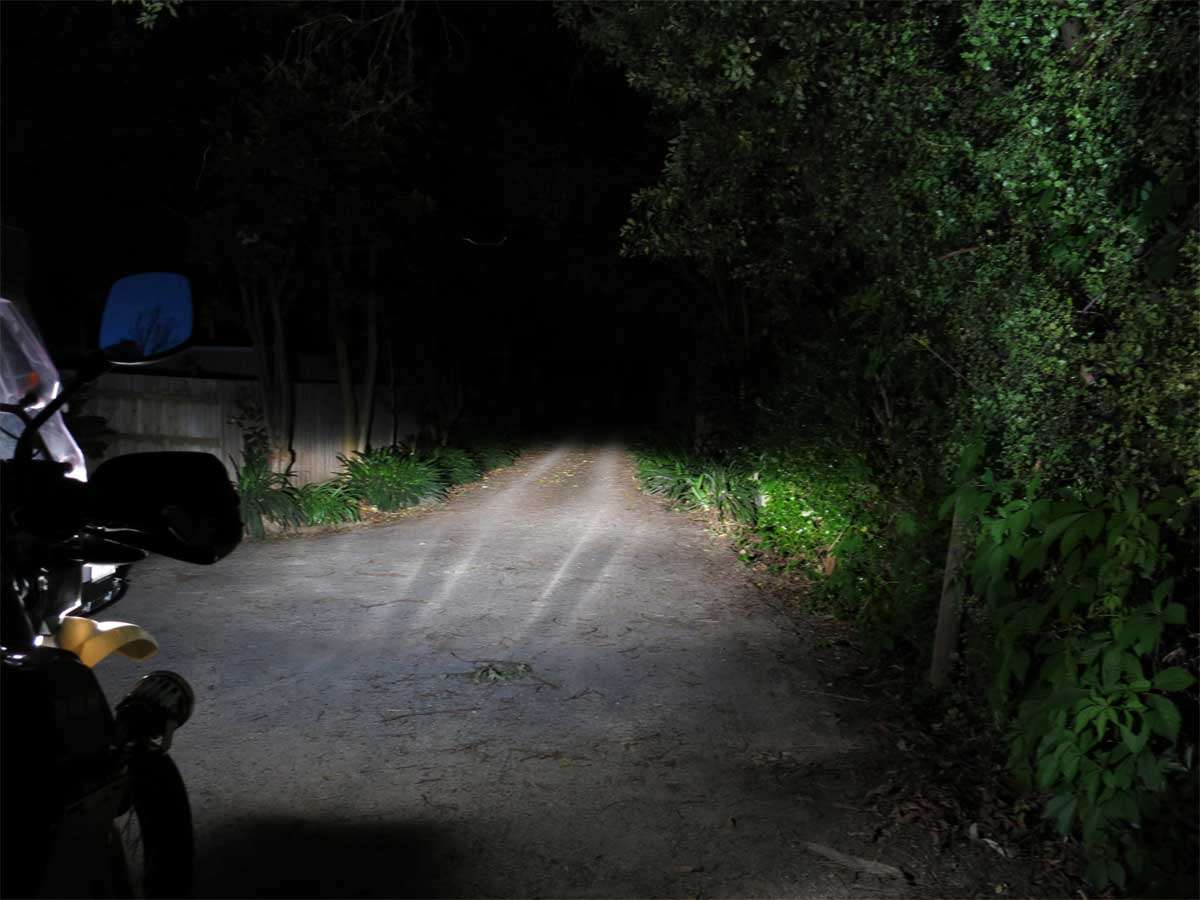
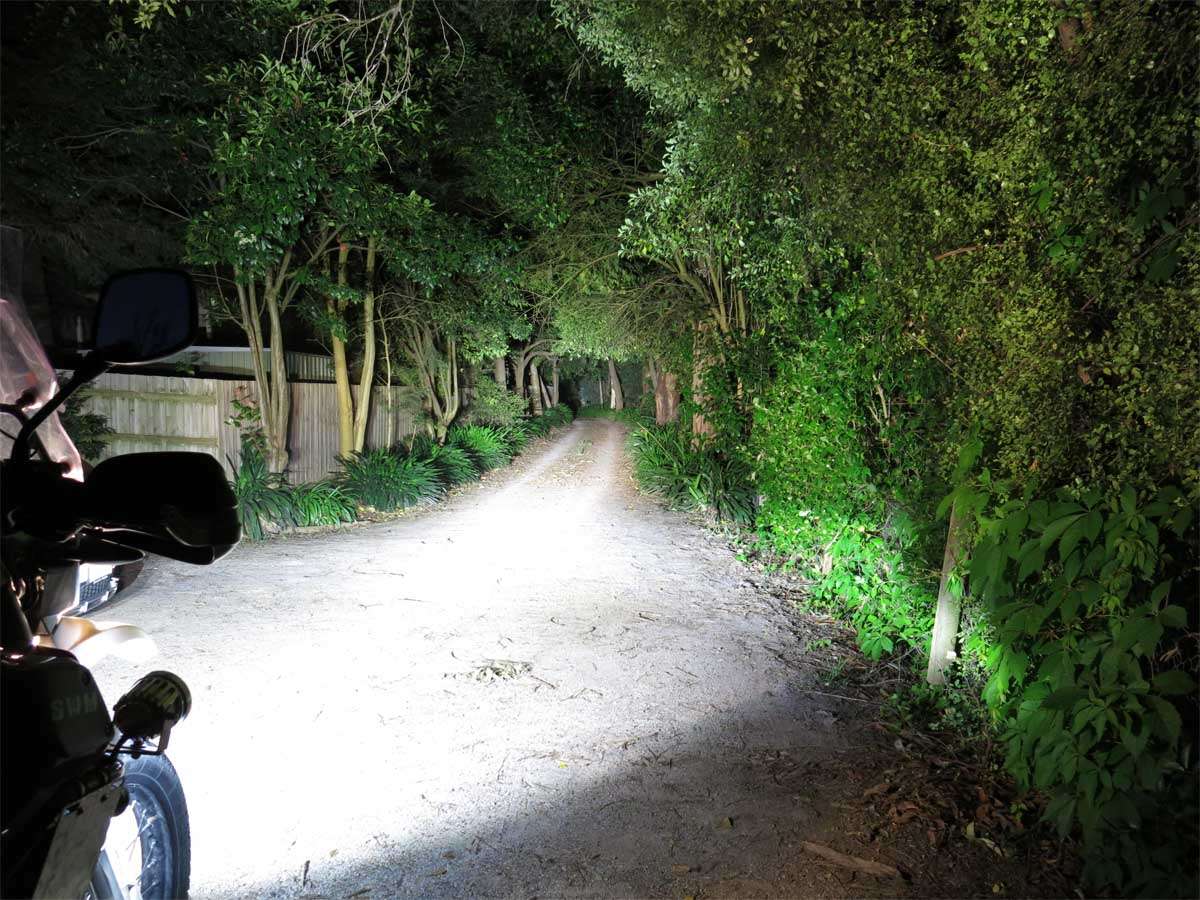
It has one of the worst headlights on any bike I’ve had the pleasure of riding so an update was needed for better light output.
Firstly the standard H4 Halogen globe was updated to a brand name item promising far greater output. Yeah right.
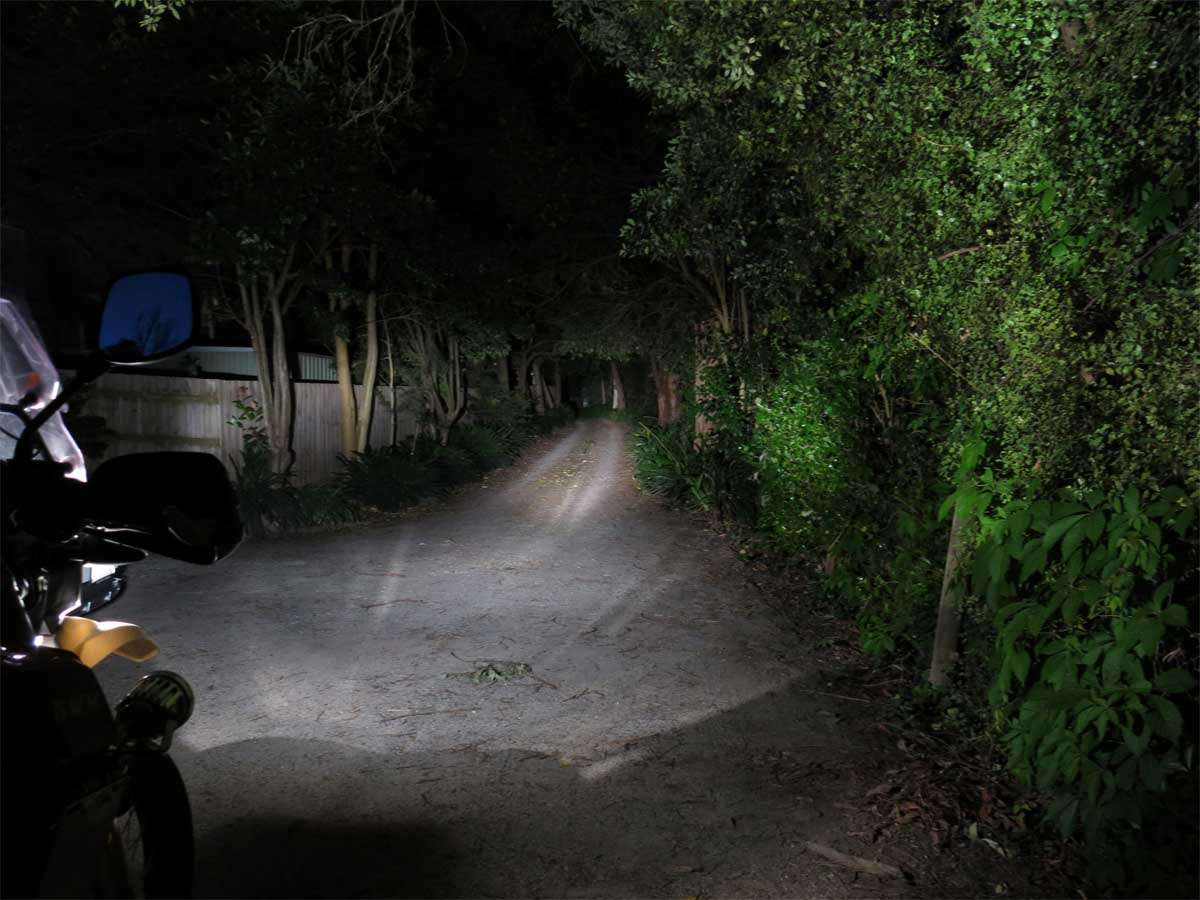
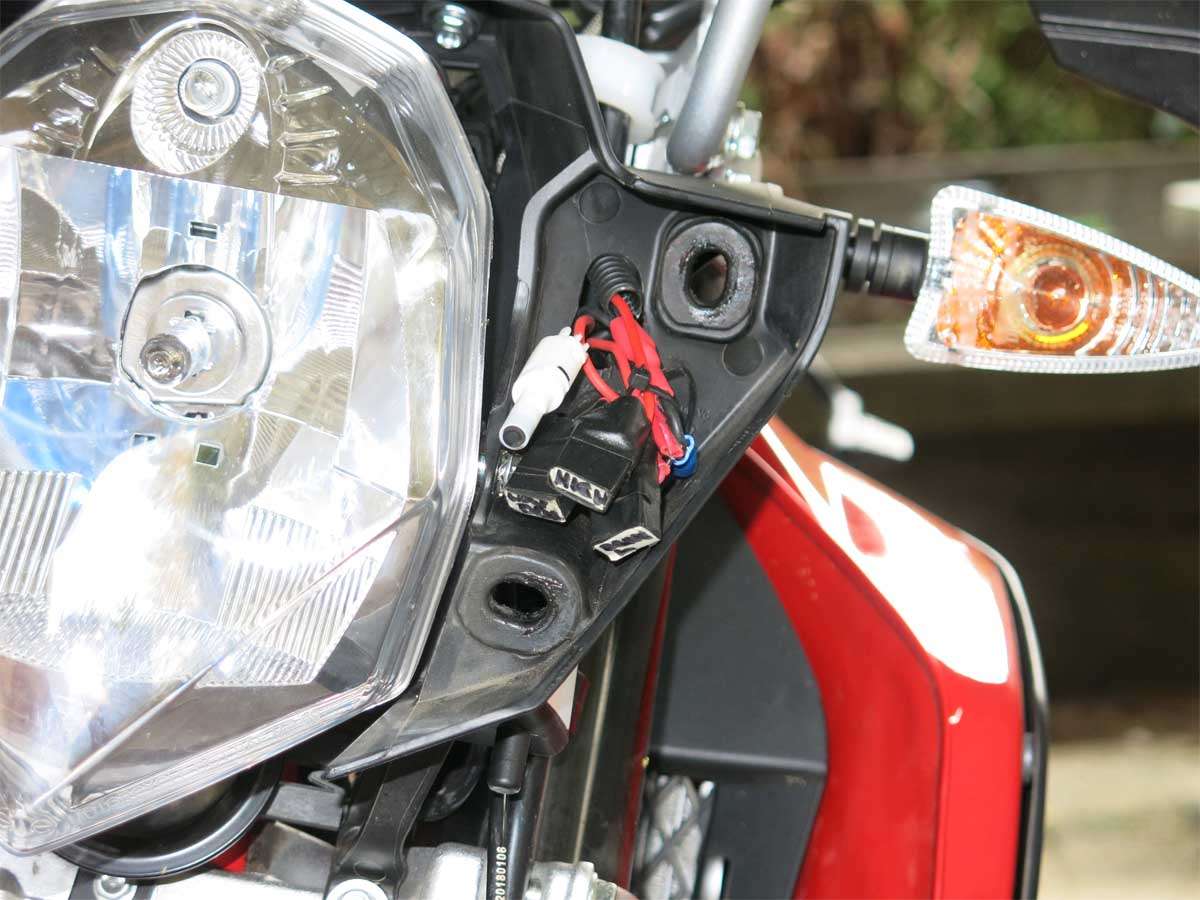
The headlight switches were rewired to turn PCB mount micro relays on and off from power taken directly from the battery.
If there was any gain it was minute but this relay mod allowed me to mount up some driving lights.
Picture of the relays. There’s three here. High and low beam along with the driving light relay.
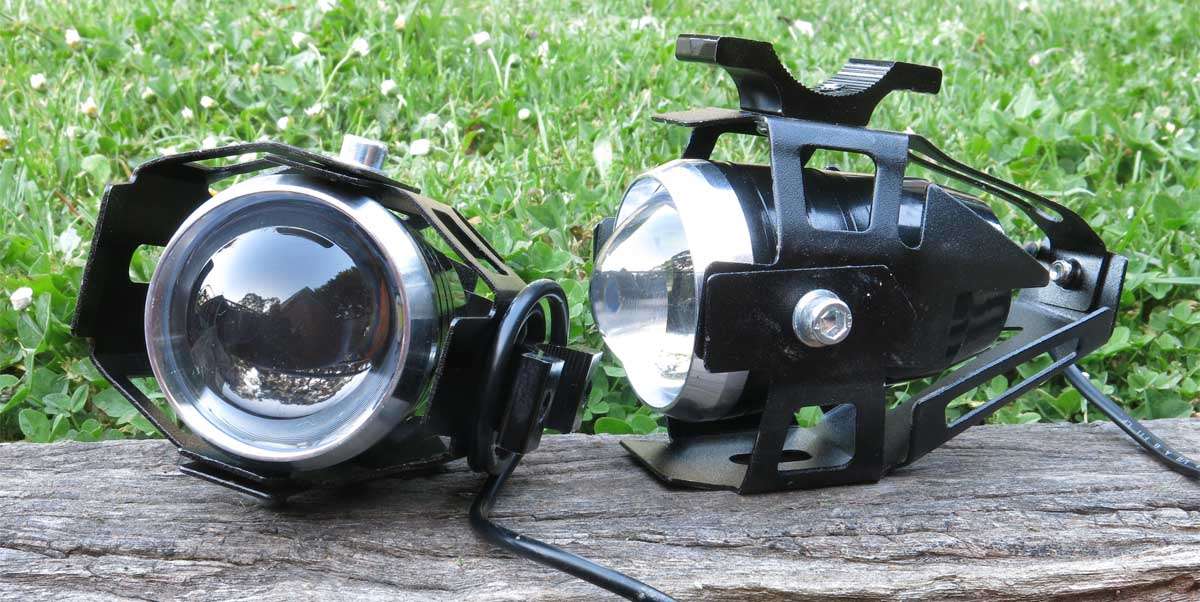
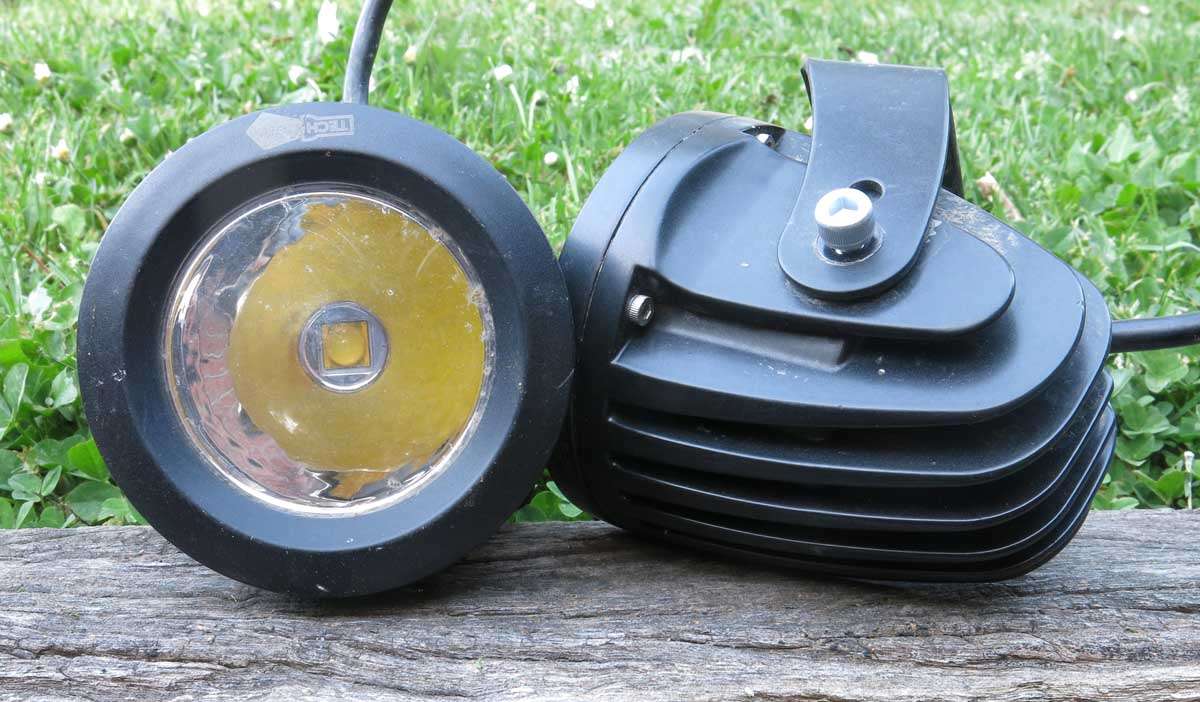
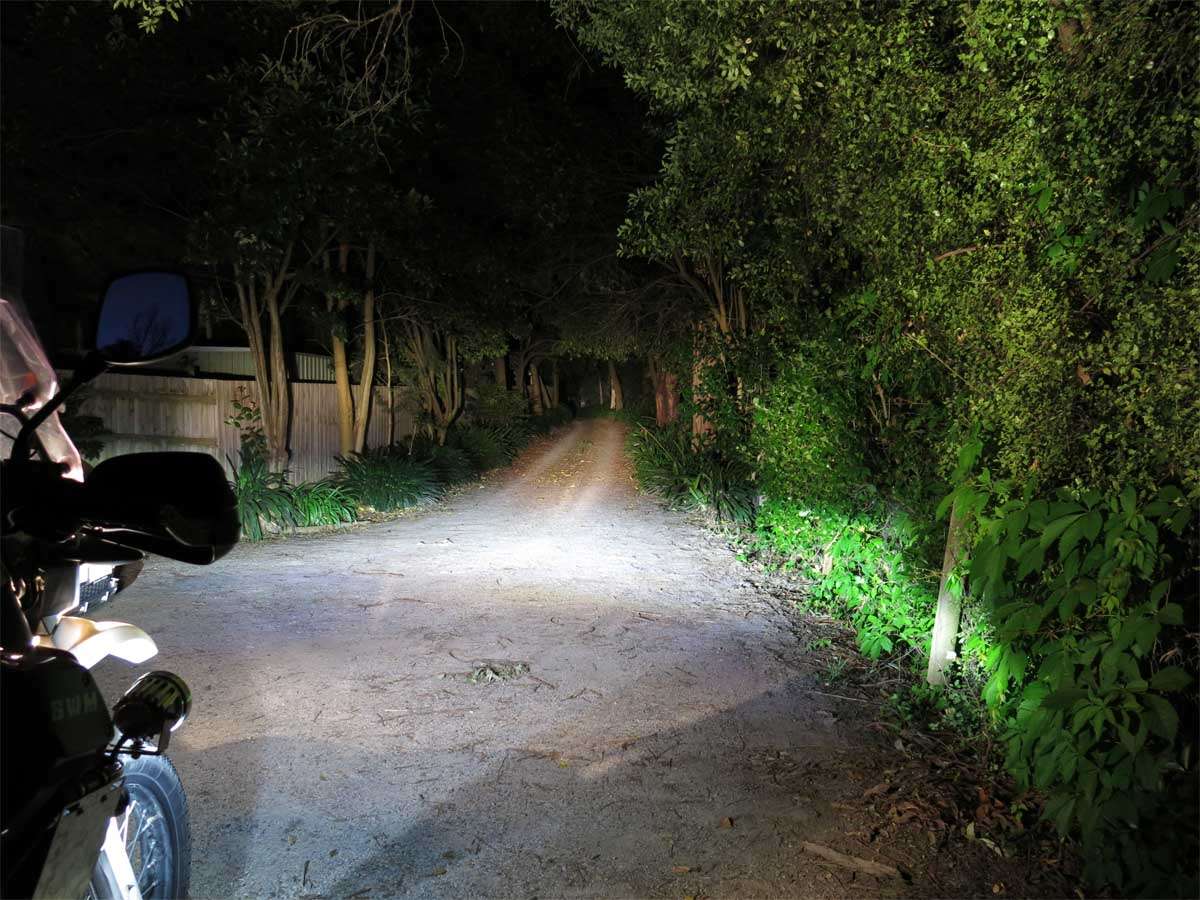
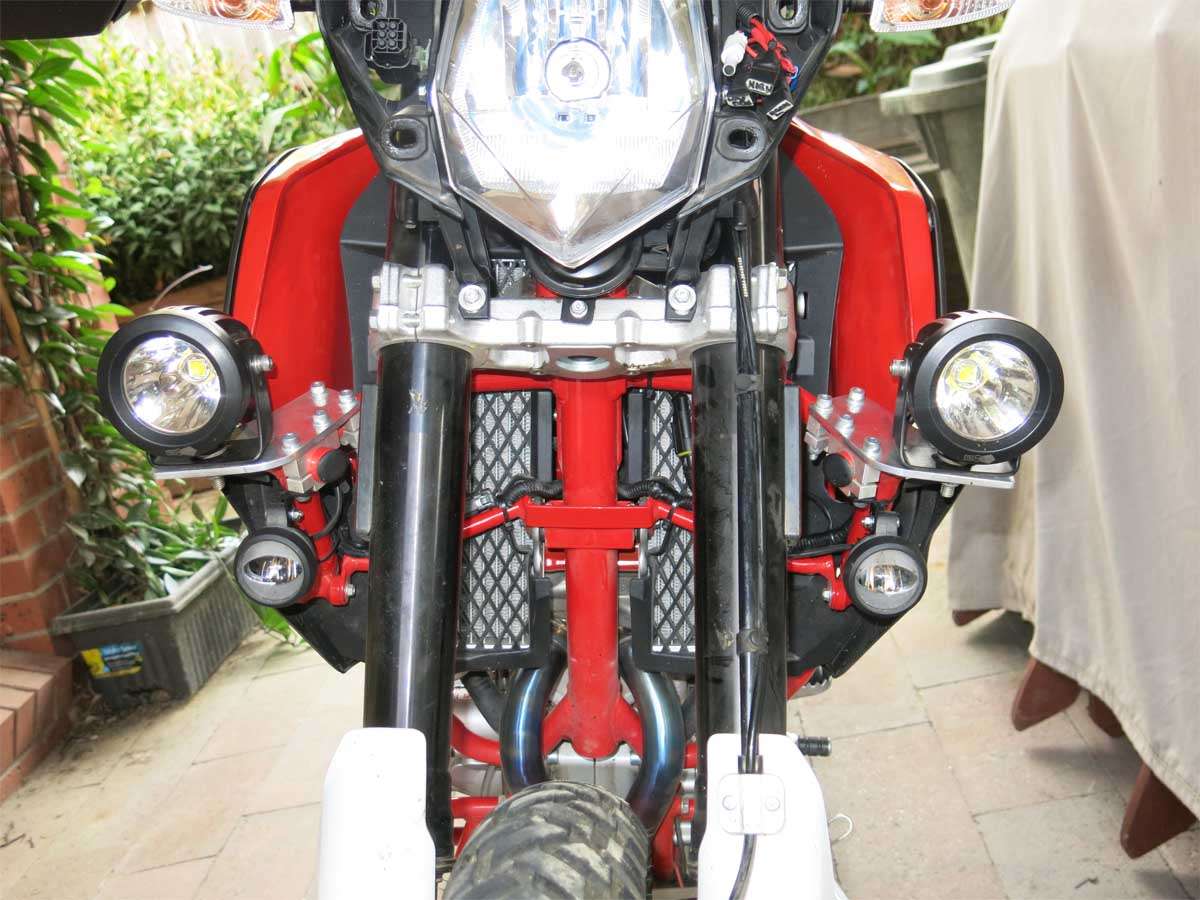
Jaycar, a local hobby electrical store, had some old stock MTG2 led lights on special for $30.00 dollars each. These run at about 2.5 amps. For the price and light output these were a bargain.
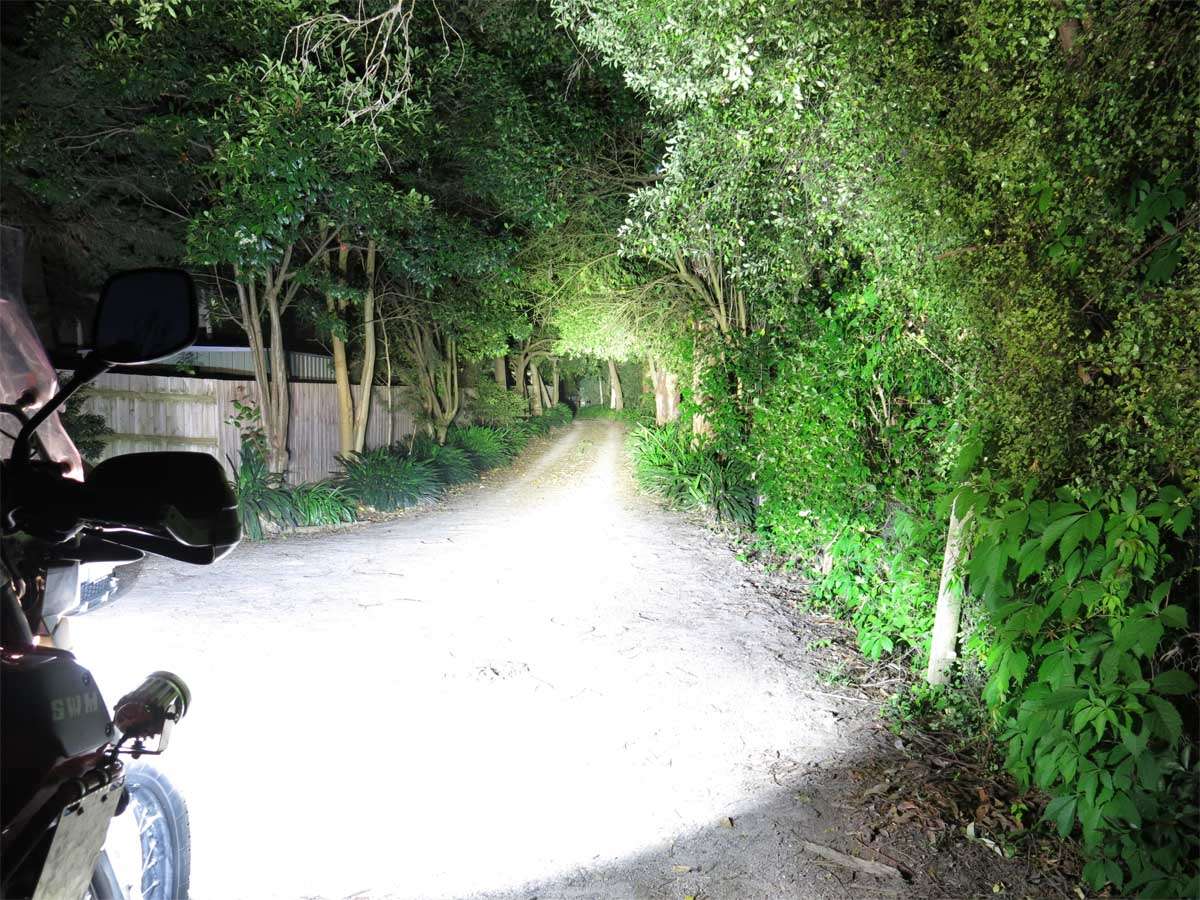
Mounts were made up and the lights installed. All was good in the light world.
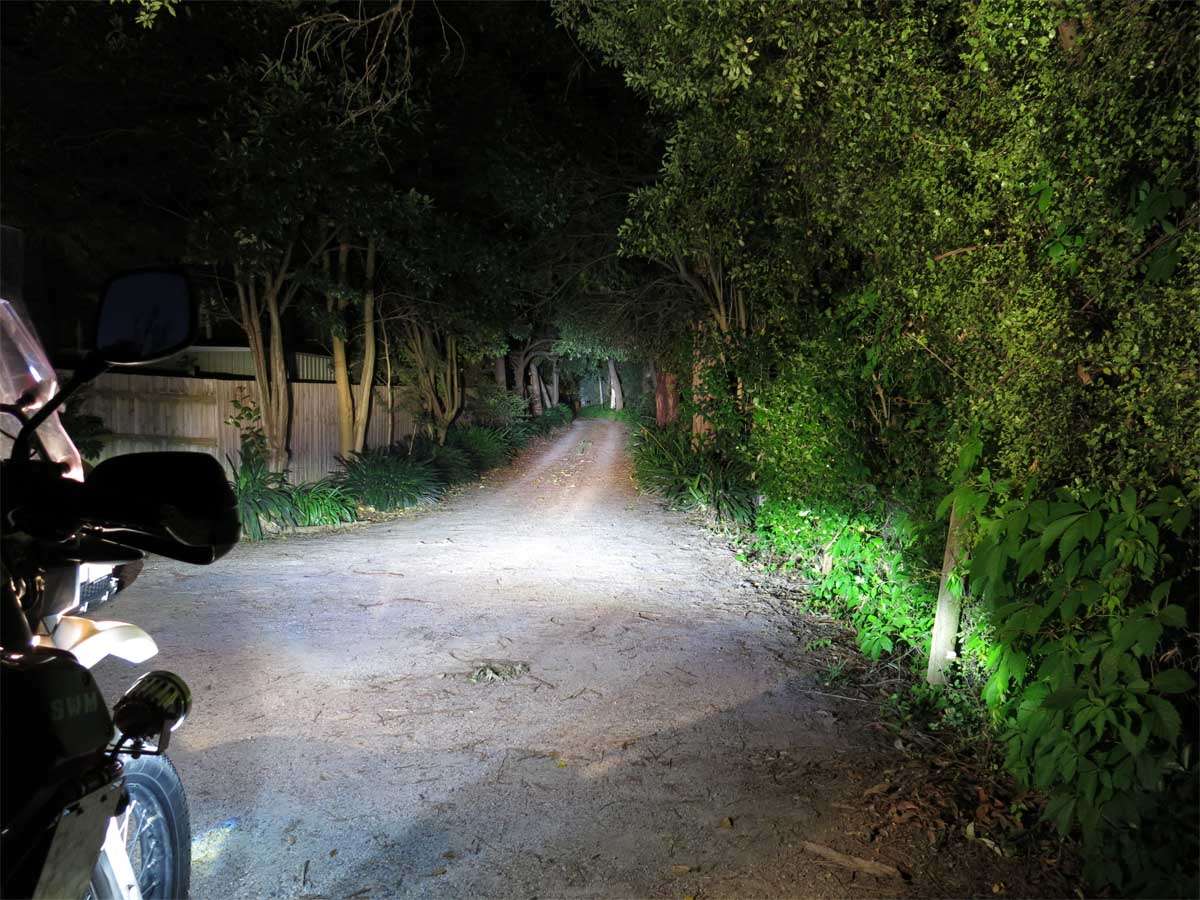
As usual the itch for even more light needed scratching and watching lostheplot build his driving lights I decided l had to get rid of this itch once and for all (maybe) by building my own driving lights.
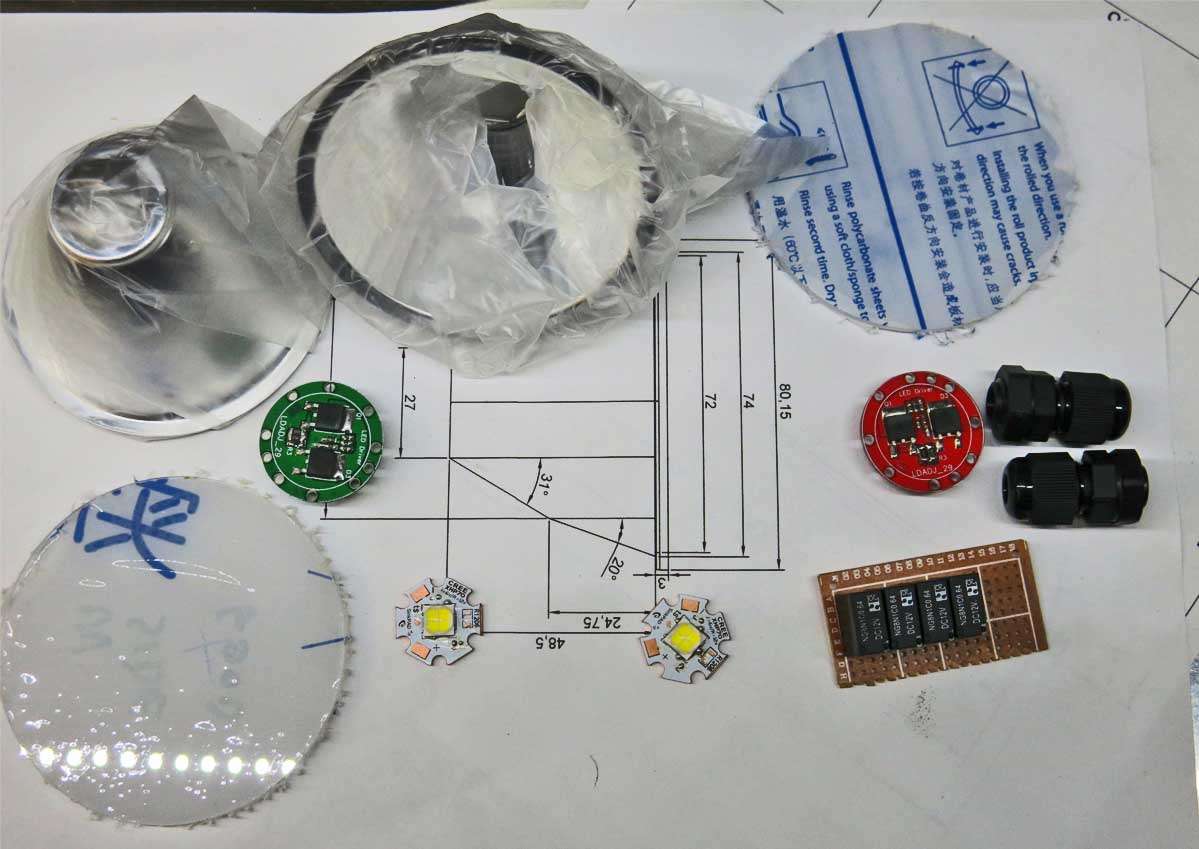
A list of parts was made and the purchasing begun resulting in this stash of parts landing on my work bench.
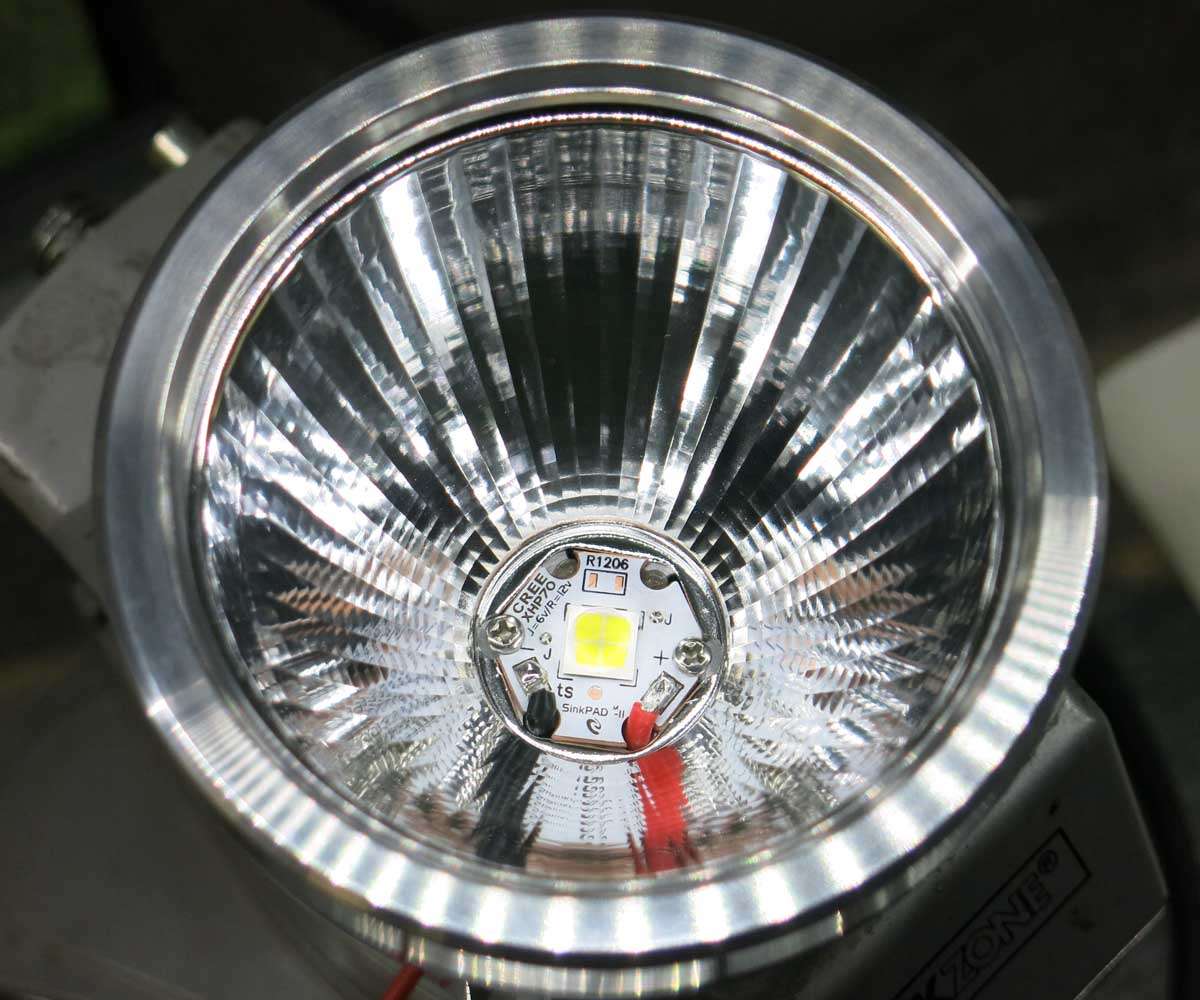
The reflectors are Illuminations Machines XML 4. This reflector was tested with the XHP70.2 led to make sure it was suitable which it was. The opening is 70mm in diameter. This is a four degree reflector and is also made as a ten degree reflector. An option if I want more flood than throw.
A couple of polycarbonate lenses custom made for me by lostheplot will keep the reflectors clean.
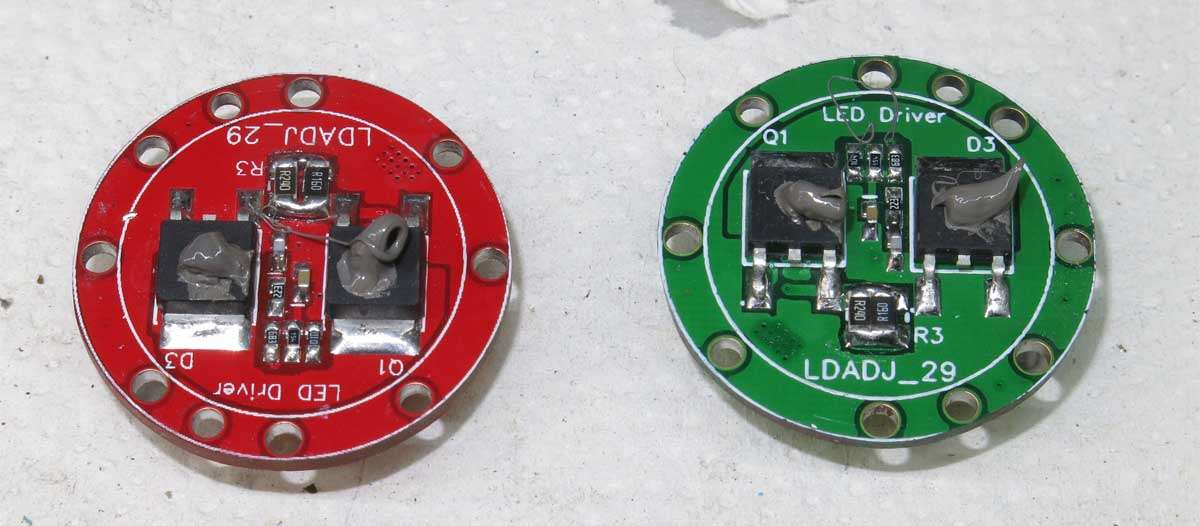
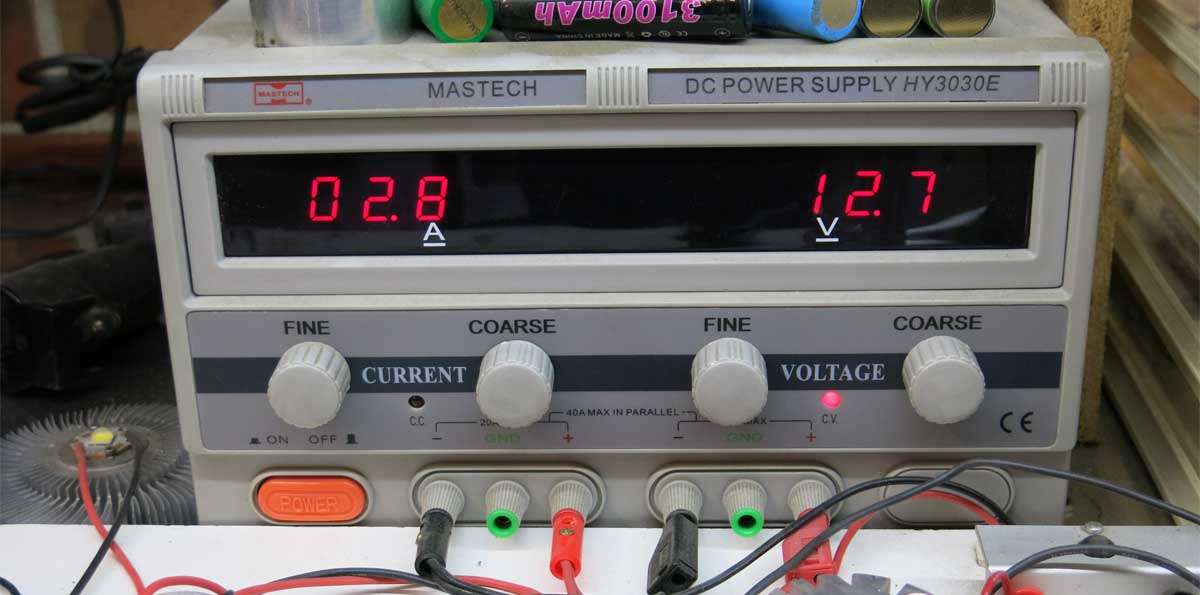
The drivers are from Russia compliments of Fleabay and should drive the 6 volt XHP70.2 at a moderate 4 amps each.
The XHP70.2 LEDS are 5000K and mounted to direct thermal path copper 20mm MCPCB’s.
The relays are tiny PCB mount, from memory each can handle about 30amps.
And finally a sketch of the internal dimension of the reflector end of the housing.
Moths escaped from my wallet as the credit card was swiped to purchase 300mm of 90mm diameter solid aluminium bar.
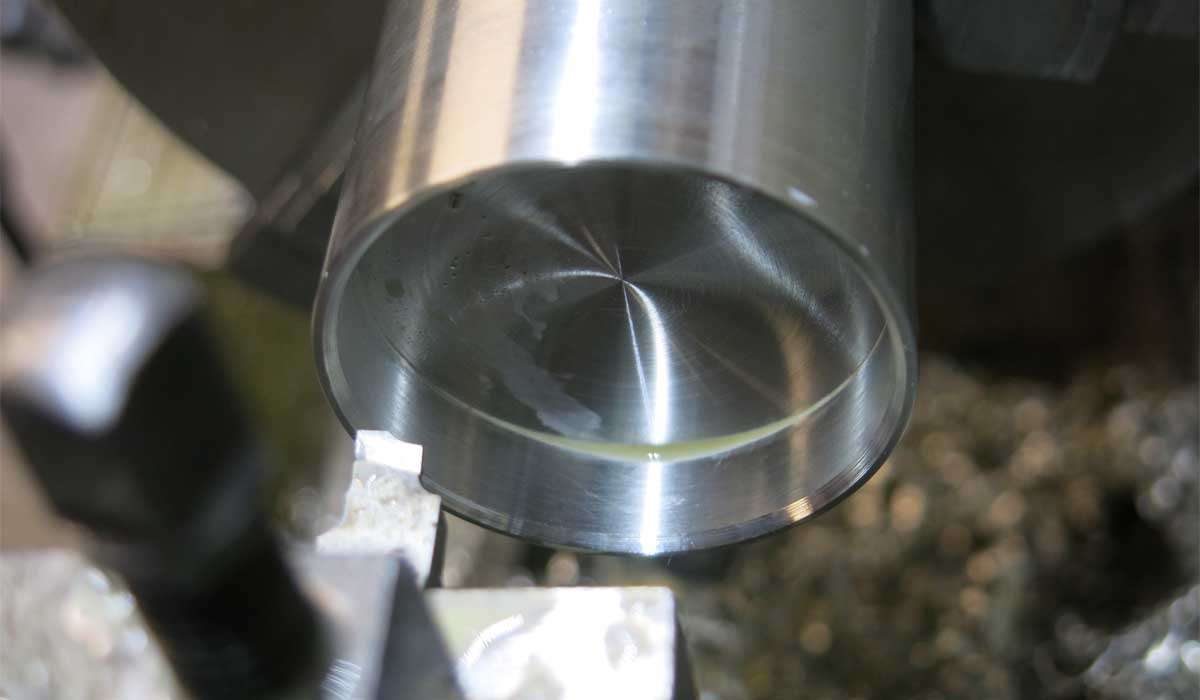
Two pieces 65mm in length were cut and one end faced off.

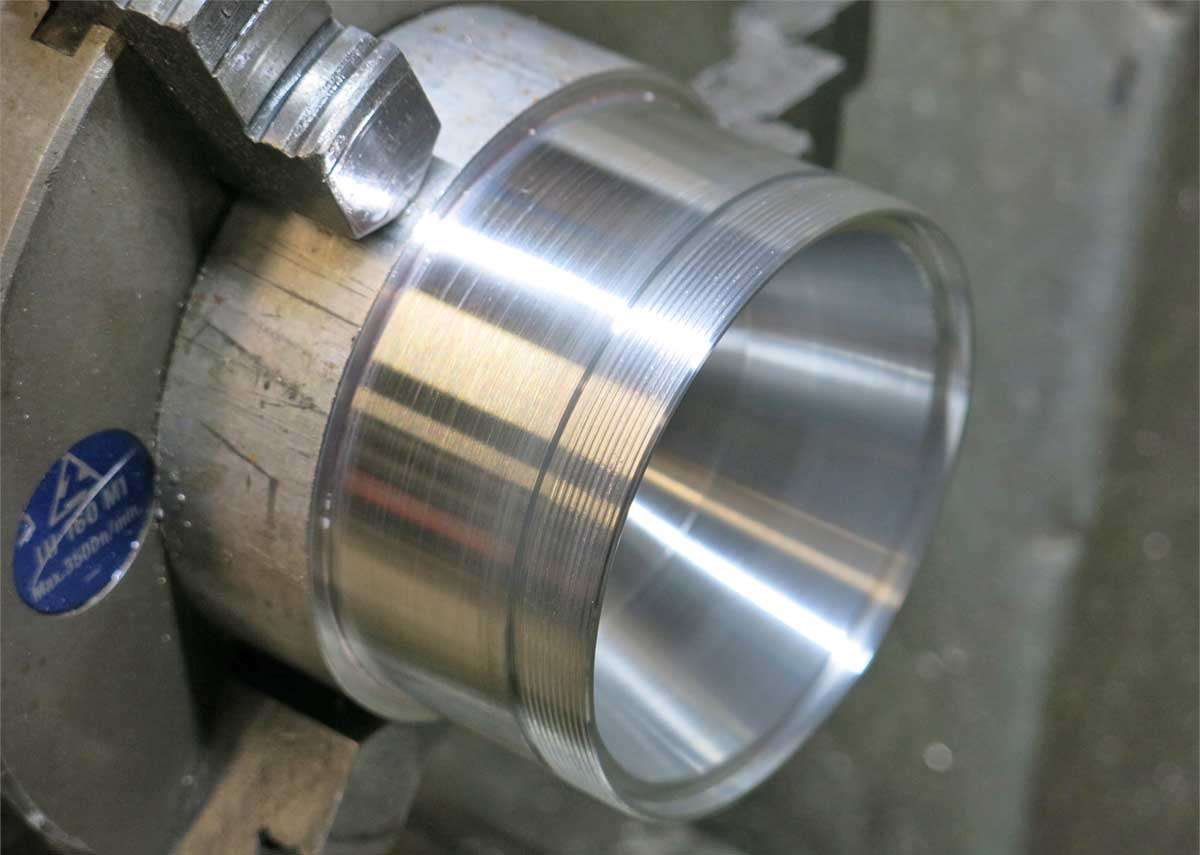
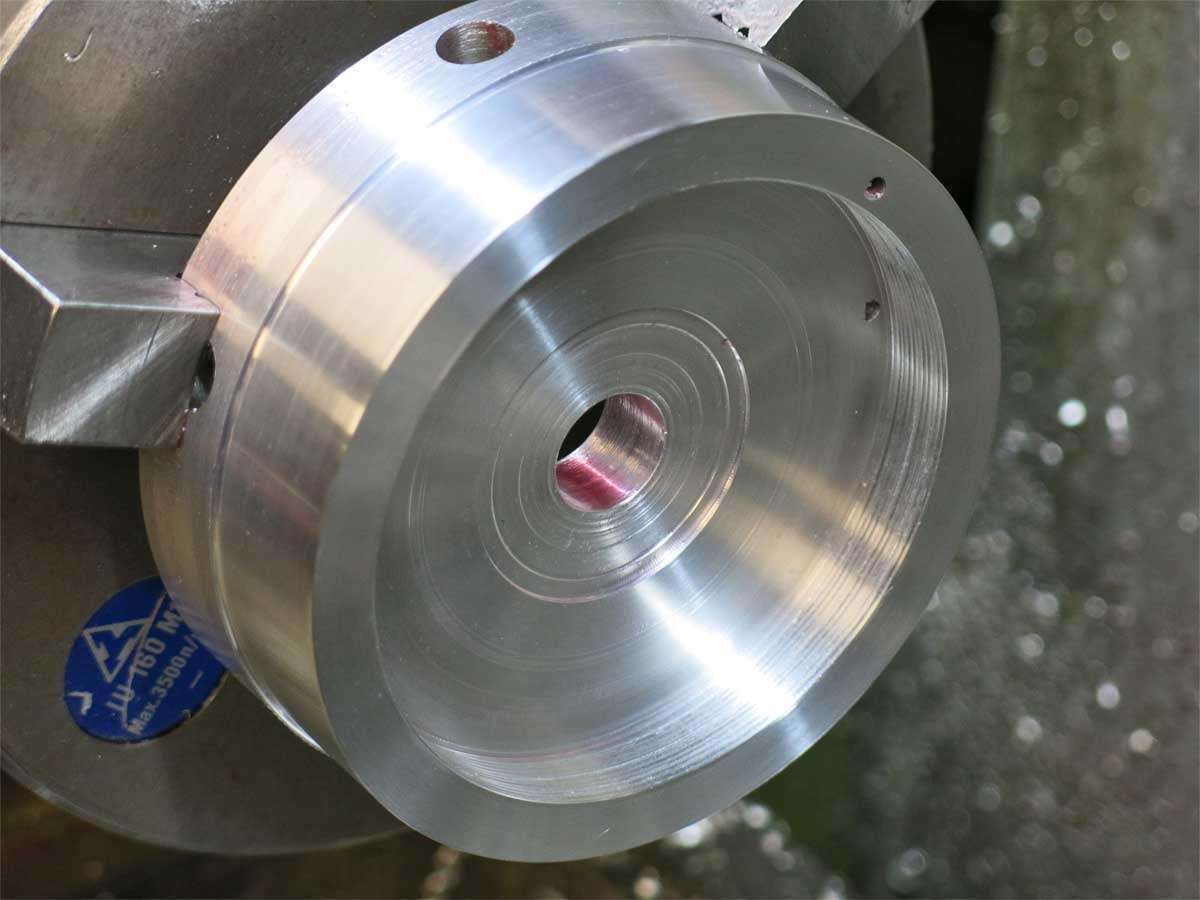
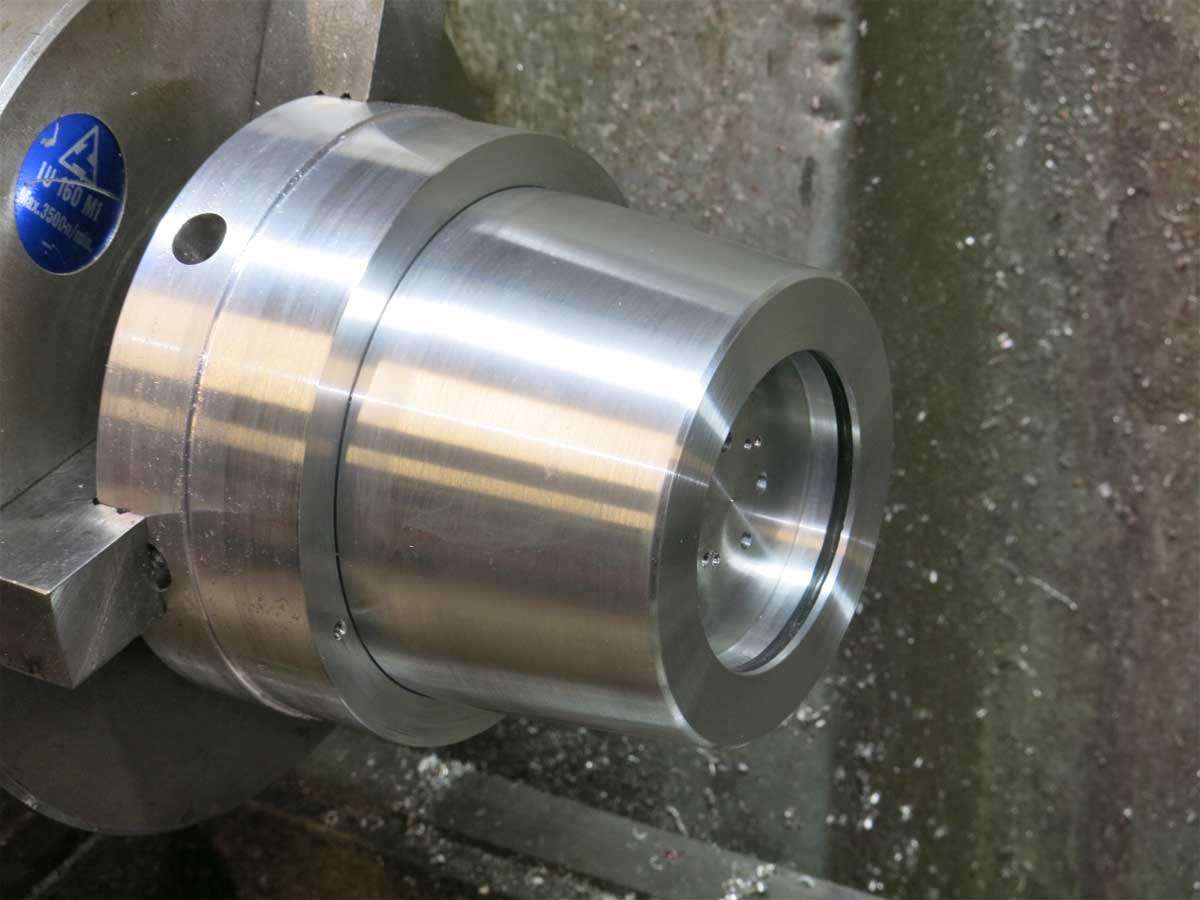
The internals were machined to suit the reflector

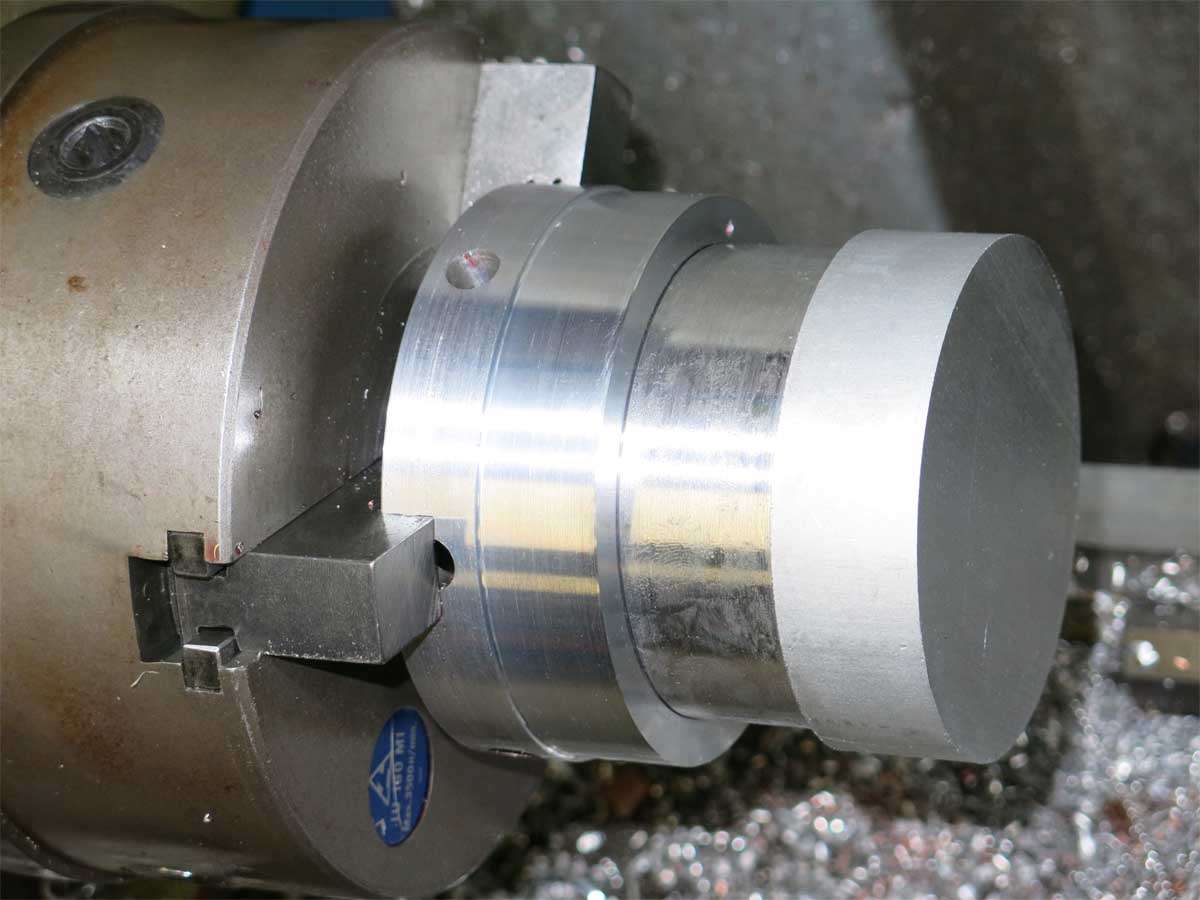
and the external was machined to the bezel thread diameter and the bezel thread machined.
A threaded mandrel was needed to hold the head while the opposite end was machined.
Some of you may remember the headaches I had building another torch with lots of scrap made.
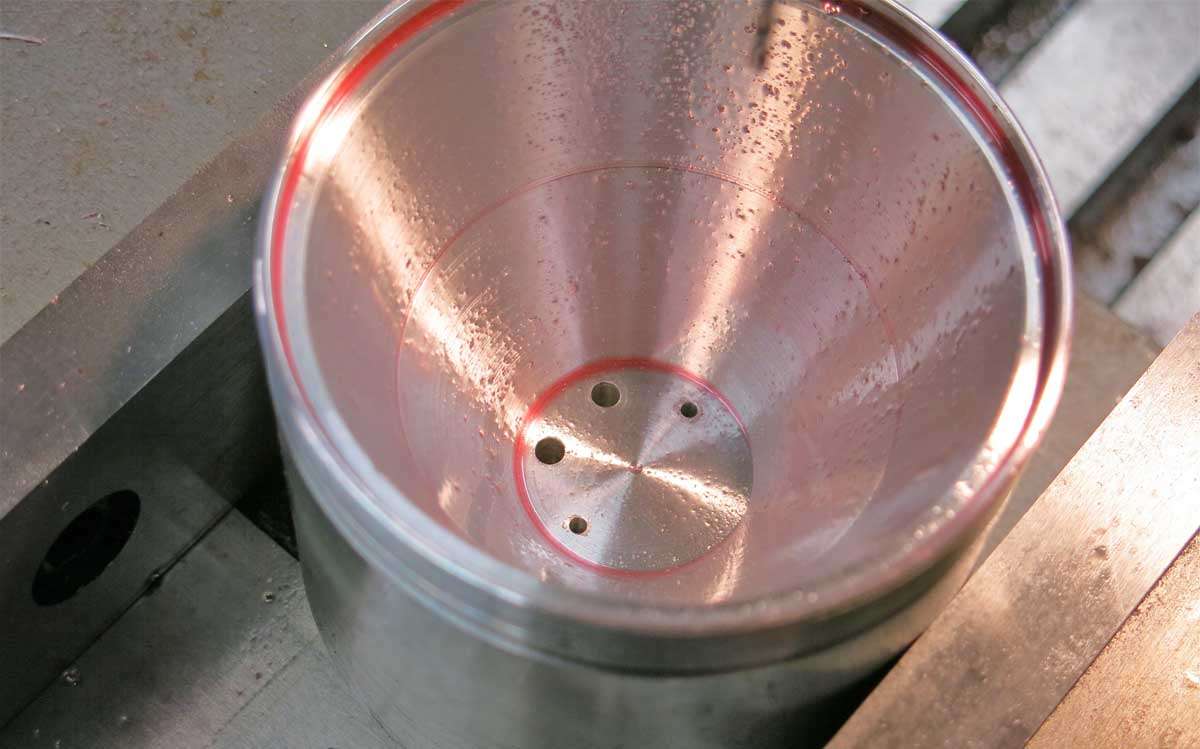
It was the piece on this torch with the copper holes and slots.
The above piece was machined into this
for this. Now the bum end of the head can be machined.
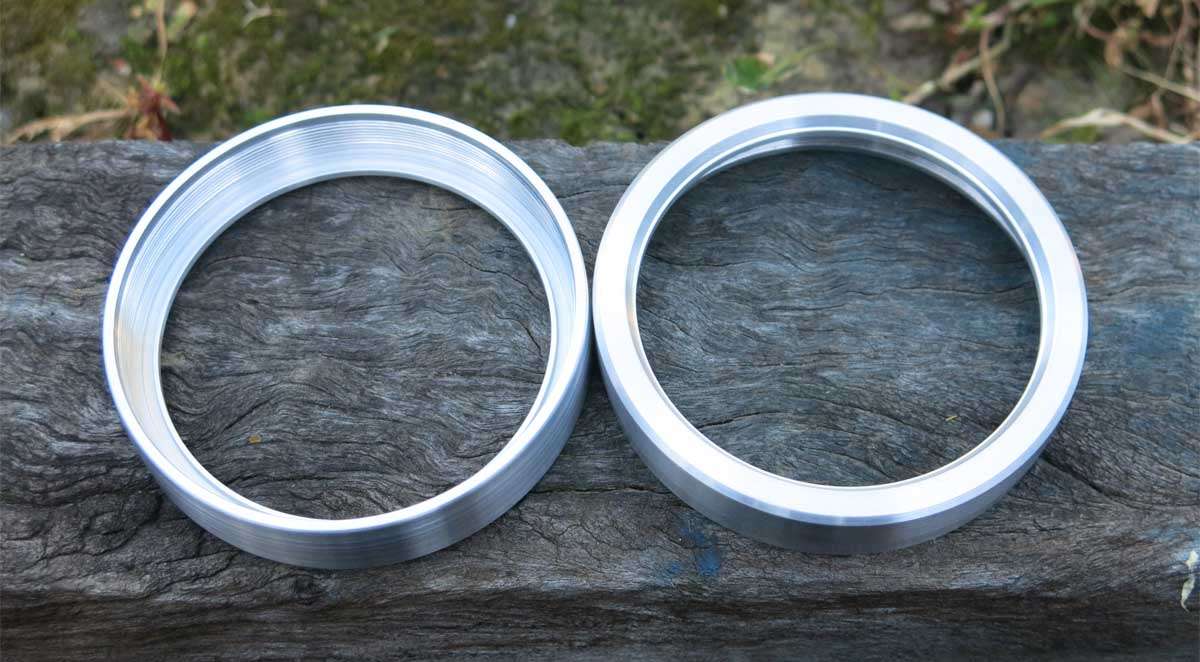
The bezel was the next step. A piece of the 90 mm aluminium was cut long enough to make two bezels and machined out to the smallest diameter on the bezel.
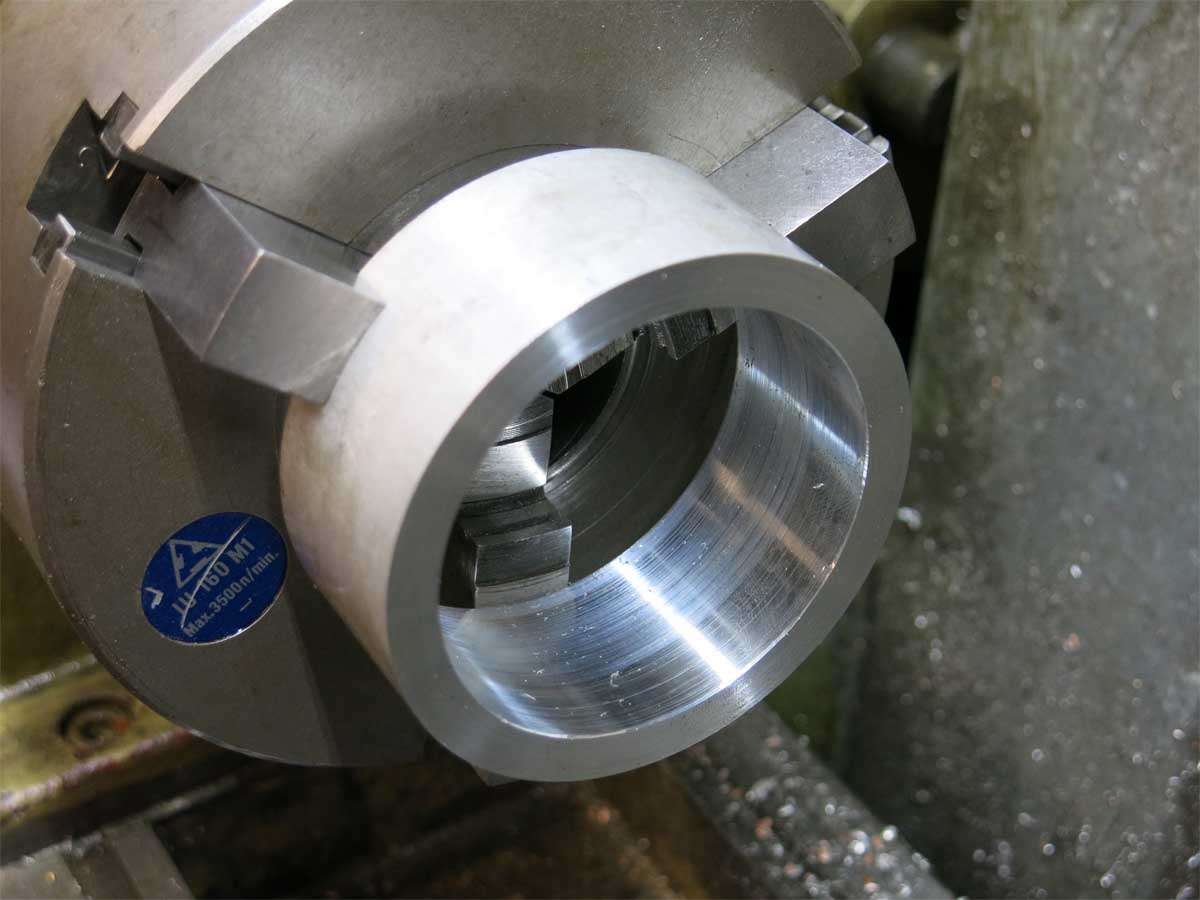
The inside was stepped and threaded to suit the head and lens. An o’ring groove was machined into the step to seal the lens from water entering.

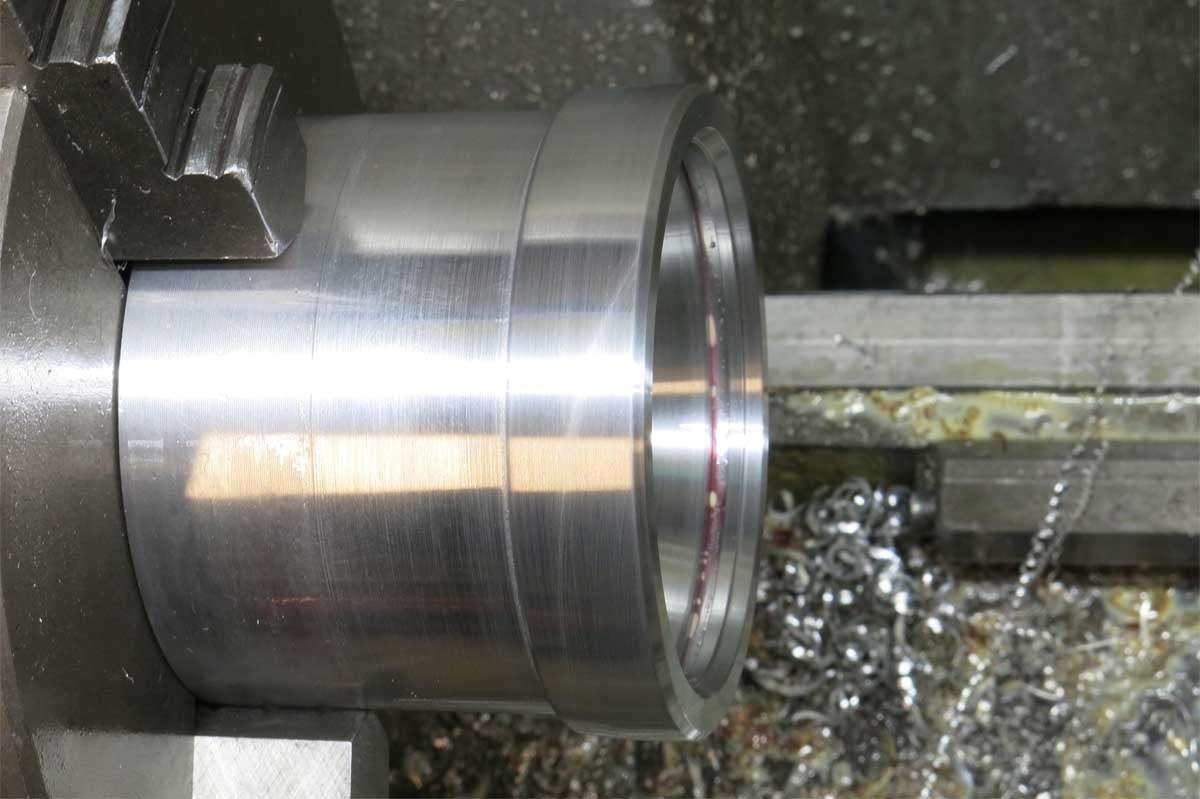
The completed bezel was then parted off and the second bezel machined up. The finished item is shown here threaded to the head.
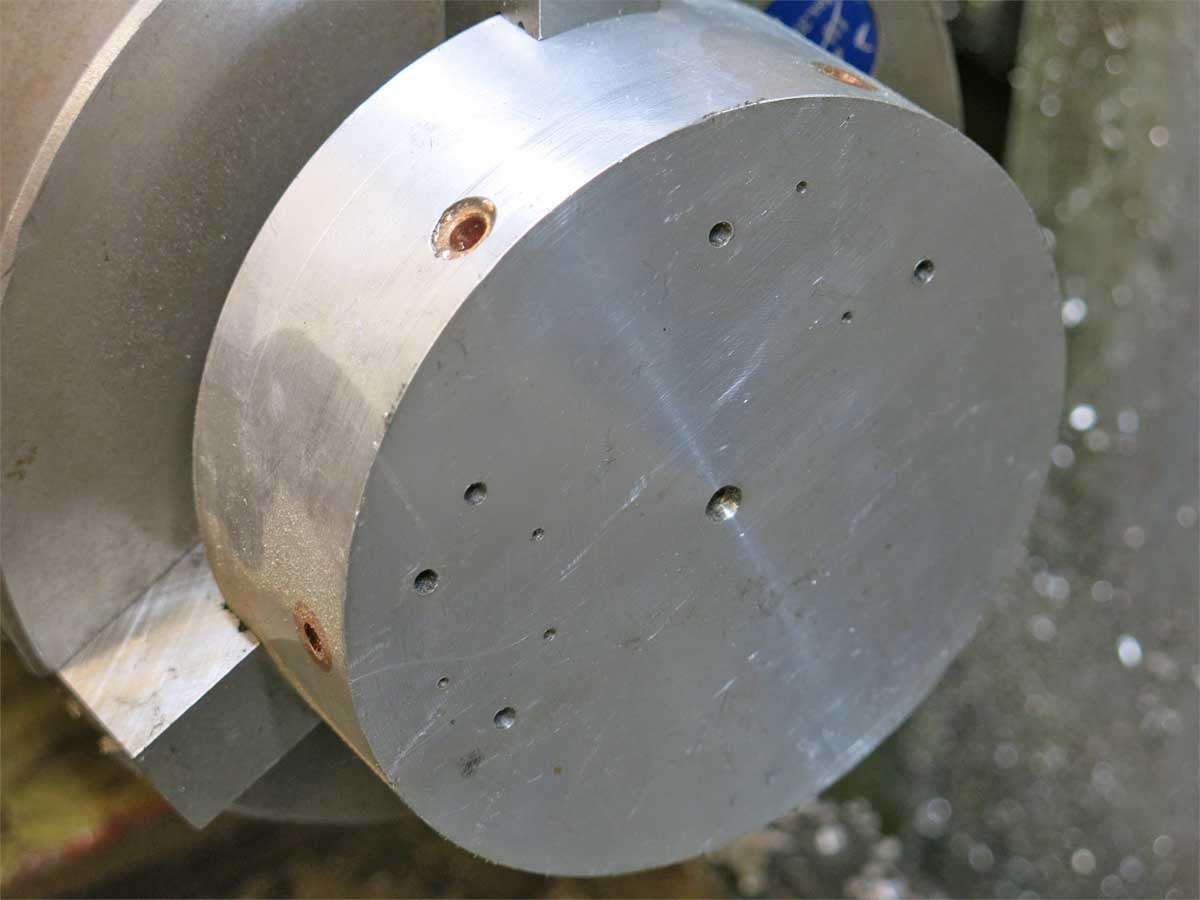
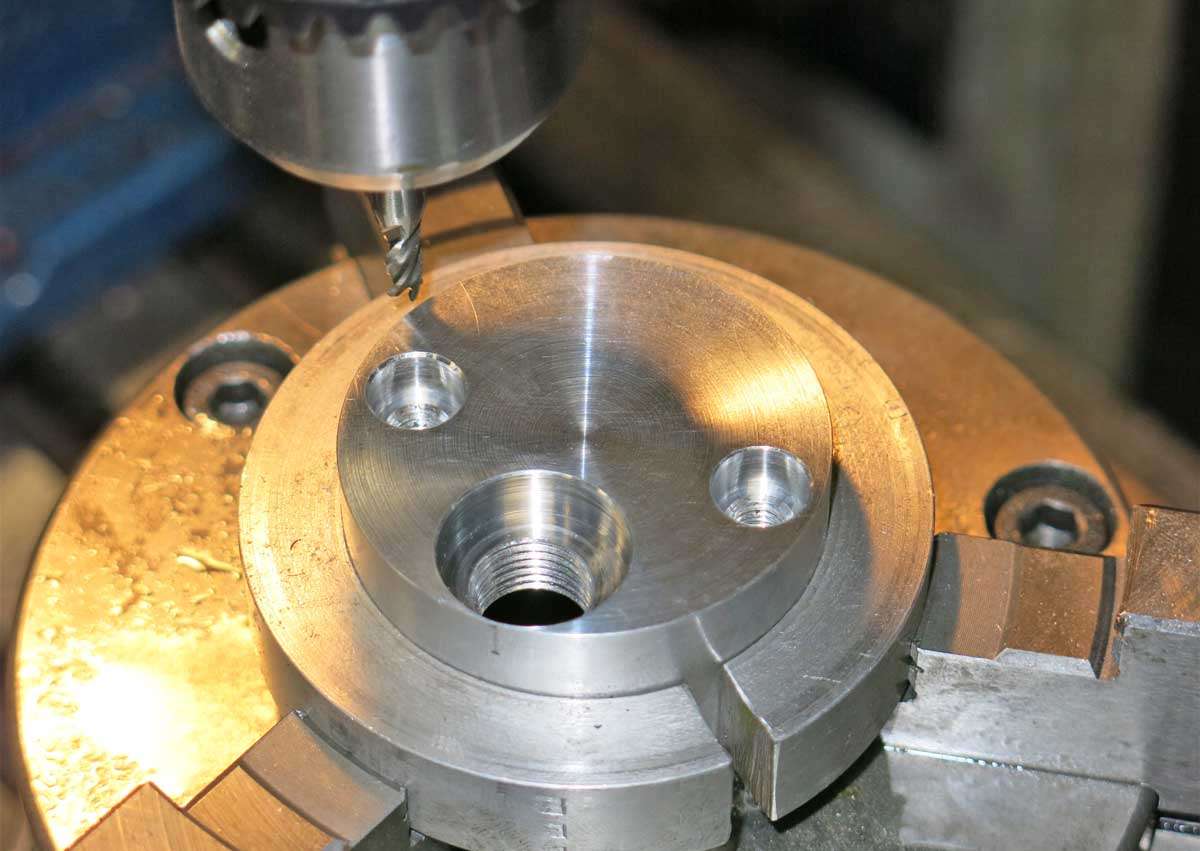
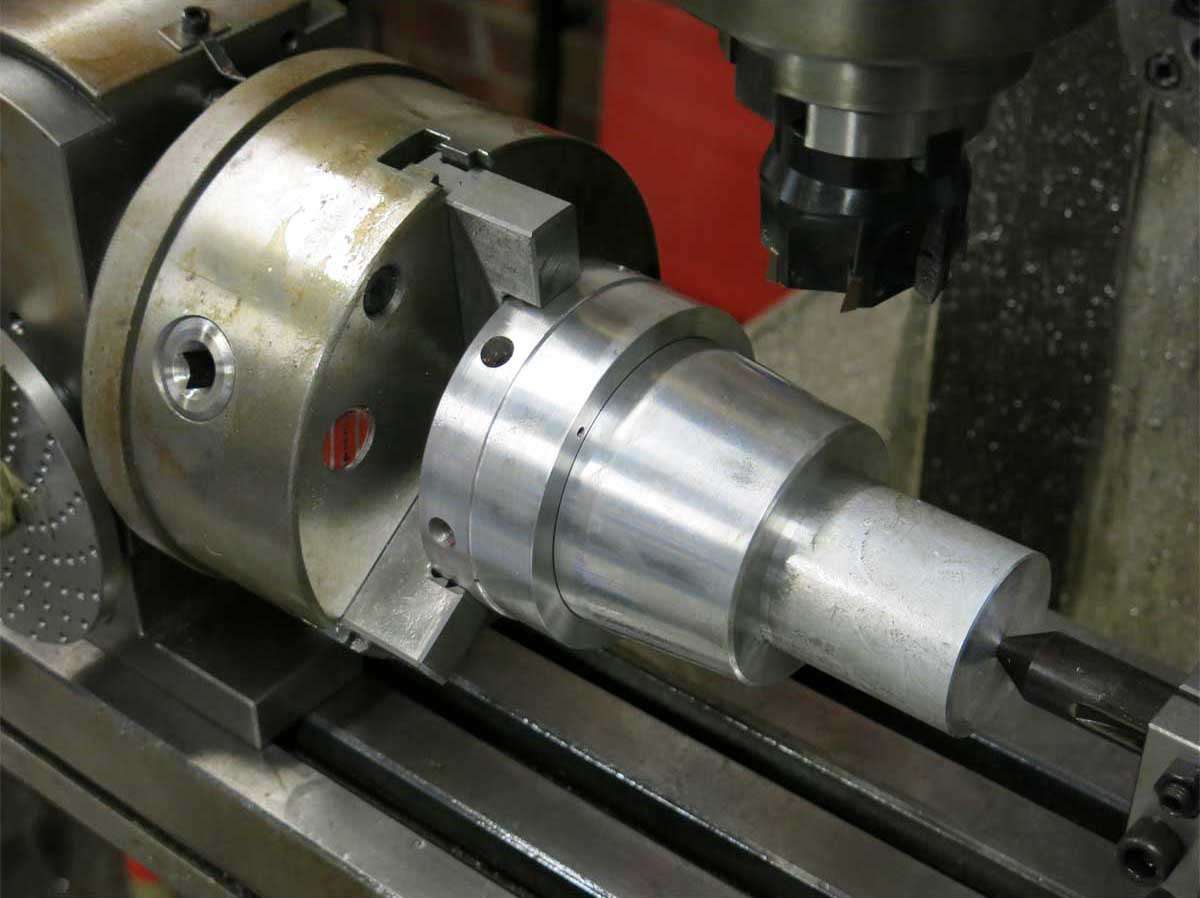
The heads were then placed into the mill to machine the wire through holes and screw holes to hold the MCPCB down.
Bugger. All these holes are 2.5mm out so will be have to be re drilled. At least the head will be slightly lighter.
As all the wiring on the driver are all on the one side a separate housing will bolt to the back of the head to house it. this is the start of the housing. Its from memory 50mm in diameter.
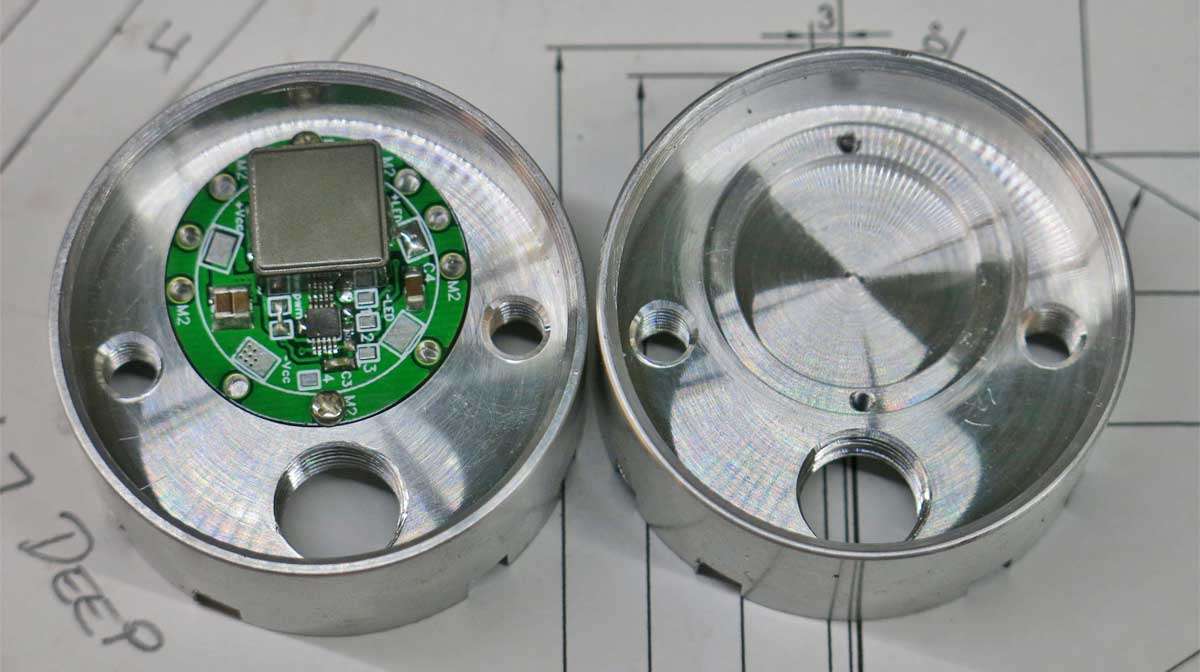
The housing was placed in the mill for the mounting bolt holes and gland thread drilled and tapped. To the right of the centre you may just see where I have marked the centre of the driver pocket which will be machined in the lathe.
The housing was then flipped so the holes could be countersunk.

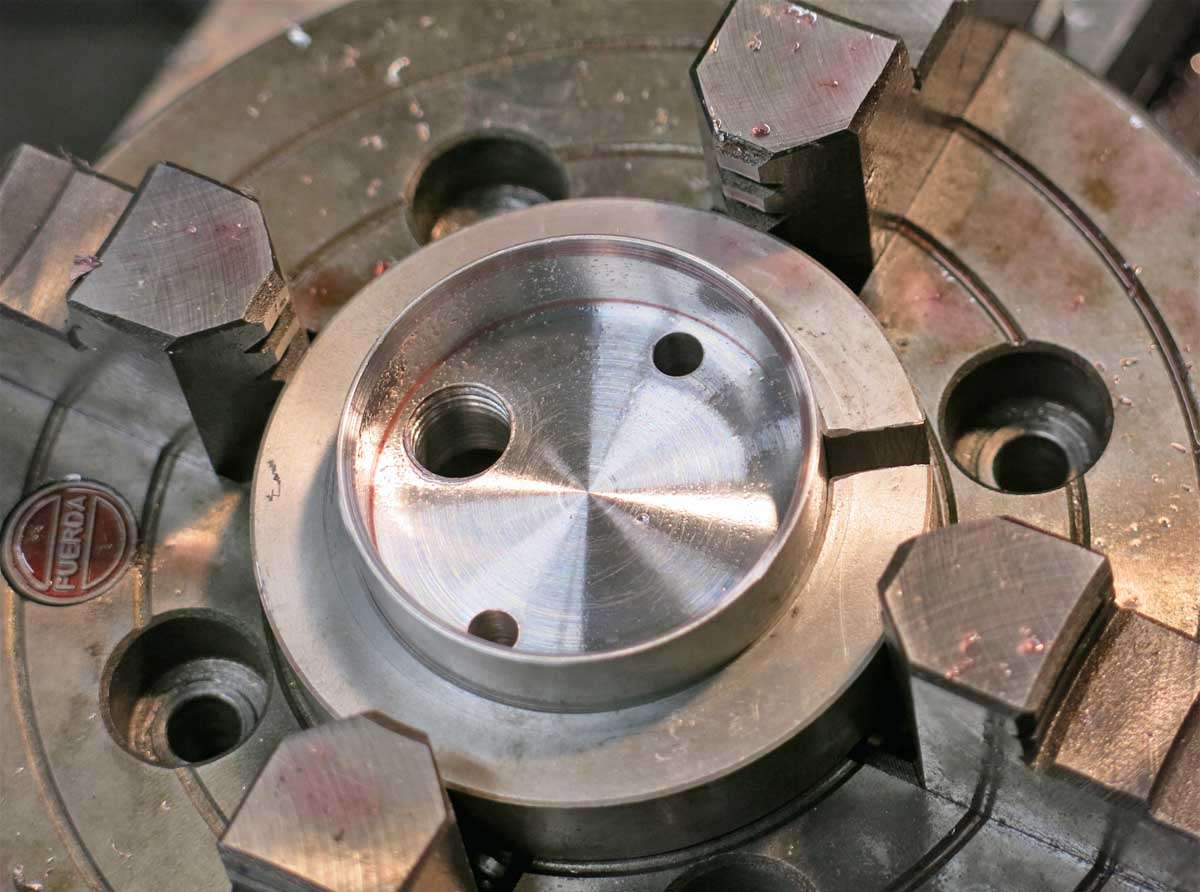
The housing was then placed in the four jaw chuck and the previously mentioned driver pocket mark aligned centrally.
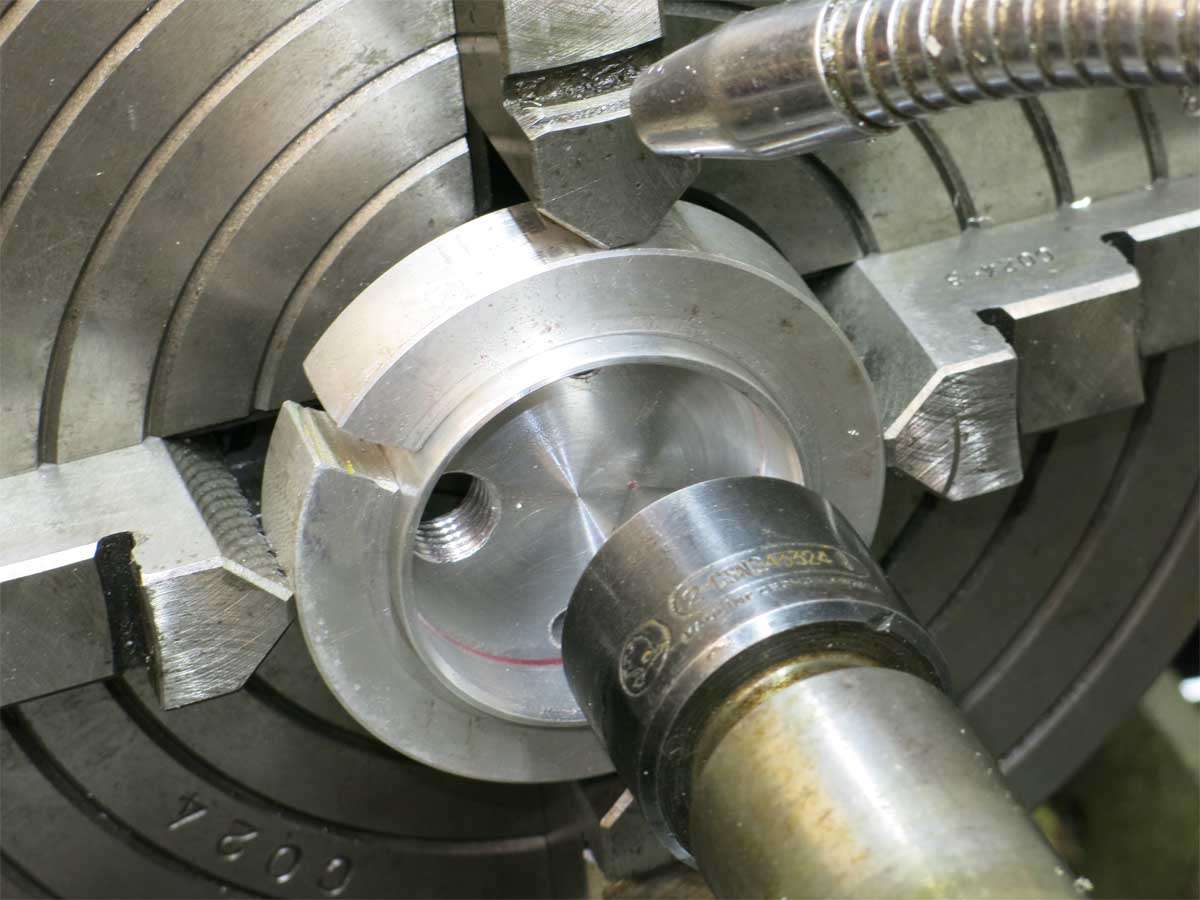
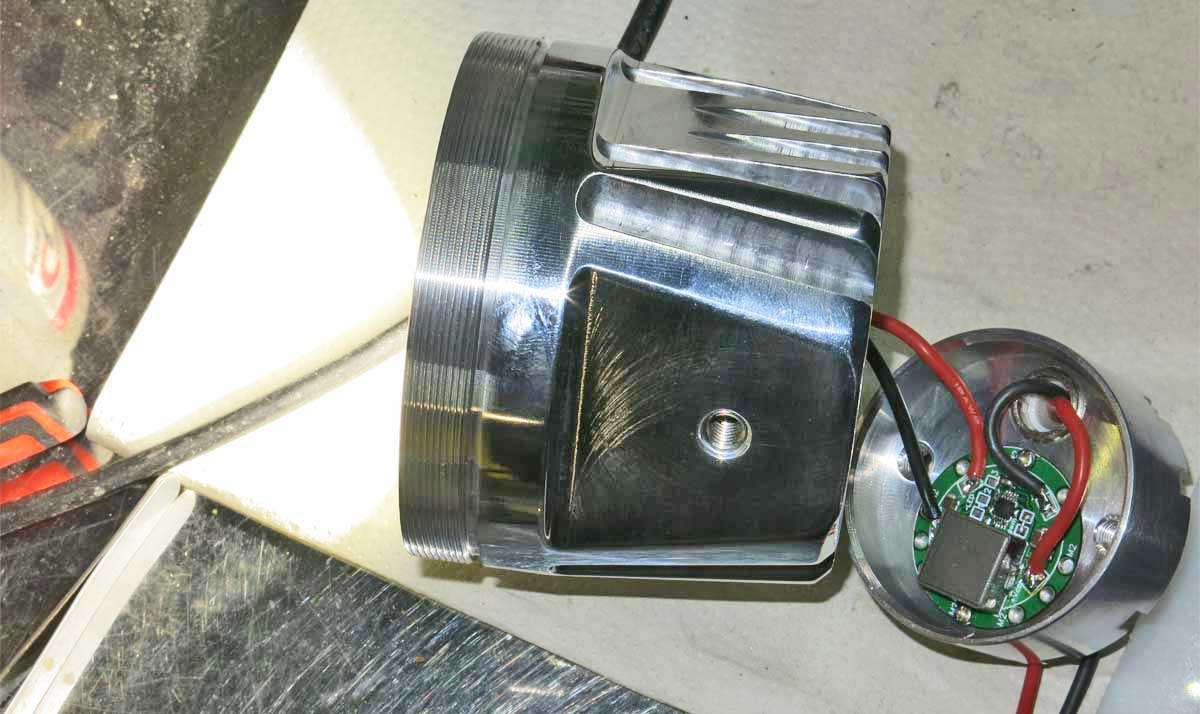
The nearly finished driver housings.
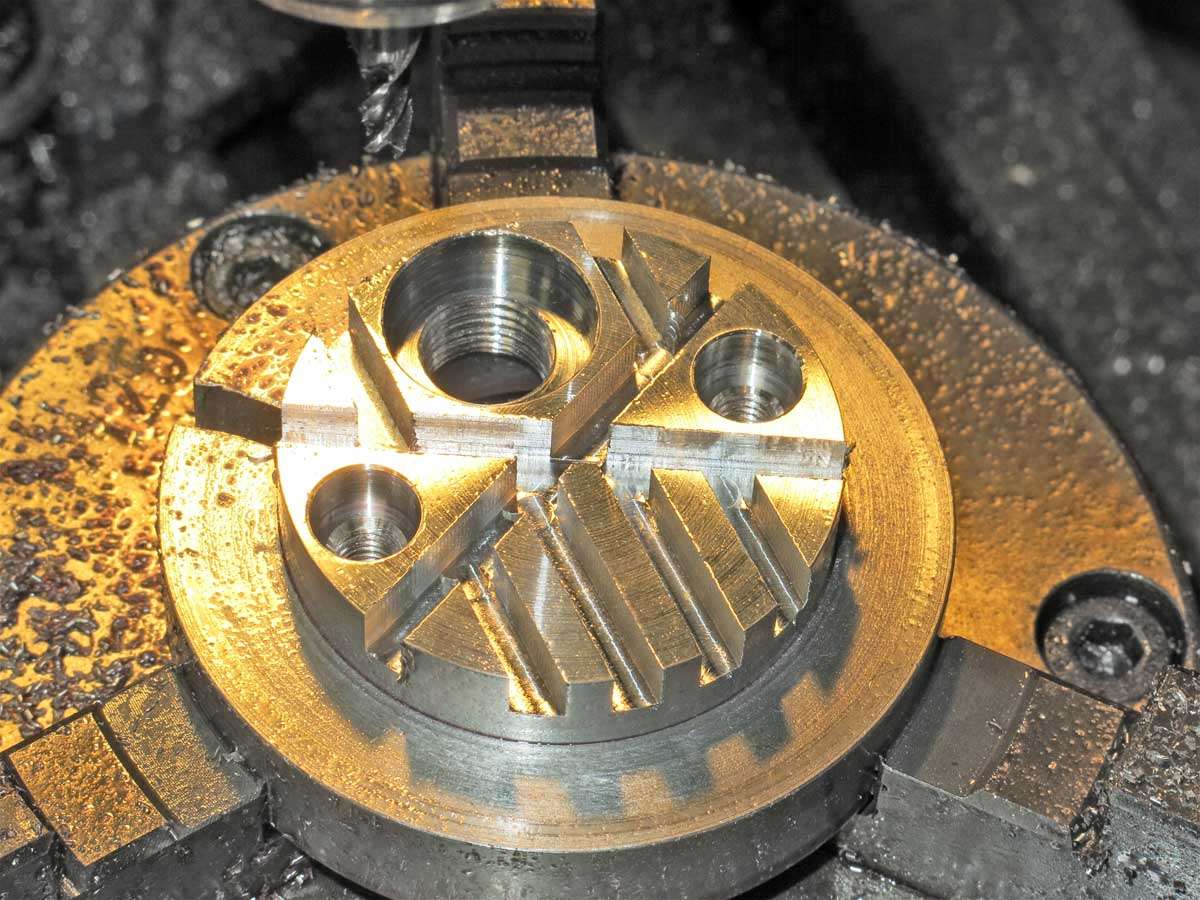
Back to the mill to machine cooling fins as the chips on the back of the driver will be heatsinked to the housing.
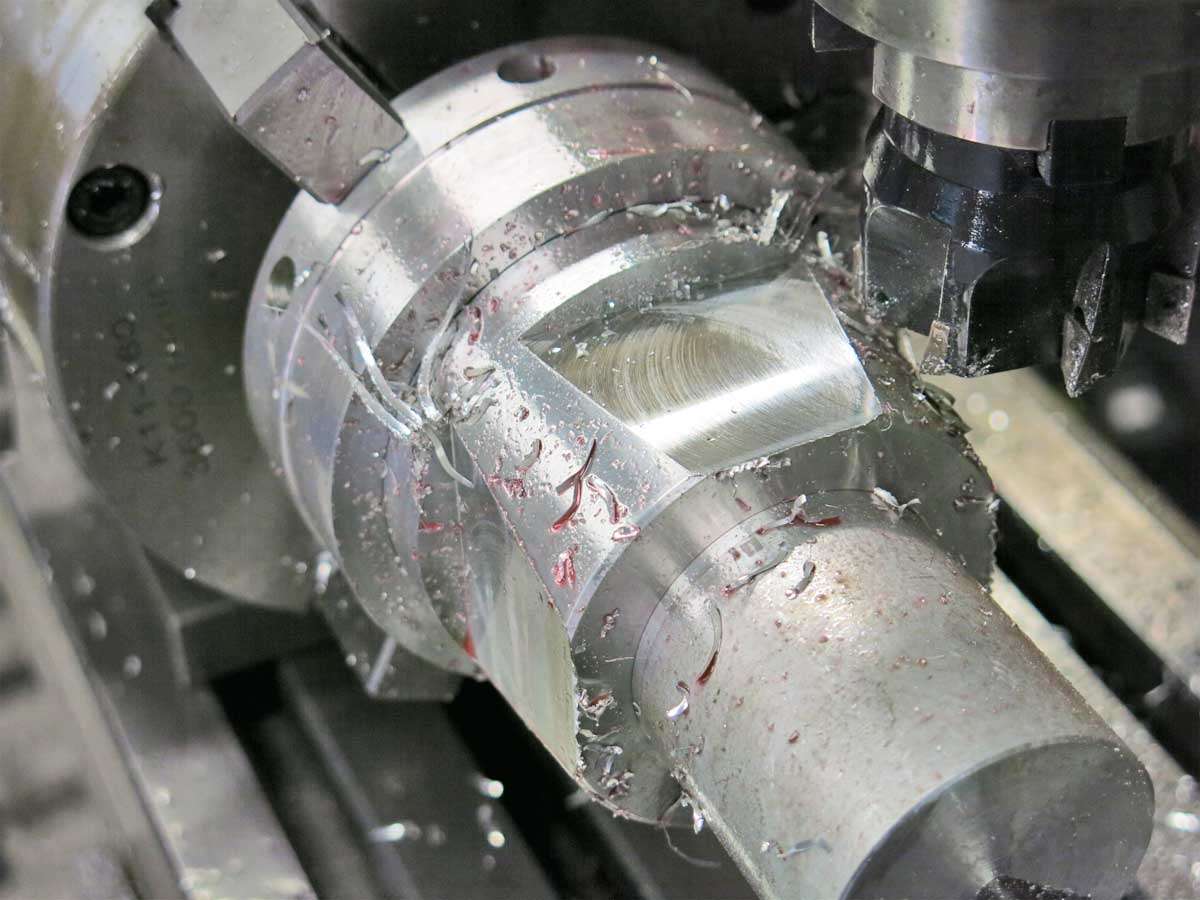
The heads were then profiled on the outside.
A mandrel was made up to sit in back of the head to hold the head steady while flats were machined to allow the mount bracket to sit flush with the head and the bottom was also machined to allow the light to sit lower on the bike.
You will notice the extra lightening holes in the head in this picture. :person_facepalming:
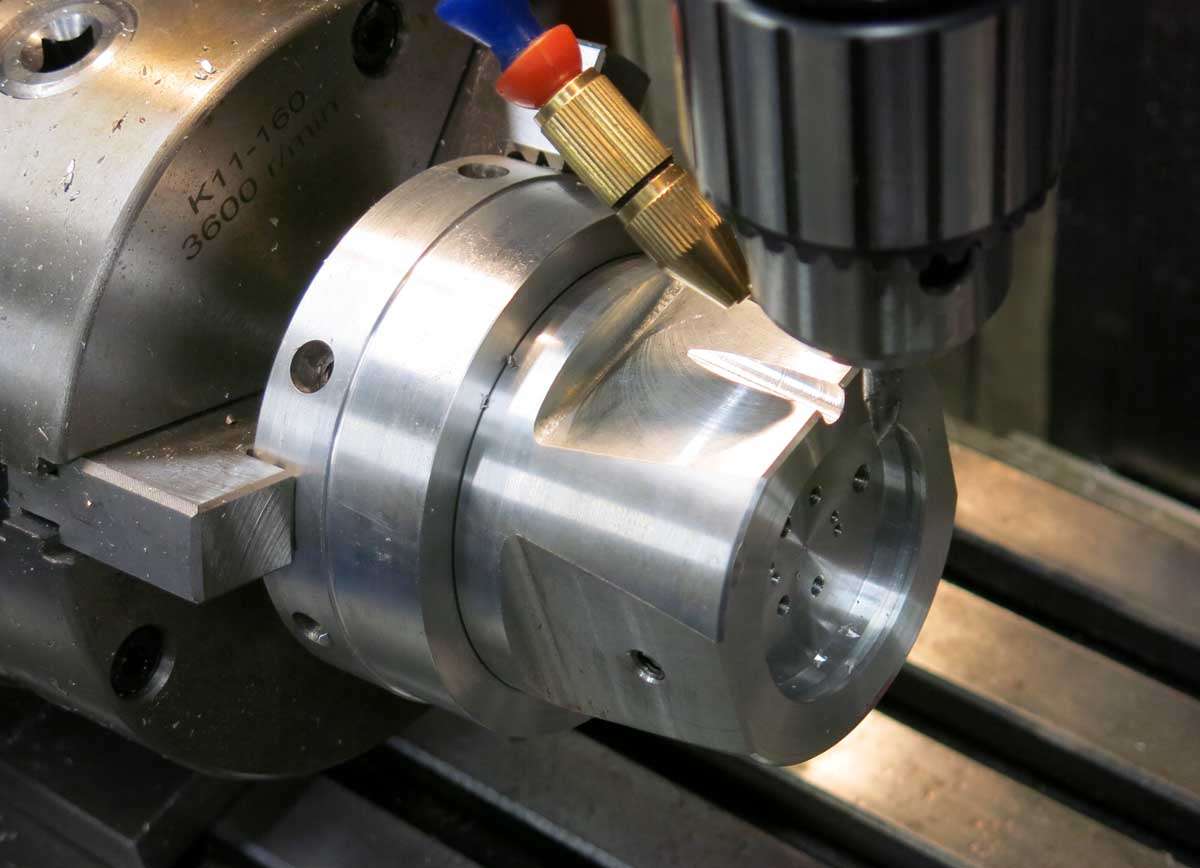
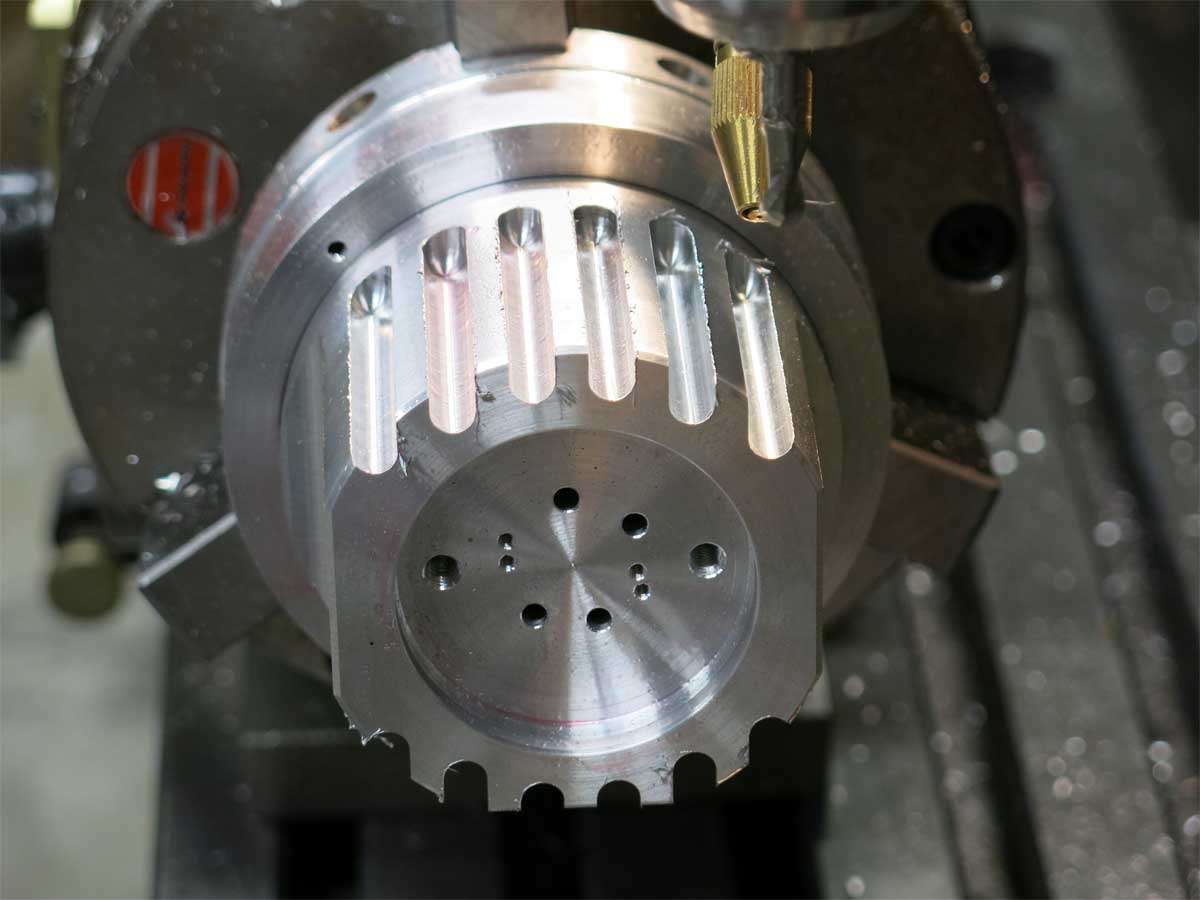
The heads are back in the mill held by the dividing head ready to have the fins machined. The grooves are 6mm in width while the fins are 4mm in width.
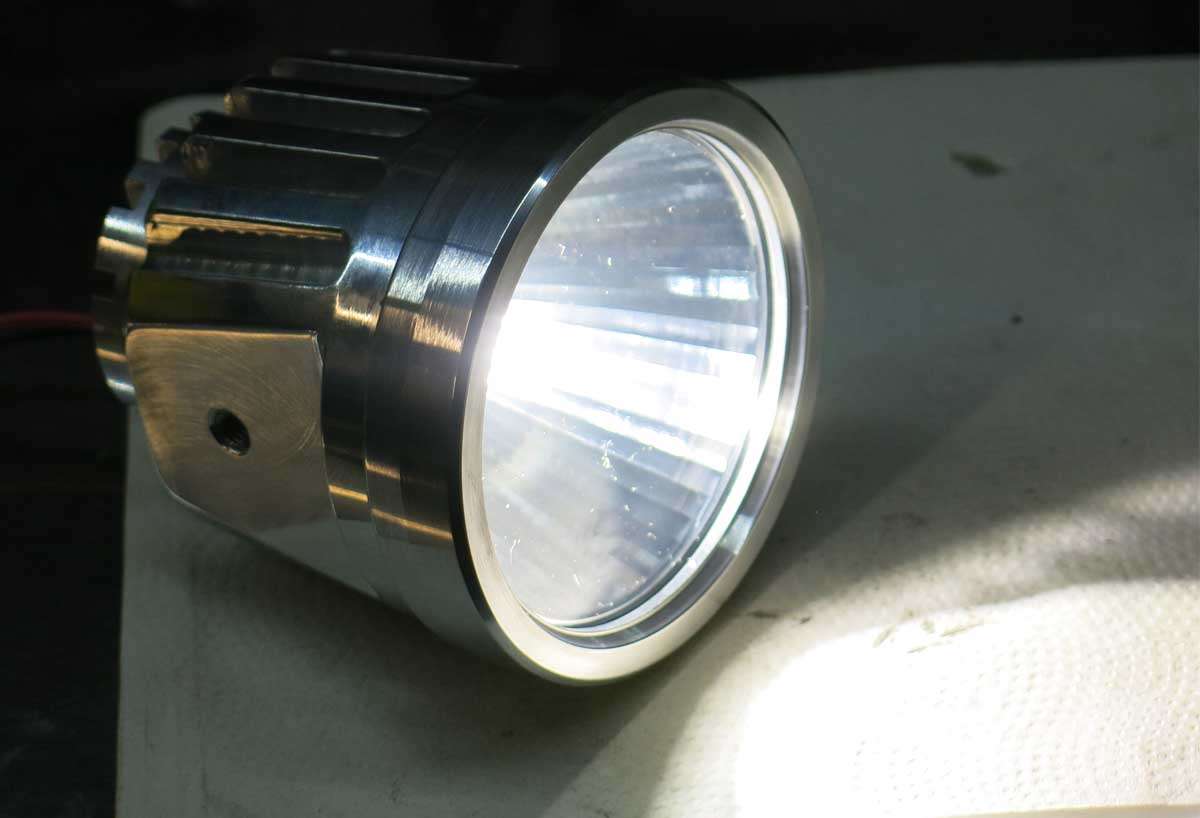
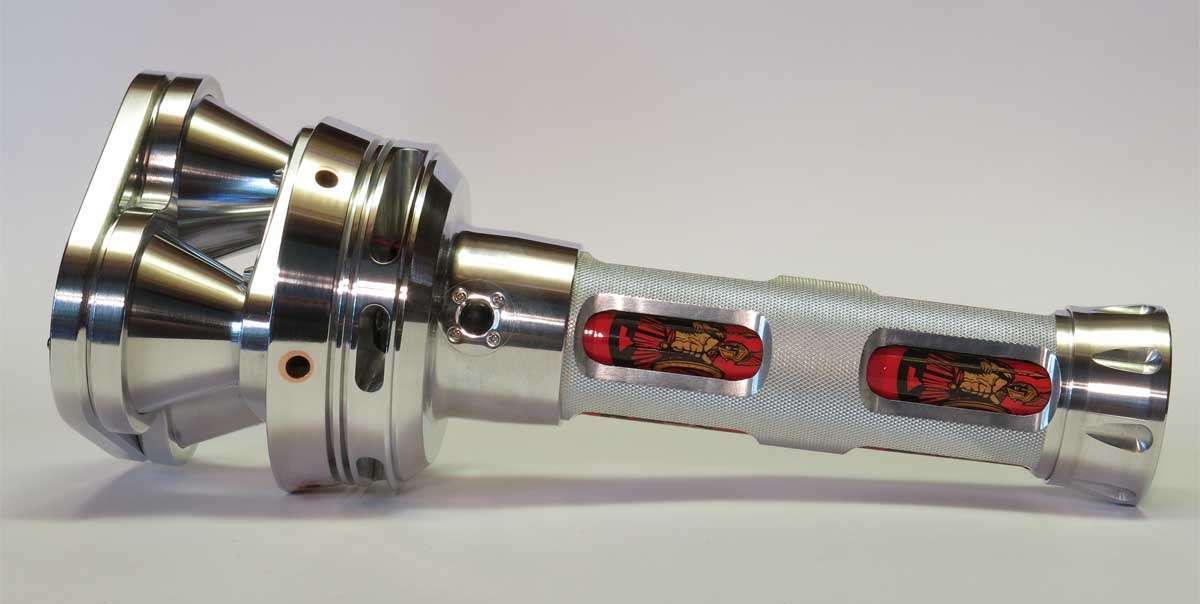
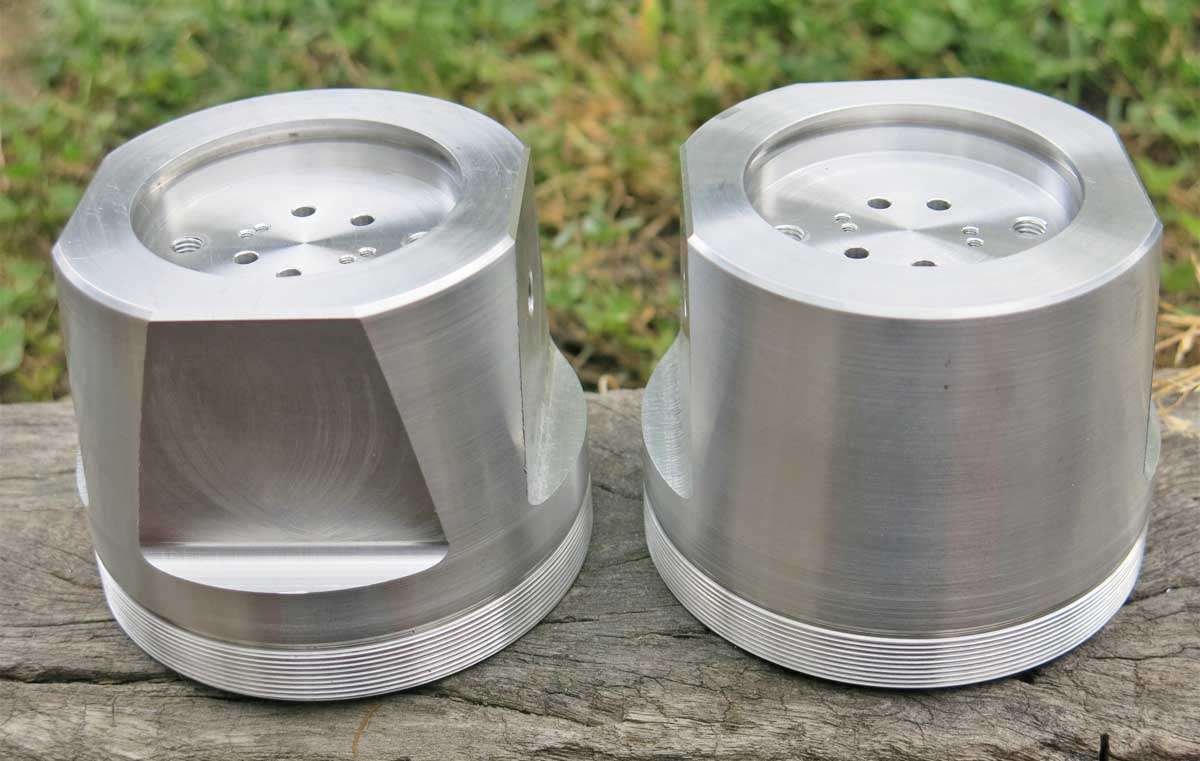
And we have one head finished.
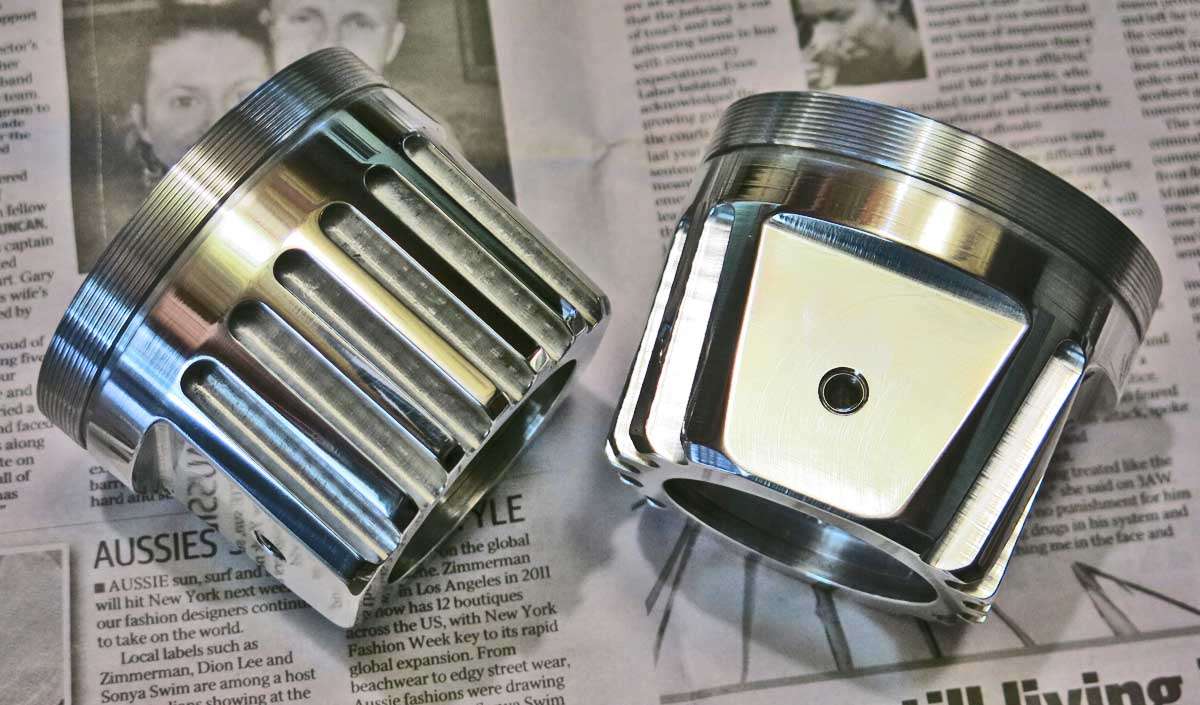
The bling shots.
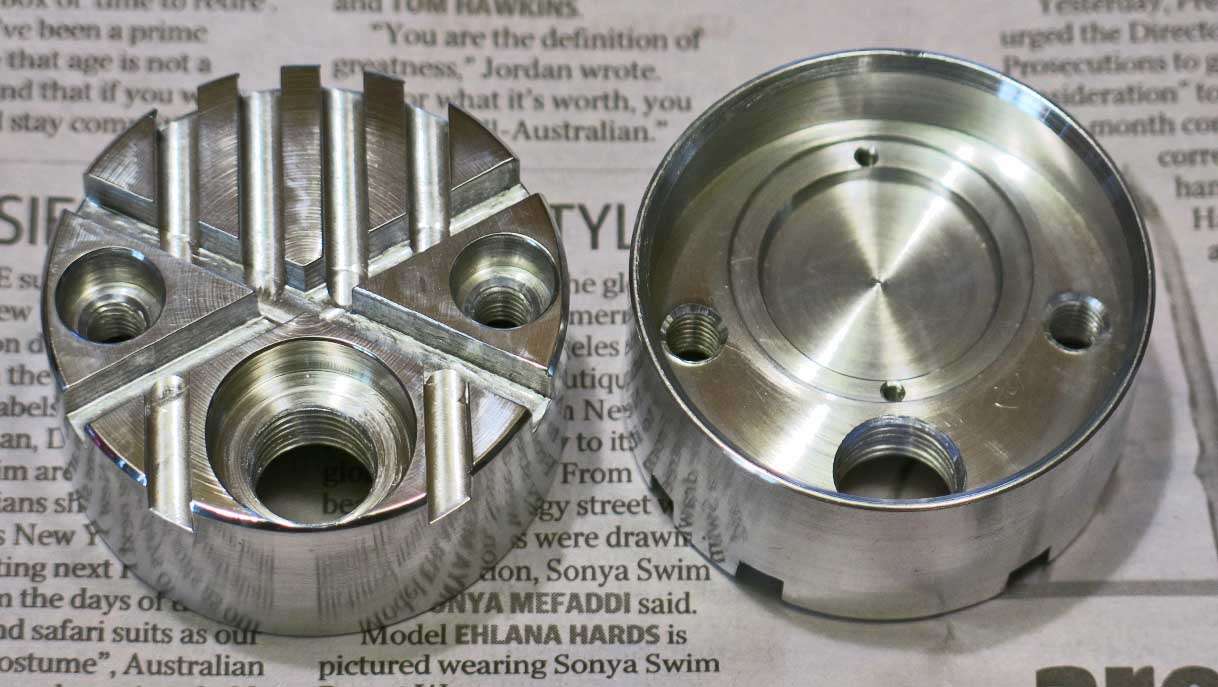
The driver housings. The driver mount screw holes are 2mm.
Bezels.

And finally the heads.


TBC. :laughing: