![]()
My thought with the two copper sidewalls is to have them layered with the inner being a couple millimeters shorter than the outer. That will create a shelf for the top and bottom panels to sit on. But getting the bends to match might be challenging. And I’m not sure how I’m going to stick everything together - solder the sidewalls together? Or use an adhesive? Kinda stuck on that part. Any advice is welcome!
I thought the double sidewall construction was going to end up with it being somekind of a battery using some sort of magical separator. ![]() :person_facepalming:
:person_facepalming:
Seriously though, bending them together in a sandwich might be the way to get the bends to coincide. ???
What gauge metal?
Cut copper sheet to size and bend into the body shape, maybe use a forming block.
Clamp the inner copper to the outer when formed with a little solder paste and torch it.
Thanks for the input. Thats kinda what I’ve been thinking, CRX. As far as materials, I’m thinking of ordering some copper strips online. Probably something like 2mm x 15mm for the inner strip and 1mm x 18mm for the outer strip.
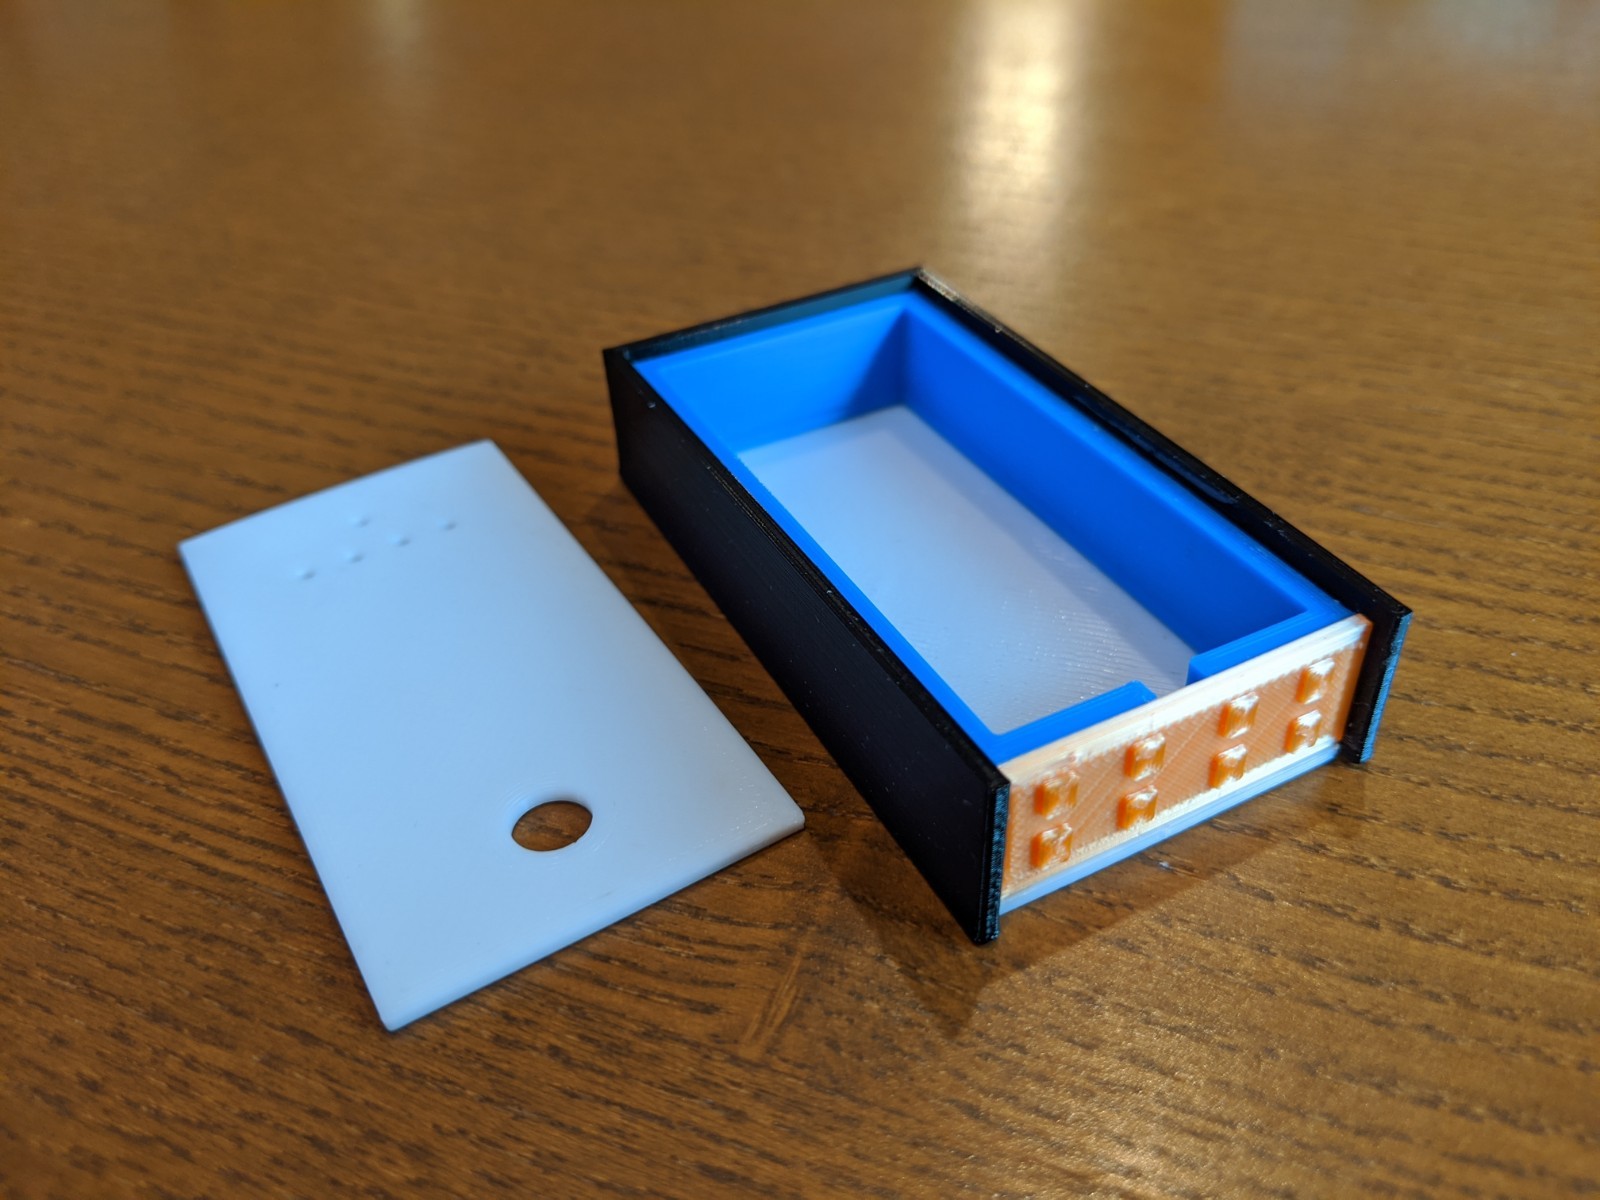
I wanted to get a feel for size and fitment before I started ordering strips of metal and PCBs. So I decided to make a scale mock-up.
I used Fusion360 and my 3D printer to make the model. But no 3D parts will be used in the actual build of the flashlight.
Legend:
- Black: outer brass trim (I could find brass more readily than copper in the right size)
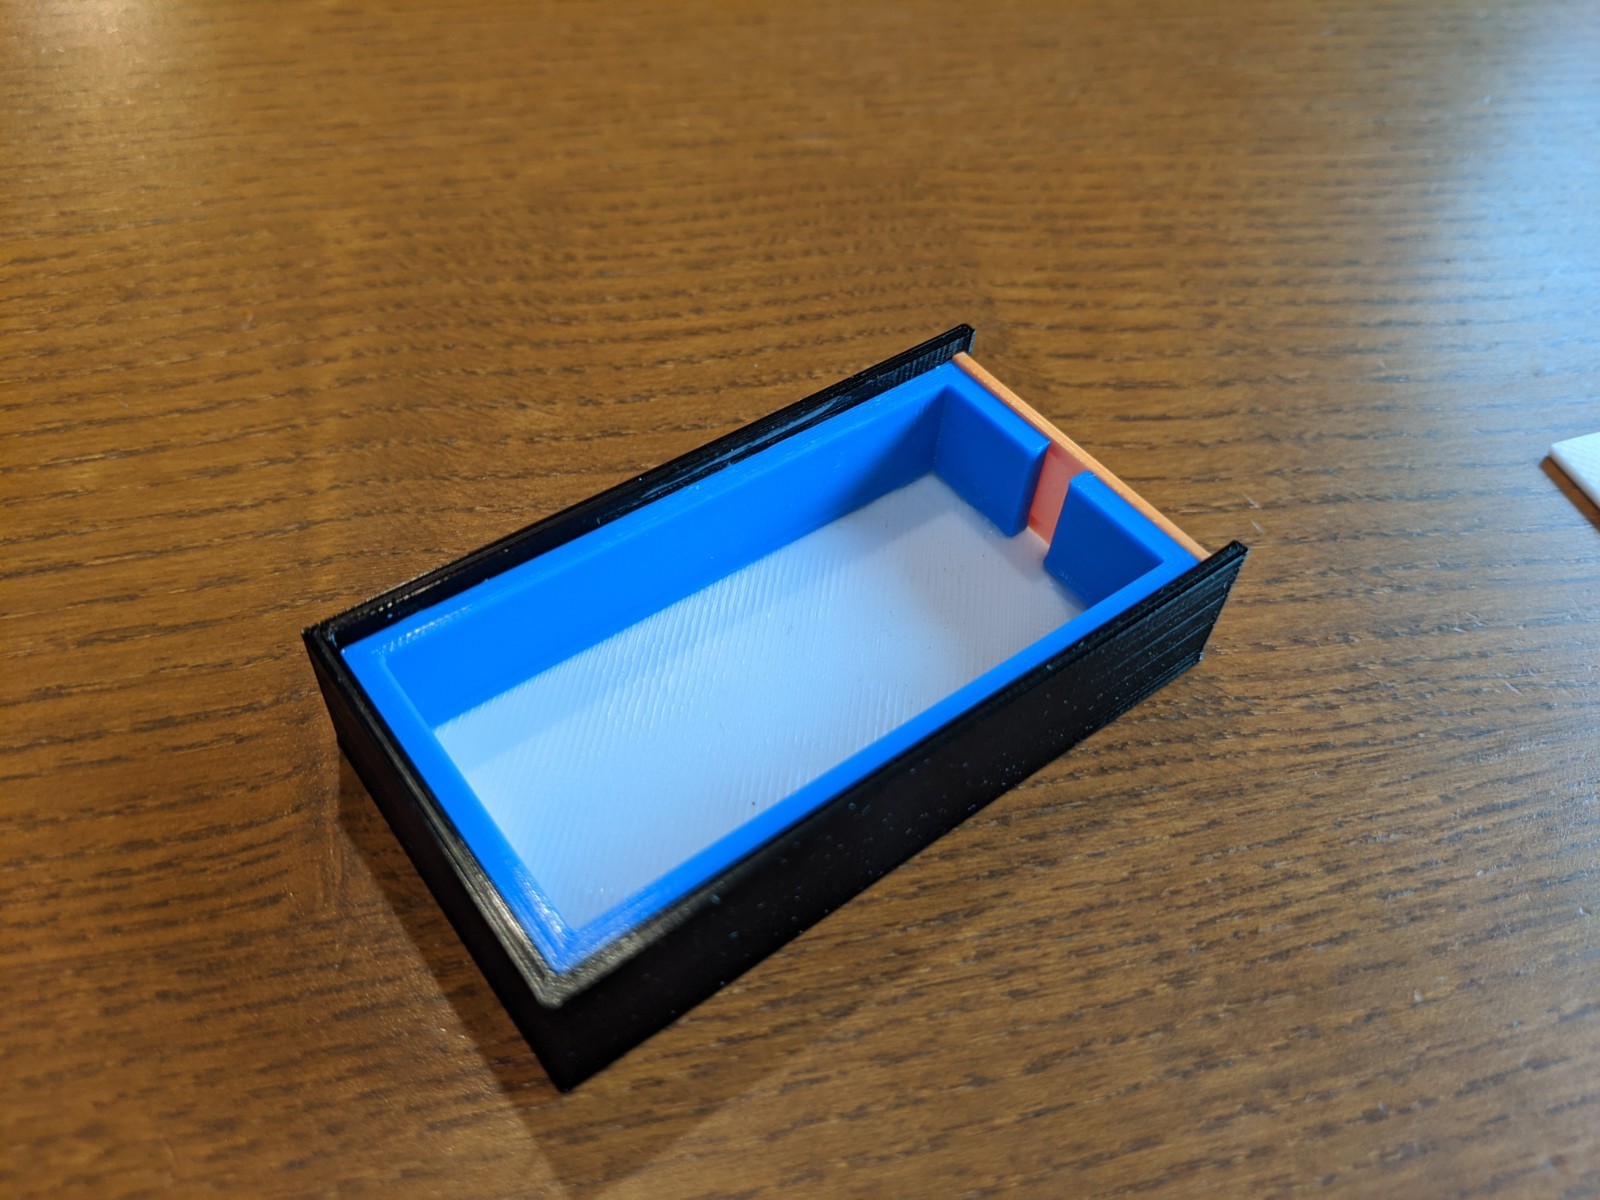
- Blue: inner brass strip for making a ridge to mount pieces to
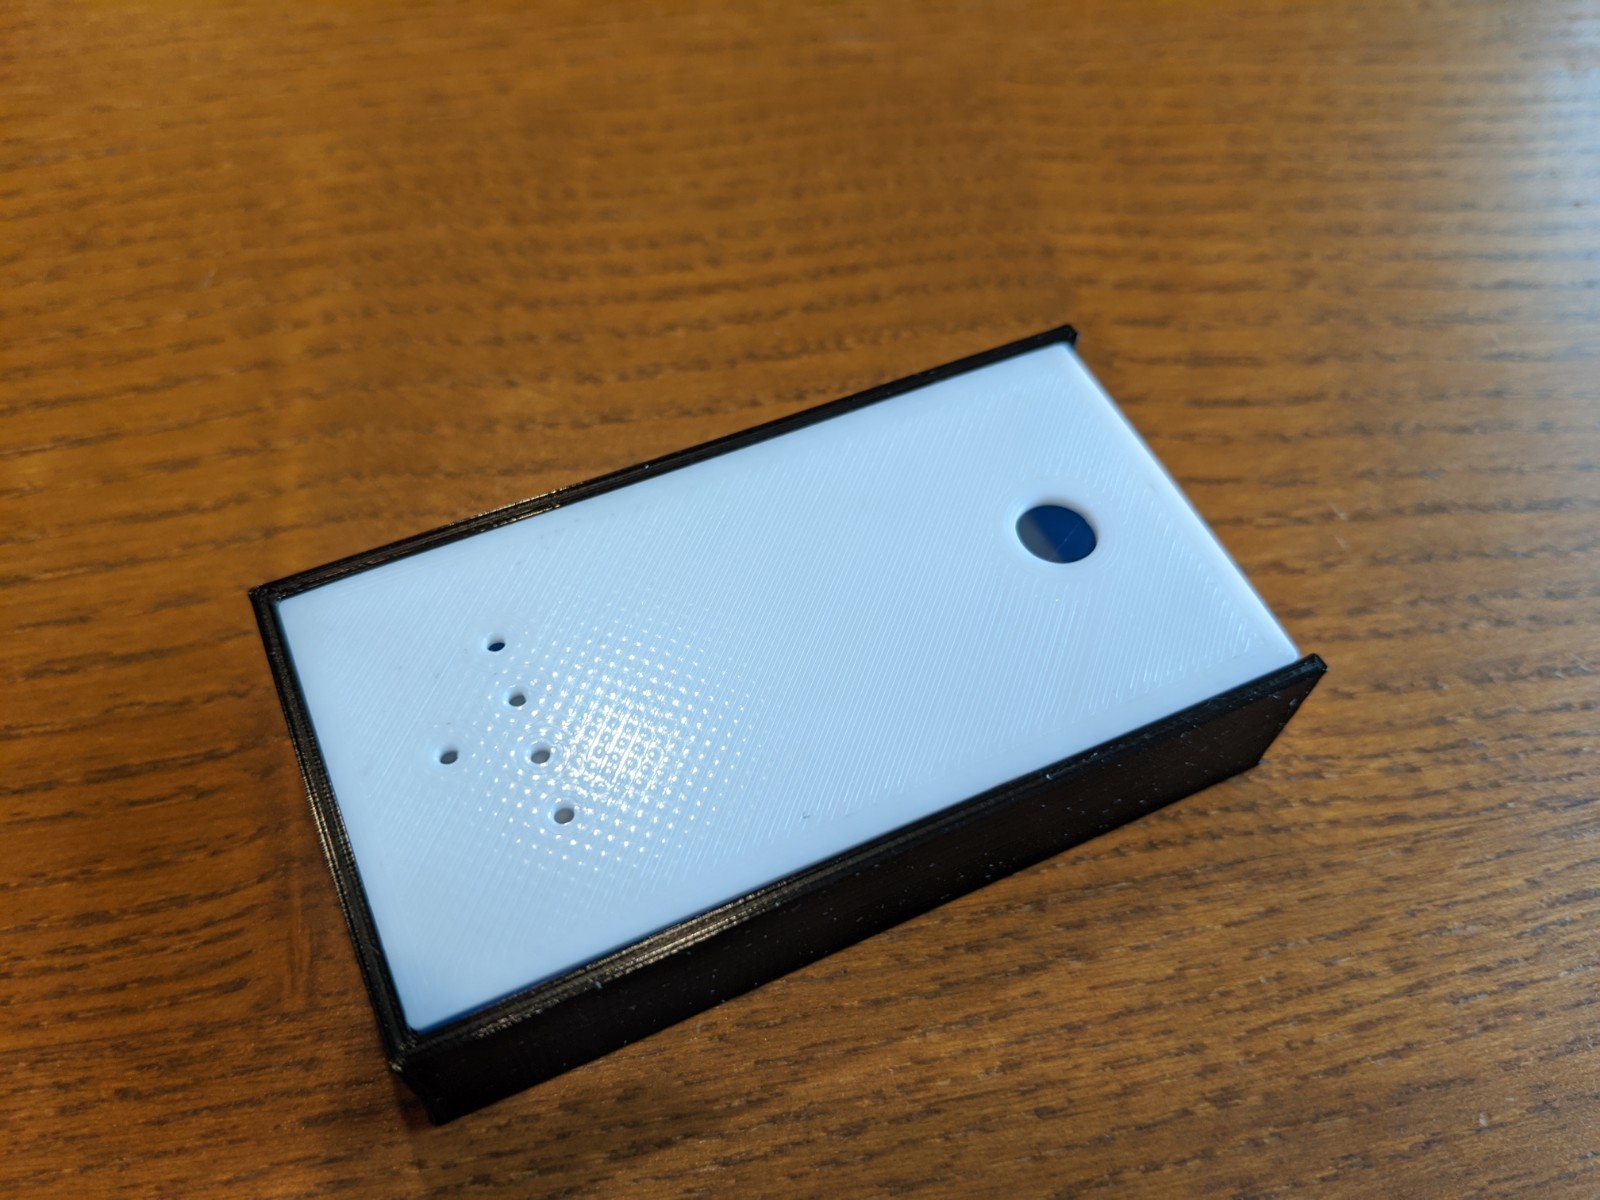
- White, solid: base plate, likely smoked translucent acrylic
- White, holes: main PCB with most circuitry
- Gold: PCB with 8x 2835 LEDs (rated at 150mA, 4000K)
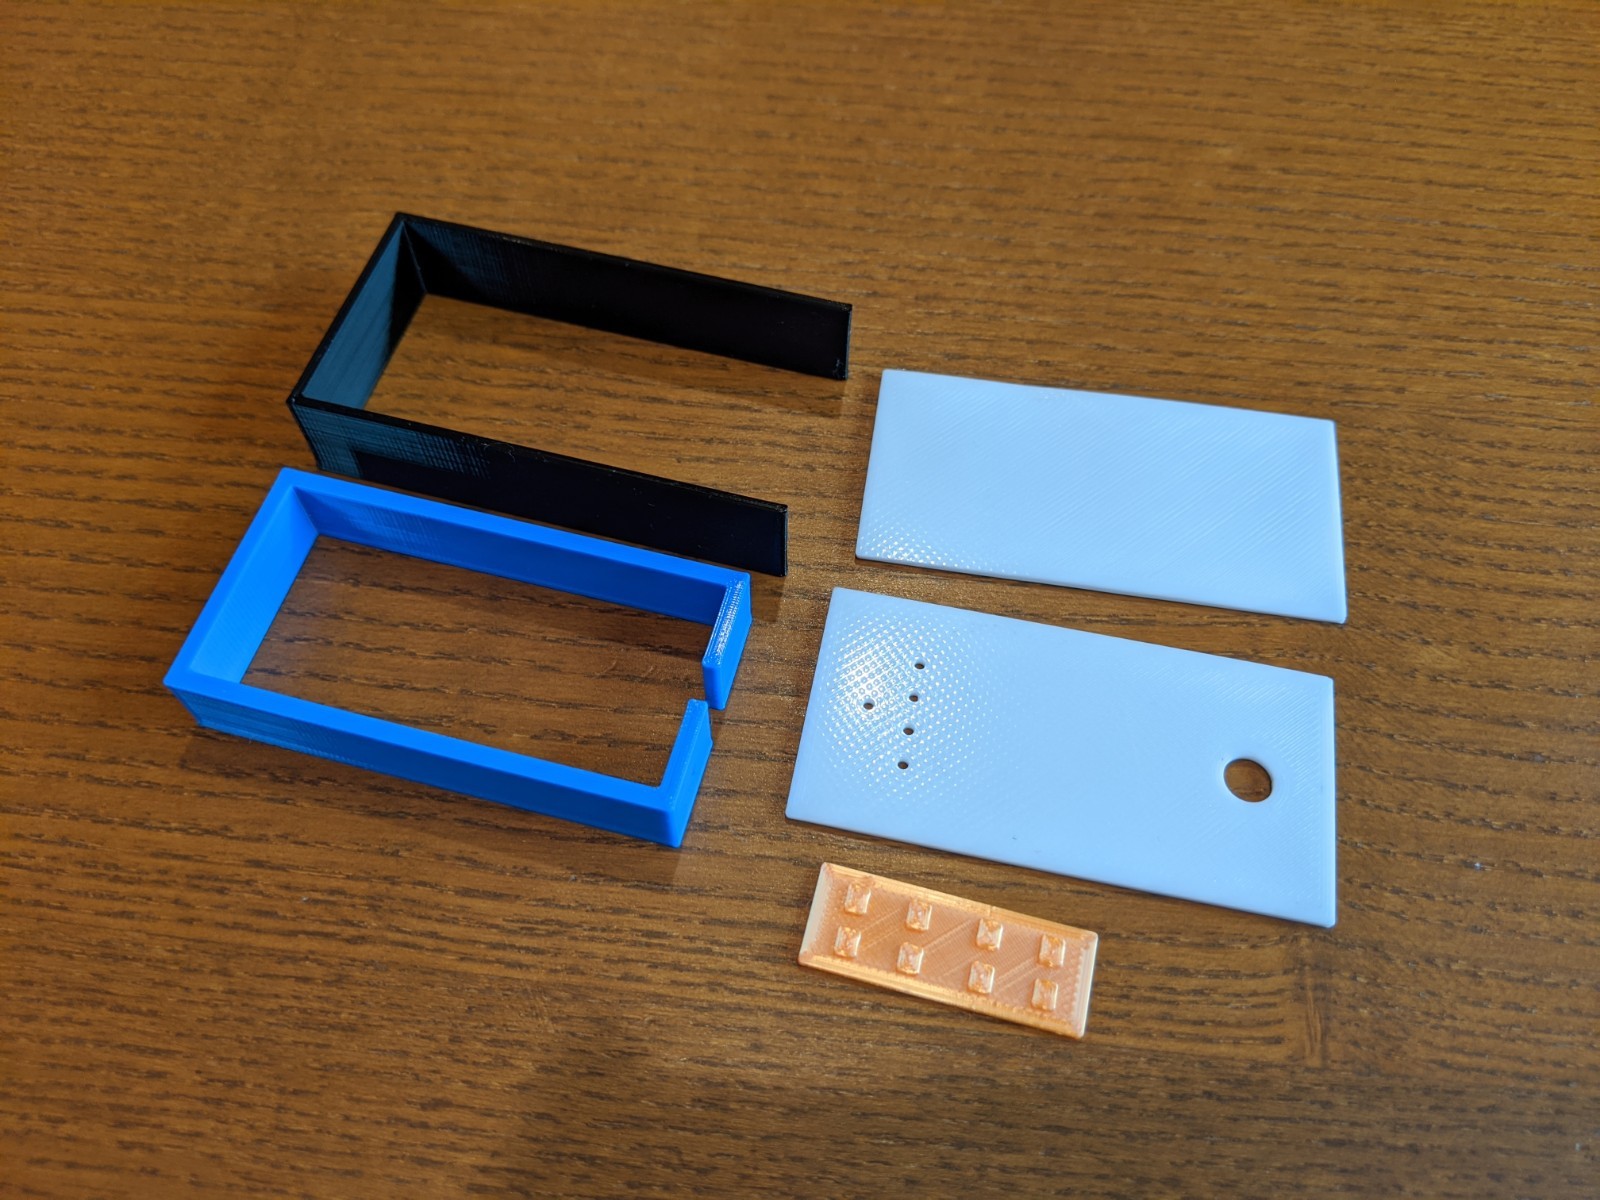
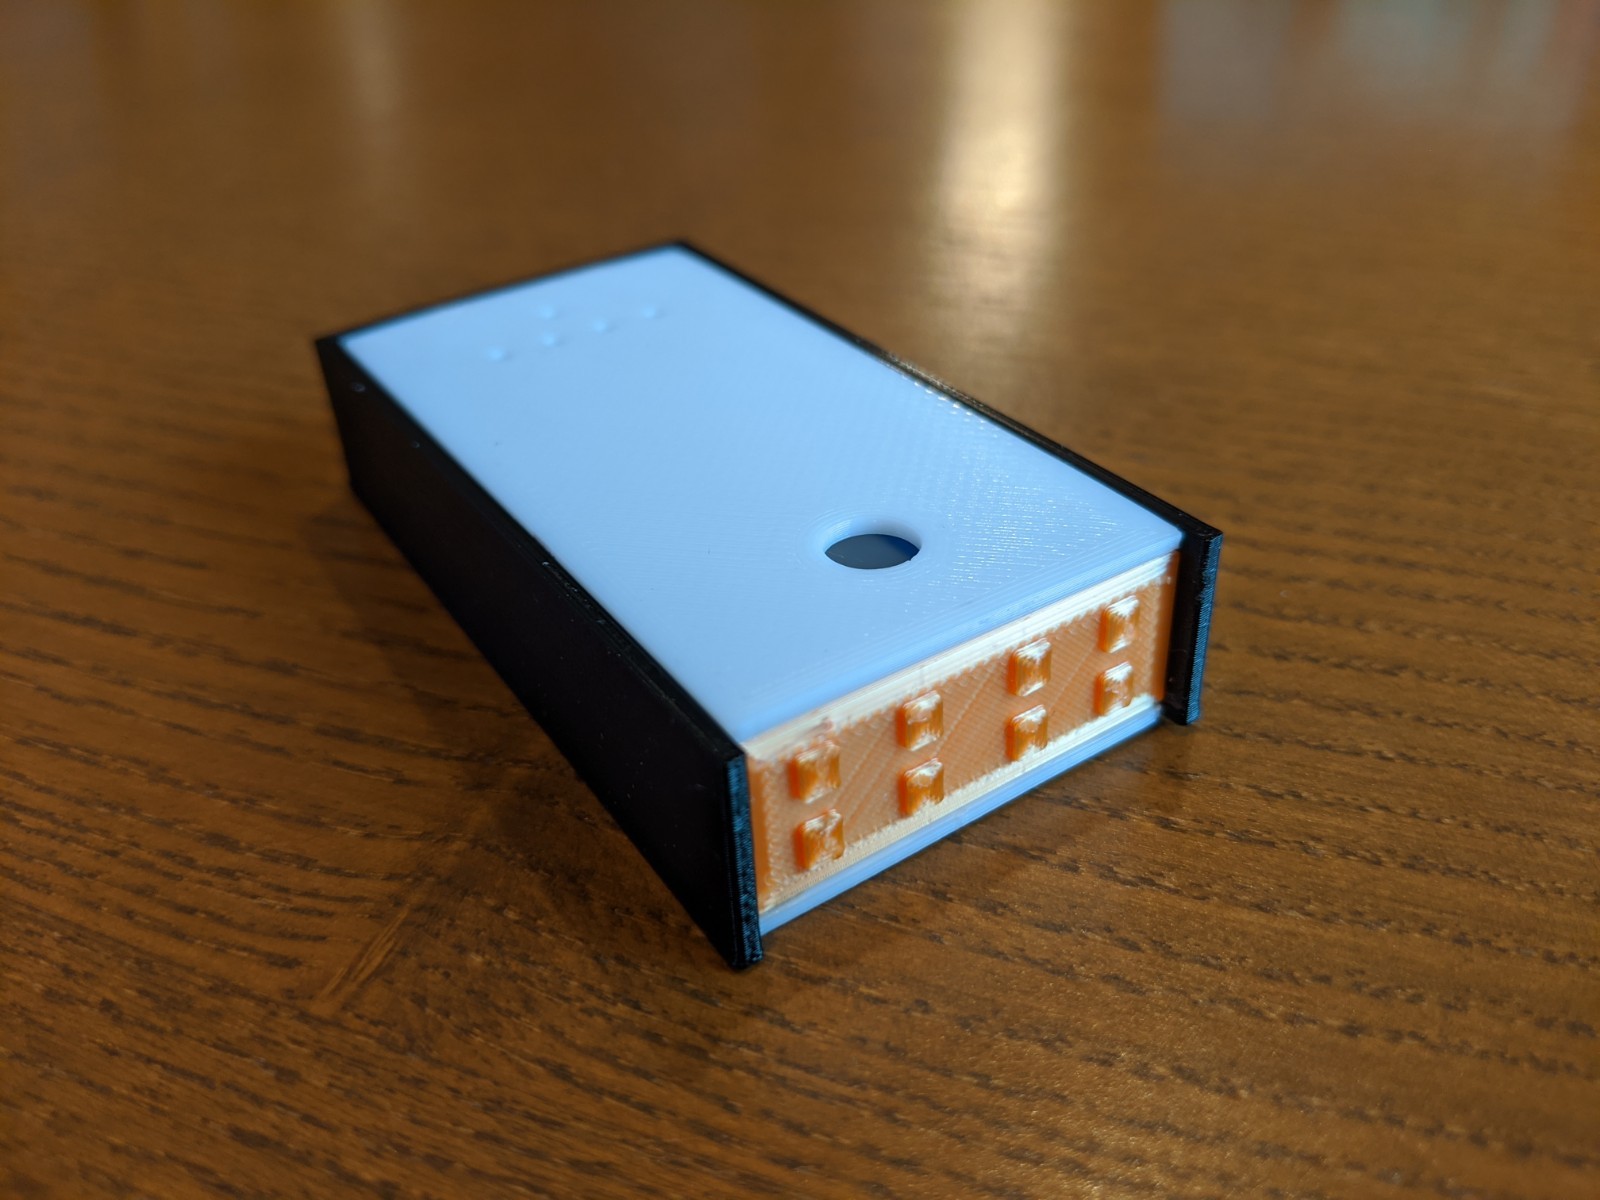
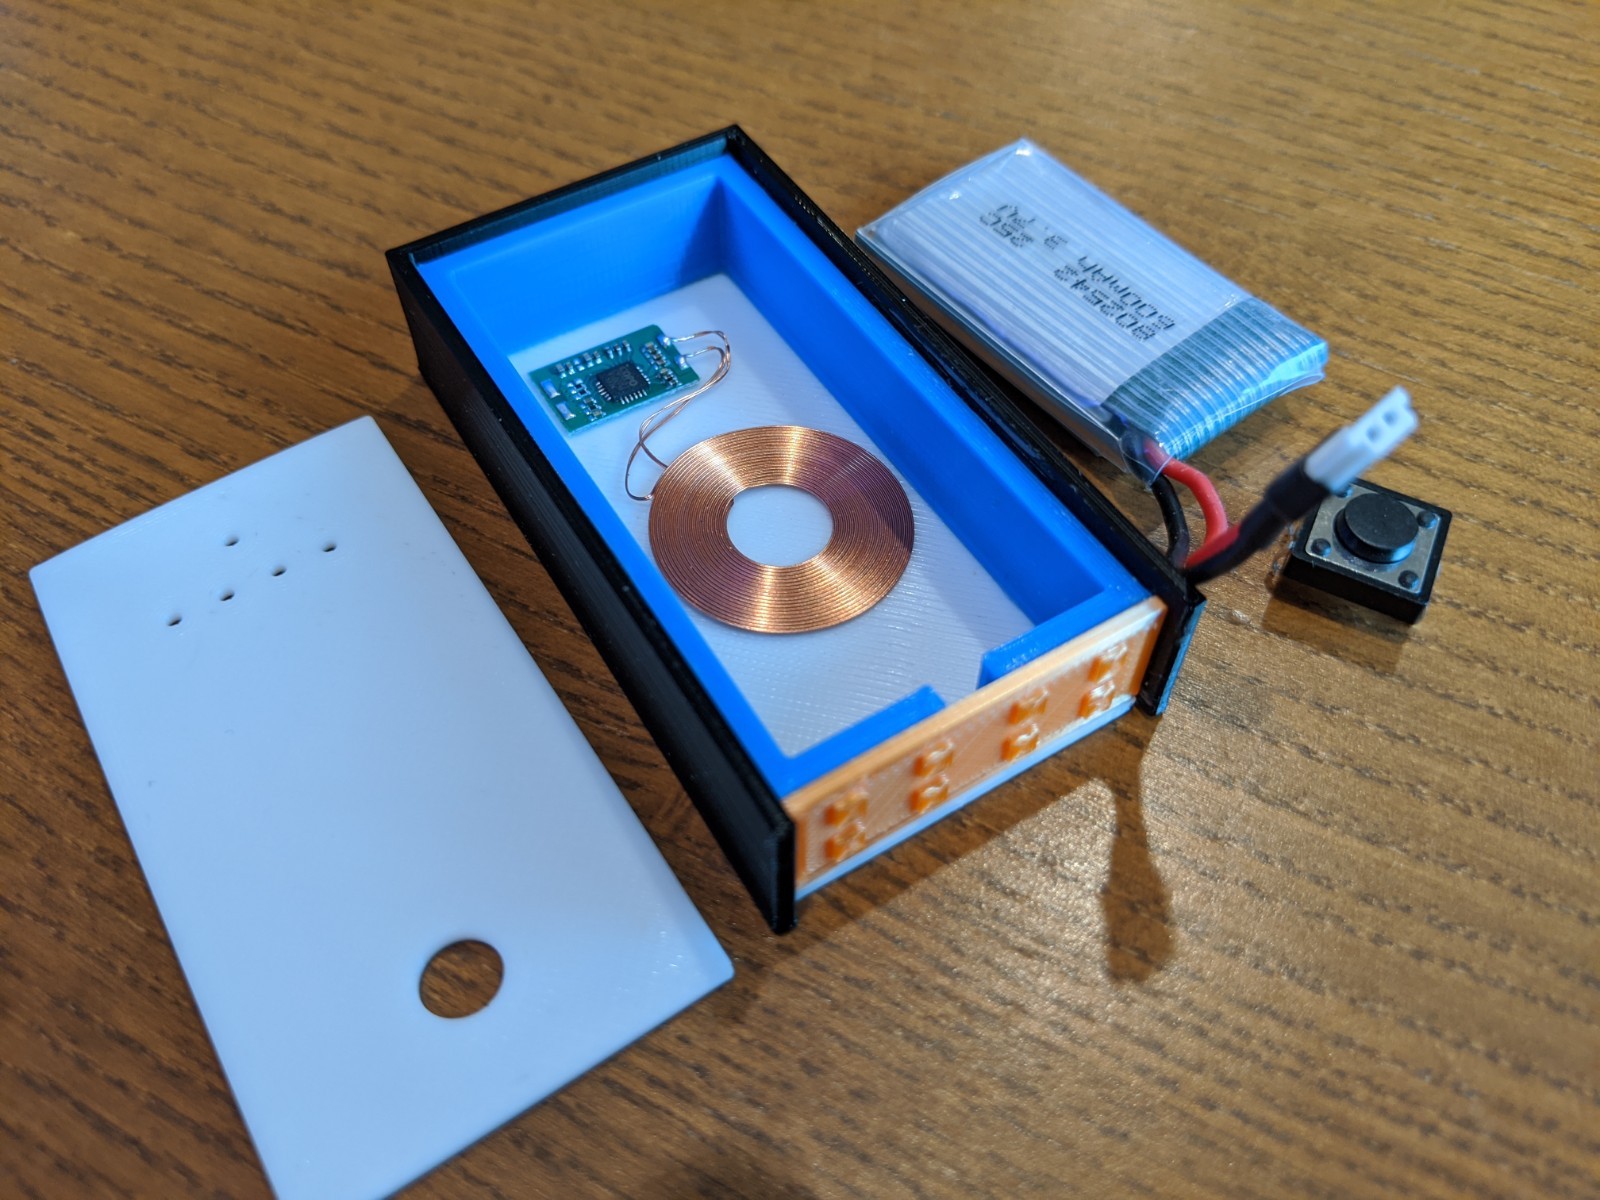
Shown with the battery, switch, and the Qi charging coil
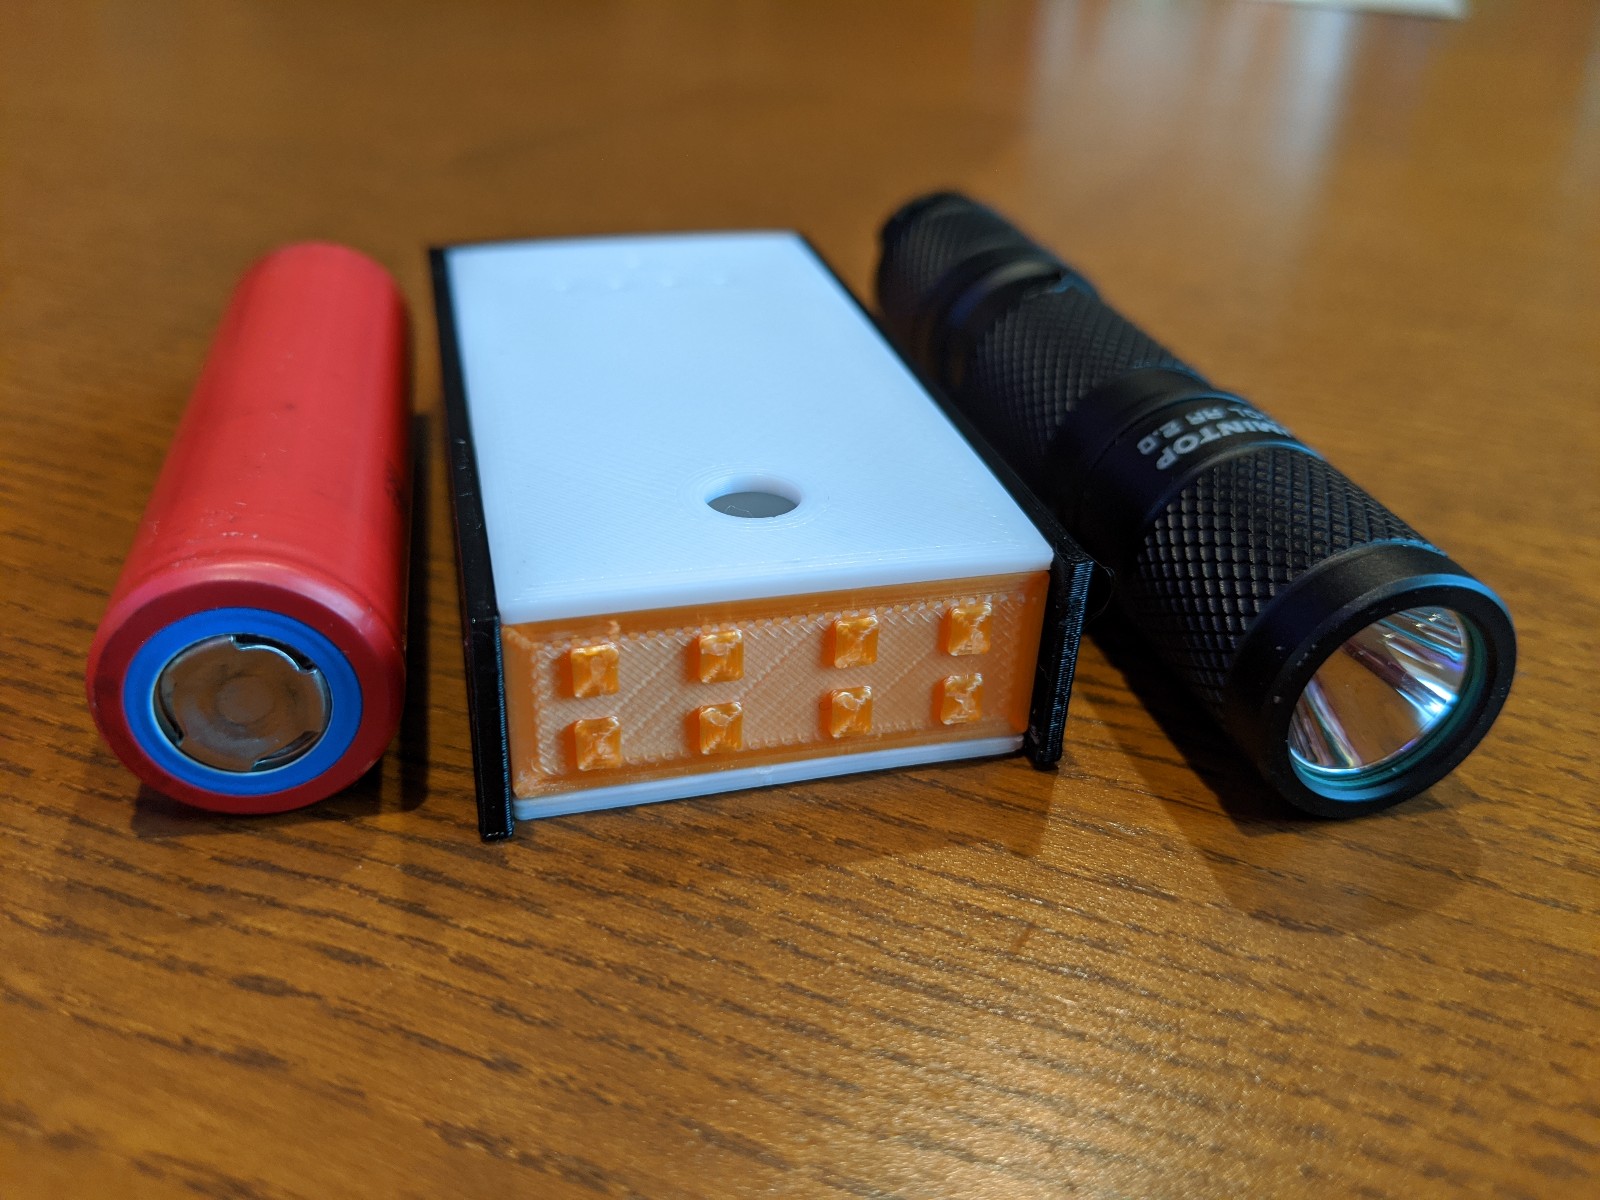
Anything that would show the scale?
The mockup looks really good. Is the switch about 5mm square?
Here it is next to a 18650 and Tool AA for scale. The switch is 12mm square with a ~7mm diameter button.
Small. ![]()
![]()
Lookin good gchart
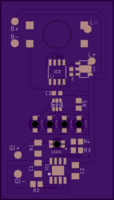
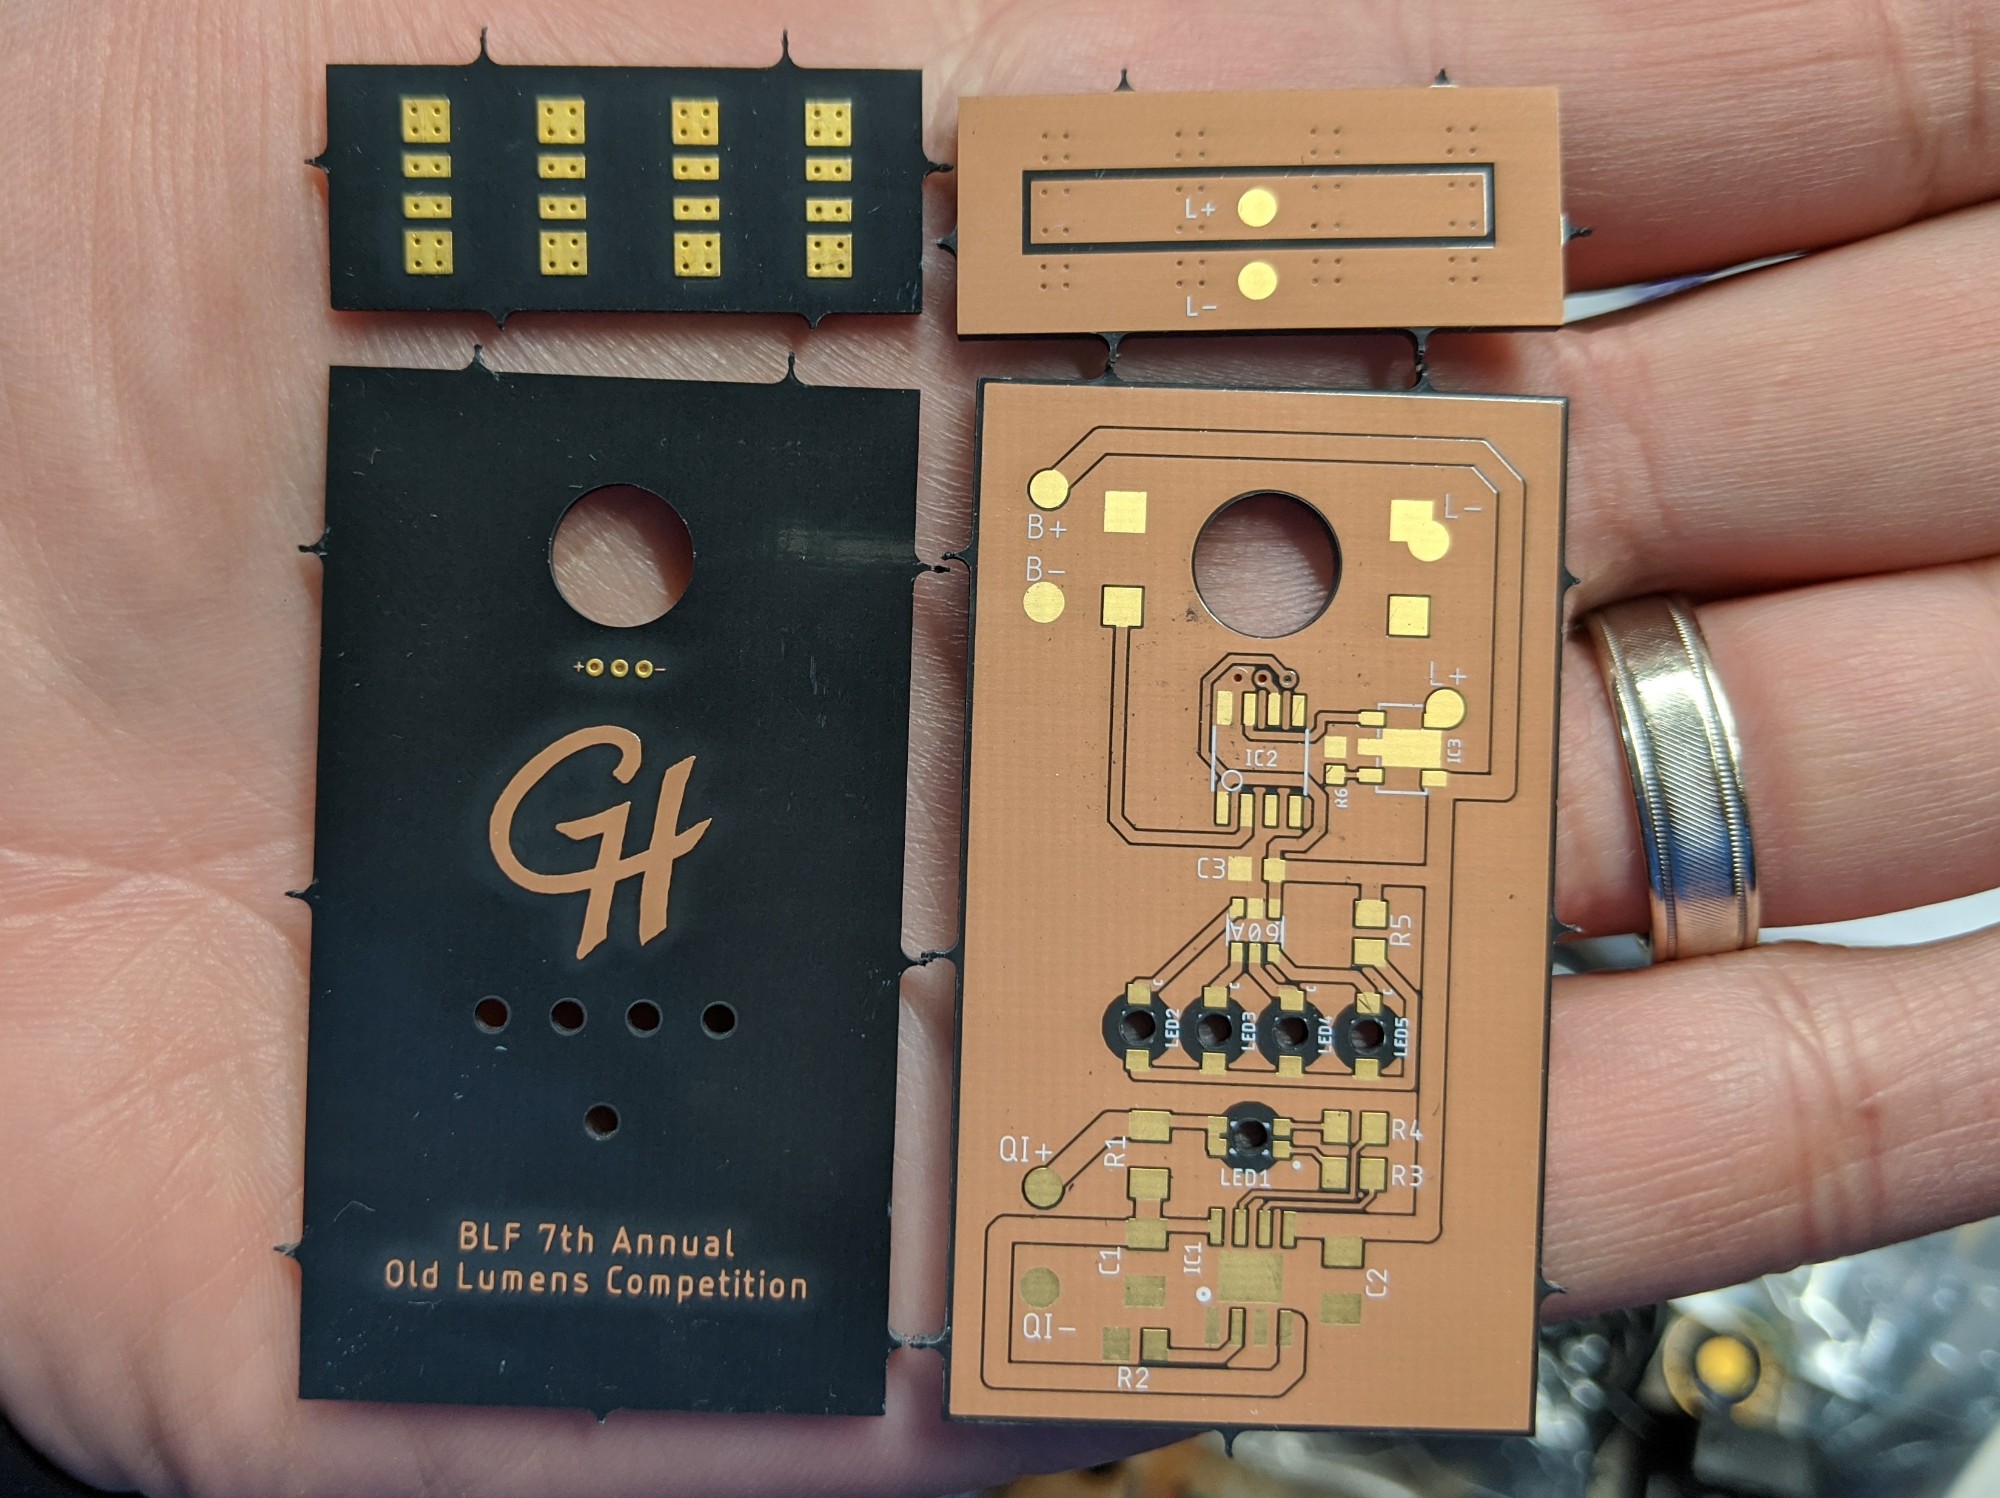
Among other things (see the OP), PCBs have been created and ordered using Oshpark’s After Dark service (black substrate with clear mask).

After dark for black magic?
They look good. ![]()
Black Magic, you know it!
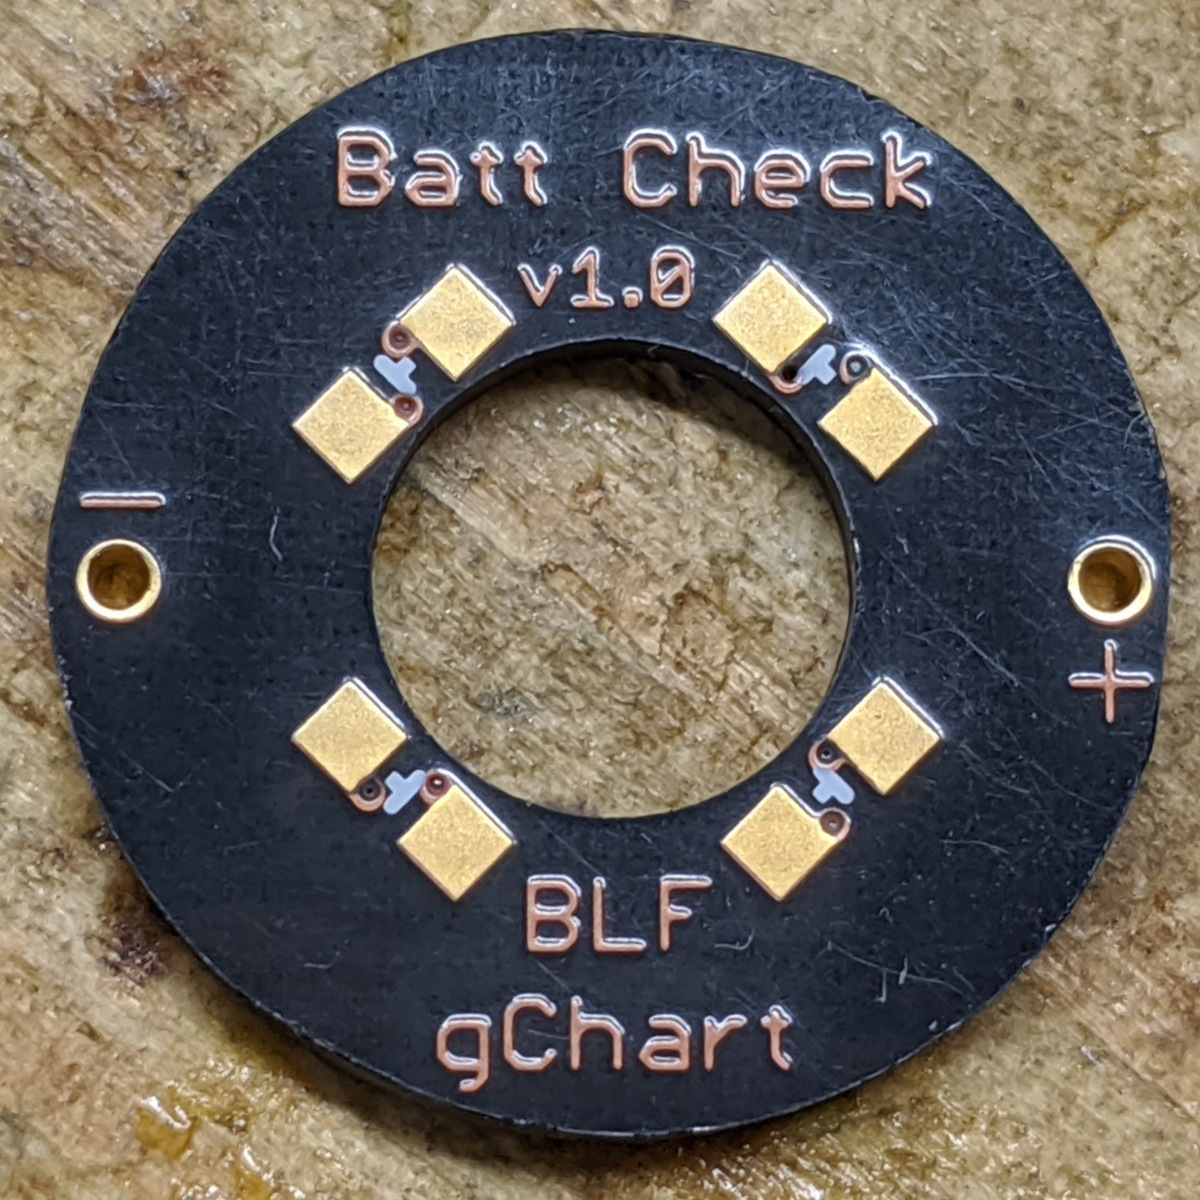
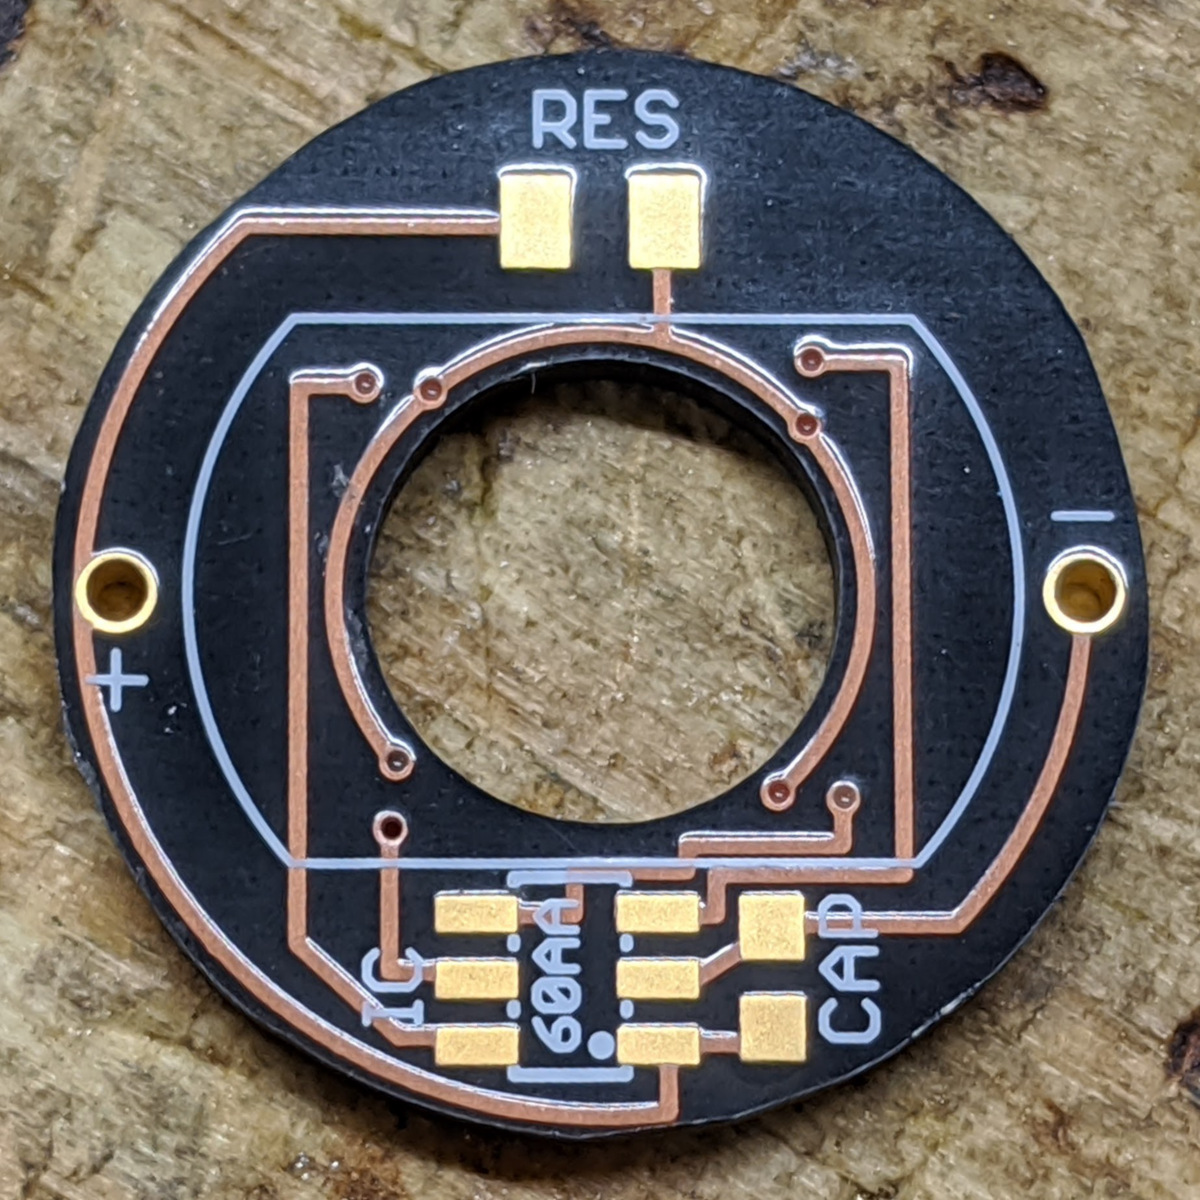
I recently tried the After Dark for some tailcaps and they came out great. To take full advantage of the service, you need to tailor your design for it so that the traces look good (and potentially using copper for labels instead of silkscreen):
![]()
I’m somewhat jealous of your electronics skills ![]()
And I of your metal work skills! Your creations are inspiring.
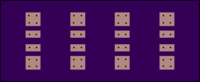
PCBs arrived today and they look great! I can’t wait to get them soldered up and tested.
Wow. Looking real good. It really is 50% black magic now. ![]()