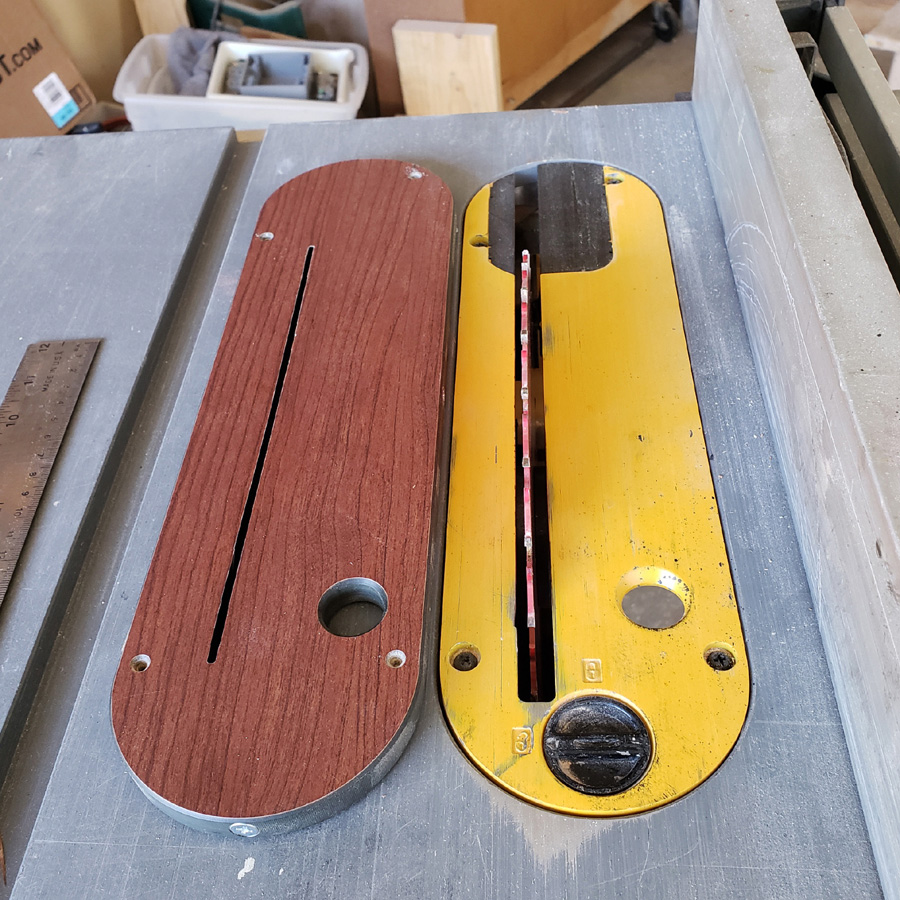
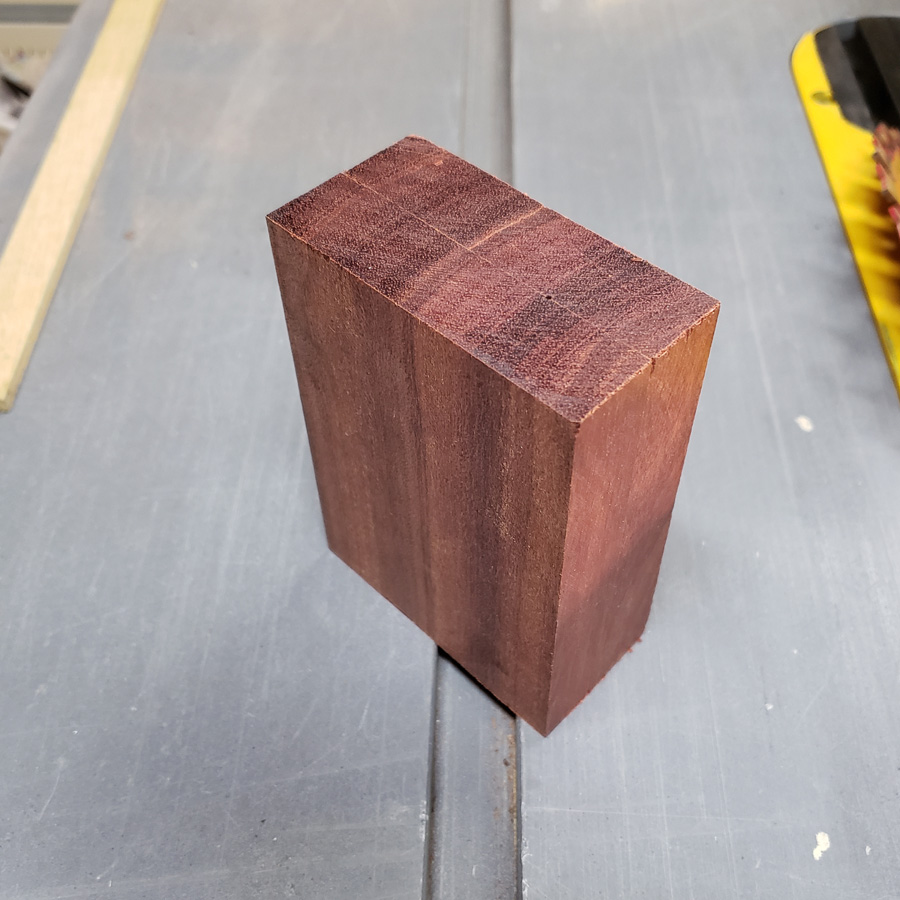
I took a break, took a littlex camping and hiking trip. I took the basic pieces I have so far made. I needed to step back and think a little. There was something that was starting to bother me. I do like contrasts between wood pieces. But, The head with its orangeiness was bothering me when close to the redish color of the main body tube. I decided the main color of the head should be the same as the main body. So I made a new head.
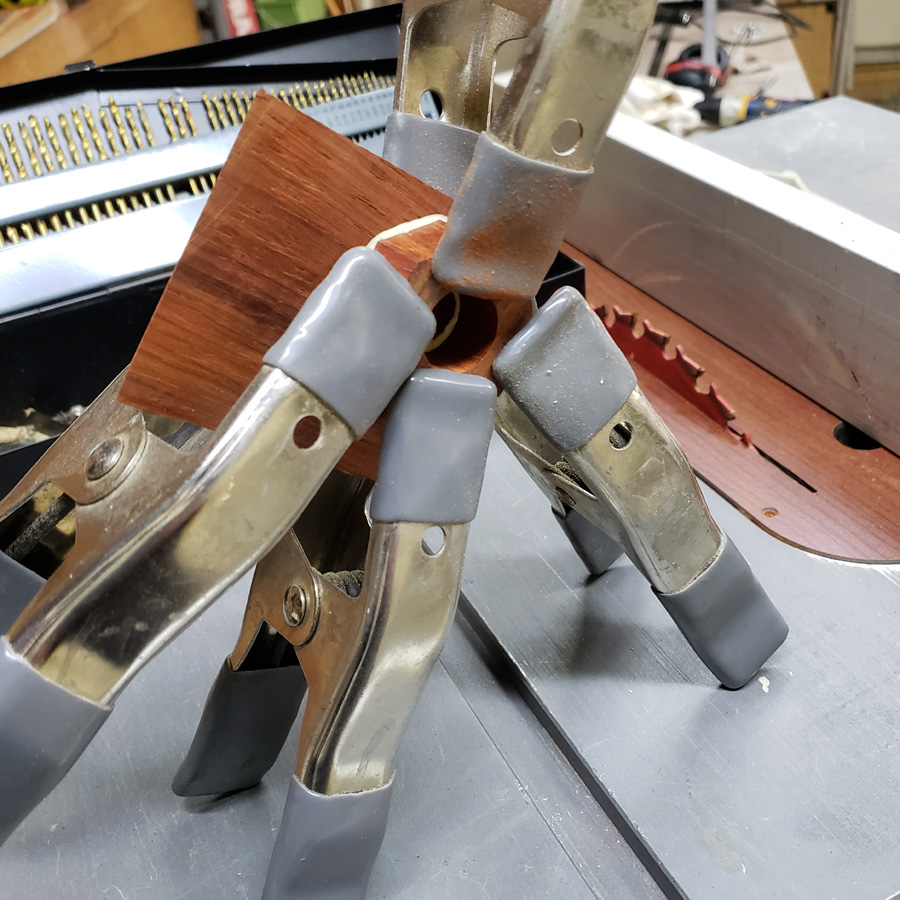
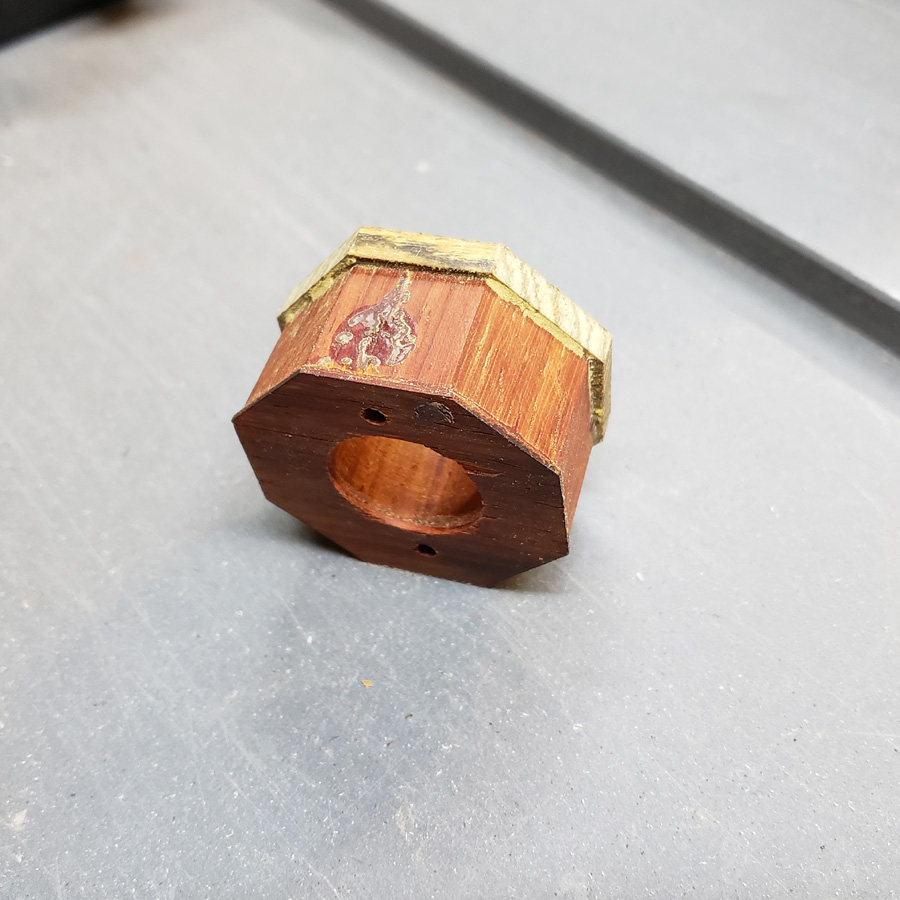
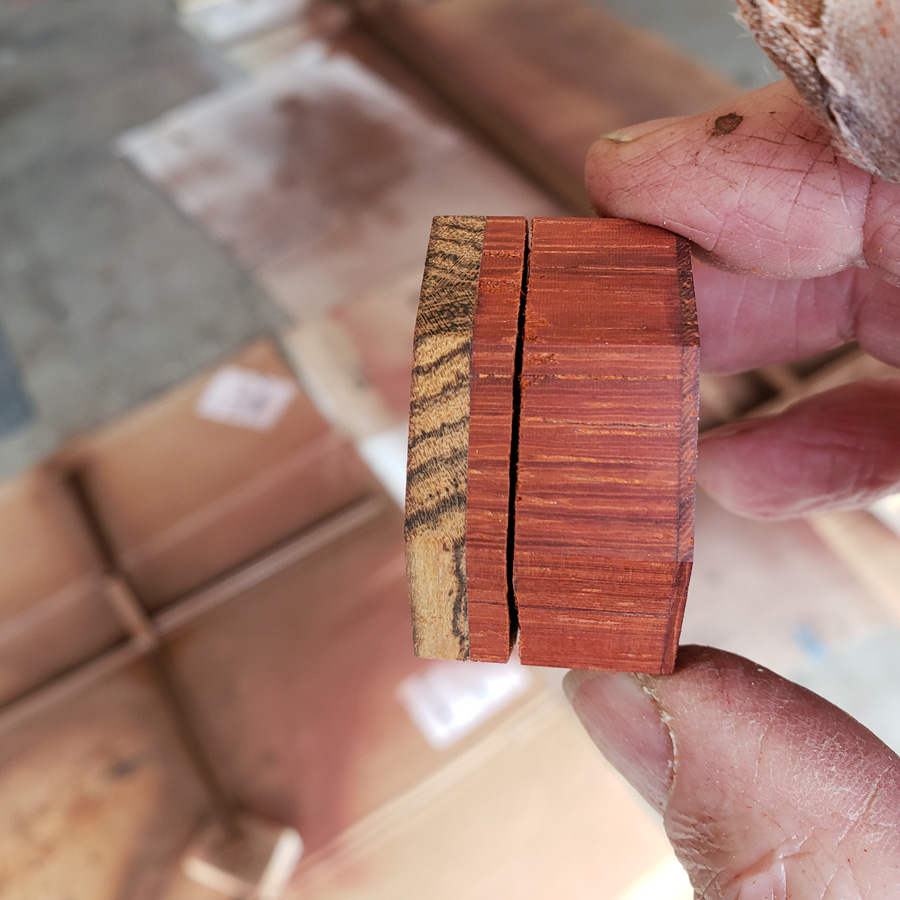
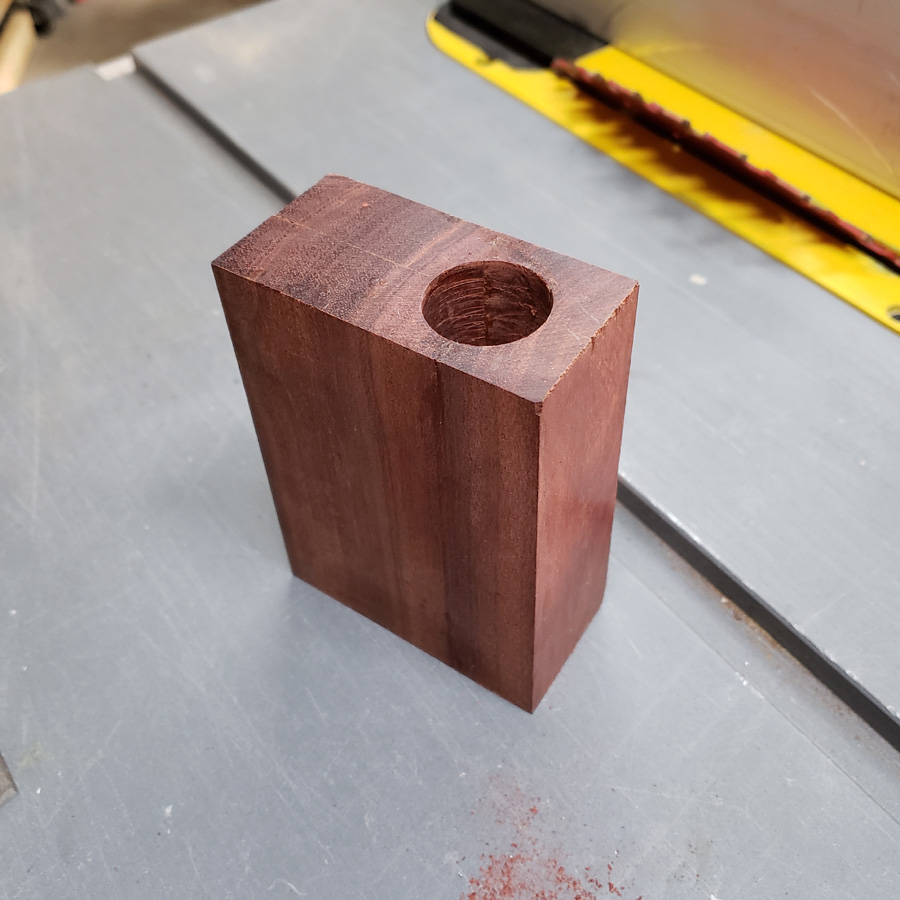
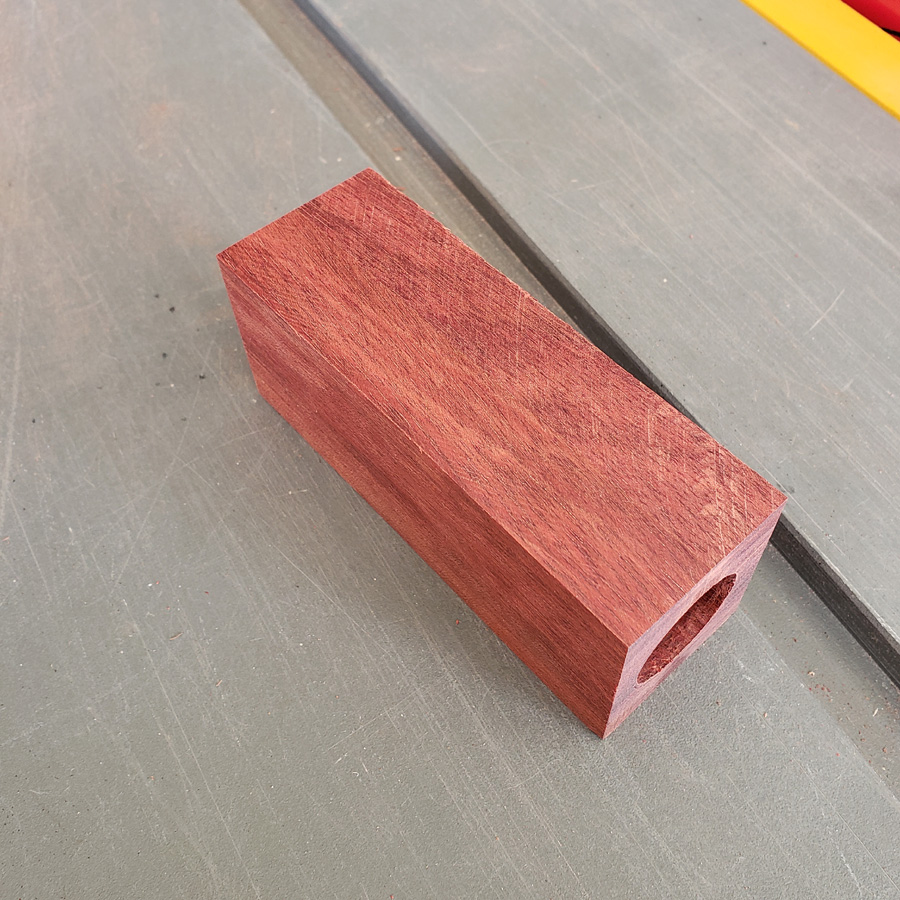
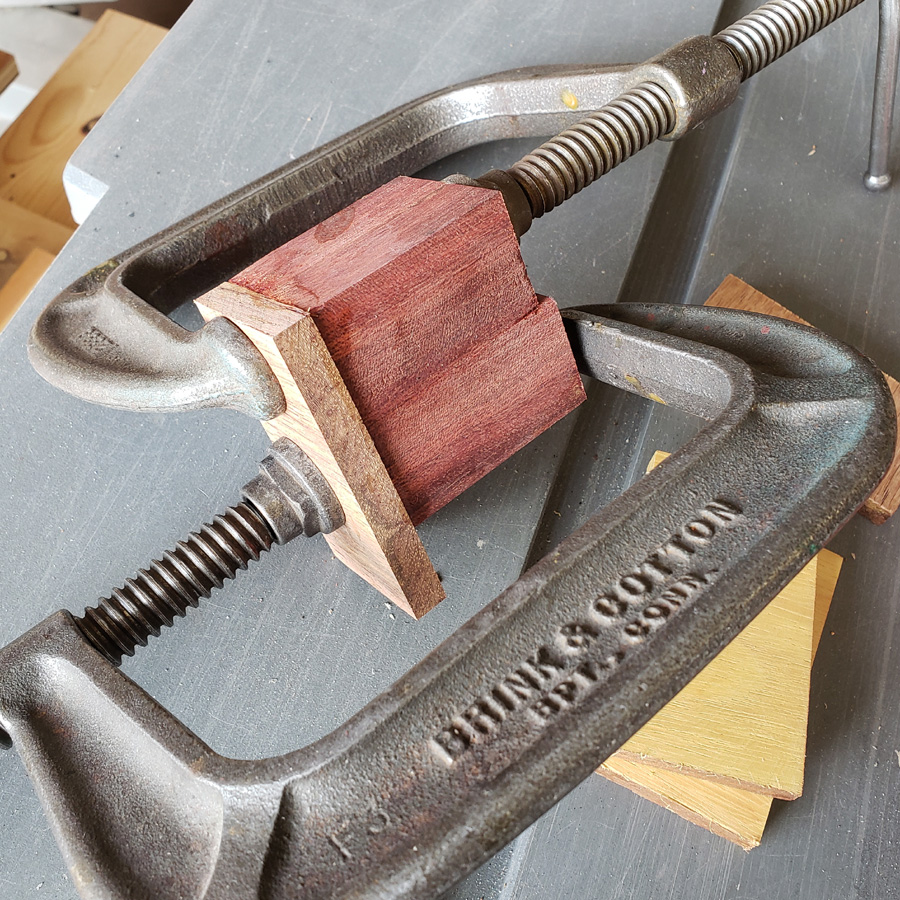
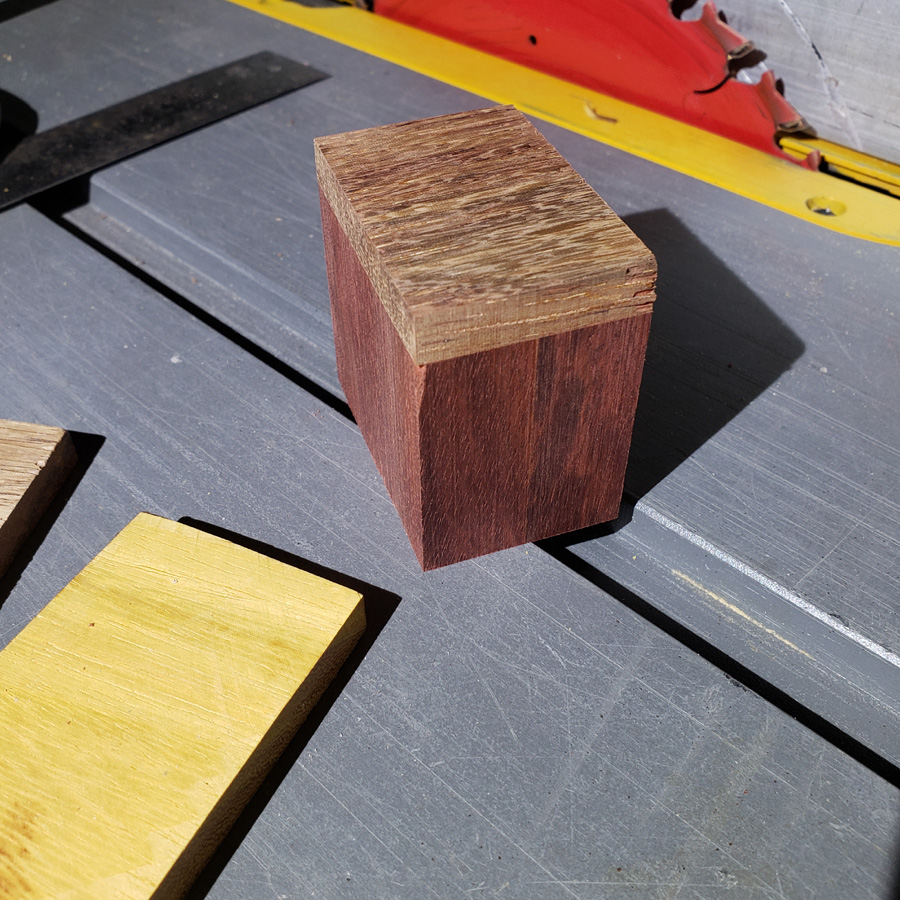
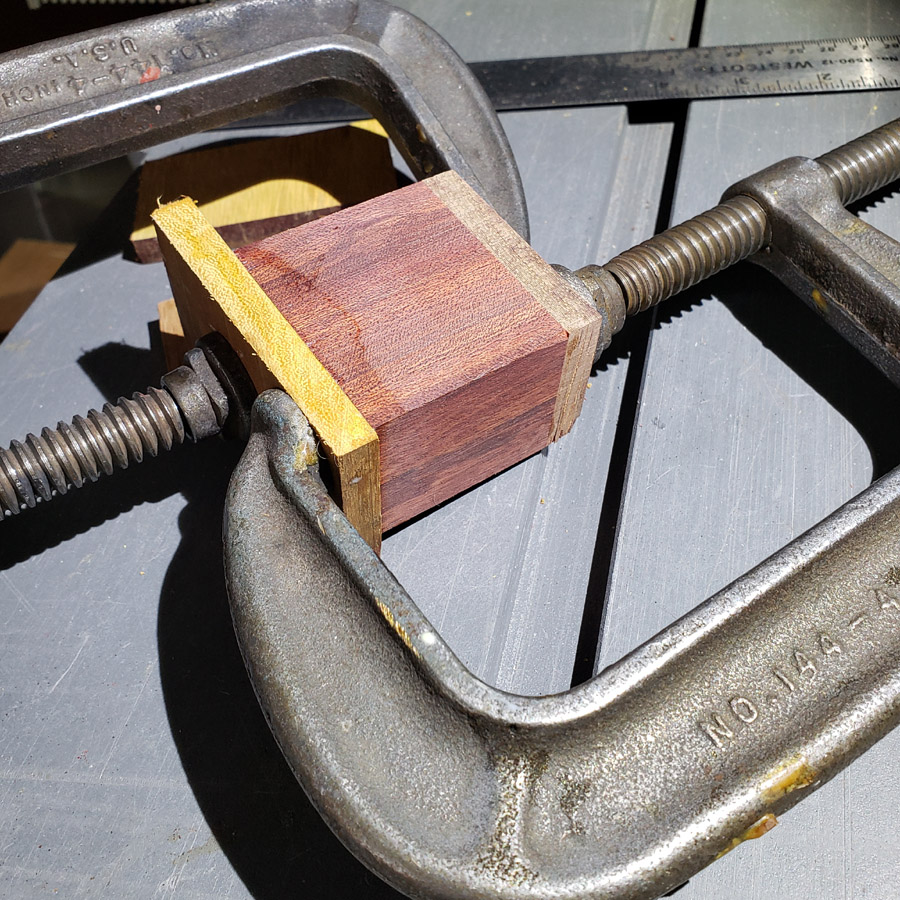
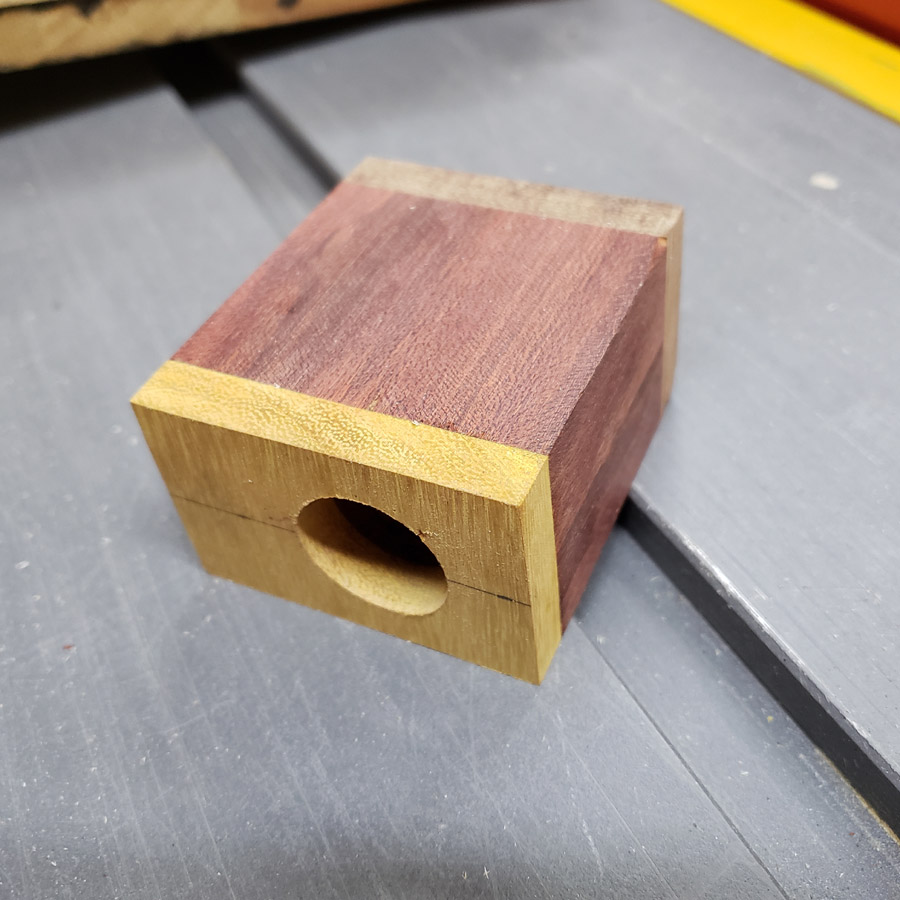
This new head is mainly bloodwood like the main body tube is. I started with a glued up lamination of 2 pieces of the 3/4” stock. Once the glue had set I added a cap of angelique (brownish) on one end and a cap of osage orange (more yellow than orange) on the other end. I was not sure which I would use. Or maybe I’d have another mishap and use the second as a spare. Or maybe just change my mind. 
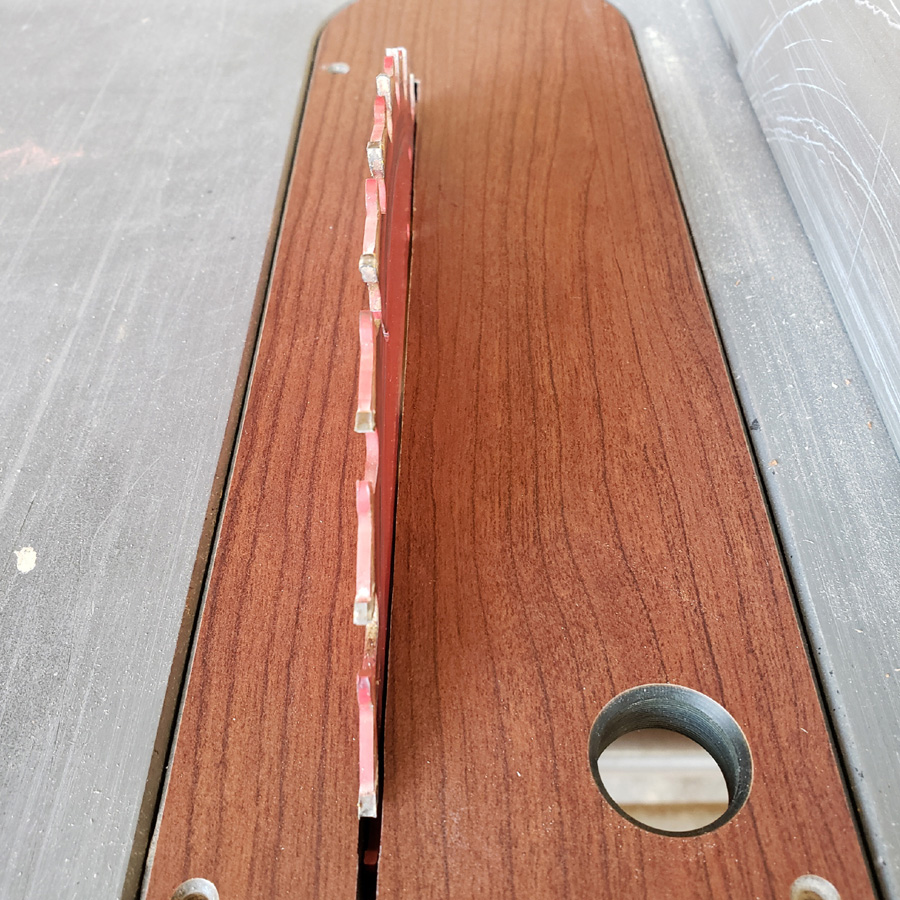
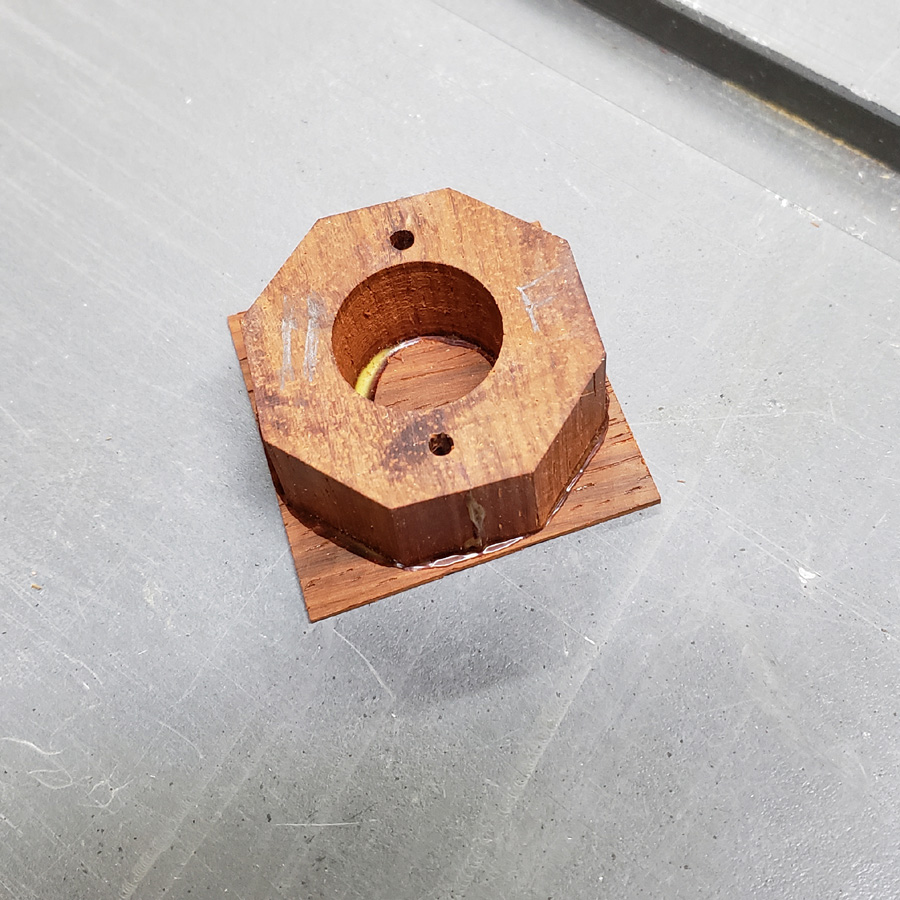
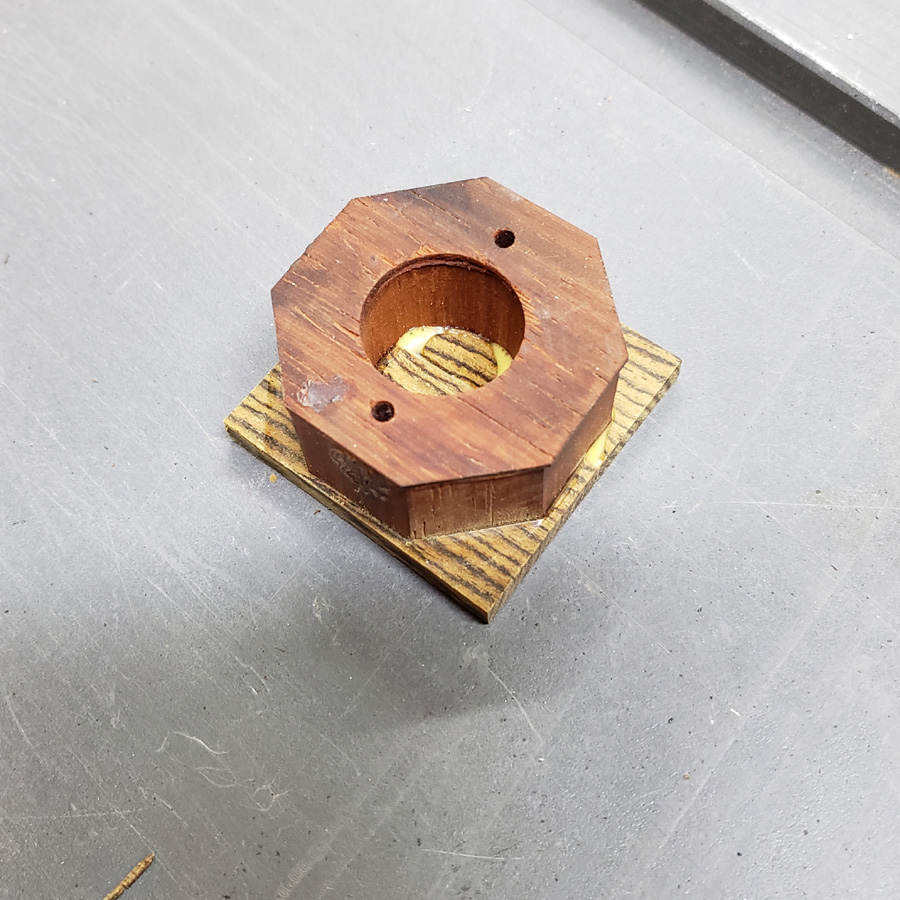
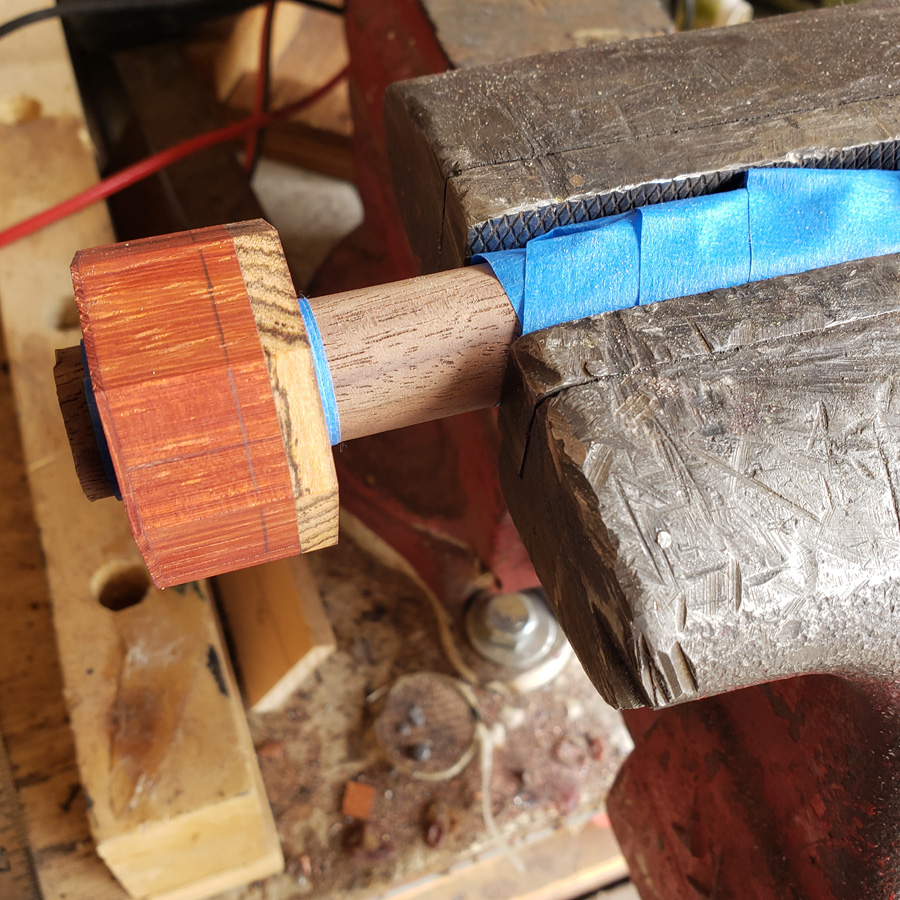
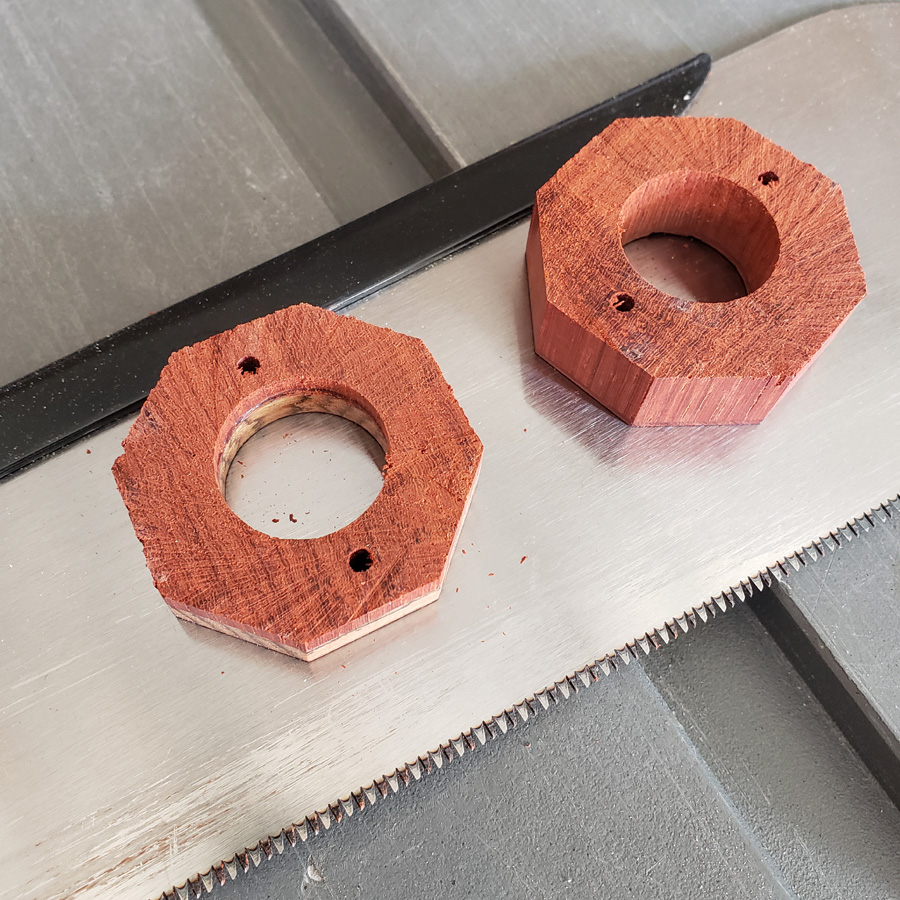
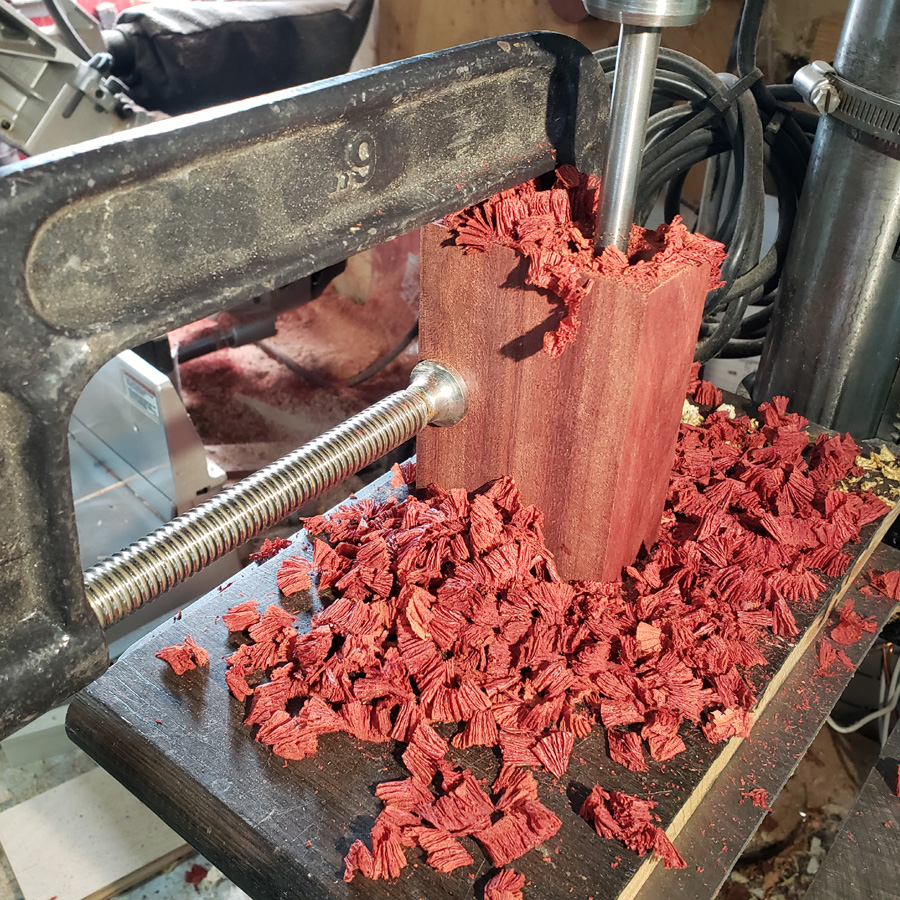
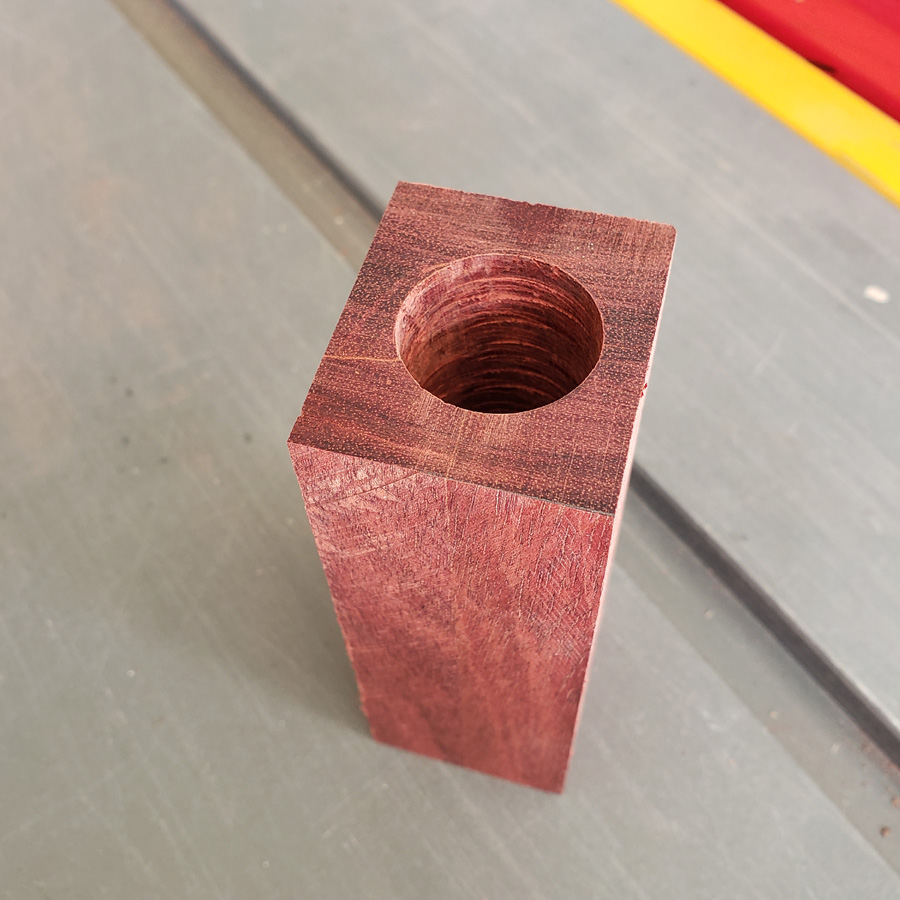
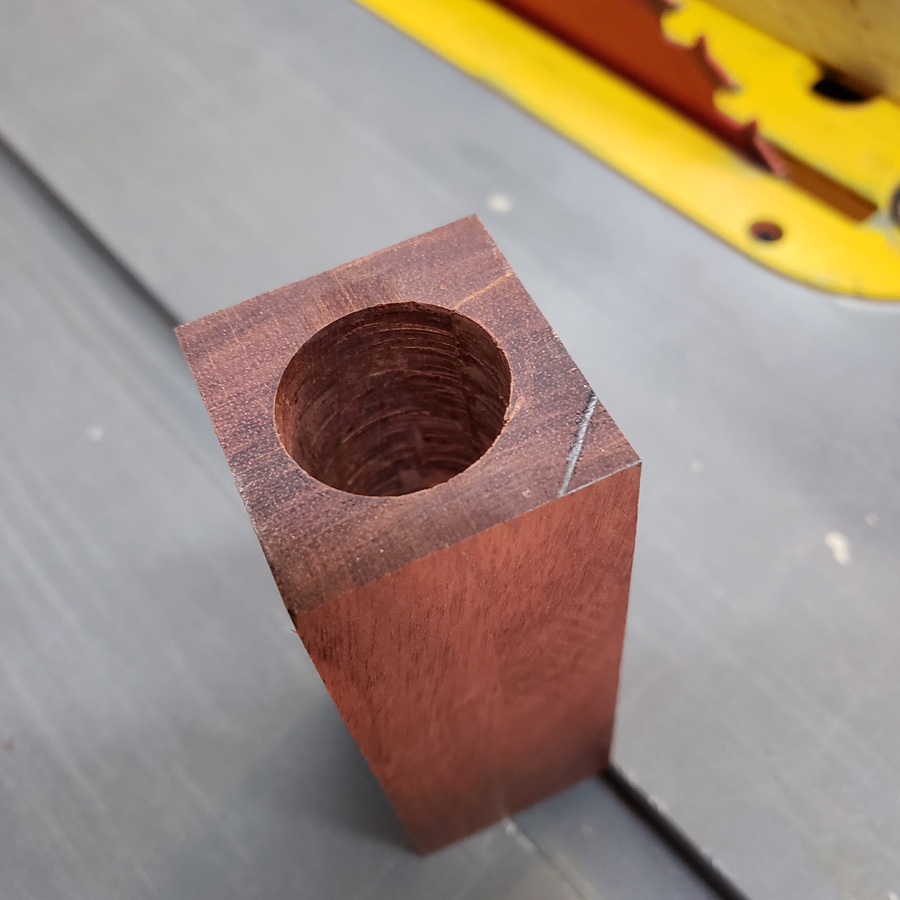
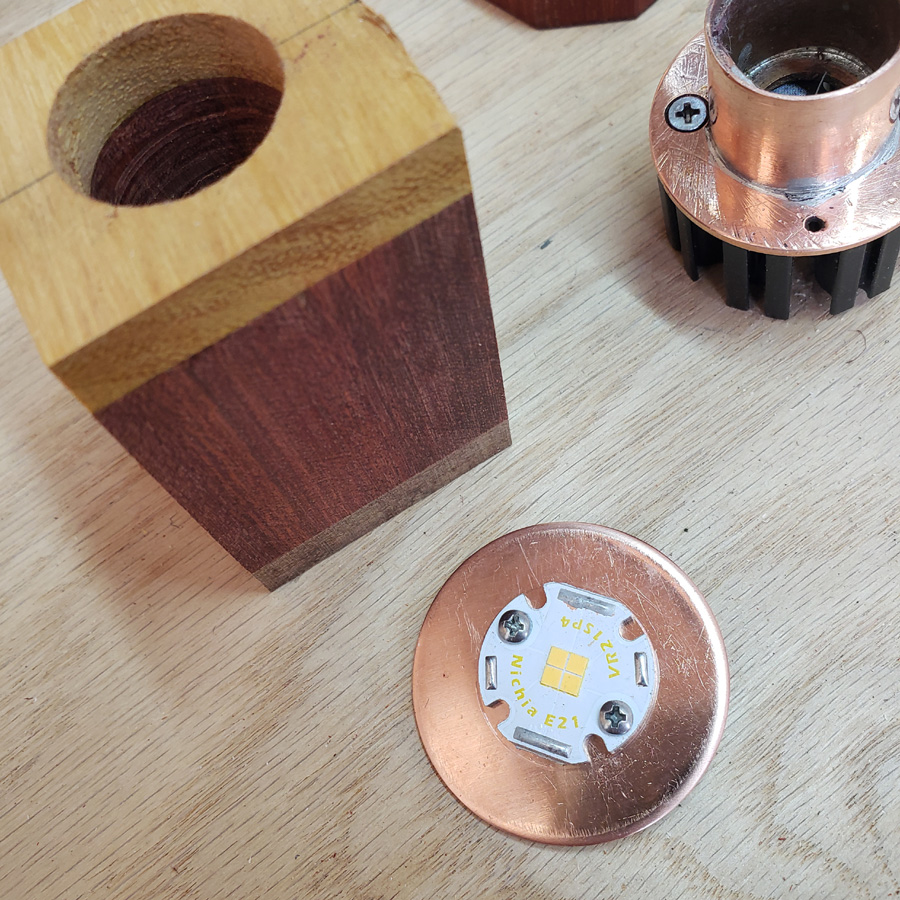
I drilled a 22mm diameter hole through this block. The first head was made with a 20mm hole.
The different size is bacause I also decided on an emitter change as well.
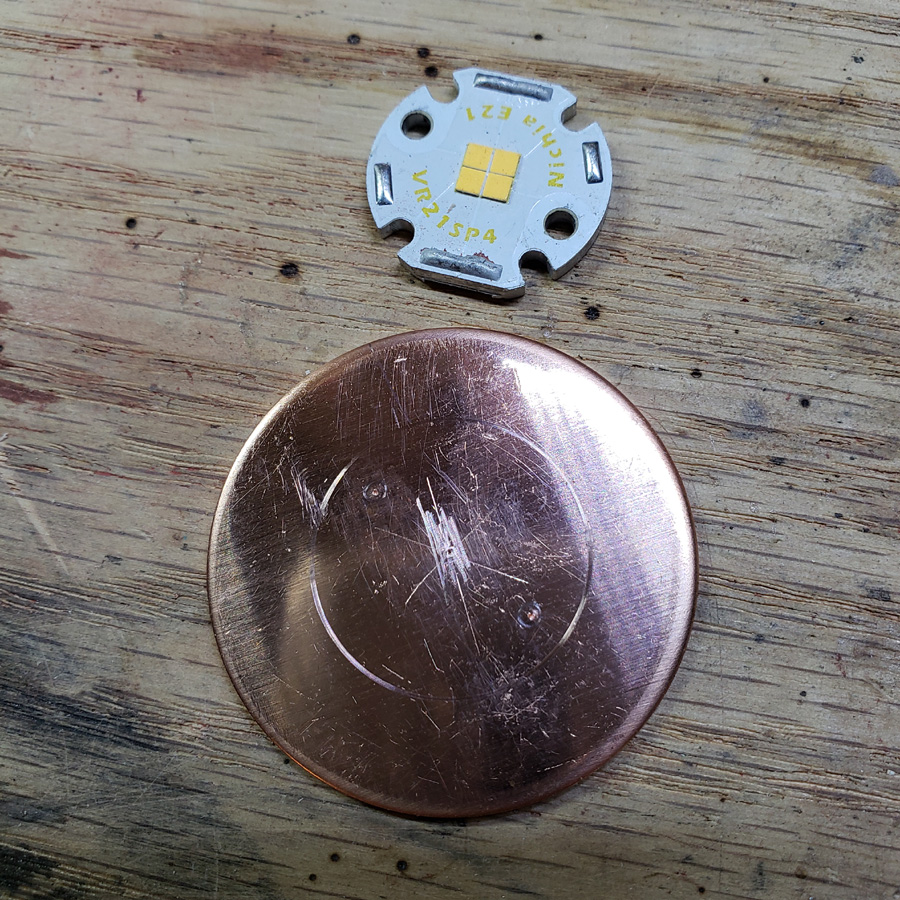
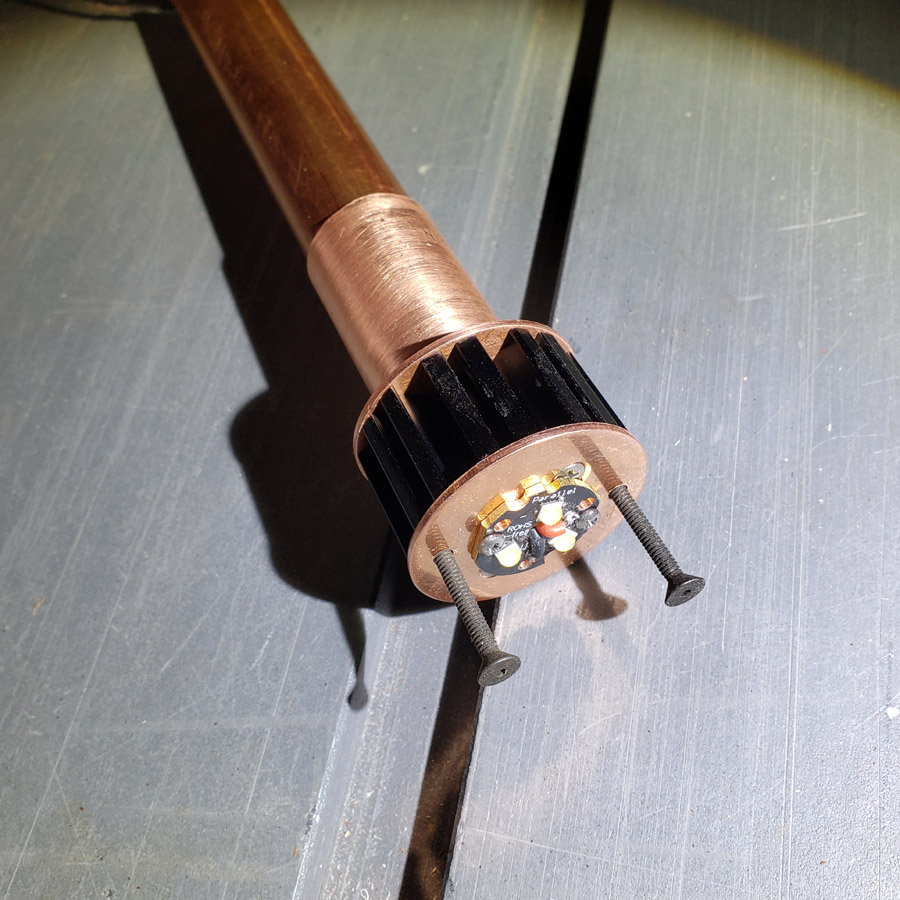
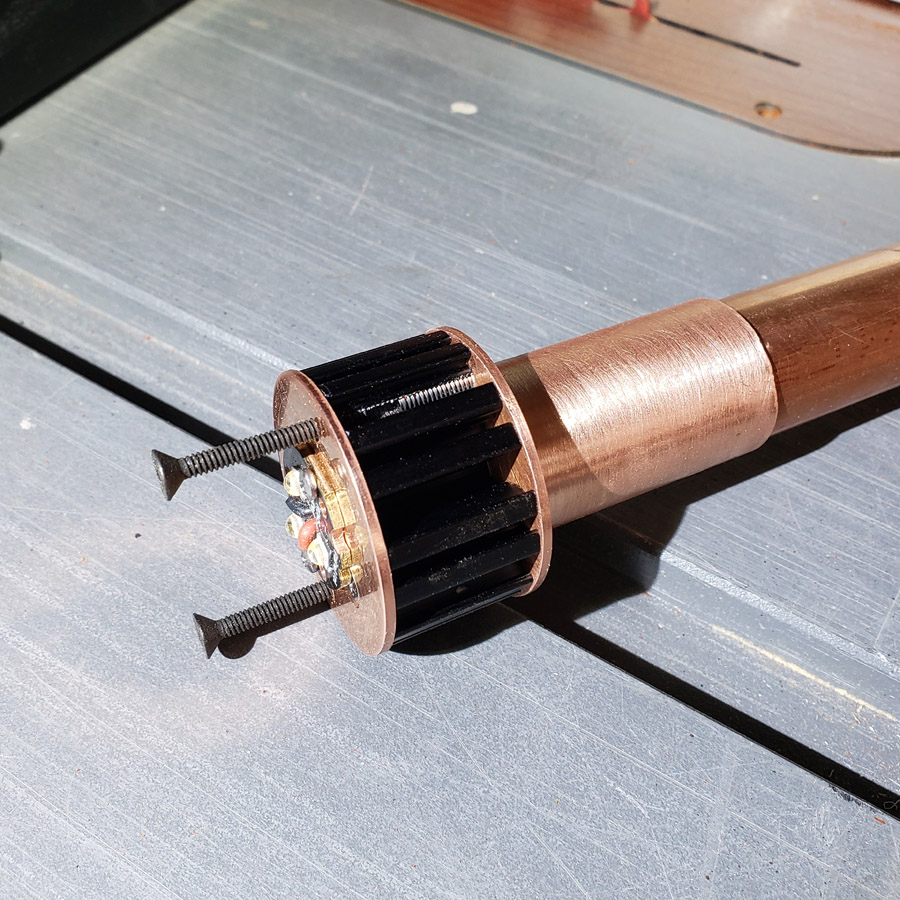
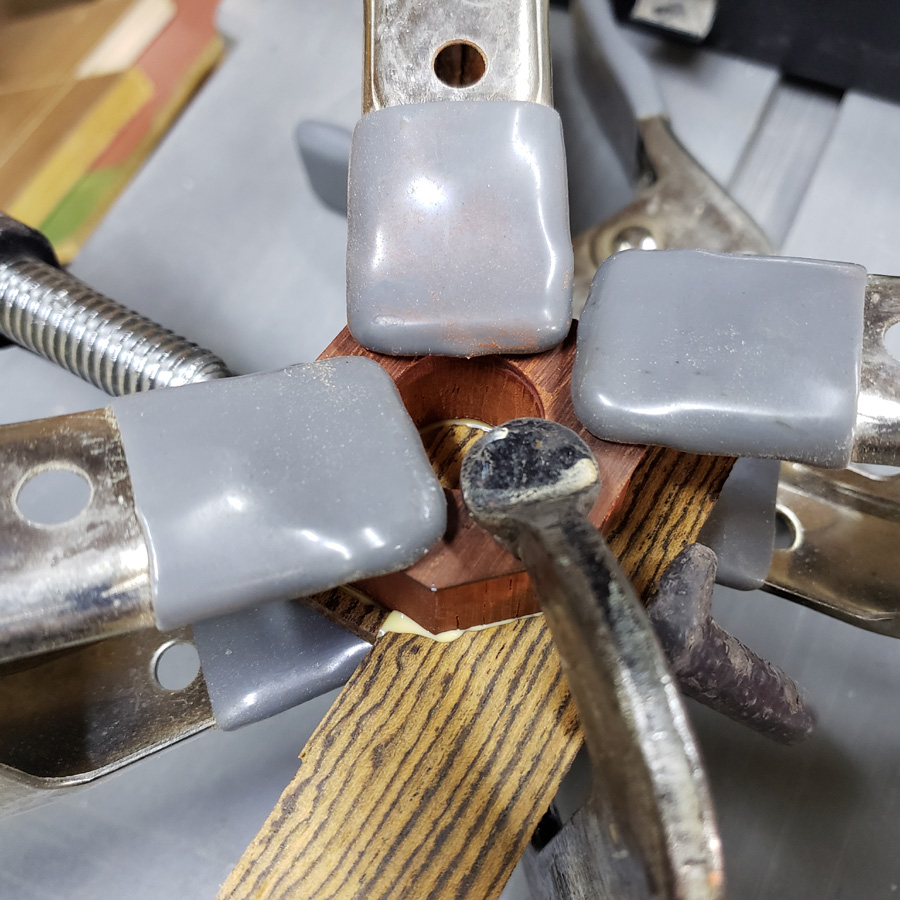
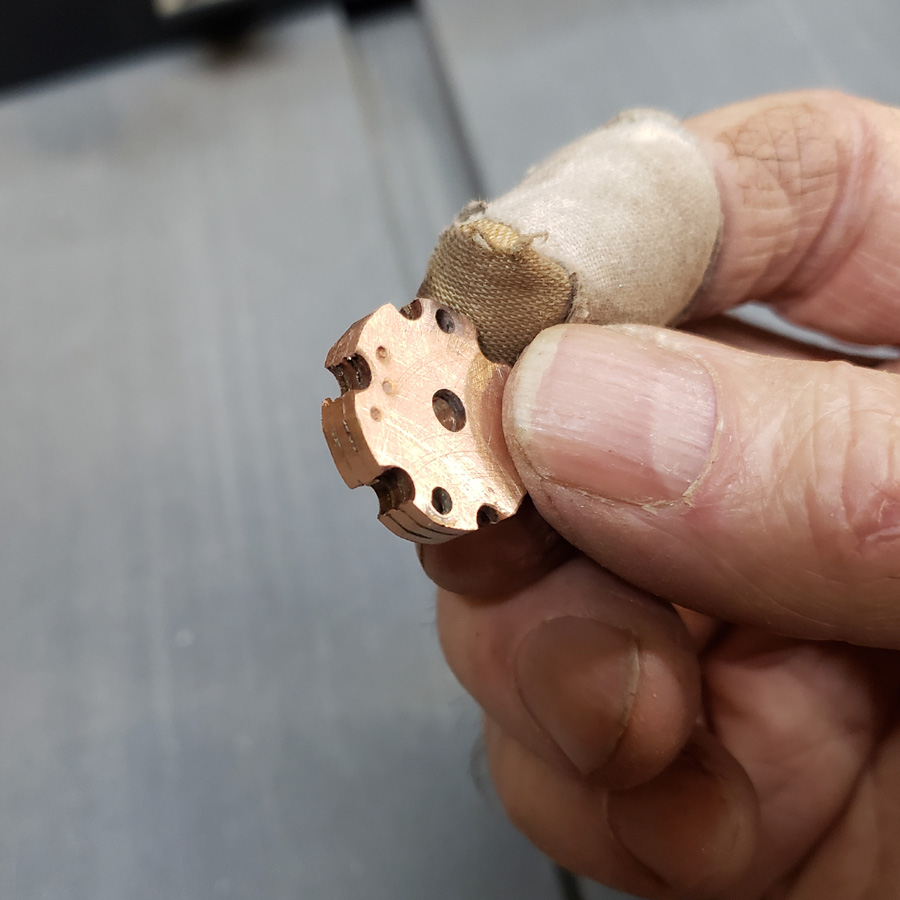
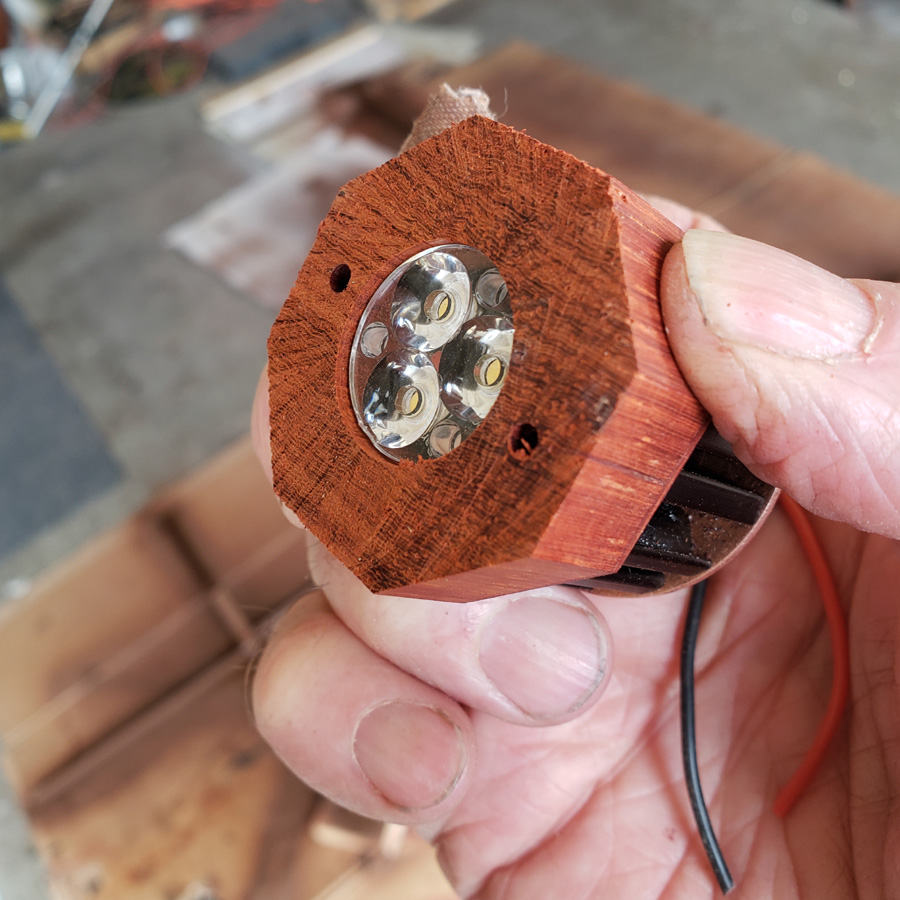
Yes. A mcpcb from Clemence at virence.com. The mcpcb is 21mm diameter and mounts four Nichia E21a emitters.
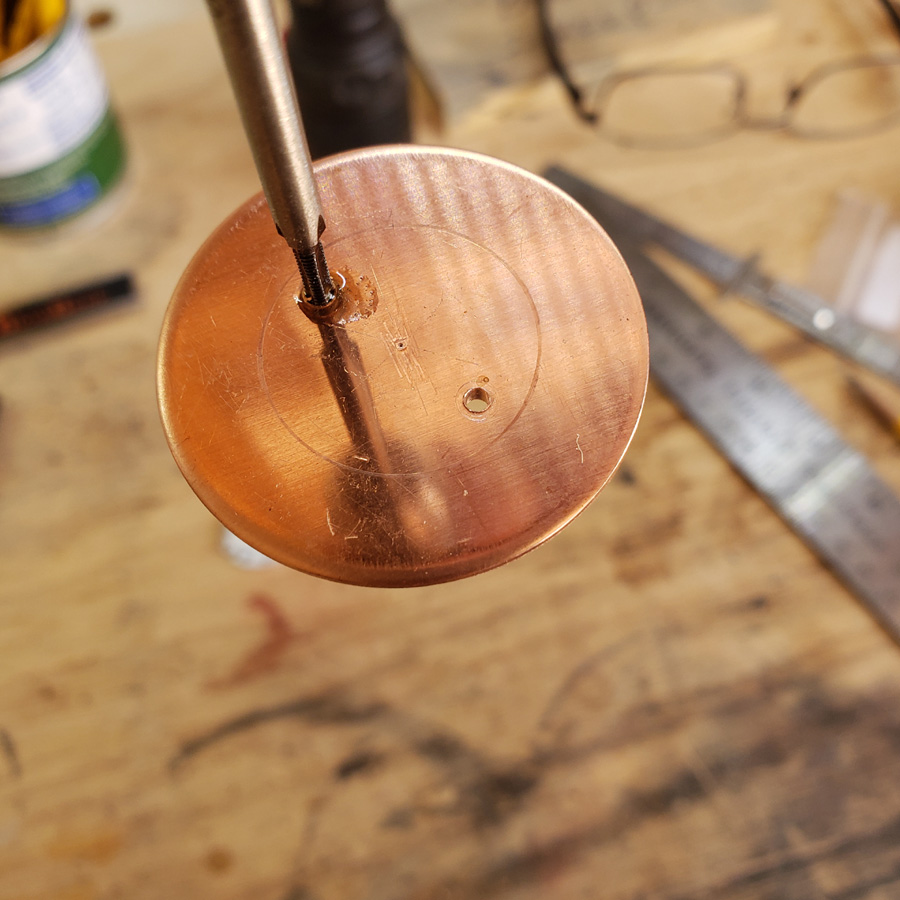
A new mcpcb calls for a new copper disc. The screw holes are spaced a little differently. There were already more holes than I needed and adding new ones was going to be difficult to keep track of. Tapping 2-56 holes for the mcpcb screws…
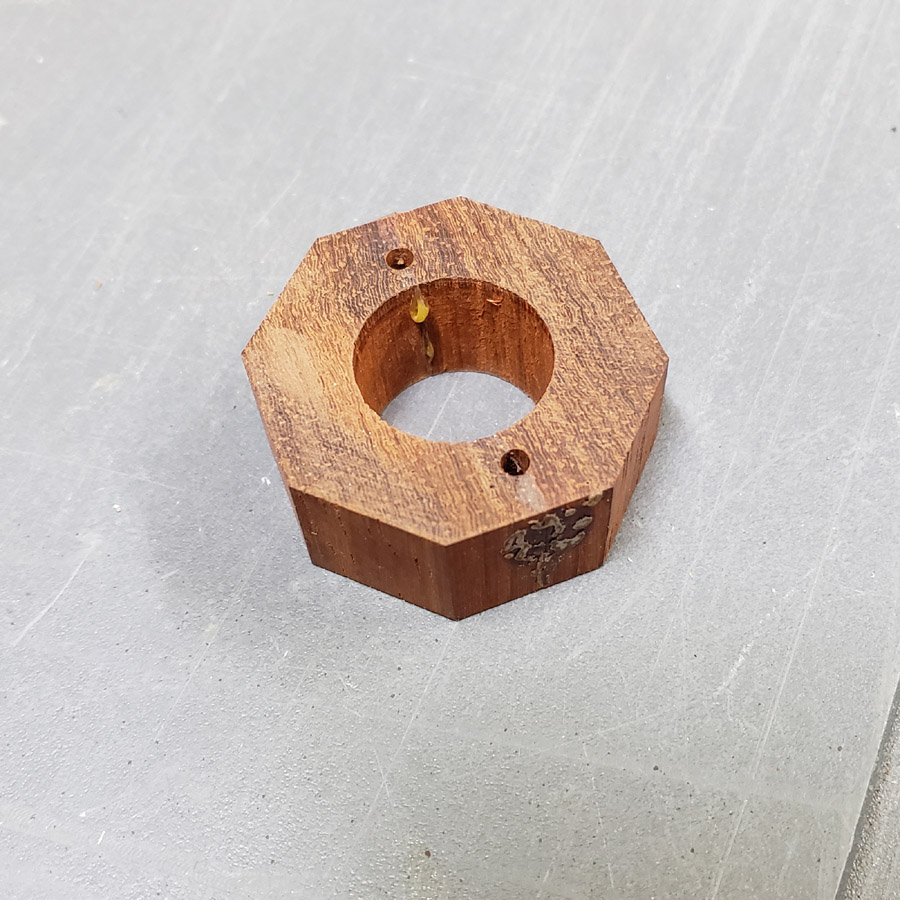
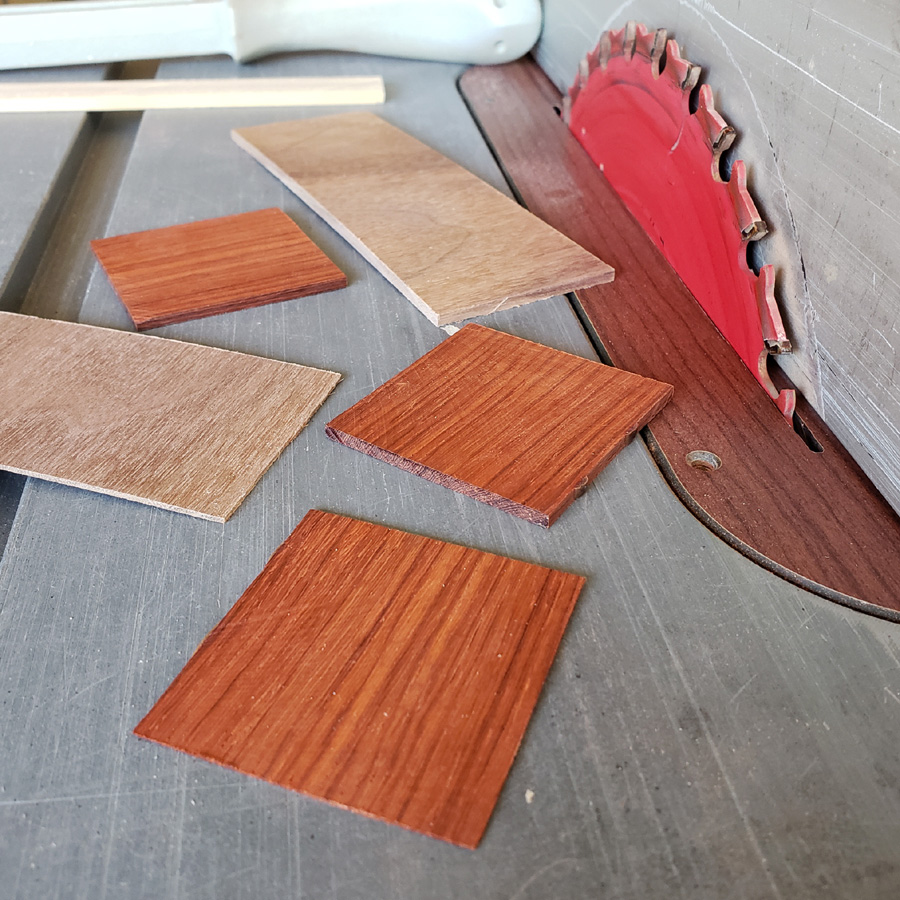
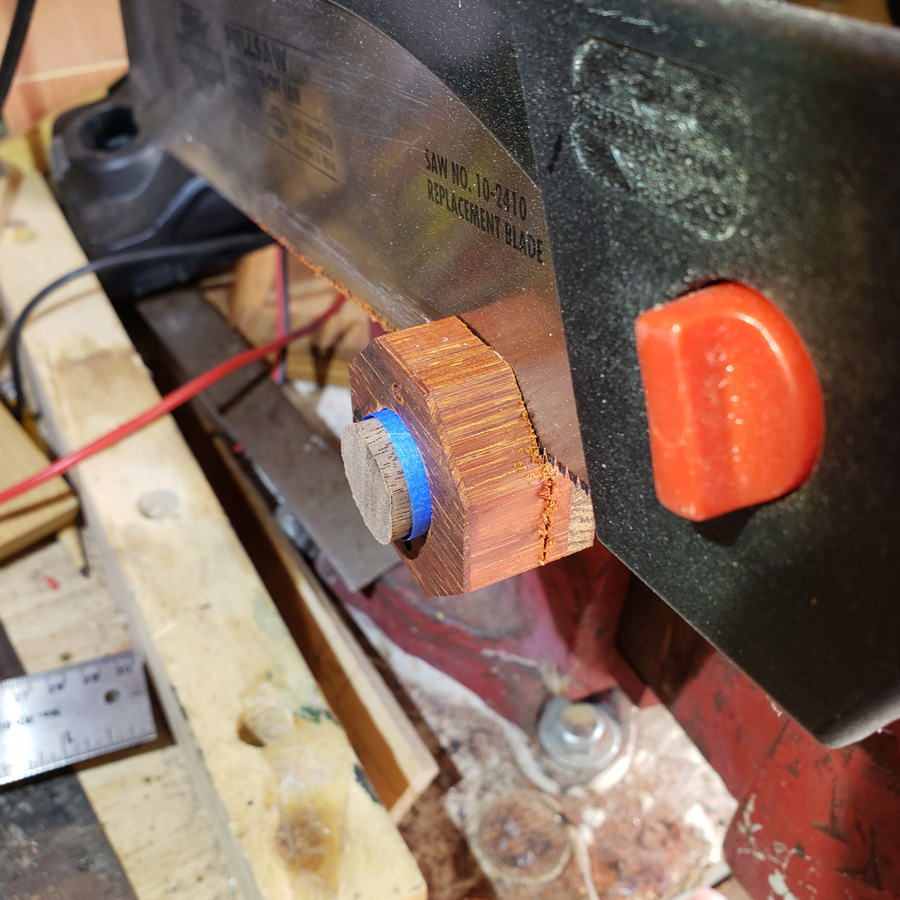
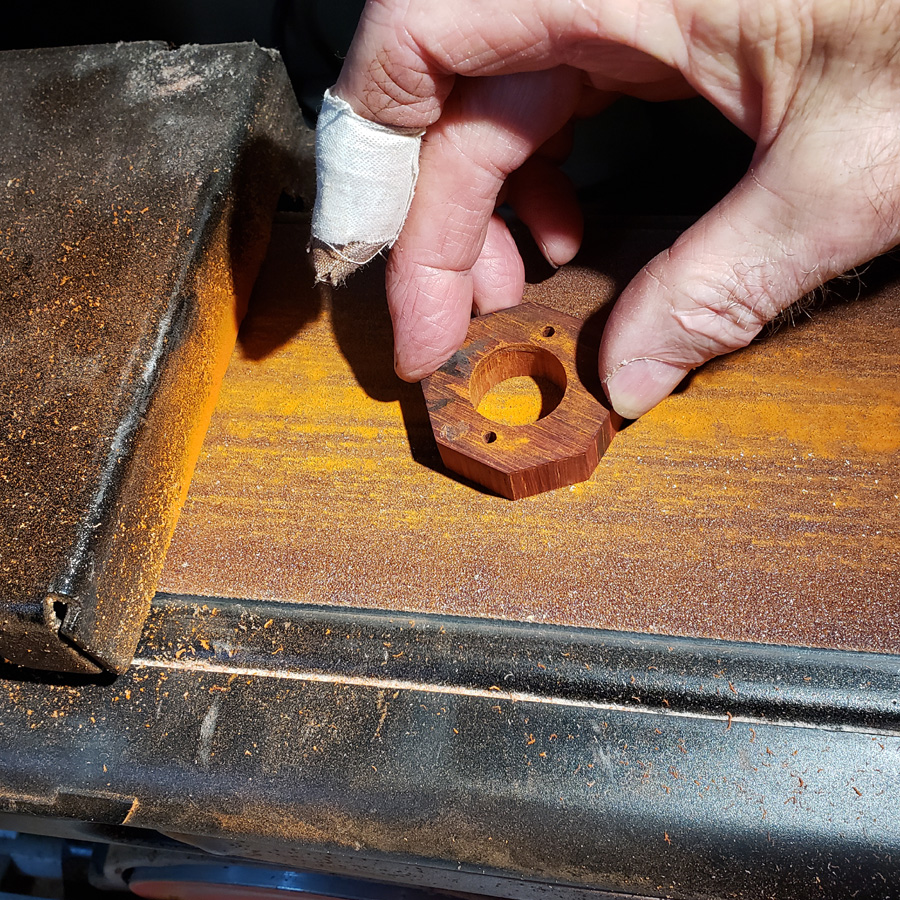
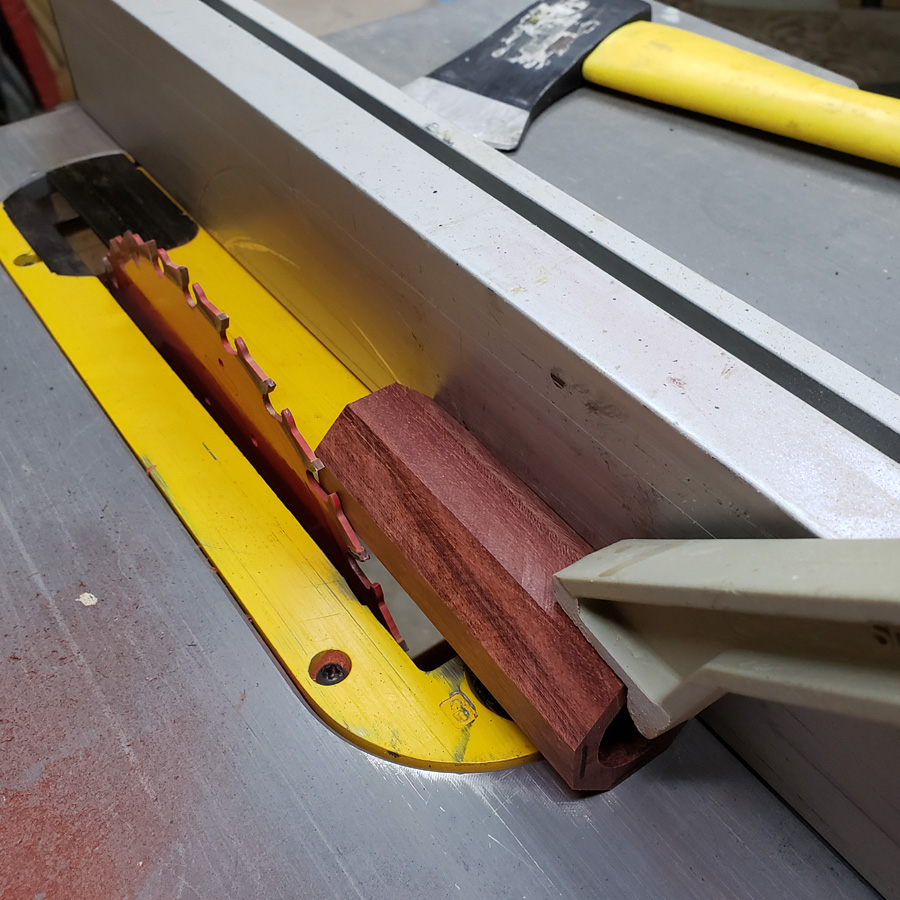
I cut the octagon the same way I cut the others; with the table saw.

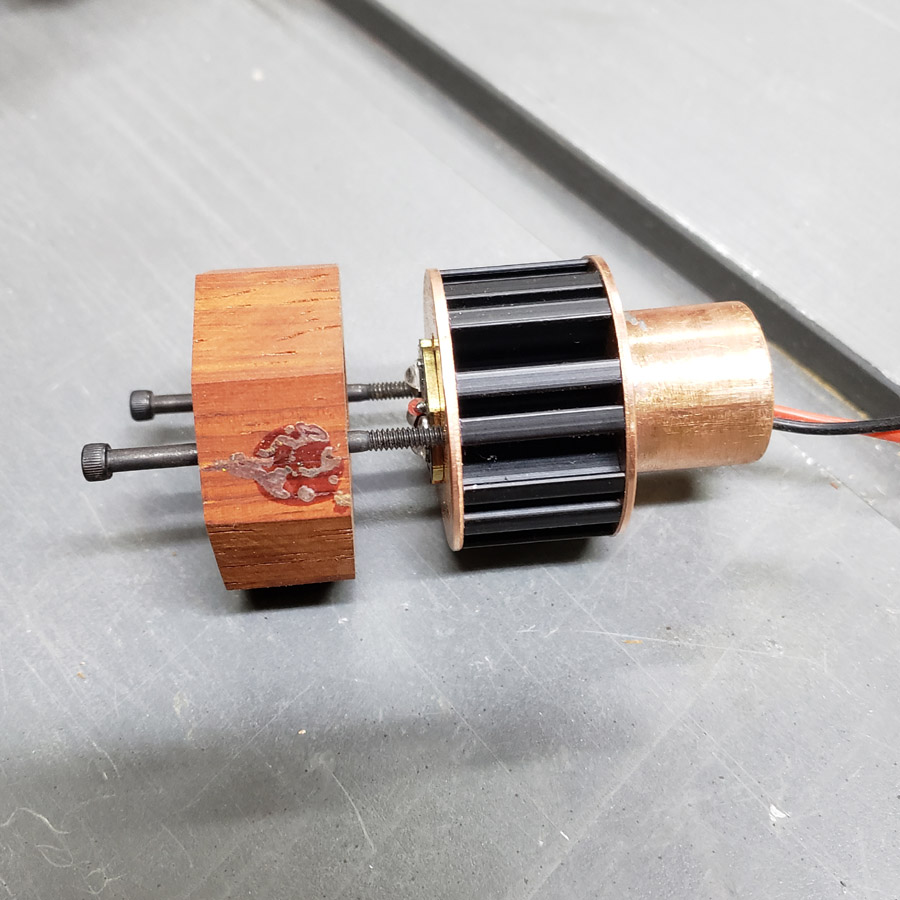
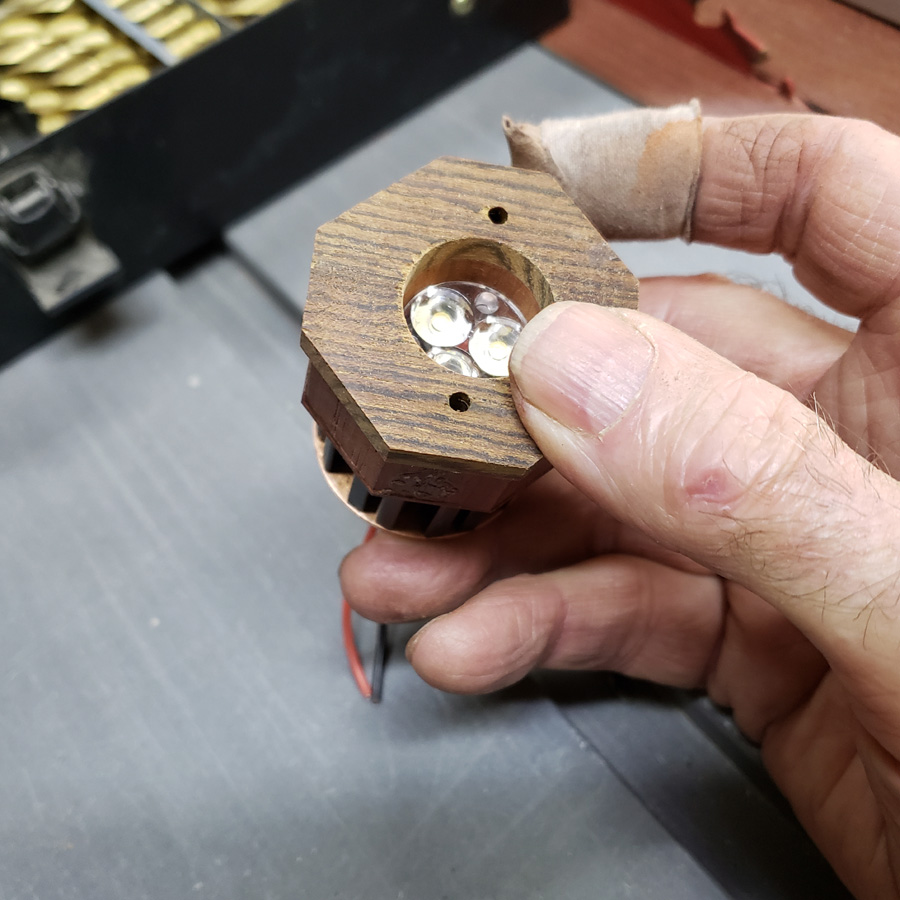
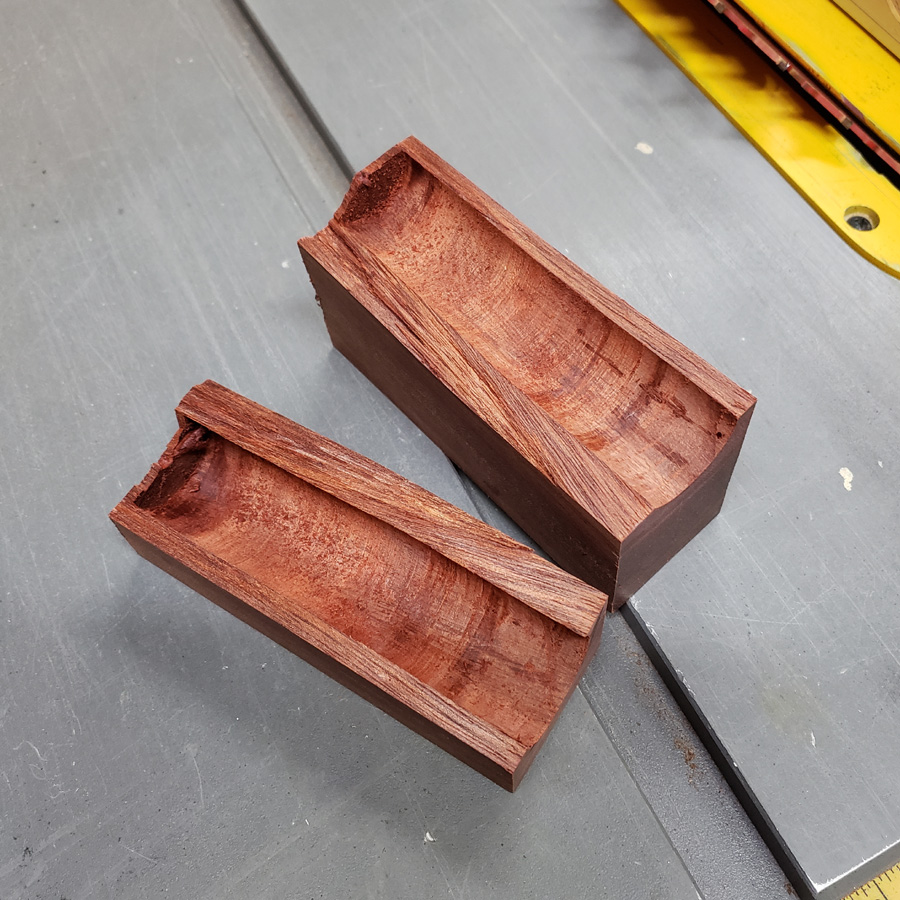
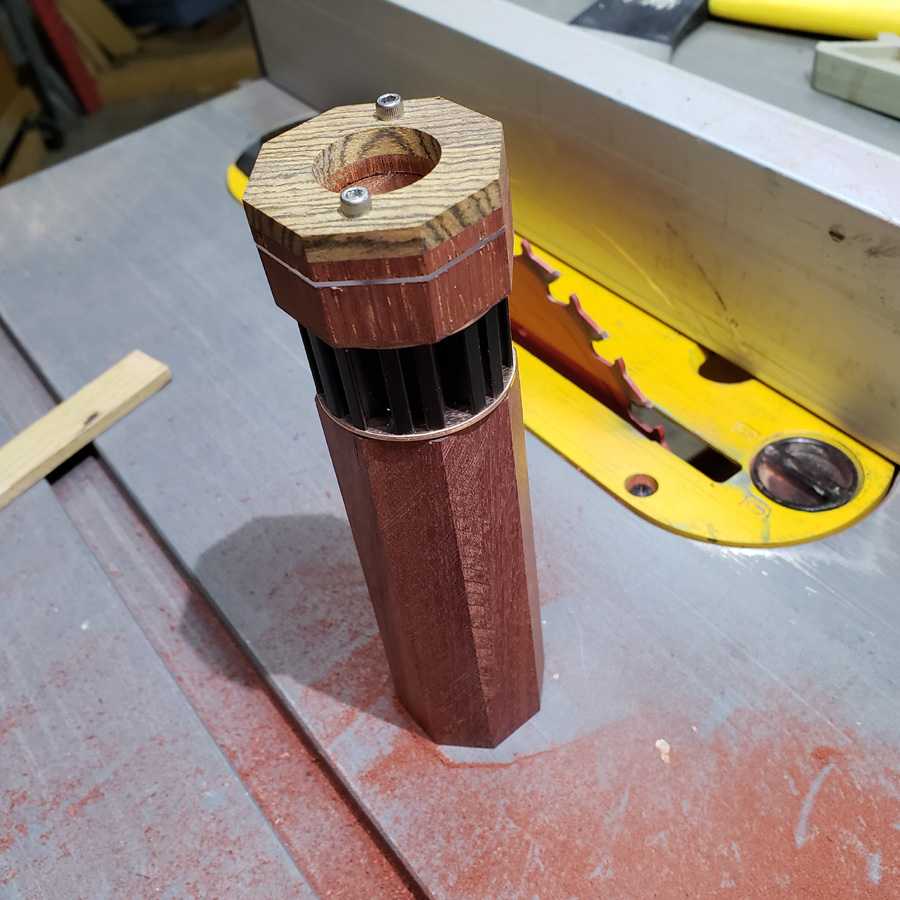
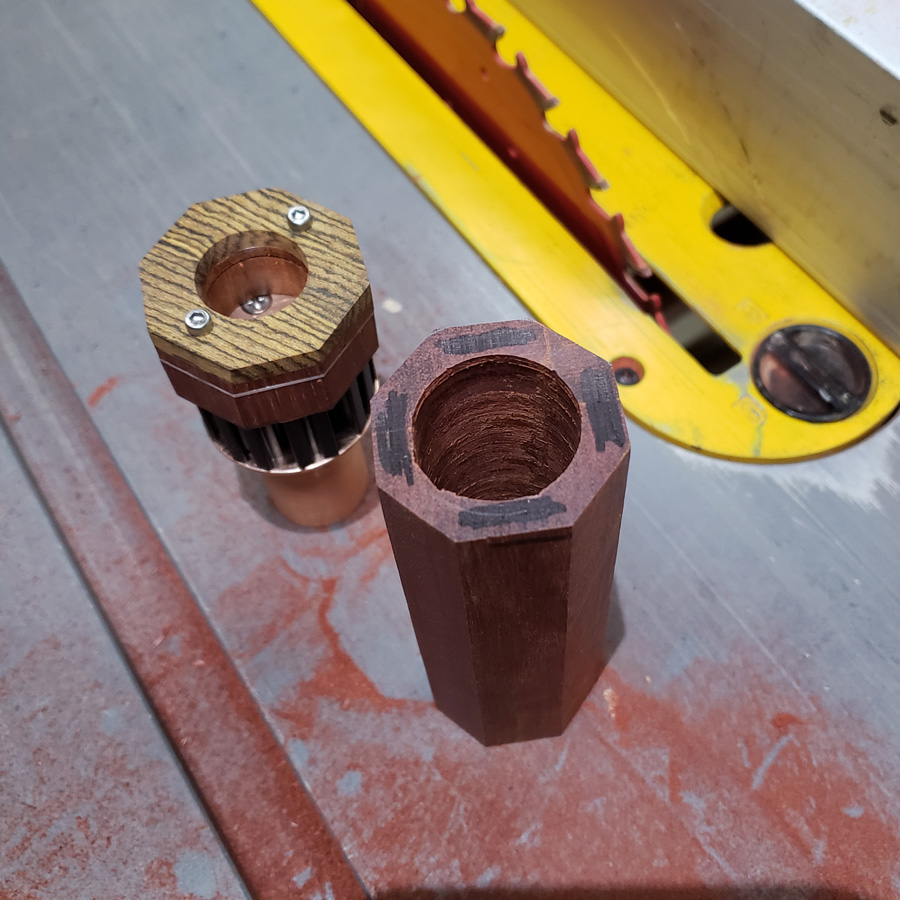
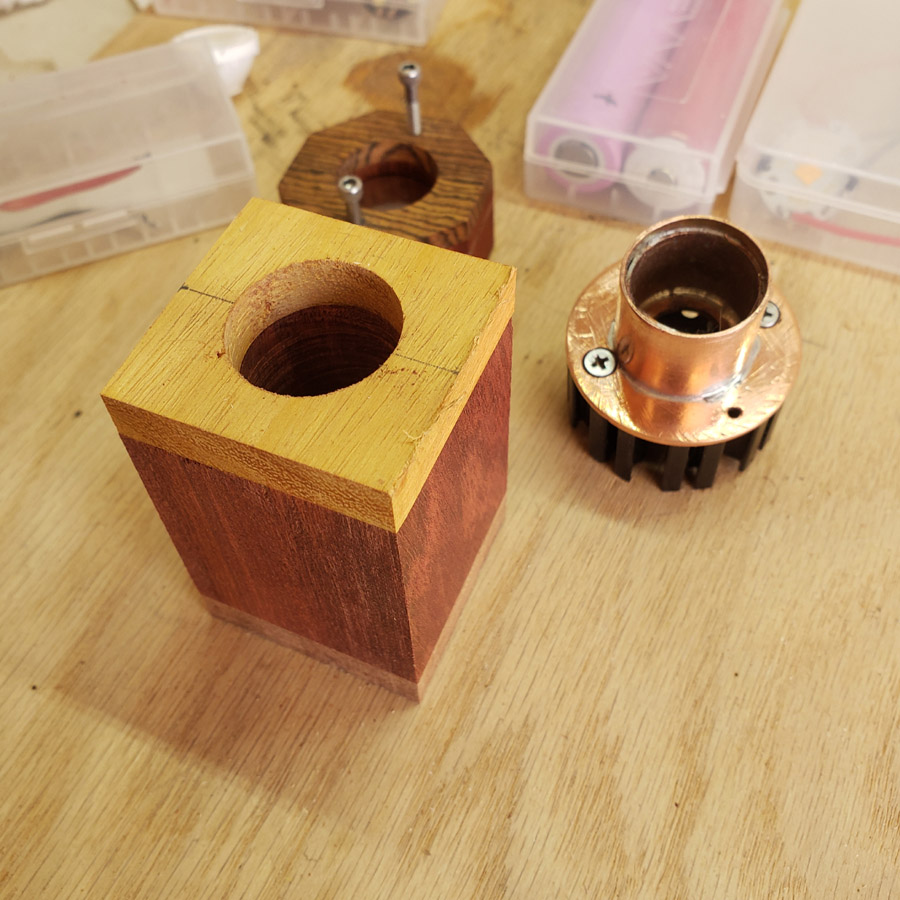
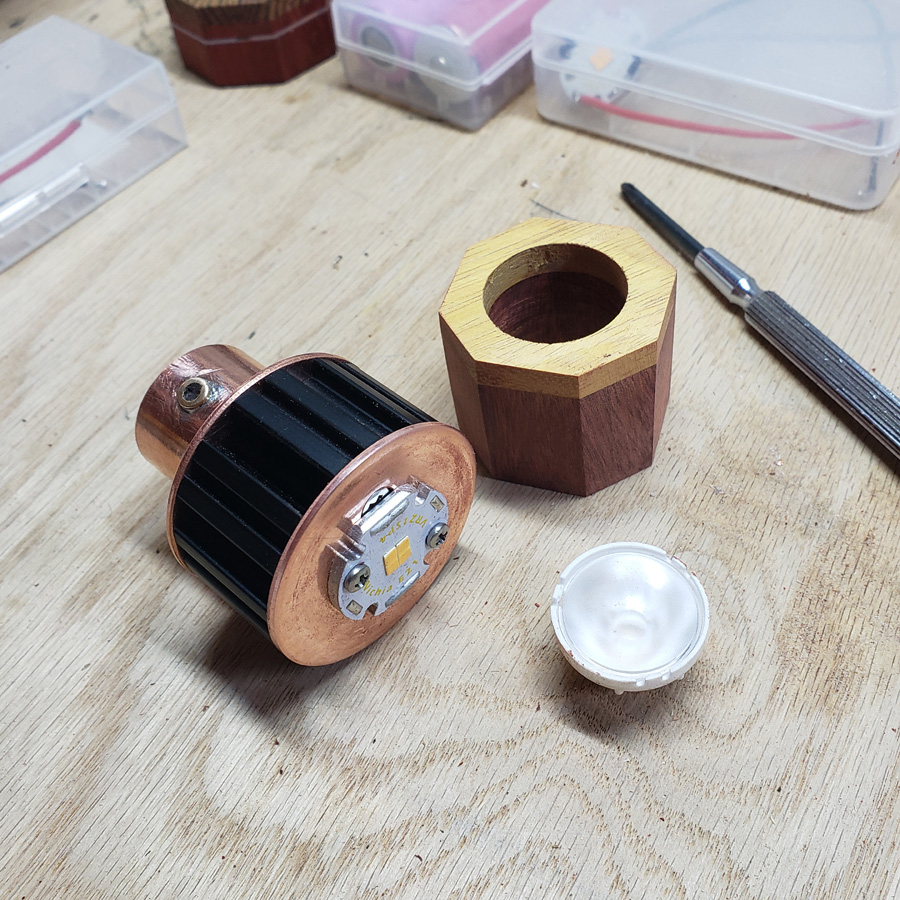
So, the osage orange won my choice for the head piece to use. I sliced the block in half and here it is with he heatsink and mcpcb. This will use an optic with a 15 degree beam.
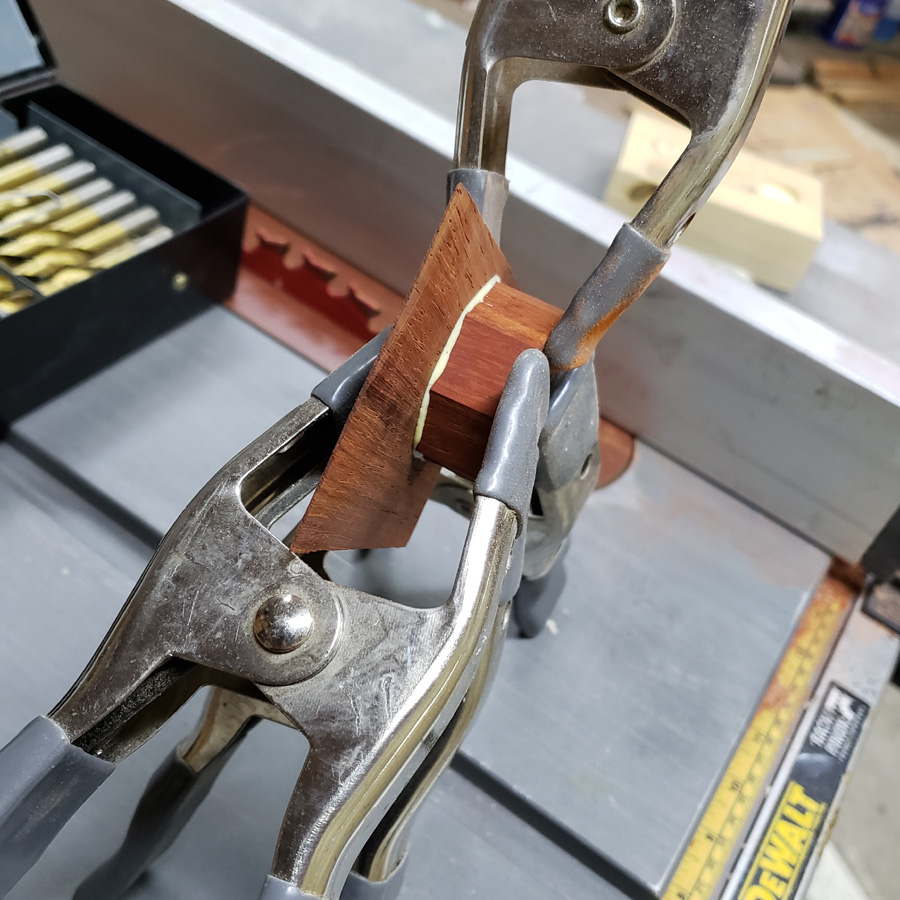
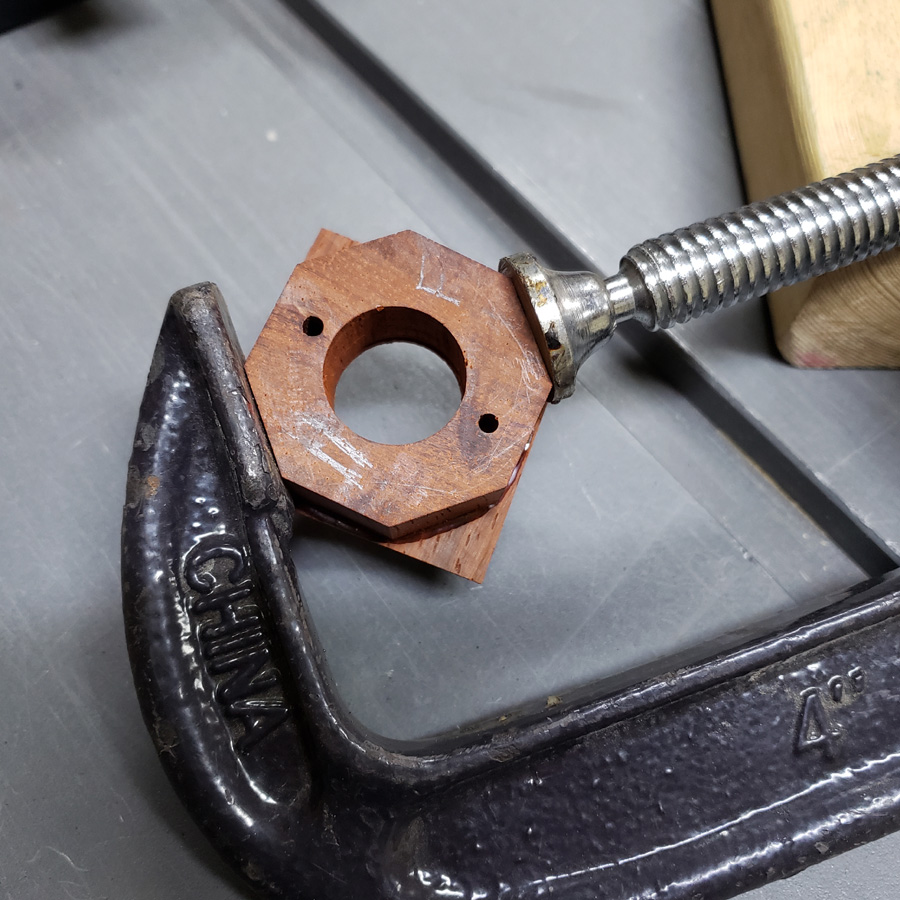
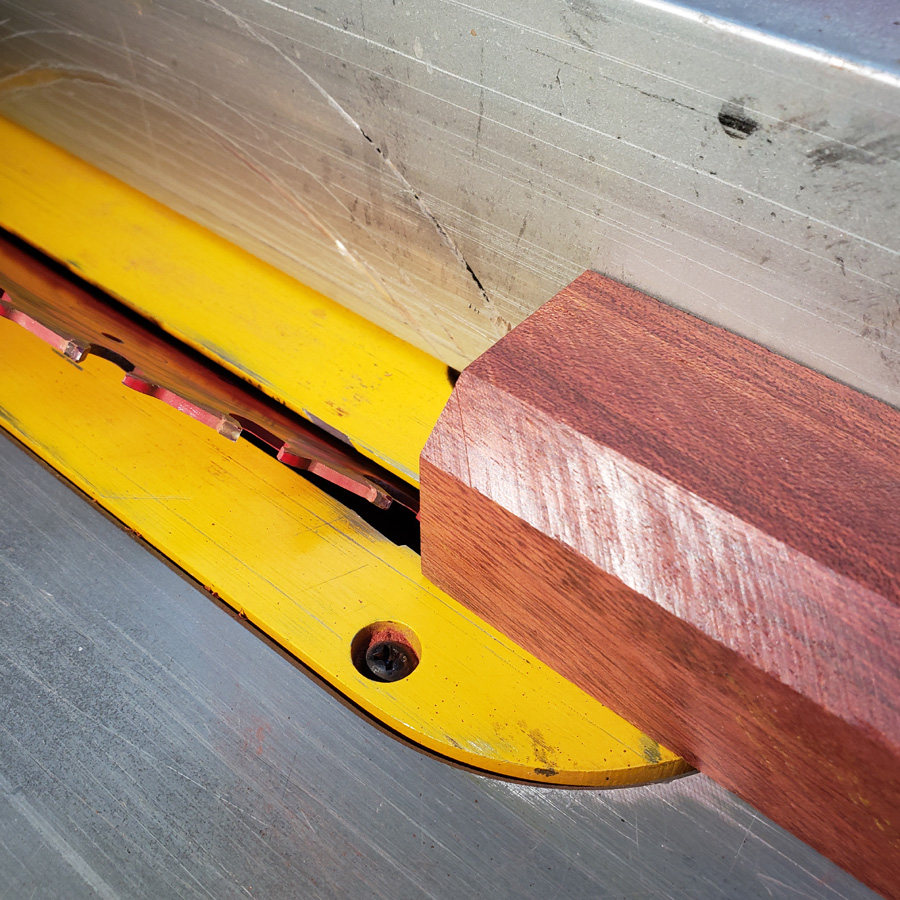
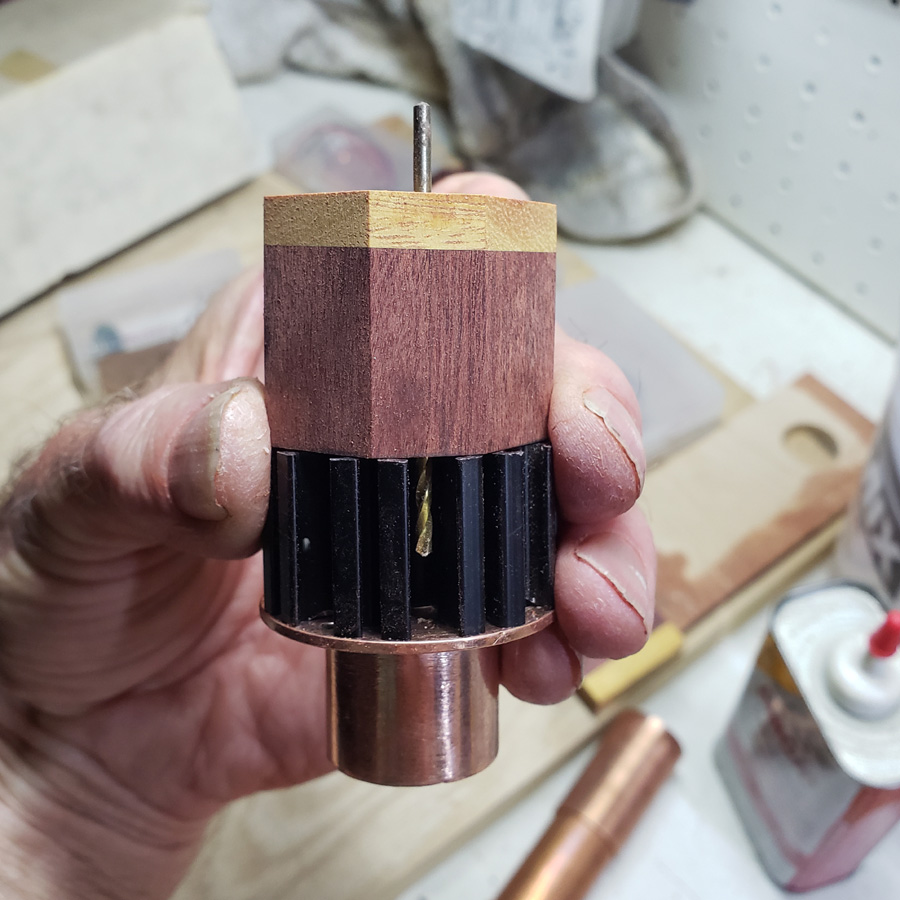
The head is to be bolted to the front copper disc with 2-56 machine screws. I’ve not used bloodwood before this project. I found it to jam up in the drill chip twists. It was necessary to retract the bit, stop the motor and chip out the wood from the clearance grooves. It did not want to clear without being prodded.
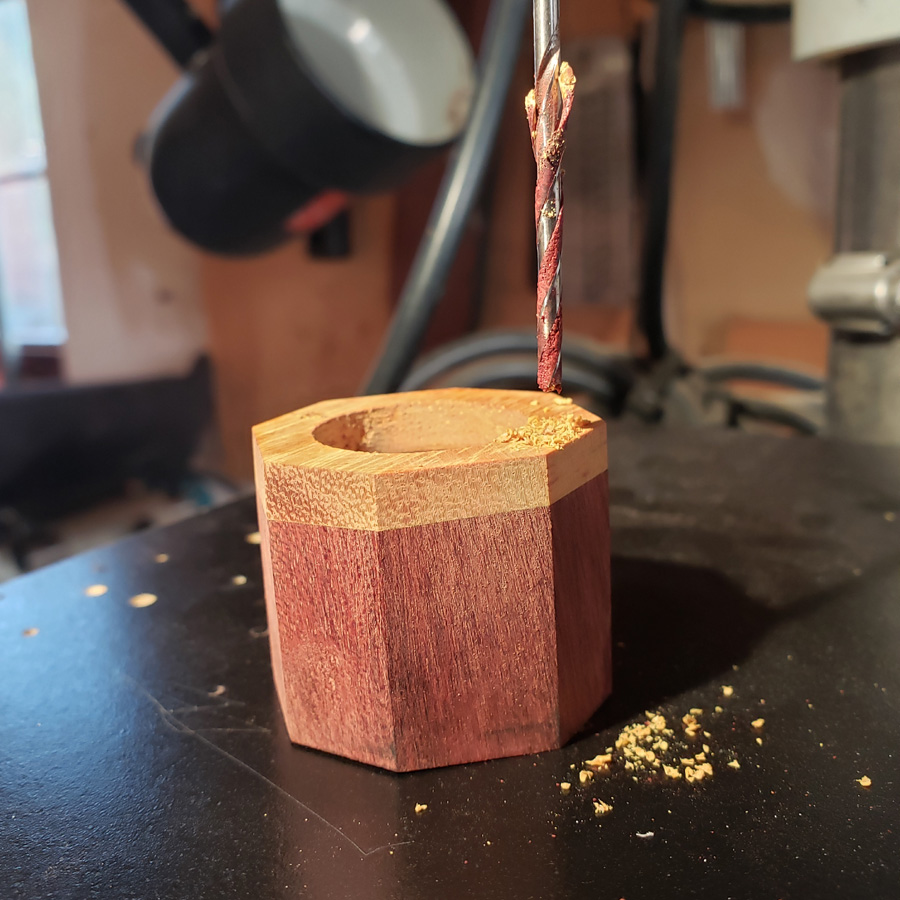
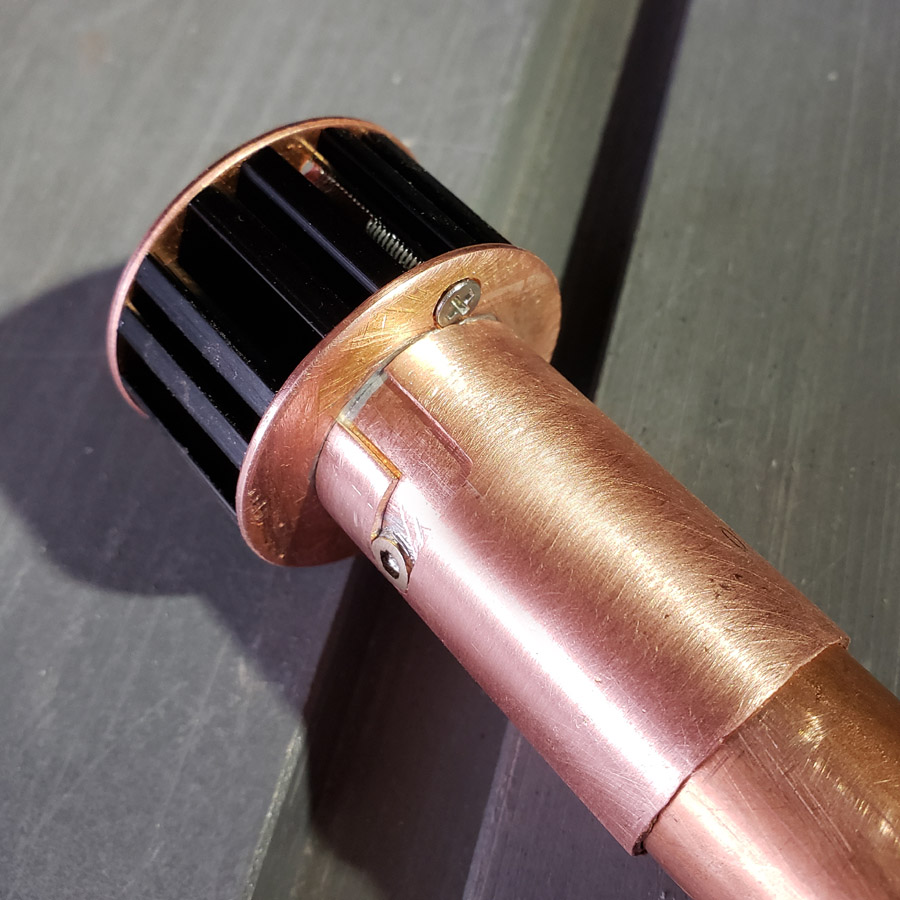
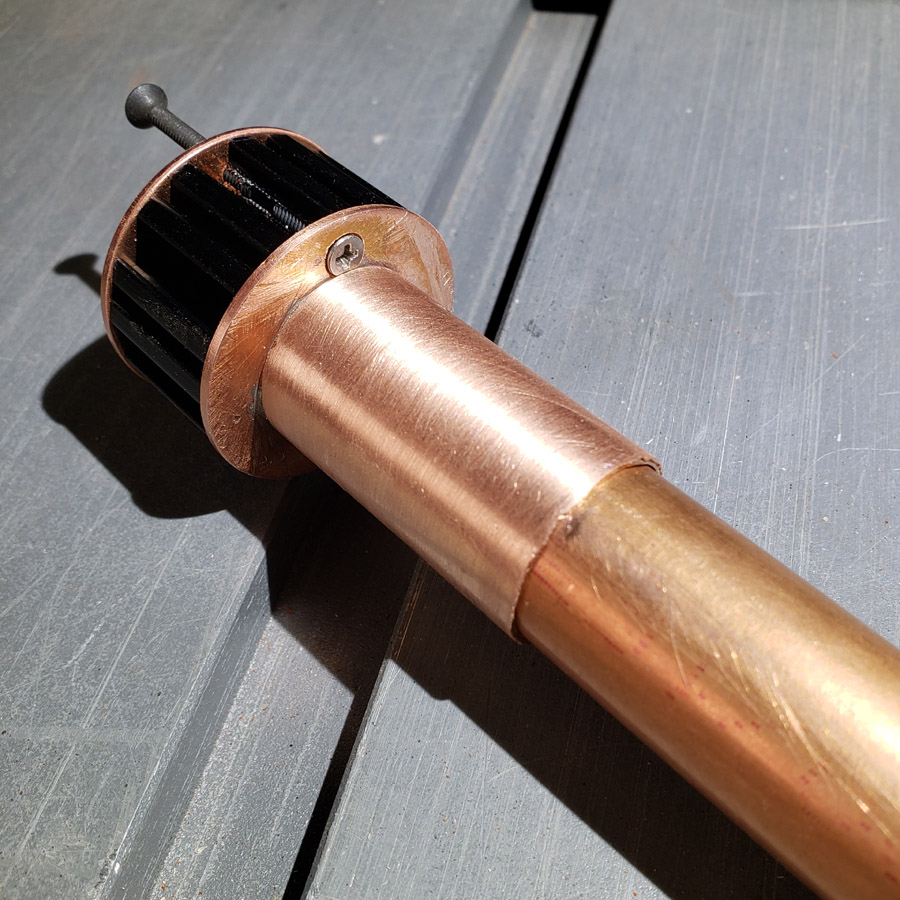
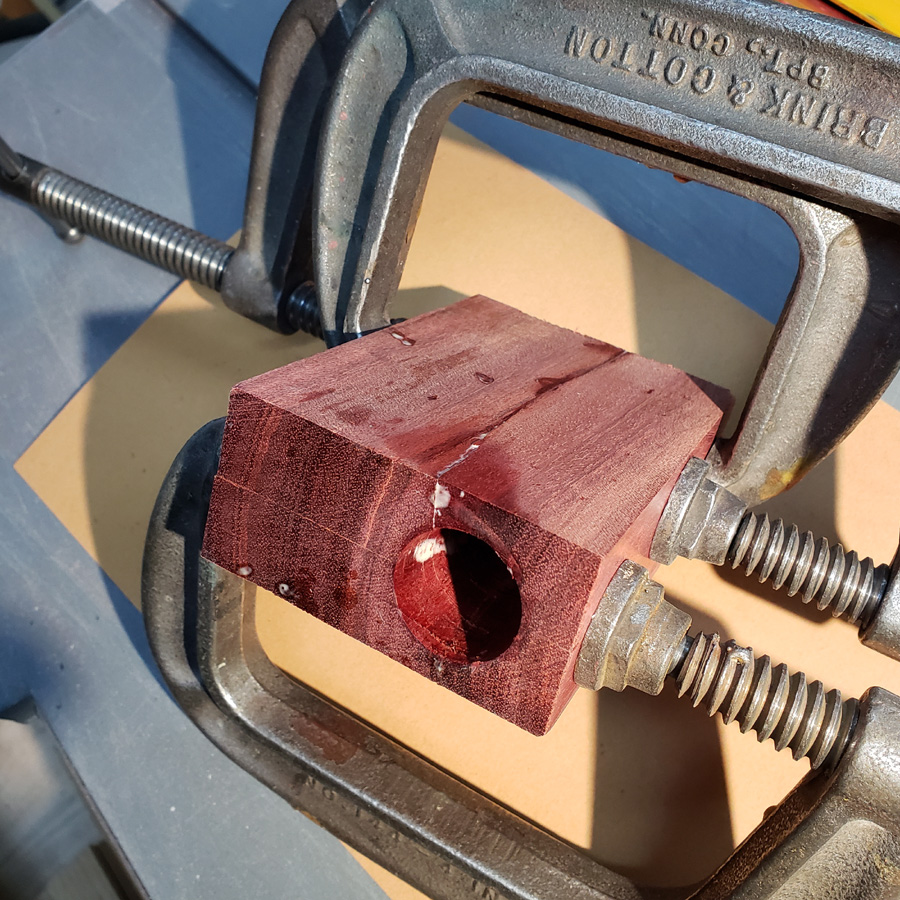
There, the hole is all the way through. When the copper plate is affixed to the heatsink the wood head will be screwed to it with 2-56 through screws.
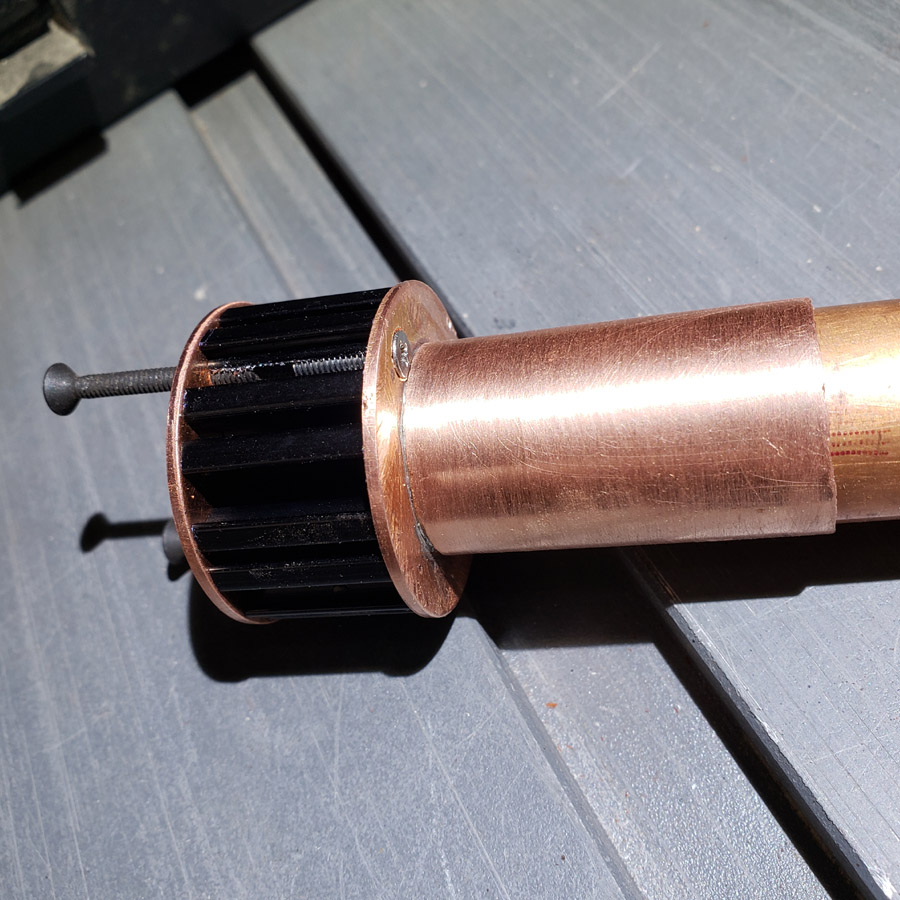
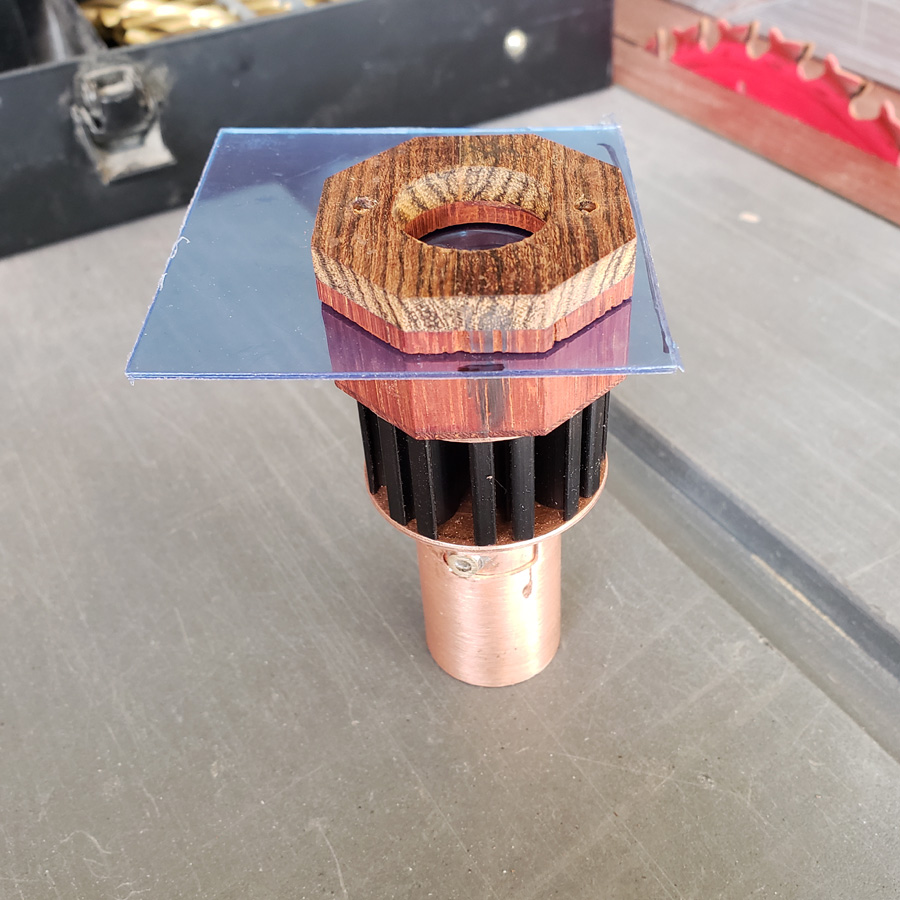
Here’s my tubing cutter. I needed a ring of 3/4” copper tube for the bezel end of the head.
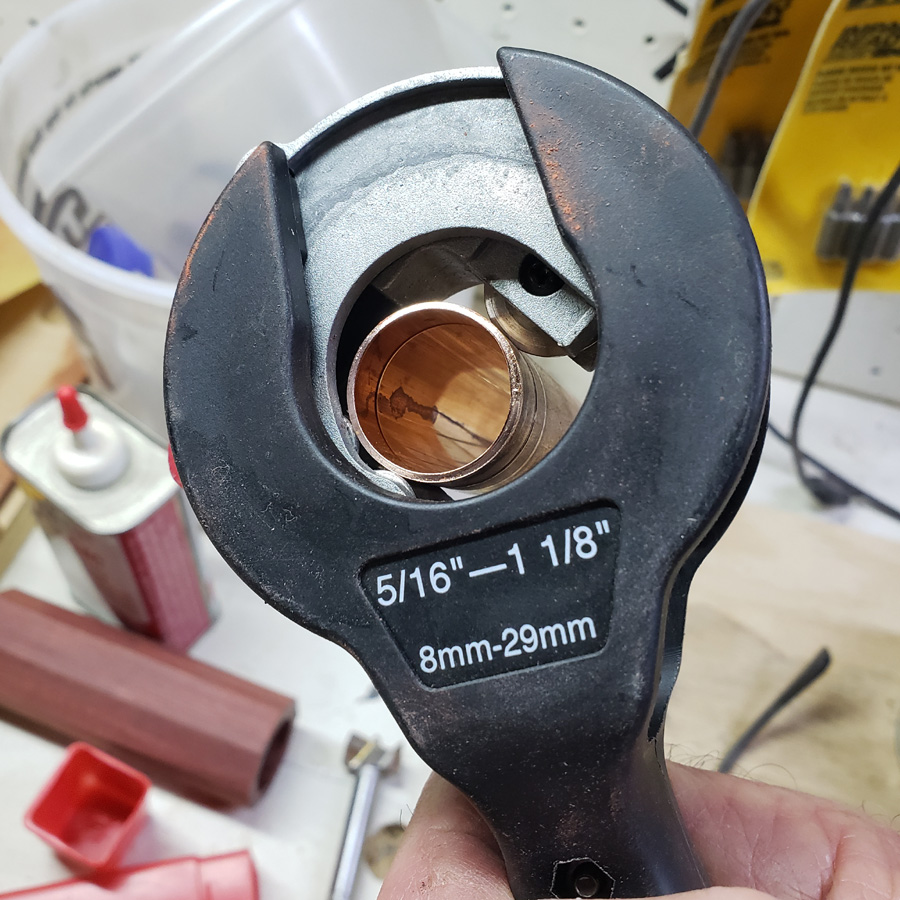
The OD of 3/4” copper tubing is slightly greater than 22mm. The 22mm bit was the closest, not too big, bit I have. I sanded, and sanded and sanede the outside of the copper tube to shrink it down to where it would fit into the front end of the bored hole.
Well, at long last I have all the parts needed for the head assembly. Here they are laid out. There still needs to be finishing sanding, etc and some assembly.
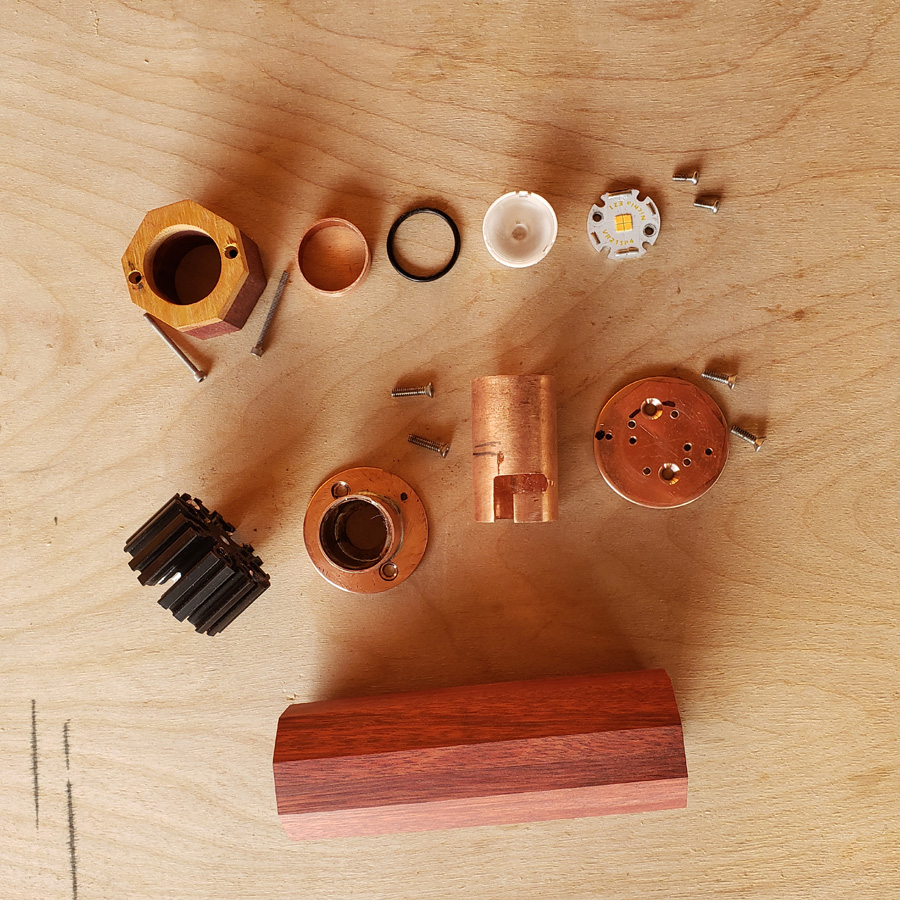
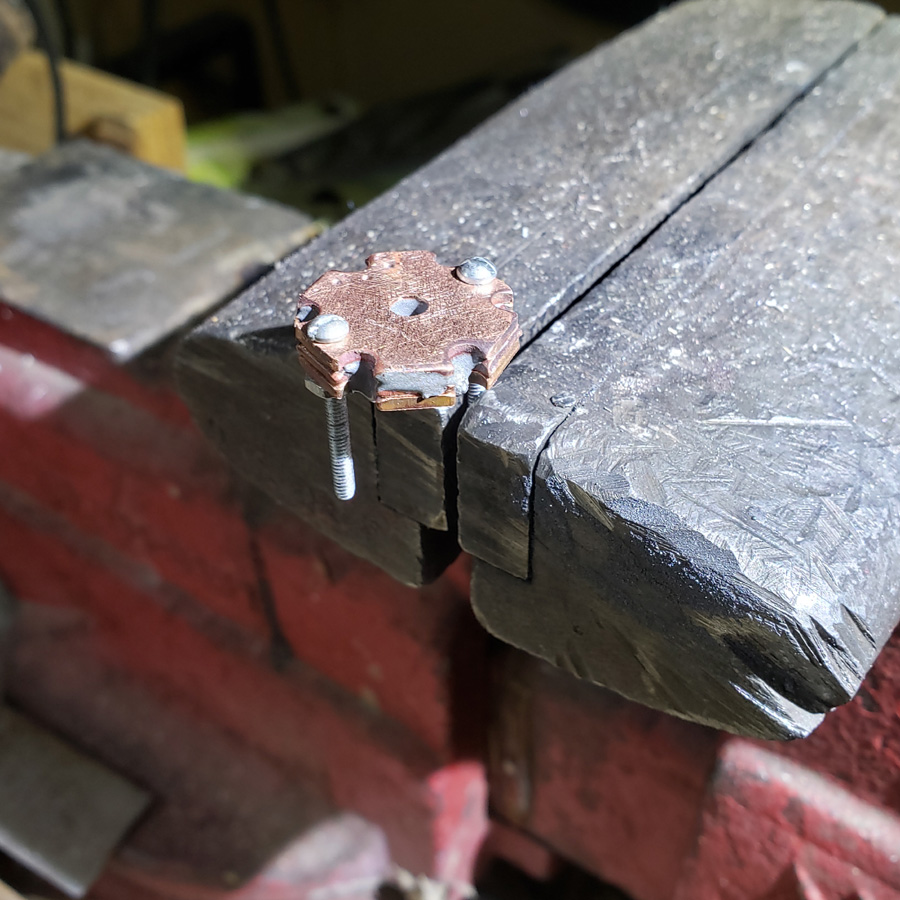
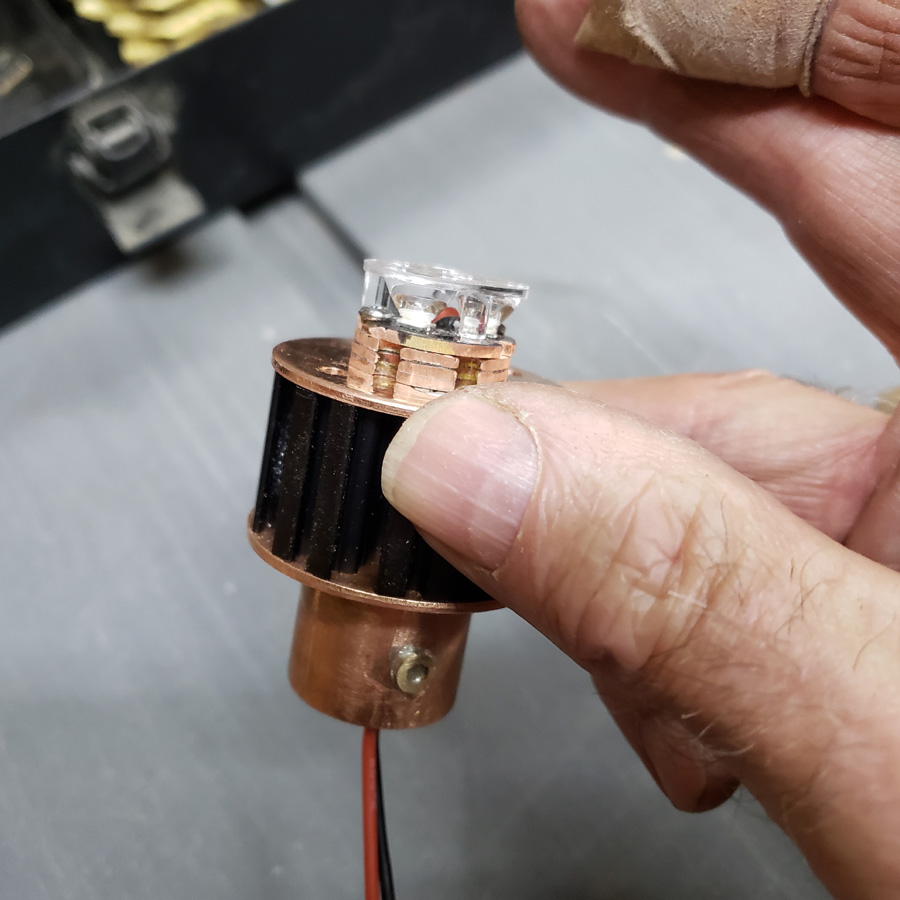
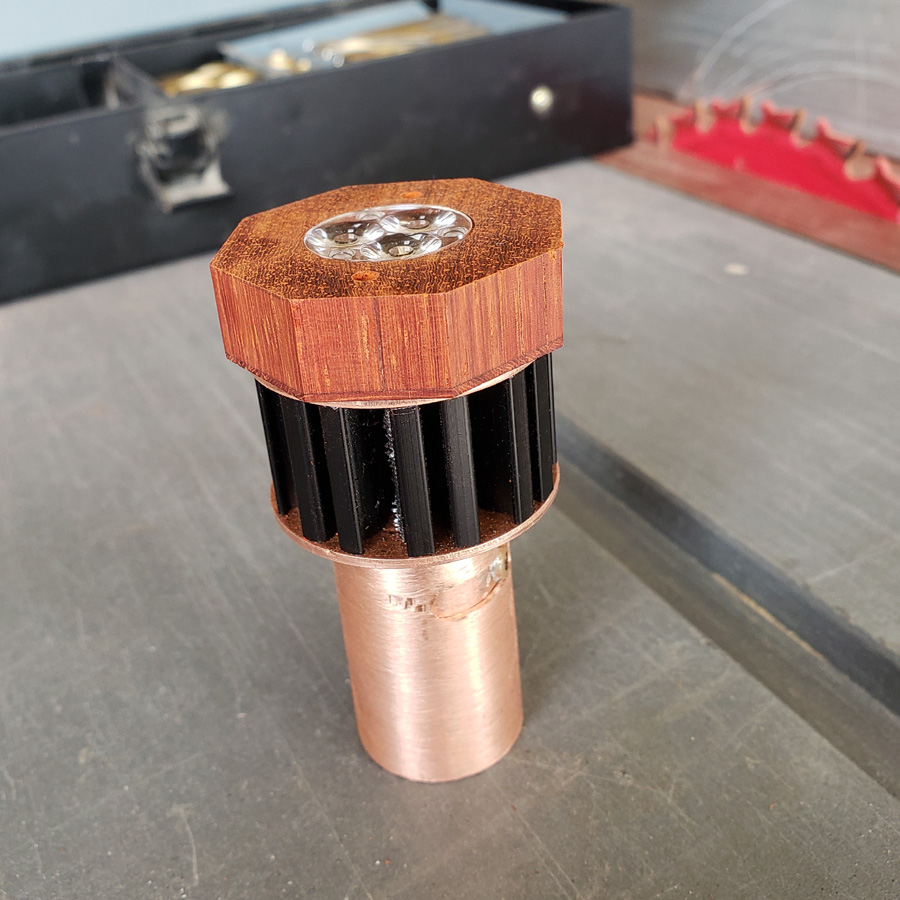
The head shell is at upper left. The copper ring next to it will be inserted into the front. Under it will be a rubber o-ring that then rests on the perimeter surface of the optic. The mcpcb is to be screwed onto the copper disc at the right end of the center row. That copper disc will be screwed nto one end of the black finned aluminum heatsink.
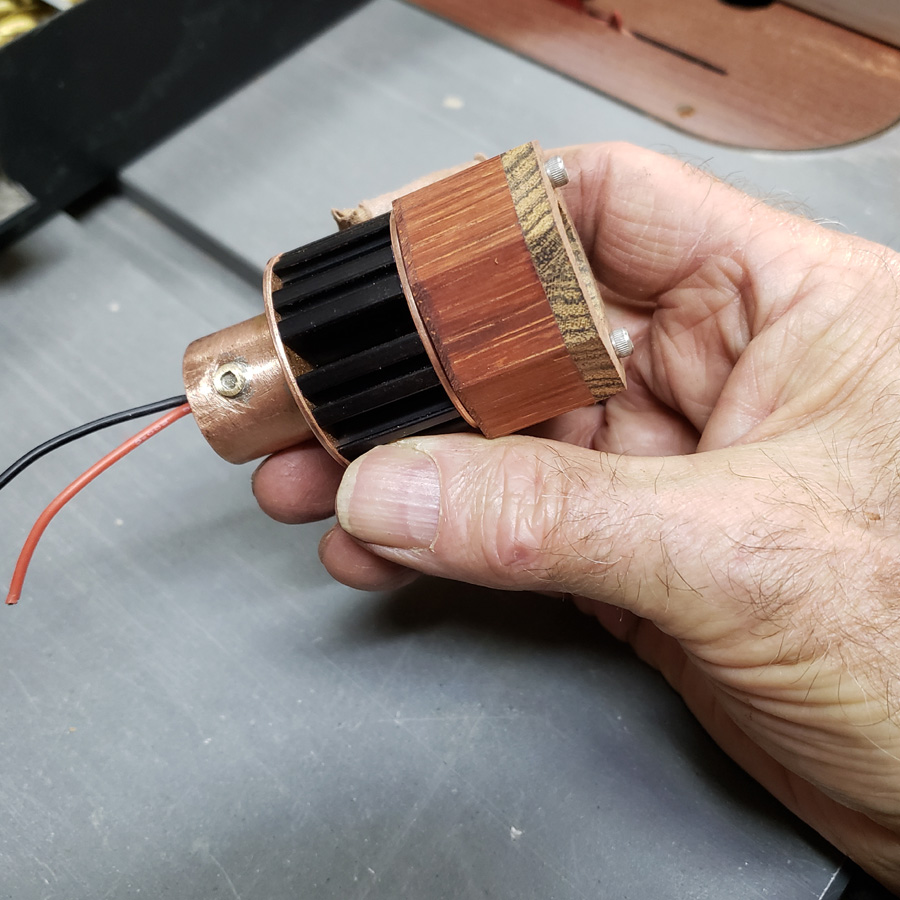
The driver mount (“pill”) in the center is to be screwed onto the other end of the heatsink. The bayonet tube will be inserted and affixed to the main body bloodwood octagon wood tube. The bloodwood octagon tube is at the lower edge of the image.
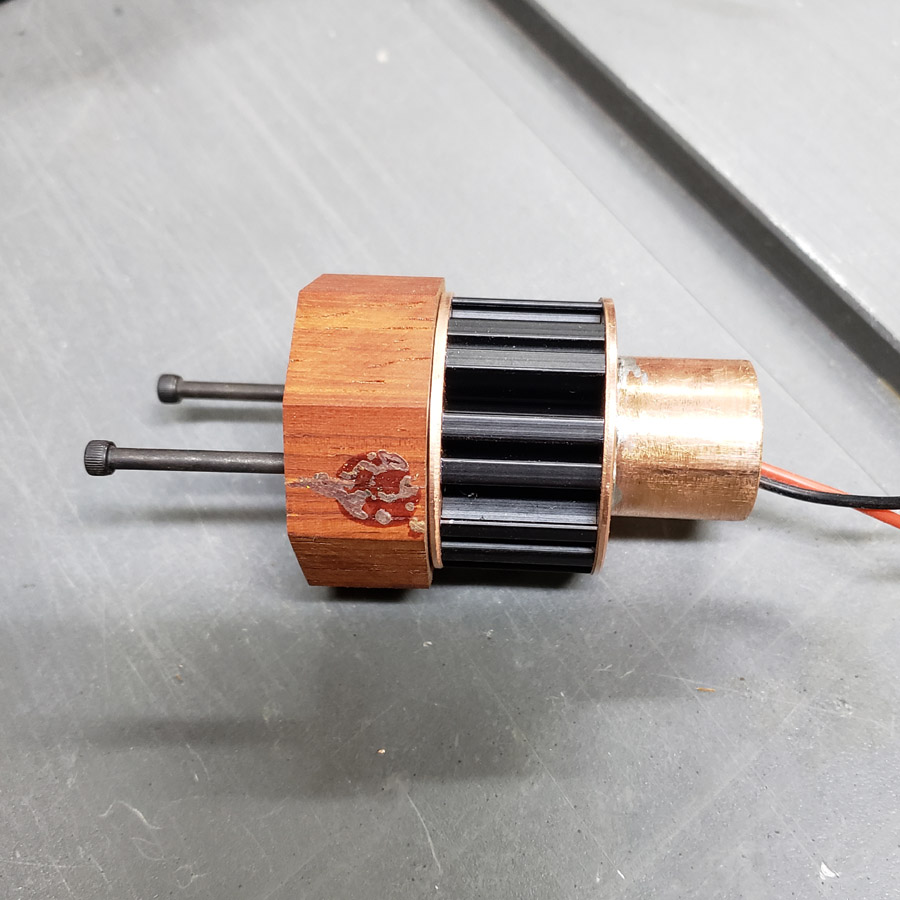
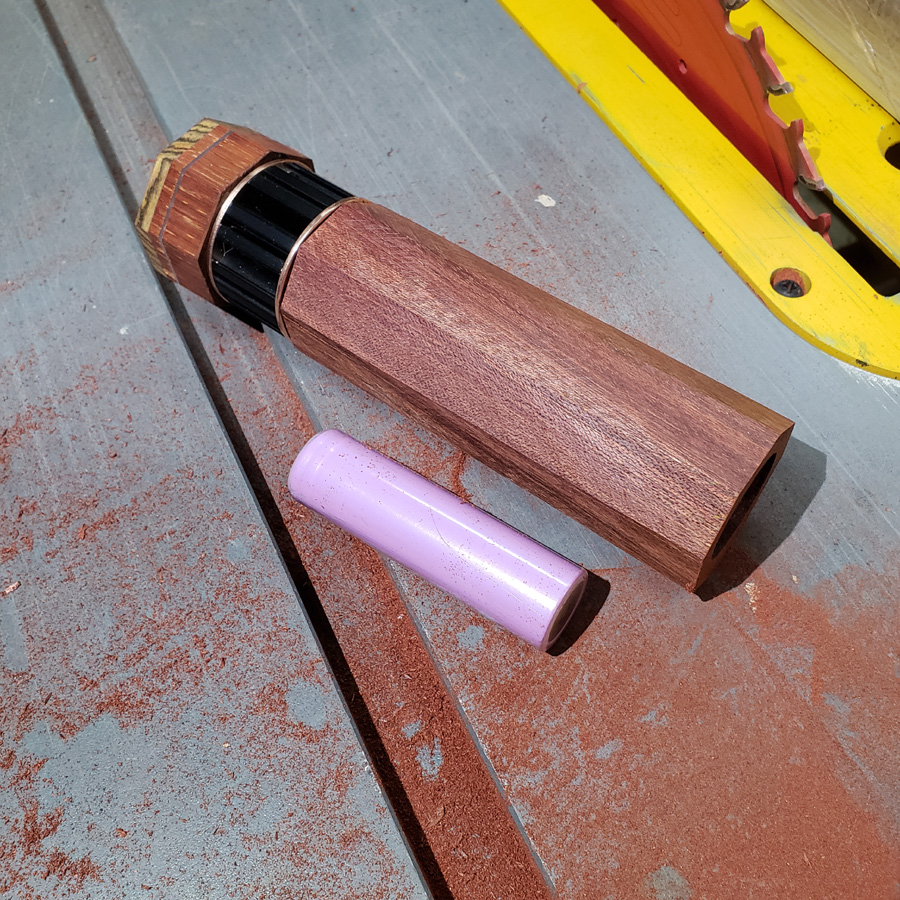
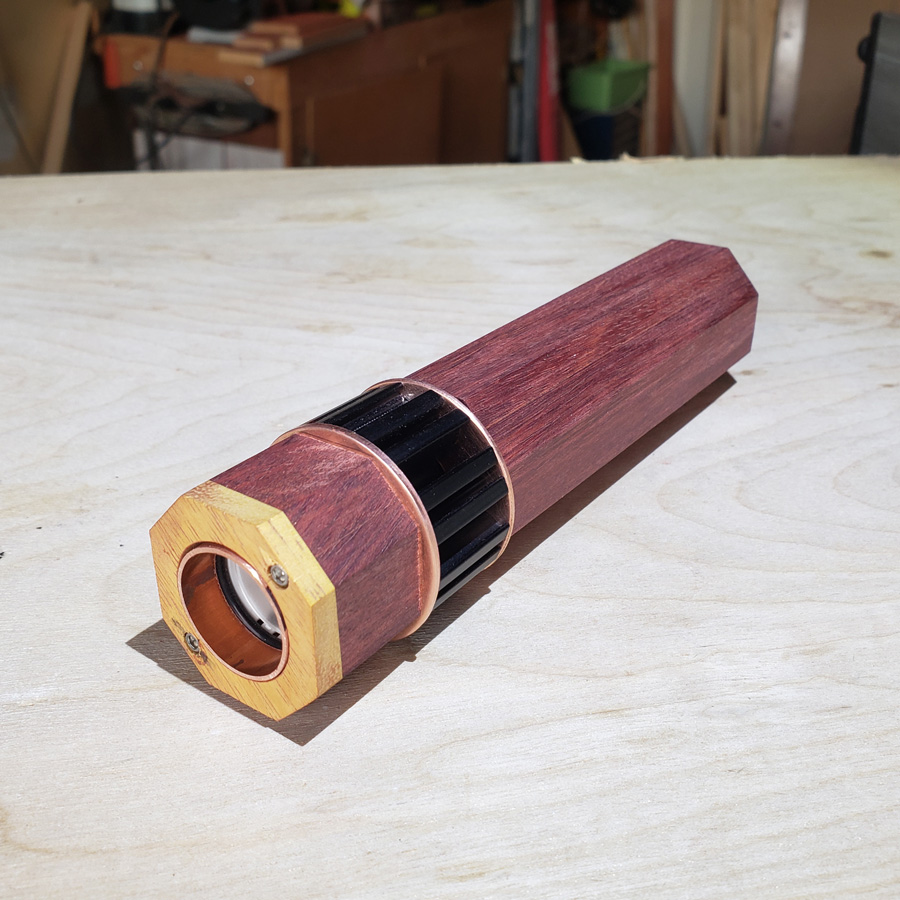
Here’s all the above pieces temporarily assembled.
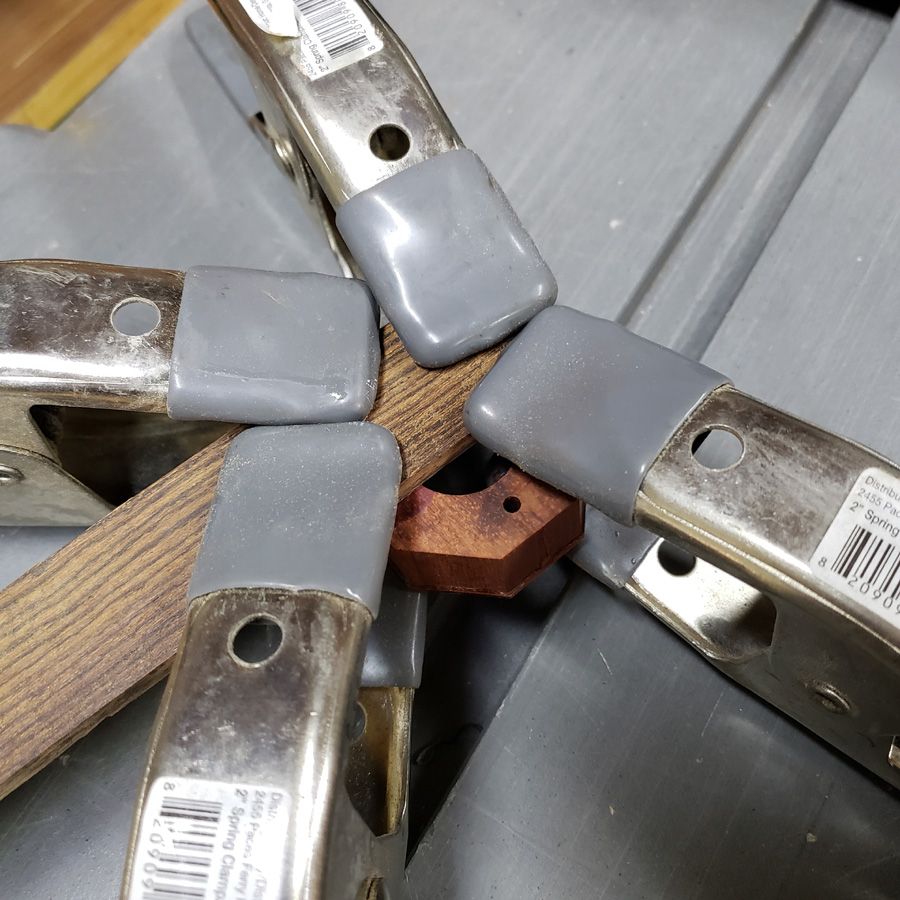
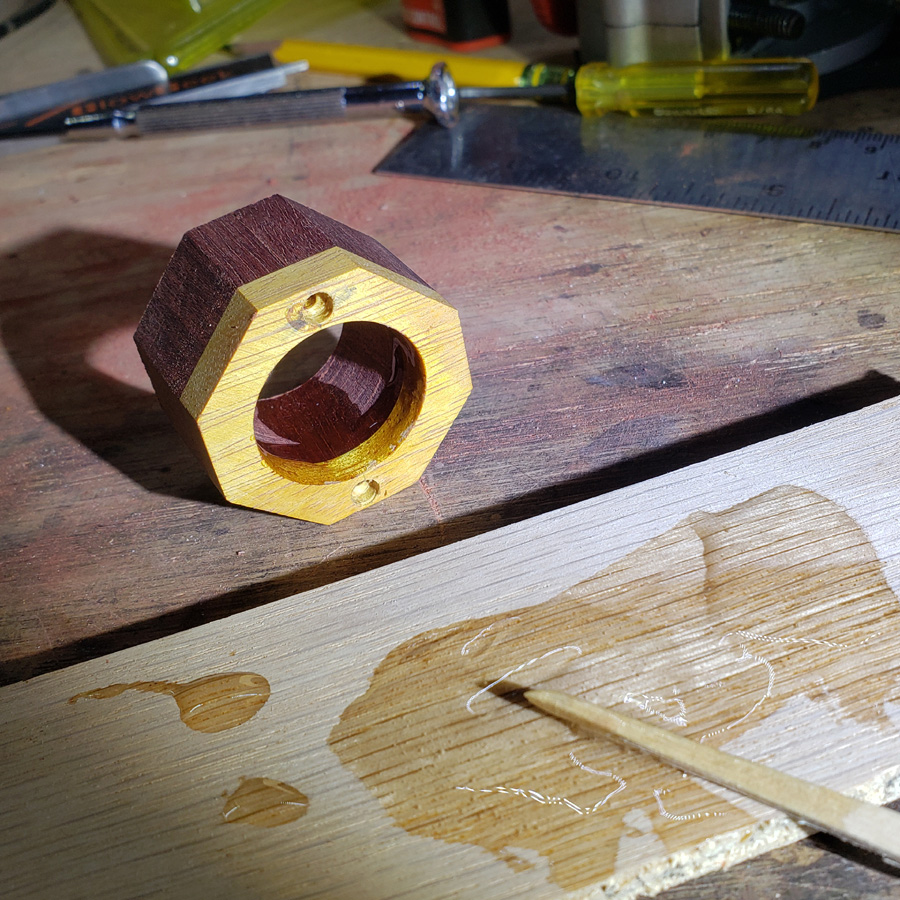
To close off this installment we have a photo of the head with cear epoxy applied inside the front of the bore. Once that has set up hard the front will be sanded smooth and final fitting of the other head pieces will be done.
Thanks for looking and bearing with my changes of plans.