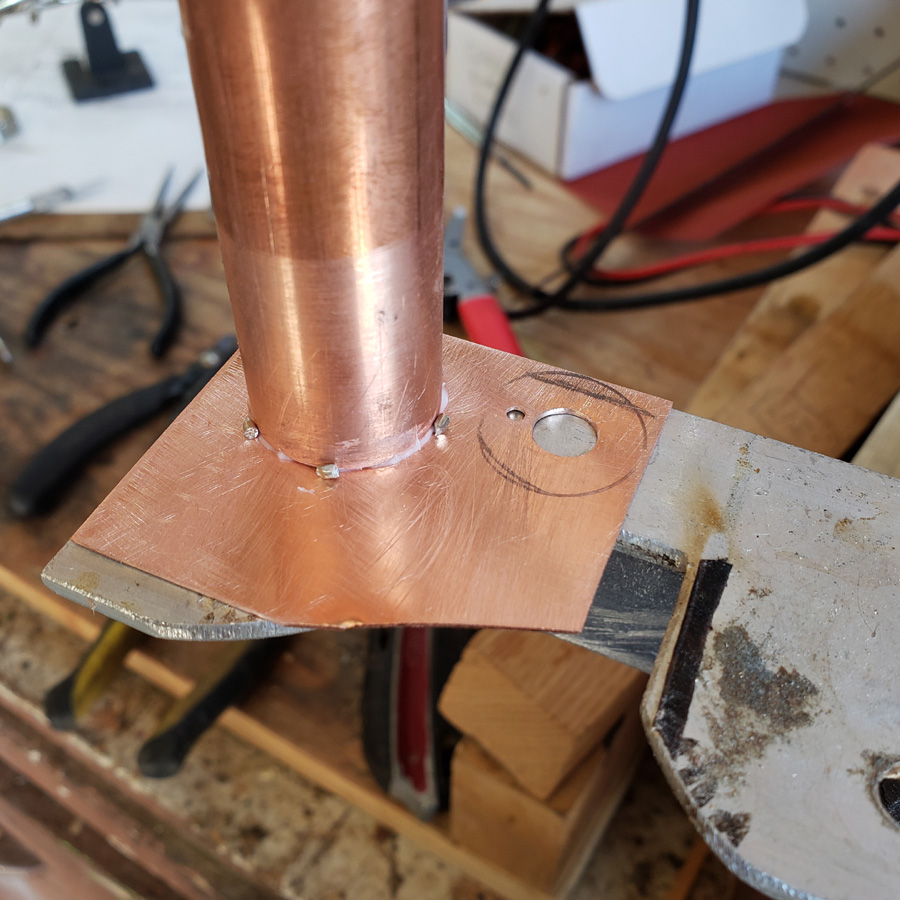
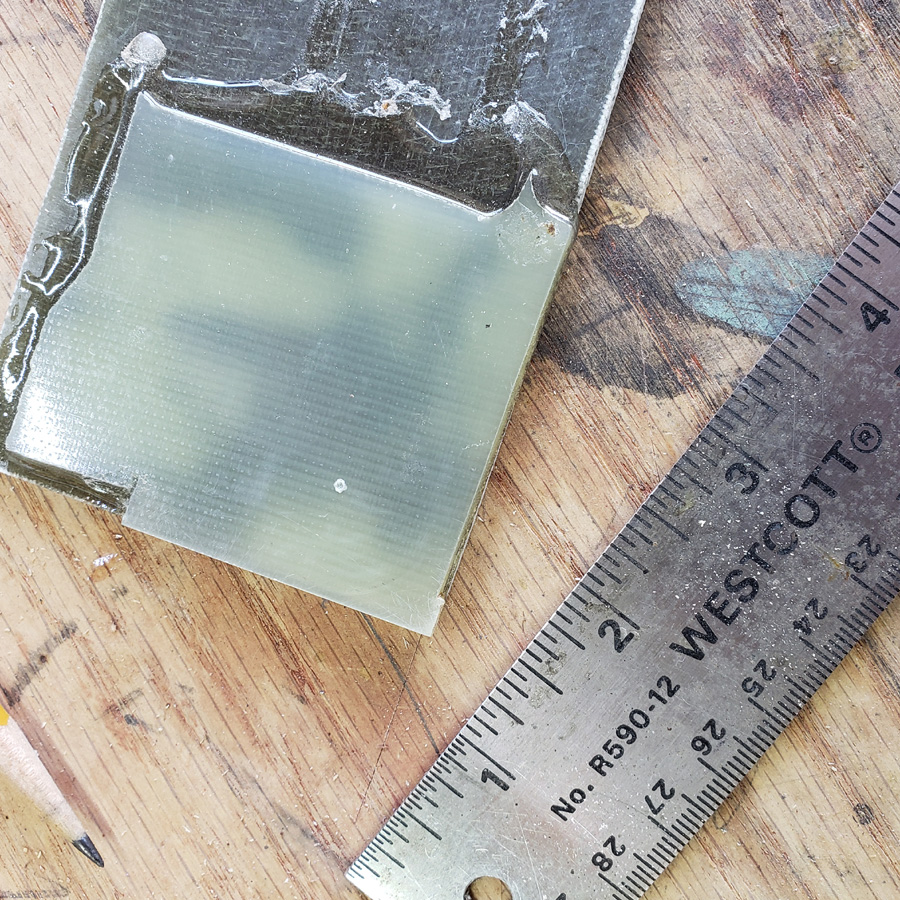
I have moved forward some… sorry, but the next image is out of focus. I guess that is what happens when juggling a lit butane torch, and the phone camera. The torch head and flame are just barely visible. The square in the background is sharp though. 
Anyhow, it was time to solder the bayonet sleeve to the main battery carrier tube.
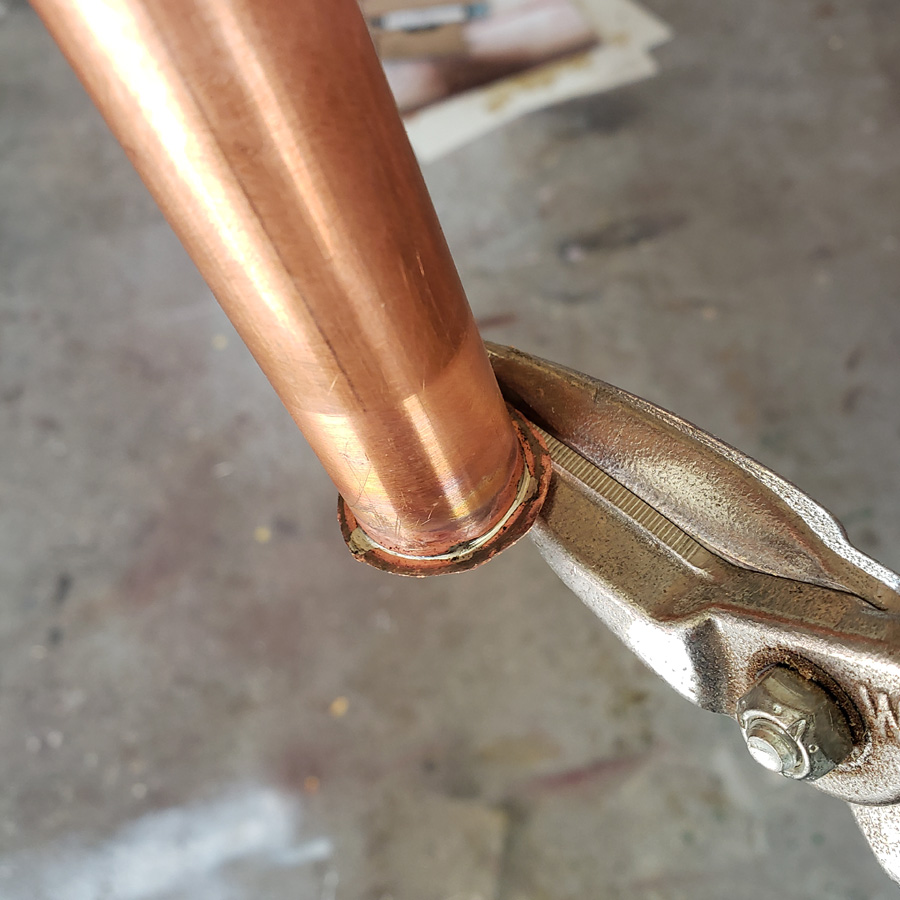
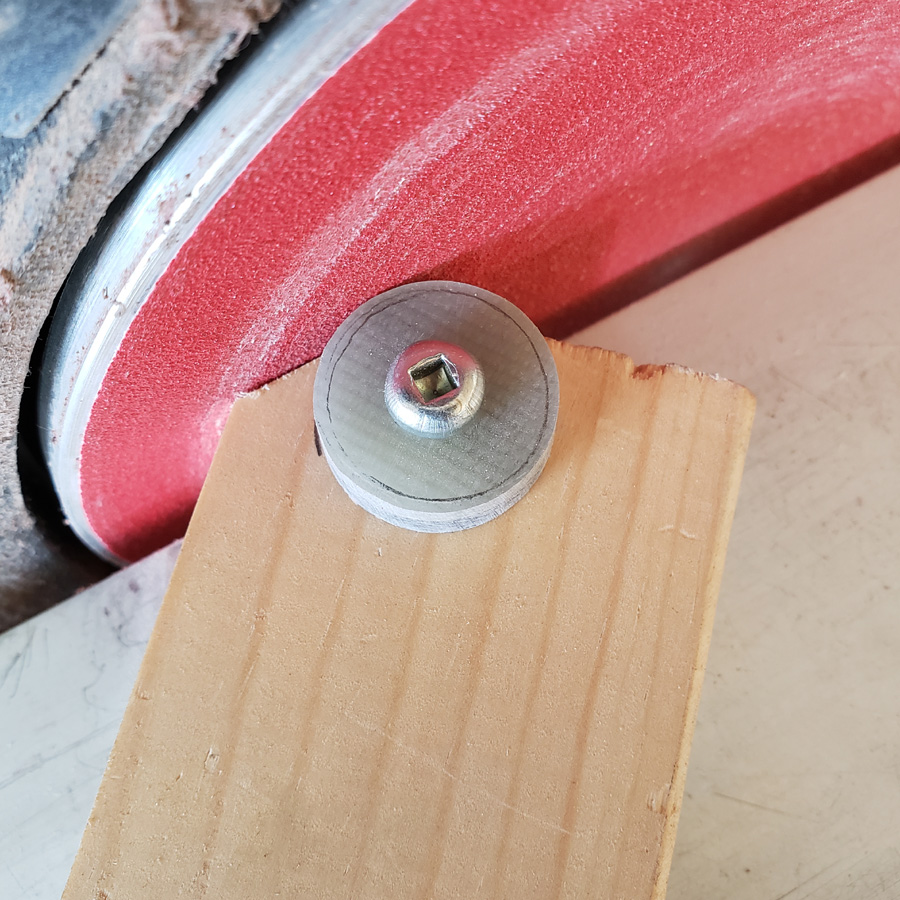
Once it cooled I cleaned it up.
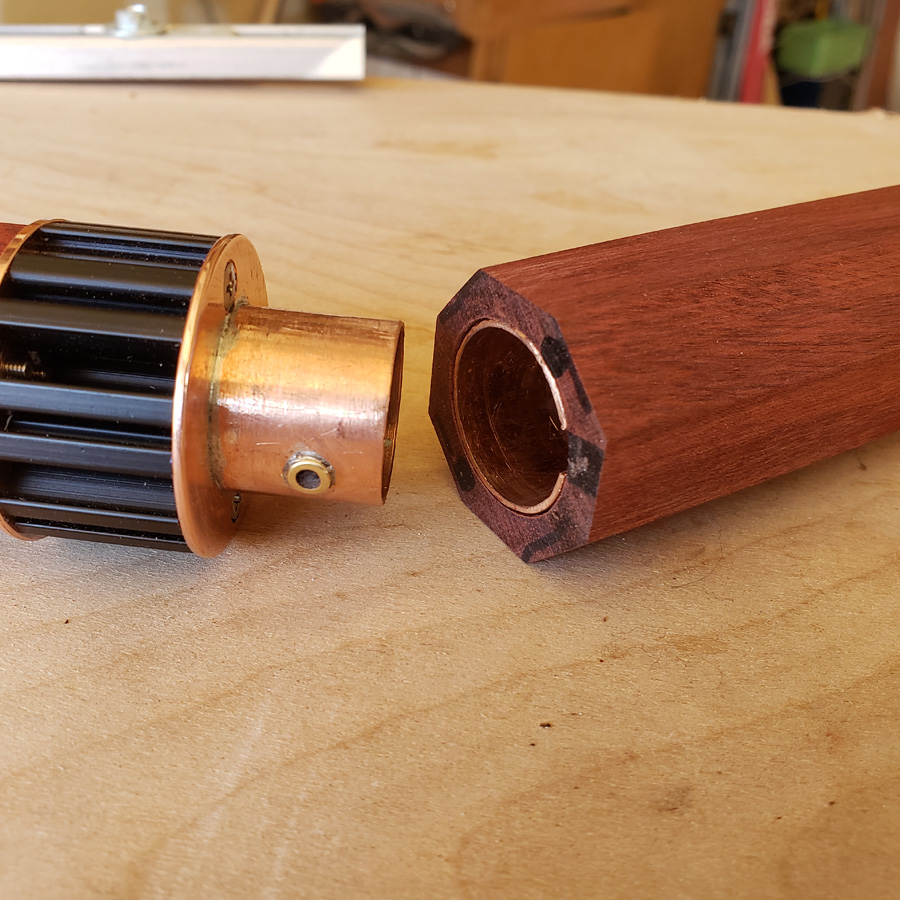
Here’s the head assembly with the bayonet sleeve and body inner tube fitted into place.
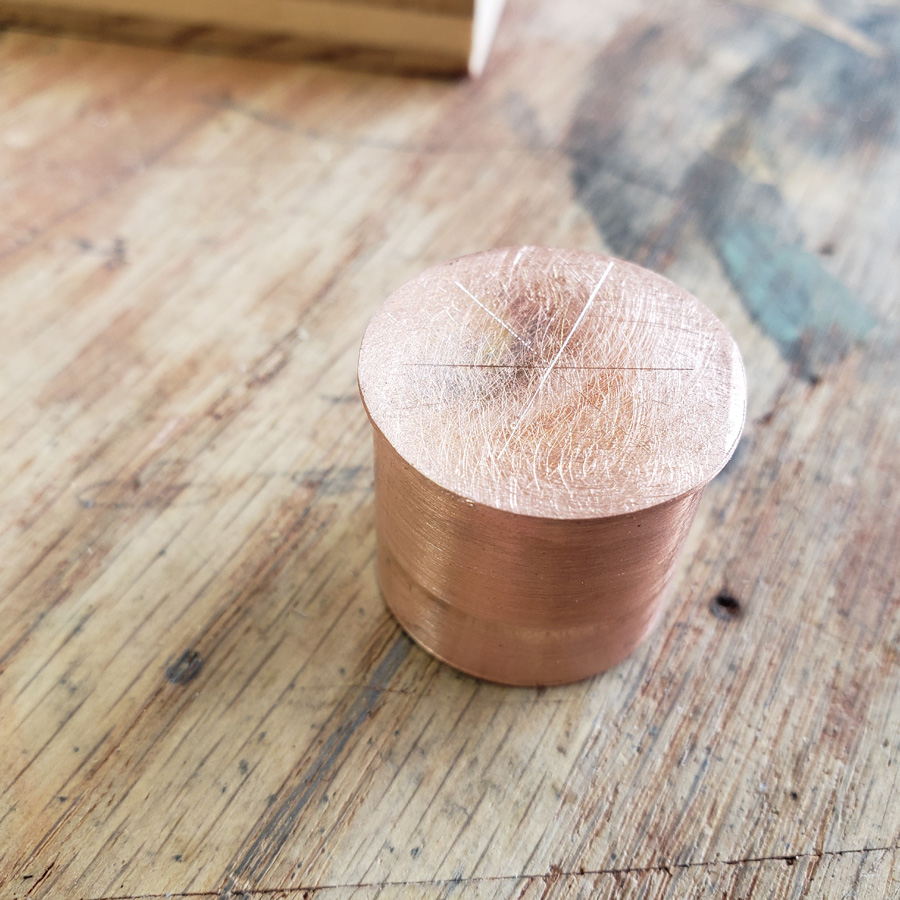
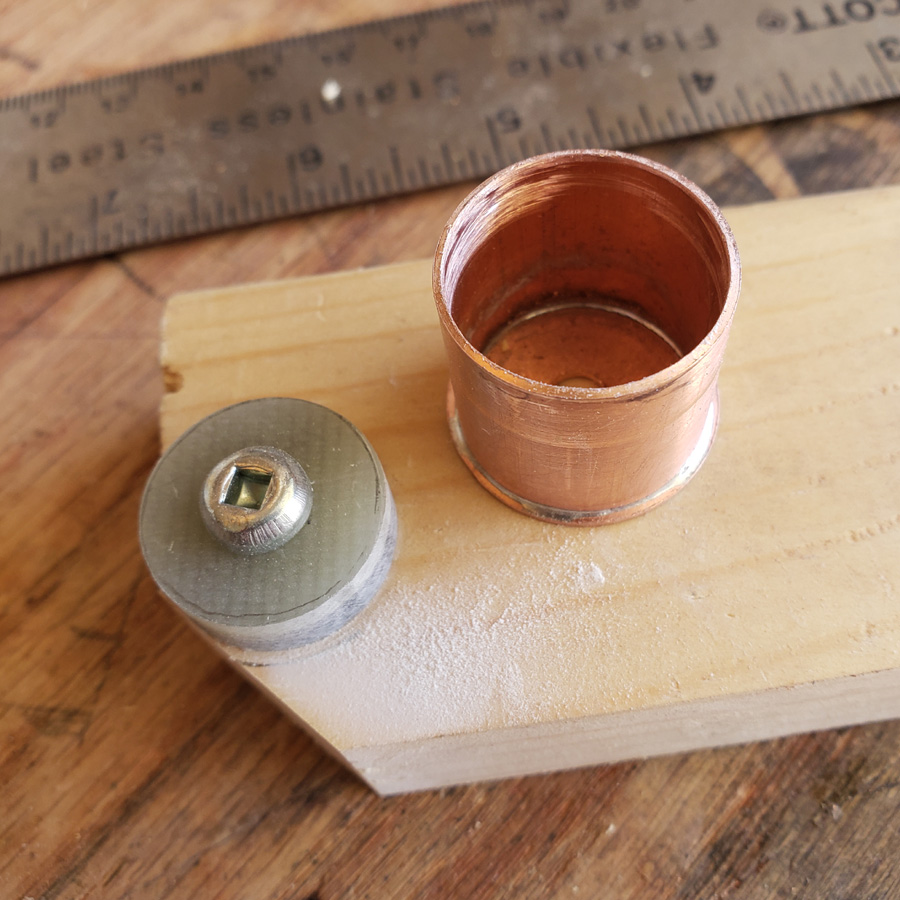
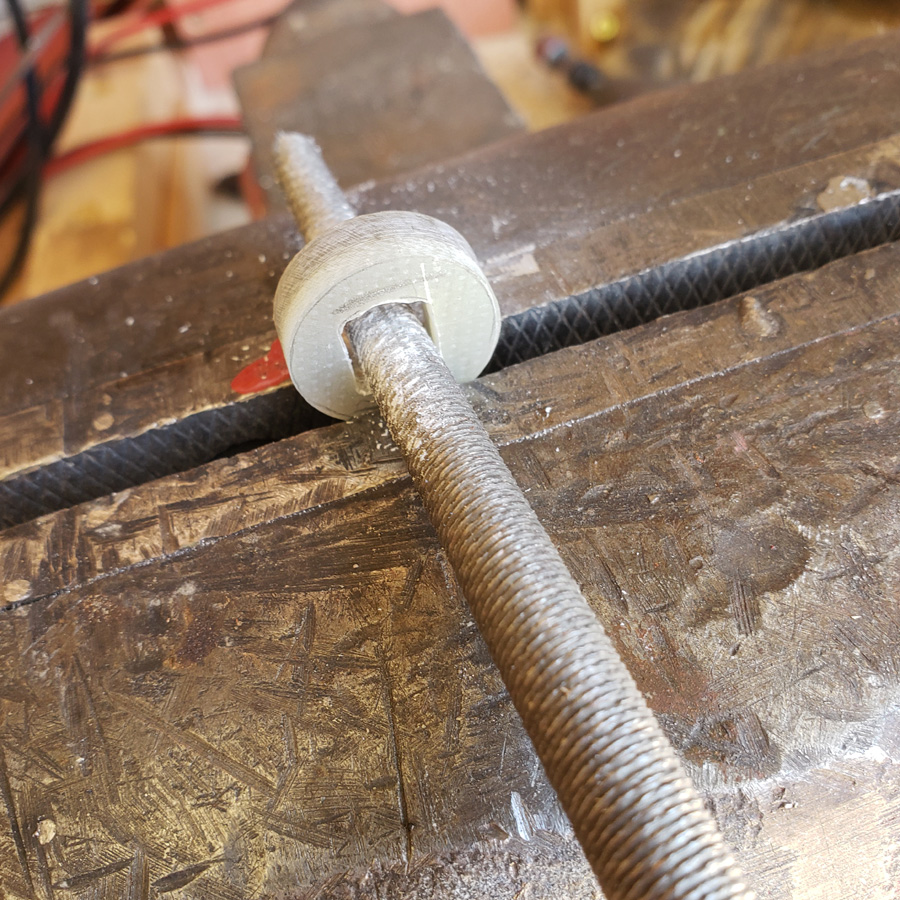
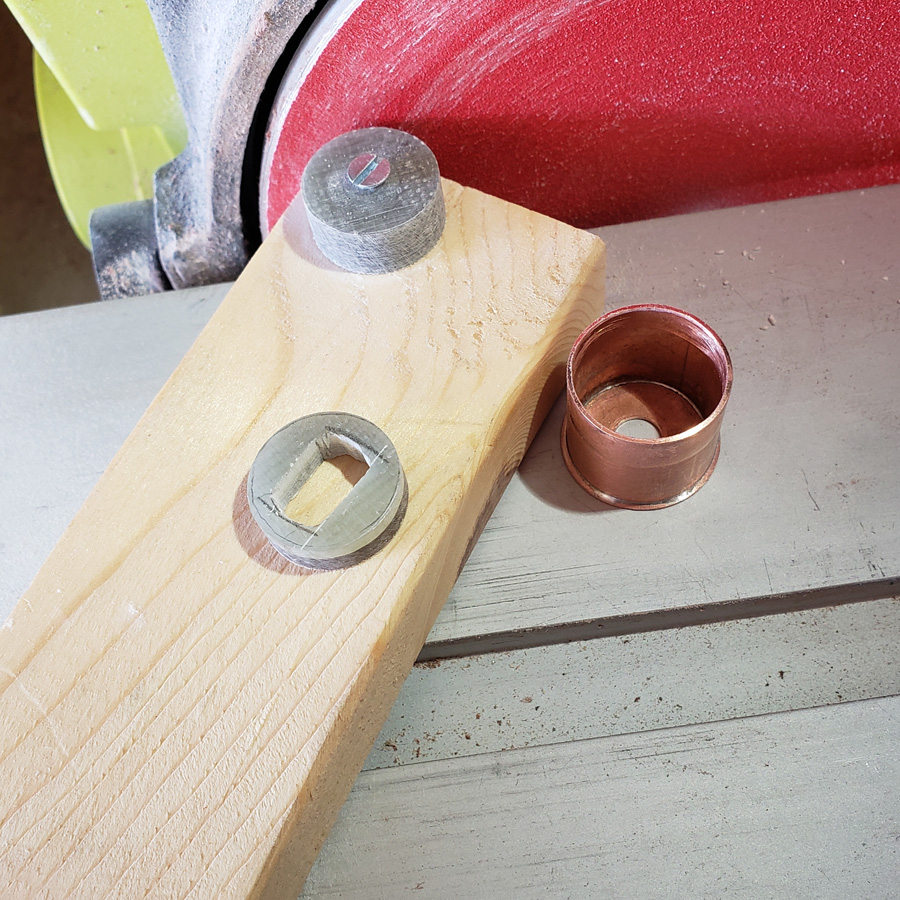
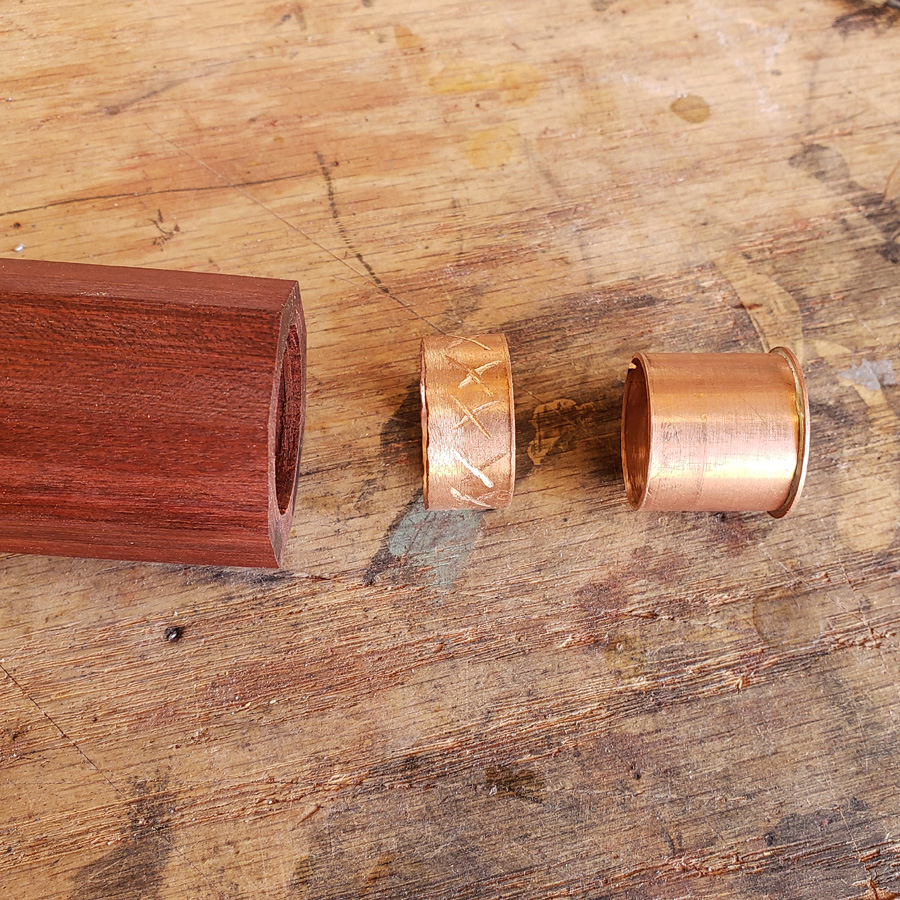
I needed some sleeve/coupler sections and used my tubing cutter to do the cutting. Slow going because the short lengths didn’t provide much grip for turning in the cutter, but more accurate than me trying to hacksaw and maintain a straight end.
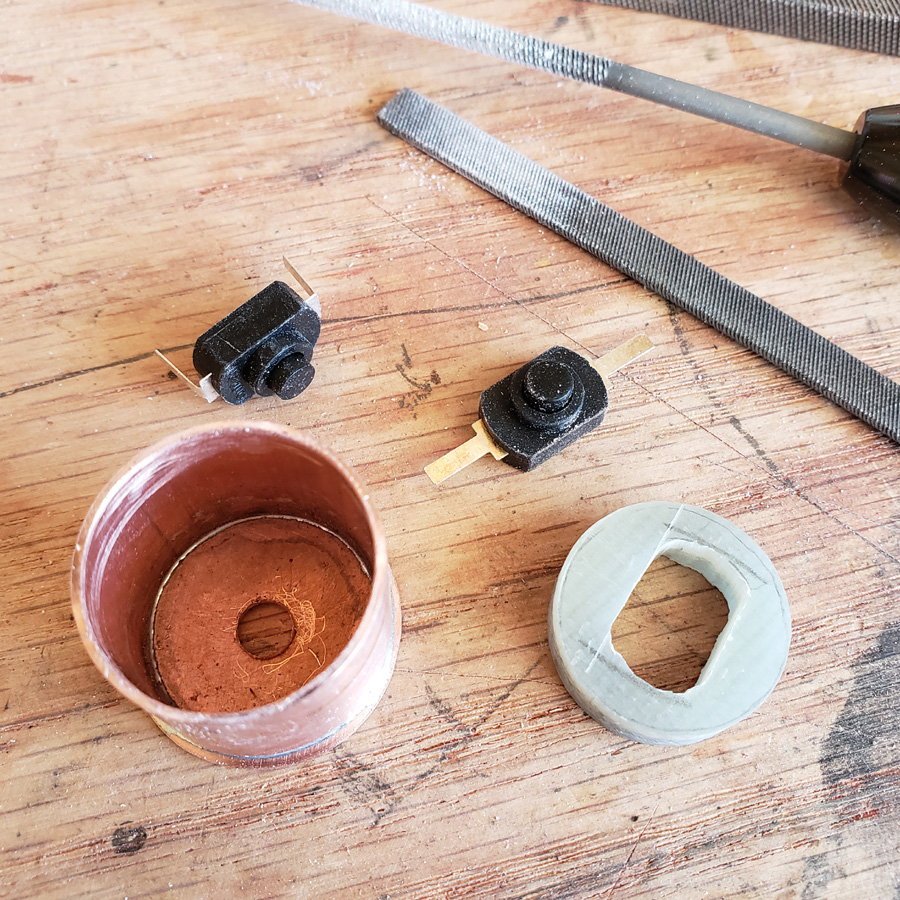
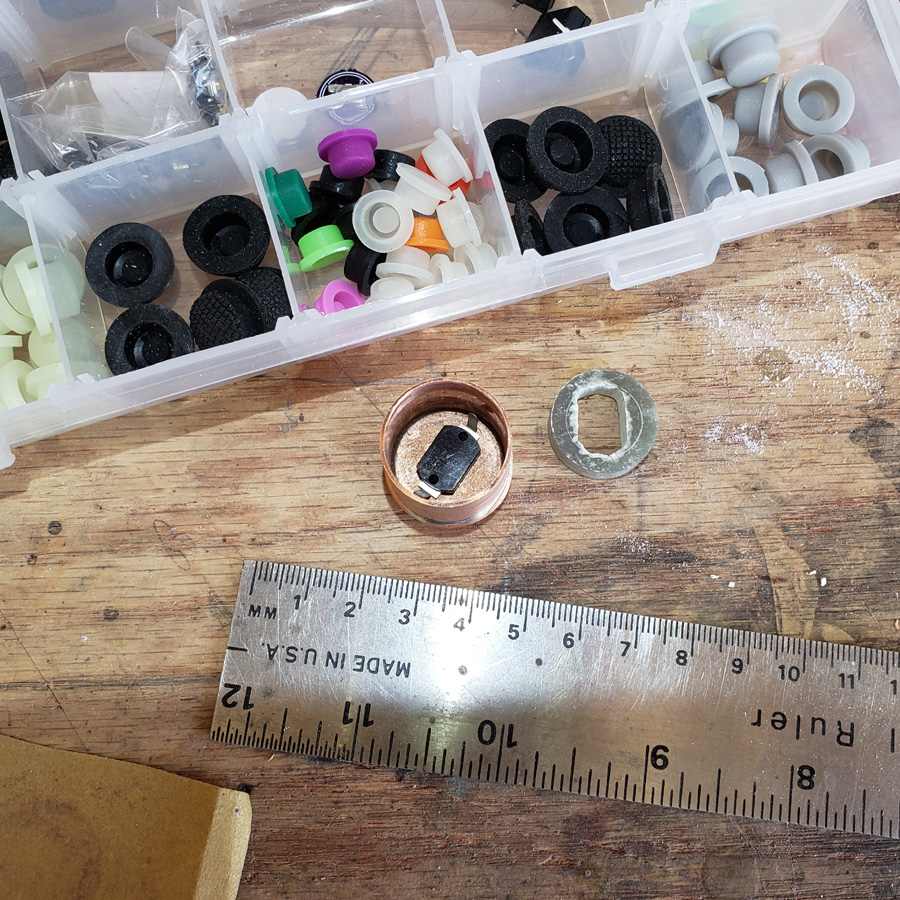
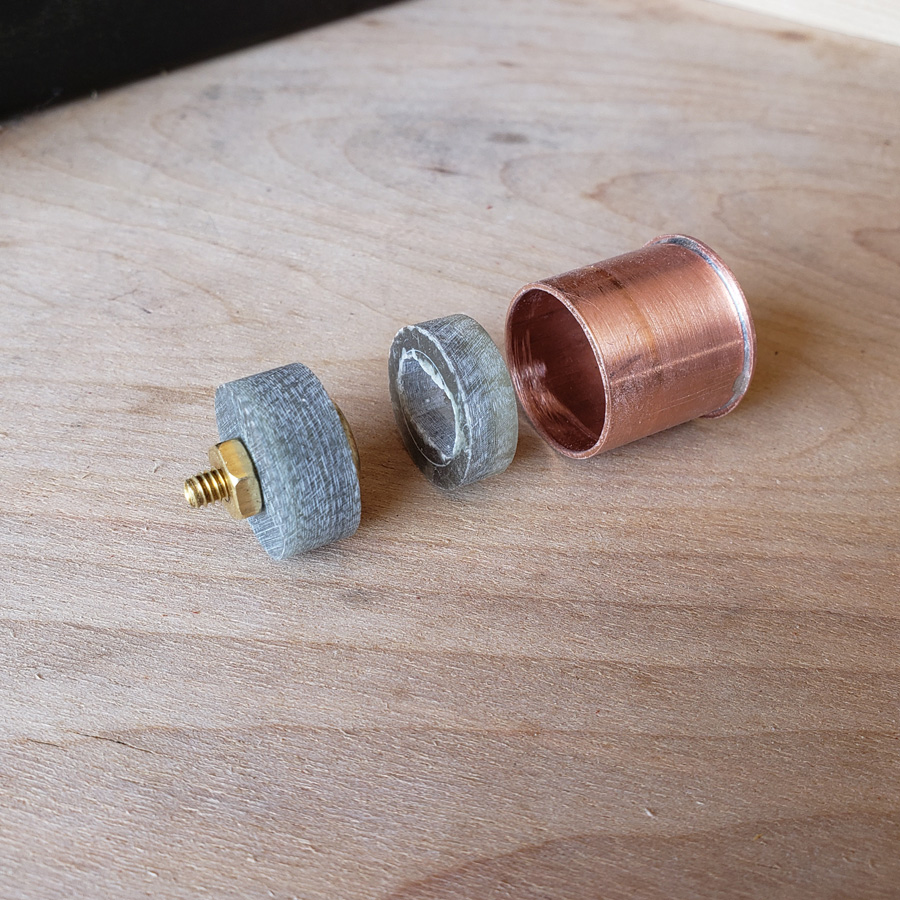
Parts….

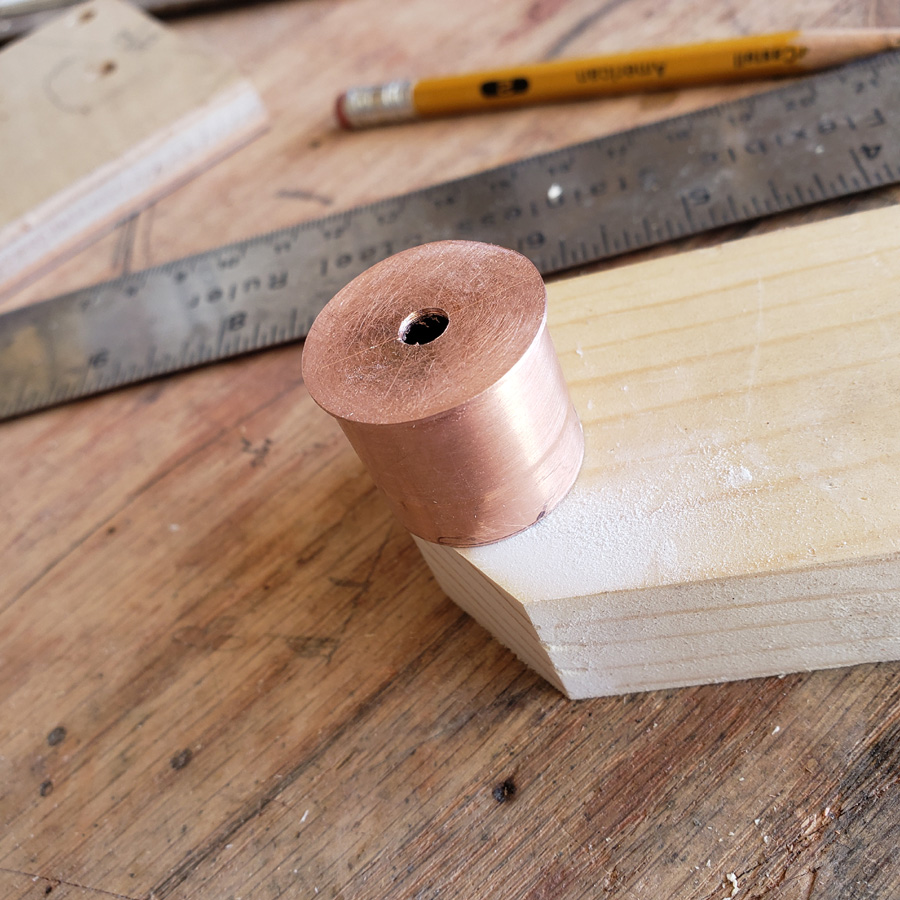
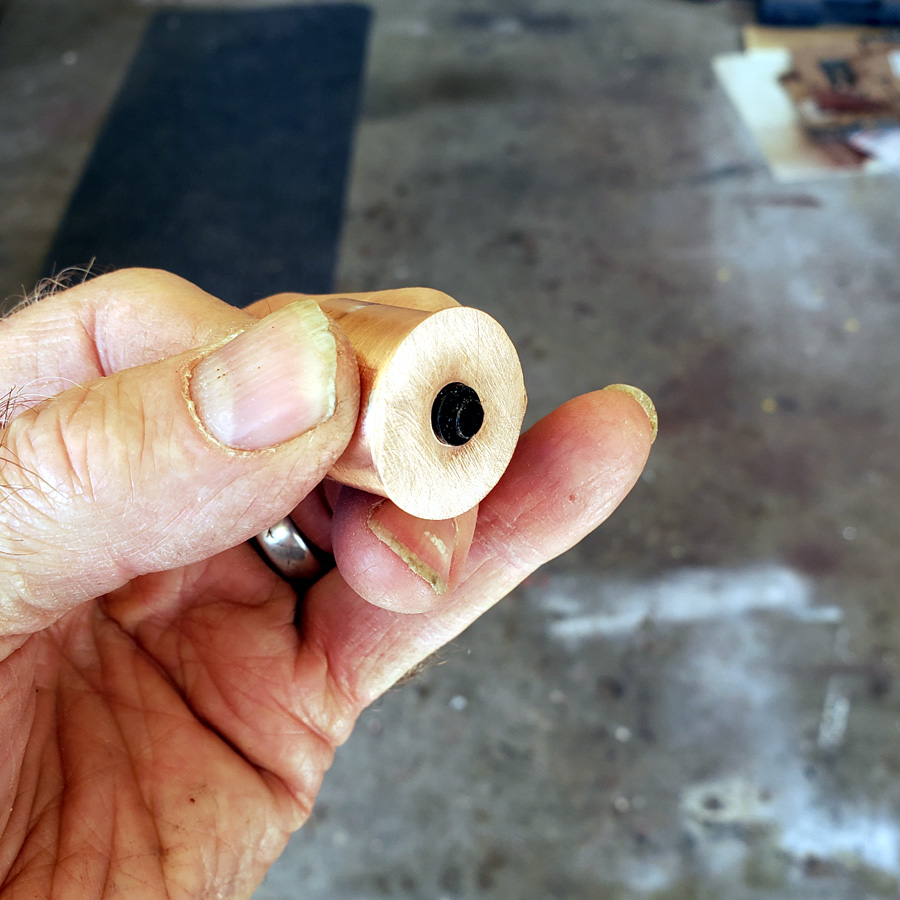
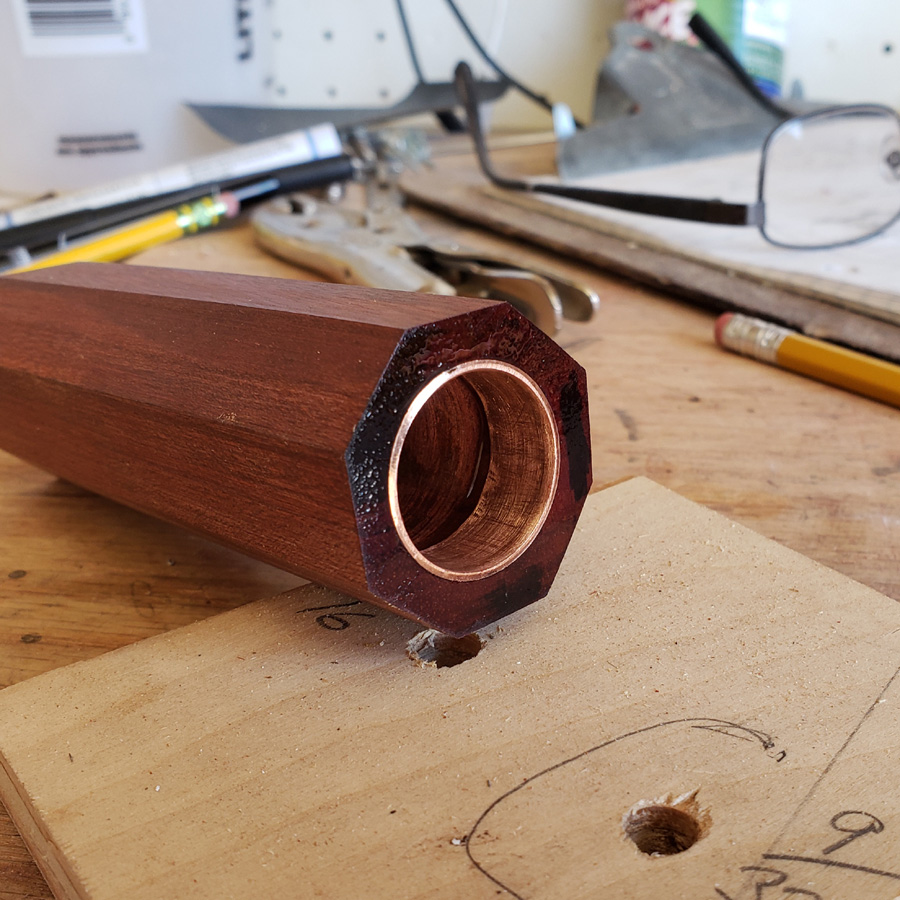
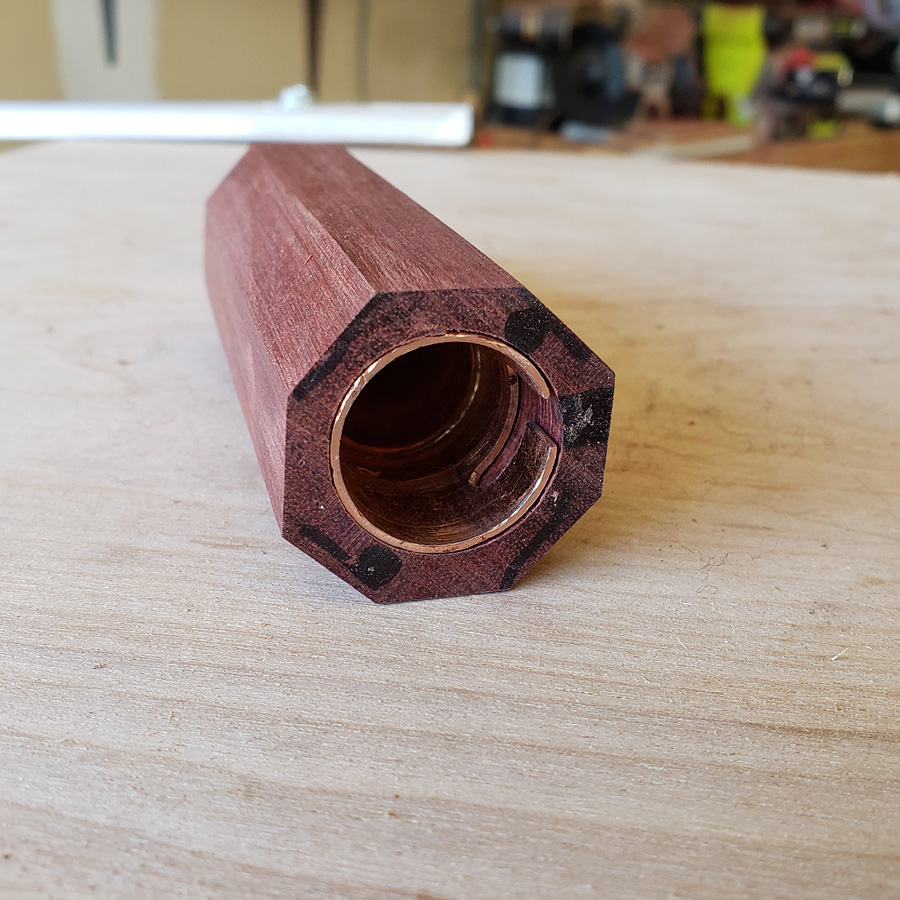
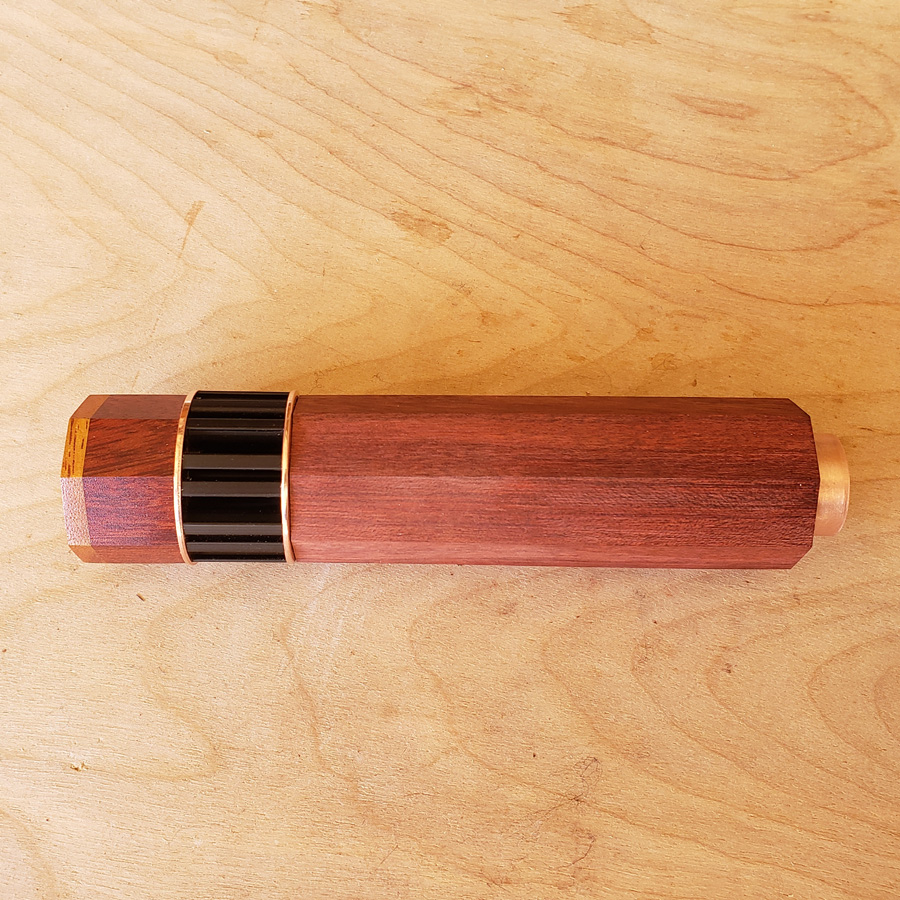
This is the wood body tube with the copper bayonet assembly inserted. The inner copper and outer wood pieces need to be mated; screwed or bolted or glued. I will be fixing them together with a machine screw or two in a later step.
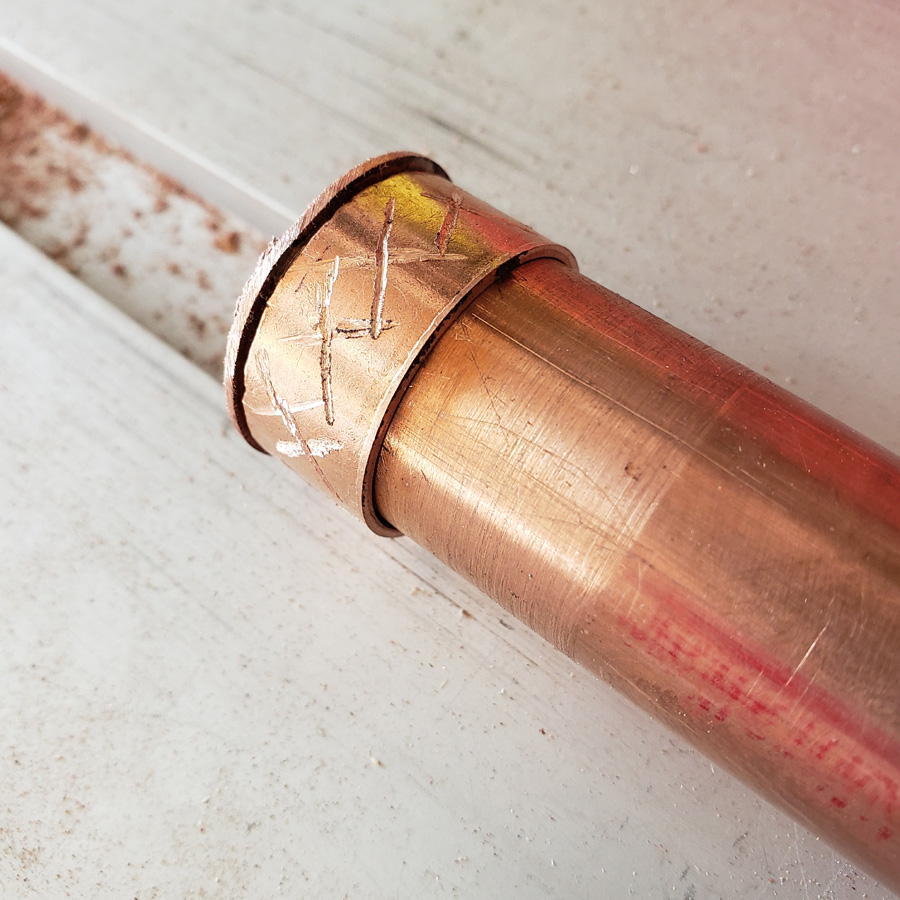
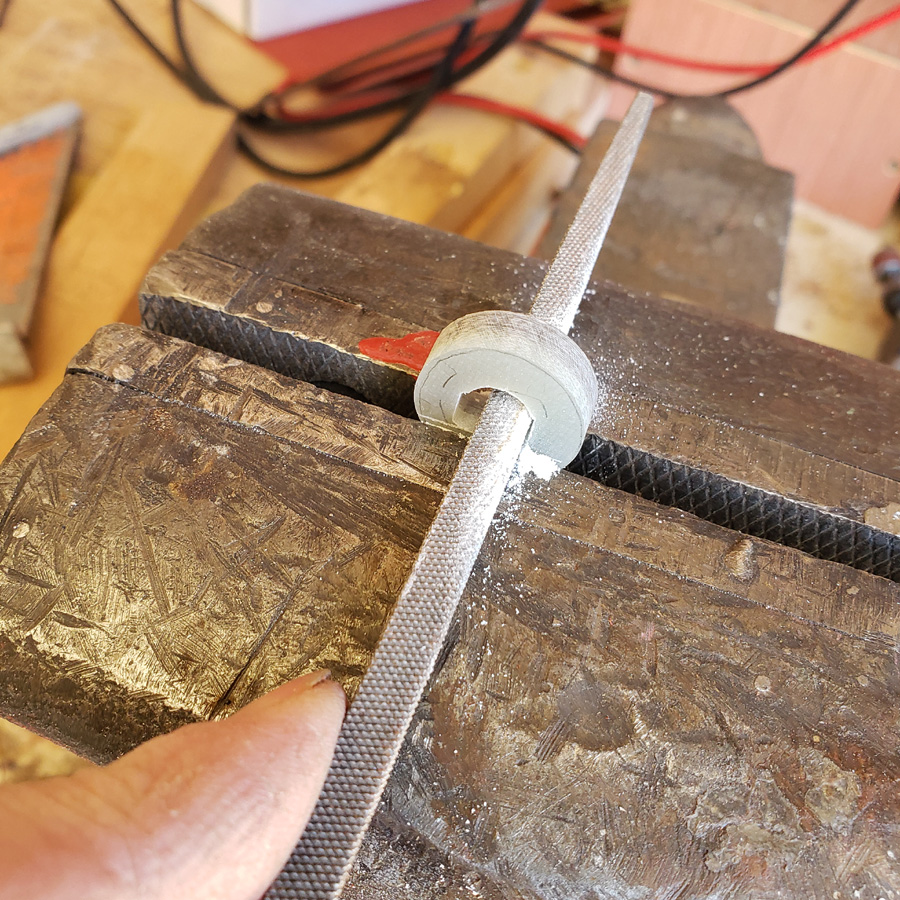
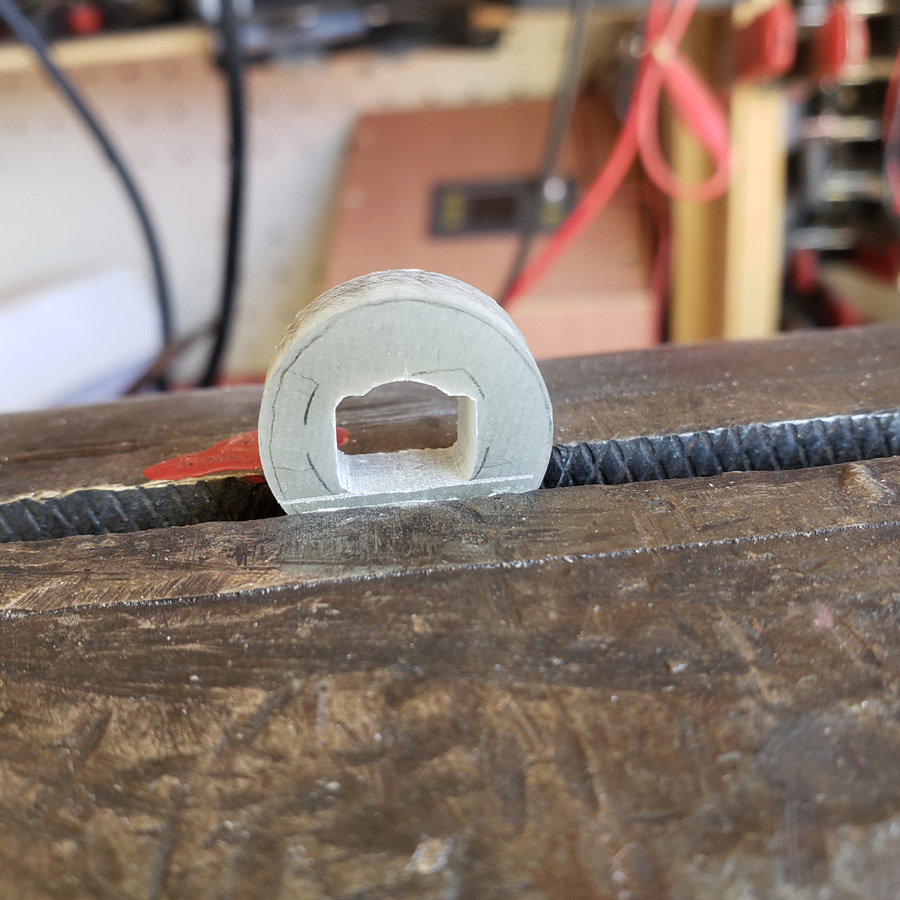
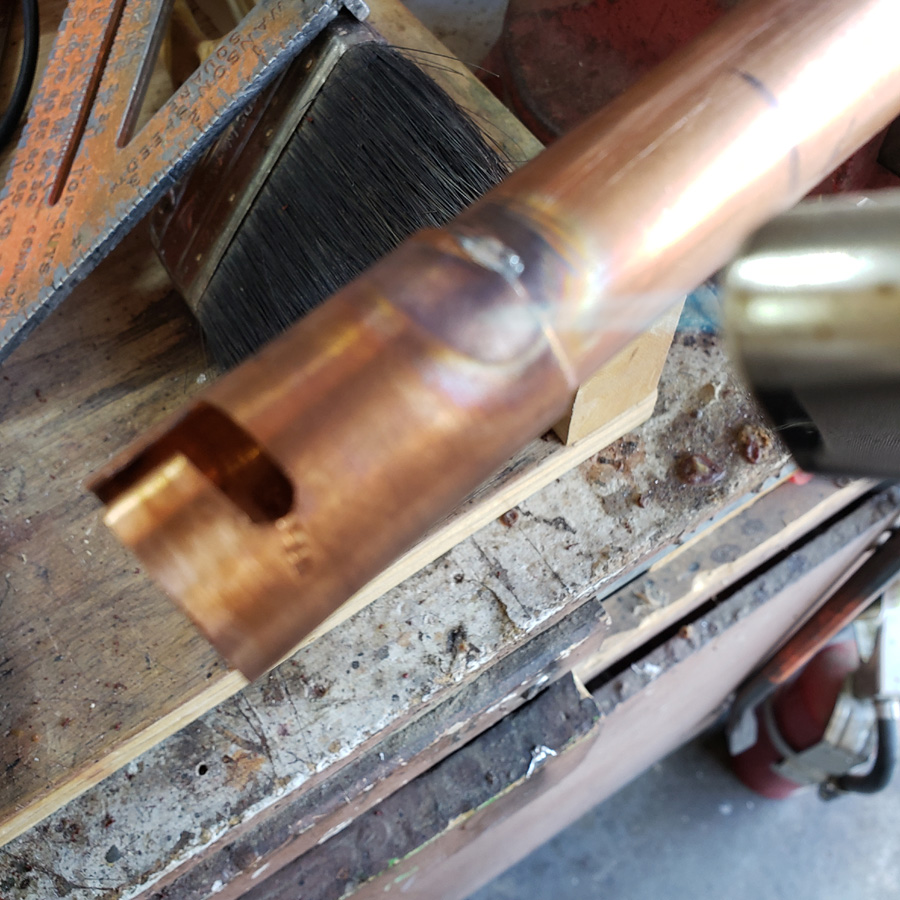
The bayonet slot can be seen….
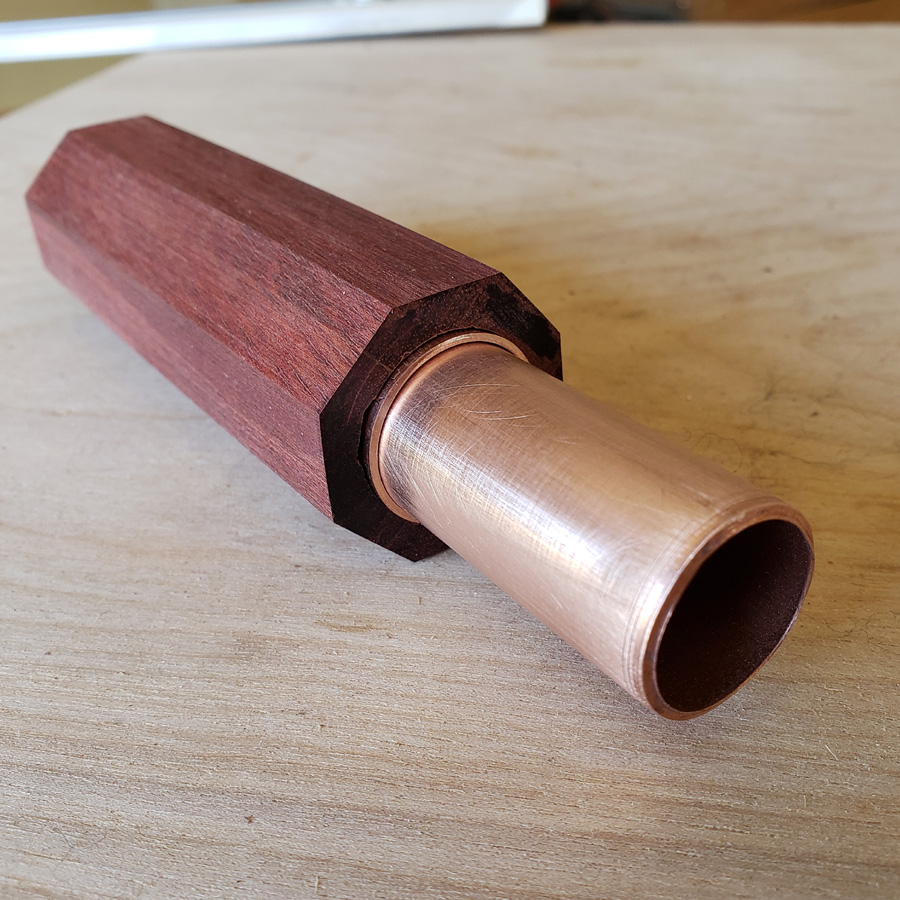
The tail end. The copper tube still needs to be trimmed to length. I won’t know the exact length until the driver is secured in its holder.
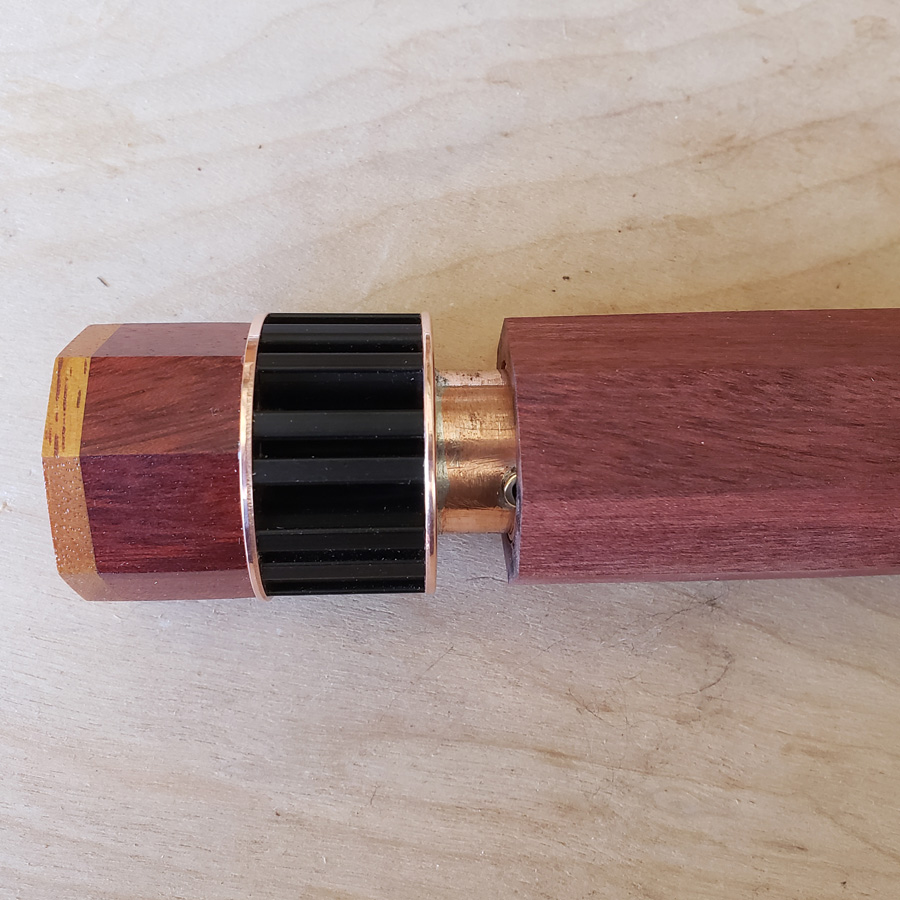
Trial fitting of head and body parts… The black marker square denotes the position of the slot in the copper sleeve.
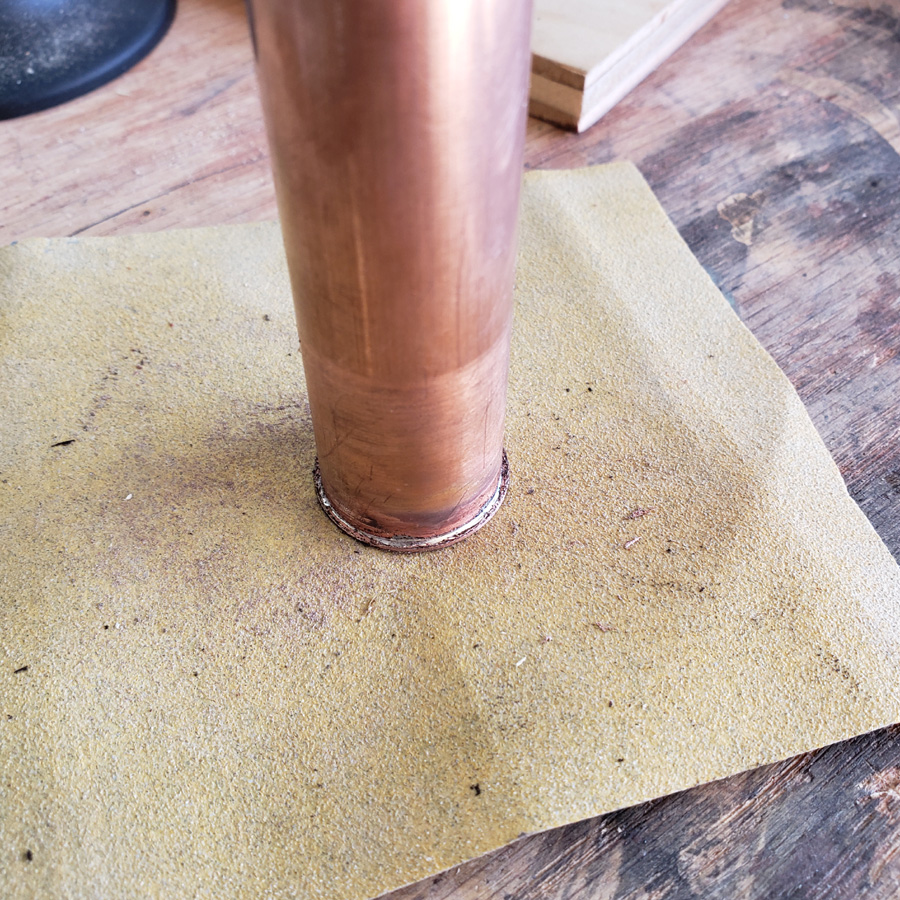
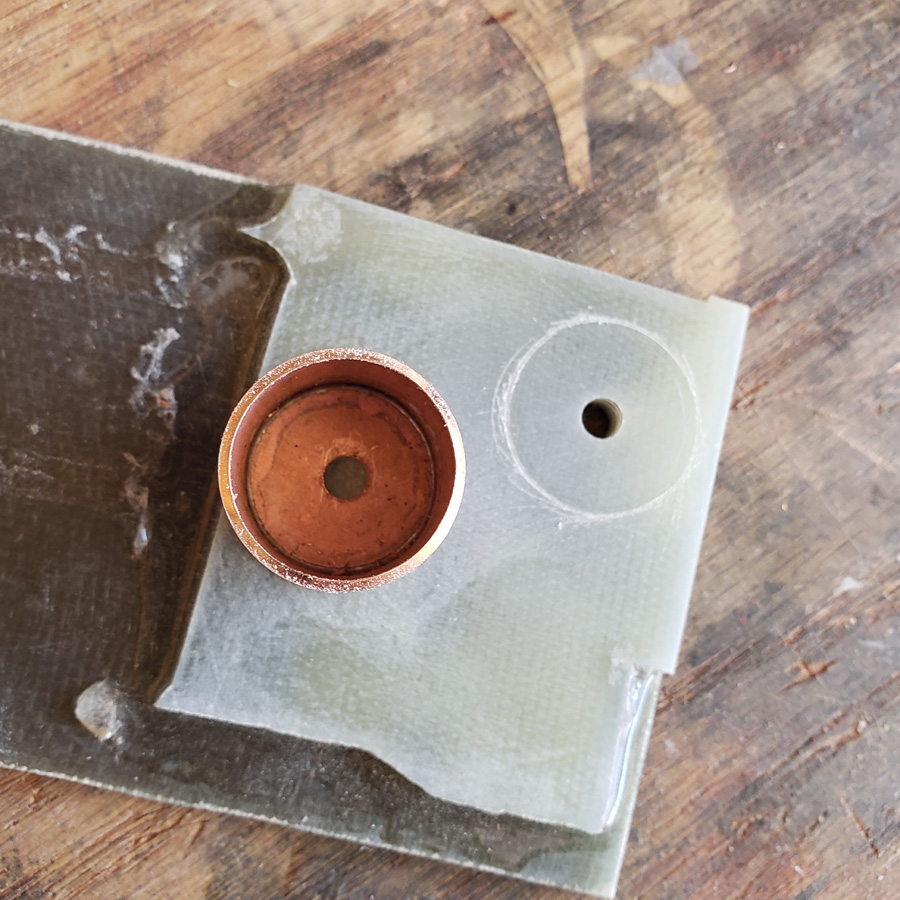
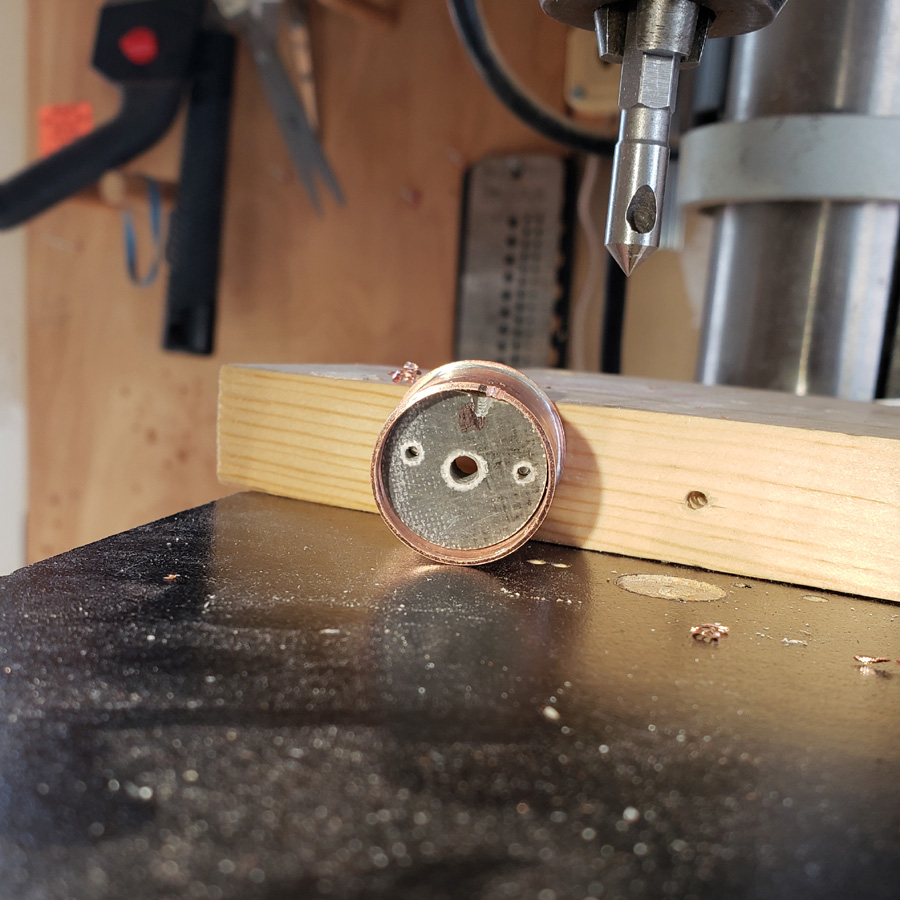
The new driver arrived. I flashed it with Crescendo and then tested it. It worked. Then it was soldered in place. That was easier said than done. The mass of copper dissipated the applied heat rather quickly. Eventually I was able to get the solder to flow between the copper tube mount and the ground ring on the driver.
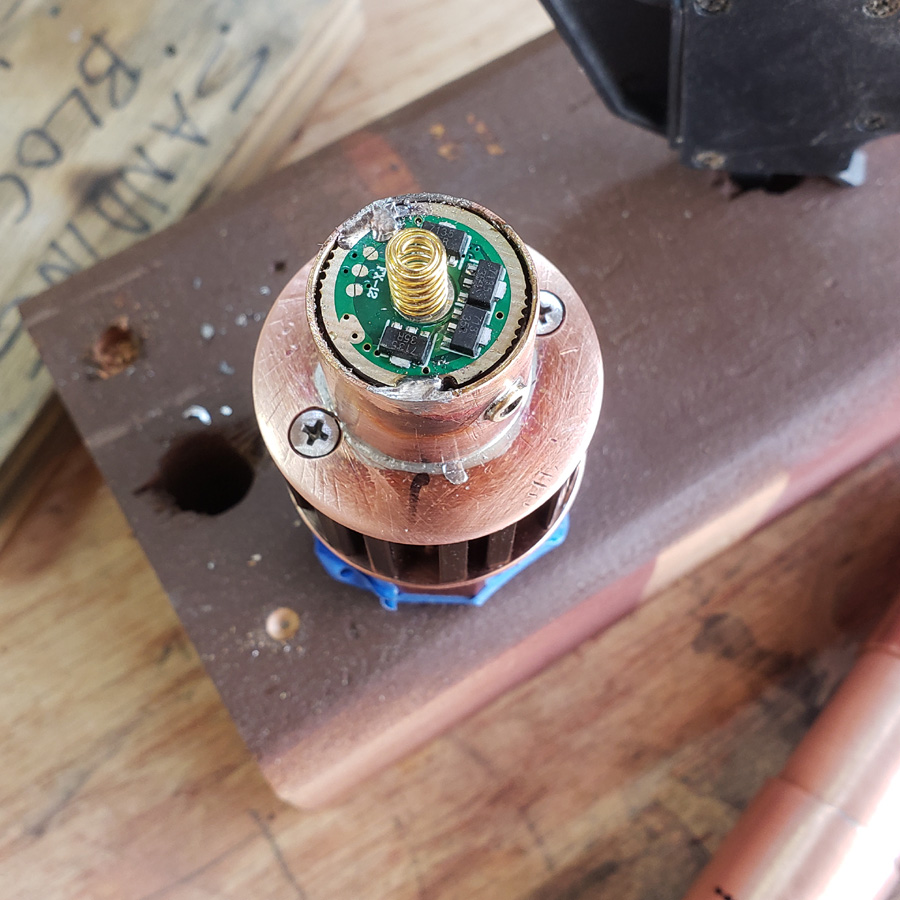
After things cooled down I tested again and was able to confirm that all was good. I had not fried any parts.  The ramping up and down, etc all functioned. The image shows the head and metal body tube assembled. There is an 18650 cell inserted and I used a pair of tweezers to make/break the circuit to check the operation of the driver firmware. The blue masking tape is to protect the clear coated wood portion of the head during handling.

The next step is to finalize which one of the partially thought through tailcap and switch assemblies to use and build. I have had several ideas and as I ponder through a mental build, usually find difficulties that need to be worked through.
If you haven’t figured it out, because I don’t think I detailed it yet, this light is a traditional tailcap reverse clicky switch switch design.