It's not really Foy's fault, but due to looking at his threads, I decided to try modding one of these Solarforce L2 lights.
I bought an L2 empty, with an extension and a second tail cap. I had decided to do it with NiMH batteries, (you know how I am about Li-ions), so I figured I might as well go all the way and make it rechargeable in the light.
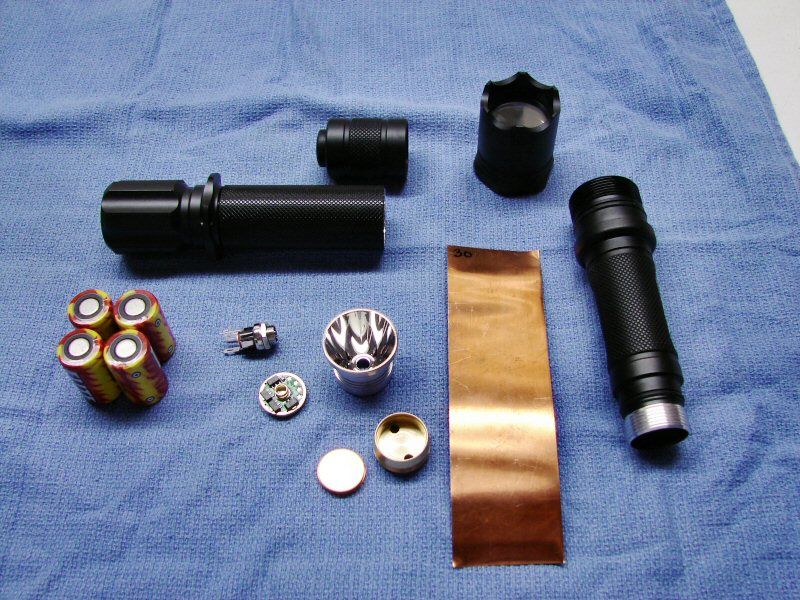
Here's a photo of the components.
I had to get E1320 to send me an empty drop-in. I thought I had one, but you know how that goes.
I'm using a NANJG driver and a Nichia 219, that I reflowed onto an XP-G star, some .010" copper sheet for a wrap around the drop-in and three 5/8" 18ga copper discs, to fill in the heat sink.
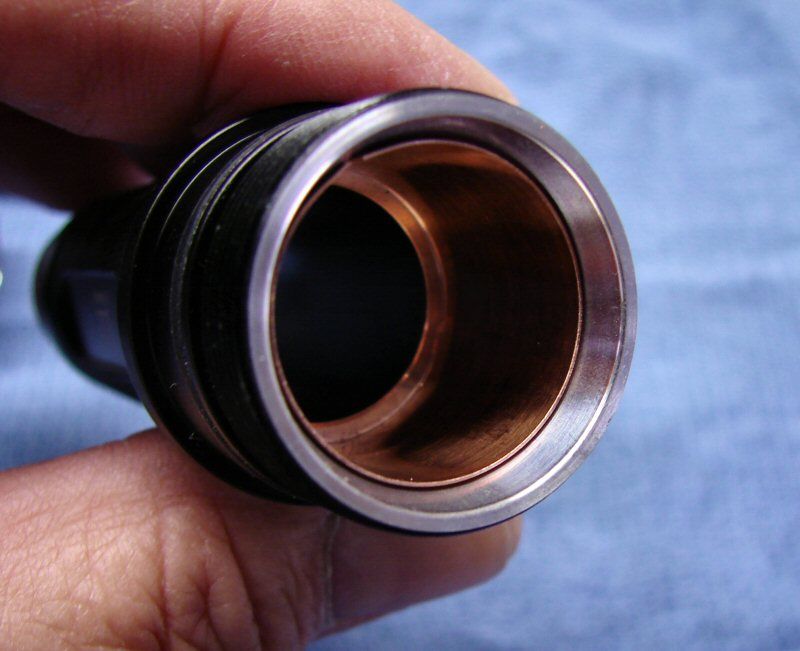
I cut a piece of the .010" (30ga)copper sheet and fit it into the drop-in opening. It is fairly snug. If I had .012" (28ga), I would have used it for a tighter fit.
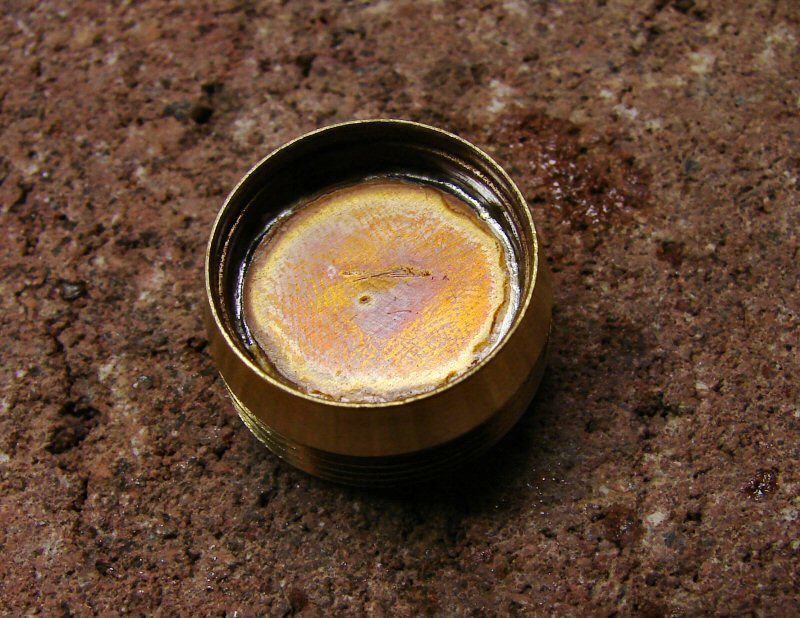
I soldered the three 18gax5/8" copper discs into the brass base of the drop-in. I pre-soldered one side of each discs, then I dropped them in and heated it up.
When I solder these in place, I use a screwdriver to put pressure on them, so it squeezes out the solder, for a thinner joint. It's gonna run out the holes in the base, so I have to fix that in a minute.
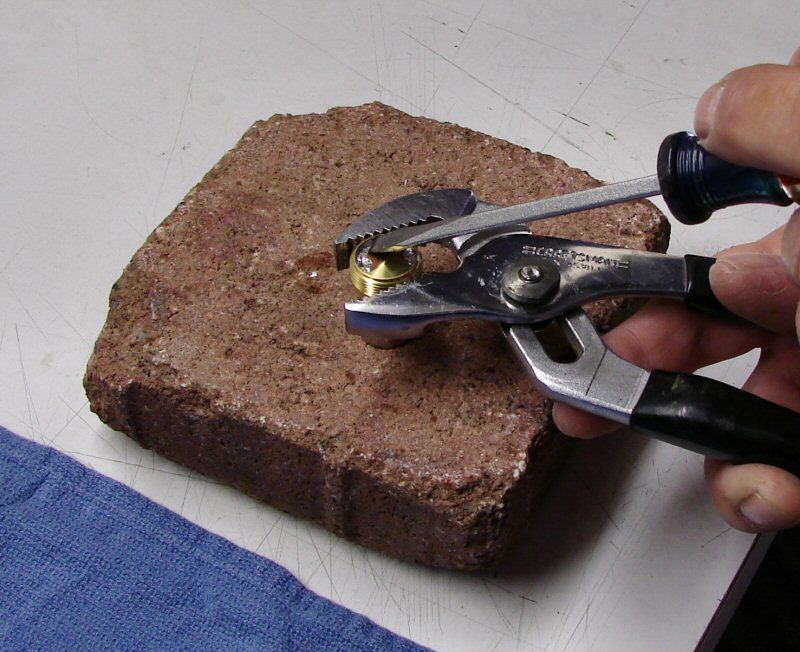
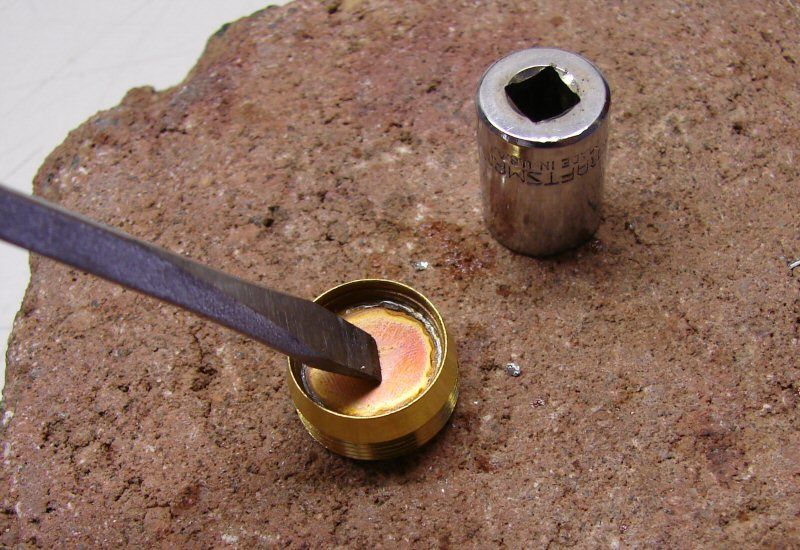
I use the socket you saw in the other photo and turn the base over. Using something to hold it, I heat it again and just scrape away the excess solder with a screwdriver. You could use a solder sucker or copper braid, but this works and I'm lazy.
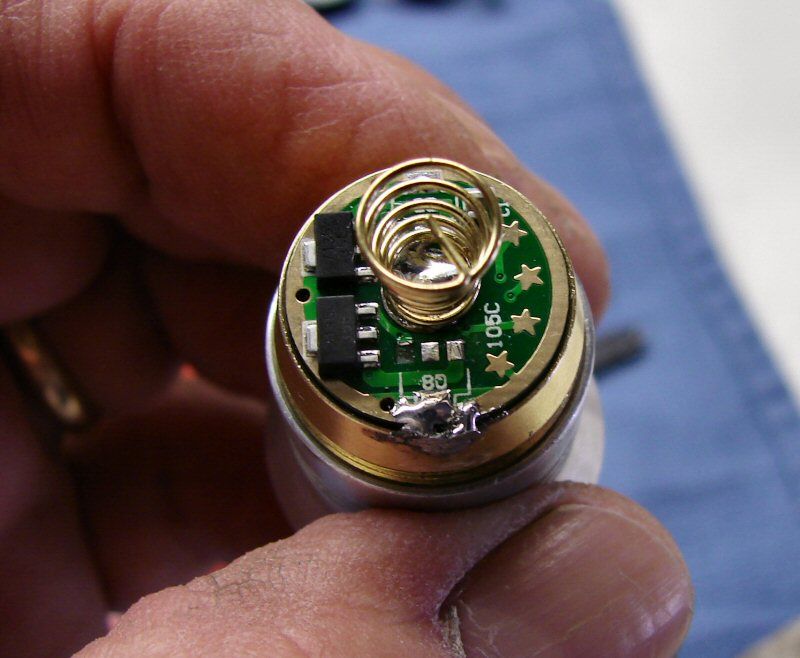
I removed two of the 7135 chips, which leaves me with 2100ma. This driver was programmed by E1320, with his 5 mode program, so 2100ma would be considered Turbo. Even though the spring is showing, I removed it later and soldered the positive direct to the driver.
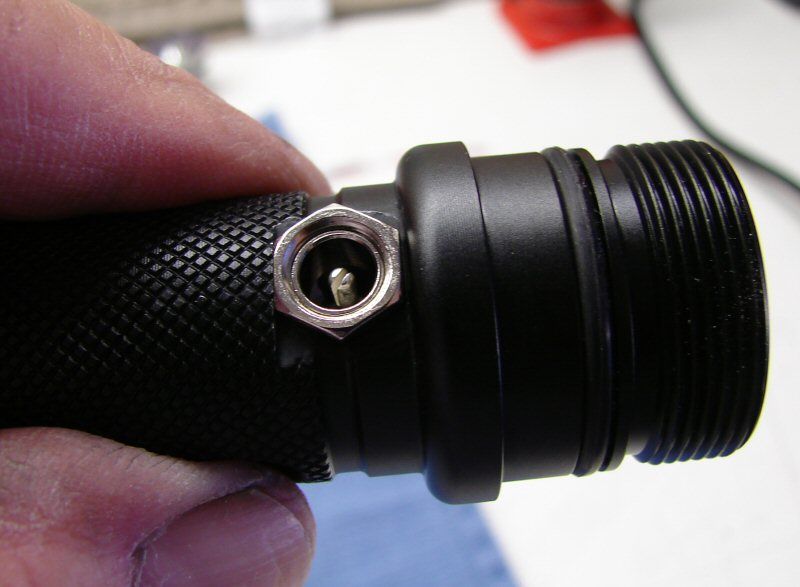
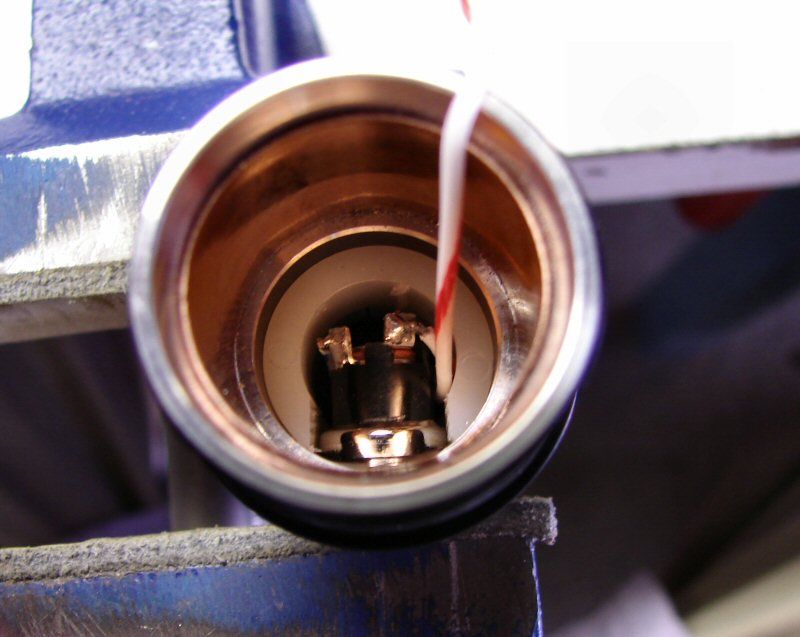
Charging port installed. The nut is held in place and I had to tighten by the body of the plug, inside the light. Fun stuff! - not...
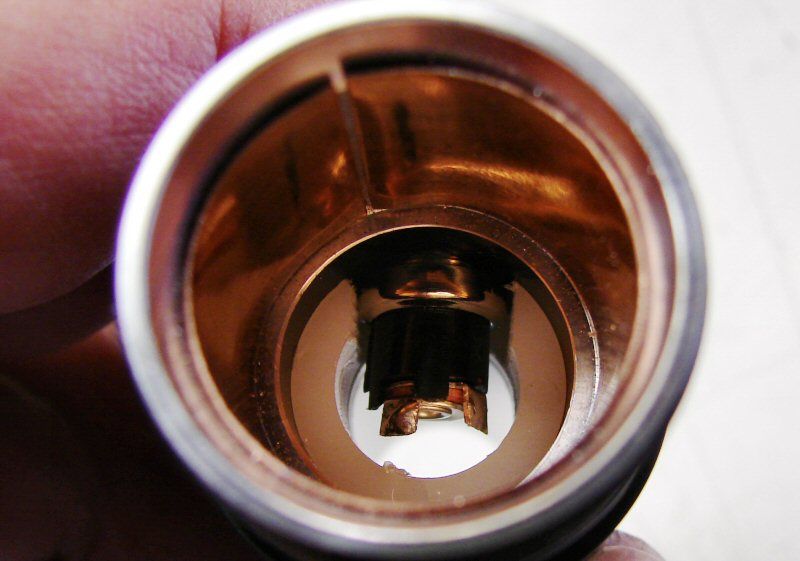
Not a lot of room here. I cut down the terminals and tinned them. I will have to solder the wires inside the light. The plastic bushing helps to support the plug and keeps other things from jamming into the plug.
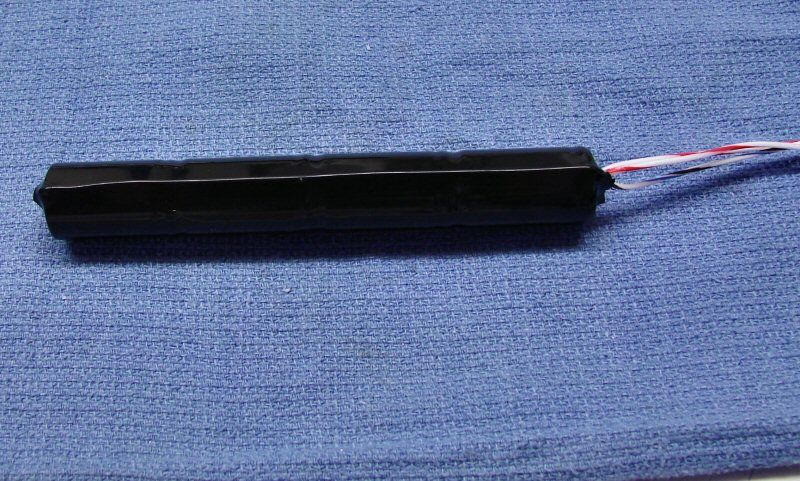
Here's the battery pack. I used small magnets between the batteries and soldered the pos and neg leads on. The negative lead going forward, is for the charging port. The normal tail cap function works as it should. One positive lead for the charging port and one for the pill.
I really did have to solder those dammed things inside the light. More fun than I could ever imagine.
I covered it all with AA, just to protect all the terminals and keep anything from shifting.
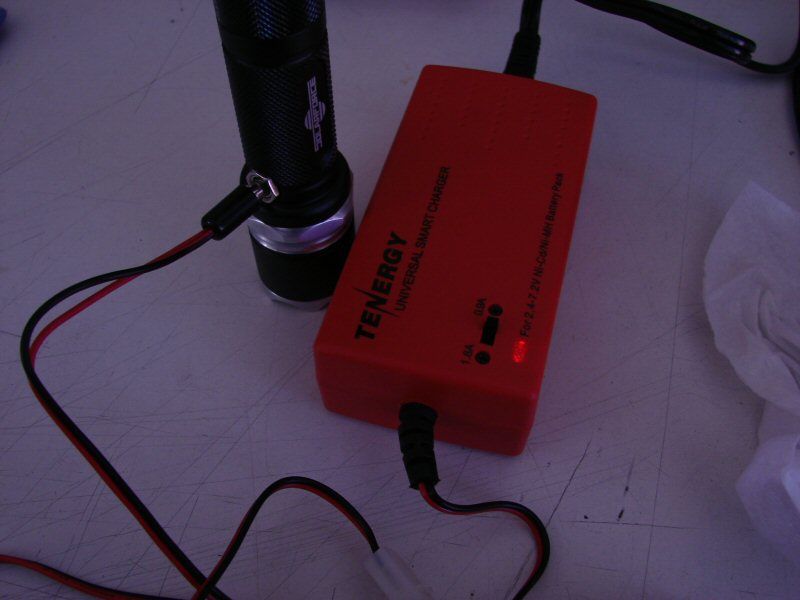
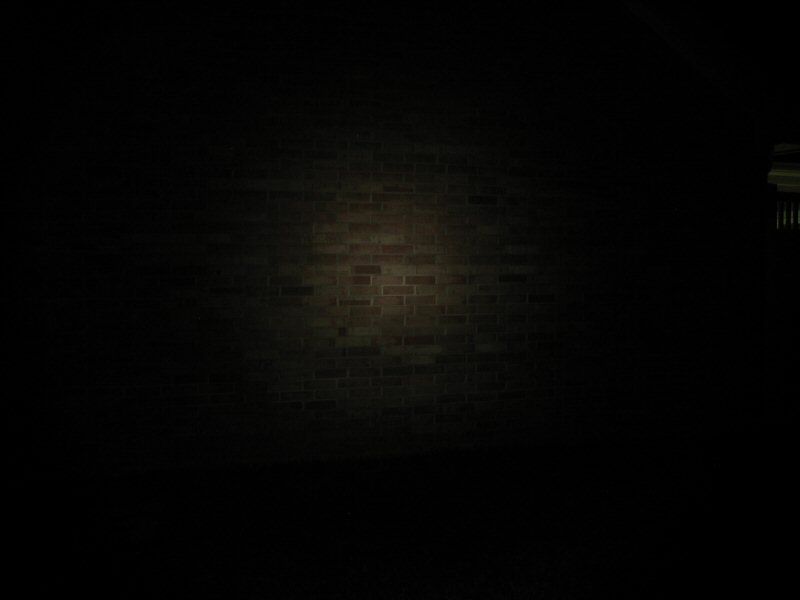
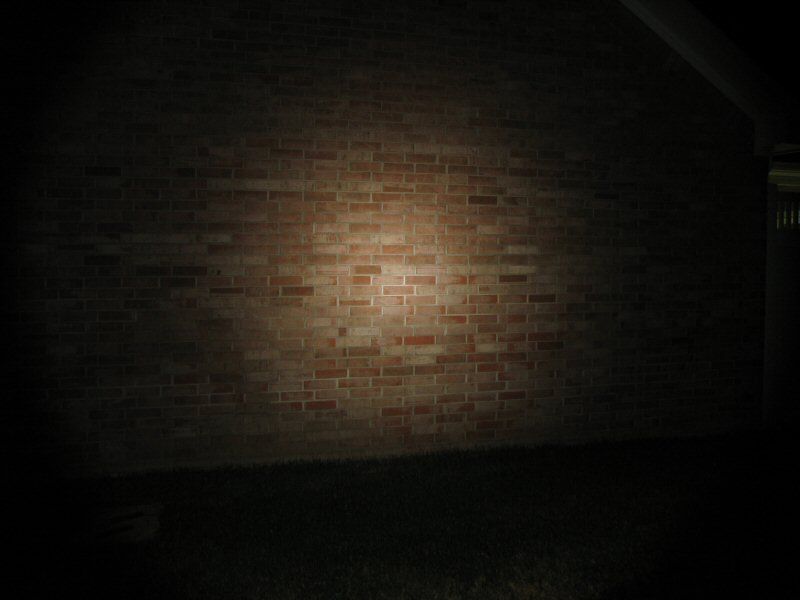
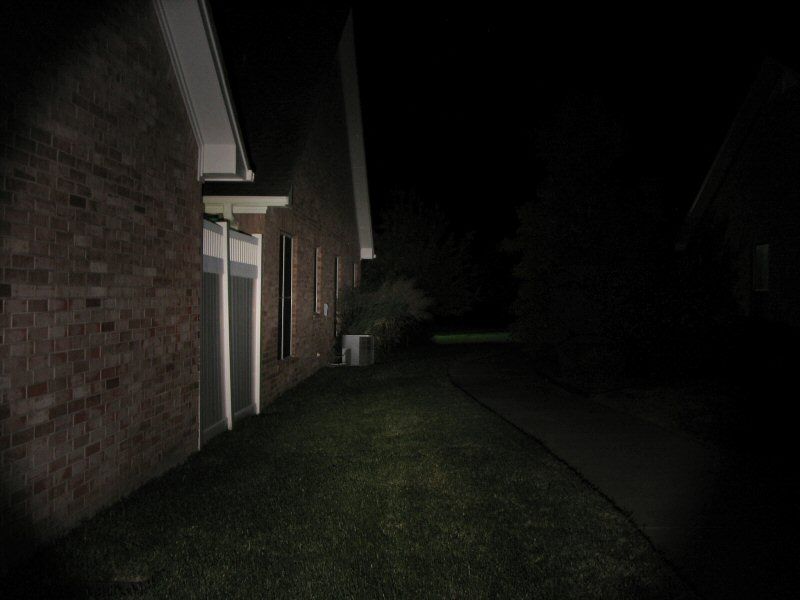
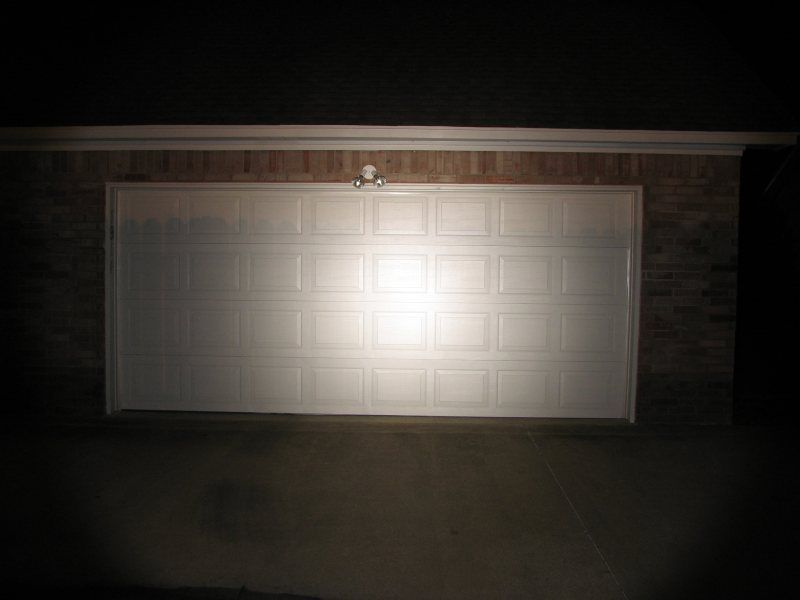
It even works! The charger is doing it's thing and later tonight, I will do beam shots.
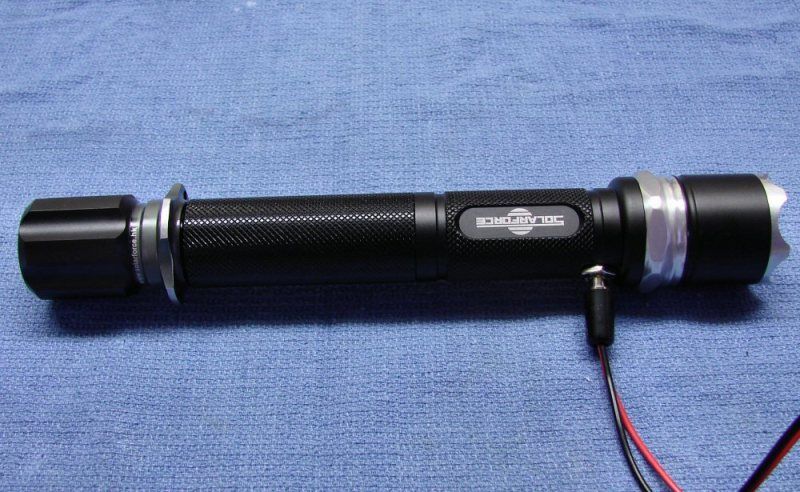
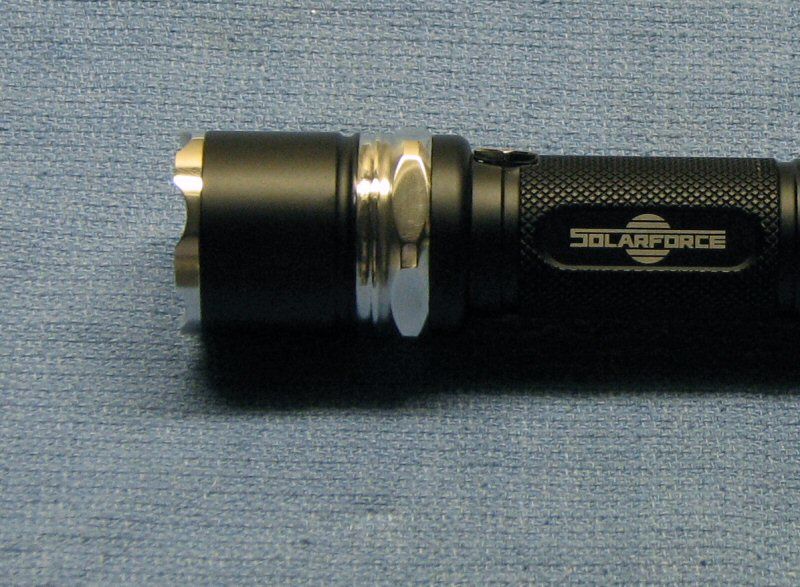
Finished light

I did the homemade OP finish on the reflector. It looked terrible before spraying it.
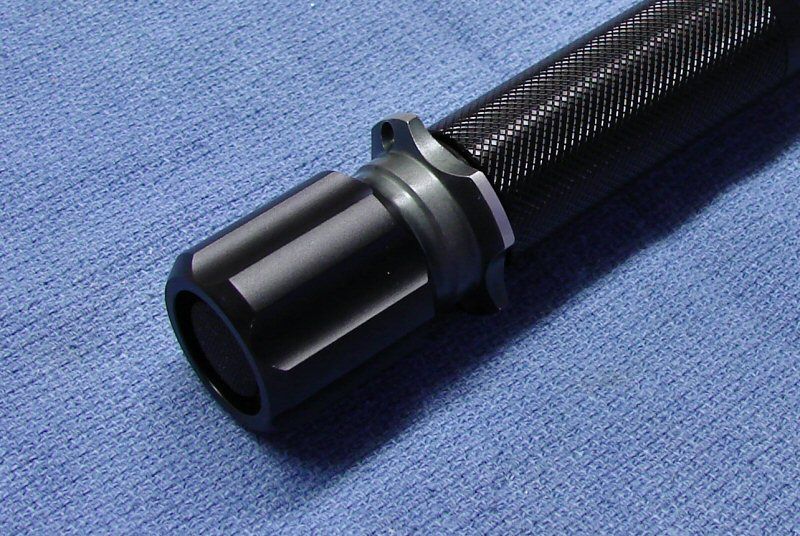
I can't remember which model of tail cap this Is. I just liked the holes for a lanyard.
Of course, this goes up for sale in a day or so. I need to do a little polishing and double check everything. Plus I need to do beam shots. I will tell you that with 2.1a and 4 NiMHs it is bright as hell and will heat up fast. Better off to run it on med or low and use high for turbo.
I also have to say that I am impressed with the Stock Solarforce. I have used a few Chinese lights and I will say that this one is the best fit and finish I have seen. I was impressed with how smooth the threads were and the overall finish of the individual parts of the light. I would not hesitate to buy one of these over any of the other P60 drop-in lights that I have tried.