I really need to get me one of these!
What's the "sweet spot" to drive these at? 2A?
-Garry
I really need to get me one of these!
What's the "sweet spot" to drive these at? 2A?
-Garry
Lovely shot, Slip :heart_eyes:
Wow, awesome shot. What Kelvin is the Nichia 219 and how does it compare to a XML 3C (5000K)
Do you have any more different tint drop-in’s you can take pictures of? ![]()
They’re rated up to 1.5A.
In my eyes the beam appears to be a bit pink, but, you don’t notice it in use. Colors just pop when you put that beautiful beam onto something. It’s really eye opening.
Any idea meanwhile where to get them on 16mm boards?
They usually are 4500K iirc.
I think Old Lumens has driven them at 1.9a in atleast one of his projects
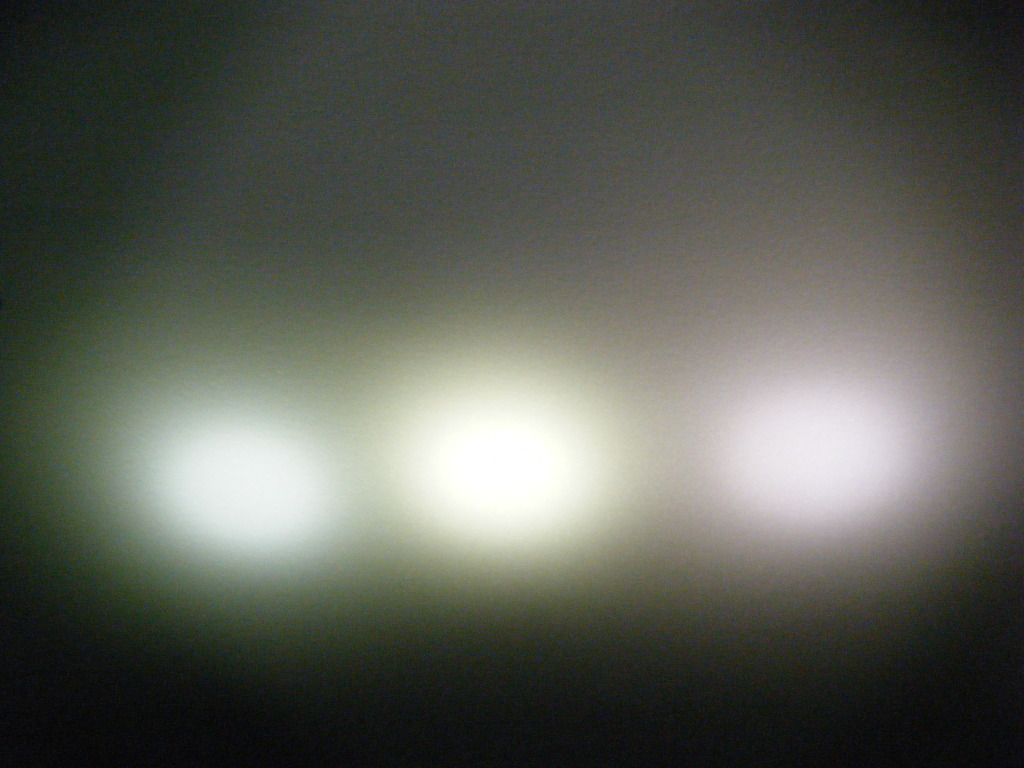
———4B XPG———————————4C XPG—————————-Nichia 219
On a multi mode light I run them at 1 amp on high and 2 amps on turbo on a single mode light I run them at 1.5 amps
Nice comp shot, E. Thanks.
I’ll put up shots from a whitewall shooutout once I get back to my laptop.
The pic in the OP was the result of my first attempt at reflowing! :party:
The 219 and the 16mm XP-series board are both from (you guessed it!) IlluminationSupply.
That is such a lovely, creamy white color. I have 2 of those at home and I havent done anything with them yet. :(
Buy them bare and reflow onto XP-G 16mm stars. That’s what I have started doing.
Never done that before. Add a bit of solder, lay LED on top, heat from below? Blowtorch or pan?
I usually do that directly on a ceramic glass cooktop.. level 7 out of 9 usually works fine, lower could also be fine. :)
Has anyone ever as IS directly if it is possible to get the LEDs reflowed onto the desired star?
Also add a bit of flux.
Pan is easier for keeping the LED level but either will work.
I’ve got some solder paste, that should work I guess. Will try a syringe to apply it.
I just ordered Nichia bare emitters and some 16mm boards. I’ll see in 3 weeks…
The three lights I’ve built around the 219 see a lot of use because of that sweet tint! I have 2 on-hand and I really want one to replace the XP-G in my Maratac Cu. I have yet to figure out the trick to removing the pill yet.
I have a really nice lighted magnifier in my shop except that it uses three small fluorescent tubes. I am going to replace them with either 6 or 9 of the ’219s.
I set the board on a cookie sheet with aluminum foil covering it. I put a tiny bit of solder where the emitter will sit. Then the pan goes on the stove over a low-medium flame. It does not take too long to for the solder to melt, maybe 1 minute. Practice on cheaper/fried emitters before doing the real thing
I use regular 60/40 solder rosin core solder, (.032"dia), if the pads are not already pre-soldered, some are. I just use the soldering iron and pre-solder the pads with "just a touch of solder" and make sure it levels out. I set the led in place and heat the star from underneath, with the soldering iron (I hold the star in a vise) and I watch till the led settles onto the star. Take the iron off and blow on it a little, to help cool it faster. I've never had one ruined, as long as you just get the star hot enough to have the led settle down in.
(updated OP with comparison photos)
—————————————————————————
OldLumens, I like your idea. Tinning the PCB first and setting the emitter on the pad before heating again must alleviate the requisite fussing when placing the emitter perfectly in my method. Thanks for that!