Gentlemen,
Today we look at the Edi-t T11, and the consequent results after it has a night of debauchery that ends with a ménage-à-trois with a pile of copper and an XM-L emitter. I've read elsewhere that such a small and cheap flood to throw would never work with such a large emitter, and definately not one driven over 1 amp (much less 2.8amps). Oh really? Well, I've never been one to just do as I'm told, so when my little, yellow, air-blistered package of love arrived with my new edi-t I had already started thinking up things to do to it.
There's a few problems that need to be addressed when stuffing almost 10 watts into such a small package. These are power requirements, heatsinking, and final beam quality.
First and easiest is power. Since it'll be drawing ~2.8a from something the size of a CR123, the only option is a IMR 16340. There's no getting around the relatively short runtime afforded by the 550mah of the cell, which clocks in at just under 12 minutes. The price to pay for such a high power to package ratio (try that excuse on your wedding night!).
The second problem is where the bulk of the modding comes into play. Flood to throwers are famously bad at handling heat due in part to the movable head and commonly cheap construction. As far as the Edi-T goes, it's the most well constructed zoomie I've yet owned. The pill is the usual thin affair and the head is still separated by a rubber o-ring, but the body has extra mass in the middle, and the overall tolerances are quite tight. Here's how I went about solving the heat issue to keep my pretty little xm-l from going "poof" prematurely.
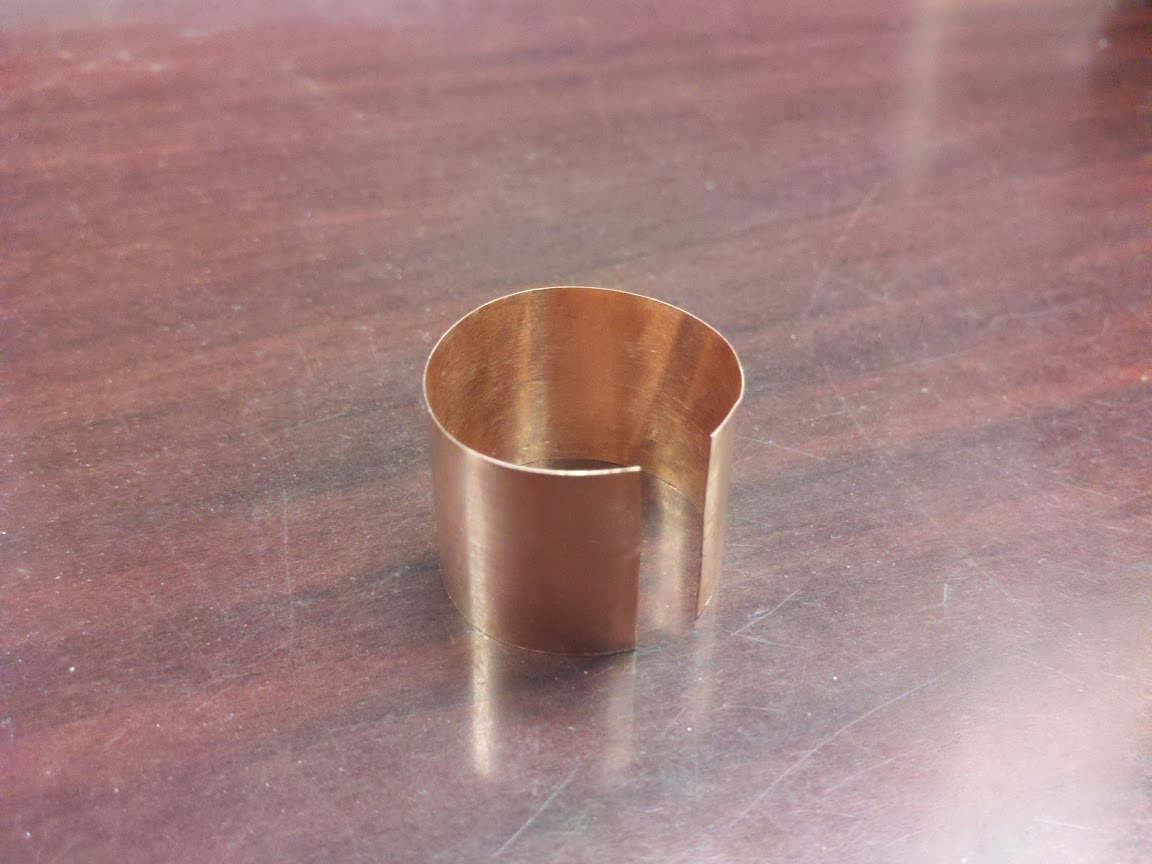
The first thing I wanted to do was add thermal mass to the pill to act as a ballast for the rapid infux of heat on start-up. This was accomplished by adding a slug of copper inside where it is thermally glued just opposite of the emitter, but because the pill is rather deep it still leaves enough room for the driver to seat fully. Here's the copper slug:

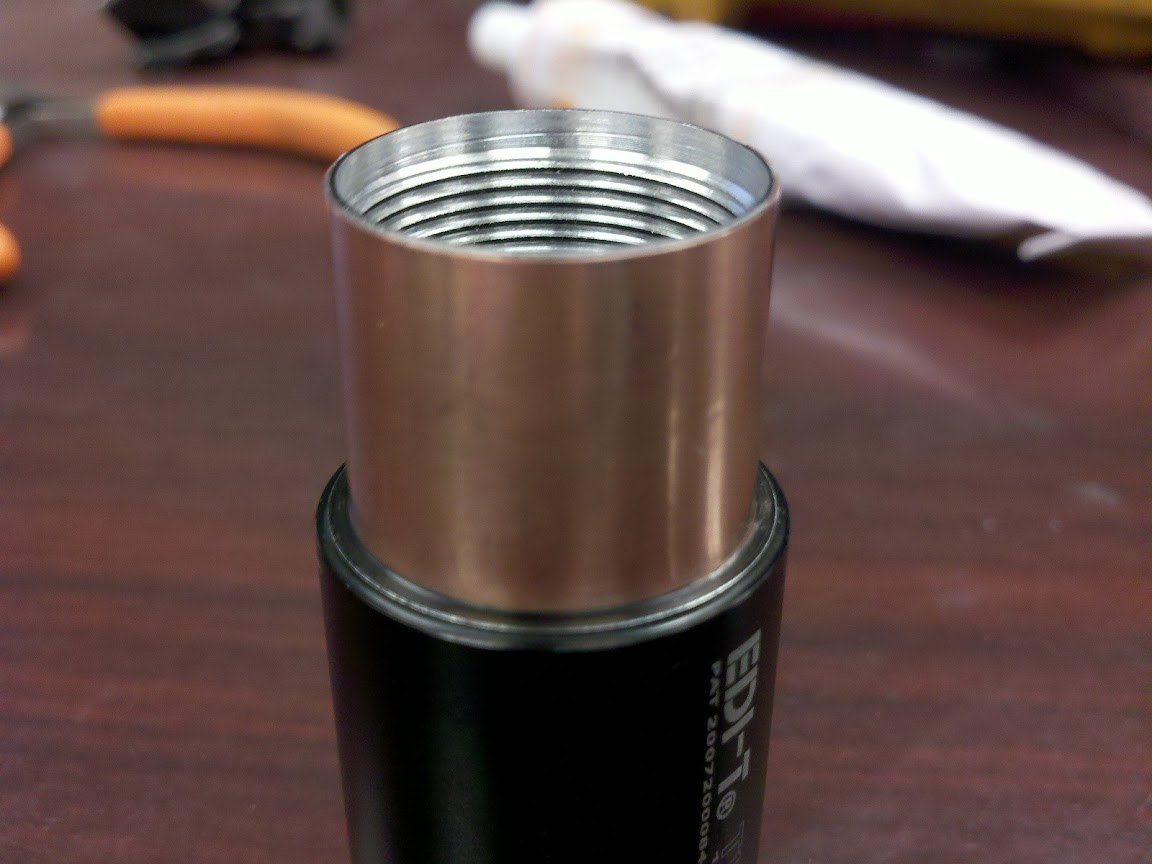
Now without a path for that heat to get out, the copper slug would only delay the inevidable, not prevent it. This is where the heat transfer from the pill to the body, and more importantly, the head needs to be addressed. This was accomplished by cladding the slide area with 1mm pure copper. Here's how it's done:
Since anodizing is terrible for heat transfer, the first step was to remove all traces of it from the slide area on the body and on the internal ring in the head.
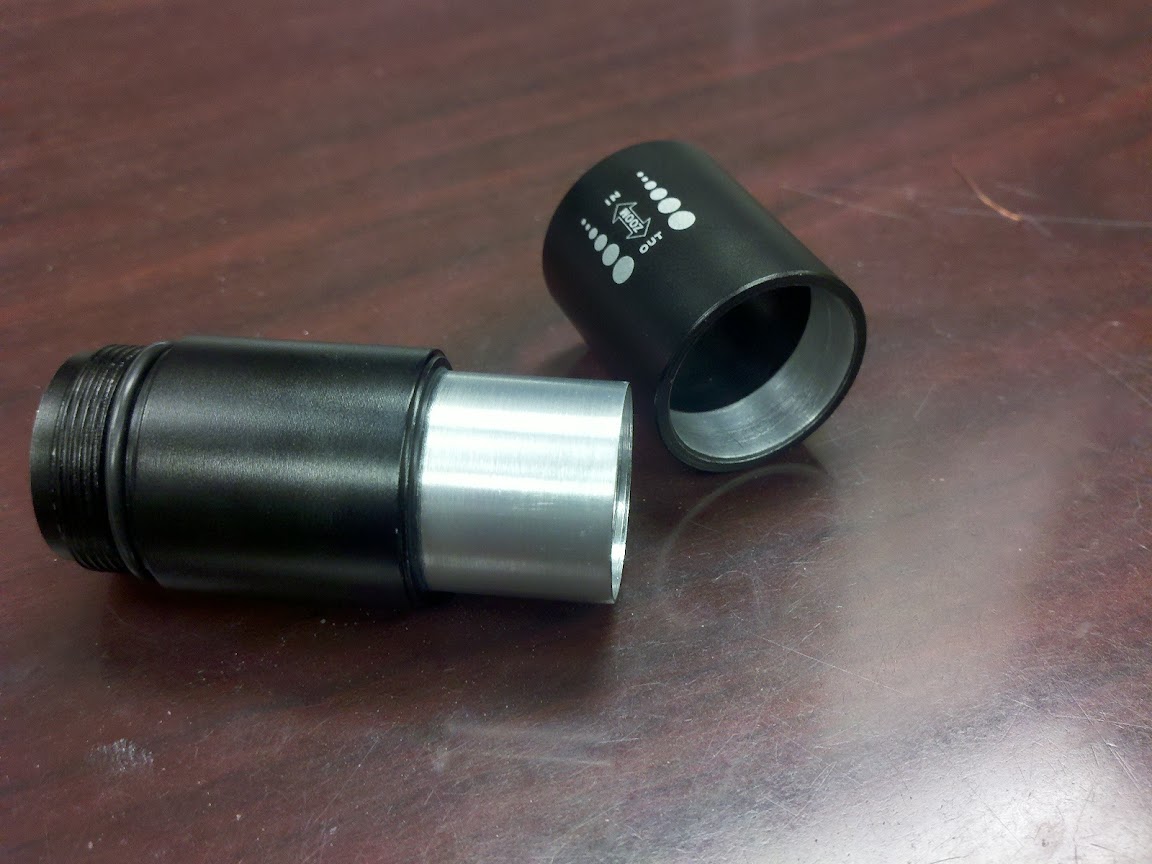
Next up comes cutting and trimming the copper strip that will act as the cladding and securing it to the now freshly bare aluminium.
It was attached using a very thin film of thermal epoxy and the end result turned out like this:
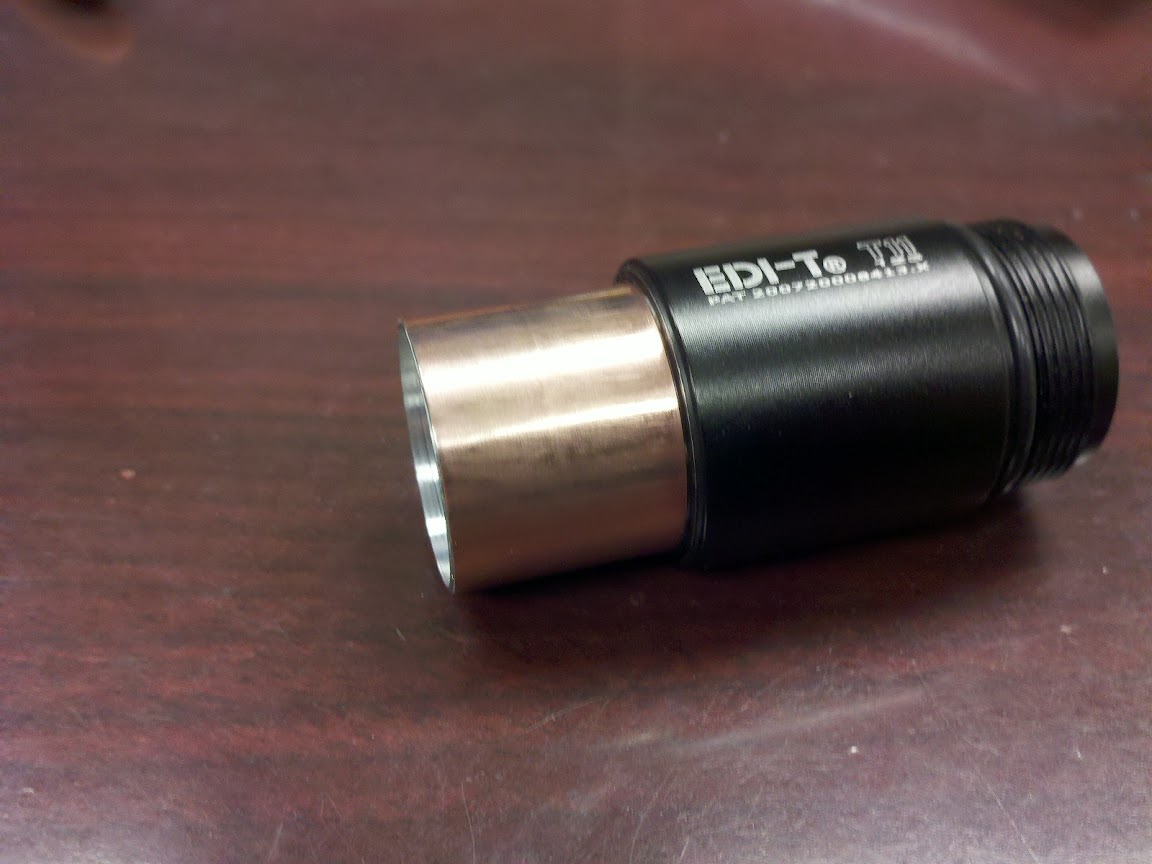
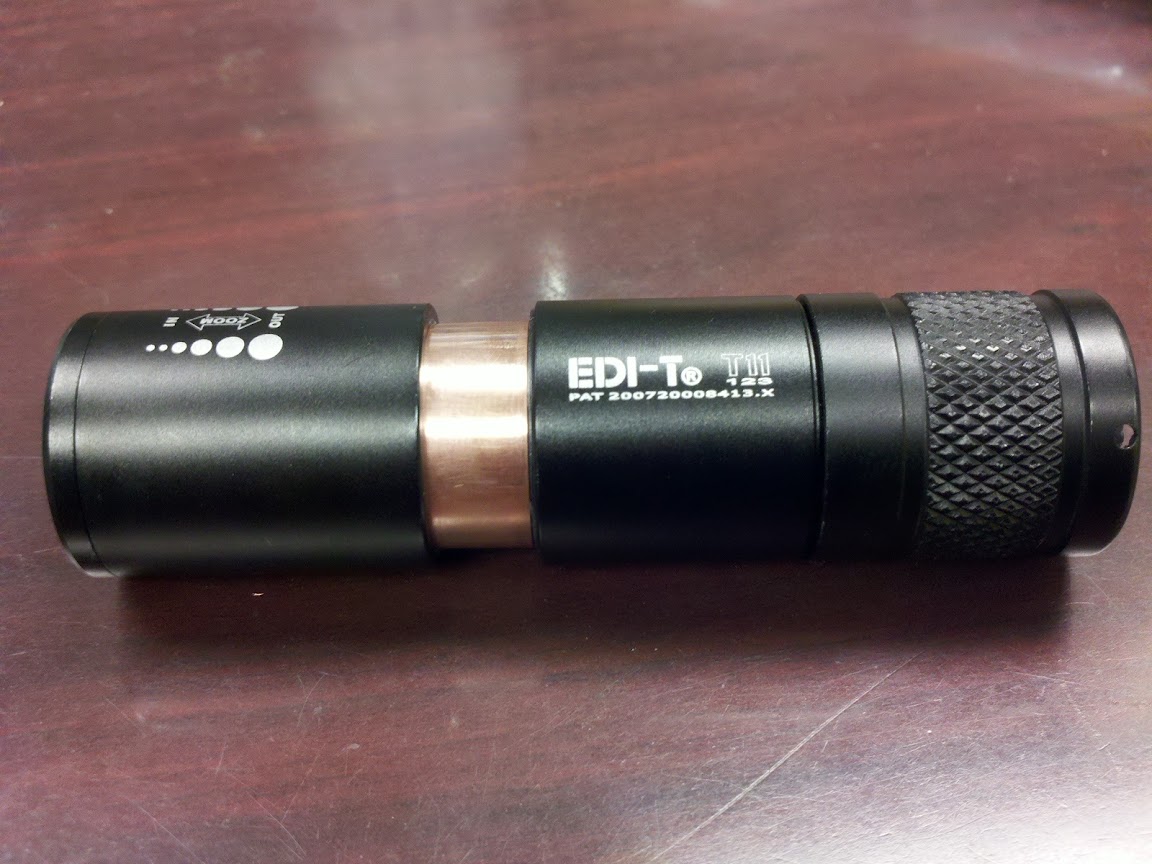
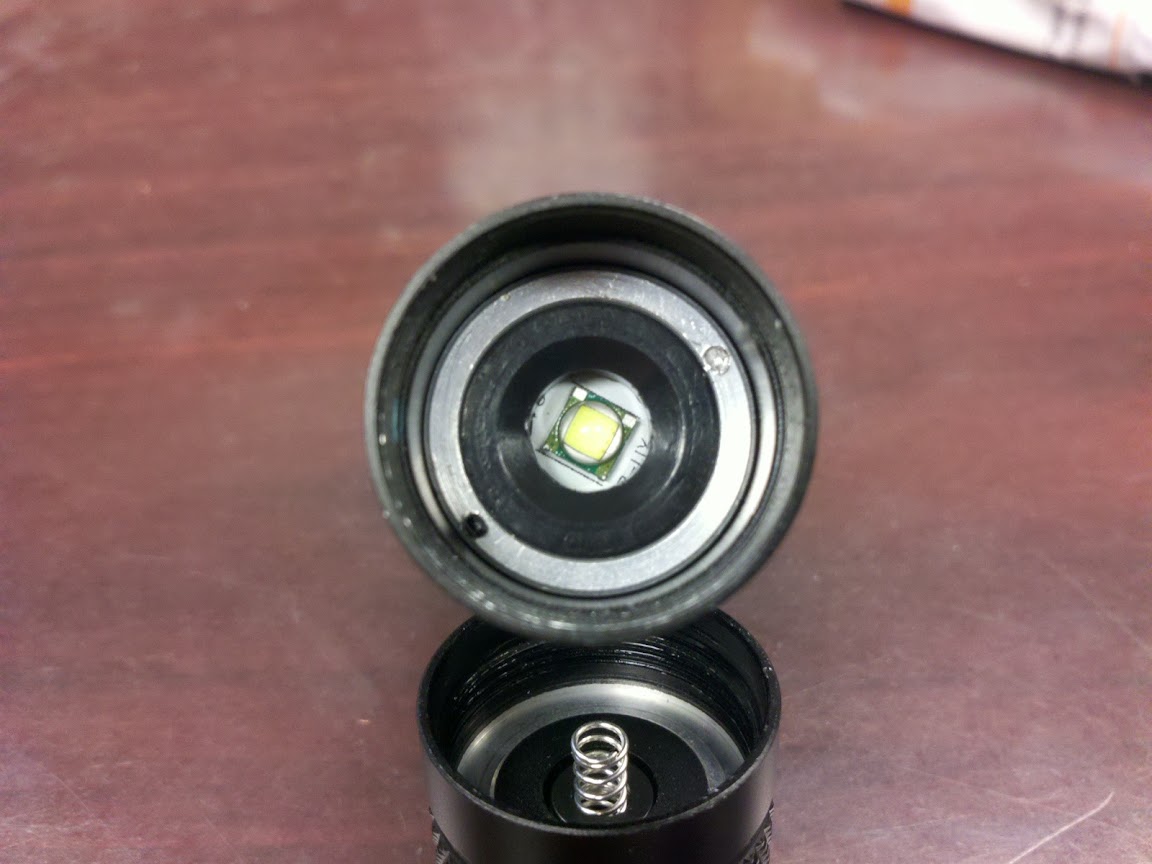
After that the the only thing left is a basic emitter and driver swap. I used an XM-L T6 from illuminationsupply.com and a shiningbeam 2.8A 3-mode driver (mainly because that's what I had on hand...). Here's what it looks like after. I kind of like the two-tone of copper/black. Note: The slide action is much firmer now due to the almost perfect fit between the slide and copper (Still easily adjustable with one hand).
Note: After playing with modded torch now for a few days I can say the thermal mods work like a charm. The whole head starts to heat up seconds after turning on in high, then shortly after the body follows suit. I also forgot to mention I used thermal paste on the pill threads.
The only thing left now is to charge the cells and go do some testing to see how terrible this idea really was. 
Before we get to the beamshots, here's a look at what Mr. Luxmeter has to say about all this:
Edi-T Stock
Lux: 19.7k
Ceiling bounce: 6.3
Edi-T XML
Lux: 14.6k
Ceiling bounce: 19.0
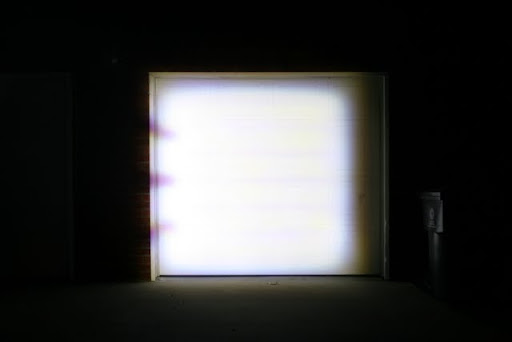
Ok, well no suprises there... Now let's see how this translates to the real world. Up first are beamshots done on my garage at 17 meters. Exposure was set to 2sec for all shots because I forgot to check it.
Stock:
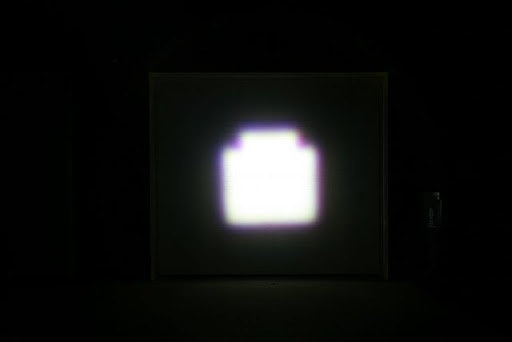
XM-L'ified:
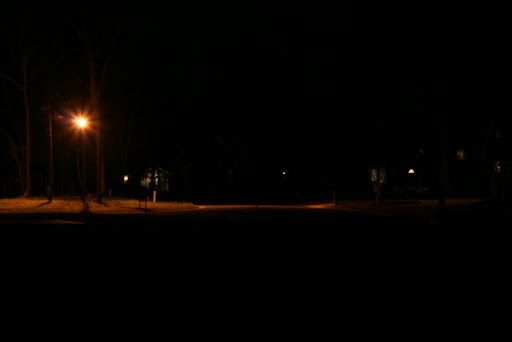
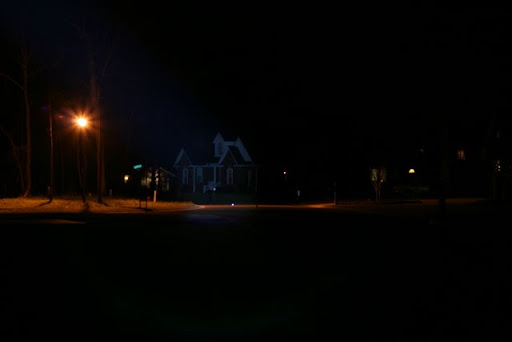
Next up are a couple of shot onto the roof of my house. Distance is ~45m:
Stock:
and XM-L'ified:
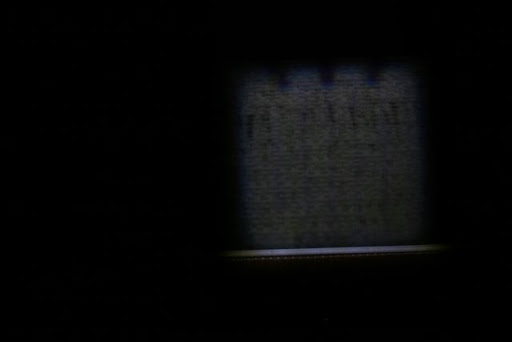
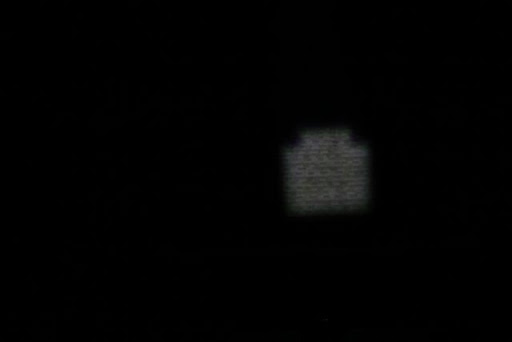
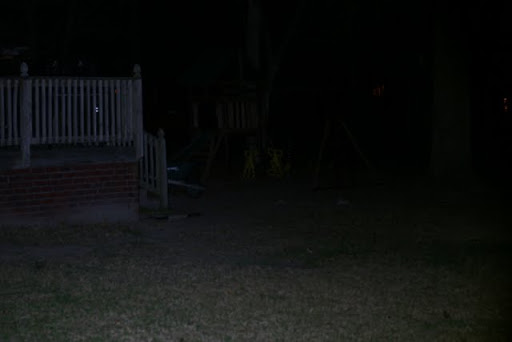
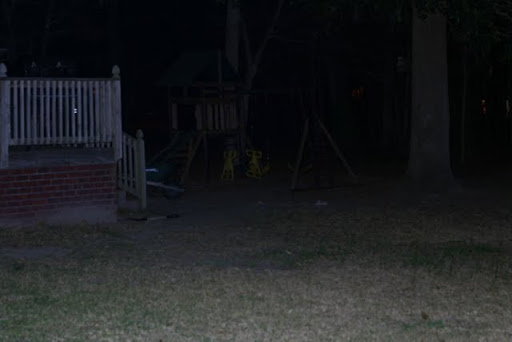
Next up is a shot down the street at my neighbors house. Distance is ~200 meters (yes, my neighbors hate me).
Control Shot:
Stock:
and agin, XM-L'ified:

Next up is a shot of each of them in the flood setting. Due to the lens I had on, this definately didn't capture either very well.
Stock:
and the XML:
So, there you have it. At the beginning I listed beam quality as the third problem. Unfortunately that one is subjective. So, I leave it up to you to decide. Essentially it comes down to do you prefer good throw...OR...almost as good throw with 4x the light output. If you can live with the truncated runtimes, it's a-no brainer.
Thanks for reading,
-Match
Epilogue...
Here's the "...and back". I've played with it now for a bit, and while fun, didn't really serve a purpose for me. I belive the xm-l may have potential for an aspheric, but it would have to be driven to the max (5amps?) to get the die brightness up, and of course have a larger lens. All of that won't be happening in my 'lil edi-t. So, I did a driver/emitter swap again. Since the heatsinking now far exceeds stock, I put the stock emitter back in along with a 3-mode 1.4amp SB driver. It's midday, so no beamshots, but here's how the lux numbers look now:
Edi-T Stock: 19.7k
Edi-T@1.4a: 23.2k
So, it picked up an extra 3.5k lux.... There's still room for improvement going from the stock Q3 to an R2, but hell, I'm happy 


