I never appreciated how much work went into making a cut-down 1D Maglite, until I tried it myself. It turns out that the cutting is the easy part!
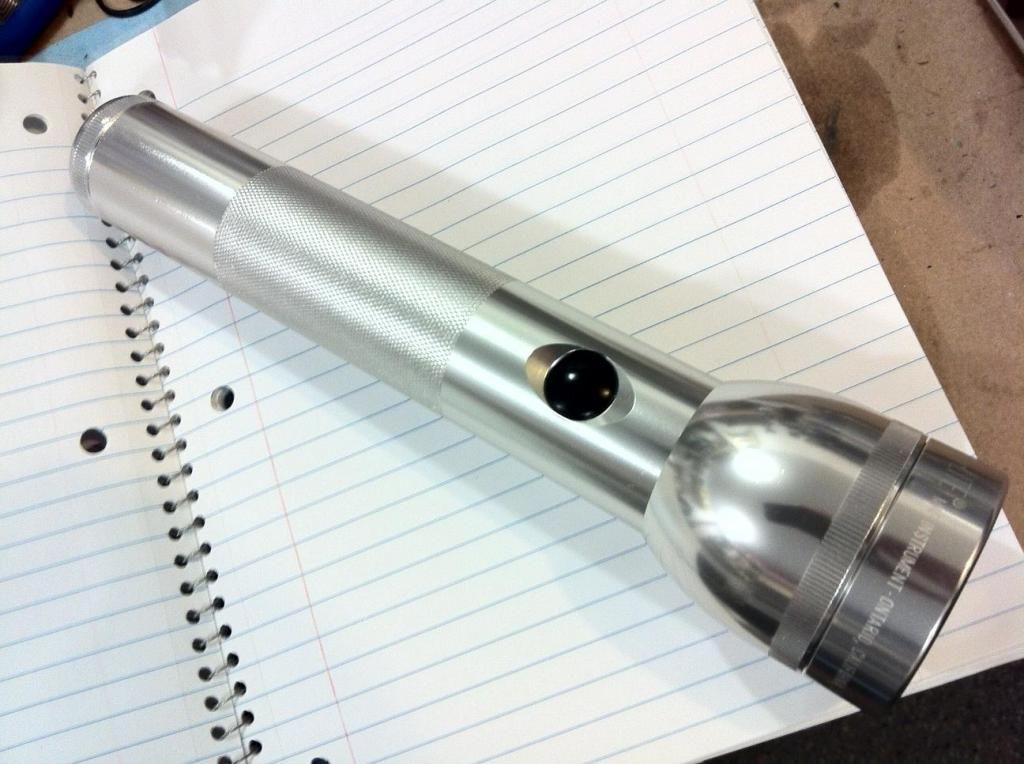
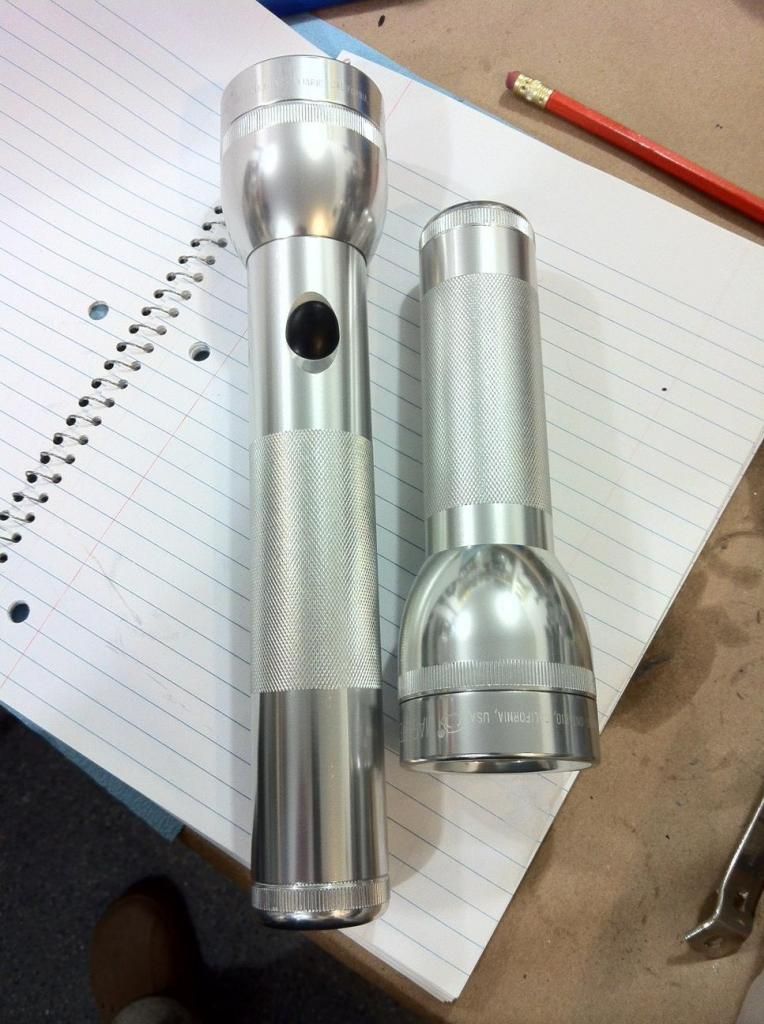
First we start with a stock 2D Mag:
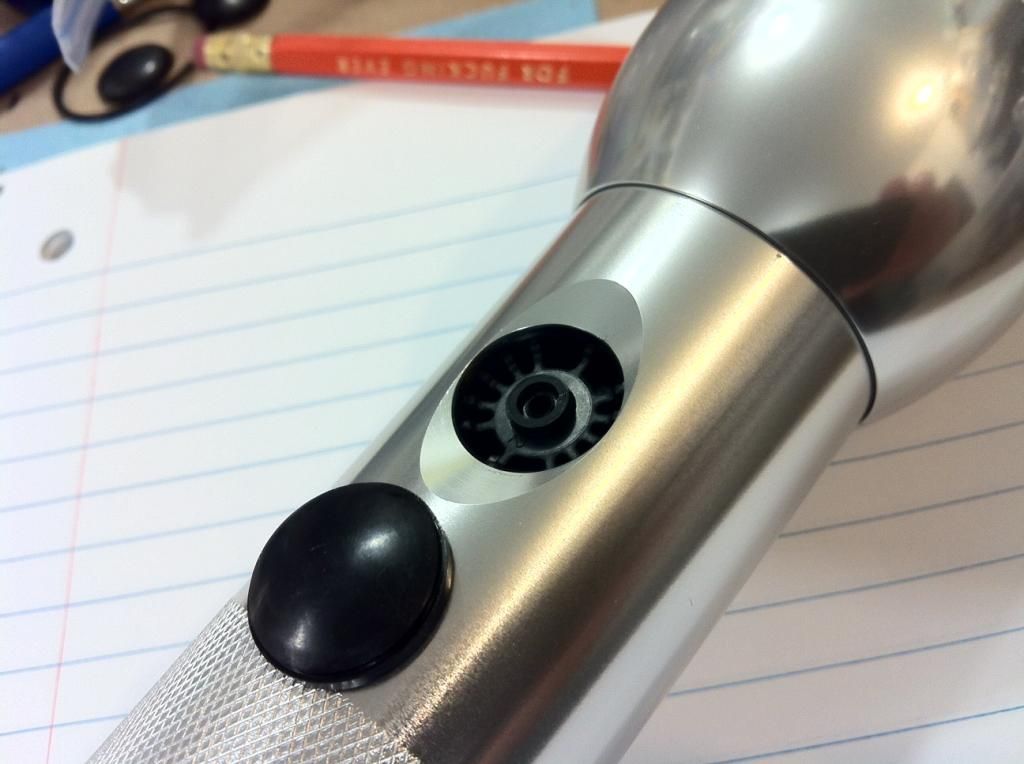
Off comes the switch cover:
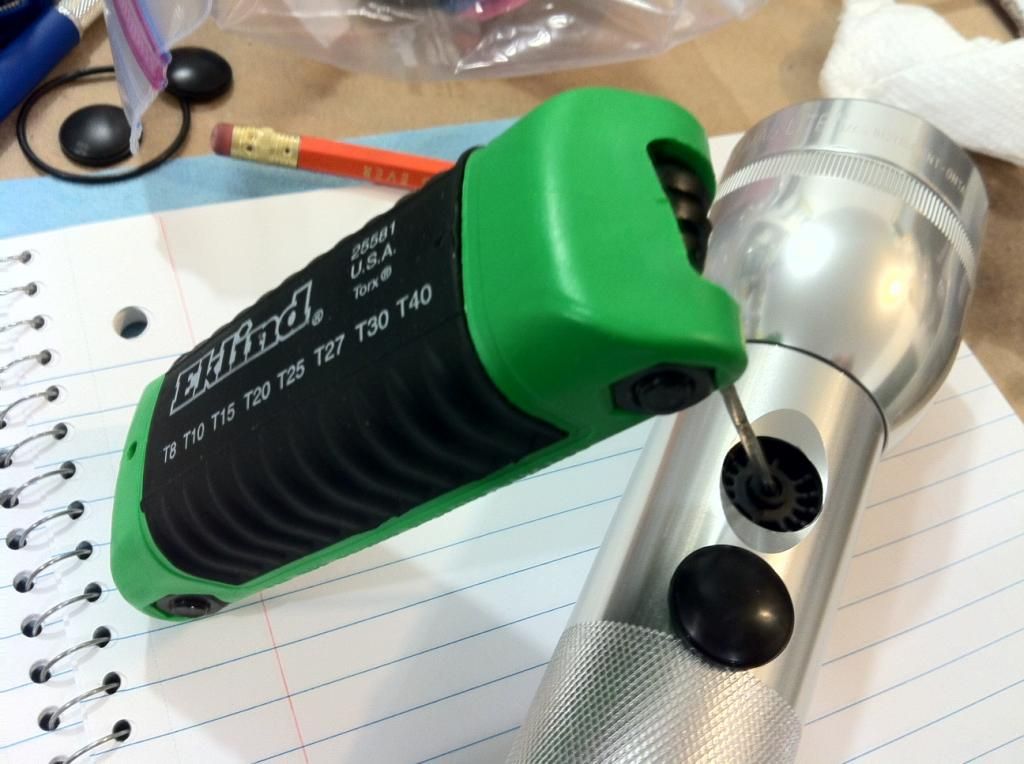
A torx T8 key is required to remove the light engine from newer lights. This one was ground down to fit the extremely small opening in the switch body:
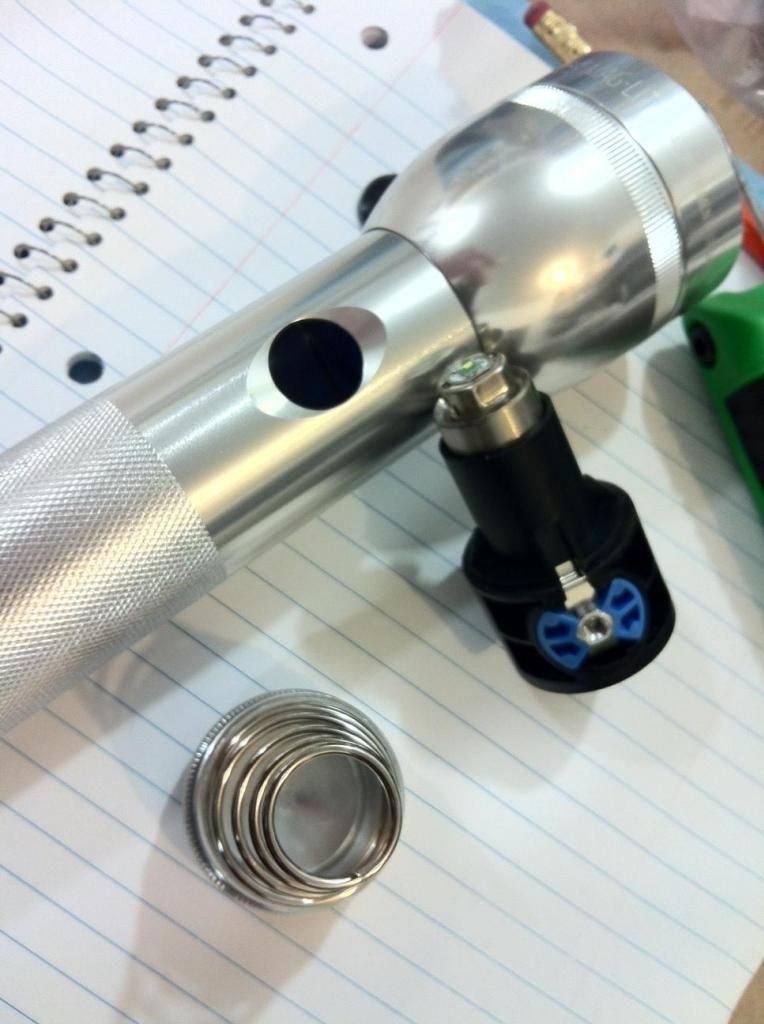
After loosening the screw, the switch gets pressed in slightly and the entire light engine slides out the rear of the battery tube:
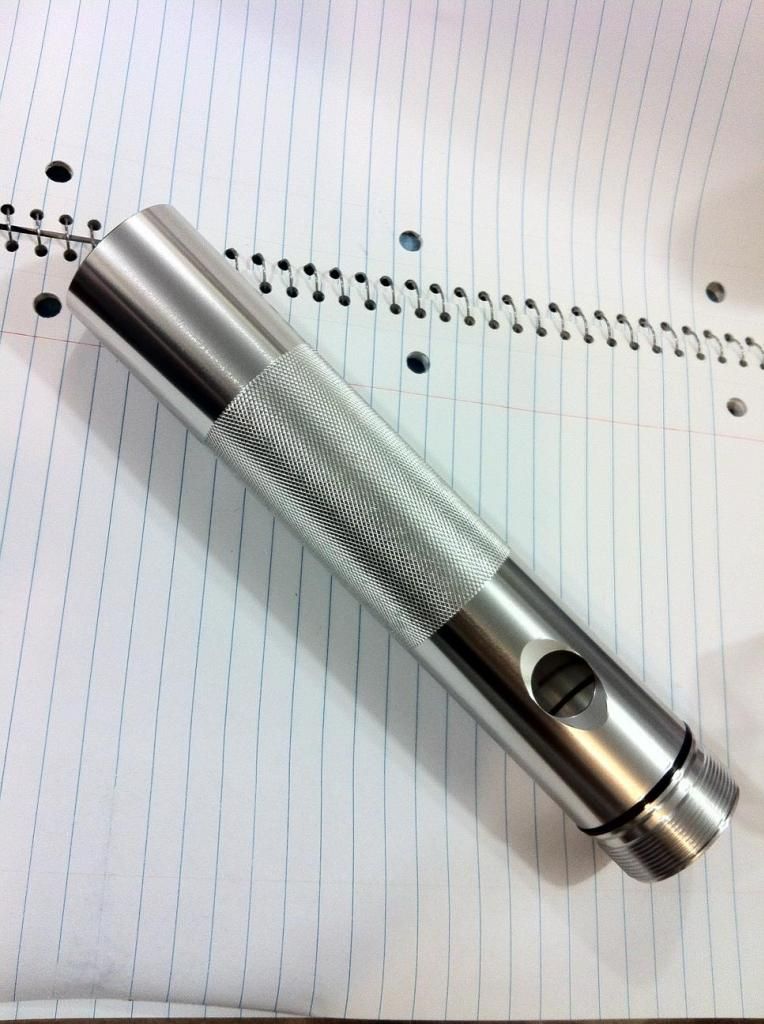
Here's what's left after head/tailcap/light engine removal:
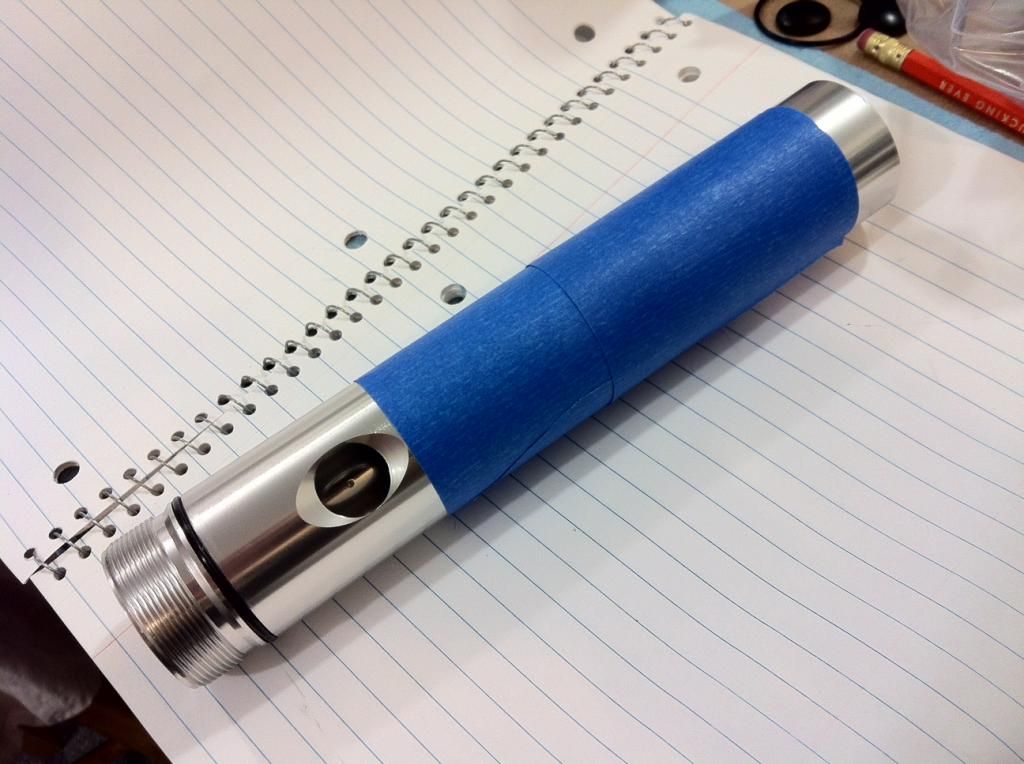
Masking tape is your friend. The covered bit is what will be kept, and the rest lopped off:
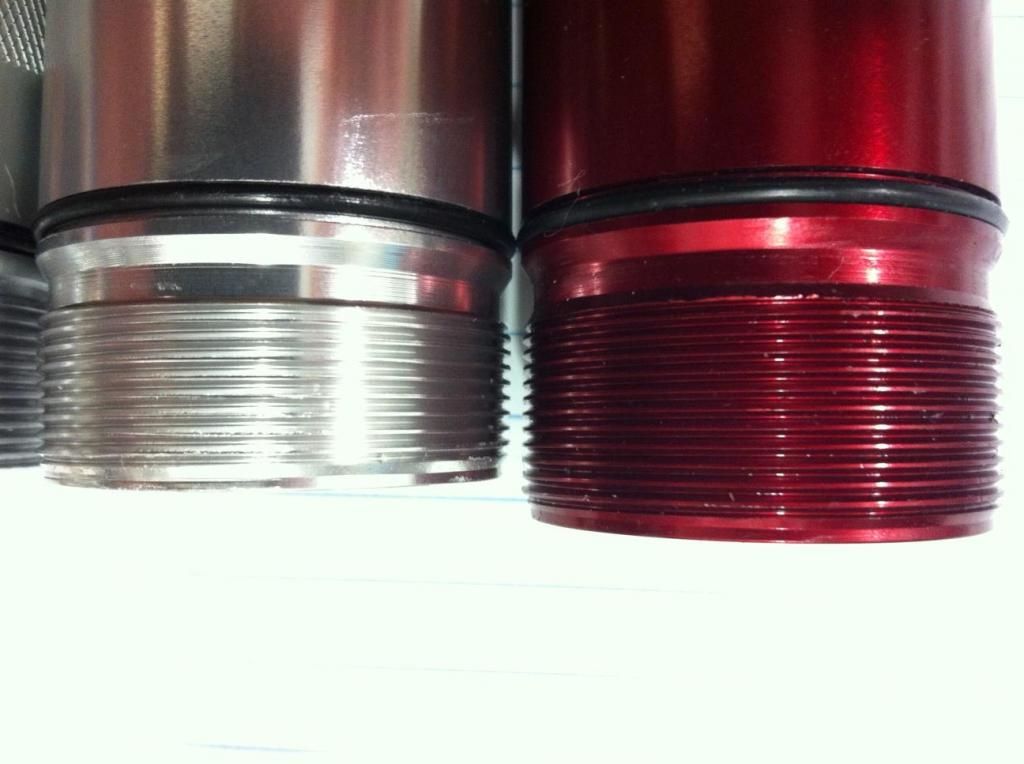
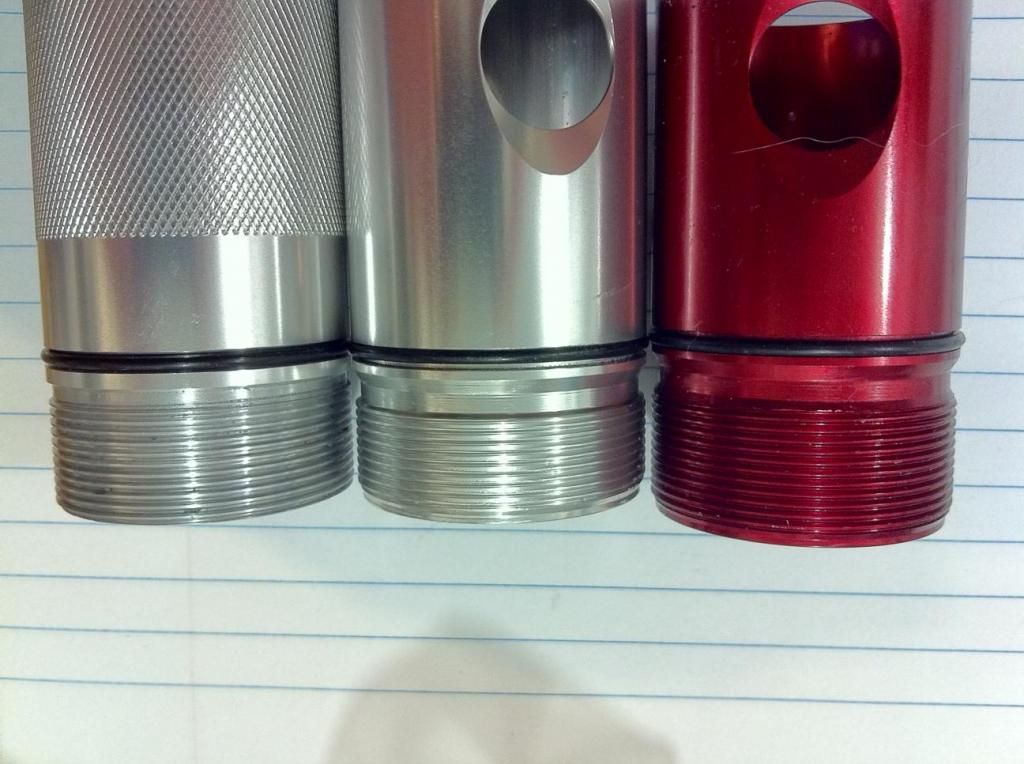
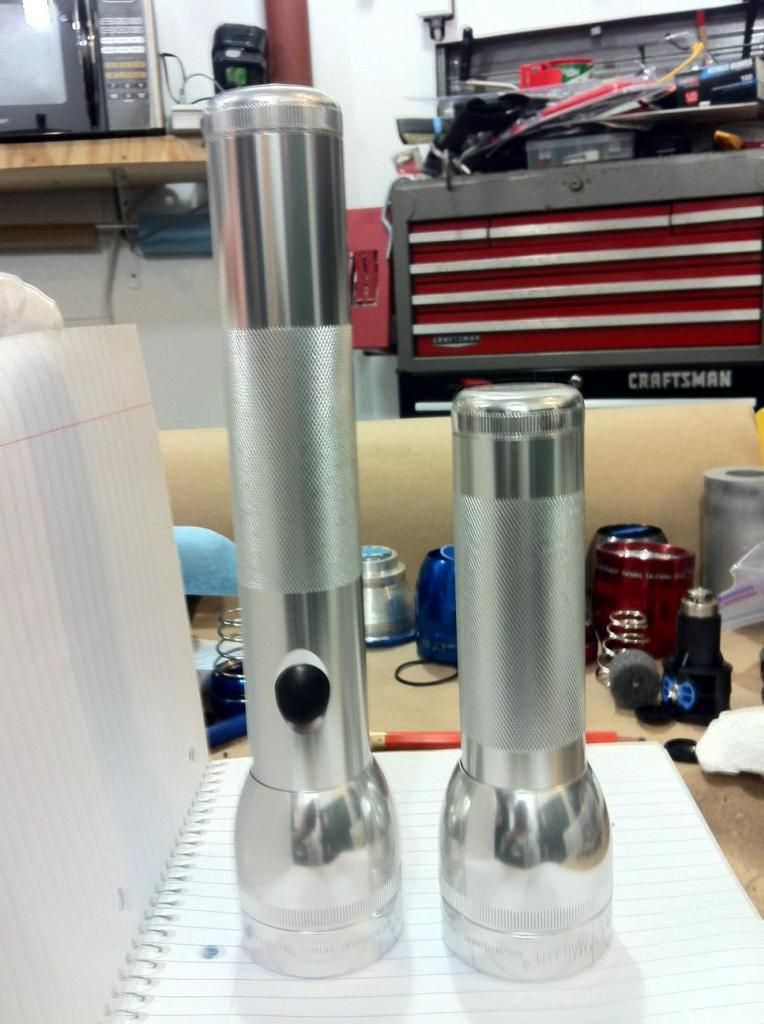
Here's a shot comparing an incan Mag (in red) to a LED Mag (silver.) Please note the difference in threaded area between the two:
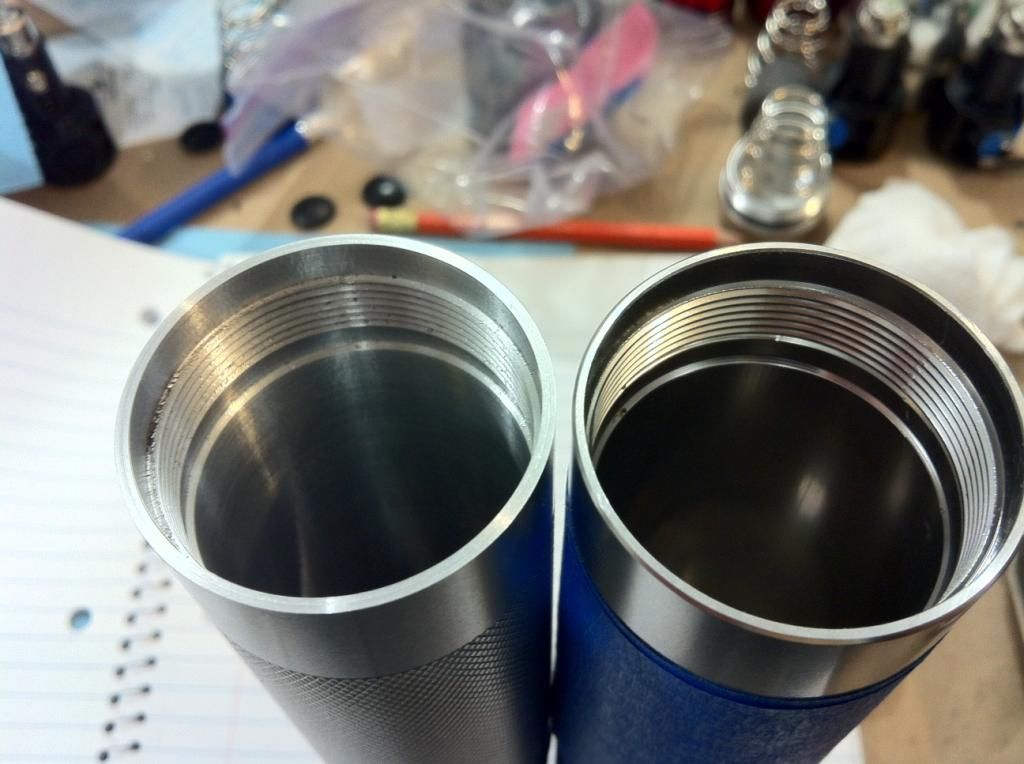
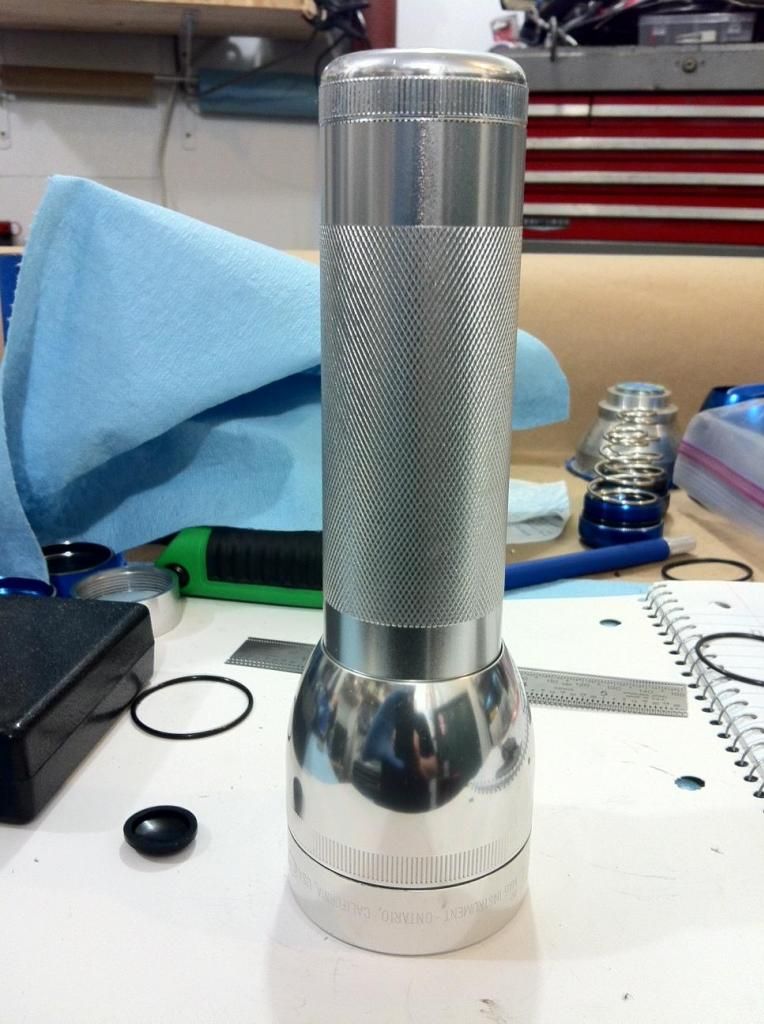
The cut-down tube gets flipped around, and the head becomes the tail...and vice-versa. This preserves the knurling, and looks best, IMO. Here is the newly-threaded tailcap section, on the left:
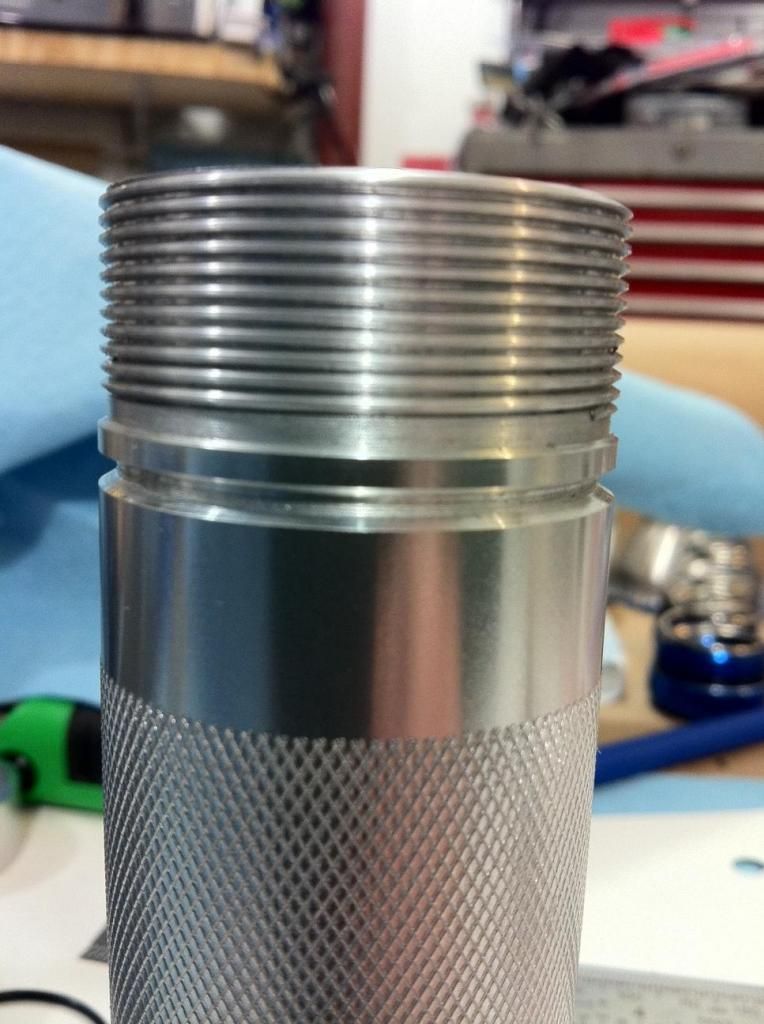
The other end gets a set of threads and o-ring groove:
Newly threaded tube on left, stock LED Mag center, and stock incan Mag on right:
Finally, folks, you now have a real life source (right here in BLF), for cut down Maglite hosts!!! I have been waiting for this for many moons. I thought it would never come! As you can see, the man does excellent work and is meticulous in his methods.
It's good to see that BLF now has a way to get 1D hosts for their modding. Believe me (since I know about this stuff a little bit), it is well worth going to Chi-X and asking him to make you a host like this instead of trying to make one yourself. I have made enough myself, to know the extensive learning curve and one made like this will always be 10 times better than hand made! Believe it!
Thanks Chi-X for doing such a good photo show and tell.
I do worry though, when a big guy like you comes around wearing rubber gloves.
I'm excited to see what kind of switch you go with.
I believe I paid something like $30 or $40 to have a Mag cut down and rethreaded. I thought that was a lot at the time, but I've realized it's going to take me a lot of time and patience to do that on the lathe myself.
thats nice… i like how you saved the knurling on it the way you did. only thing i would have done different (no lathe and no skill with one, so no room to talk really ) is save the side switch… but im sure whatever you have in store is going to be amazing
also, now that i think of it… if you did save the side switch, you wouldnt have been able to keep the knurling the way you did, so i guess its a catch 22 on that one
The 1D can be done with or without the side switch. The overall length changes since the switch stays, but it can still be done. The knurling can still be there, but it would not be as balanced as it is this way. It is, as they say, "doable". The OAL of the knurled section is (if memory serves), about 75mm, which works out ok, for either a 3 or 4AA holder or a 26650. The space between the knurl and the switch is (about 20mm??), so it would mean cutting right at the back end of the knurl, for proper OAL with a Std tail cap (which is about 40mm deep with spring compression). I've slept since then, so I may be wrong.