Before departing(…) made a mod request for his blue Solitaire and having just finished one for my giveaway and that afternoon had picked up a handful of them I thought “how serendipitous” and sent him a pm. That thread morphed into a build thread for my second effort on this mod. I won’t question the decision to ban him as SB is the sole arbiter and runs this forum extremely well. I merely wish to post the build for the light to show the incremental improvements I am making in the mod. to that end I will post pics of both V1 and V2. Both are blue.
He shipped the light yesterday but since I was planning to do another anyway, I started by working on discs for the pill. The stock is from a 1” copper coupling(nice heavy guage) that is annealed, cut lengthwise, and rolled flat. I use various hole saws for larger discs but a 10mm disc I do by hand.
The method is simple but tedious; snip, snip, snip, file, file, file, and then lap and solder. To get a thinner layer of solder, I cover the disc with solder using a butane torch and drop it to remove the excess, then reflow again.
Not sure why I added the smaller disc(5.5mm) and it ended up costing me a few layers of skin to finish it. I keep it centered by holding it down with a small screwdriver and heating it from below until the solder melts, then remove the heat. I span the jaws of the vise because the vise is aluminum and draws heat away quickly when I solder directly over one of the jaws.
Enough on the pill. It’s the weekend and I need a chunk of time to work on the brass sleeve. Although pleased to prove the process workable, there was quite a bit of room for improvement over my initial efforts.
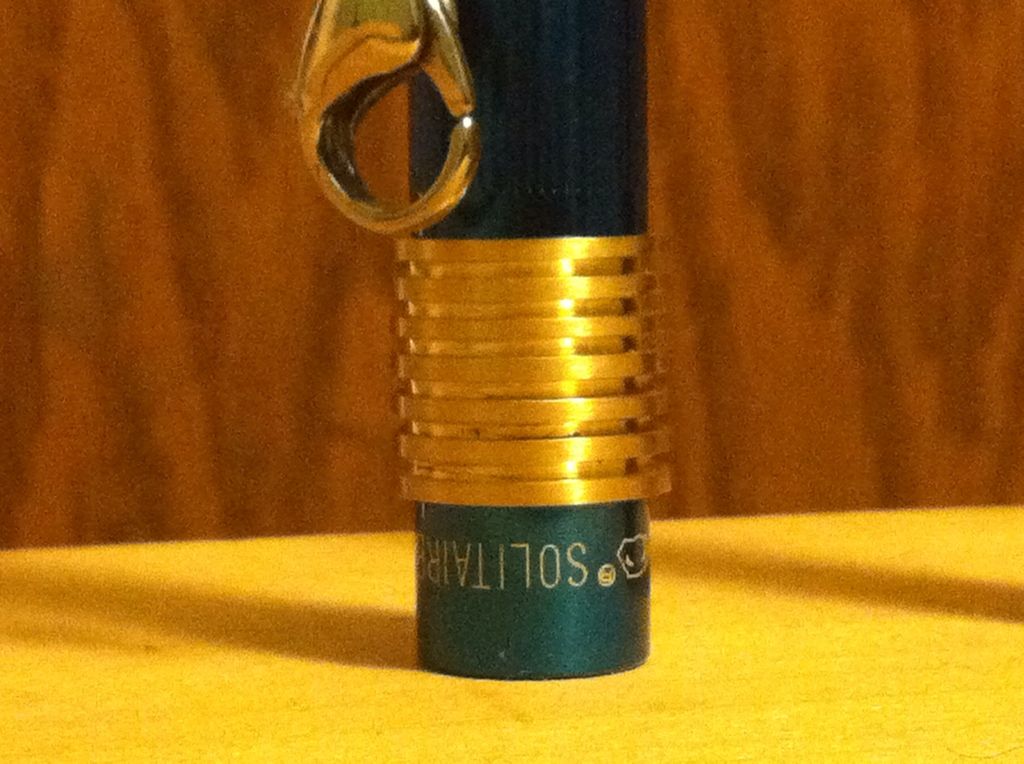
The blank is made of 3 sections of brass hobby tubing soldered together. Each piece fits the next size up/down
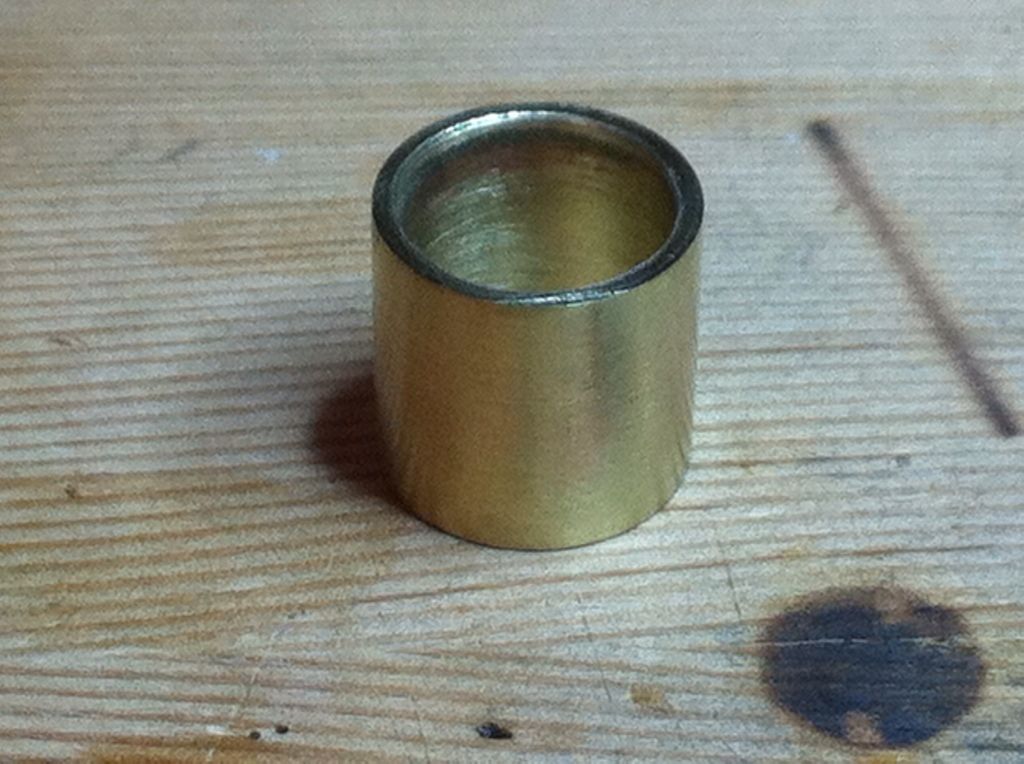
To try and get the fins more even, I counted the number of cranks to raise the table from one end to the other and raise the table in even increments. This helped but the crank mechanism on this inexpensive press is very sloppy and inconsistent so I still had to eyeball things.
Ready for the drill press.
Partway done.
Finished here. Ready to polish off the ends.
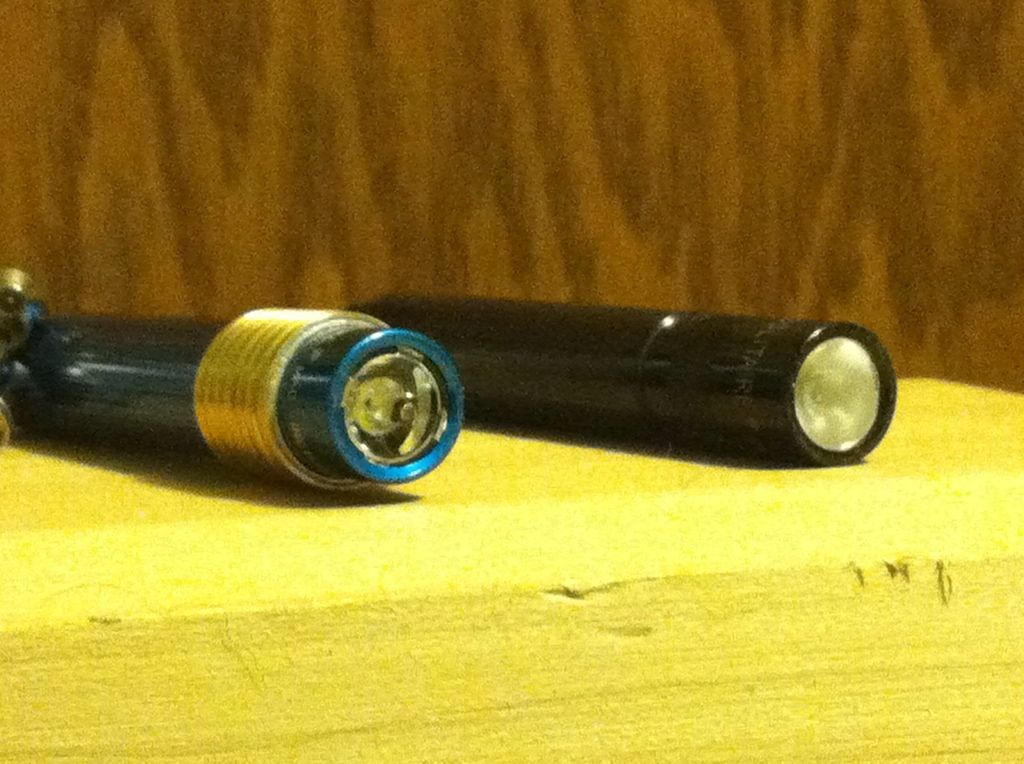
Here’s the original.
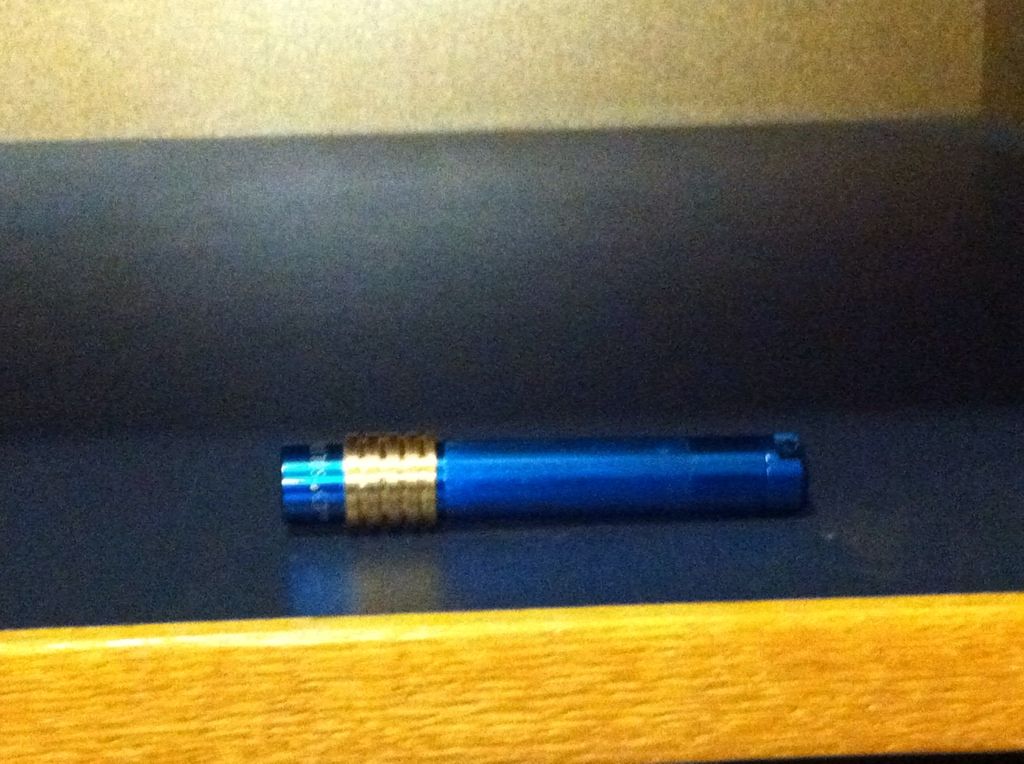
And here it is on a light(actual host will be blue)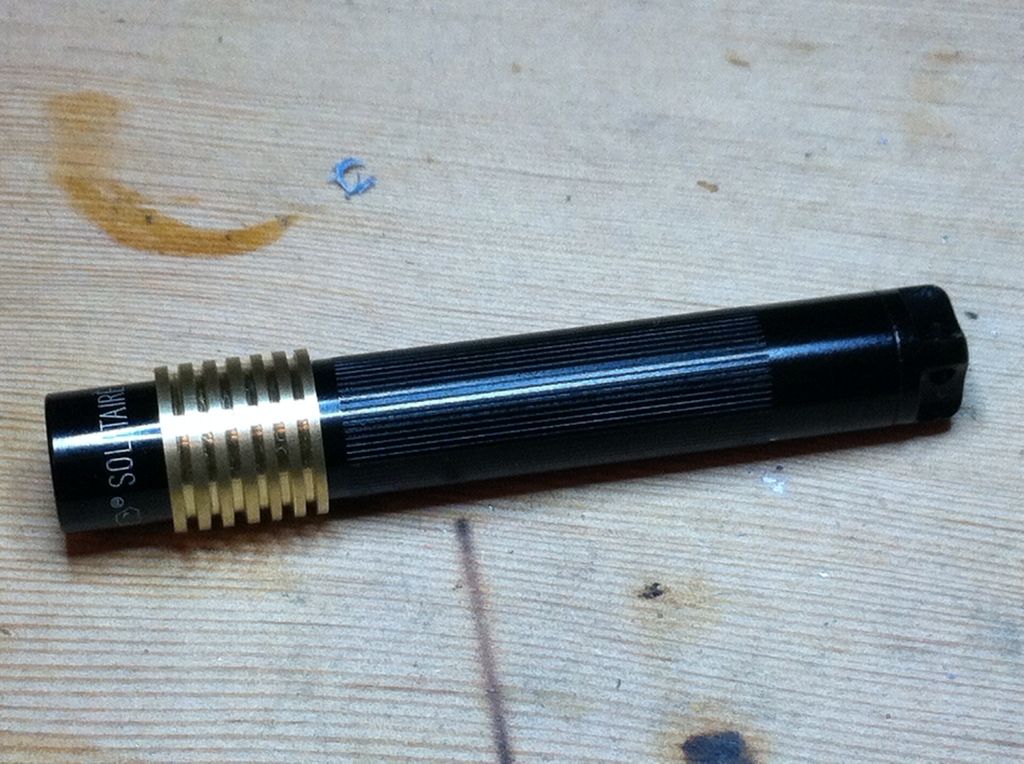
Check the thread out again on Tuesday when I post the mods to the host.
Edit added
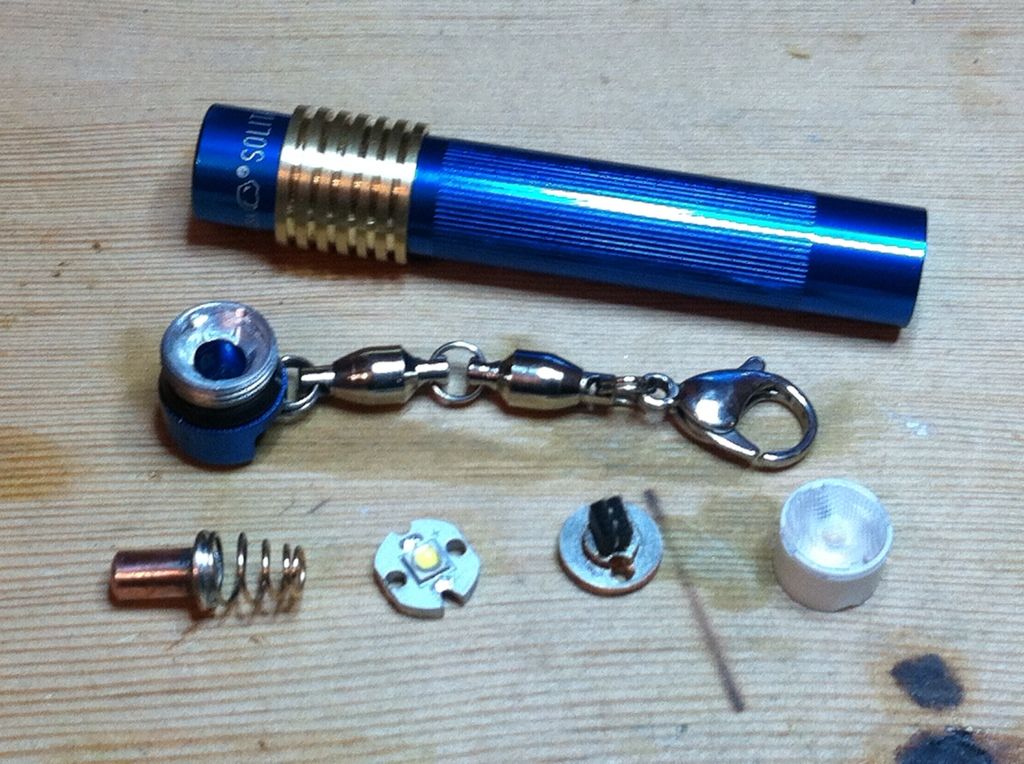
The light arrived in the mail along with the payment for the mod(nice vote of confidence that) so last night I did the mods to the battery tube and tail cap with pics along the way.
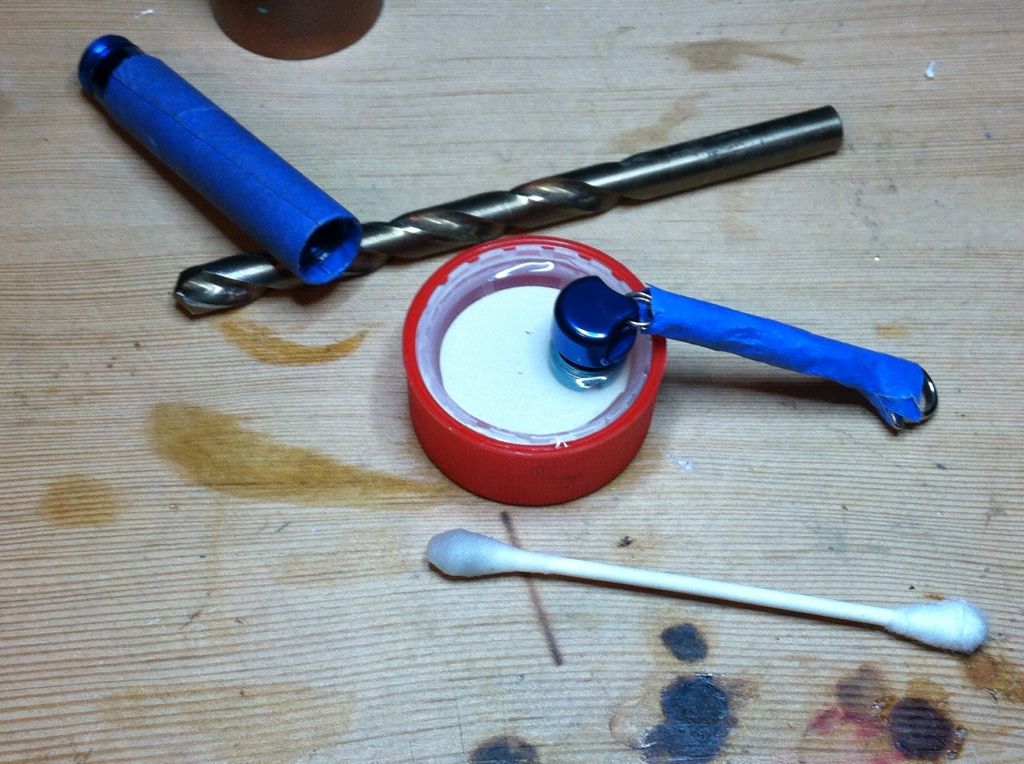
The first thing is disassembly and wrapping the host with tape. I also wrapped the keychain and set the tail cap in some drain cleaner. And while that is steeping I’ll bend the tabs and remove the stock reflector.
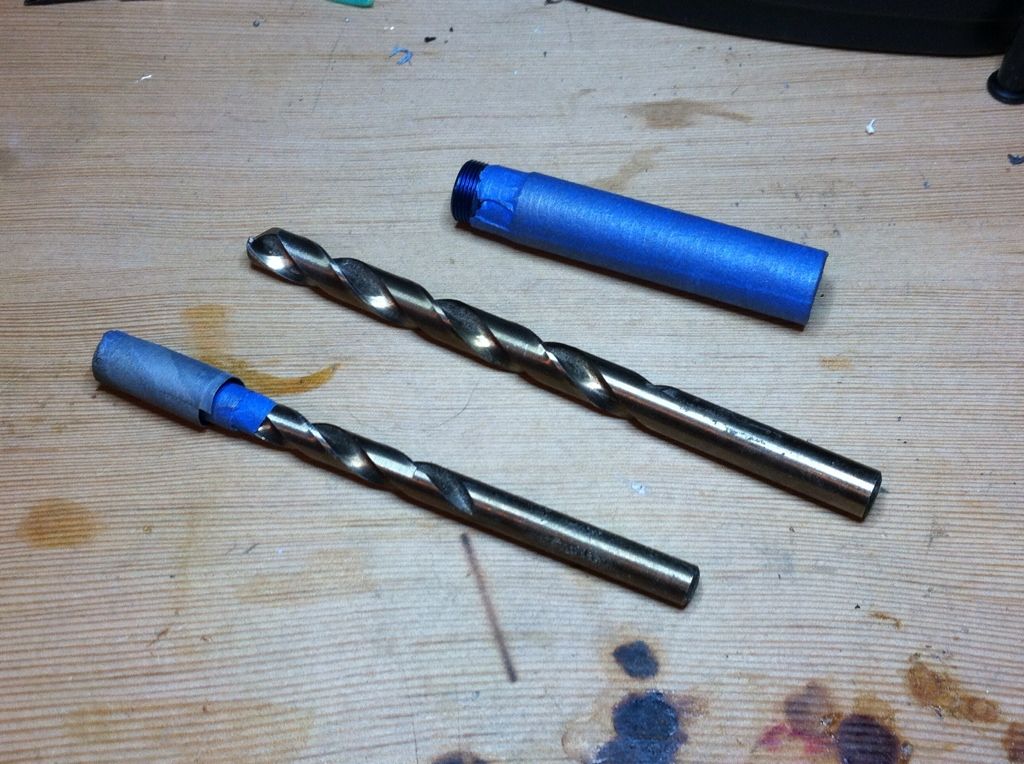
Then I widen the hole at the + end with a 5/16” step drill and 5/16”drill bit(I start with the step drill to maintain alignment) and clean this up with a 1/4” bit with w/d sandpaper taped to the end and using more tape underneath as the hole loosens up.
I cut ~ 1/2 the threads from the tube then file flat , lap smooth and bevel the inner and outer edges to remove burrs.

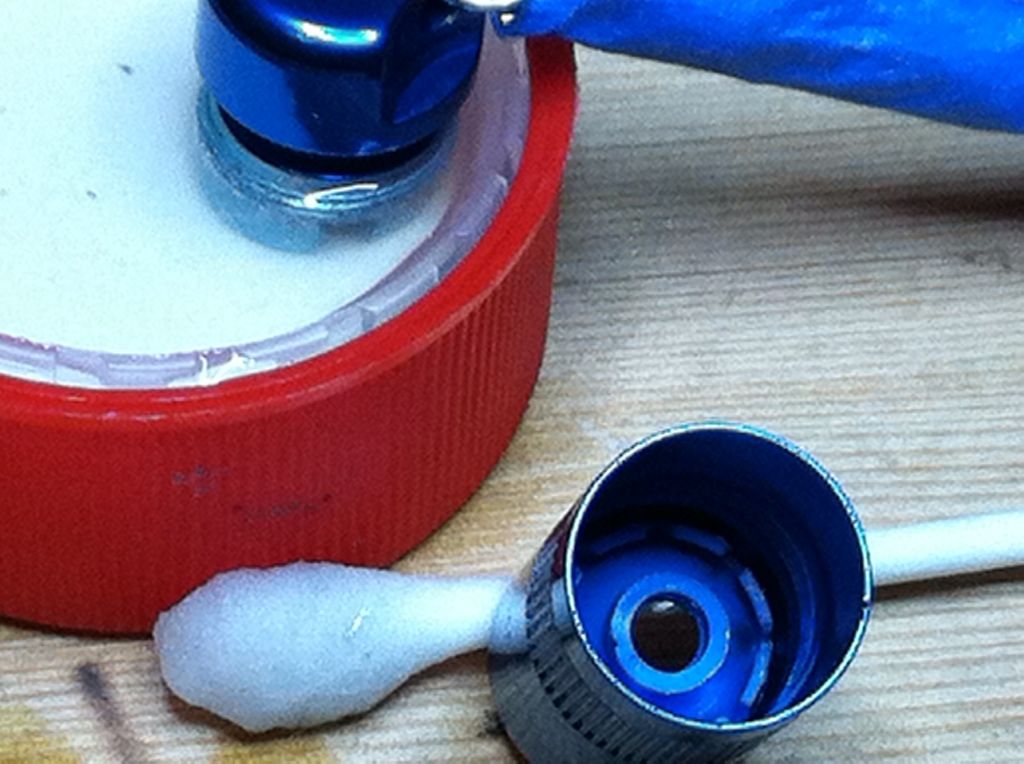
Back to the tail cap. If you are only using unprotected cells or primaries this part may not be necessary. Having removed, rinsed, and dried the tail cap I use a wire brush dremel bit to clean it up some more then cut it back to the threads with a dremel and file it smooth.
While working on the tail cap I use a q-tip to put drain cleaner on the female threads of the tube. Wrapping some extra tape into the tube helps protect it from the corrosive liquid.
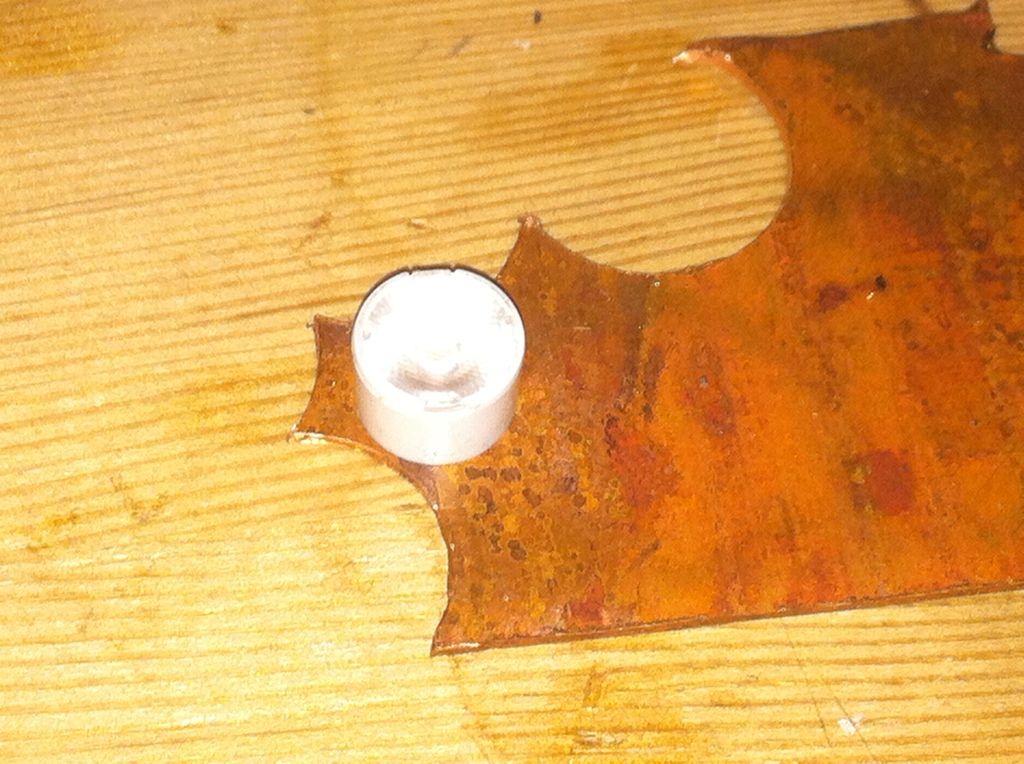
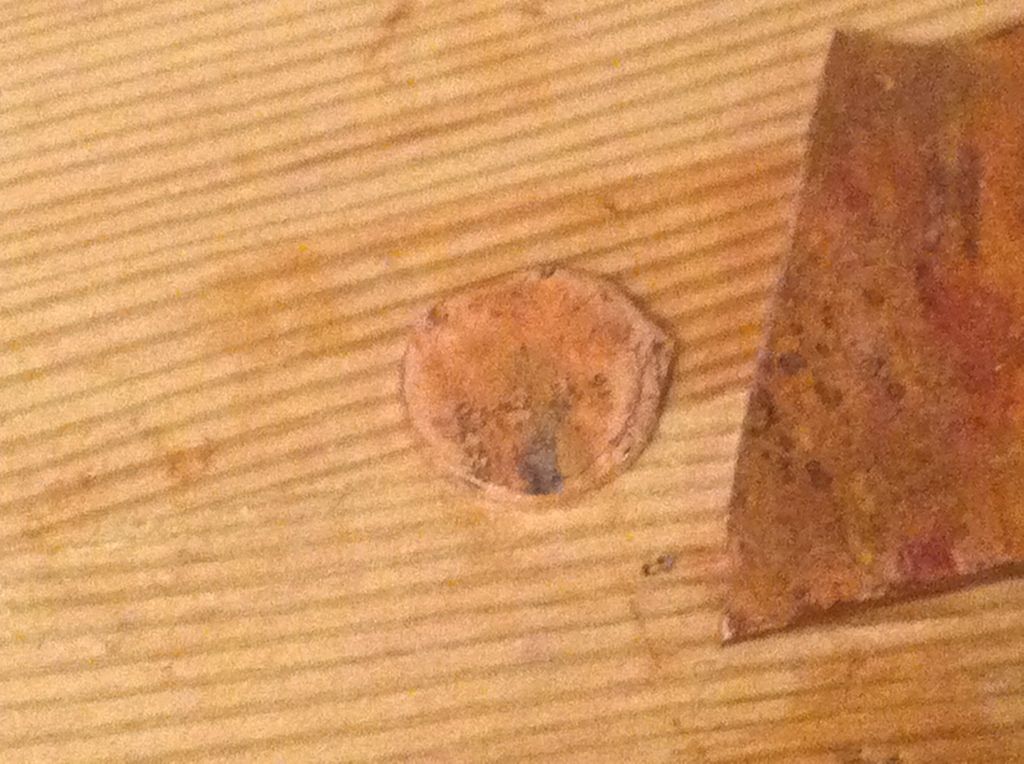
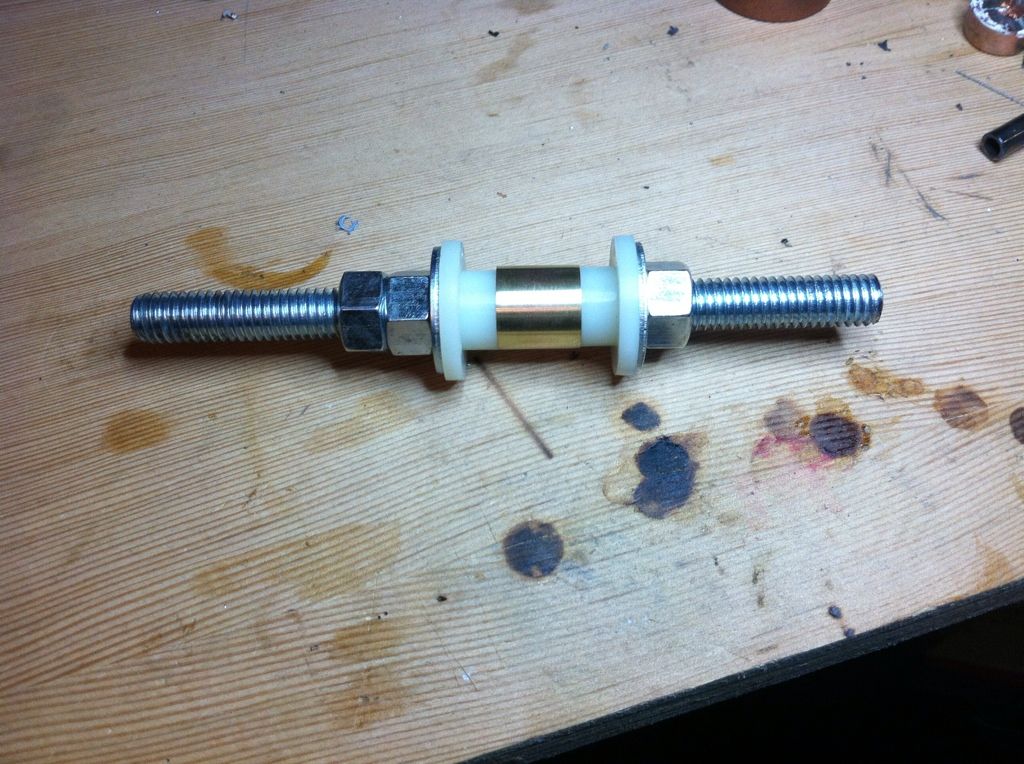
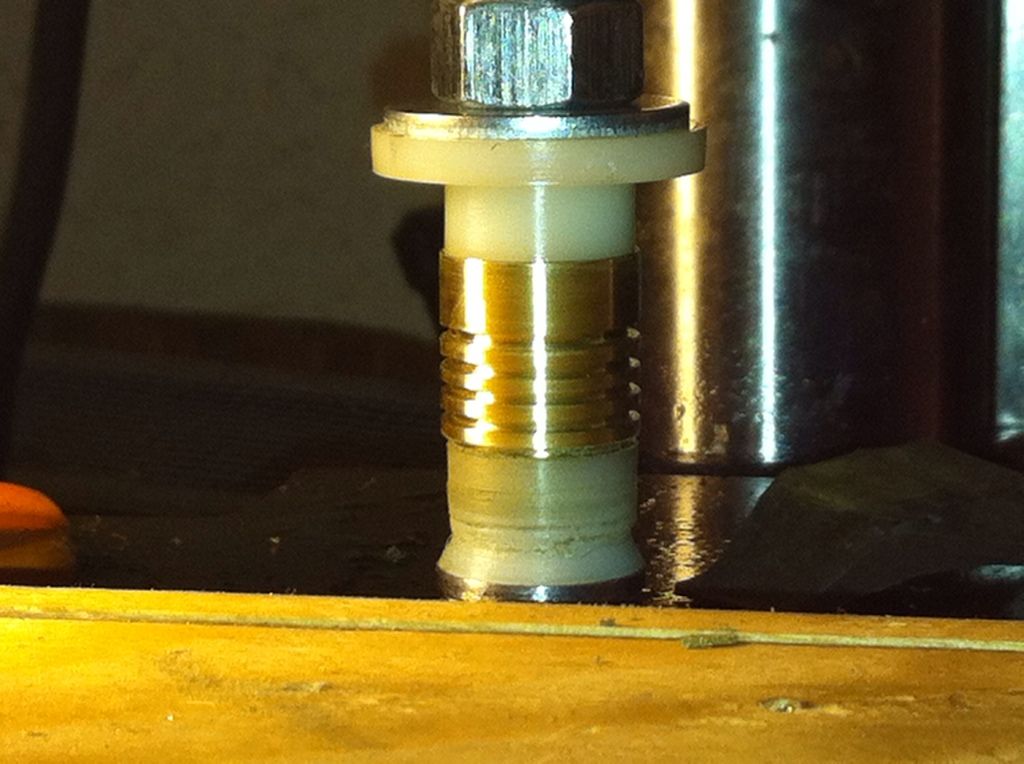
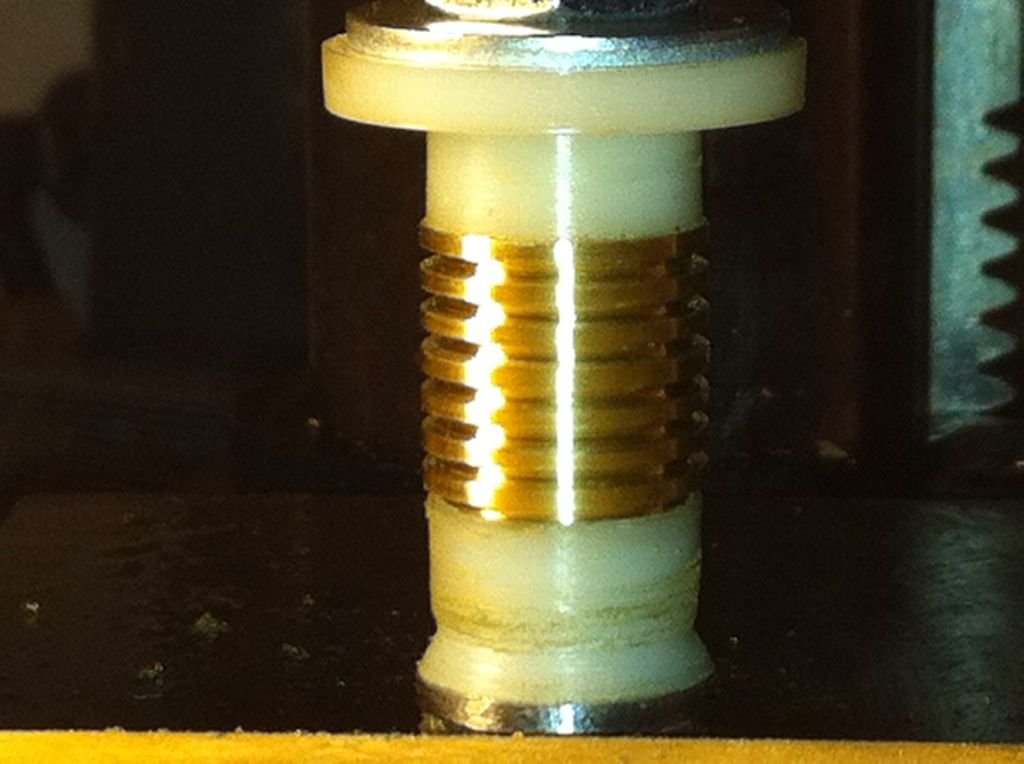
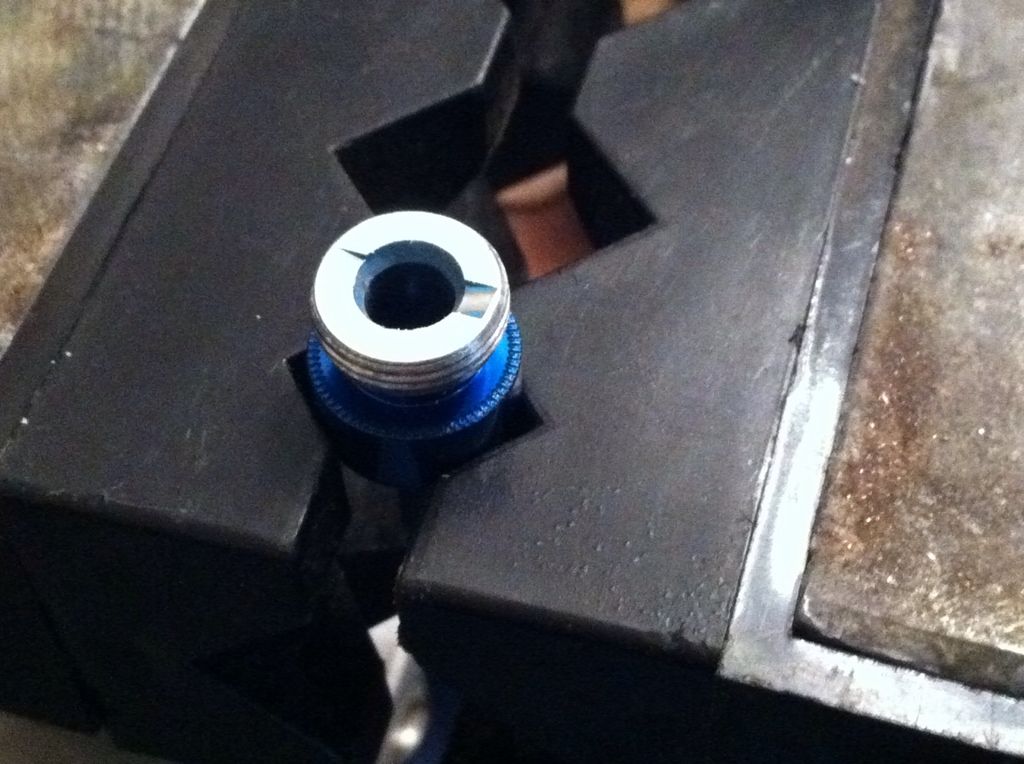
A 3/8” counter bore creates a recess to allow a longer spring to be used.

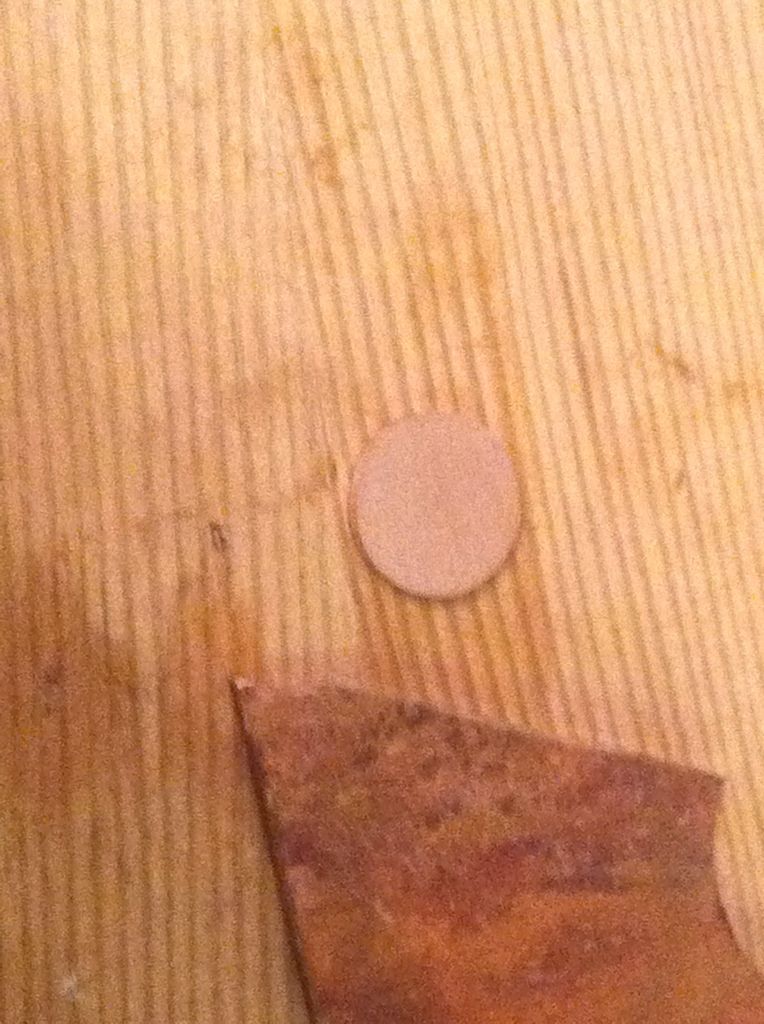
1/2” of 3/16” refer tubing and a small copper disc make up the platform I solder the spring to. The fit is correct when I’ve filed enough from the post that the cu disc seats on the tail cap.
!http://i1166.photobucket.
com/albums/q619/Rufusbduck/57984B2C-BF47-4782-B7EE-5033B0EED524-270-000000A8C4B43F8D.jpg!
Clean that up, put a dab of Fujik in the cap hole and install in the battery tube w/battery to clamp in place.
Tomorrow I’ll post the making of the rest of the pill.
edit added. I’m posting the thread addition with laptop and adding pics from iphone after.
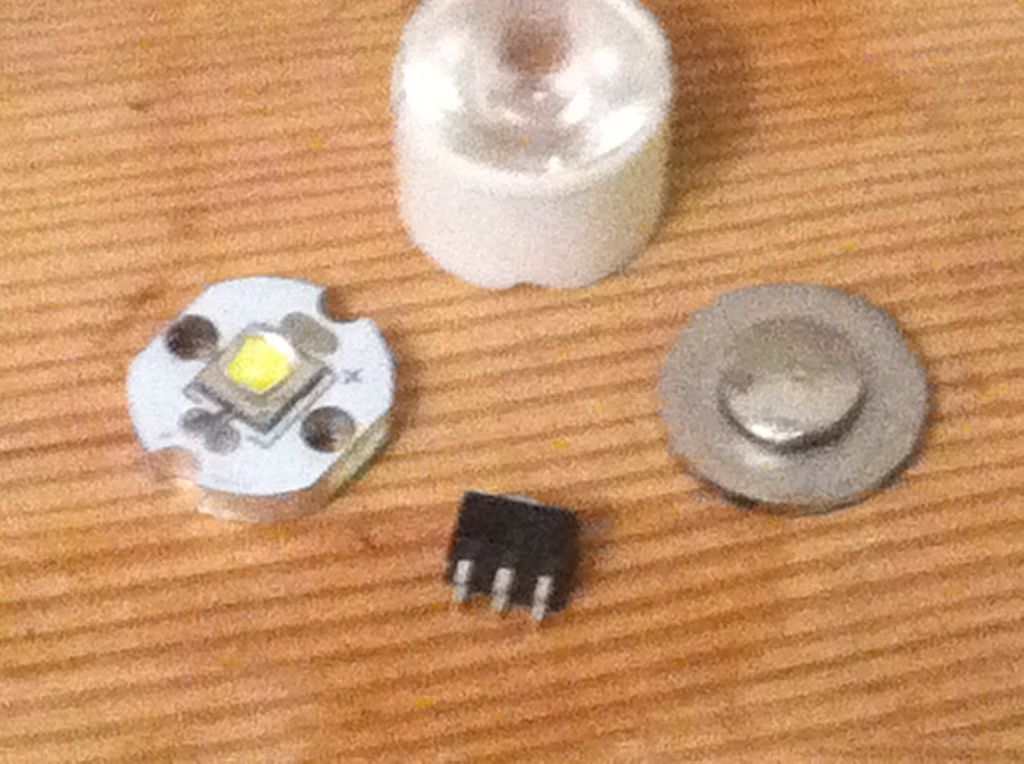
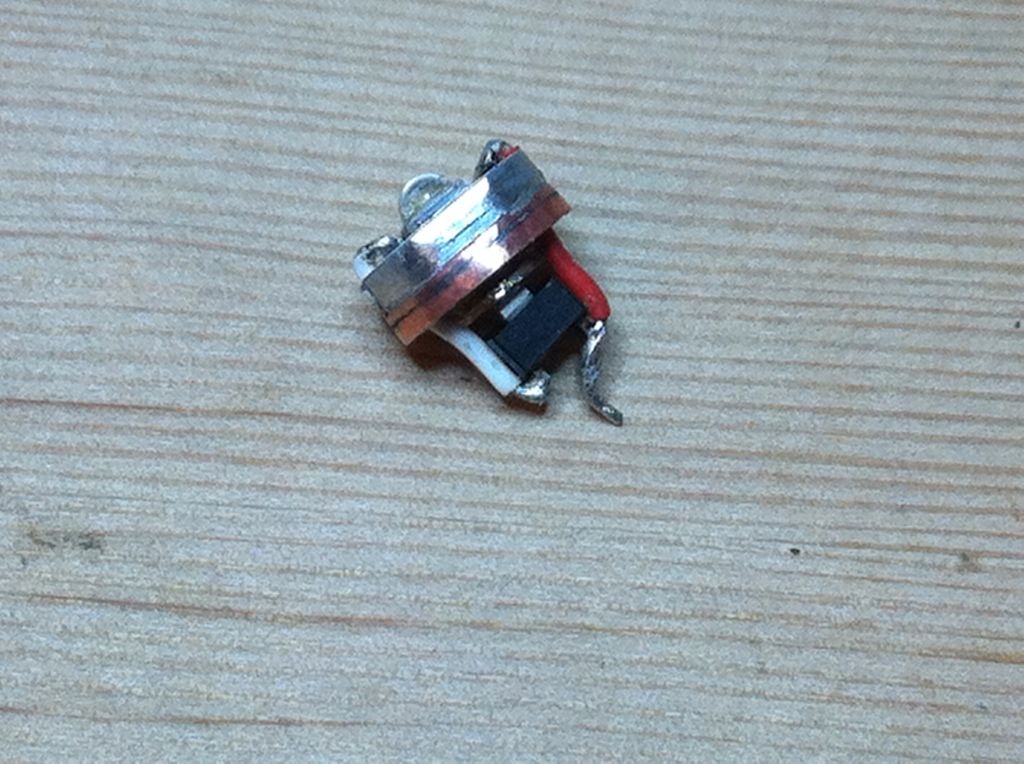
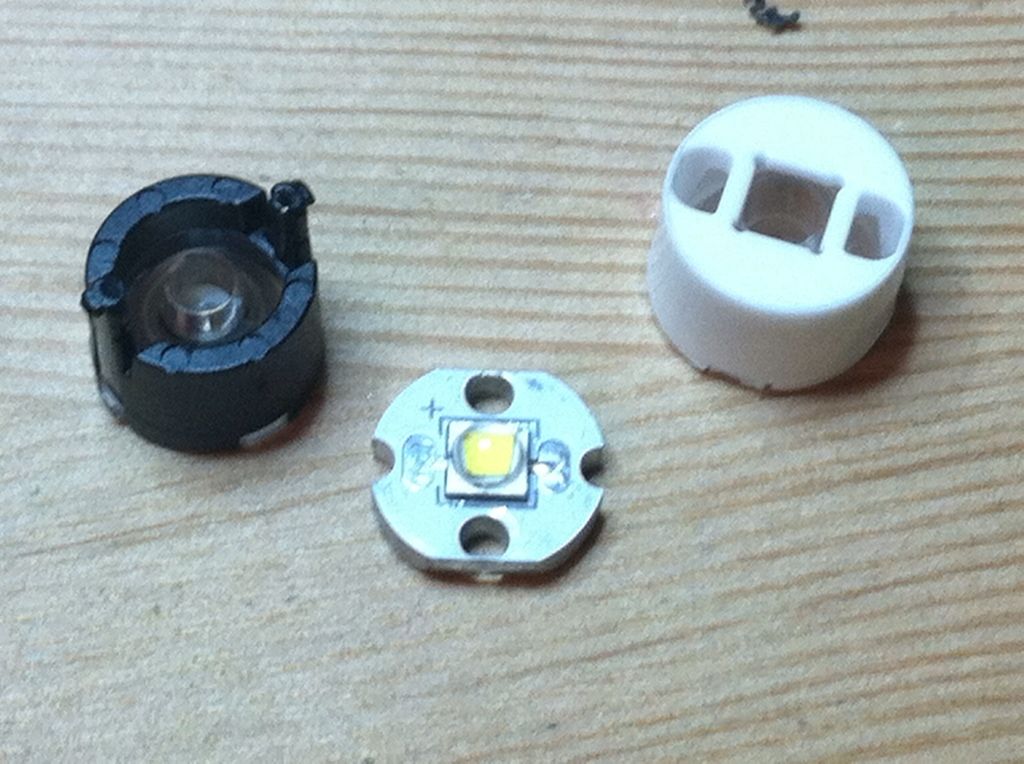
prewired the mcpcb and reflowed the chips to the heat sink(writ small).
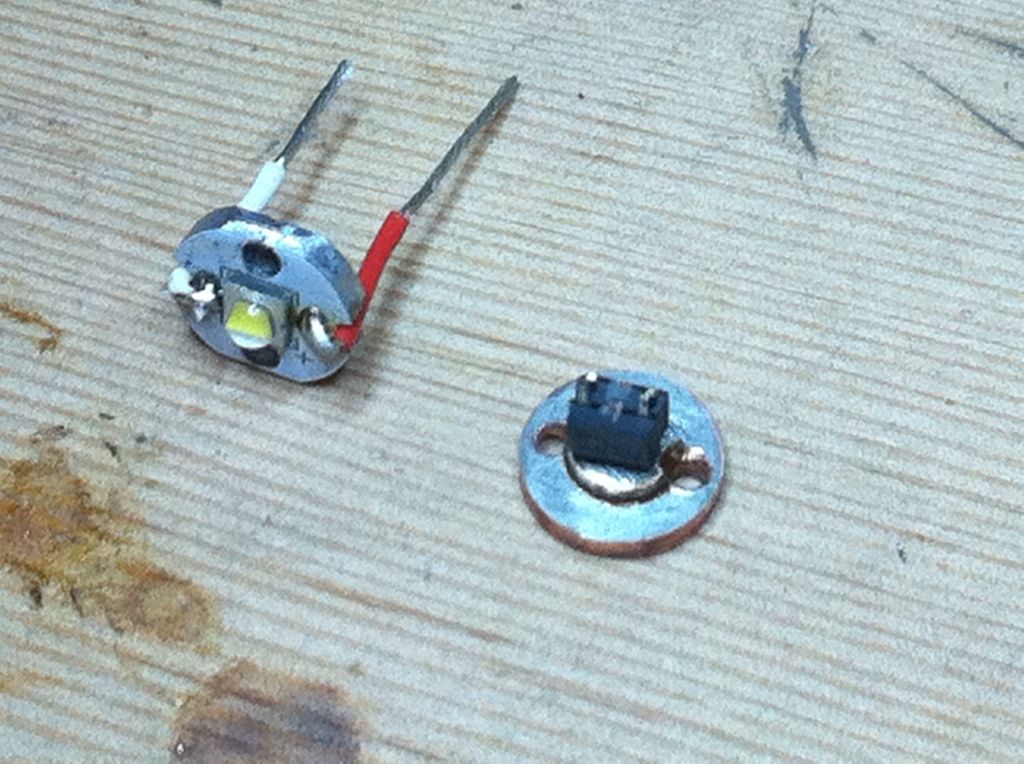
AS the two together and solder the wires leaving a bit for B+ contact.
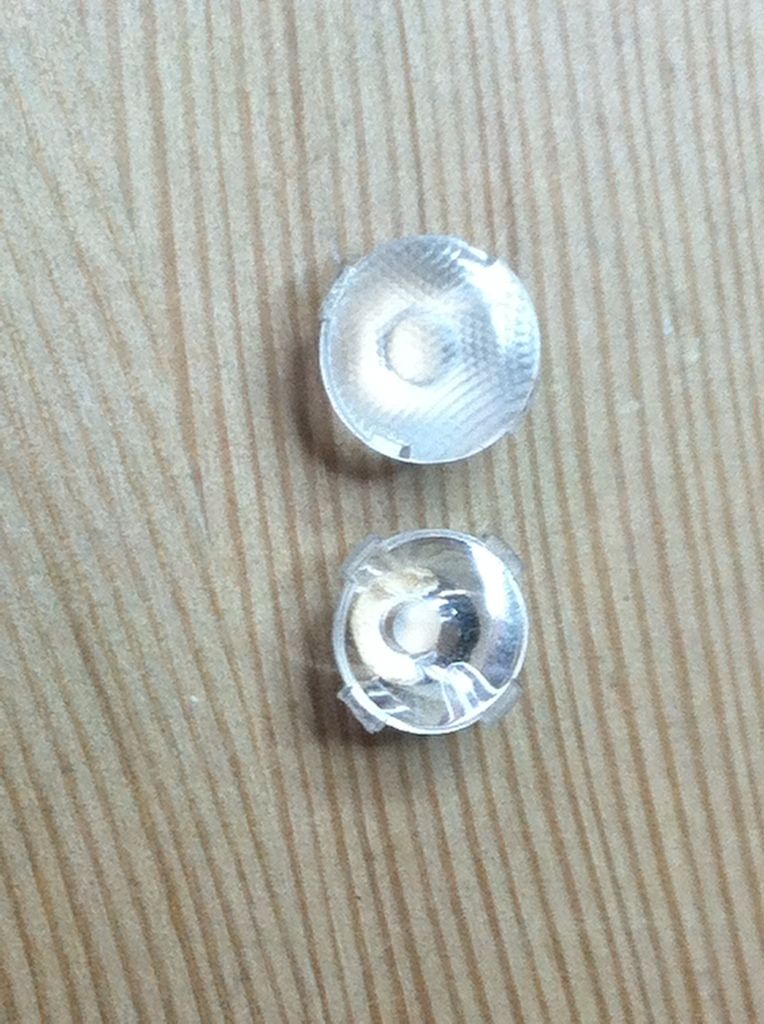
XP-G2 is silvery rather than green. For the Ledil Lisa SS lens it works better to use the edge slots. For the RS lens it is better to use the holes.

I tested the tail cap current and read a nice 700 mA on the meter. These chips are from Fastech. The replacement lense(1st batch stolen from porch) should arrive tomorrow. Beamshot comparison tomorrow night!
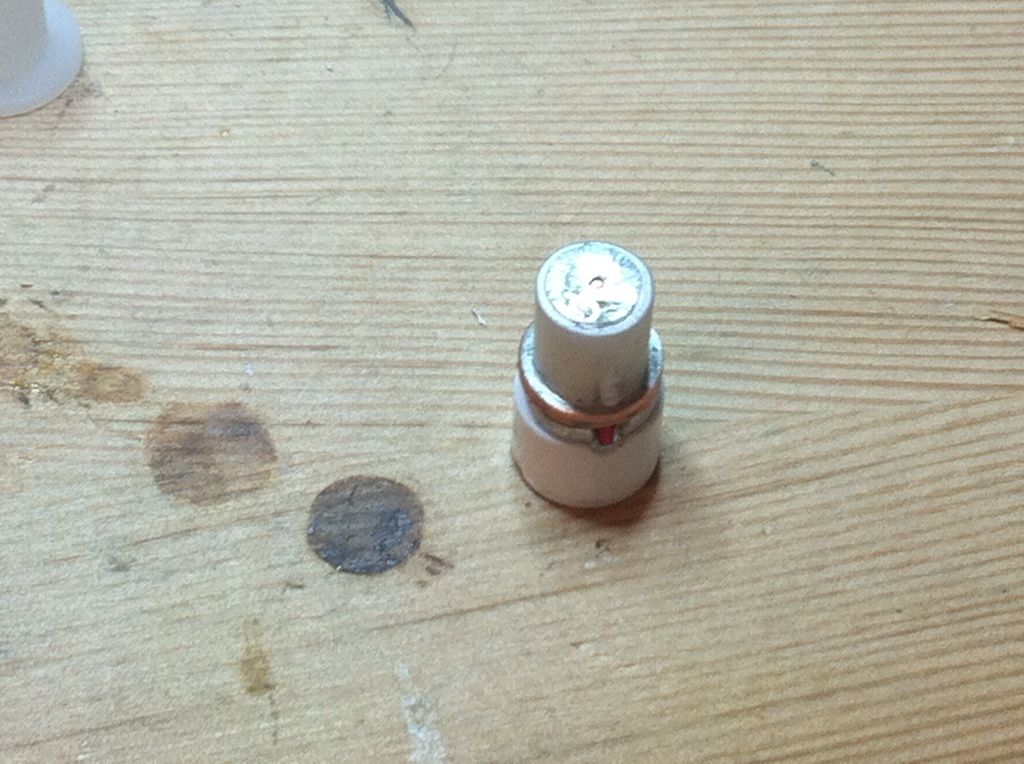
I found these at orchard. They are an easy fit in the reamed out hole and just fit over the 7135 chips. I need about
8mm which I fill with Fujik and cap with another pretinned(both sides) 1/4” copper disc. Because of my wire placement I did need to cut the sides to fit it on. Next time will be different for reasons including this one.
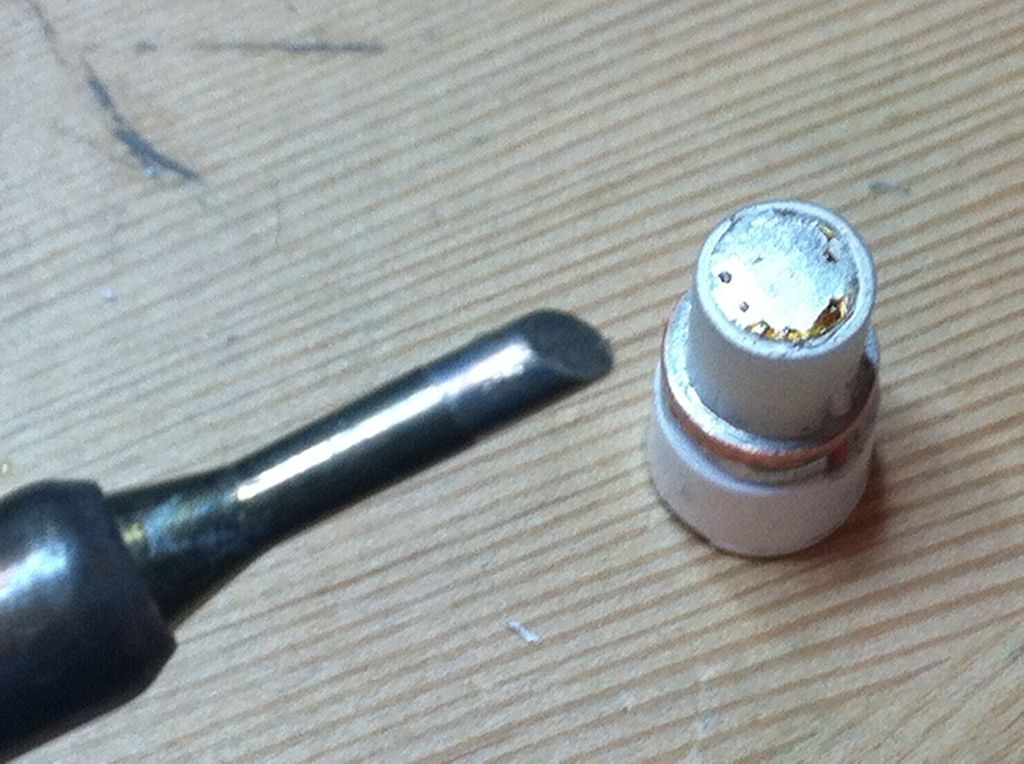
After it had cured I removed some of the Fujik so that the disc would set down partway into the sleeve and dremmeled of the excess wire and glued the pad down with more Fujik.
After that had cured I used this tip to solder the wire to the pad.
Then scotch brite to clean them up. I had another partially finished pill that tagged along.

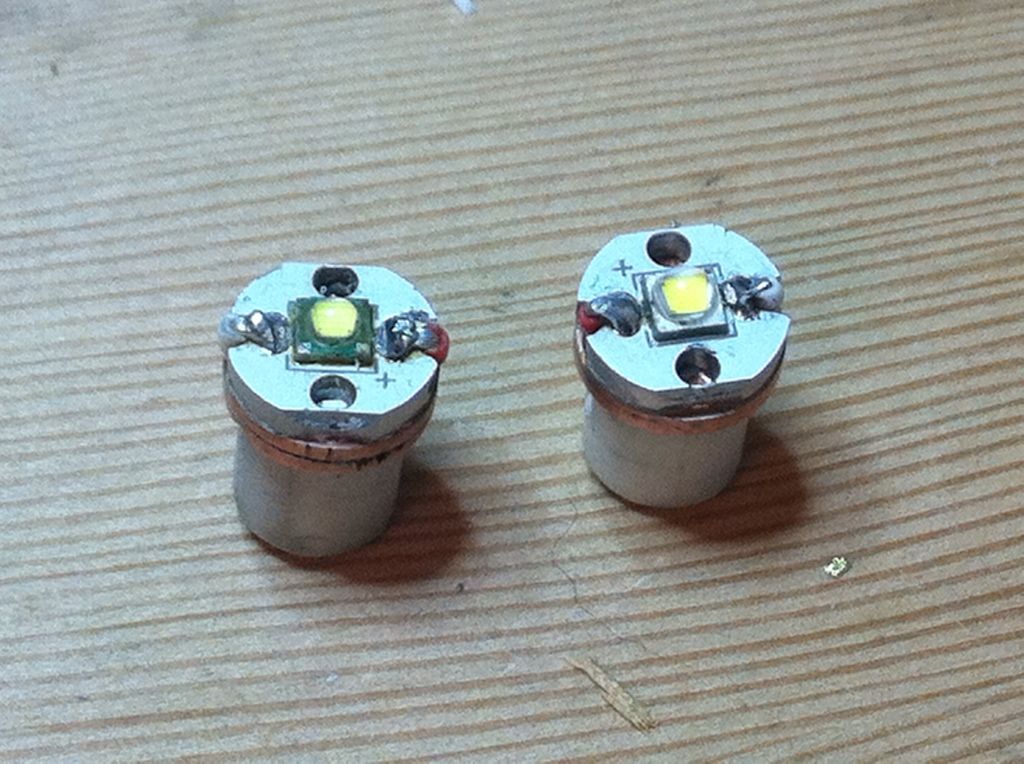
Here you can see the older xpg on the left and the new xp-g2 on the right.
It turned out to be a good thing that I waited to put the brass sleeve on. Both the RS lens and its holder are a bit smaller than the SS lens and holder and sit on the mcpcb in a different way.
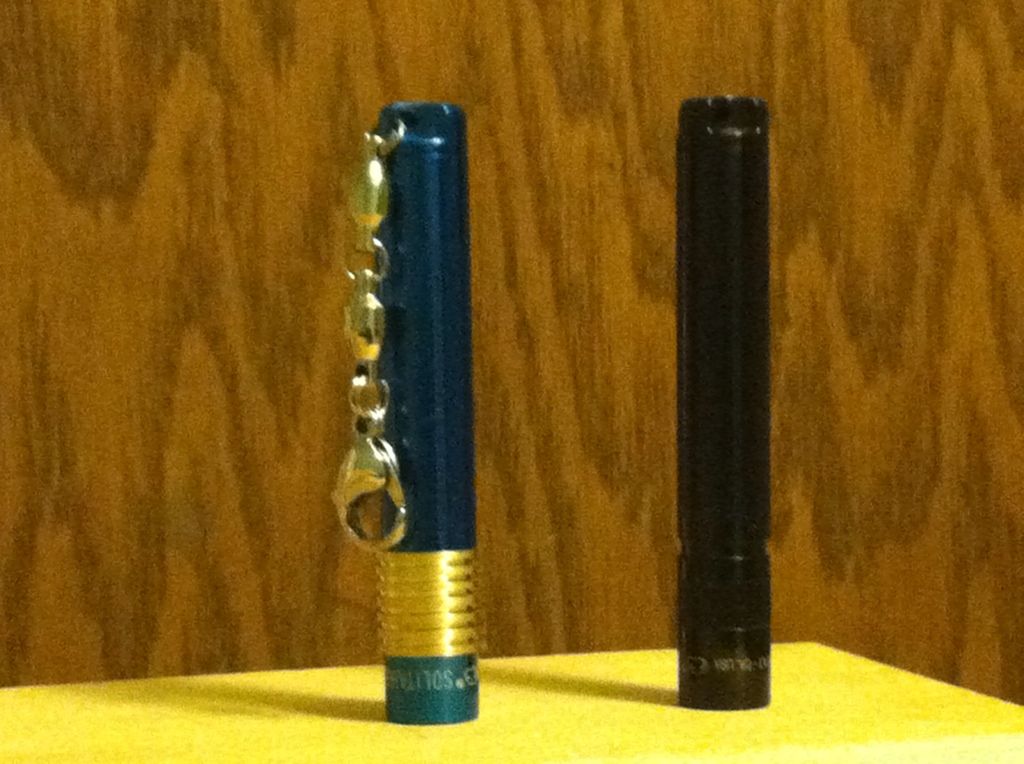
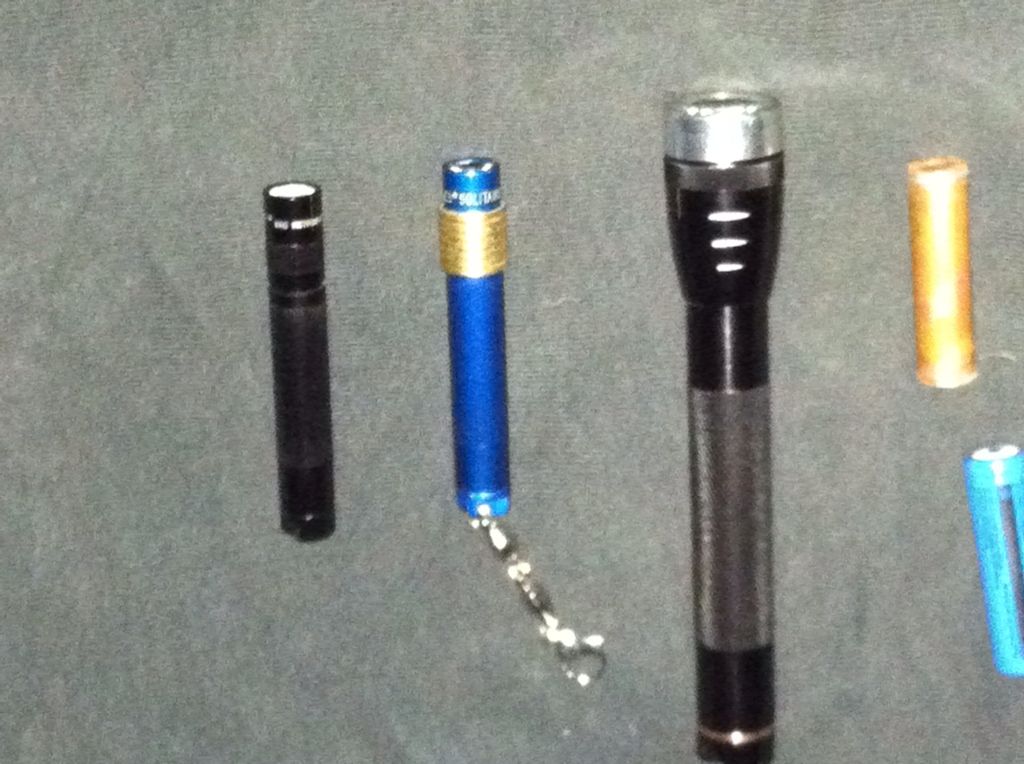
The new improved Blue Brassie Maglite Solitaire on th left with RS optic and an only slightly improved Black one(stock tail cap) with SS optic.
Once again showing the optics.
And a closer shot of the Brass sleeve.
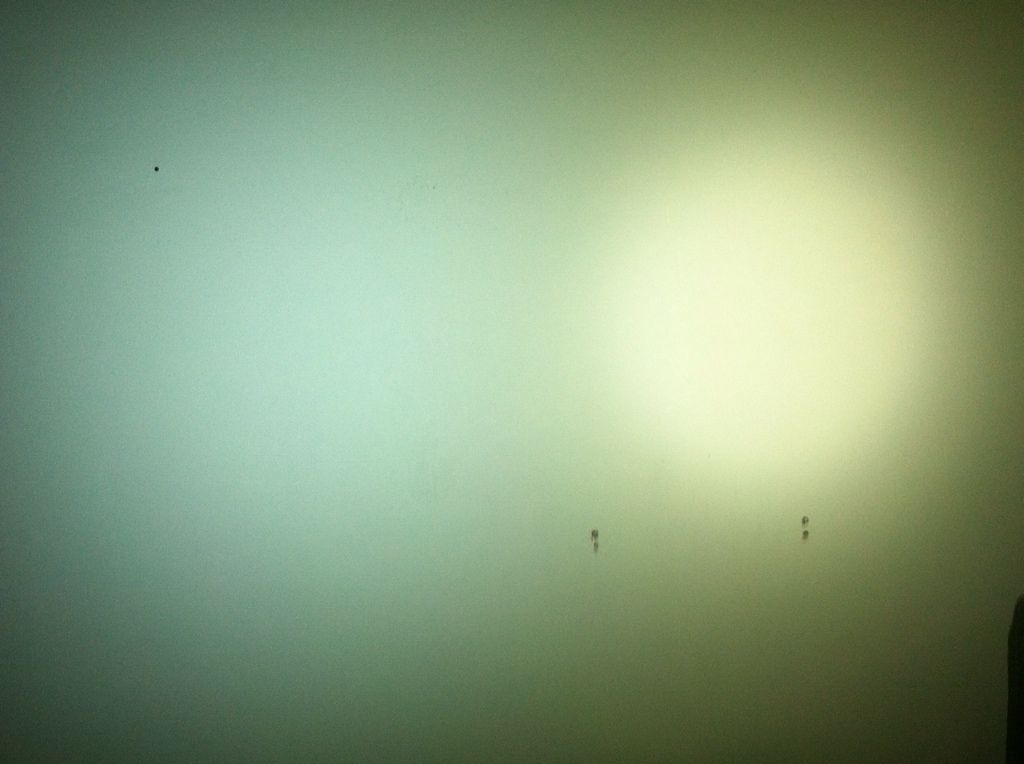
And now for some beam shots. The only blank wall in my house is green. Distance is 7’, black spots are 16” apart. First on the left is the xpg R5 with SS optic(all flood, no spot), and on the right is the xp-g2 R5 3D with RS lens.
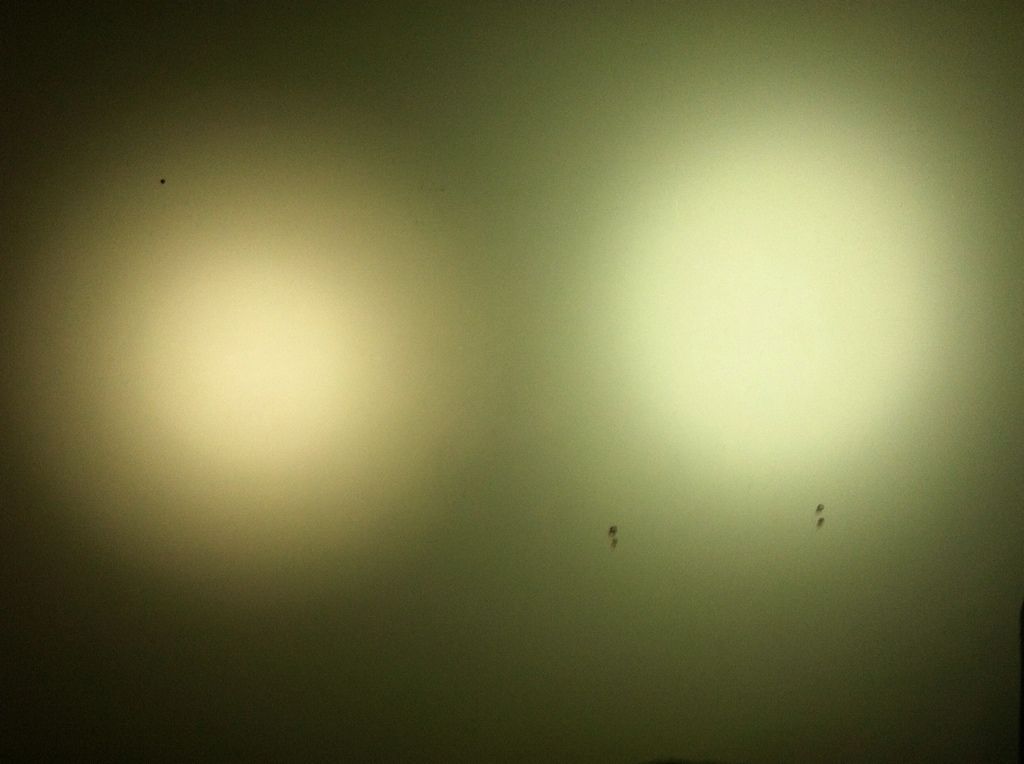
Just for kicks on the left is my new OL AA Maglite with Nichia 219 on 2AA and 15^ tir and again the RS xp-g2 on the right. In reality the 3D tint appears to me to be a very true white. Not yellow or green or blue. The wall looks green because it is green.
On to outside. Here are the lights tested(other than the mini, which I used to take the shot)
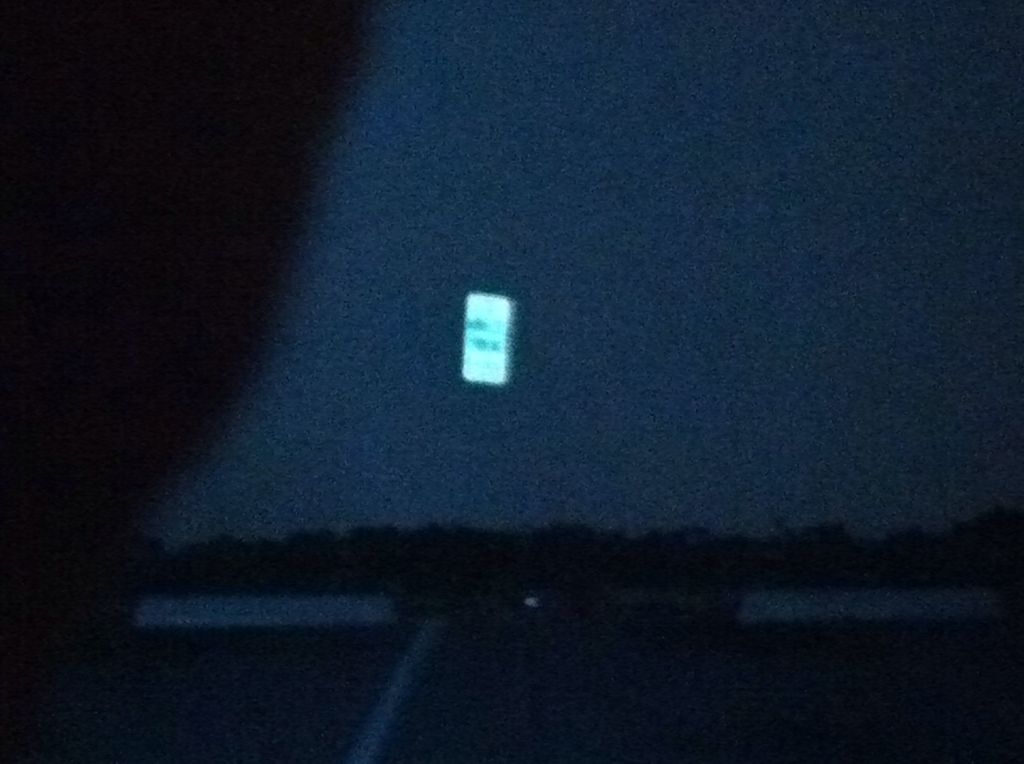
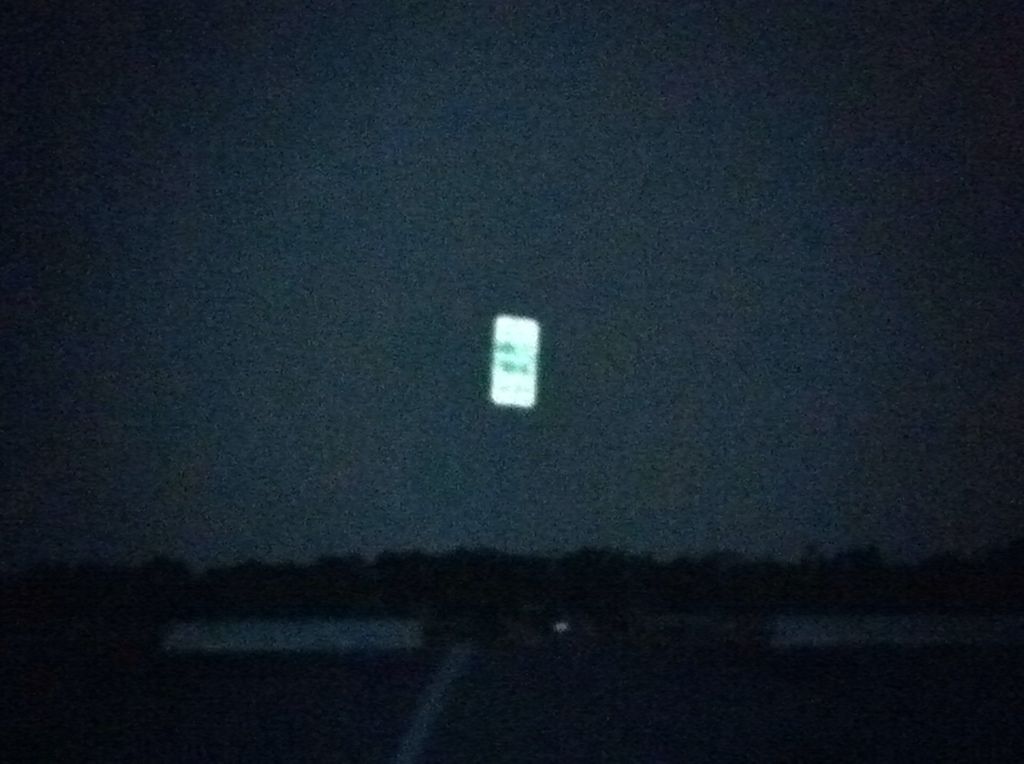
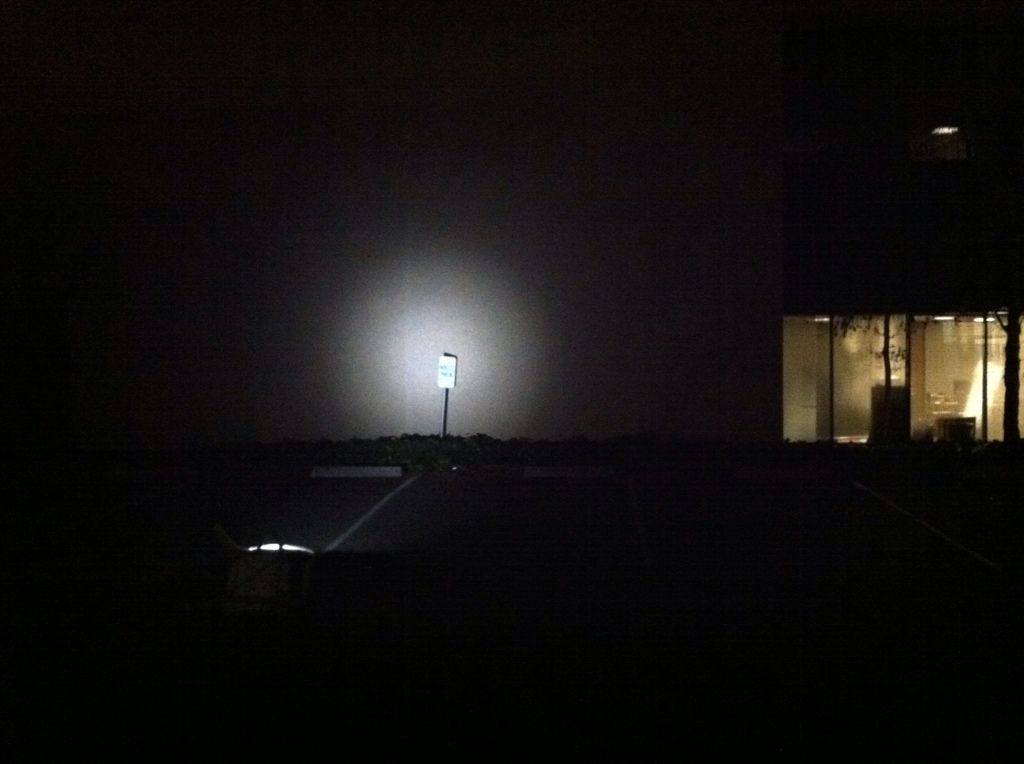
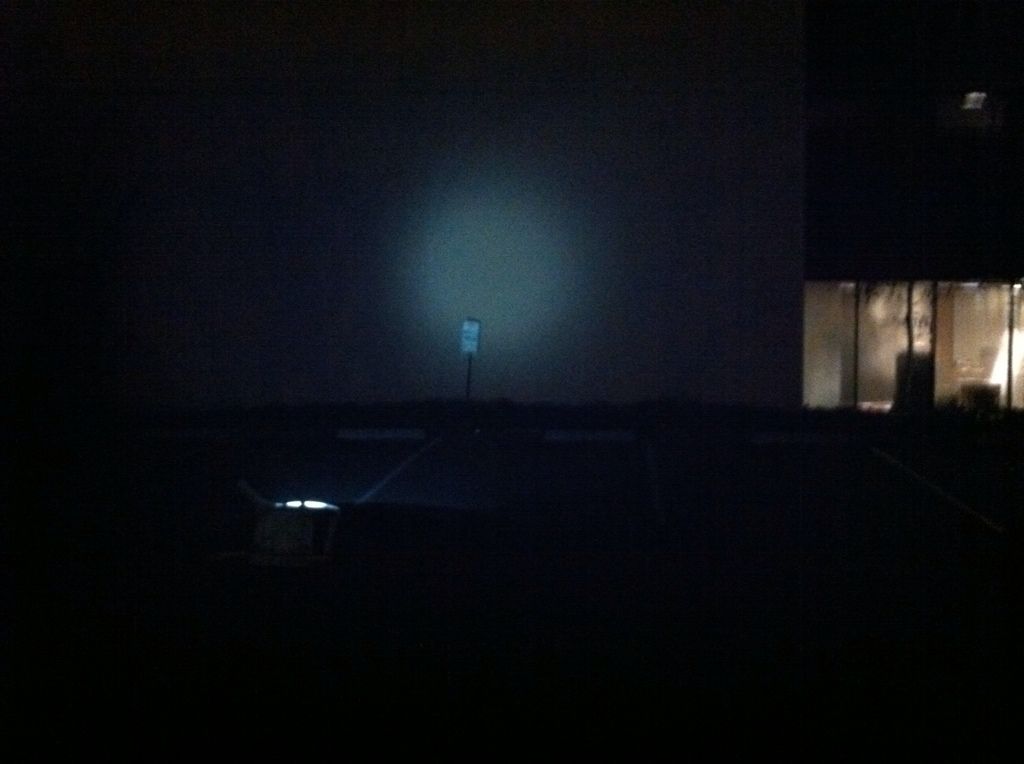
First up is control, no flash. Distance to wall is 50’.
Soltaire with Ledil Lisa SS, xpg R5 tint unknown cool white.
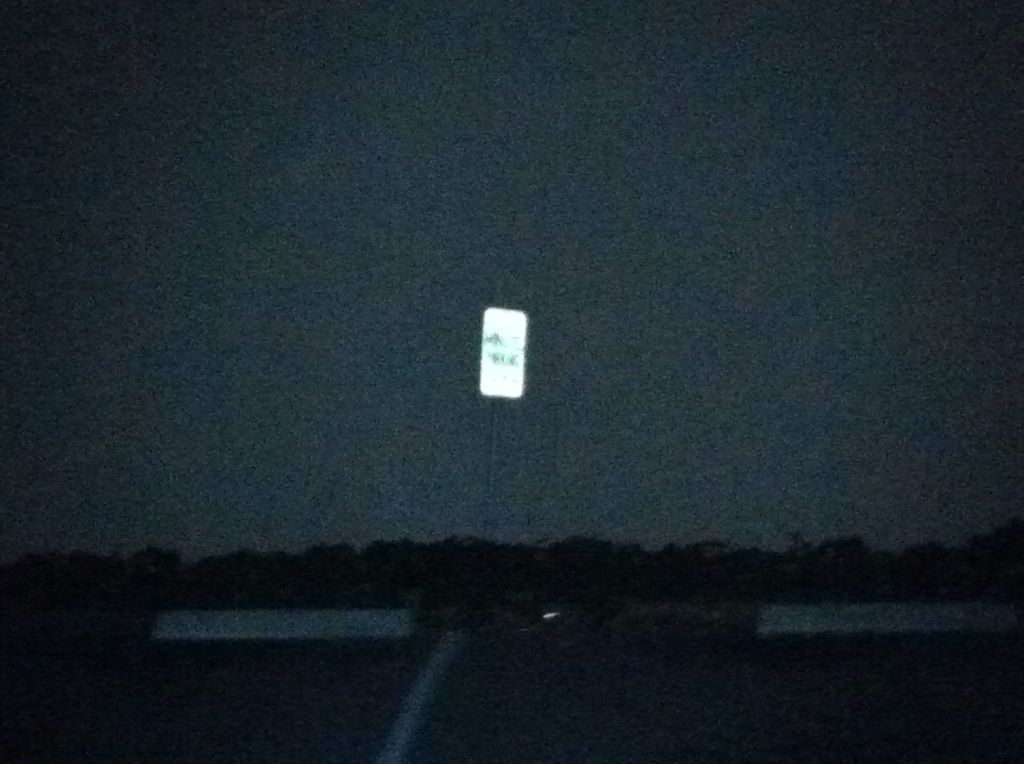
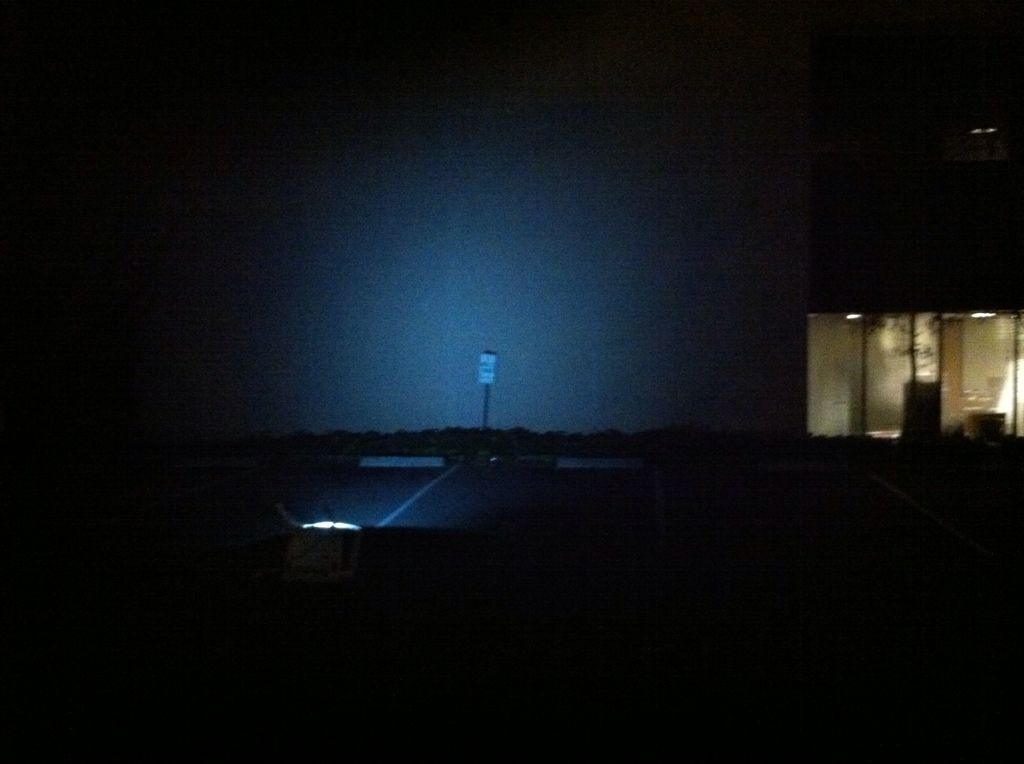
Next is Solitaire with Ledil Lisa RS, xp-g2 R5 3D.
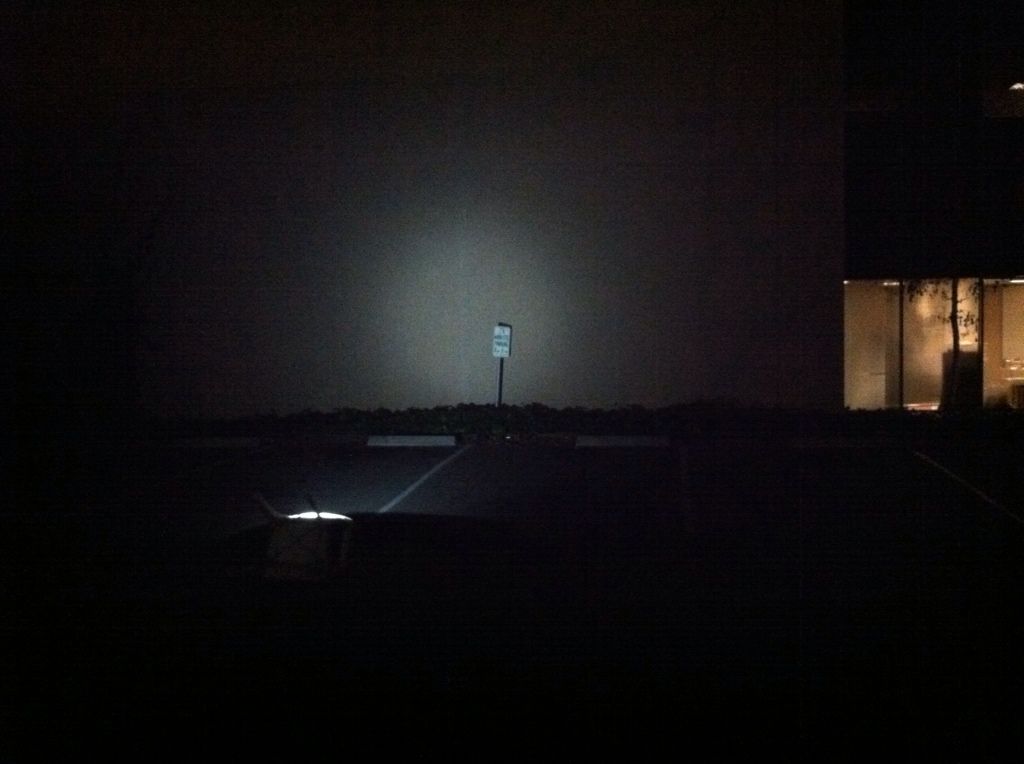
This is my new OL Maglite with Nichia 219, 15^ tir, and 2 AA.

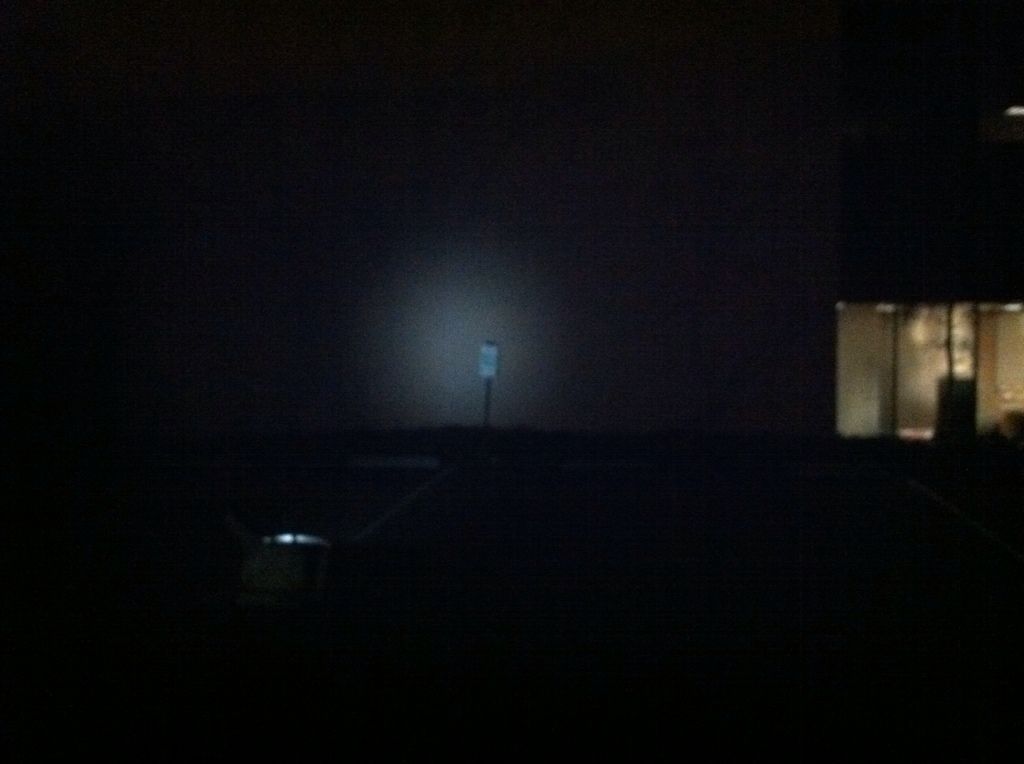
And lastly, my BLF Mini 01 on med.
Once more, lights at 25’, camera at 50’.
Solitaire SS
Solitaire RS
OL Maglite 2-AA
OL Maglite 14500 + spacer
Mini01 on med
That’s all folks! Stay tuned for the next RBD installment of Modding with the Duck.
