The "N" Rook Mod

I modded a Rook today and turned it into a 3-up Nichia with TIR optics.

Let's start with some music to set the mood.

Ok, so I started with a plain Rook

rk1a

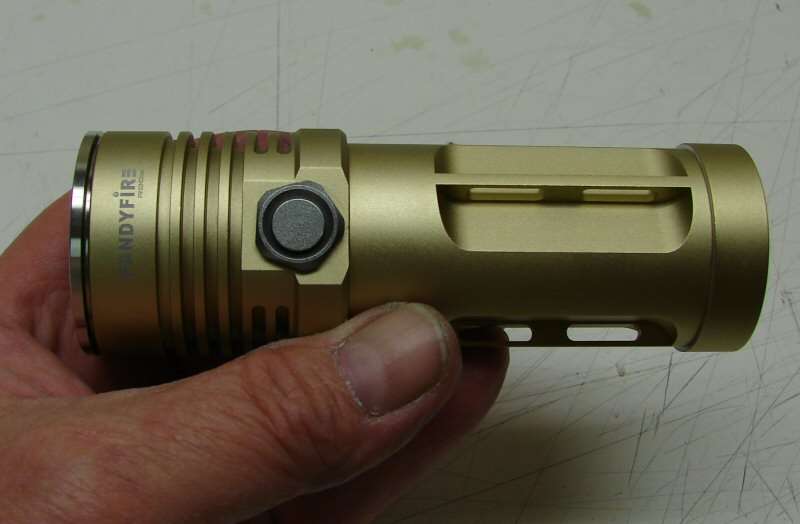
I thought about just putting in a DrJones driver and leave it at that, but that's no fun, so I decided to go with a home made 3-up and TIR optics.

I used Nichia 219 LEDs from IS, 15 degree TIR optics from FT and a DrJones driver. I made everything else from parts I had lying around.

rk1b

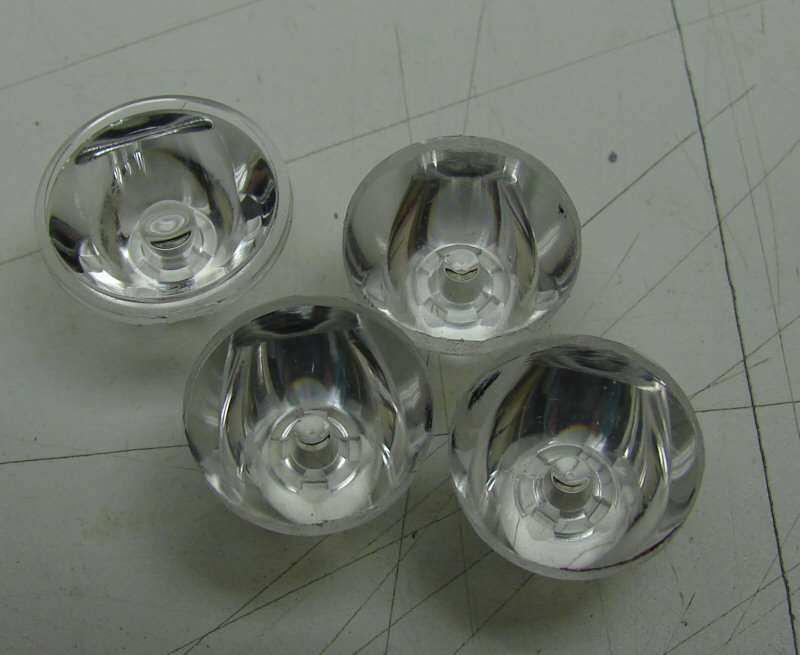
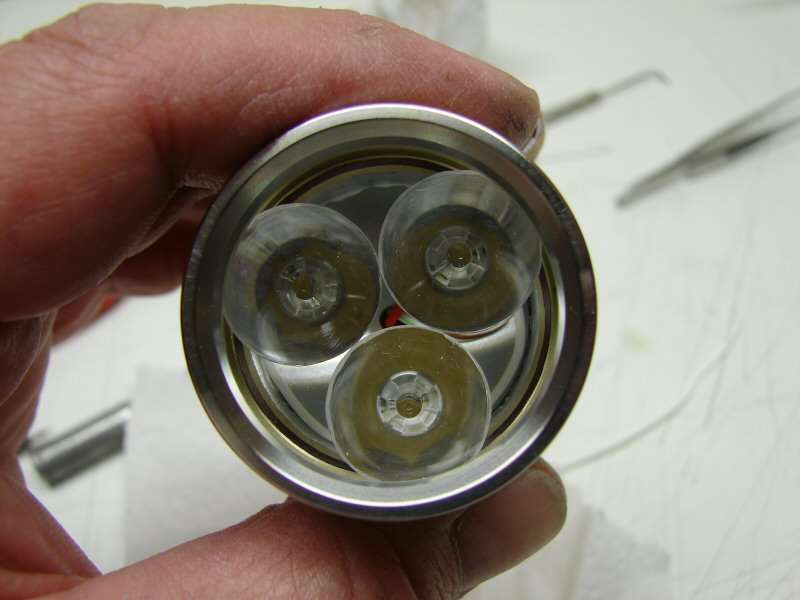
I had to remove the outer rim on all the optics, to get them into the head. You can see the one top left is stock and the others have been sanded down.

rk1c

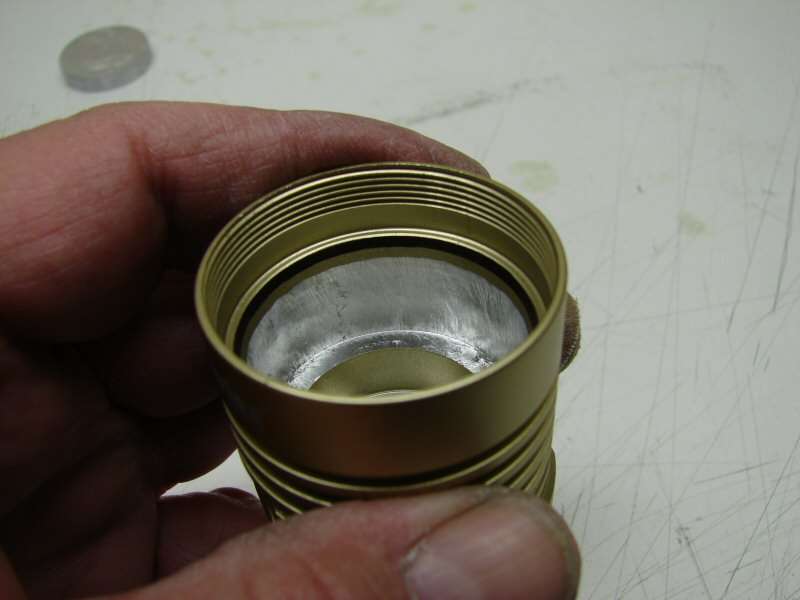
I had some aluminum rod stock, so I went with a size that would hold the three stars and opened up the inside of the head to fit the heat sink. I used an end mill bit in the drill press.

rk1d

I had to cut the heat sink and then I milled it to clean off the cut marks and sanded and sanded and sanded.

rk1e

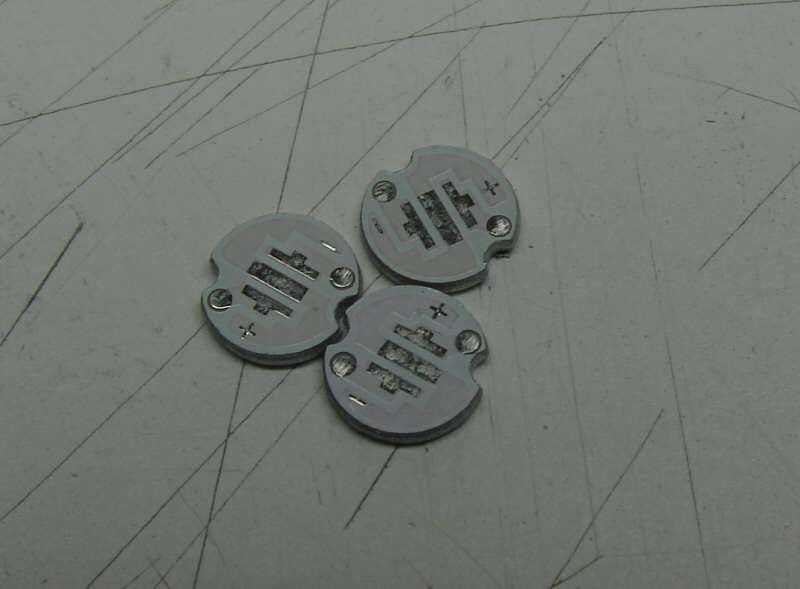
I used 10mm XP-G stars and re flowed the Nichias onto them.

rk1f

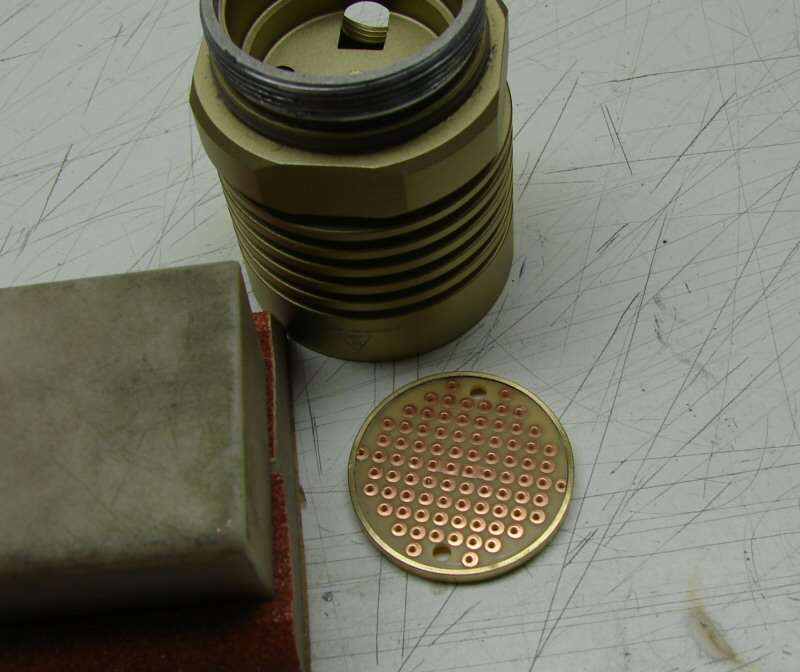
Of course, I am going with series for the 3AA NiMH batteries, so I am making an upper contact plate for series. I just finished fitting it into the stock brass locating ring.

rk1g

I had to make the rounds from scratch. I ran out of 3.8 rounds, so I made these out of sheet stock. The contact plate is all ready.

rk1h

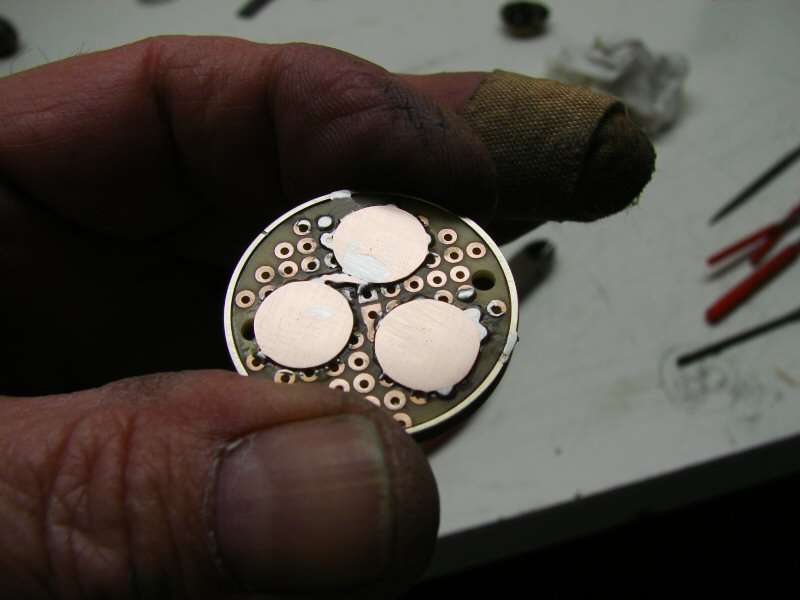
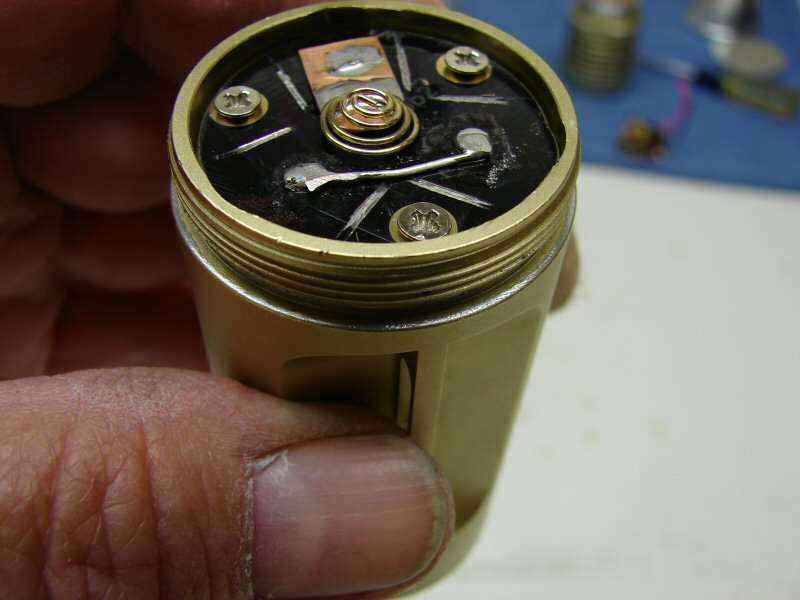
The bottom contact plate also has to be modified for series. Here it is, ready to go back in. The traces are cut to isolate and the jumper is soldered on, plus the center contact is for ground, since I will be doing the tail cap mod, so that there is a manual lock out feature, by loosening the tail cap.

rk1i

The upper part of the head is done, now I can work on the driver.

rk1j

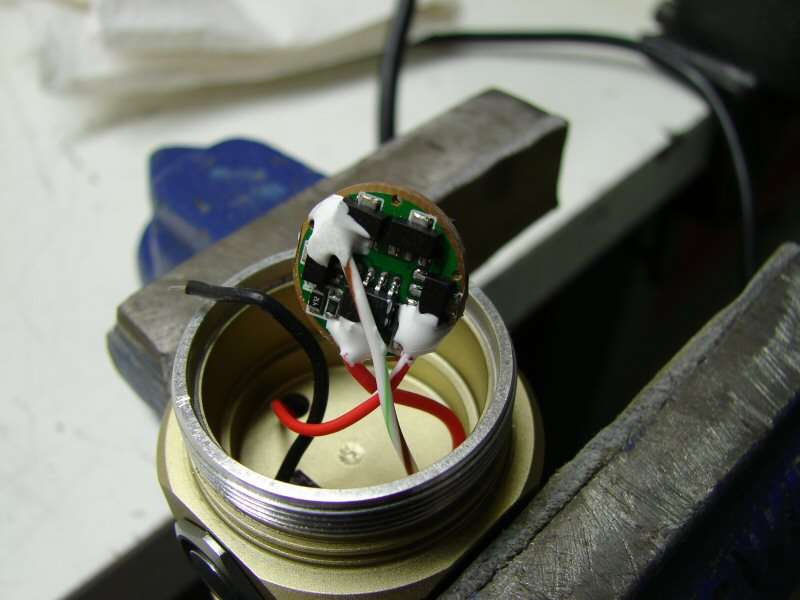
The DrJones driver has been wired to the LEDs and to the switch. I use AA on the solder joints to help keep the wires from flexing at the joints when moving the driver into the head.

rk1k

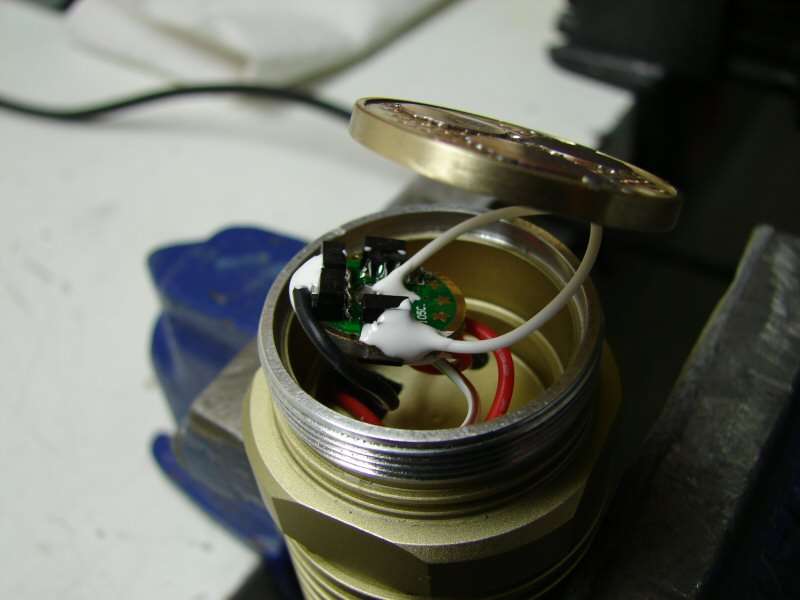
The last three wires are in place. There are 4 extra chips added to the driver. Hopefully I should get about 1.5 amps to each led. The LEDs are wired in parallel.

rk1m

The edge where the tail cap touches the body has been sanded to remove the ano.

rk1n

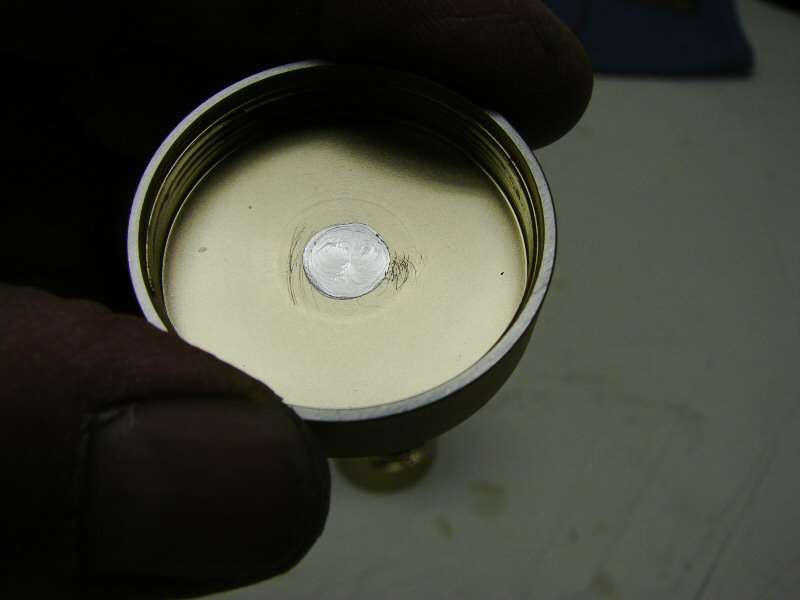
The lip on the tail cap and the center have the ano removed too, so now the tail cap completes the circuit and a half turn out, locks out the light.

Here's a couple quick beam shots.

rkb1

rkb2

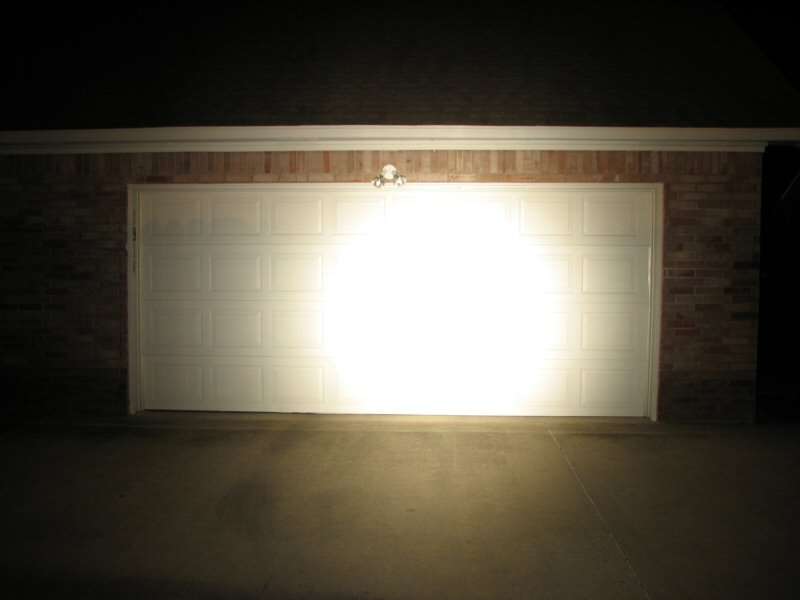
It's neither a thrower or a flooder. It's somewhere in between. It has a large spot, but not a ton of spill. TIR optics should let the light spread to whatever degree of angle they are made to. The 15 degree TIR optics are (to me), the best of the bunch. I use them a lot.

That's all Folks, I thought I would finally post a complete mod in one sitting, instead of dragging it out.

Nicely done OL. It seems the miniaturization off the TIR’s has not affected them at all. The triple Nichias appear to put out a tonne off light for such a little head. Well done.

Wow - I'm not used to seeing that much O-L in one session !

I need to start using your trick to keep the wiring from moving - thanks for sharing.

Very nice, big old hot spot. I did just the opposite with mine. I de-domed an L2 now it’s warmer and throws.

very nice. i always did like this rook. so did it give it more overall lumens…any brighter than stock form?
how many lumens would you say this is now?

It never ceases to amaze me just what you can do with a good dose of ingenuity and creativity :open_mouth:
How I wish I had half your smarts OL, (I’m not technically inclined) and could do these sort of things.
Another winner, OL. Congrats :smiley:

I don’t know how bright the stock rook is with 14500 batteries in it, but with NiMHs it was just plain weak. More of a joke than anything else. Now it’s very bright. About the brightest 3AA light I have made. It would rival any single neutral/warm white XM-L T6 at 3 amps.

Lumens? No clue.

Very nice, I’ve always liked lights that ran on typical AAs/nimh. Can the AAs handle the amp draw fine?

Eneloops do good with it. I don’t know about other brands. Alkalines would die fast.

You're gettin' purty good at this stuff .

Justin, you’re king of the AA mods!

Great mod!
Old-Lumens, some of your threads does not get the amount of attention they deserves, but they are all highly appreciated! :slight_smile:
Maybe more people will mod Rooks in the future, considering the 20$ price from WB.

Old-Lumens should make a thread linking to all his builds. Sometimes I see old builds I never even knew existed.

+1
Im sure I have missed lots of stuff in the past.
Links to all Old-Lumens builds should be a sticky! :slight_smile:

I have thought about making one thread with links to all of them and links to several other modders like Match. I think they should all be in one sticky thread, so anyone looking for a mod, can see if it's done already, without searching and finding nothing. I just hate searching on any of these forums. I never find the pertinent stuff I want. but tons of stuff I don't want. If I said that about searching on CPF, I would be banned or called a lazy sot.

Great work as usual, Justin! I really like it. I just ordered a Rook for myself this morning for $20 shipped from Wallbuys and am looking forward to it now that I see what you've done, in particular the tailcap lockout mod. Do you have a thread about just this? If not, can you elaborate on the tailcap mod you did as far as lockout goes on this?

I think the video is broken as the people just stand there and look at you without moving. They scare me.

I don't have a thread about it. I have done it a couple times for thr Rooks, but only when I am switching to series.

Basically, I mod the contact plate first, to make it series. I think the photos show that, but I will try to describe it.

I take the original parallel contact plate and cut thru the back side contact strips, so that each of the three contact springs are now isolated from each other and from the original ground screws. Then I solder on a jumper wire to two of the contact springs, so they will form part of the series path. The third spring is the negative that will go to the tail cap and I solder on a copper contact and spring, so that the negative is in the center of the plate. That touches against the inside of the tail cap and I clean off the ano right there, so the contact is made. I also clean off the ano on the tail cap and on the body, where the two touch when the tail cap is screwed on. That makes the negative path complete and when the tail cap is unscrewed a 1/2 turn, the contact is broken, so the light does not turn on and parasitic drain cannot happen.

Of course, the rest of the series circuit lies in the upper contact plate I made and should be shown in the photos, (in this or one of the other Rook mods I have threads for here). Really, just think of the two contact plates as the top and bottom of a series battery holder and it should come to light (pun intended).

Not any more than you scare me.Tongue Out

1)it feels right to see you going back to the Nichia's .

2)this is to me the most desirable light you have made to date, I love the mod!

3)very relaxing to see the mod in one go for a change, with Kansas in the background, I finished reading exactly when they finished singing