A Perfect Dedome?

Ooops, missed all this last night... Yes, a light meter helps big time.

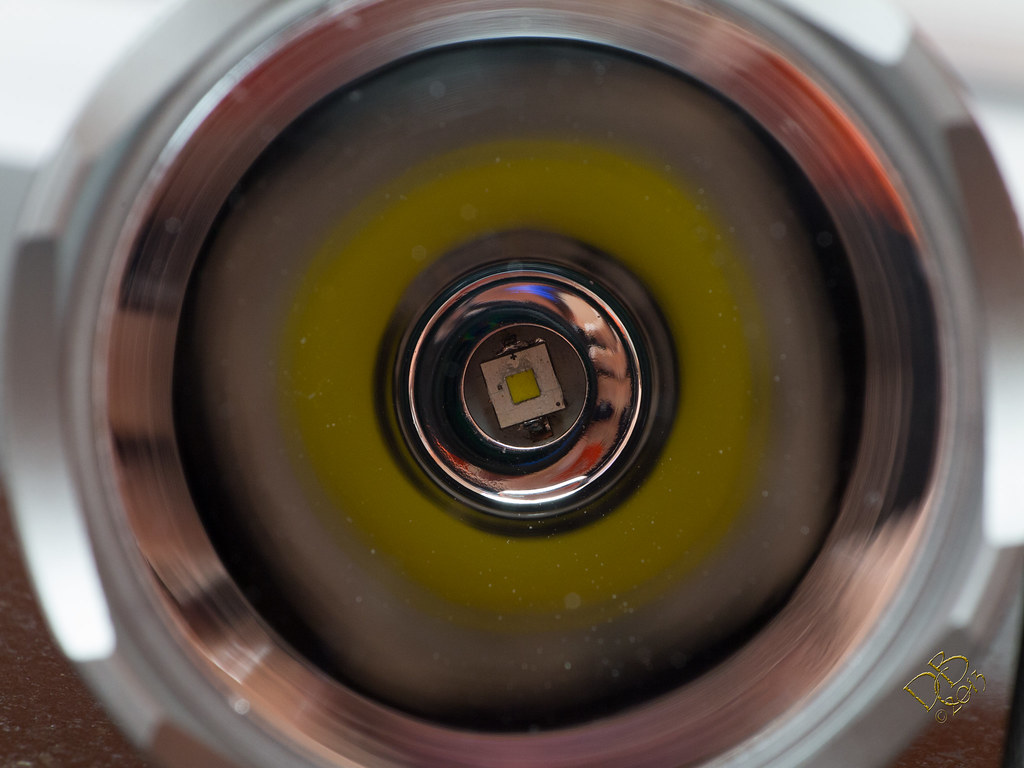
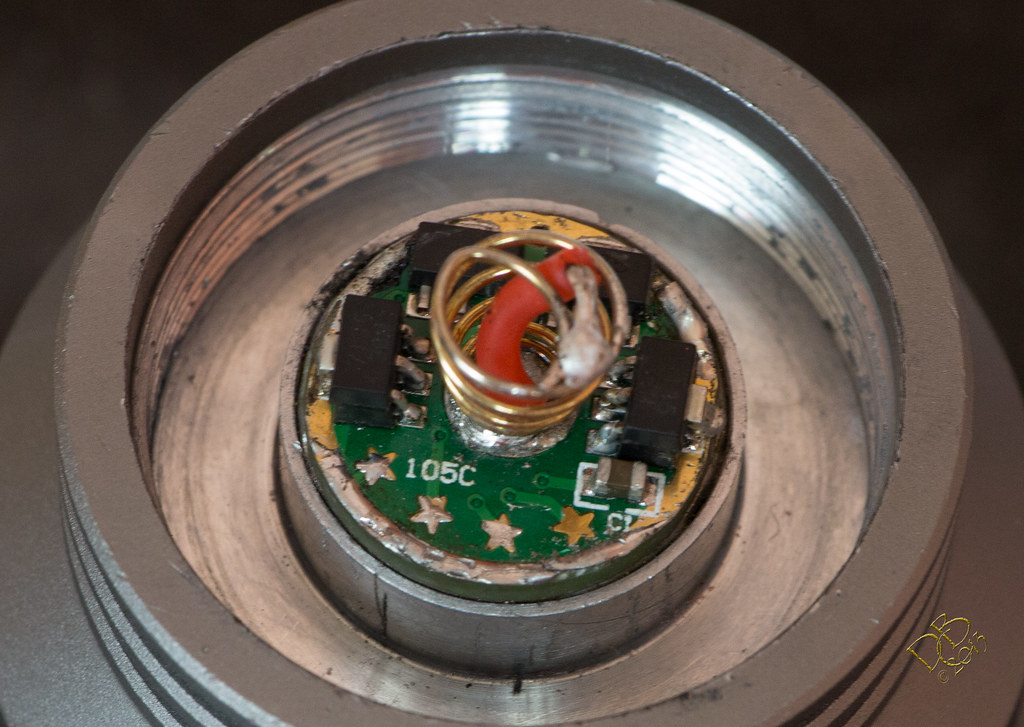
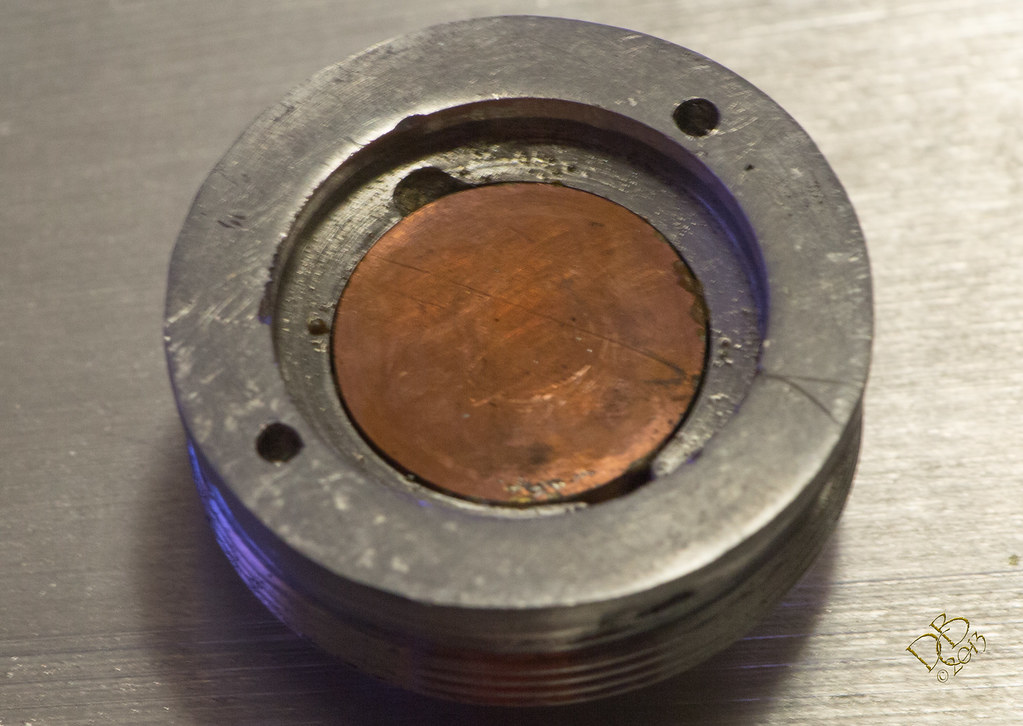
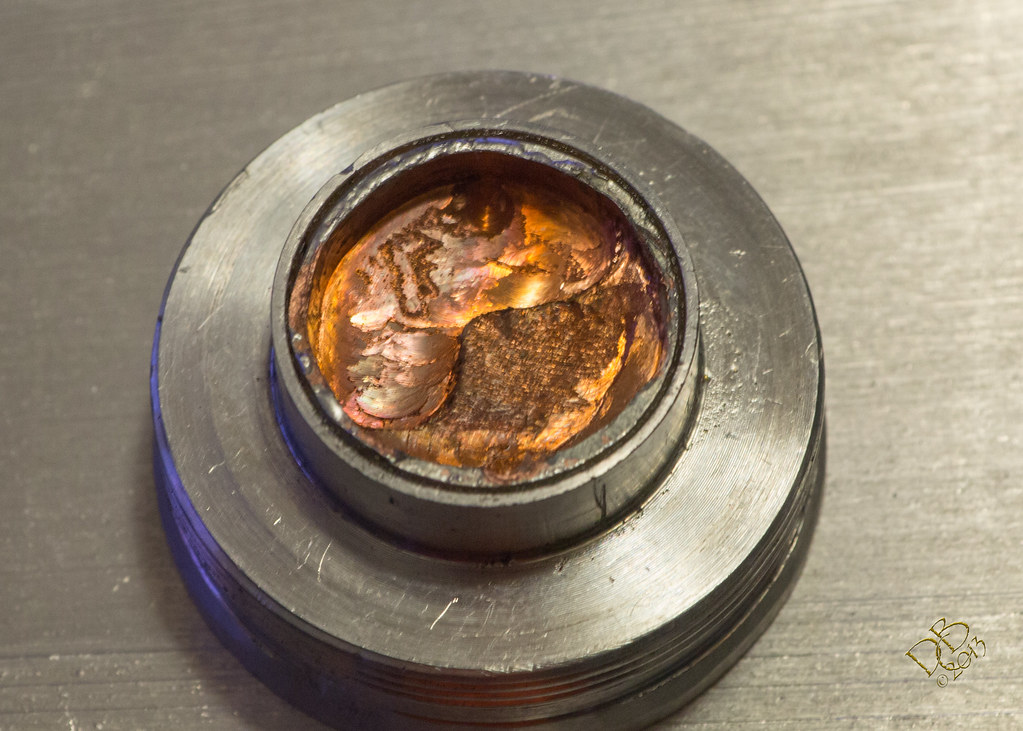
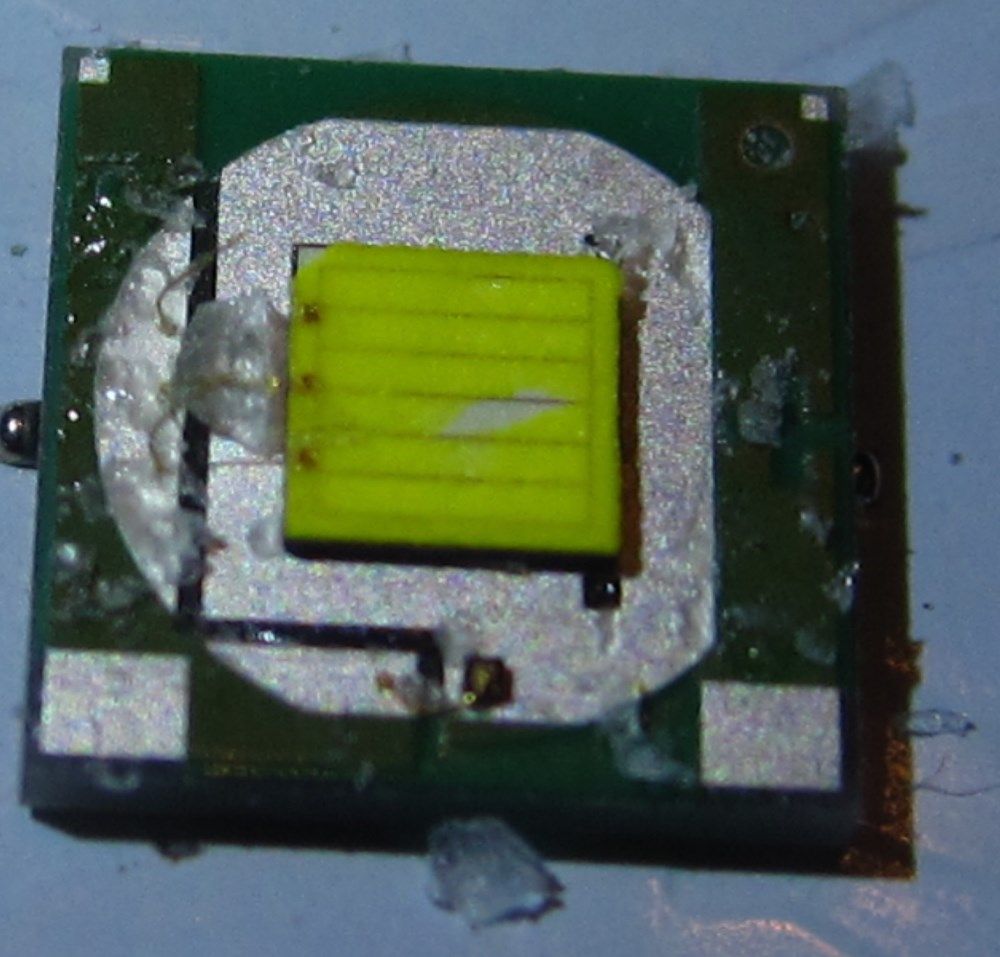
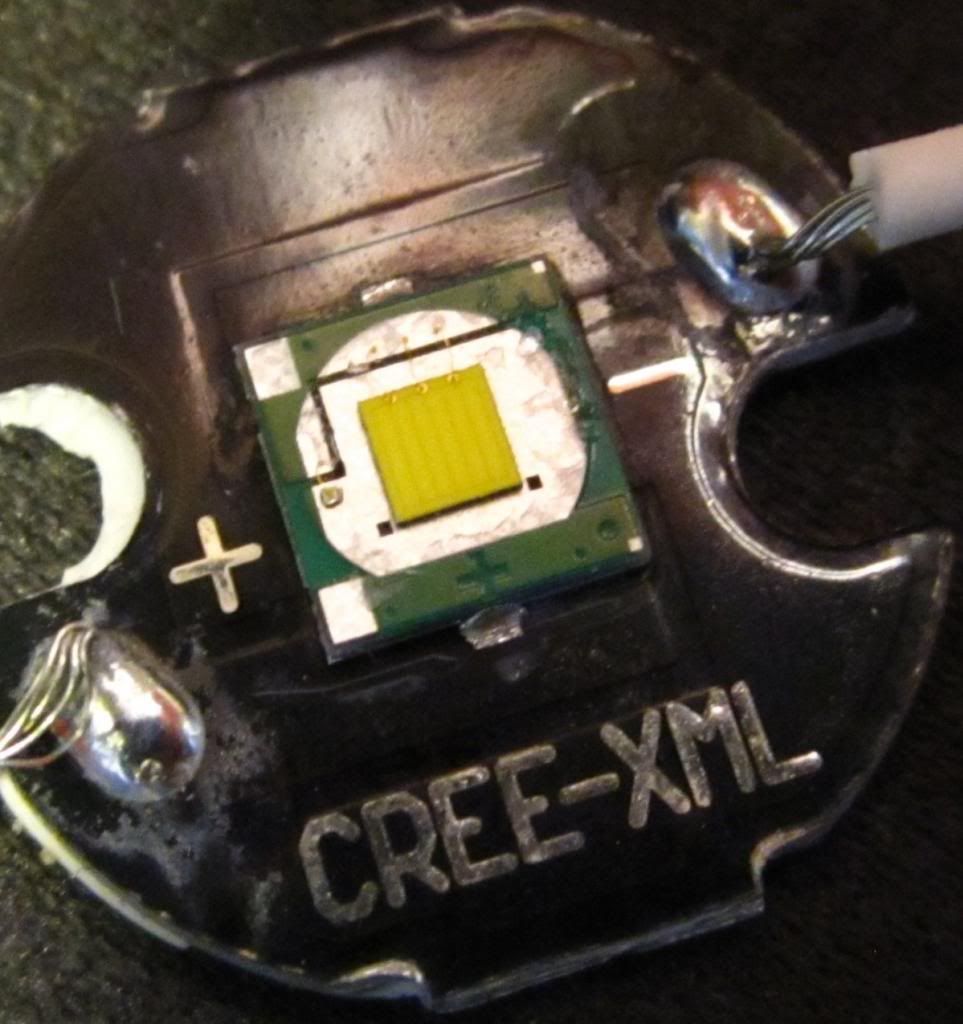
Dale - that emitter stacked on copper looks sooo cool because that's always an issue of trying to get the emitter in the reflector and battling with the height of the wire connections interfering with the reflector seating. For the HD2010, you'll probably hit a point of diminishing return for the Vf demand of the XM-L2 with a linear driver and a good cell (KK, IMR, etc.). I don't think you could get 5 amps out of that setup, maybe 4.5 amps, maybe, but don't think you can get even that. Every 7135 you add steals more voltage too. The latest HD2010 build I did with a de-domed XM-L2 got 200 kcd with a Nanjg at 4.2A. The more copper you have in the pill the better, but you will probably not see any improvement in light output - the biggest, most important upgrade for light output increase is the copper star itself witha direct thermal transfer.

This is the light meter I have, and where I bought it: ebay 200-000-LUX-New-Digital-Illuminance-Light-Meter-LX1330B. This is a pretty common model that rdrfronty and manxbuggy1 have been using, though they more recently bought a better, more expensive meter (~ $130) but I believe the readings compare well with this one.

I’ll definately take those tips in mind, have to do some rebuilding on it as there is an issue somewhere so I’ll look into it and might add a chip to get up in the 4A range.

I’ll post when I get into it, and try to remember to take some pics! :slight_smile:

Ohh - ExTech is the better brand of light meters (that rdrfronty and manxbuggy1 bought one). Here's a nice model: http://www.coleparmer.com/Product/Extech_Precision_Light_Meter_LT300/EW-50510-93, and for only $160 more you can get it fully calibrated (NIST traceable). Funny because here at work, we make/sell nuclear medical equipment and we use NIST traceable radiation sources to calibrate and test our equipment...

He’d say “Well, Rosanne Rosana Dana, it’s alaways a sumtin!”

I got the copper in the pill, took some doing but it’s now got a half inch thick copper pill, cut out on the backside for the driver to fit into. Added 2 chips to the 11 that were already there :slight_smile: and got it all put together. My fancy star/emitter shorted out. So I took that apart, made very small pillar’s of copper solid wire to solder in to bridge the gap from emitter to copper star. That worked out beautimously! Tiny stuff that.

Got it all put back together and was only showing 3.42A at the tail, added a spring bypass at the driver and fried the tail switch. My very first toasted tailswitch. :slight_smile: So I’m modding the tailcap with a McClicky that I just happened to have on hand for just such an occasion. Hope to get this all wrapped up before dark-thirty and get some results back from all this work today! lol

Will keep ya posted, possibly have some pics.

Not sure if this has been said yet, but gun cleaner popped the dome off my XML in about 30 minutes. I’m going to give it another hour or so before I test. I’ll post my findings afterwards.

EDIT: Also, by test I meant see if it still works. I have no way to test lumen output. I can say though the tint didn’t seem to change much if at all for me.

I worked my but off on this light, again, and don’t know if I got anywhere or not. Well, I know I solved a glitch and have more reliable performance. But I’m not seeing the amperage the board should be putting out, albeit the light is very bright.

It’s sure bright at 97 yds!

It wasn’t exactly the switch that fried, it was the trace on the board that the switch is mounted on See the copper looking trace on the top hole off center? See the burned line where it fried? Doesn’t smell rosy :slight_smile:

A look into the reflector, showing my little soldered pillars connecting the emitter.

The driver, spring bypass installed, 2 extra chips up top to go with the 3 Erik put on the bottom. Those 3 on the bottom made me work hard, as you’ll see directly…

Sunken McClicky. More work. Although it’s inset considerably further, it works out because my driver is taller from the copper I added to the pill

The copper heat sink, a quarter inch slab of copper for the SinkPAD to sit on, reflowed to the quarter inch slab on the bottom for the driver. I fitted each piece from top/bottom like a wedge, then reflowed them together so they’re not coming out. But I used a copper bearing solder paste that flows at 430º so I got it pretty hot, discolored the copper and made it look ugly.

It was sitting on the burner bottom down, so this area got a lot of heat and looks horrible, I cleaned it up before putting it in the light. The more deeply recessed area is for the stacked chips on the inside of the driver. Also cut clearing for the positive area to ensure it touches nothing.

And I’m tired! This was all done with a dremel tool. Some filework. Cut the switch retaining pill with a cut-off wheel then filed it square, needed very little file work actually. But I had to open it up for the McClicky, work the plastic components for the new switch, one thing after another. LOL

I had the chance to take it out tonight and left it on high for about 5-7 minutes. I forgot it was on high. It was warming up, but not getting hot like it did before. So the copper is doing it’s job. Seems as bright, if not a bit brighter, but I have no way to check it. There’s 4.6A worth of chips on the board, and I’m showing 3.42A at the tail. Might pay to check the cell, I thought it was charged up but might be forgetting how much time I’ve been playing with it. :slight_smile:

Is this still the HD2010? It’s totally different now. And Damn that thing looks fun to play with.

But I discovered I’d run my cell down to 3.73V. With a stored cell at 4.13V it pulls 4.15A instead of the 3.42A I saw on it earlier :slight_smile:

Gonna have to get more beamshots and figure out how to make the mouse over function work.

The extra weight from the copper gives it a good feel, balances it nicely. I’m really liking this light, but I swear if it gives me any more trouble I’m giving it away! J) lol (prolly not)

Here's a 'how to':

You already do this, but remember don't move the tripod when you take pictures comparing two lights.

If you can't do it I or another member can just do it for you.

With this XM-L2 de-dome, on a lot of copper and using a Powerizer LiNiMnCo 26650 cell at 4.2V, I’m seeing the following tail readings

  1. .04A
  2. .16A
  3. 1.0A
  4. 2.14A
  5. 4.22A

Works for me! :slight_smile:

Can you measure the voltage across the emitter on high? If its the same as Vb, you won’t get any more current no matter how many chips you add. Need a boost/buck driver instead.

I think the DMM said 3.53V, but now that I’m legally blind I can’t be for certain.

The emitter being on a pedestal makes that an easy reading to get, except for the looking into 1200 lumens part.

Oops, my bad…Match’s chart says something like 1450 lumens, according to my peripheral vision. Everything else reads “purple”

So disappointed!! I was making my first attempt at a de-dome. I am currently in the process of modding two old lights which both used XM-L T6 Emitters. So I thought since I am not using them anymore I can practice de-doming them before buying an XP-G2 for another project.

I work at a panel and paint shop and so I thought I would give some 2K thinners a try since we have a big supply of it. It was going great until a family member thought they would be funny and made a gesture to drink from the mug I had it sitting in. The disturbance made the dome break the wires and pull some of the phosphor coating off. :frowning:

The result…

Second attempt. (I need a camera with a better macro function!!)

Pretty happy with this one, it didn’t get disturbed like the last one.

Would you guys say that a dodming on an XM-L or an XM-L2 would be easier? :slight_smile:

For me, the XM-L2 de-domes flawlessly, seems easier than the XML's, but haven't done an XML in quite a while.

And your macro shot is pdg to be complaining about it! How do you like it now? Did it warm up too much? Mine was pretty blue to begin with, now it’s much closer to white. Me Like! :slight_smile:

Great, thanks for letting me know.

How long do you dip it in gasoline?

Probably a bit longer would be better. Fresh gas, even better, just drop it in overnight and you should be good to go.