Very nice. The way I ended up dealing with the QTC was this - I got two very thin aluminum discs that fit inside the battery tube with little play, and made a very small ring of craft foam. I glued the craft foam to one of the discs, put the QTC in the middle of the the craft foam ring and glued the top disc on.
The craft foam compresses enough for me to get ~80% output from the light sans QTC, and the discs protect the QTC from wear and tear. The bonus to the setup was that it prevents the batteries from getting crushed.
Since the foam is so cheap I don't mind just ripping the thing apart if I have to replace the QTC. Pictures if I can figure out what the chuffing hell I did with that light.
jekostas - Great idea. I thought about QTC but didnt think Id run this light in anything other than 100% output. The end of the screw was quite sharp with a poorly cut slot to place a small regular screw driver blade. It was like a sharp little auger and only a matter of time before it punched a hole in the bottom of a battery (very crappy design). I cant tell from Match's photos if his is the same. Do you think the QTC would get crushed without the surrounding foam?
Match - Do you use a dremel for most of your work? Are you a dentist by trade? J/K!
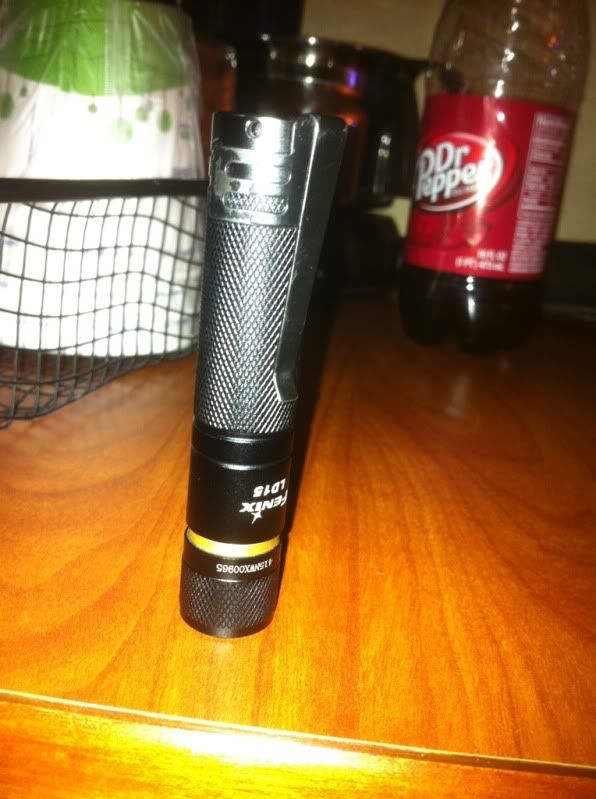
Might you have access to a Fenix LD15 (XP-G) to compare this one with? I would imagine it's quite brighter with the 14500??? The Fenix isn't supposed to take 14500, and I'm too scared to try it
I also stole the clip off my old Streamlight Stylus and it snapped on quite beautifully.
Now that is a really impressive bit of work. I'm not one for pocket clips, but you definitely made it much (Match?) better than it came from the factory.
The foam is mostly there to keep the edges of the metal discs I used from contacting and completing the circuit (and therefore bypassing the QTC completely). And yes, that little screw is a PITA, one of the reasons I installed the little QTC sandwich in the battery tube and not at the head.
I do use a dremel for a bit of the work, but I actually use a good set of files more. The emitter for example, was filed by hand.
I don't have an LD15 for comparison, but later on I'll measure it in the I.S. to give an idea of output.
Mine E07 also came with a poorly cut slot in the brass screw in the base. I just never used it enough to hurt any cells. I did file it flat first before cutting the notches, filling with solder, and attaching the qtc. (Just noticed that pic isn't showing up....will have to fix that later).
Jekostas, I've thought about doing what you did with the qtc a while back except I would use 3M super tape for the foam insulator, but can't figure out where to get copper, brass, or even aluminum disks. All I can find are washers and obviously that won't work. :D I could cut my own out of sheet stock but the resulting imperfect roundness and/or time shaping the disks is a real put off. I'm sure open for suggestions.
Filing Emitters by hand - hahah - last time I did this I used a file that was too coarse and it bit into the aluminium and I lost grip and filed the dome of the emitter of my neutral XM-L! Good to see yours is still nice and tidy (hehe!!)
Lovely mod with the XP-G! and a beautifully bent clip.
The little brass screw. Yup, kind of a pain, since it has a very shallow slot. I used a thin hollow ground flat screwdriver and A LOT of pressure to keep it in the slot, then slowly turned. Also, make sure the cap is screwed in, and not in the "lockout" position. Once it's out, I performed the above mod to make it much easier to install/remove in the future.
Sorry about your cap. One fix would be to make a new one out of brass. I may try this anyways because I think it would look pretty sharp.