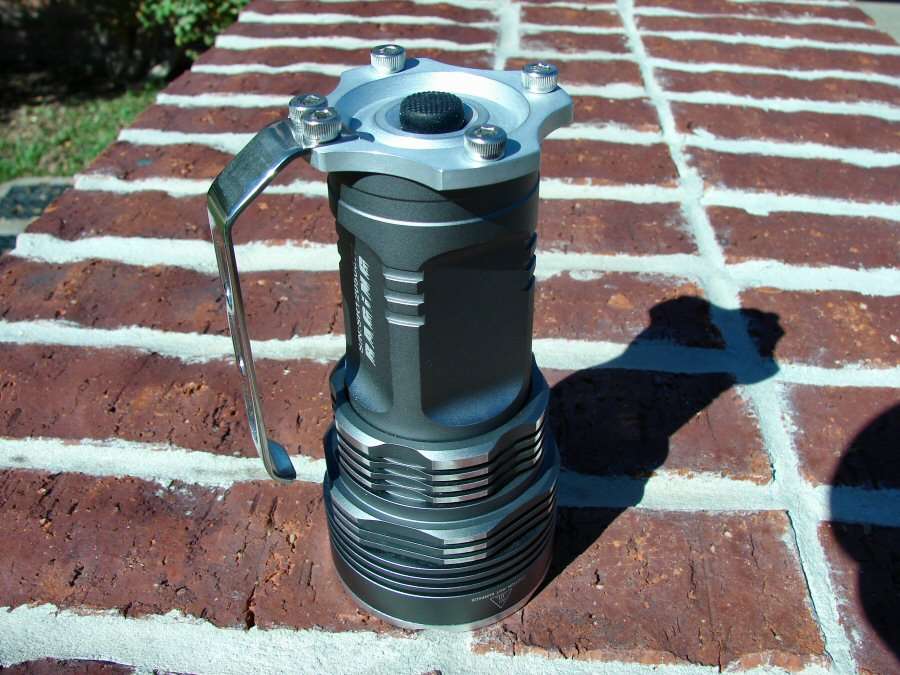
You may remember this thread.
It has bothered me for a long time. It's hard to let go. So here's the Solarstorm Raging mod "V2.1"
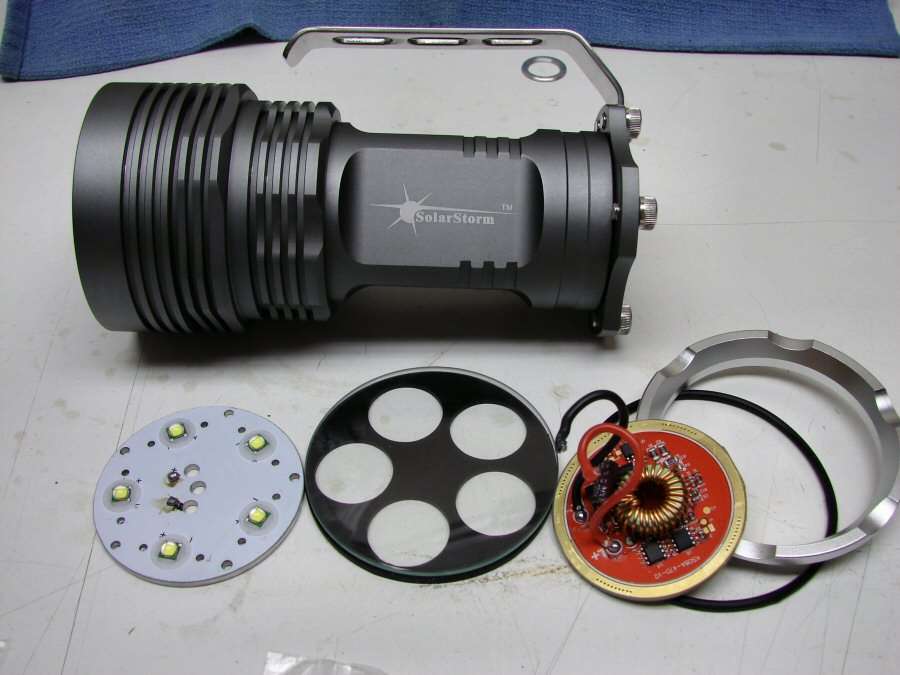
It's already torn apart and that's how I like a light to look! Torn apart...
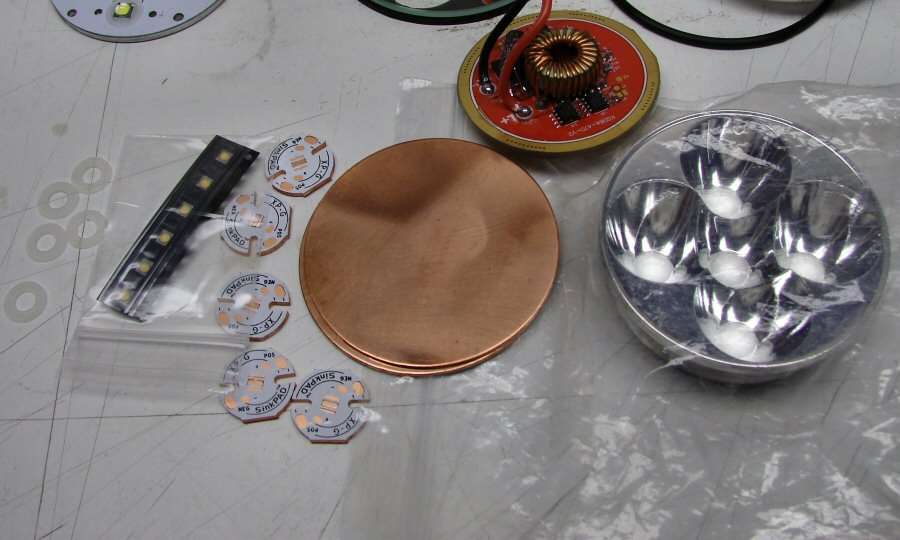
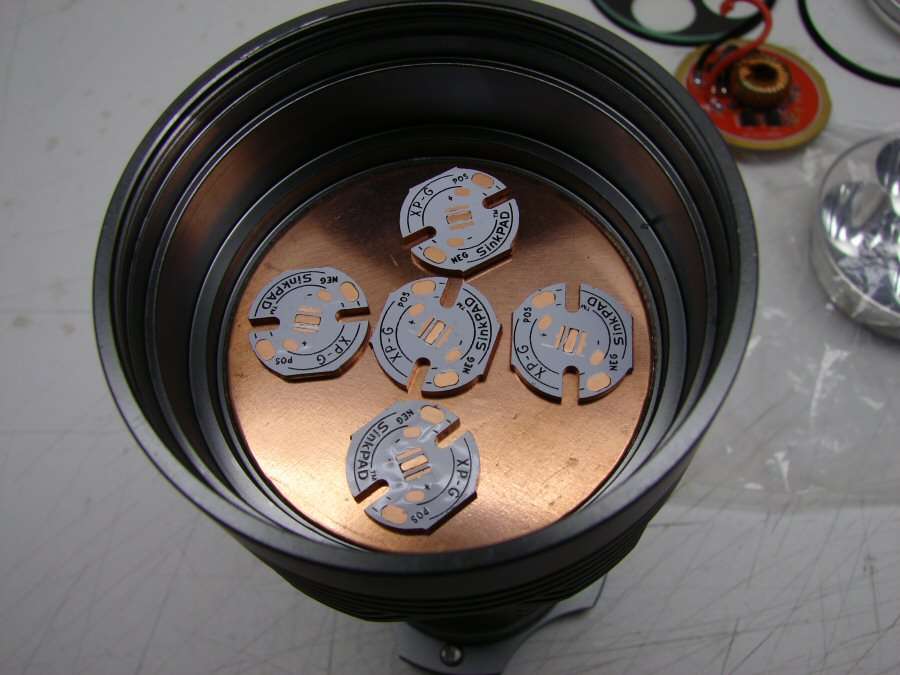
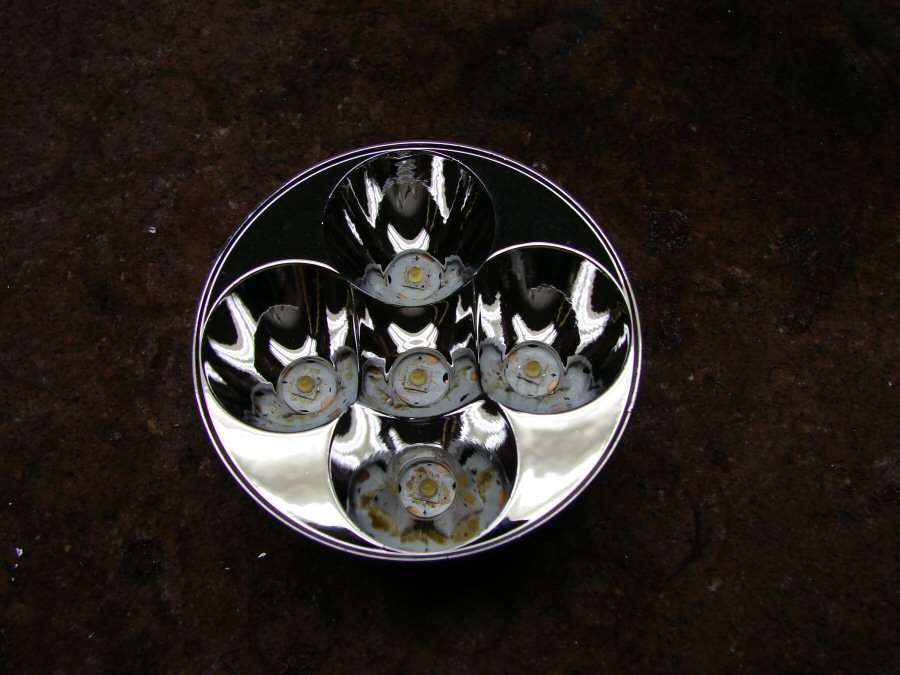
I am going to change a lot, but I am keeping with the 5 led style. Five Nichia 219 High CRI leds on XP-G Copper stars. They sit on copper plate that will be mounted inside the head. I have two Copper discs that I got from a seller on Etsy. She stamps out the discs. I will be soldering the two together and soldering the stars onto the plate, while reflowing the leds onto the stars. Ought to be interesting!
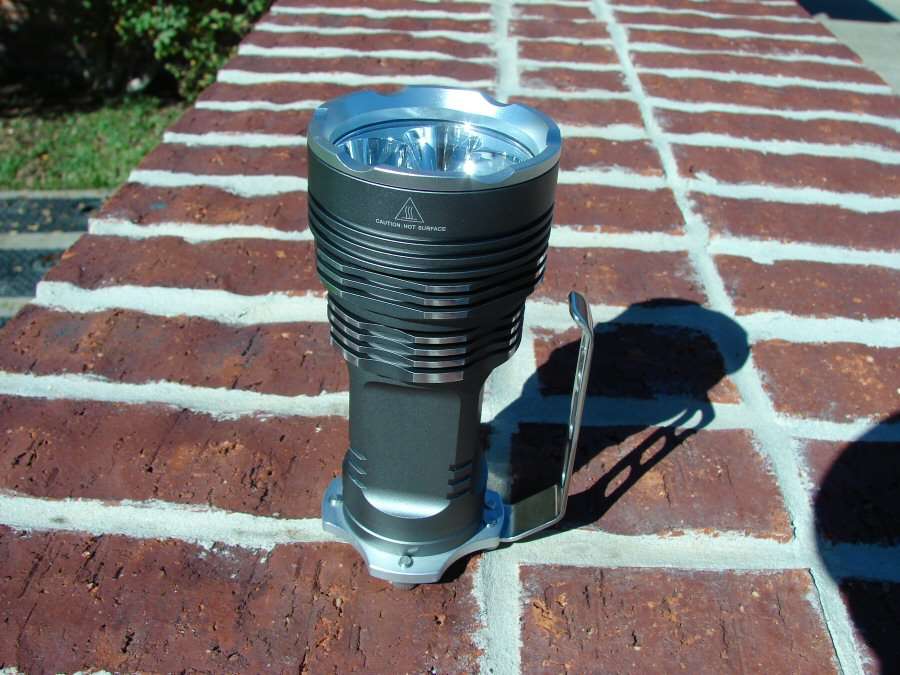
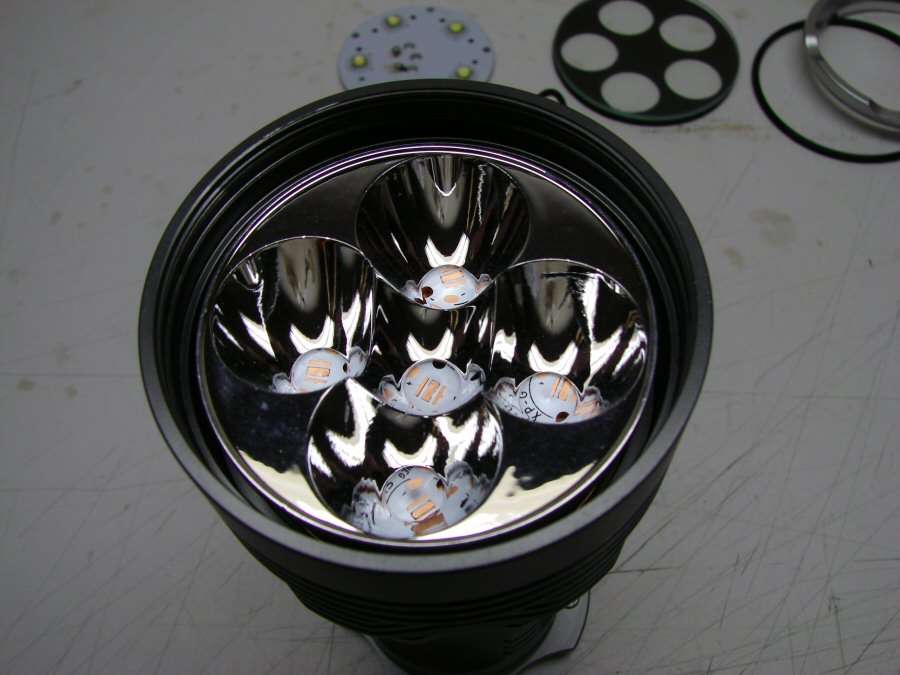
I got the reflector from Tmart. They sent me a couple to play around with. It's close to 60mm, so it will fit in the head of this light and probably many of the larger head multiple led lights out there. I just didn't like all the leds out there around the outer edge, like the stock light.
I already did the milling before posting, just in case I messed it up. If I had, I wouldn't be doing the thread. This was done with a Dremel #115 bit in my drill press, handheld on the drill table. The three holes are original and I will use the same screws to hold down the copper plate, just like the stock plate was.
Just to give you an idea.
I will be using the stock driver. I am hoping it will give me about 1.4-1.5 amps per led and that should be about right for the Nichias. Hopefully it will be a nice natural tint high CRI goodness, with about 1000 lumens OTF.
I may also put a momentary switch in the handle, so that mode changing can be done there, instead of with the main switch in the tail. It would be a combination of the main clicky for off/on and momentary for modes, but I have to find a momentary that is normally closed and open only when pushed. Don't know if I can find one in the SMD format. It will have to be a Judco. They make one Normally Closed momentary open, 10 amp.
That's all for now...
----------------------------------------------------------------------------------------------------------
10-18-13 I think the worst is over.
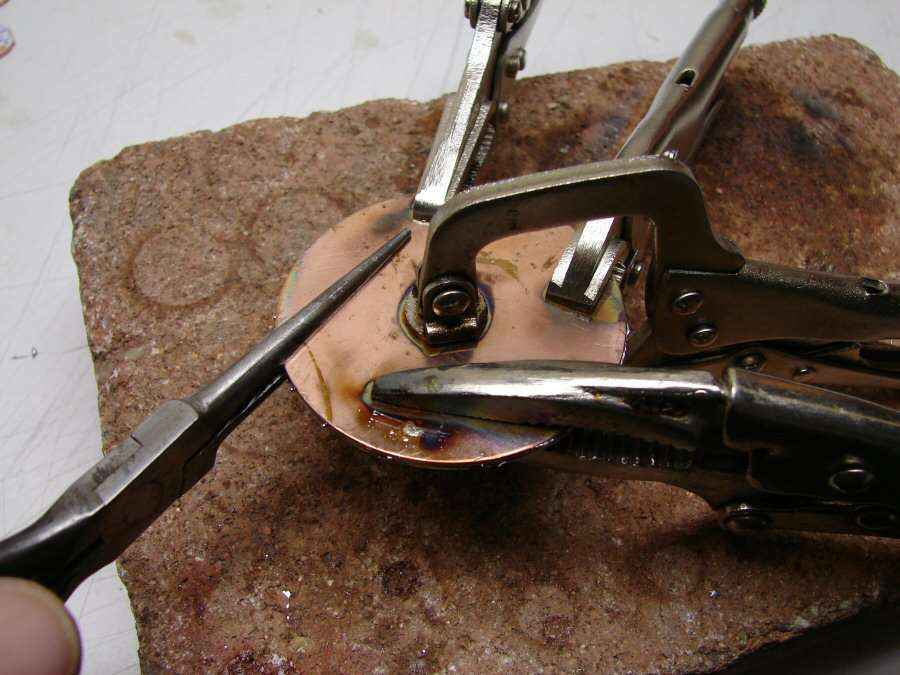
At least, the part I was worried about the most has been finished. Here I am soldering the two copper plates together. I used several "clamps" to squeeze while heating, so the plates would not have a lot of solder between them.
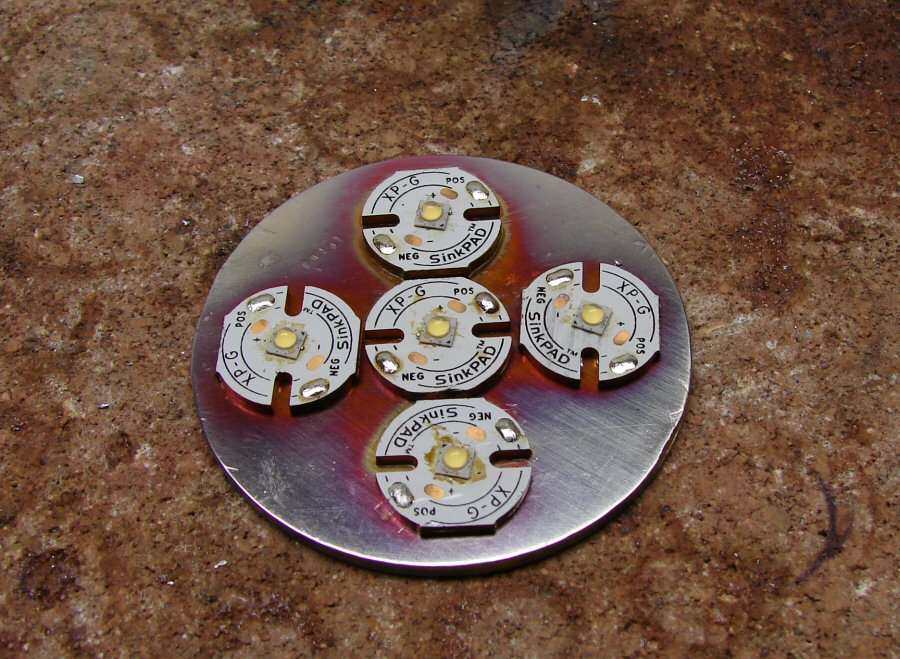
Everything is soldered. The stars are soldered to the plates and the leds are soldered to the stars. I used my small torch to heat from underneath and the plates sat on a deep socket, so I could heat all the way around. Once the leds settled onto the stars, I took the heat away and let it air cool.
Everything looks fairly well aligned. It's not perfect, but it's close enough for hand grenades.
Wires have been added and I had to use some sticky back pads between the leds and the reflector, so it would not touch wires and short.

The leds will be in parallel and I opted to run separate wires for all of them and bring them together at the underside, so that I could use smaller gauge wires for them and then I can just use two larger main wires from the driver.
That's all for today.
----------------------------------------------------------------------------------------------------------
10-19-13, just got home from work.
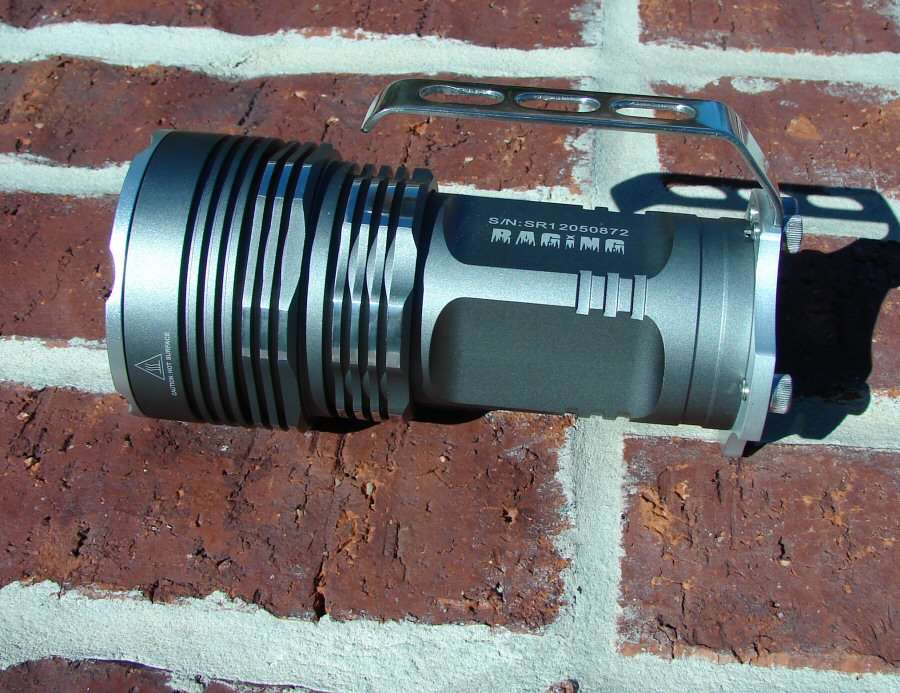
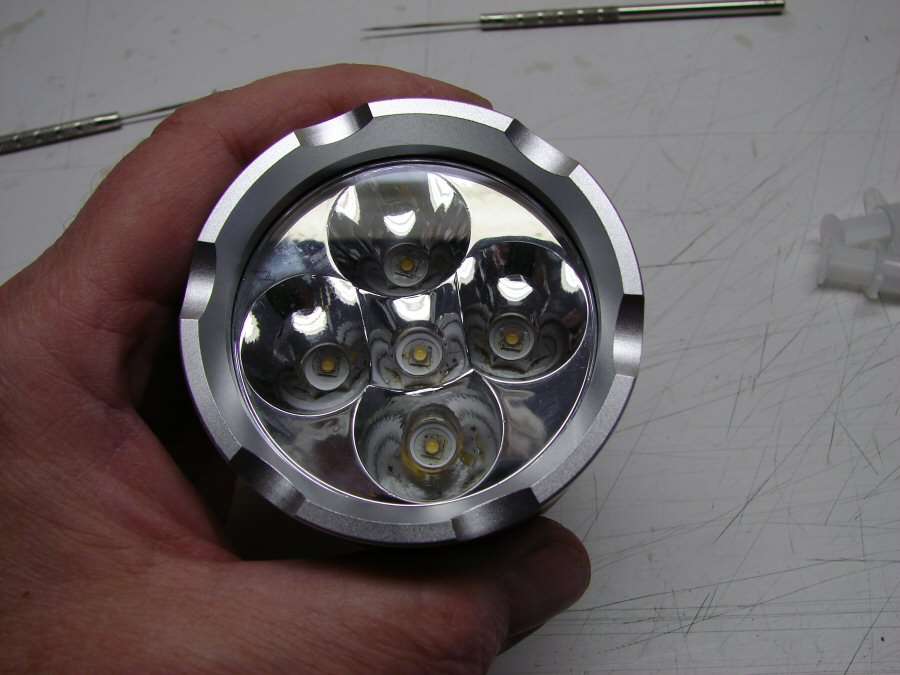
Here's the rest. All I am waiting for is to get the Judco switch next week and make it so there's a momentary switch for the handle. Other than that, it's finished and working. Oh, I still have some cosmetics to do yet as well. I will show all that next week some time.

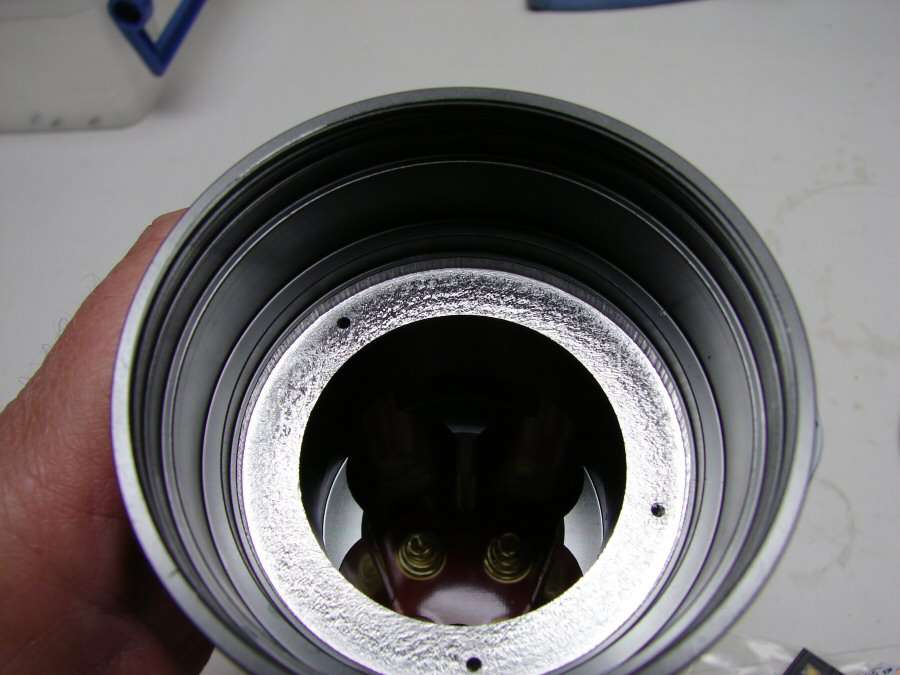
The led plate is screwed down. I used some Arctic thermal paste where the copper sits in the aluminum head, for better heat transfer.
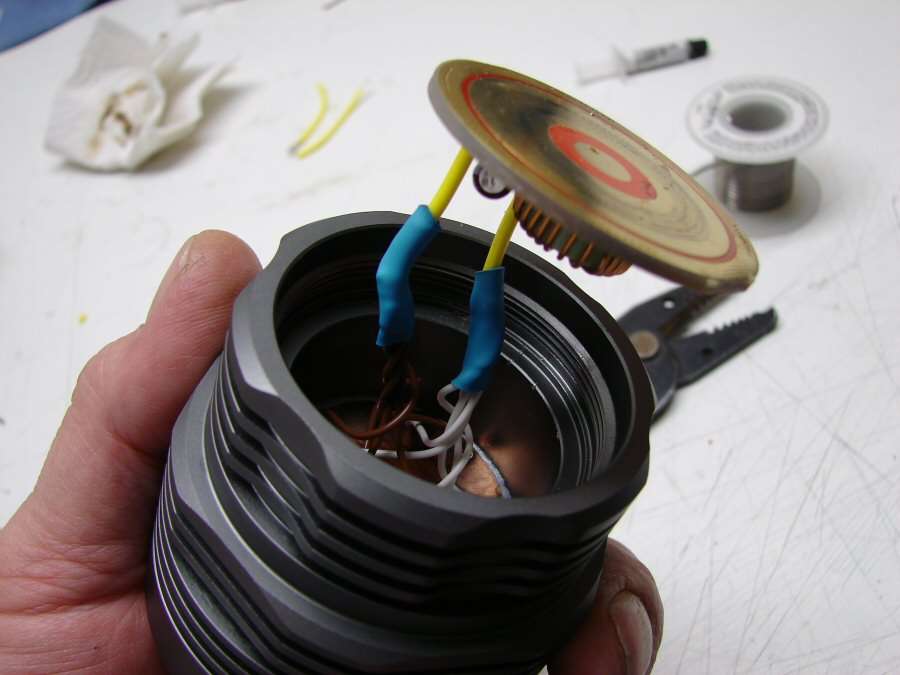
The wiring completed. I used 18ga for the main wires from the driver and soldered them to the led wires.
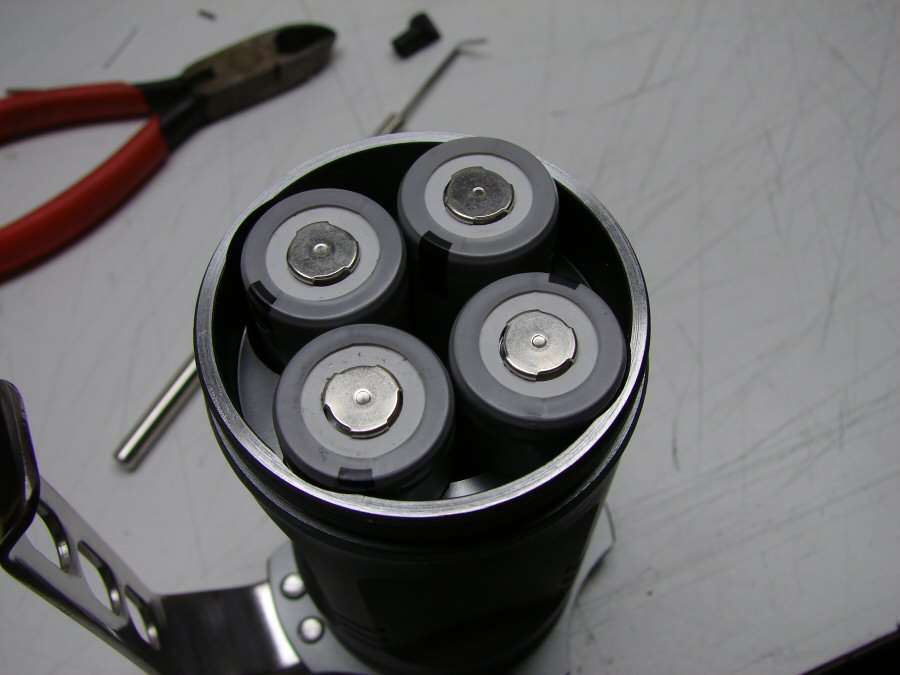
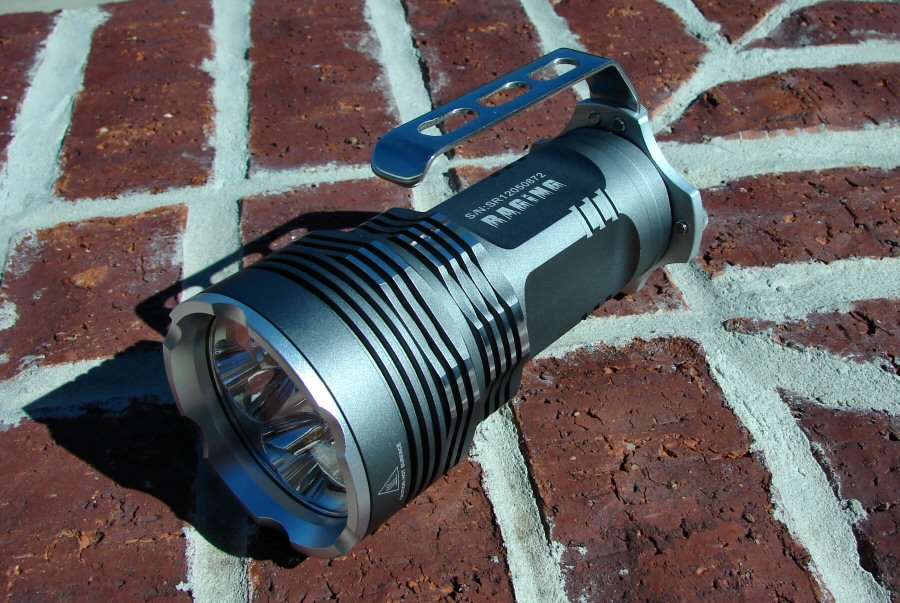
Four Fresh Panasonic 10 amp 18650s.
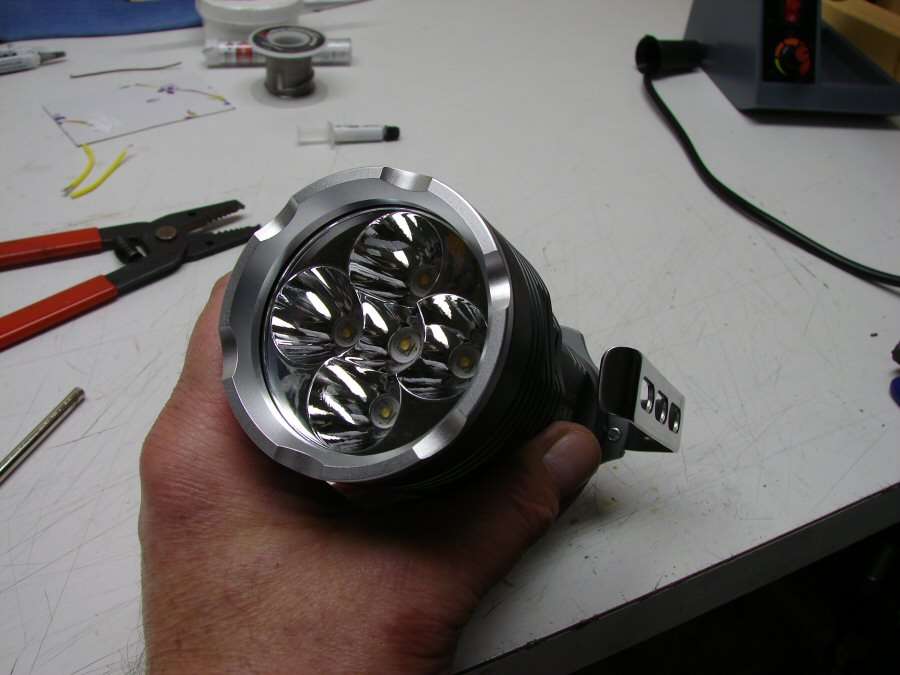
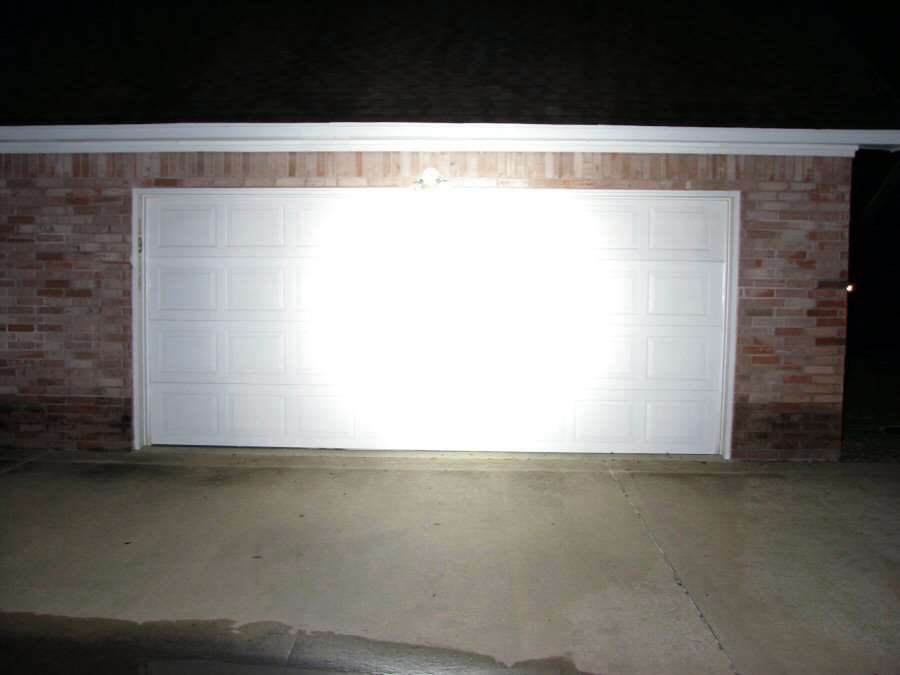
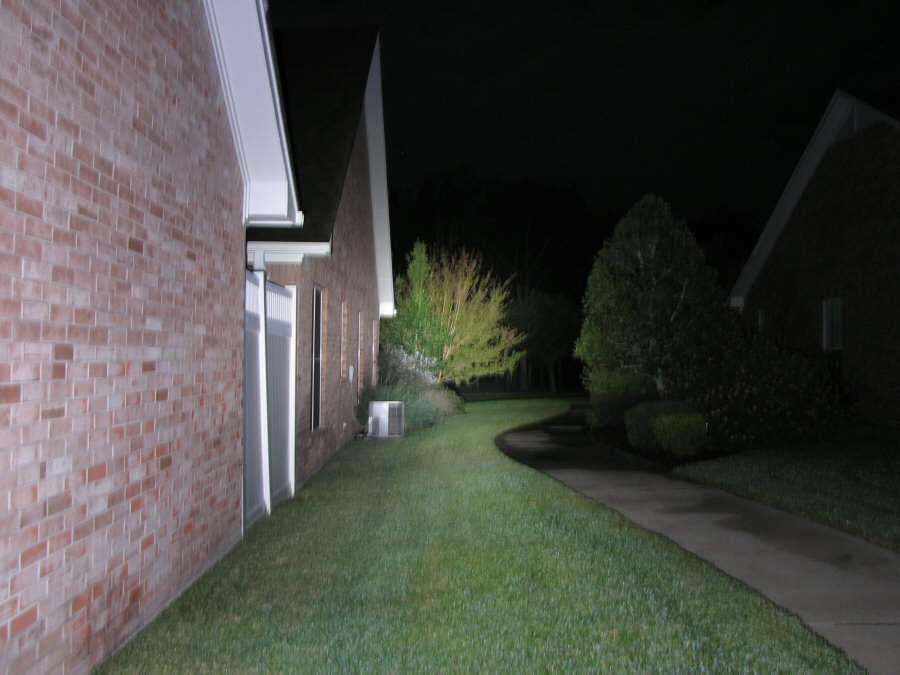
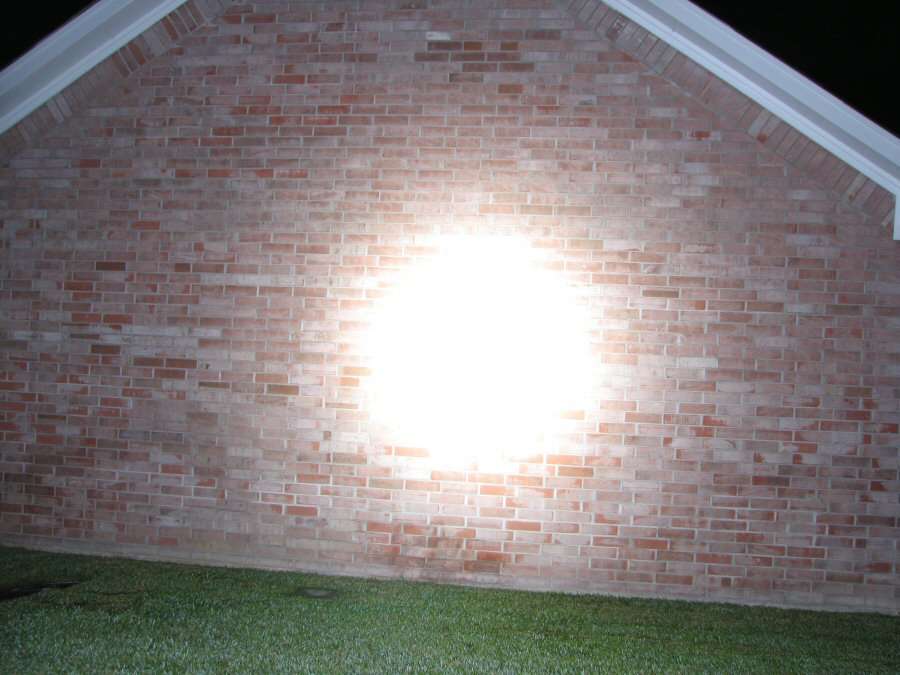
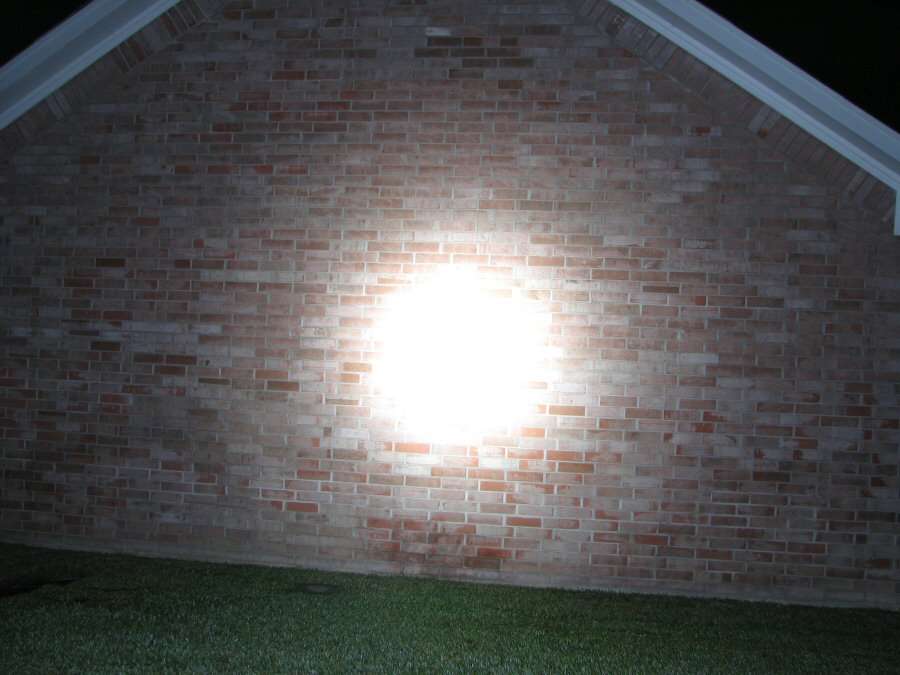
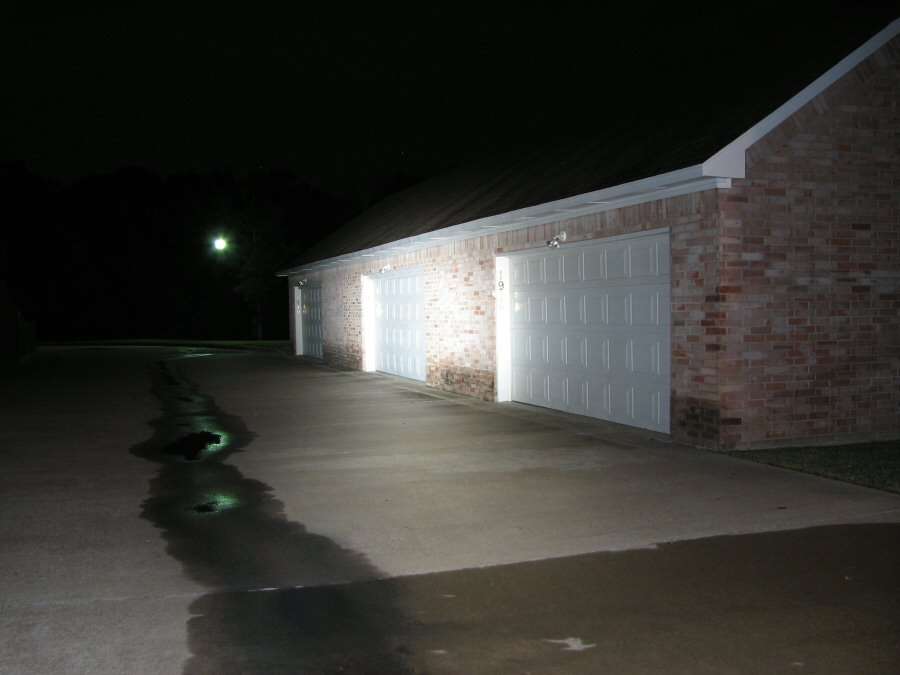
Ready to go play! I had the lens from the other failed SSR and it seems to be coated, where the one I had in this light didn't look coated, so I swapped them.
The copper is doing it's job. When I turn this light on, I can start to feel heat through the head in about 12-15 seconds, so the copper is getting it out to the head fast, which is what I wanted.
------------------------------------------------------------------------------------
I gave up on the momentary switch. Could not get it to work every time, so it's back to the stock switch and it's Done.
Going up for Auction now.