Whelp, ya’alls aint gots what umma tellin ya! I needs to stick the daing thing tuh the roof sos it aint stuck there all permanent-like, and I aint ganna be boring no holes in muh rig neither, daing ya! ![]()
The handyman’s secret weapon… duct tape! J)
How bout putting it on a ski rack?
If you’re running a hardtop, why not try some magnets?
Look for rubber-coated ones like these: Plastic & Rubber Coated Magnets | K&J Magnetics or http://www.aliexpress.com/item/N52-Magnets-15-x-15-x-2-1-2-2pcs-lot-Rubber-Coated-Super-Strong-Rare/1403455574.html
You know, the words “off Road” conjure up a permanent bracket that would take the abuse. Something you stick on, tie on, strap on, (oh, that didn’t even sound good did it?), or even the word temporary is synonymous with “Oh Crap bubba, I think the light bar just came loose and it’s hangin in a tree back there in the woods.”
Seriously, most of the temporary mounts I have ever tried weren't worth the powder to blow them up, if there was any vibration at all.
![]() oh my that’s gunna be bright.
oh my that’s gunna be bright.
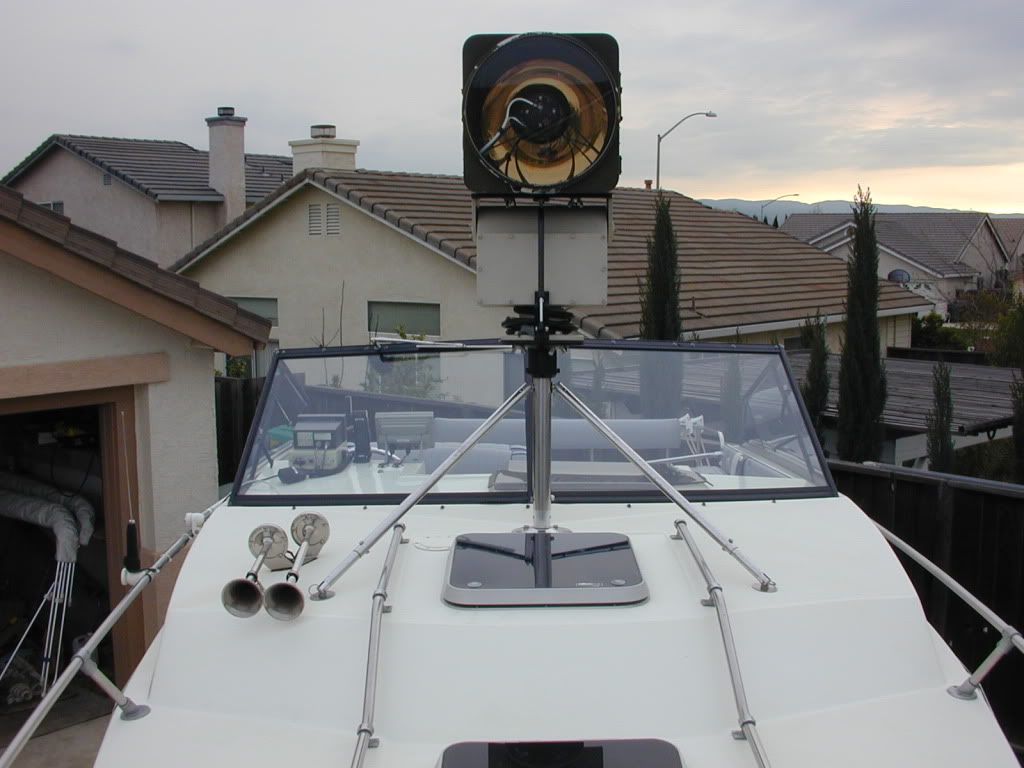
Youre definitely right… you sure dont want this thing coming lose and sending 25 lbs of metal down the trail. But like all of your mods: where there’s a will, there’s a way. How about my DIY removable mount holding up a 140lb HID searchlight assembly 3 feet off the deck through raging seas? Yup, its removable for quick take-down with a ton of expensive stainless hardware and a lot of head-scratching to fab it. The only ones that ever said, “Oh crap bubba” where the ones unfortunate enough to get caught in the beam. :bigsmile:
Im looking for a mount that can be removed without drilling holes through a roof. I dont mind bolting and unbolting the mount if its setup that way. If it comes down to it, I might have to rethink this and drill holes for a permanent mount, leaving the mount on the truck and use accessible bolts to attach the sink to the mount for quick removal. Either way, the light bar cant stay there permanently. It looks like ebay has a ton of different pre-made mounts from police cruisers, etc. Now to figure out which one I could adapt.
Anyone have any ideas? Looks like more cobbling and head-scratching.
i got a idea >>>>what ya think
mount the bottom to the boat or truck the other half to the unit when u want to put it on slide the clip and tighten down the screw and do the same to take off ??
only thing u might have to change is the screw u might need it longer ?
Or THIS if u want to make it adjustable ?
triple mag mount:
http://www.allenprecision.com/survey/gps/accessories/mounting/seco-5-8x11-triple-magnetic-mount/?gclid=CNbpjKu_orwCFcI-MgodU30AZg
Good enough to hold a $20k GNSS rover to a truck at 80mph with 50mph crosswind. Off road, two-track, washboards, etc. are no problem.
Maybe get two - one for each side of the light bar.
Check out the quick-connect adapters for other ideas.
Thanks but it will probably weigh at least 30 lbs by the time its completed. Its going to require some beefy mounts to hold it in place.
bike and ski racks are capable to hold that weight (especisially when you turn or hit the brakes). they are made to fit almost any car\truck, and some are quick release.
use both bars, close to each other, you need all the mounting strenght you can get with a chunk of mettal that big. G force is a very nasty thing. it makes things weigh a lot more when you turn or brake, not to mention bumps off road
Thanks, Ive been scouring craigslist and there are literally hundreds of grossly overpriced used bike & ski roof racks (thule & yakima) but I haven’t found one yet that comes complete with all the mounting hardware for my pickup. Your suggestion seems to be the best one yet.
how about the suction cups that they use for bike racks?
Thanks, but far to much liability with something like that potentially letting go. I need a bolt on solution without drilling holes through the roof if possible.
people have driven cars with bikes loaded at >100mph, I think they’ll be more than up to anything you can throw at them ![]() They even have a little gauge on them which will show you the amount of vacuum they’re holding at a glance. If that’s not good enough, then your best bet is buying a standard roof rack and bolting the light to it.
They even have a little gauge on them which will show you the amount of vacuum they’re holding at a glance. If that’s not good enough, then your best bet is buying a standard roof rack and bolting the light to it.
I do appreciate all the suggestions, and many of them could be used in other applications.
A pair of rain gutter clamps (for a roof rack) and a good crossbar would work.
Many offroaders/expeditioners will use 2 or 3 gutter clamps per side to hold a roof-top-tent or very heavily loaded roof rack.
Edited to add: Ih8mud and expeditionportal forums both have lots of info on these.
PM sent.
Hello Stewart, and replied! Thanks for your help. ![]()
Some more good news arrived when DIWdiver figured out a way to add a turbo mode to his drivers for 3.38A to each emitter. This should give us just shy of 50,000 combined lumens at the emitters. The drivers are going to need some special attention to heat sinking to be driven at this level, so its going to be a carefully monitored experiment to try and avoid a meltdown. Just how much heat sinking that will be needed is unknown untill everything has been installed and tested. I have been provided great instructions in just where to check for excess heat and where the additional sinks will need to be placed. Whatever is required is what it will get. ![]() Without the drivers, I never would have attempted such a project. After this has all been cobbled together, hopefully others will be able to follow along and build their own “budget” mega light bars for some serious off-road illumination.
Without the drivers, I never would have attempted such a project. After this has all been cobbled together, hopefully others will be able to follow along and build their own “budget” mega light bars for some serious off-road illumination.
Just playing with some of Match’s figures after extrapolating some rough numbers from these graphs in post 1: Emitter Test Results pt4: XML2, XP-E2, XP-G2, and Nichia219! (along with sinkpad tests)
XM-L2 on copper mcpcb at room temp mounted on massive al sink:
2.7A vF 3.38V = 1050 lumens x 40 = 42000 lumens (Base configuration) Power requirement: .2V (driver) .68V (wire losses) + 13.52V (4 emitters) = 14.40V (2 drivers x 13.5A) 27A x 14.40V = 388.80W
3.0A vF 3.44V = 1125 lumens x 40 = 45000 lumens (7.143 % increase) Power requirement: .2V (driver) .68V (wire losses) + 13.76V (4 emitters) = 14.64V – just for comparison @3.0A at the emitters…
3.4A vF 3.51V = 1240 lumens x 40 = 49600 lumens, (18.095 % increase) Power requirement: .2V (driver) .68V (wire losses) + 14.04V (4 emitters) = 14.92V (2 drivers x 16.9A) 33.8A x 14.92V = 504.296W
In going from 2.7A to 3.4A, there is a difference of 7600 lumens (18.095 % increase) and a 29.9 % increase in watts. It is said that the human eyes need a 20% increase in lumens to notice a change in perceived brightness. It is also noted that emitter surface brightness increases throw, which is often why we overdrive XM-L2 on copper up to 6.5A in thrower flashlight applications. But with the C8 sized reflectors that I will be using, the increase wont be dramatic… only noticeable.
To run at 49600 lumens means that Id have to rework my alternator regulator to put out 14.92V nominal. Thats getting up just a bit too high to risk frying other electrical components on the truck. At 42000 lumens, I can run the stock alternator voltage regulator at 14.4V nominal… so this looks like it will probably be a 42000 lumen light.