A new light I found at Walmart; 49.97
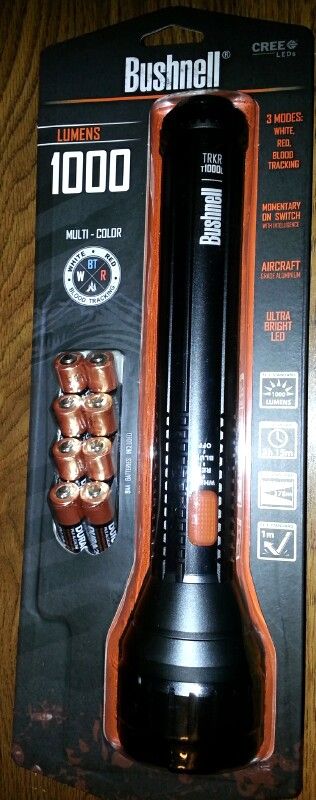
When I flipped the package and saw a 9th battery on the back, I figured it must have a carrier for 3X3.
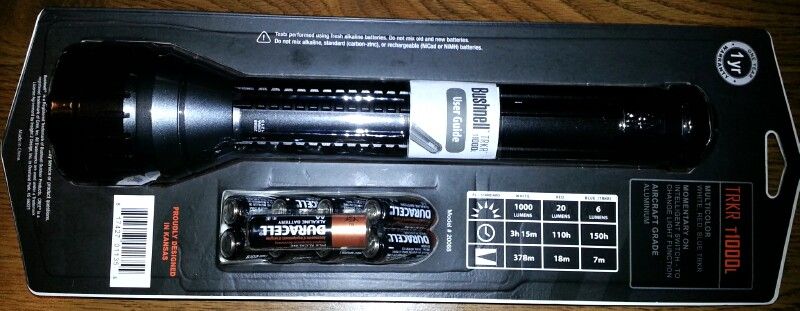

Interesting…
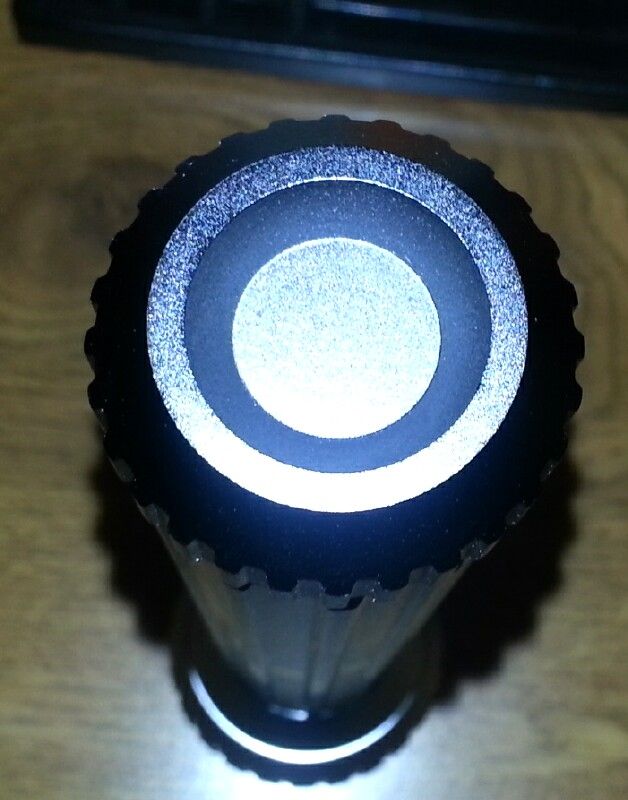
Tap Tap Tap… the lens is plastic; but the reflector and inside of the lens is super clean; no scratches at all. Thumbs up for quality control.

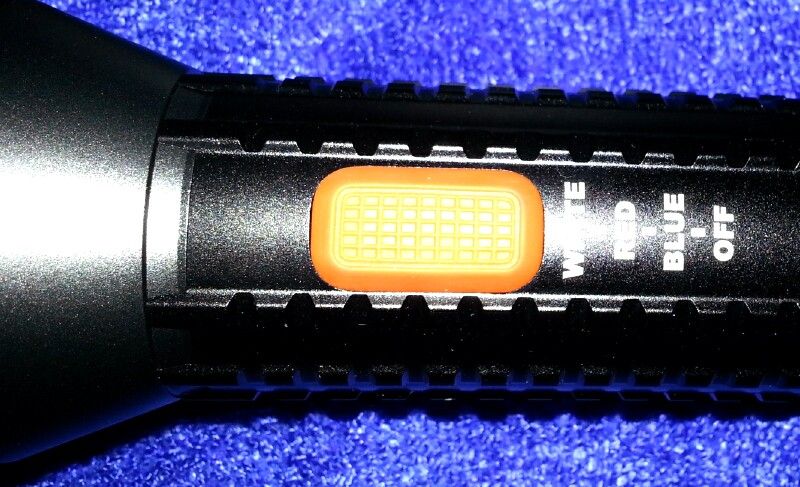
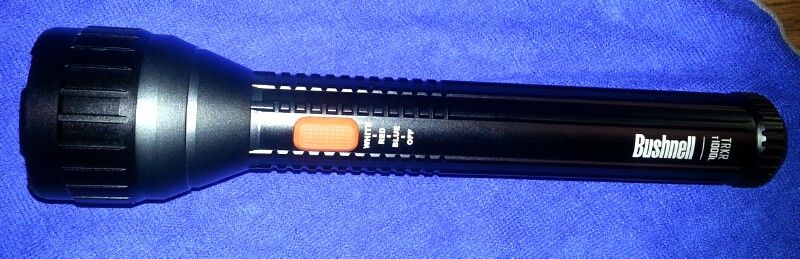
Side switch. Lightly tap it for a quick flash (nice way to check the batteries); continuing to tap it will cycle White-Red-Blue-etc.
Half-press will give you a momentary on (starting with white, half-press to change to red, or again to blue); light will go off when you release the switch.
Full/Clicky presses will cycle White-Red-Blue… after about 4-5 seconds of being off, it will default back to white.
Full presses take a smidge of effort, should be just enough to keep it from turning on accidentally if it’s bouncing around your car/tool-box/whatever.
Simple; excellent for a big-box store light.
I don’t know if it’s HA3, but the anodizing is as good as a Mag-Lite (that’s a compliment); color is very consistent, printing is nice and clean… good job!
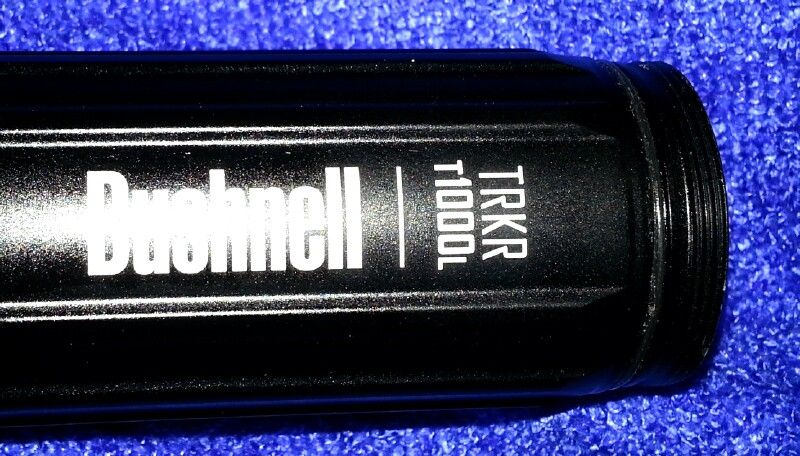
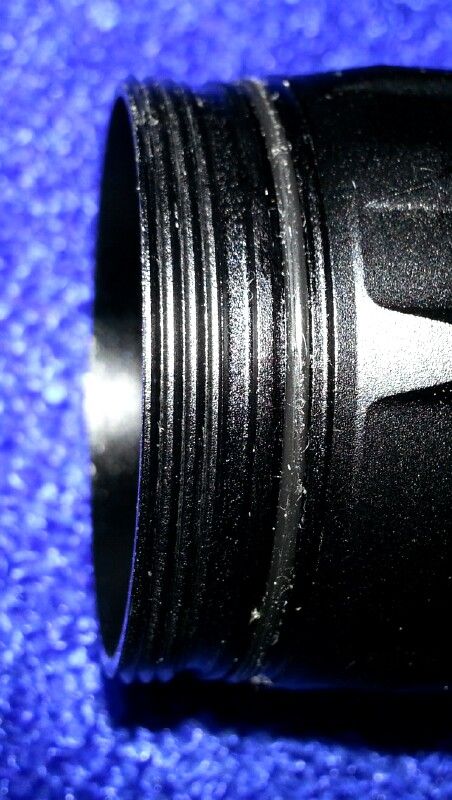
Threads are nice and clean, cap is very easy to screw on/off. If you’ve bought too many cheapie lights, this might be a nice reminder of how a properly machined tail-cap should work.
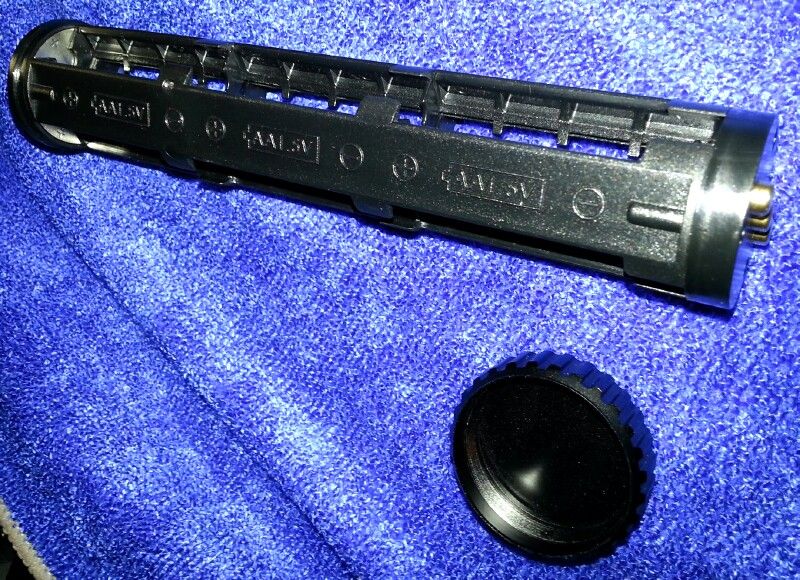
Battery carrier is decent quality; it’s not quite as nice as a Sunwayman, but it’s definitely better than the crappy carriers you find in a typical 3X-AAA light.
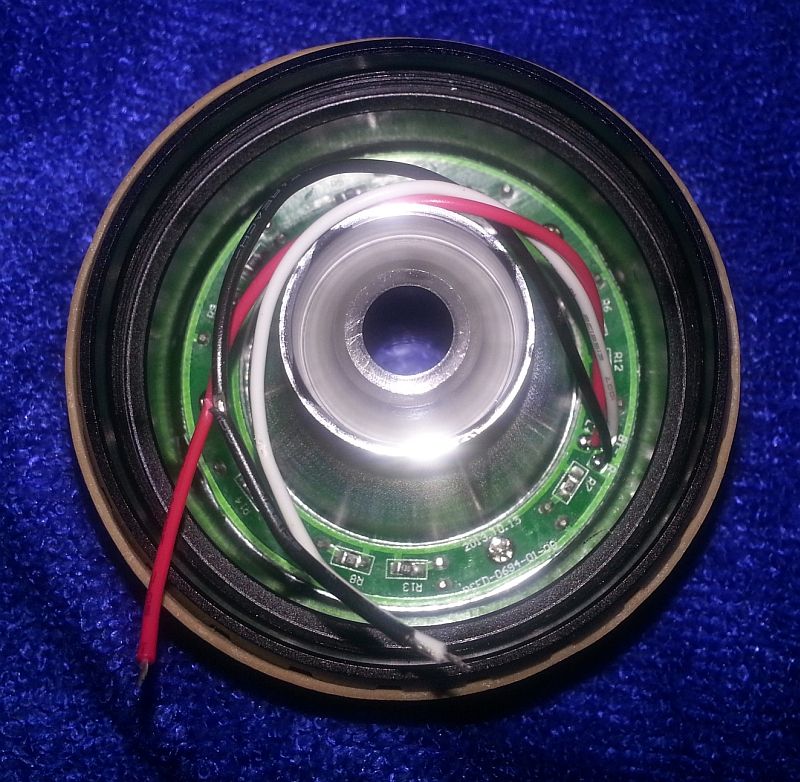
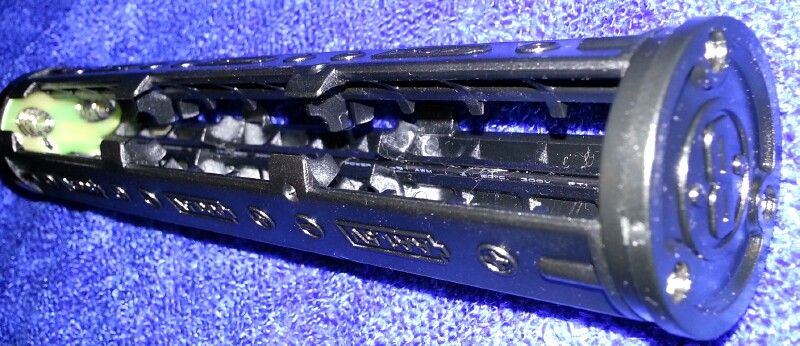
Close-up; note the wire running the length of the carrier.
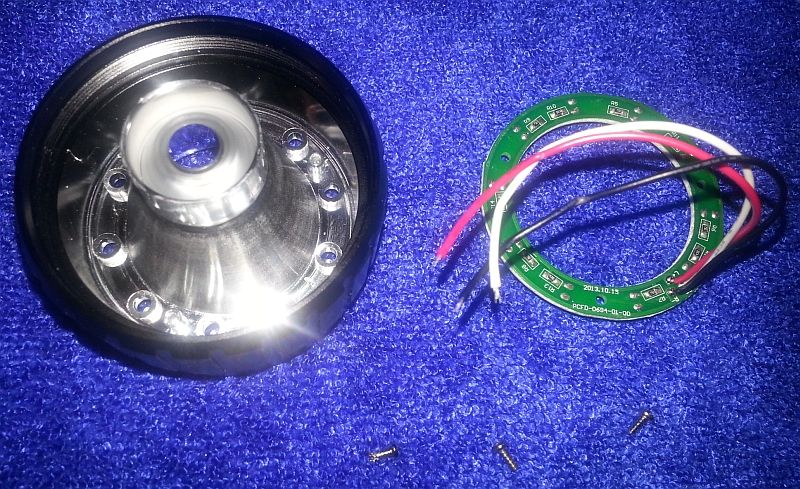
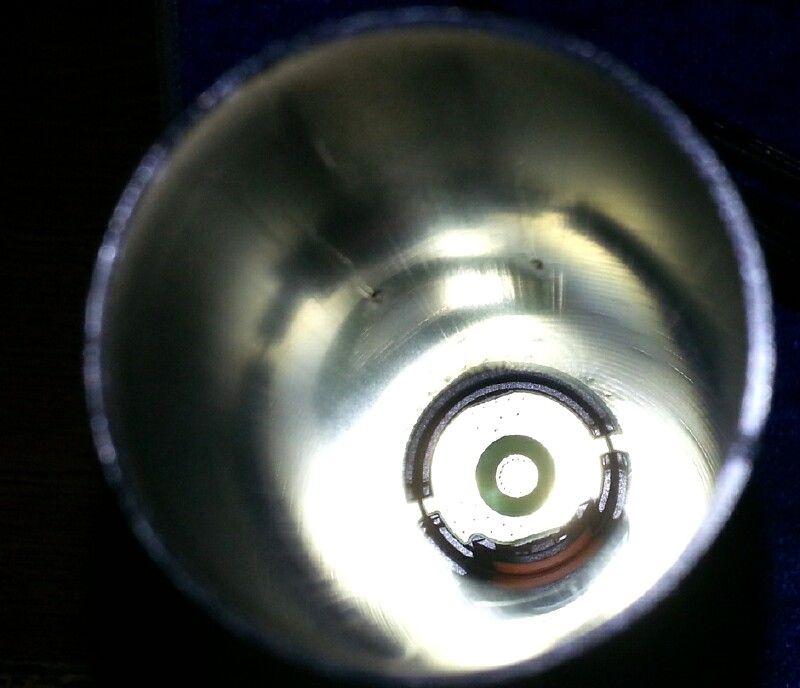
Inside the tail-cap. I can’t show you inside the head as it must be secured with Loc-Tite… it’s not budging!
All the batteries face the same way… no battery placement gymnastics is a plus. It takes a just a touch of squeezing to pop them in, no issues there.

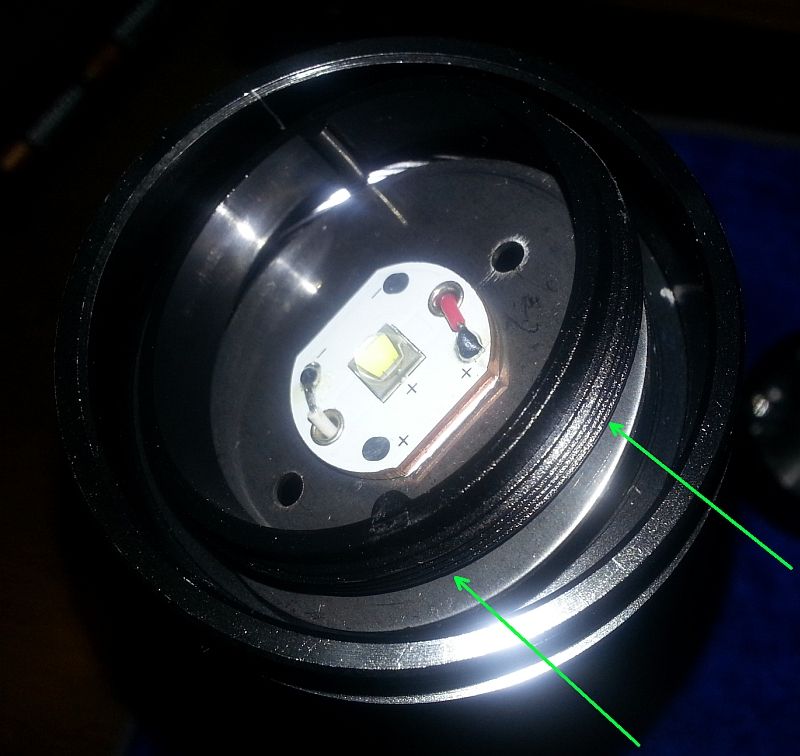
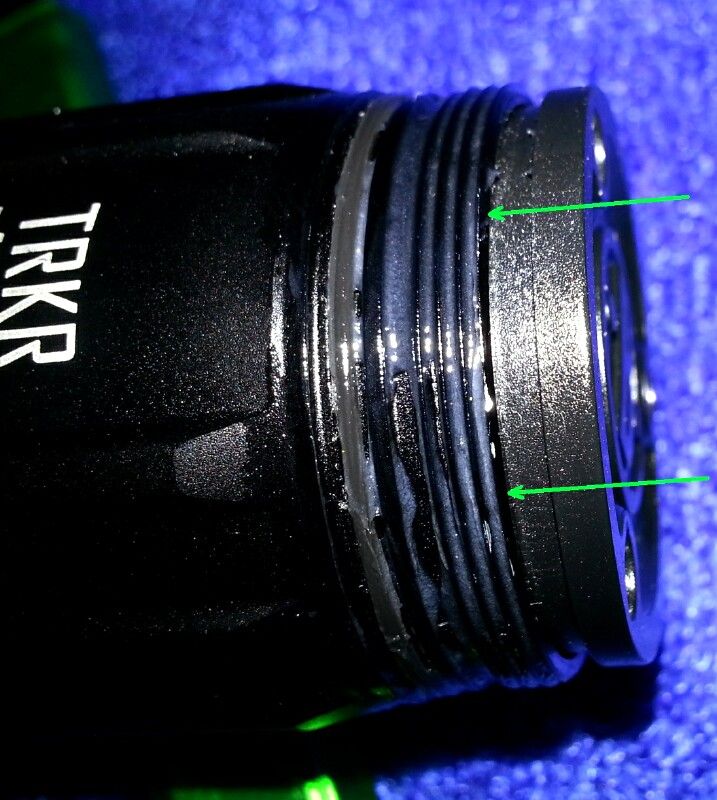
The carrier sticks out just a bit, I put the arrows pointing at the edge of the tube in case it’s hard to see in the picture (I put a bit of Super-Lube on the threads).
If you push on the carrier end, you can feel a bit of resistance from a spring. Cap screws on easily, and securely.
Shake the light like a “Shake-Weight”… there’s no battery/carrier rattle at all. None!
I haven’t turned it on, and I’m already impressed.
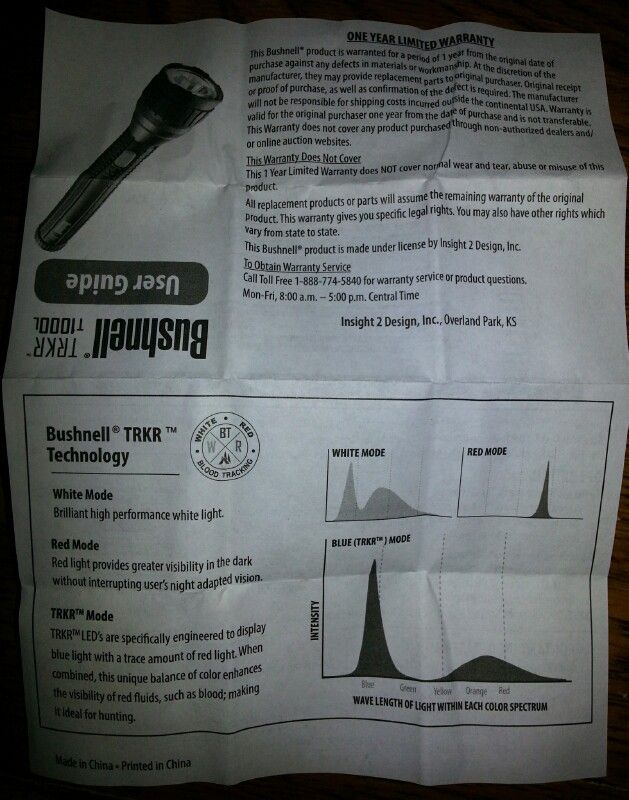
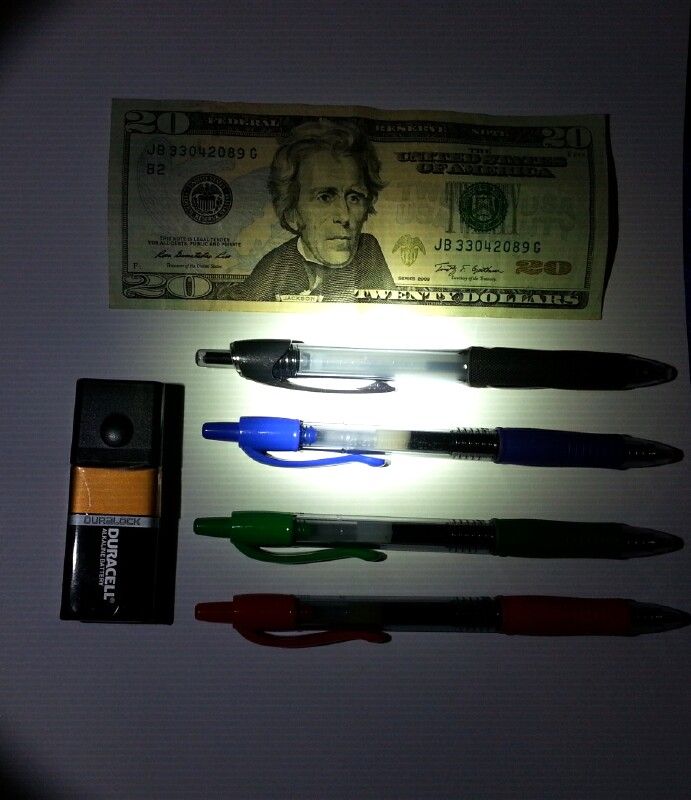
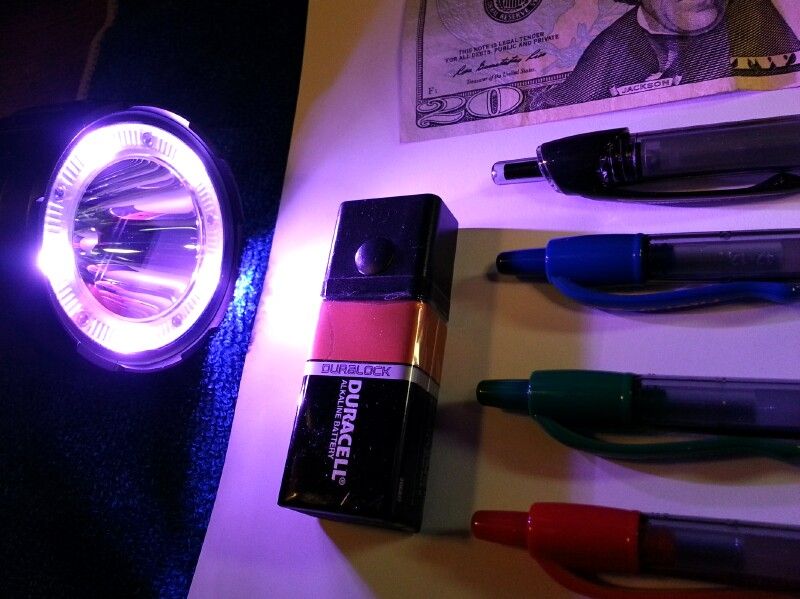
Here’s an experiment to try and demonstrate what the colors look like.
The white is so blinding, it freaks out the camera sensor, so this picture doesn’t properly show what it really looks like to your eyes.
The white is bright! Impressive for a handful of AAs.
Red…
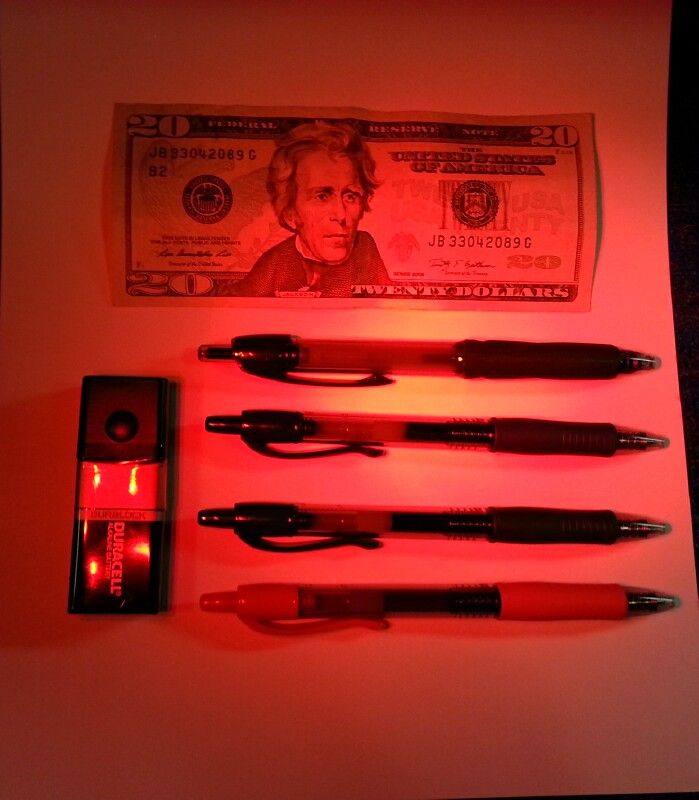
Blue (with a hint of red as described above)… I was wondering if there might be a hint of UV, but then you should be able to see the stripe on the $20 bill. Nope.

Red…
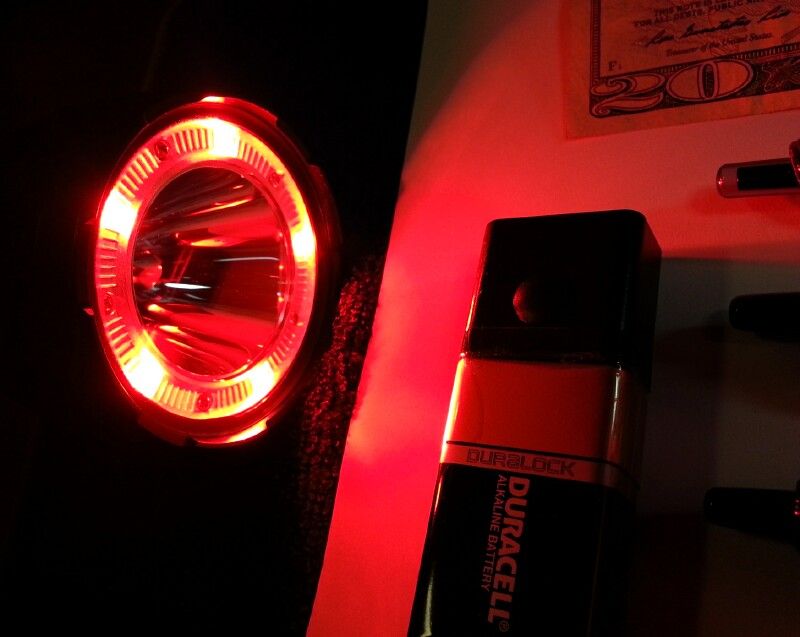
Blue-Red…
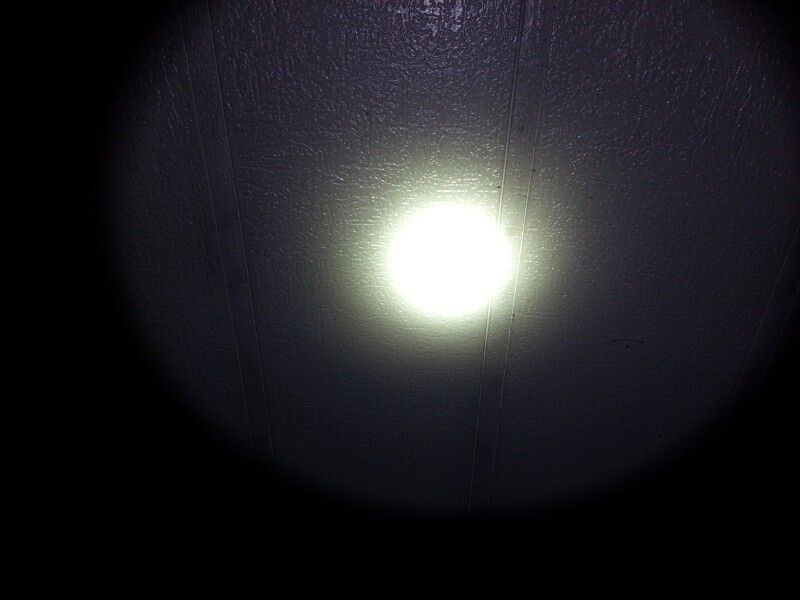
Crummy ceiling bounce; it’s just too bright for my cell-phone camera’s sensor to deal with.
The flood is brighter and more useful than this picture shows.
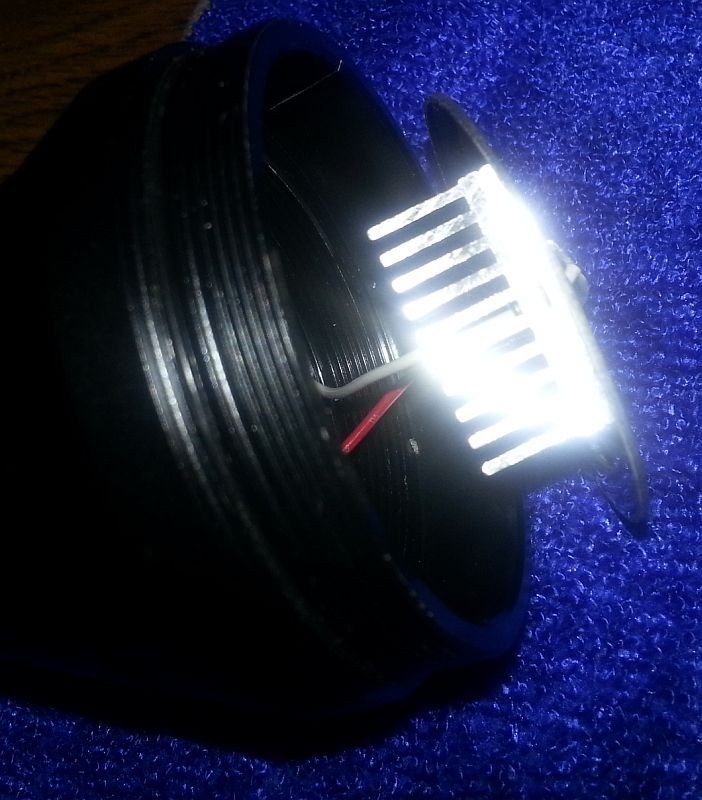
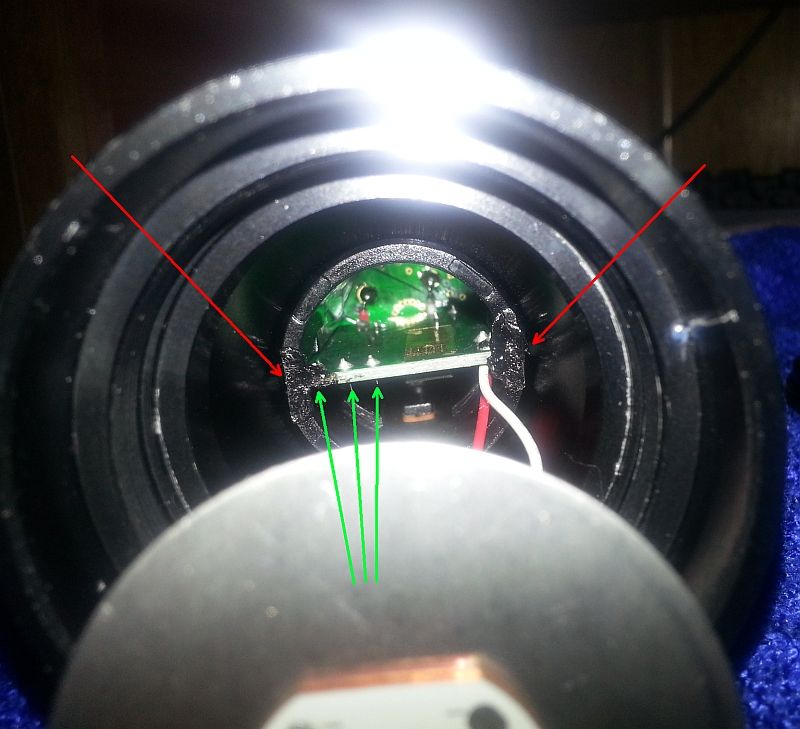
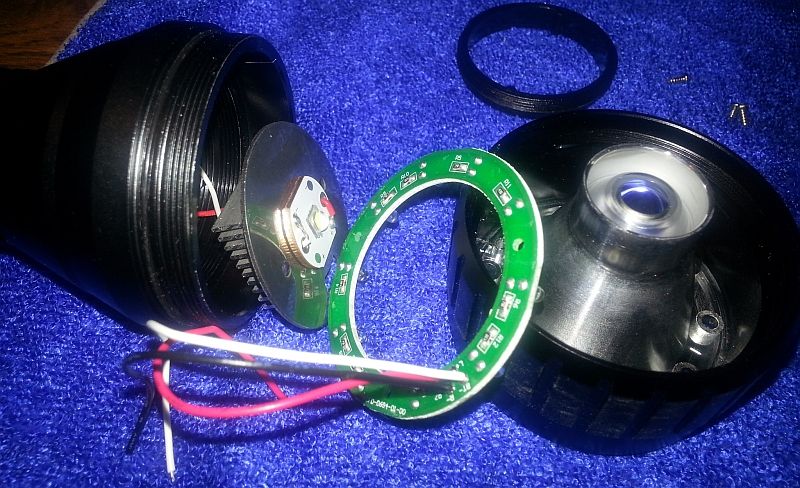
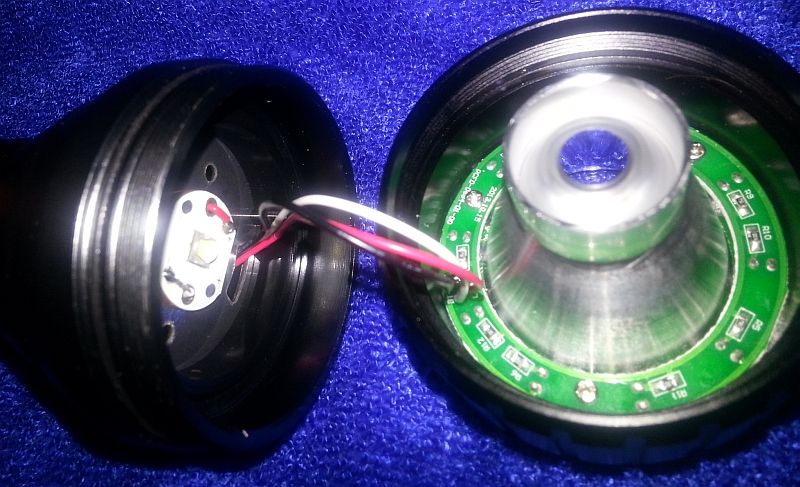
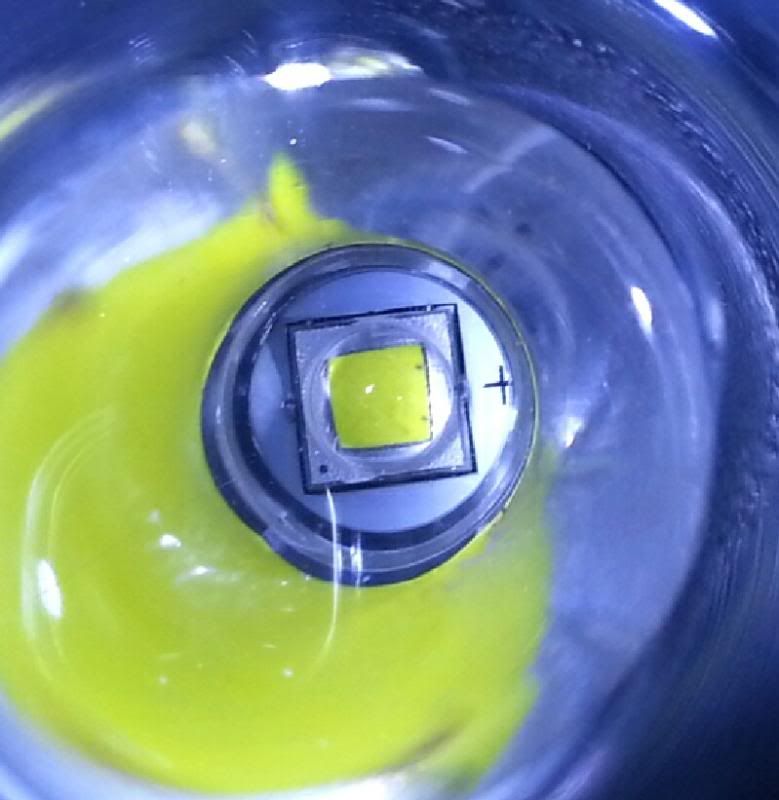
Picture of emitter…
It tail-stands, but not so securely; but that’s OK as it head-stands nicely. No lanyard hole, but I don’t think anyone puts them on lights of this size.
Just enough knurling for a good grip; pushing the button with gloves on would easy.
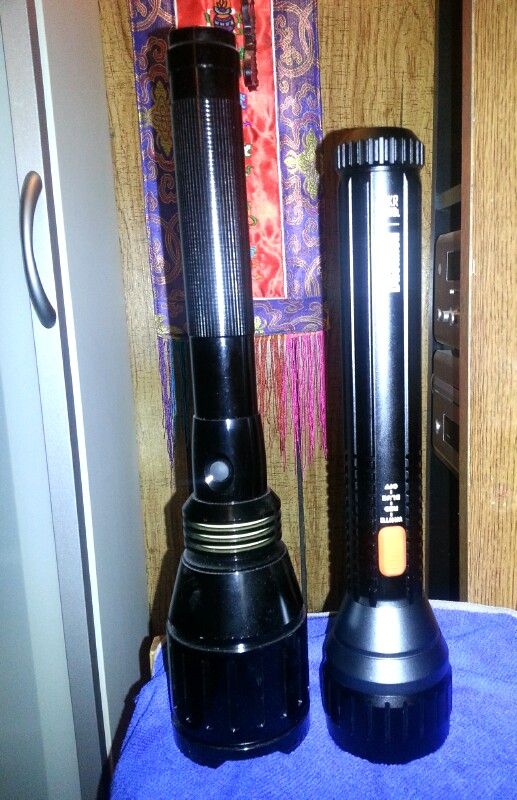
Size comparison next to a Home Depot Defiant Super-Thrower.
I like it a lot.
If it had a Low-Med-High for the white, it’d be perfect (OK, and maybe a glass lens would be nice); but otherwise, it’s an excellent light.
The build quality puts the Home Depot Defiant lights to shame.
AA means you can use some of those Eneloops everyone bought on clearance at Target; so no Alkaline leakage if you throw it in the trunk of your car. ![]()
It’s a keeper!