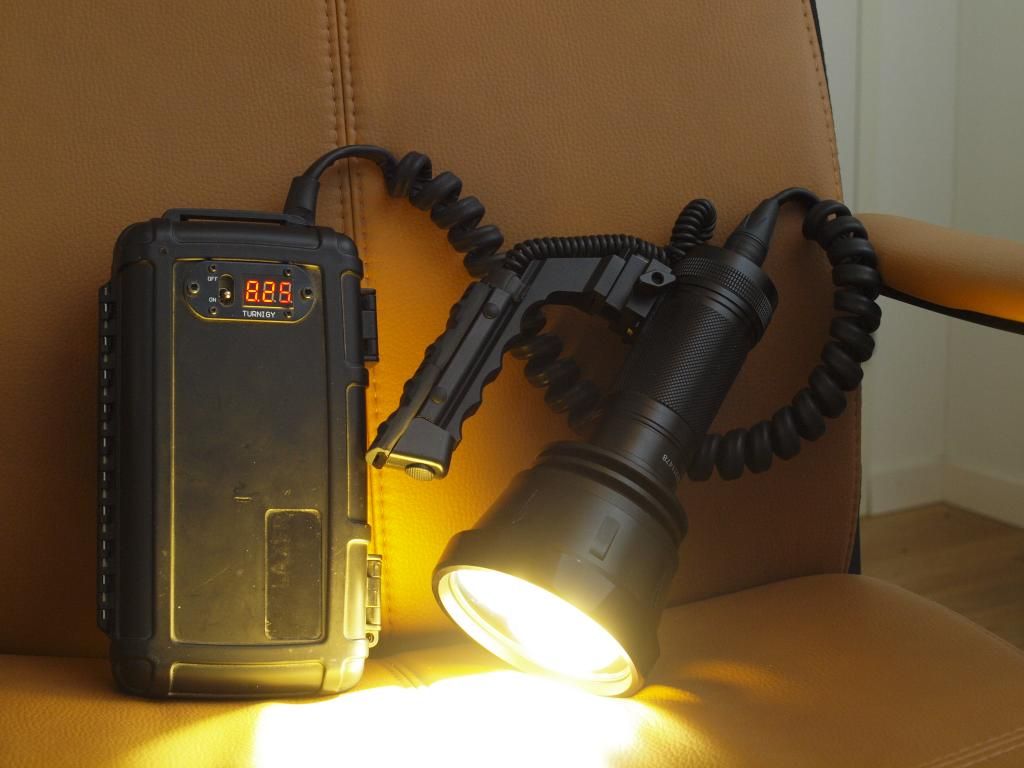
Well guys, this is the moment… first full assembly and test complete! :bigsmile:
Haha I’m loving it, this thing is so awesome!
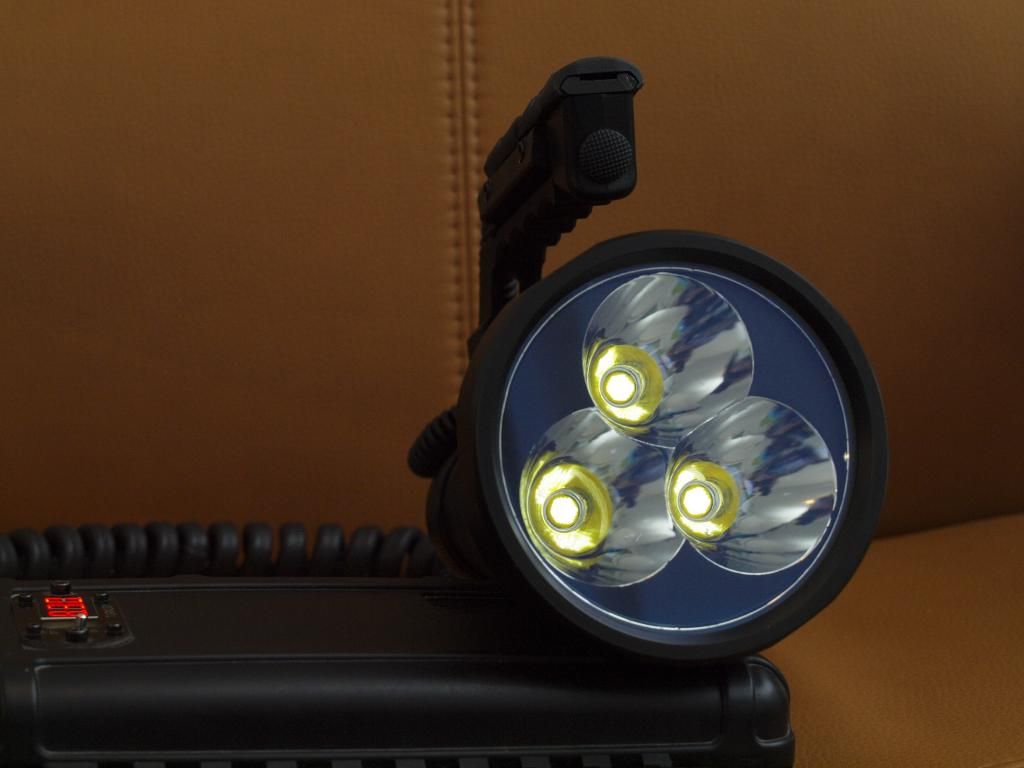
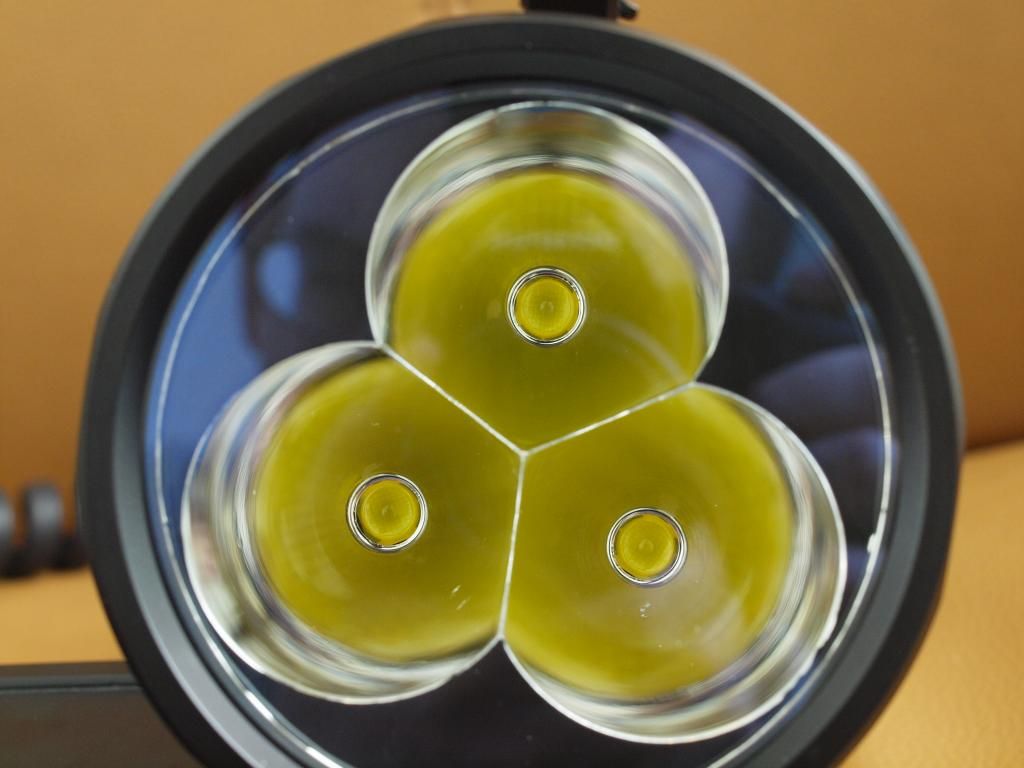
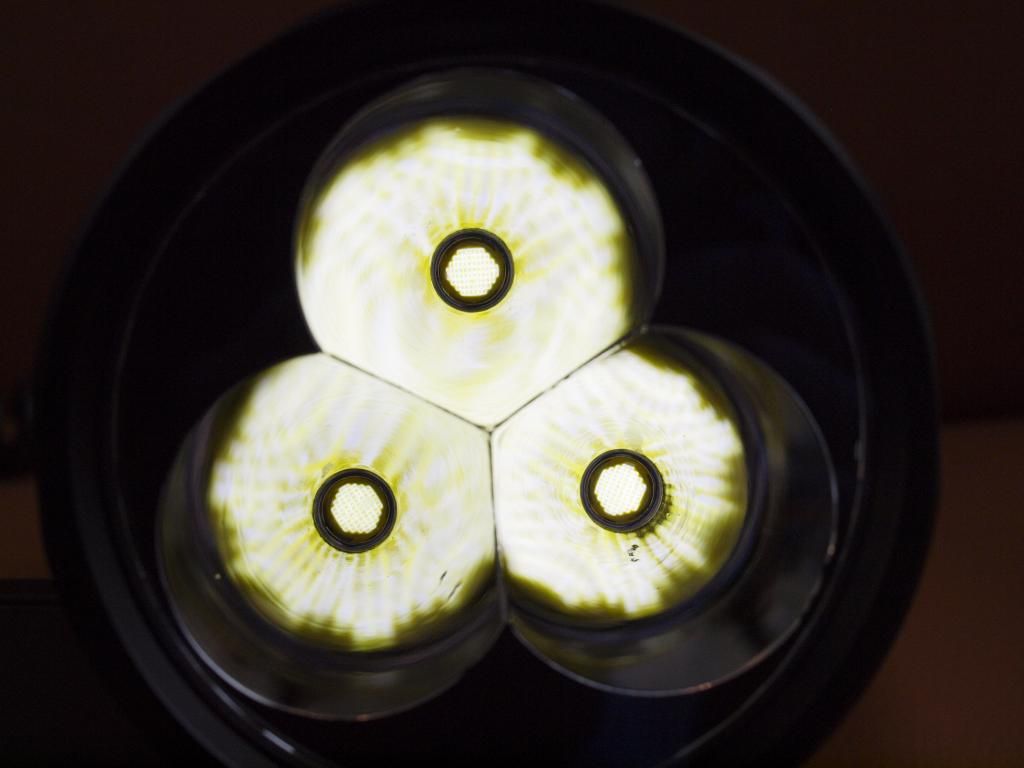
And fortunately everything works as it should, no flickers or wobbles or shorts. Also delighted with the beam profile and tint, just lovely. Was worried I would see some mt-g2 ringyness at the center of the hotspot but the three intersecting beam profiles really hide all of that.
It even handles the heat surprisingly well once fully assembled and with the reflector doing it’s part in sucking some of those joules. I’ll do some runtime tests monitoring temperatures and currents and all that good stuff of course.
It’s not quite done yet though. The reflector I have in there is my spare which has some cosmetic flaws and will eventually be swapped out for a nicer specimen. Didn’t want to risk damaging the good one in a test assembly so this one acted as a guinea pig.
You’ll also notice the dark surround on the reflector, that’s something I definitely want to try and get on the final light to give it a bit of a unique look. Fortunately/Unfortunately the approach I tested on this reflector didn’t work as well as I was expecting, the vinyl material I was sticking on was too thick and wouldn’t mold well over the edges of the Oring groove so it left a bright edge and other flaws.
Need to find a method that works before I try it on the good reflector.
Moon mode
—
And yes, beamshots will be happening soon.
First sleep though
How about a Group Buy? I don’t know if I can afford the price for one piece purchase, but with a GB, maybe we can get the price down to three digits! :bigsmile:
Edit: Speaking of blank cheques, did you know that most of the stuff printed on cheques is unnecessary for the cheques to be legal? You only need four pieces of information to make a legal cheque. The rest is fluff for the convenience of the banks. And, it doesn’t even have to be on paper.
Haha, reminds me of this quote, “First rule in government (or blank check) spending: why build one when you can have two at twice the price?” ( Zemeckis’ Contact ) lol
If you’re serious lionheart_2281 , once I have things finalized I’ll have a little think about what would be feasible. DavidEF there’s just so much work required on every corner of this light that I don’t think a group buy would do much to the overall cost, but I dunno maybe if a few people are interested.
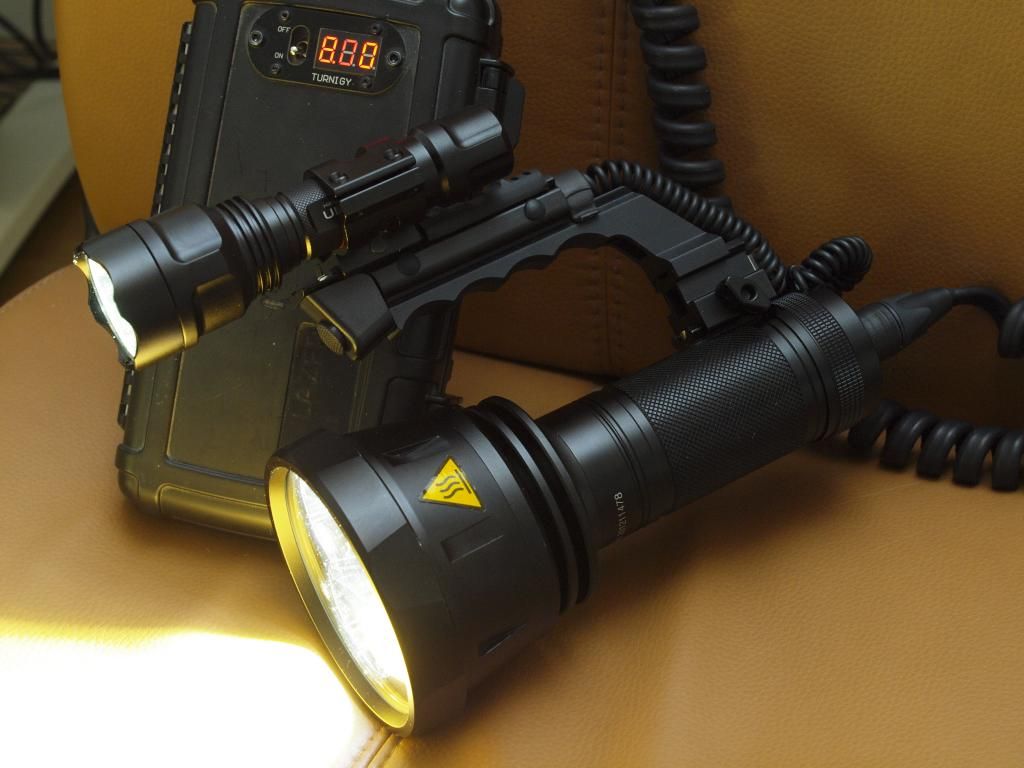
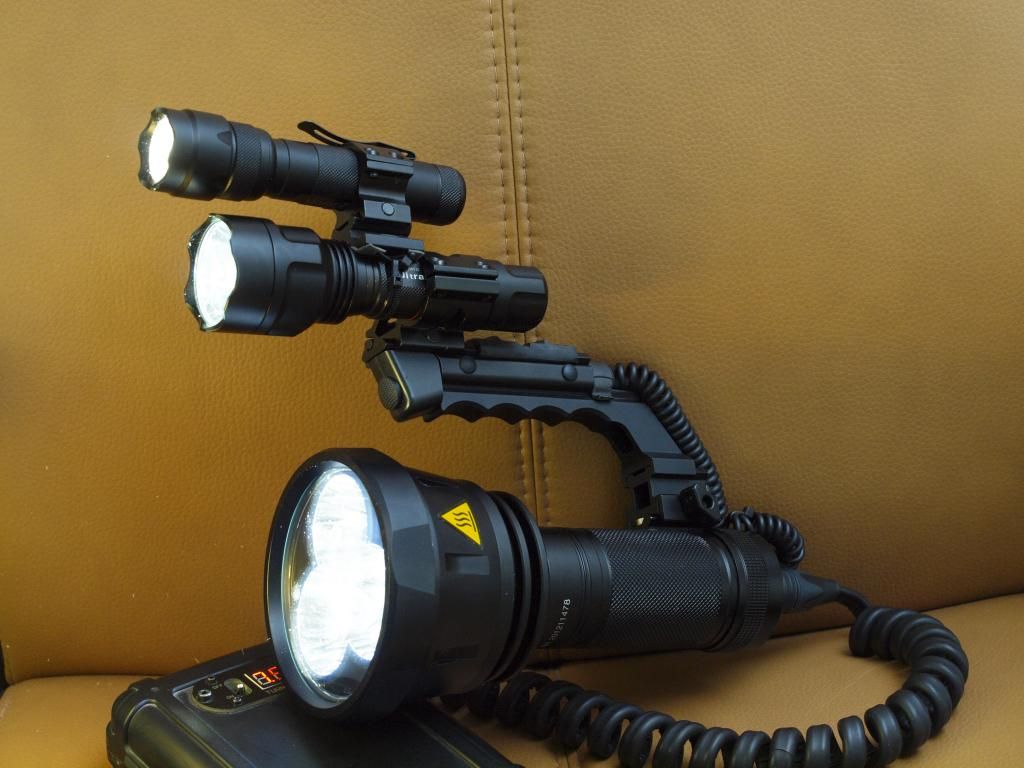
And because it’s always hilariously awesome, here’s the C8 piggybacked onto the BTU again
…hell just because it’s Christmas… why not a Flashlight on a Flashlight on a Flashlight :bigsmile:
Haha it’s a silly light, my wrist is starting to complain already! Even without all the extra passengers the BTU itself now weighs 1.4kg, not exactly the most ergonomic feature for a handle light haha.
Need to get one of these steadycam rigs for it!
Insert Ice Cube meme here.
If you make more of these I’m VERY interested mate, big time.
So much work went into this one, and it’s been a pleasure following you every step of the way, I’m sure the next one you’d have done in a quarter of the time.
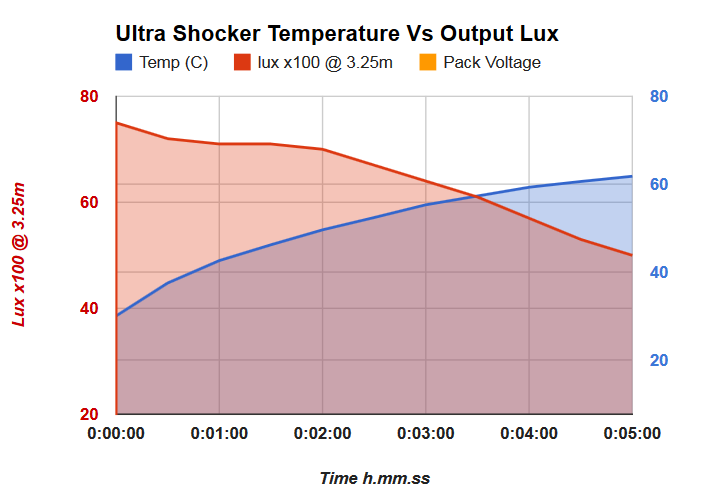
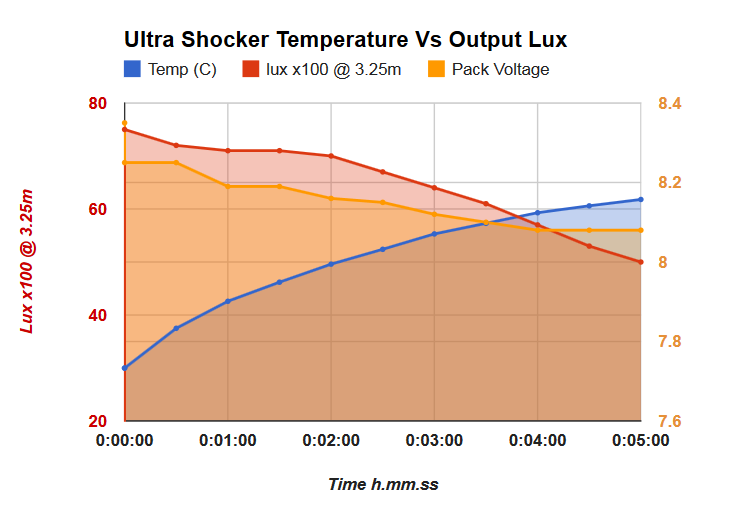
For now it’s just a full output test versus heatsink temperature to see at what point I should be programming the turbo mode to ramp down.
It’s interesting to see, over the initial 30s there’s the expected turn-on heat sag. Then it’s relatively stable for the next 1.5mins as the hefty mass of the light absorbs the heat. Finally things start gettting a bit too hot overall and the output starts taking a nose dive. This is also the point; right about the 2minute mark, with a heatsink temperature of 50degrees, where the hot potato would be hitting the deck
The light was already slightly warm at 30degs before beginning the test, and ambient temperature was ~22degs C. I would expect better performance outside obviously.
I’ll set turbo timeout to a maximum of 255 (255*0.5/60 = 2.125mins so that’s just about bang on)
What I can’t determine precisely from this test is whether the drop in output after 2 mins is as a result of thermal perfomance drop at the leds or if the 7135s are throttling back because of heat. I’m struggling to get a sturdy enough setup going for measuring current during these tests. Ran out of deans connectors to make a harness so that I don’t drop any extra voltage while measuring.
Yeah I think you’re right, believe it’s most likely the 7135s ramping down because of heat. But it’s a gradual ramp down rather than the silly flickering and stuttering I was seeing after only a minute with the first iteration driver, so I’m pretty ok with that. In any case I know where to set the turbo step down now
I was also taking note of pack voltage during the test (not on the graph) and that only dropped gradually and linearly from 8.25v (under load) at the start to 8.08v by the end so there should still have been enough voltage overhead to maintain max regulation current. Hard to be sure of that with the light fully assembled though, I could be getting some extra resistance loses that I’m not calculating for.
Should know more when I get a harness made up to splice my ammeter into the situation correctly.
Leaving the light to cool a little (just a minute or so, it’s still >50degs on the outside) and turning it back on returns the output to near the maximum.
Seems to me that’s another indication that the biggest decline in output is related to driver heat.
I cant find where you said you current draw was. In djozz's graph I can confirm my measurements were close to this. Post 16.
If you take away a conservative 10% in losses could it still be a voltage issue? Can you stick the probes on a single led without the reflector installed without blinding yourself?
I was also using djozz’s great graph and it seemed to measure out correctly for me when I verified voltage across the emitters at 6Amps.
I was using ~7v as a minimum target voltage to feed to the drivers while still maintaining regulation (think I verified 6.9v at the leds @ 6Amps). So I have faith that the basic calculations are near enough correct.
I know I drop around 0.6v by the time the cable plugs into the back of the light including connector losses and I was using a 0.2v drop across the 7135s. What I didn’t get round to measuring was how much I drop across my twisty contact interface going into the driver contact board. That’s the last place where I would imagine larger losses are to be found, unfortunately I didn’t have access to the resistor array dummy load and 1000w psu that I used to test for resistance losses within the rest of the system.
So, starting with an 8.25v battery voltage (under full load) I should have a vF overhead of 8.25 - 0.6 - 0.2 - 6.9vF = 0.55v
Here’s the same graph with pack voltage included. It’s still well above 8V at the end when output has collapsed down to 50klux. And again, turning the light off for a bit then on again the pack voltage will return to that same level but output will be up near 70klux again. Can’t explain why that would happen if the pack voltage was inherently too low to maintain that level of output right?
Urgh I dunno, I’d be rather surprised if the voltage was limiting output this drastically but I may still have some extra resistance losses eating into my overhead.
I’ll need to get some accurate current measurements to figure out what is going on. I did do a test with my crappy harness but that was dropping 0.36v before it even left the battery pack and ammeter so that’s a bad test setup. Max drive current I saw in that test was still 16.7A though and it held it up for 1.5minutes fairly steady before again starting to drop off more quickly.
At the end of the day it’s a bit of a catch 22 with these linear drivers. Especially with a battery pack like this which doesn’t really sag.
If I improve resistance losses and get a higher voltage to the drivers
Theoretical longer time in regulation
More energy for the 7135s to burn off
Possibly getting 7135 overheat, throttling and flicker earlier negating the extra regulation time.