It's COLD! here on the 4th of January, 2015. Well, it is for Texans and even displaced Yankees who have been here long enough for the blood to thin.
Who the heck wants to work in a cold garage? 

I just can't leave well enough alone. I will add photos when something more happens.
So, just from helpful posts, I have made some modifications before I did it wrong the first time.
Things have changed since the initial thoughts.
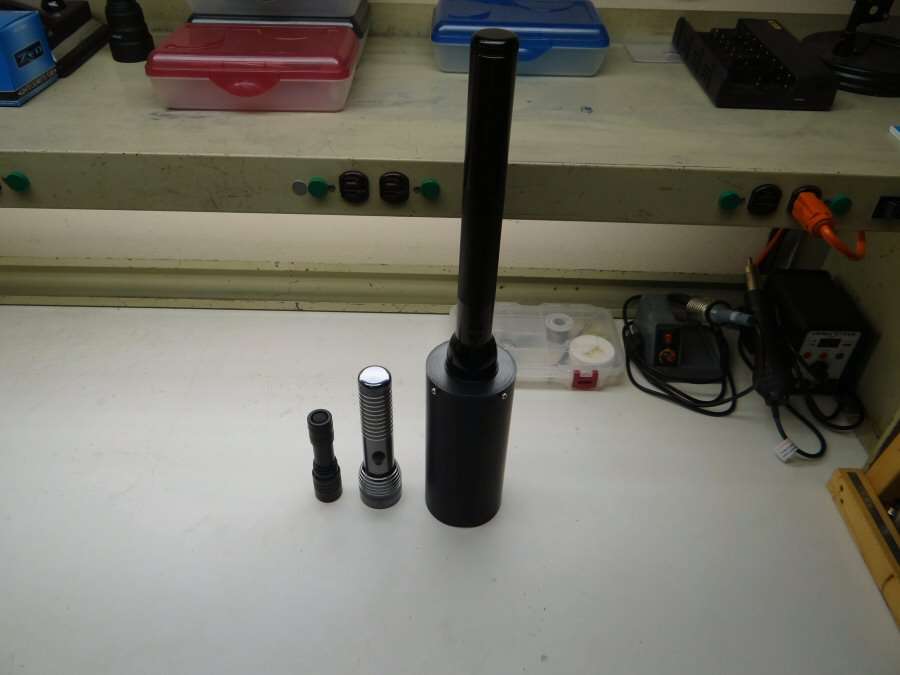
- A 5D Maglite it is, with Tenergy premium NiMH cells.
- Wavien Collar or homemade collar
- Aluminum head
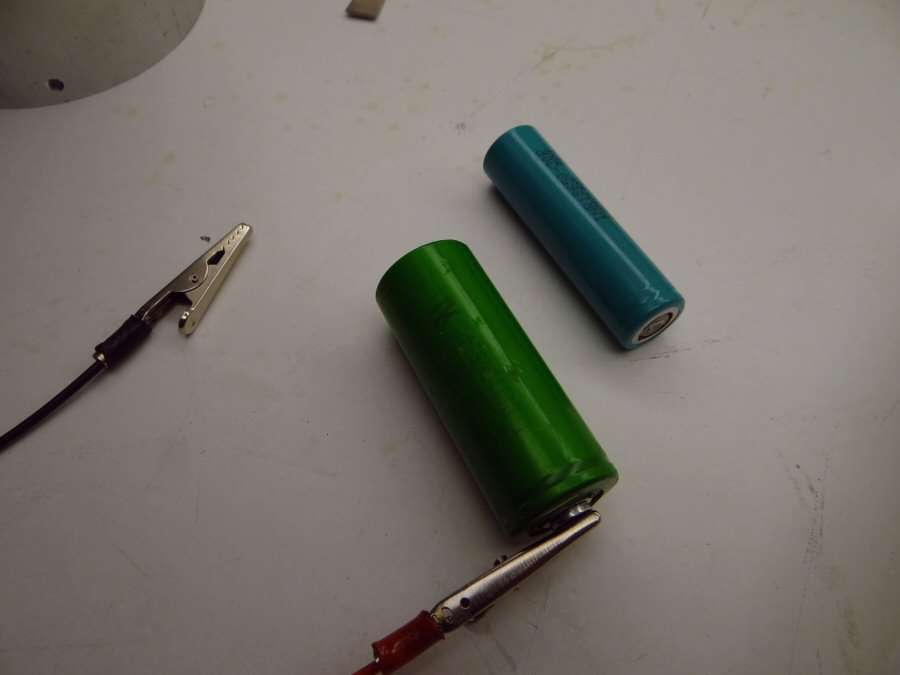
- A 5D Maglite with either Tenergy Premium D Cells or 5 Series/3 Parallel Eneloops Edit: I have to think that through. If I go by nominal, 5 cells would be 6V, which is too high for a 7135 driver. If I go with fresh off the charger at 1.4V, it's more like 7V, so that's definitely too much. Maybe 4 cells would be best overall. At Nominal, it gives me 4.8V and off the charger it gives me 5.6V. Time for some testing I guess.
- A 4" Coupling which will extend the 4" side of the head and put the LED into the larger opening to begin with, more like a normal head would be.
- A Wavien collar if I can get one
- Dedome the SST-90. I figured I might be doing that anyhow, when I reflow it the domes usually want to come off and it's probably best.
---------------------------------------------------------------------------
Members commenting on issues is why I sometimes like to start builds early, so they can catch my mistakes.
---------------------------------------------------------------------------
01/11/2015 It's Still Cold!, but I did a little work today.
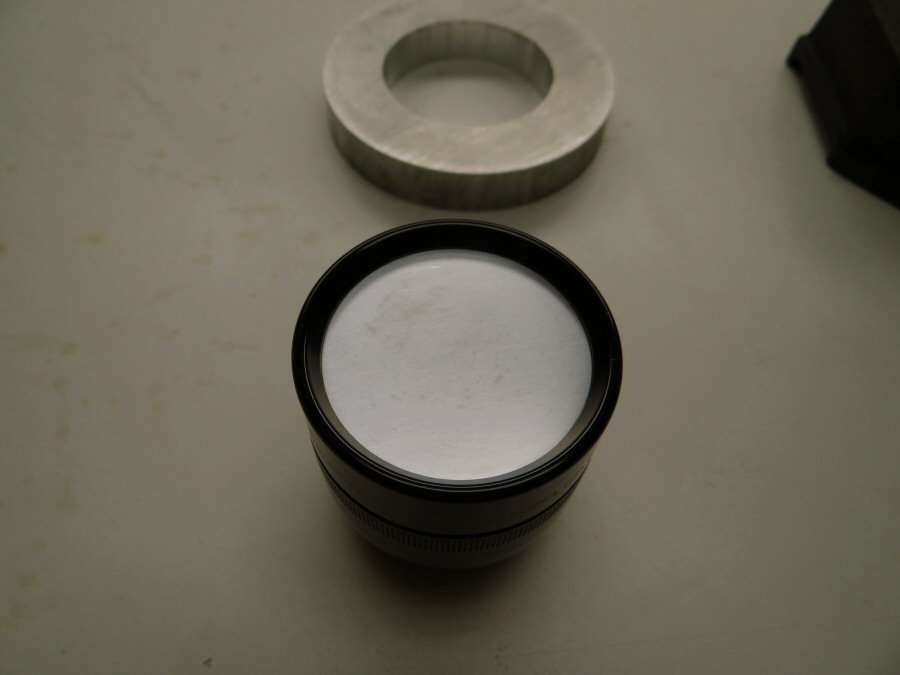
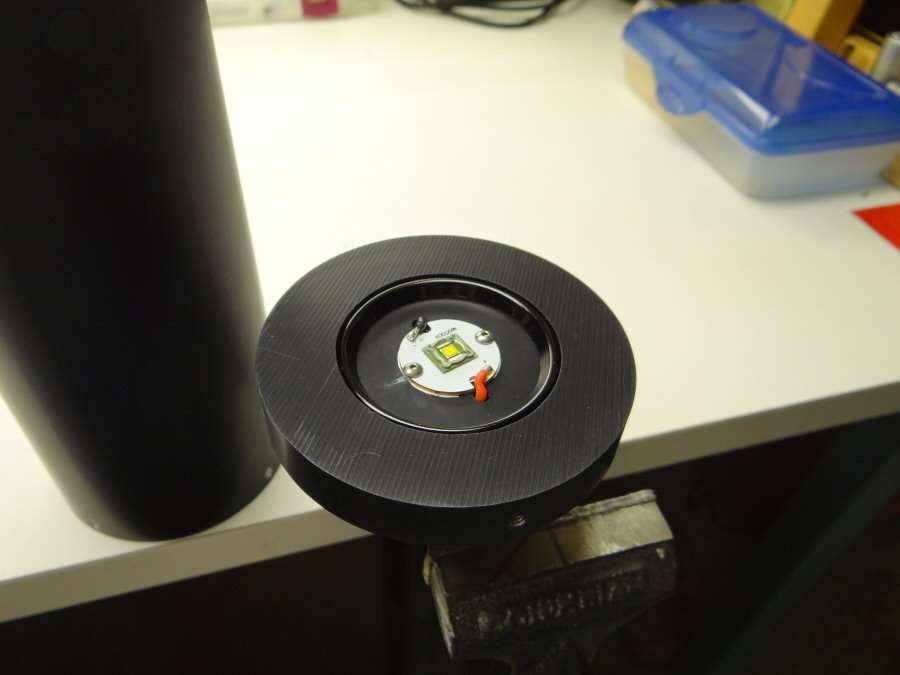
I wanted to see how the SST-90 would look with the 108mm lens, so I set up how the head would be and put the SST-90 on my aluminum rod heat sink, for some testing.

The SST-90 came from Kaidomain and it's on the stock 20mm mcpcb. It's copper, but probably not DTC. No matter, when it's on this aluminum rod, it will not get hot. Takes about 20 minutes for that long 1-3/4" diameter rod to get real warm.
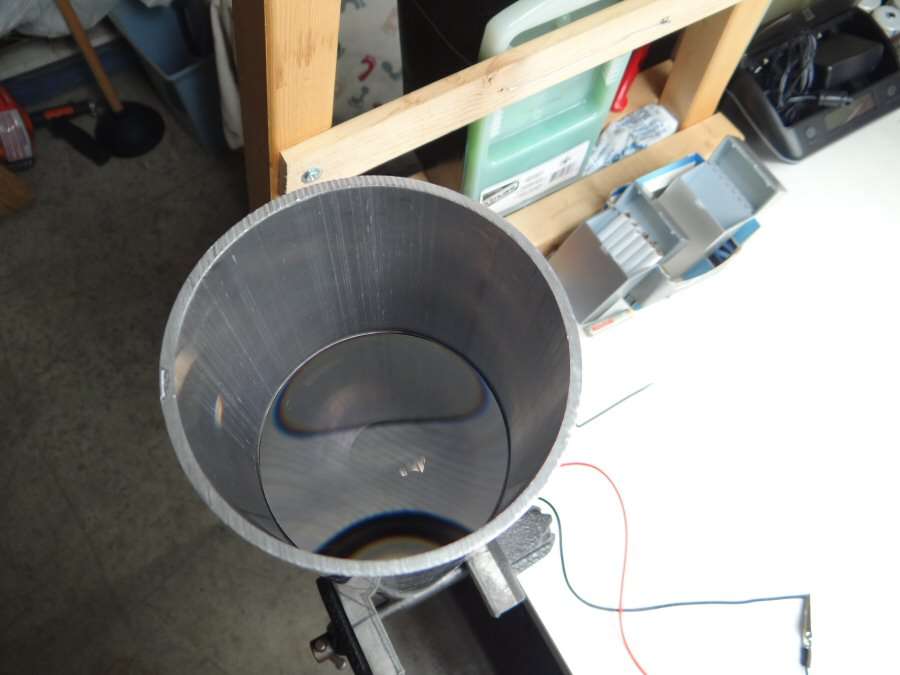
I'm using the 2" to 4" PVC reducer with a 4" PVC coupling on top of it, to get the height I need, from the led to the lens. I cut a piece of 4" PVC pipe and put it down in the coupling, so the lens can sit on it. When it is done for real, the Maglite head will go in the 2" end and a custom heat sink will put the led level with the top of the Maglite head and flush with the 2" section of the pipe, so it will shine into the large diameter, instead of being constricted. Thanks to a member's post here, reminding me that I should not have the led down in the smaller diameter.
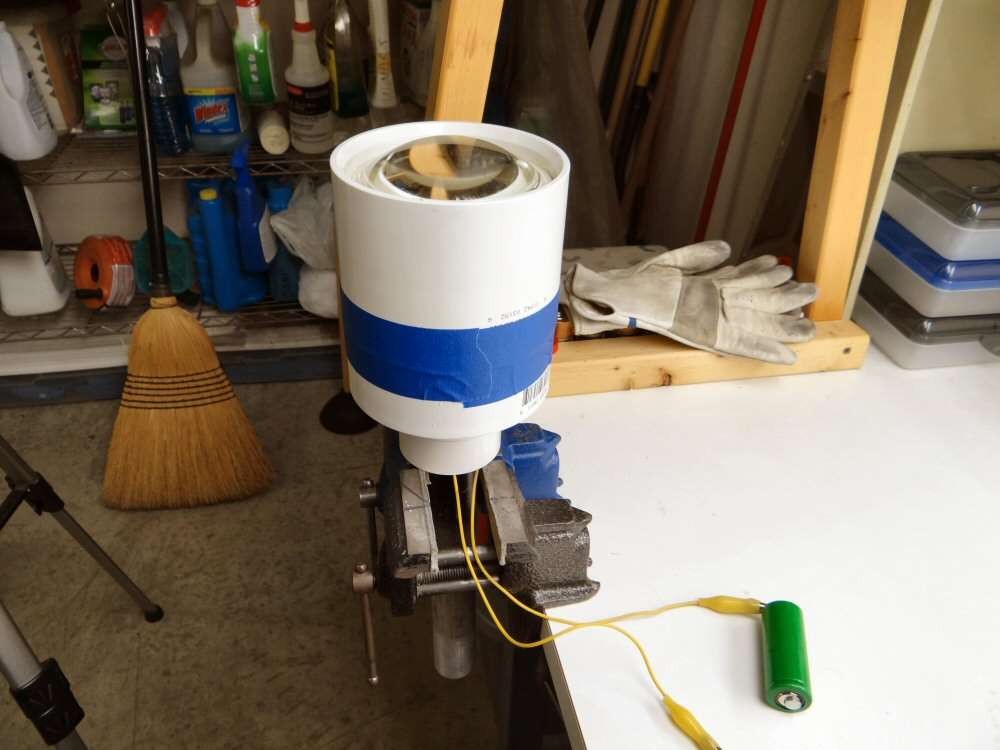
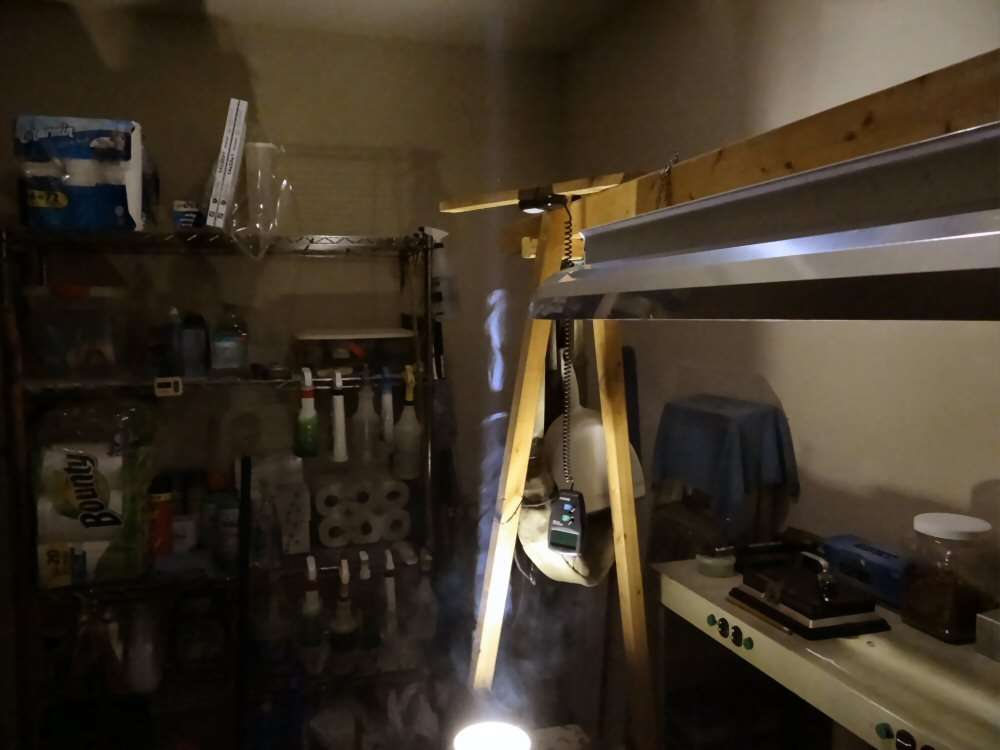
I used one of my 26650 cells direct drive. It gives me about 5.4 amps and drops from there. The bottom of the lens ended up being about 154mm from the top of the heat sink, so about 150mm from the led to the lens. The lens was quoted at 190mm, but I think it's more like 160mm to the focal plane. Anyhow, I did some testing and I really wanted to do some good photos, but no matter what I tried with this new camera, I can't get the shot I want, so I have a poor one and then some "smoke shots", to show something of the beam diameter.
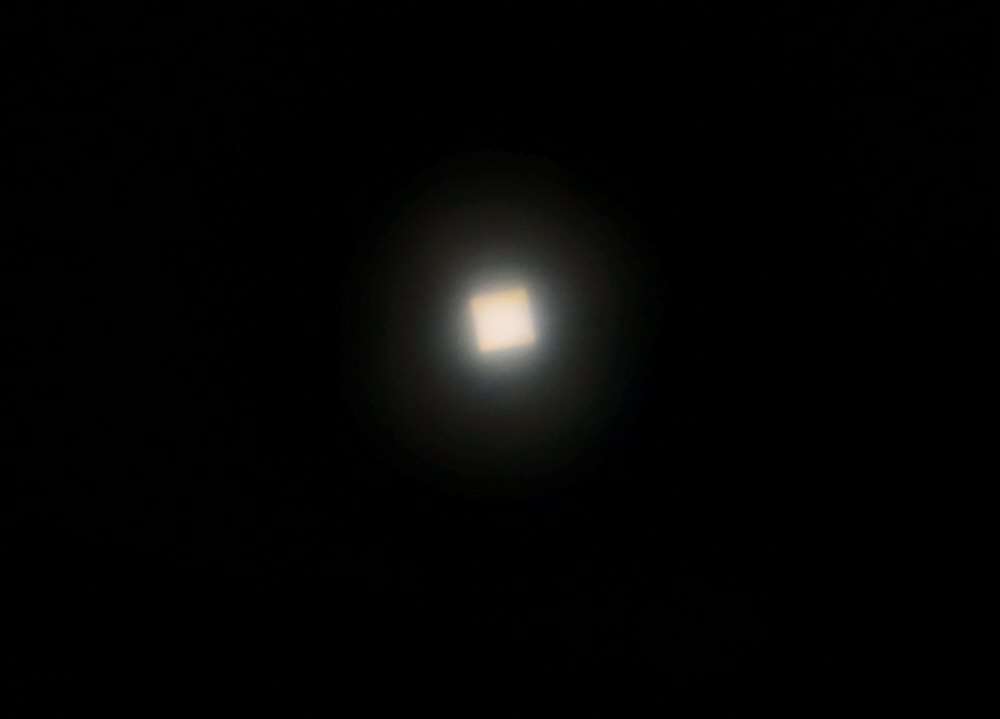
The die does focus, to where I can see the lines on the die, but I just can't get a photo of it.

The smoke shots kind of give you an idea of how it focuses the light through the lens. It's a really tight spot, compared to what I would see out of a 50mm Aspheric.
Right now, it gives a reading of 104600 Lux at 1 meter with my cheapie lux meter. I will be shooting for 9 amps. I have decided on using NiMH D cells. Tenergy Premium cells, for the build, so I went with a 5D Maglite. I will test with 4D cells and 5D cells, to see which way is best.
That's all for now. It will still be a while till I get this thing finished. I have to paint the PVC and I can't do that till later on this spring.
----------------------------------------------------------
01/22/15 UPDATE:
I decided against PVC. I went to speedymetals online and bought 4" OD 6061 Aluminum pipe. That gives me 3.750" ID and the lens is 3.740" OD. I also bought a sheet of .050" 6061 Aluminum, to use inside the pipe, to let the lens rest on. I will form it to fit in the pipe and also on top, to sandwich the lens and hold it in place. The bottom, where it reduces to the OD of the Mag head, will be a piece of 1.750" 6061 Aluminum round stock. That fits in the pipe and I will drill and dremel the opening for the Mag head. It will have to be a press fit. Inside the Mag head will be a big heat sink, that will fit tight in the head and the LED on top. It should take a bunch of heat and it will be so heavy it will need a shoulder strap, LOL.
------------------------------------------------------------
01/25/15
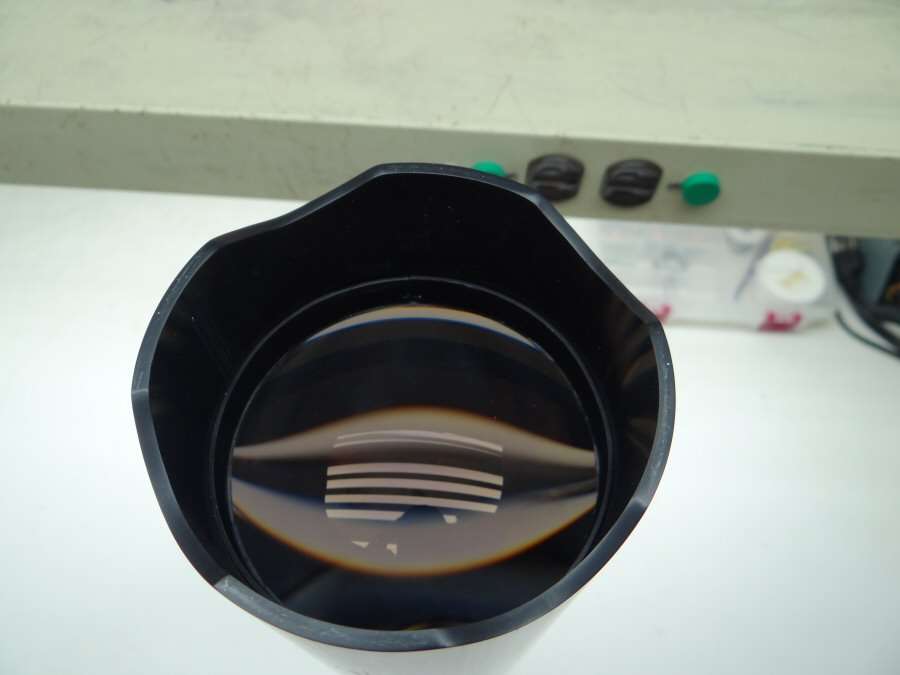
The Wavien collar came today and I figured I would show a couple photos of it. It came in a large black box and there was a bunch of foam padding around it.
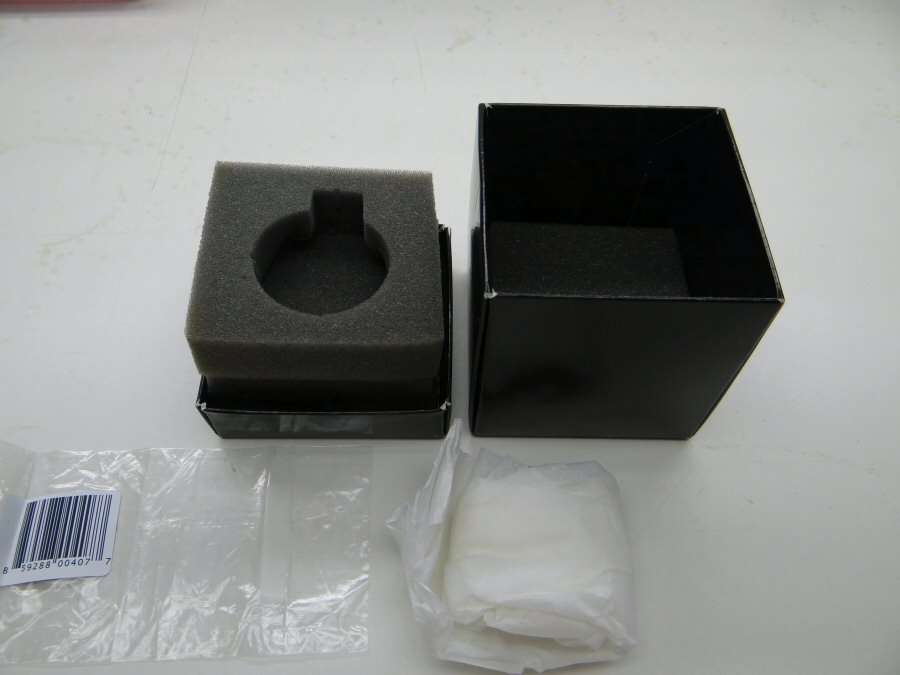
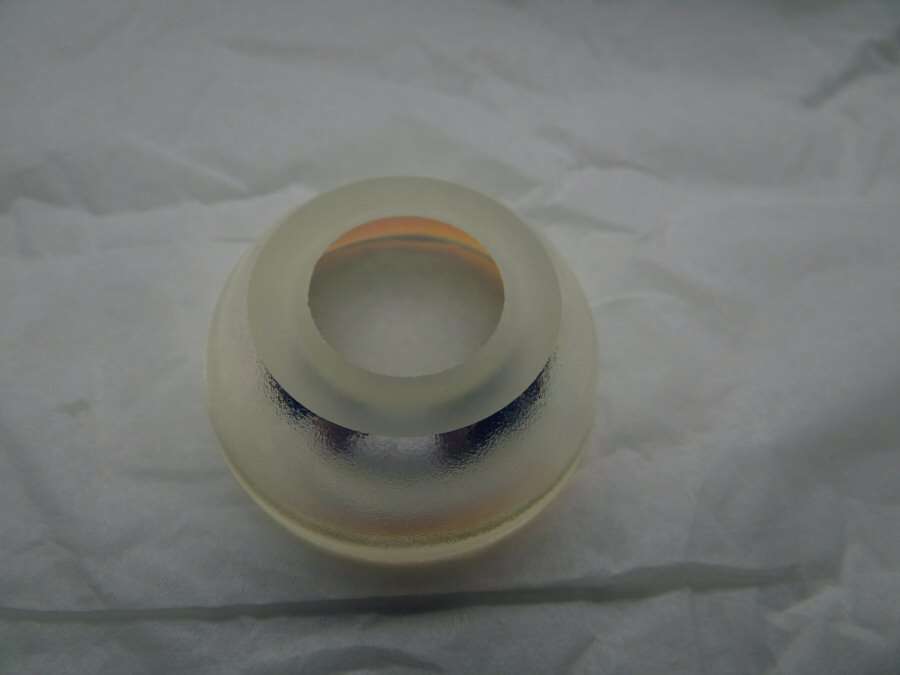
The outside
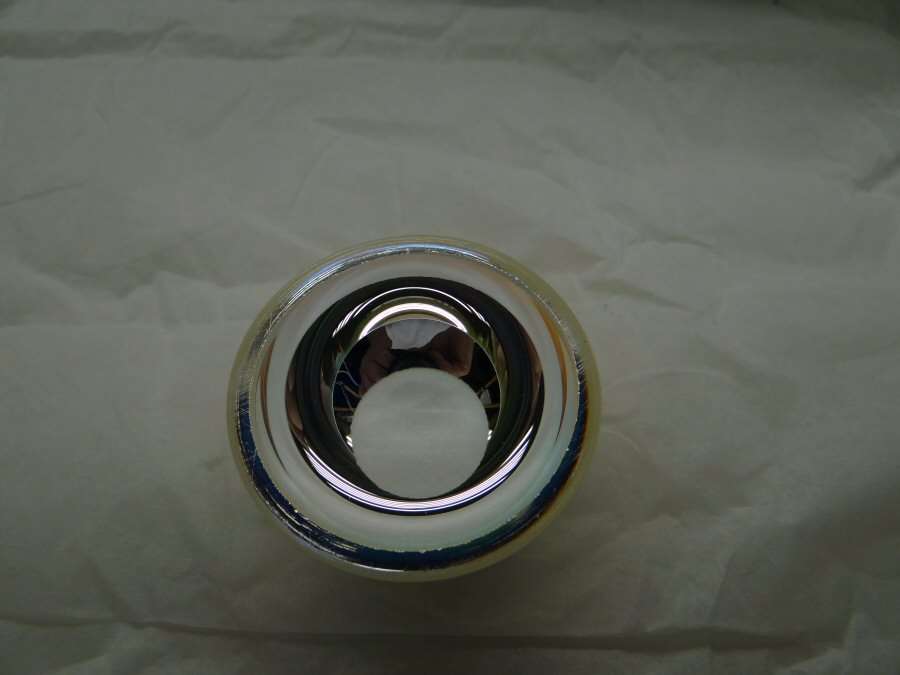
The inside

Close-up
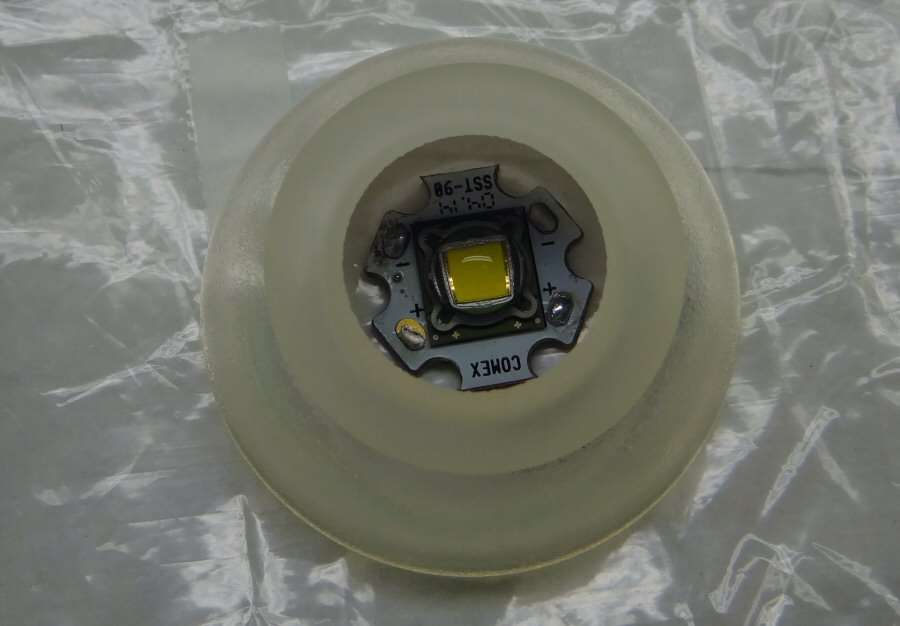
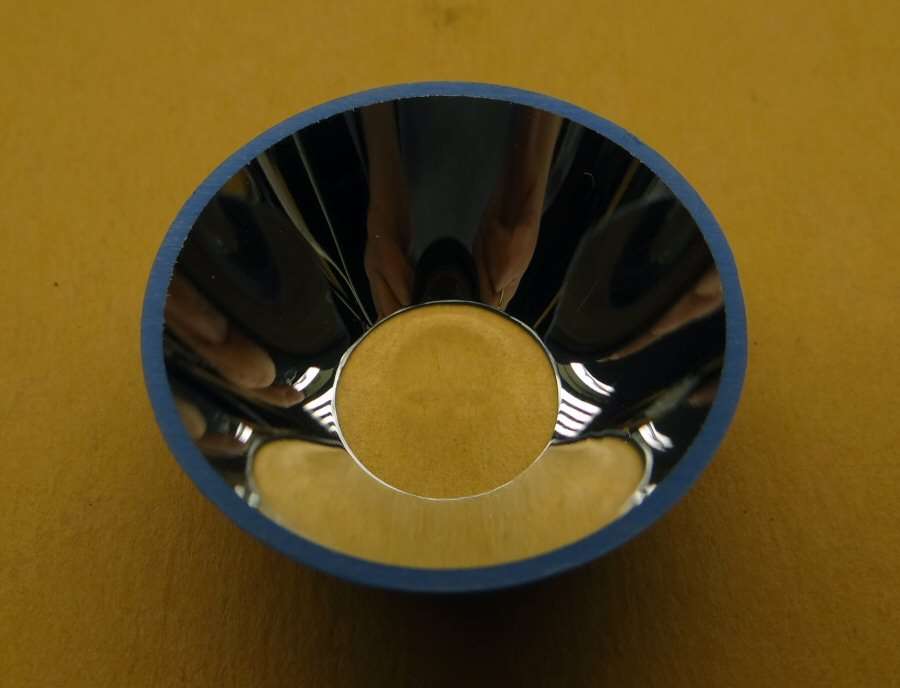
SST-90 for an idea of size.
I will not be testing it till the Aluminum head is done. The Aluminum comes in this week and probably a week more till I get to work on it. Once it is ready and the lens is focused, then I will do testing for lux before and after the collar, to see what the real world results are. Well, ok, not real world, just my world. It's real only to me...
Wavien was not as forthcoming with information as I had hoped. All I got was to "buy the medium collar" and a tiny bit of sarcasm about how I could figure things out for myself, seeing as I am "so knowledgeable", (My Arse). That was a slap if I ever felt one. I tend to bring out the worst in people from the things I say. They seem somewhat closed mouthed and secretive, so I will disclose whatever I get for results. I don't like secretive.
---------------------------------------------------------------------------
01/26/15
In order to do a more detailed test, I decided, (thanks to prodding from a member here), to make up a "comfychair BLF collar". That is made out of a reflector from a C/D Incandescent Maglite. It should be interesting to see the results.
This was made up using the same basic method that comfychair did here. Hopefully, this will help determine what increase you can expect from both collars.
Here's the dimensions on both. I didn't get the BLF collar made exactly the same, but since the actual profile inside is totally different anyhow, I'm not all that worried. I will possibly paint the outside of this collar with silver paint, if I can do it before the test.
Wavien RLT
- 16mm High
- 20mm ID on top
- 32mm OD on top
- 40mm ID on the bottom
- 46mm OD on the bottom
comfychair BLF
- 14mm High
- 17mm ID on top
- 22mm OD on top
- 37mm ID on the bottom
- 40mm OD on the bottom
That's it for now. More when I have more...
-----------------------------------------------------------------------------
01/27/15
I do love to get stuff in the mail. Well, UPS.
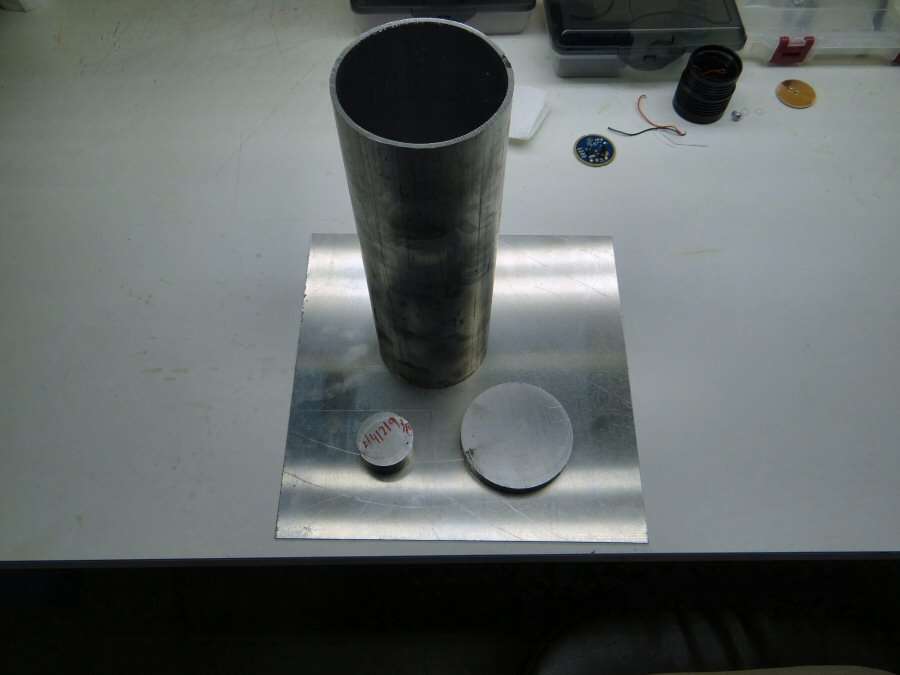
The pipe will hold the lens, (needs to be cut to length). The 0.050" thick flat sheet will be used in strips inside the pipe, to cradle the lens. The large round is for the back end of the pipe and the Mag head will go into it, once I make the hole. The small round is the aluminum heat sink that goes into the head.
Maybe this week-end I will get some time to work on it.
--------------------------------------------------------------------------------------
01/29/15
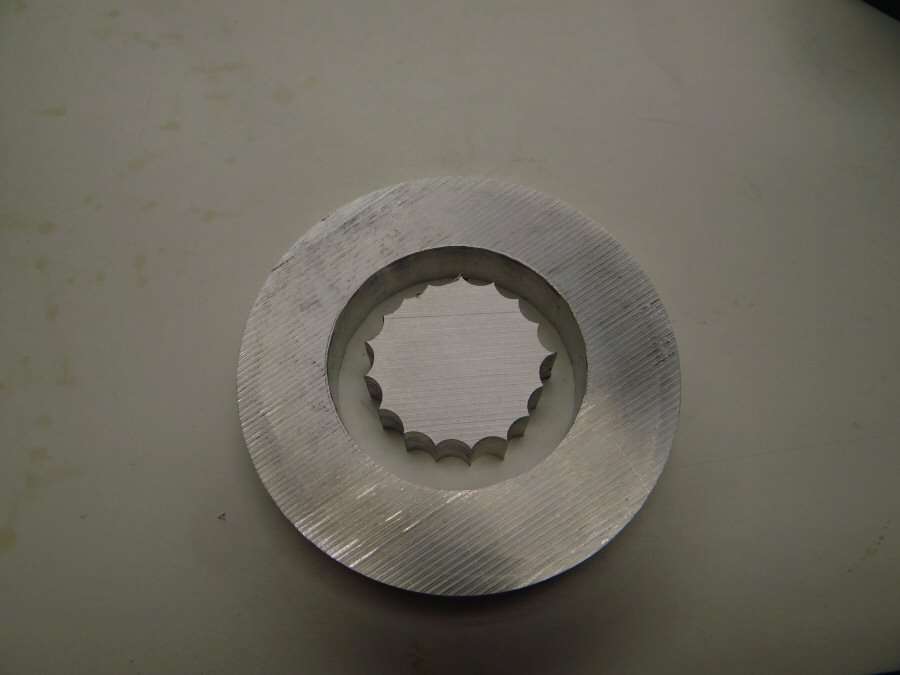
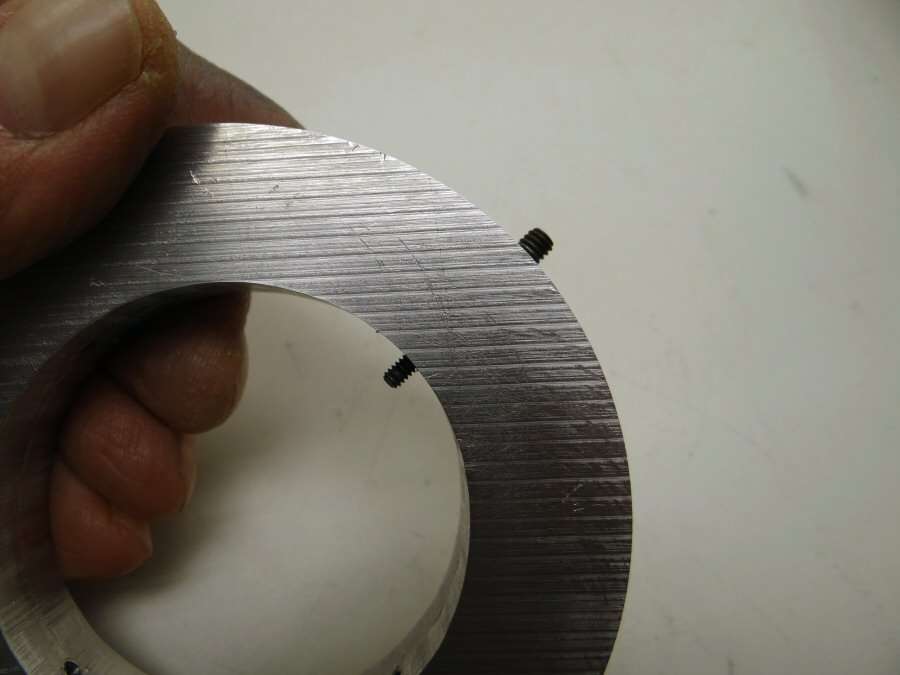
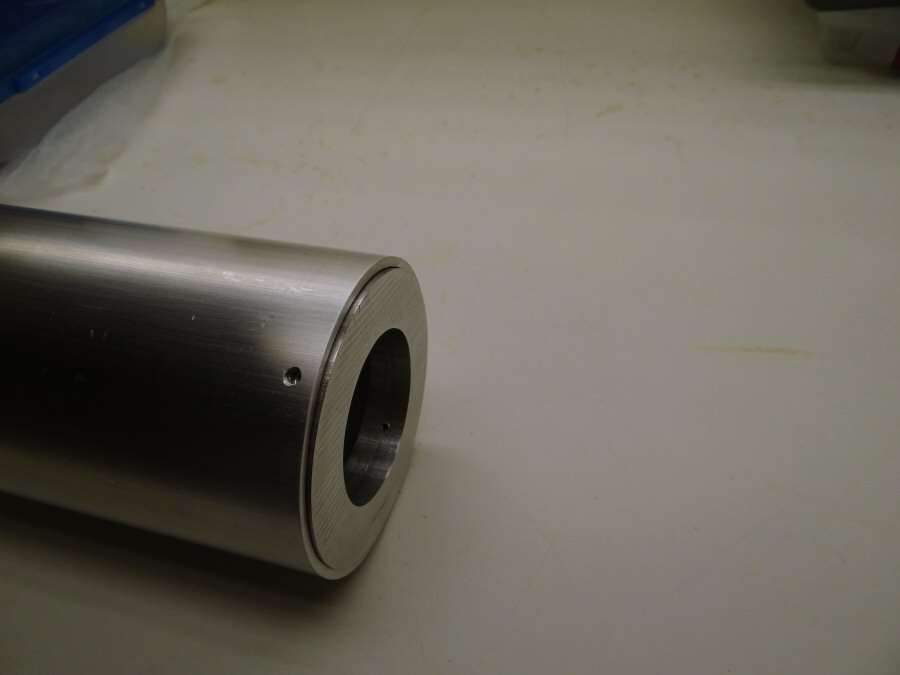
So, the large piece of round stock that I bought has to go over the Mag head. That means making the hole. Easy to do with a thin plate. Not so easy with 1/2" thick stock. I took a 3/8 drill and chucked it in the drill press and drilled a bunch of holes, to get the center out. Then I used end mill bits, in the drill press, to start getting the hole round. Not there yet, but it's getting close. I will probably use a Dremel 115 bit for the final shaping and sizing.
When it's done, it will hopefully be tight over the Mag head, but no matter what, I know I will have to drill and tap for allen set screws, to hold this all together. The 4" pipe will be going over this ring too.
The smaller round stock is for the heat sink in the head. It was 0.025" too small, so I used a piece of 0.012" copper shim, which made it a tight fit.
That's all for tonight.
--------------------------------------------------------------------------------
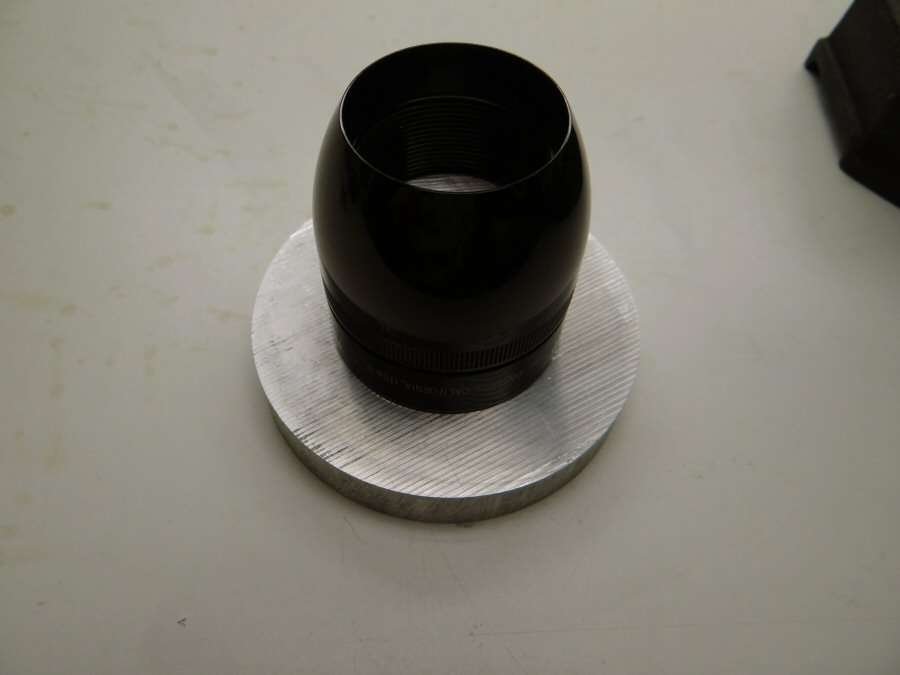
01/30/15
I managed to get the ring sized, so the Mag head would go into it. Then I drilled holes for Four 4-40 set screws. They go in the ring and into the head, to hold that together. Then I drilled the same holes for Four 8-32 screws on the outside, so I can screw the tube to the ring. I did it that way, so that I could use the larger hole to cut down on the use of a 4-40 tap. I didn't want to try to thread 4-40 all the way through that ring. It worked out pretty good. The set screws go right into the head and the outer screws will hold the tube on tight. I will get some stainless screws for the outside holes.

Progress has been kinda slow. It took a bunch of hours, to get this far. I hope to get the tube cut this weekend and get the lens fit in. I want to get the wavien testing done this weekend. I hope to get that far.
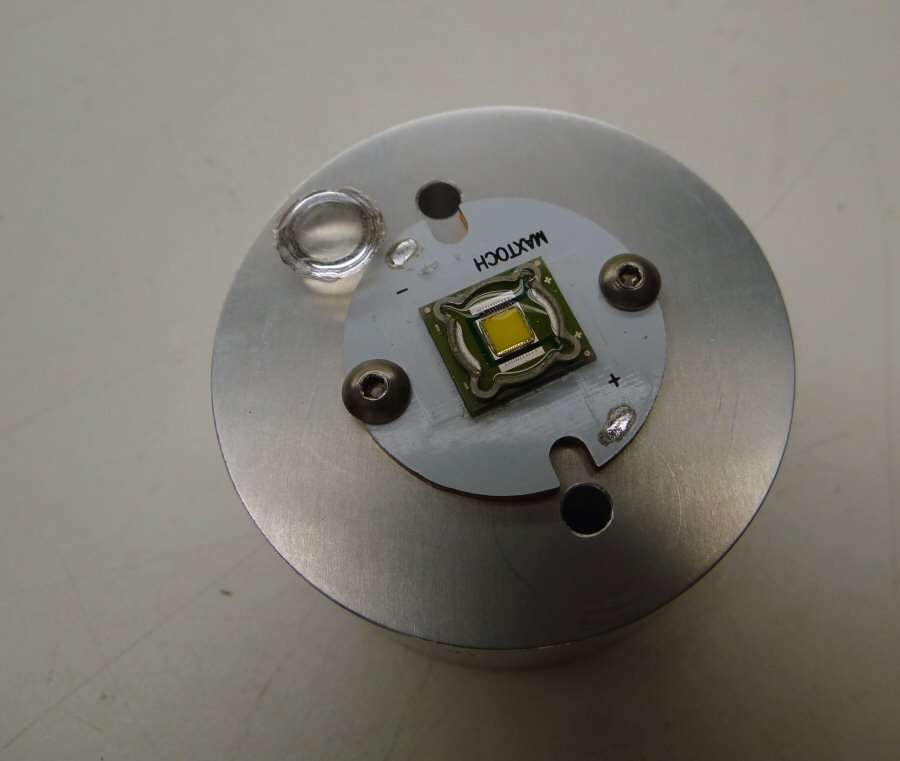
I also got the SST-90 over to a Maxtoch star and got the dome off. I heat those with the hot air gun at 225 degrees and it lets the dome come off easily and seems to leave the sealer over the die to be more clear and smooth. Maybe it's just me, but I like the heating method.
-----------------------------------------------------------------------------
01/31/15
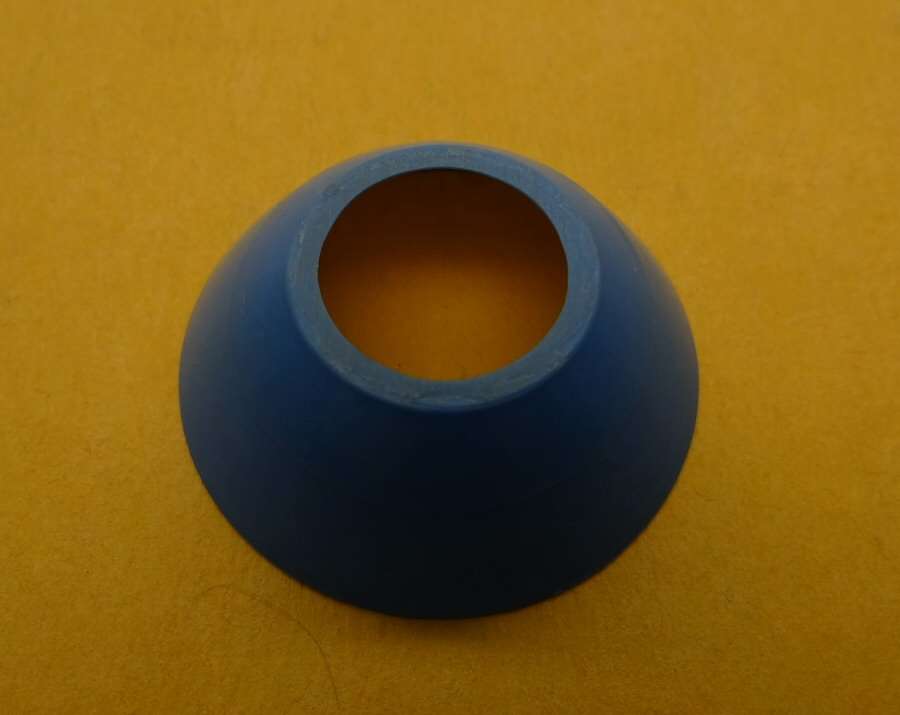
The test collars:
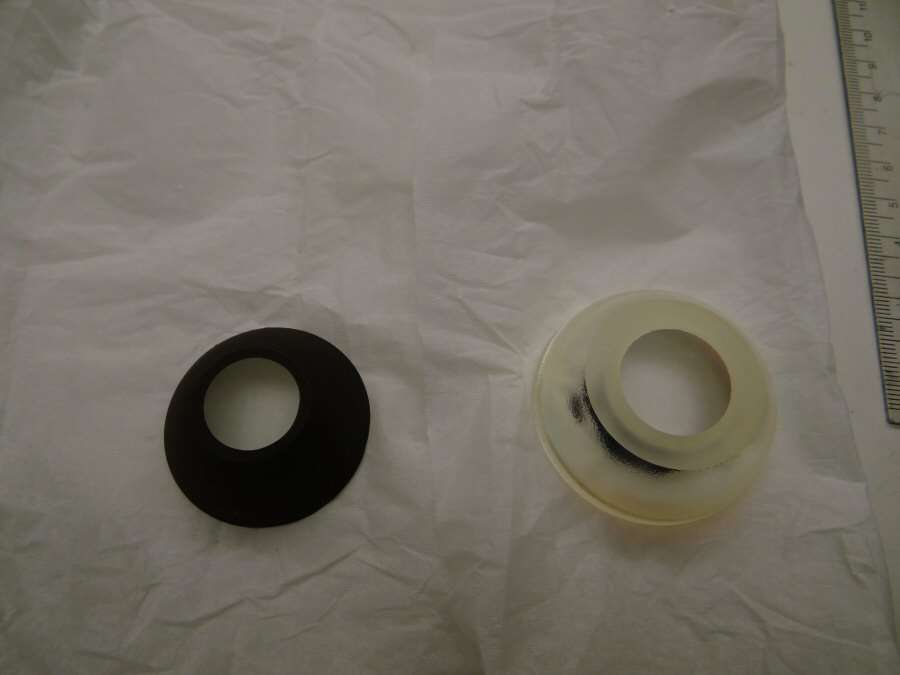
Maglite Incandescent C/D reflector cut down to use as a collar, on the left.
Wavien Medium RLT Collar, on the right.
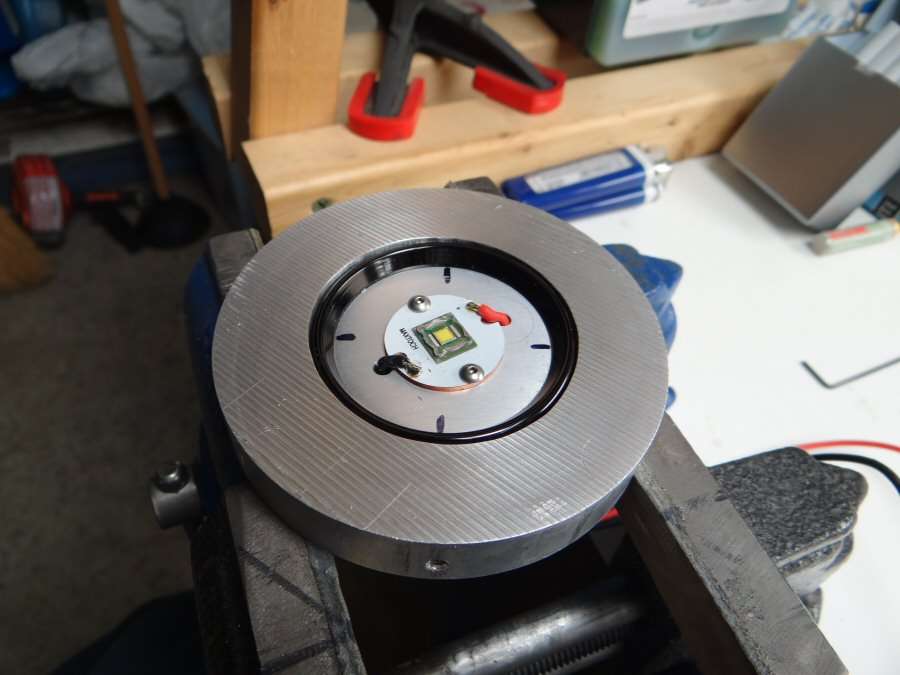
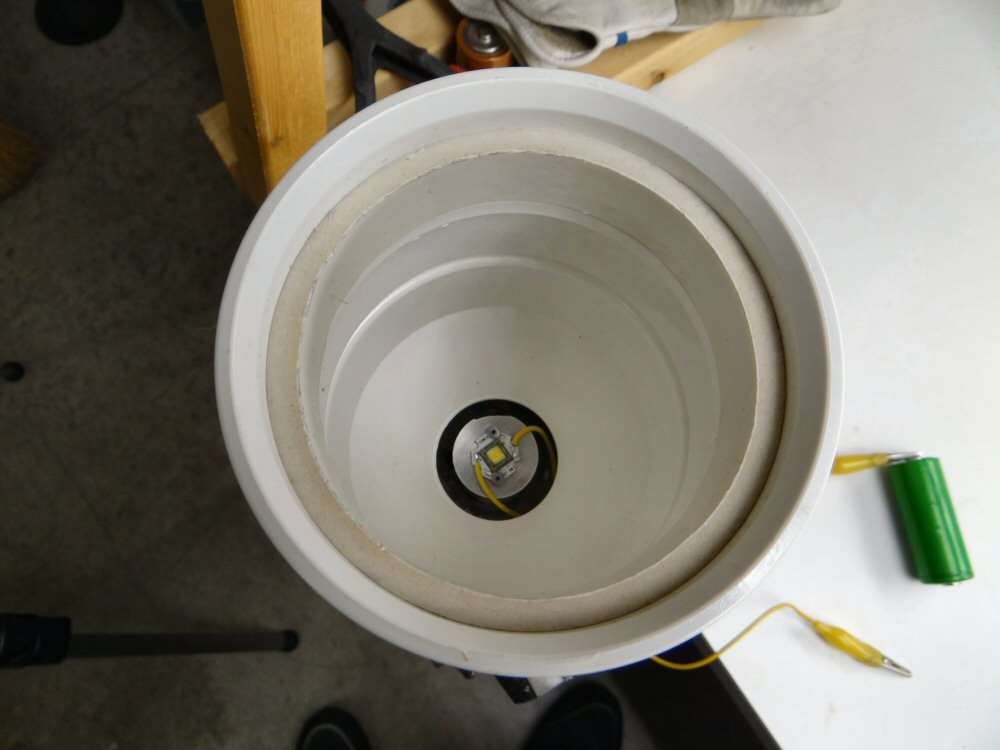
SST-90 led de-domed and mounted as it will be in the finished light.
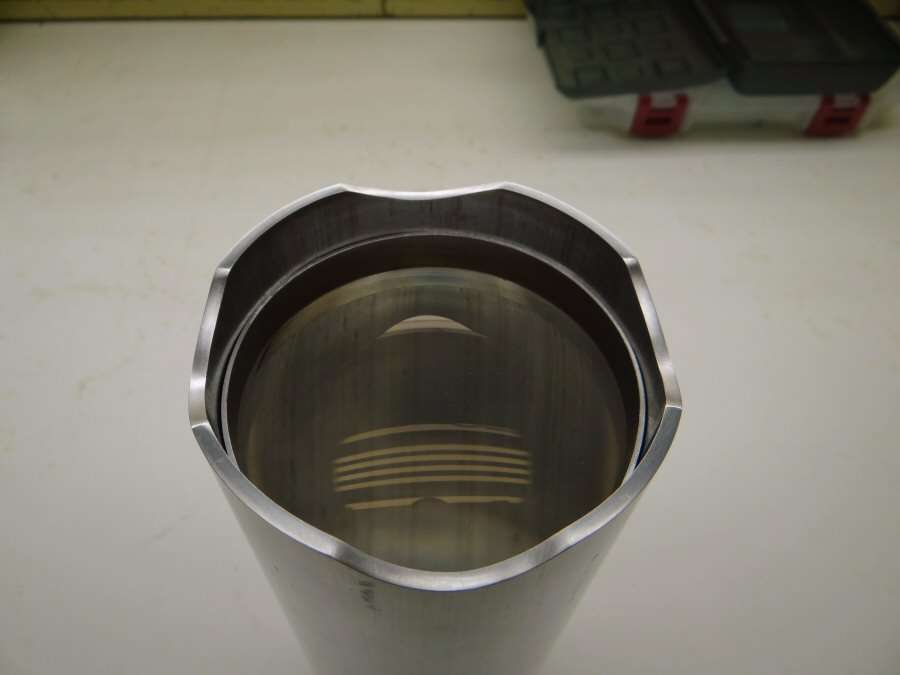
Lens is in the tube and adjusted for the highest lux value at one meter.
Two different batteries. One complete test with each one.
Ten second stabilization before reading each number from the lux meter.
Results
Battery One:
Bare led - 104,000 lux@ one meter
Mag collar - 102,300 lux@ one meter
Wavien collar - 104,500 lux@ one meter
Battery two:
Bare led - 102,900 lux@ one meter
Mag collar - 101,500 lux@ one meter
Wavien collar - 103,000 lux@ one meter
Battery two, with the collars raised 2mm, with shim stock:
Mag collar - 103,200 lux@ one meter
Wavien collar - 102,900 lux@ one meter
Those are the results. I have no opinion, not this time, no way.
Keep in mind that this is not a scientific test. This is a test performed by an old fart, in a garage, in East Texas. Form your own opinions from that... Or not...
-----------------------------------------------------------------------------------------
01/31/15
Well, it seems that the project is winding down to a halt again. The head is finished, as far as all the parts being ready.
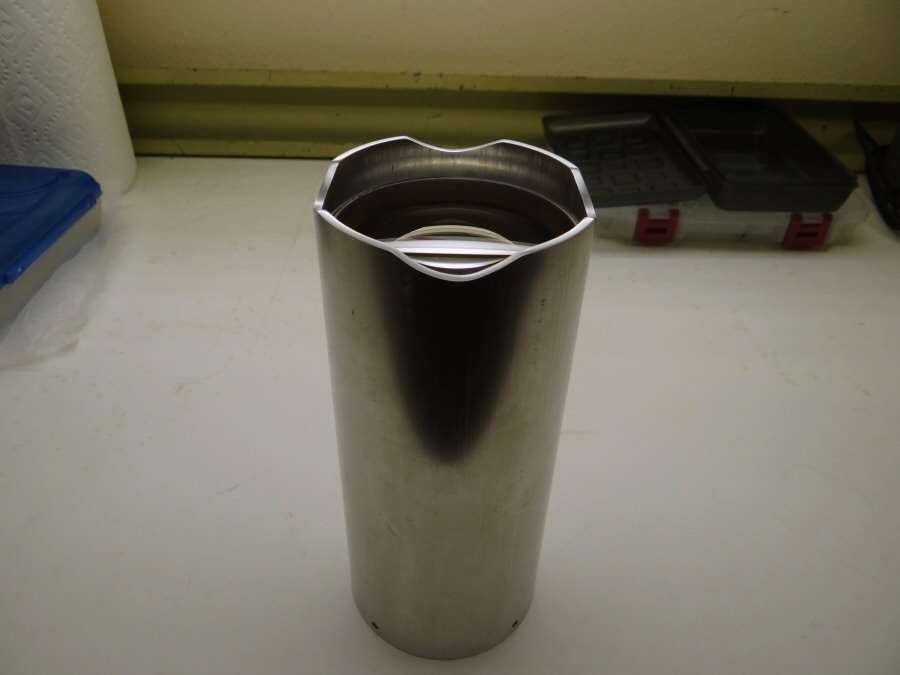
The good news is that come Monday, all the Aluminum parts will go to Dallas, to be Anodized! I think it will be a lot nicer light, with the parts Anodized and so does the owner of this light.
Even the aluminum heat sink will be anodized.
So, I need to re-flow the components to the driver and then I just wait till the Aluminum parts come back.
---------------------------------------------------------------------------------------
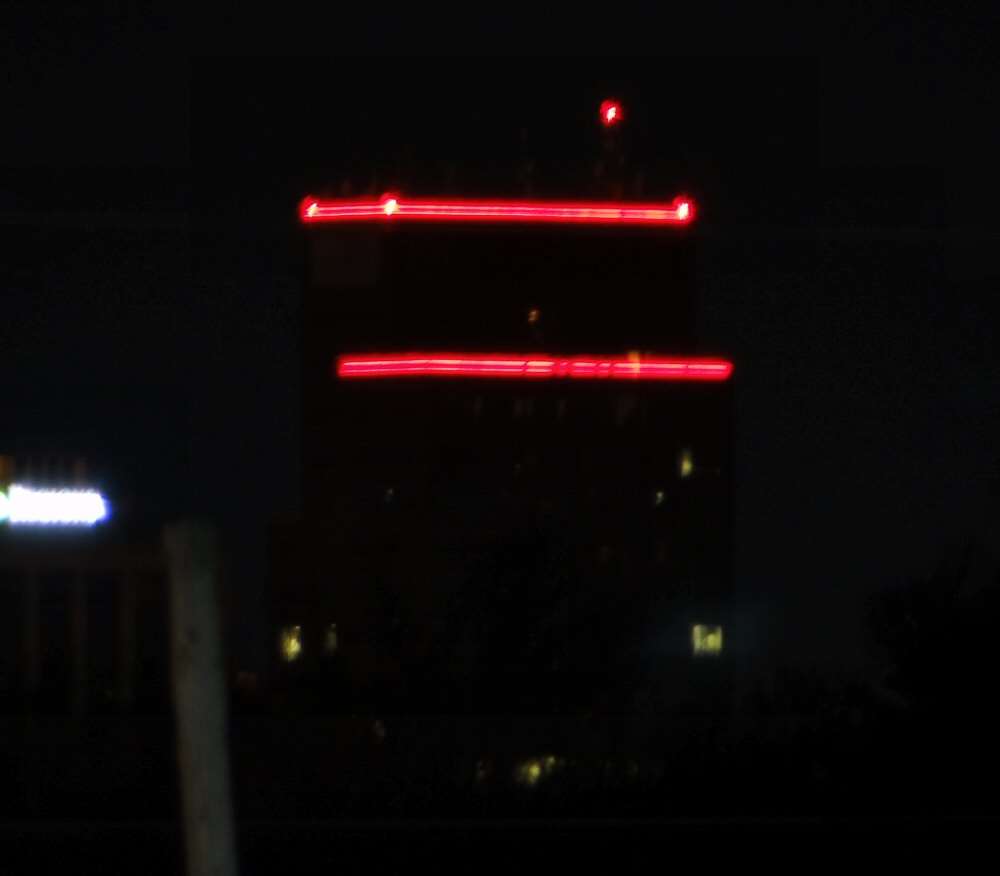
02/10/15 Still waiting on anodized parts... But, I did take some shots of the things I will try to reach out to.
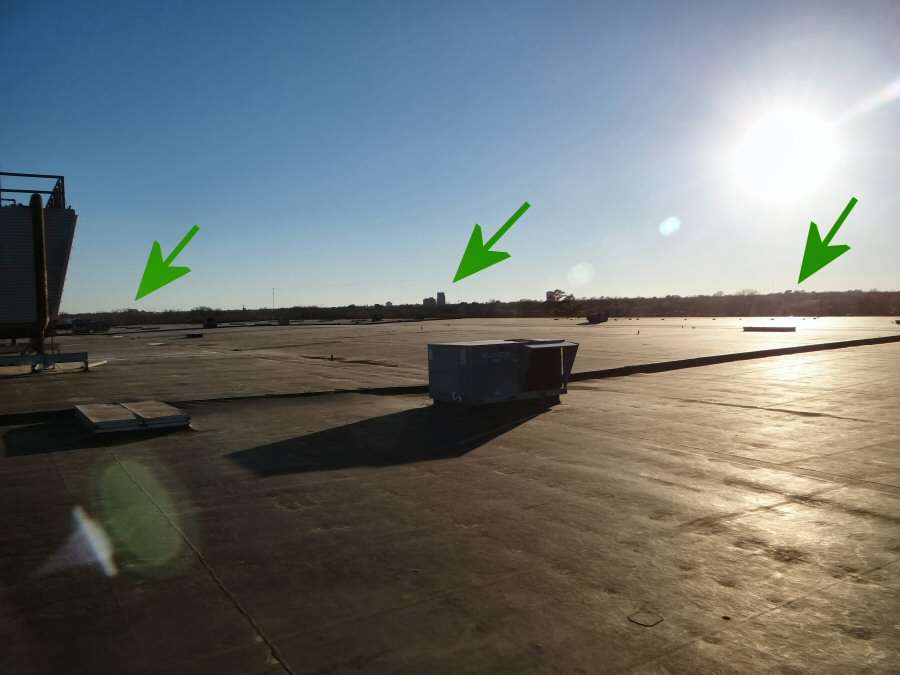
This is from the roof of the closed plant. The green arrows are, from left to right, a Hospital, a Bank and a Water Tower.
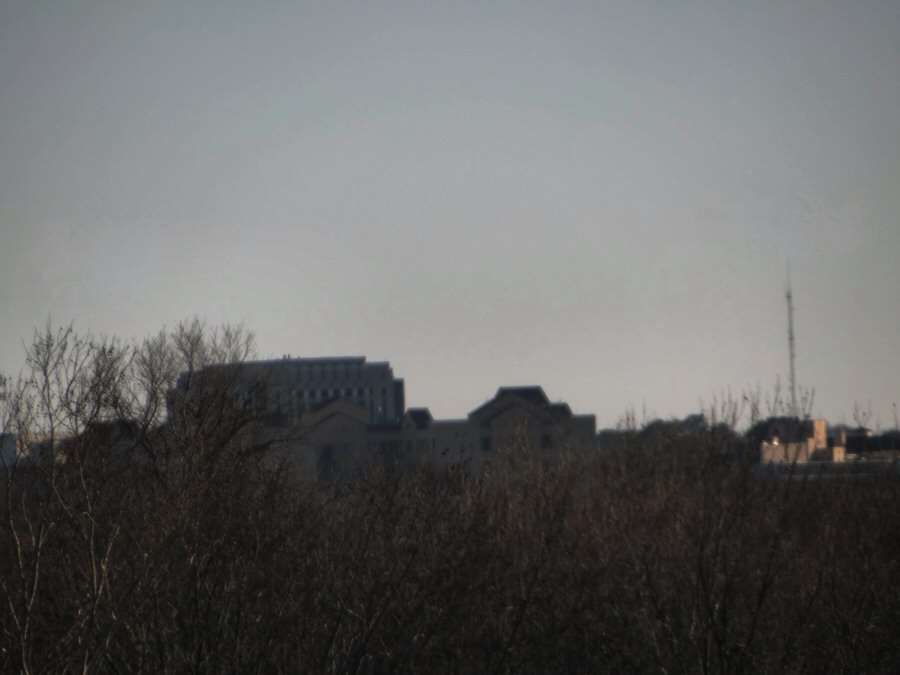
The hospital is 2.4 miles away. The taller building in the shot.
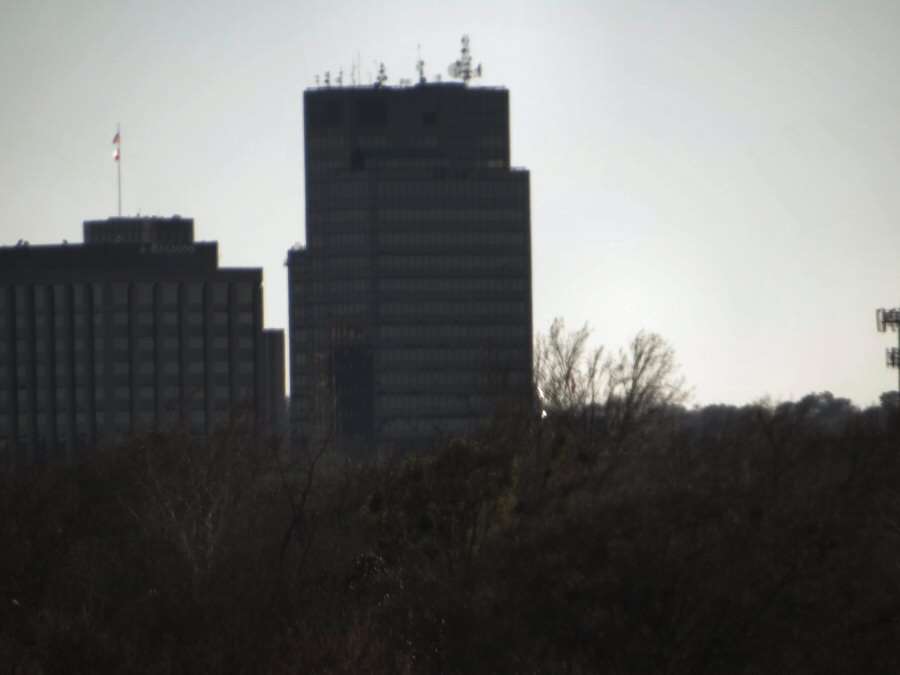
The bank is 2.1 miles away. The tallest building in the shot.
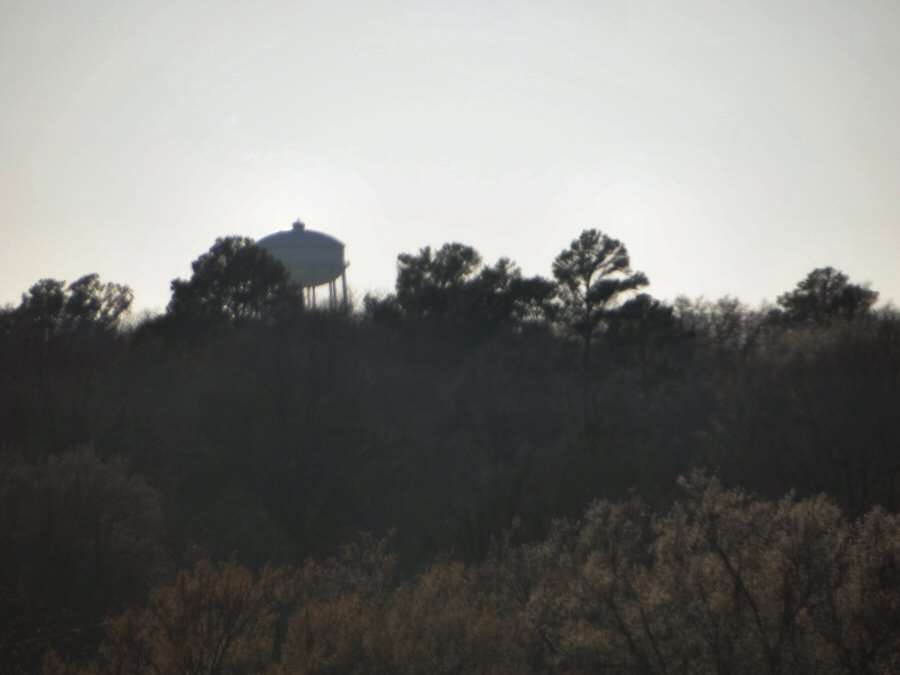
The water tower is 2.6 miles away and it's going to be the hardest to find at night.
I was totally wrong about the three mile mark. 2.6 miles is the farthest and I doubt I can tell if I even hit it.
The camera is a Sony HX1000v. I plan on ISO 200 and probably 4 seconds shutter speed for these shots.
-----------------------------------------------------------------------------------------------------
2/20/15 Anodized parts came in today. I will assemble this week-end.

They came flat black, which is good, especially for the interior side of the parts.
--------------------------------------------------------------------------------------------------
The light ended up being a 4D, due to too high of a voltage with 5x "D" cells. The rest of the story is in Post #1.