My wife told me to go out in the garage and I might get lucky. She was right! It was a nice cool rainy day today and I spent the day modding this 2AA Maglite..... What? WaddythinkIwasgonnado?
I did this mag without having to drill or bore out the head. I wanted to do one that didn't take that much work. I used a TIR optic from CNQG and a Nichia 219 led on an XP-G star. No driver, just direct drive with the alkaline AA batteries that came in the package.

This is what we start with. Just a plain Incan 2AA light.
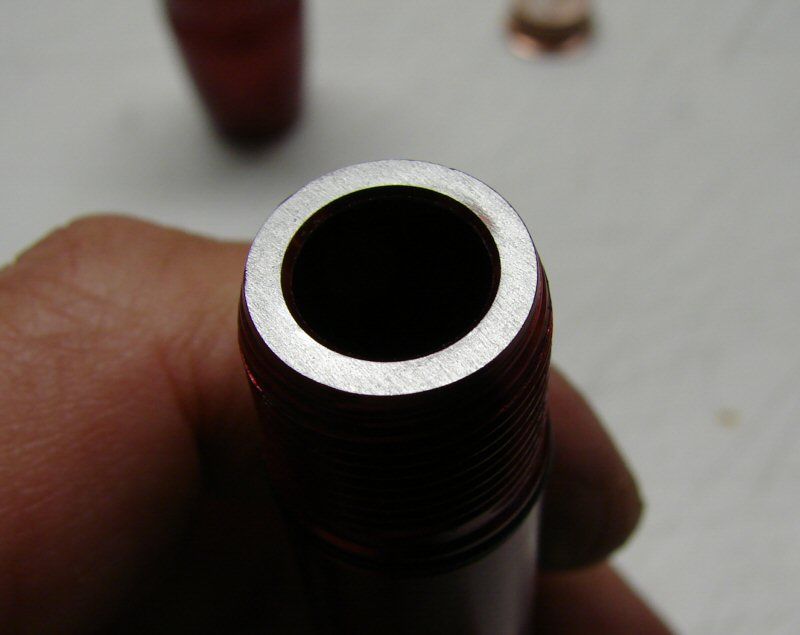
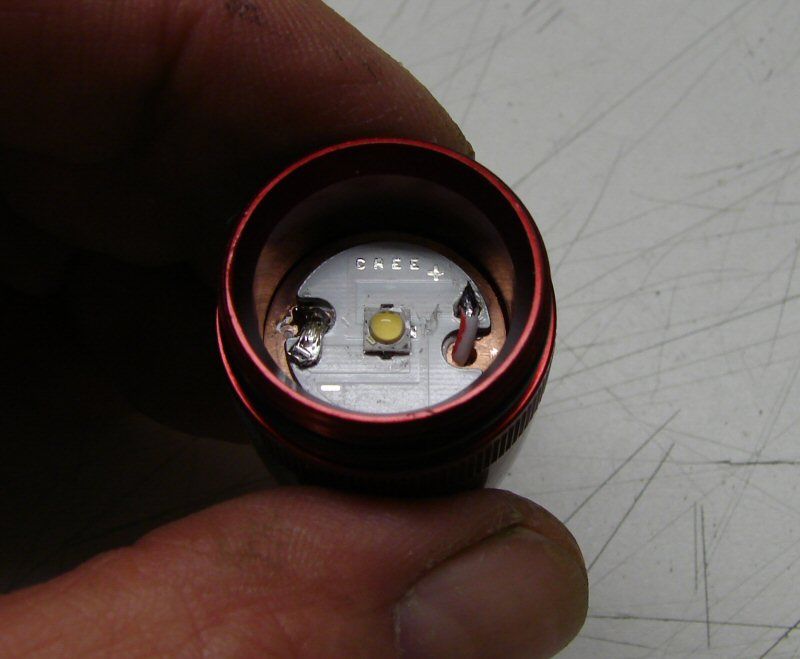
I removed the guts from the body and removed the anodizing on top. This light will turn on, by tightening the head down till the pill touches this ring.

This is the optic from CNQG. It's their generic version.
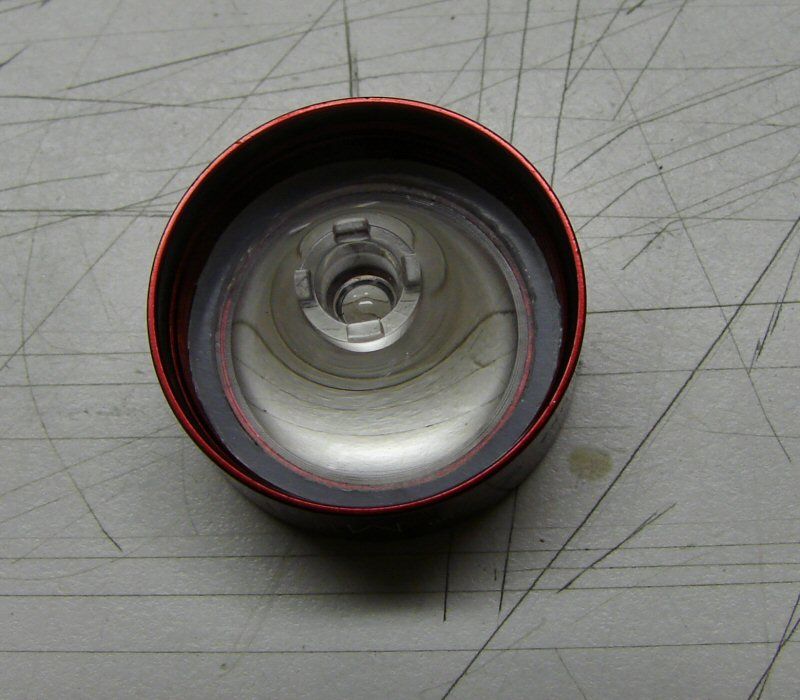
It does not quite fit the head (too small), so I made a plastic locating ring. I took a plastic washer from Lowe's and sanded down the outside a little. Then I opened up the inside with my dremel, so that I had this locating ring. The TIR fits snug and is held in place well.
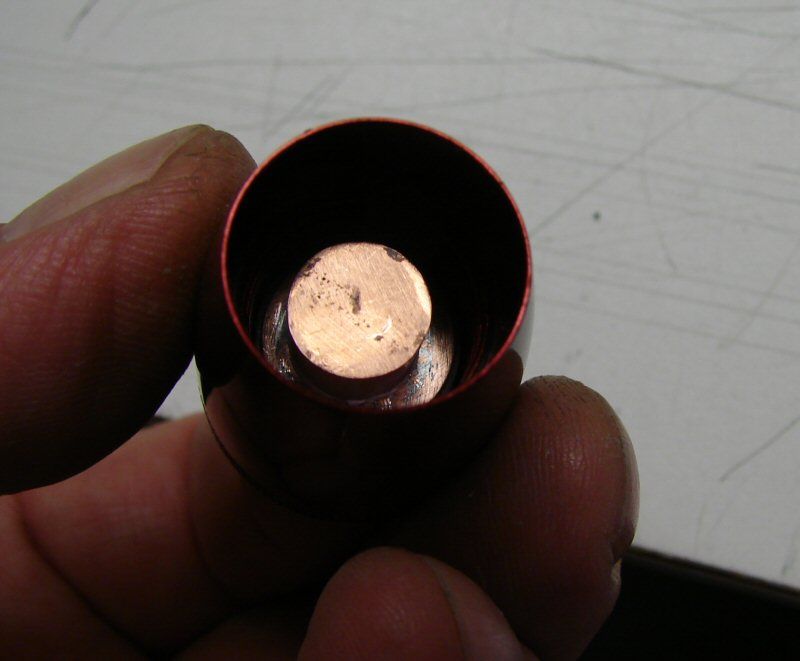
Top of the heat sink is a 5/8" copper round. Now 5/8 is a hair too big to fall into the head, so I just file the edge till it fits in. This fits right down till it hits the inside step where the threads start.
The rest of the heat sink is short piece of 1/2" copper pipe filled with copper shot and solder.

I used the dremel to cut out a little step in the bottom of the heat sink. I need to have a spacer down to the top of the batteries and you will see in a minute how it goes in.

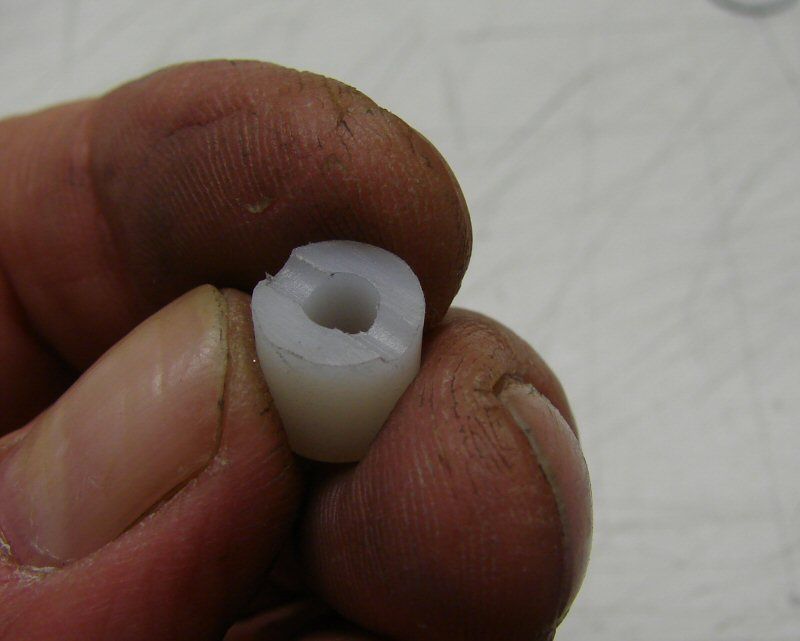
I need to maintain the original stack up and I made a plastic spacer that is the same length as the original plastic contact plate.
Notched where it goes to the heat sink so the wires aren't in the way.
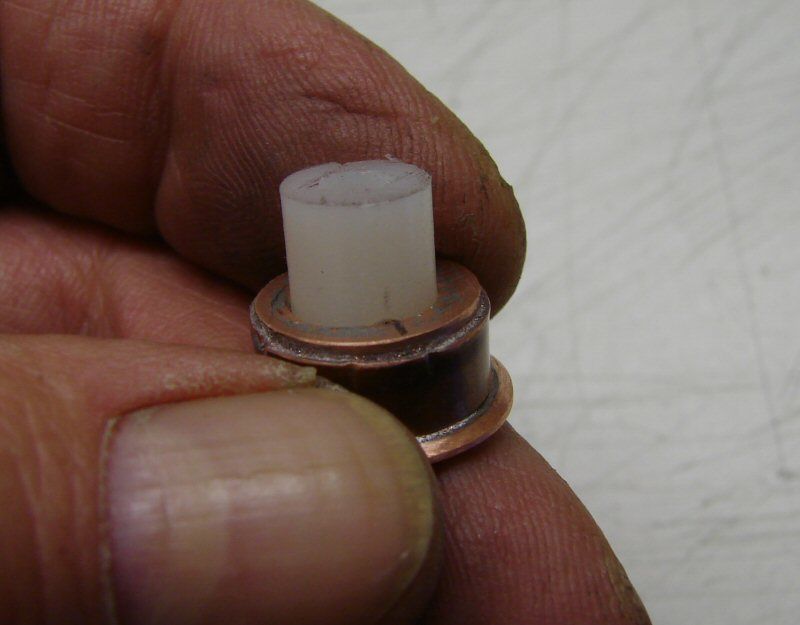
This is how it fits on. The spacer is glues to the heat sink with Arctic Alumina Adhesive.
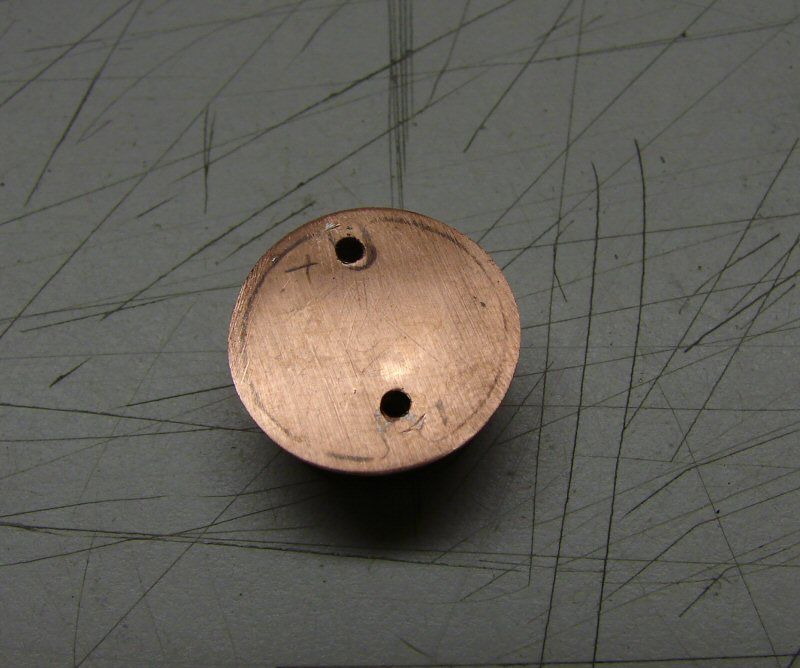
The positive wire runs up through the heat sink & spacer and the wire is soldered to this copper contact. That's what the battery positive comes in contact with, when this sticks down into the body tube.
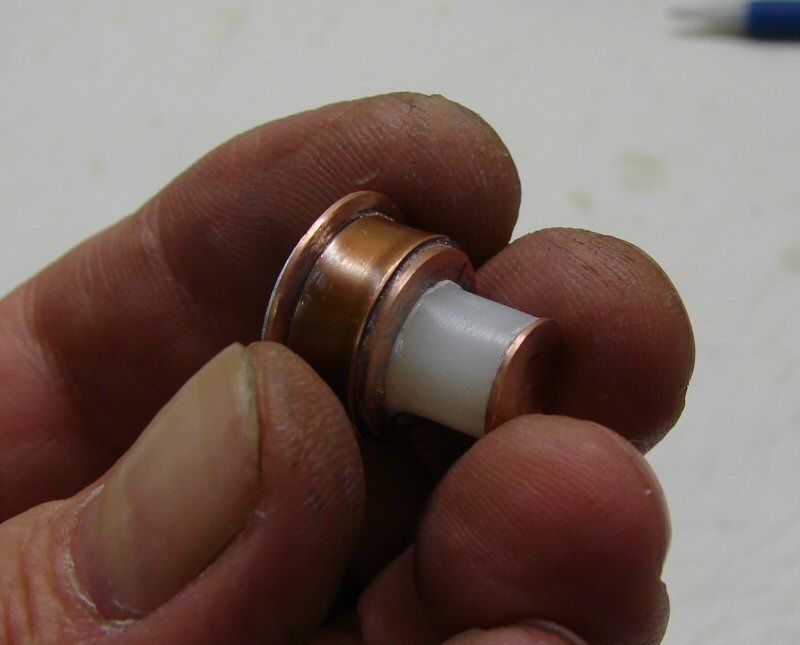
Also, you might notice that there is a sleeve around the 1/2" copper pipe section. The pipe is .570" and the opening at the threads is .620something, so I used a strip of .020" sheet, to take up some of the space.
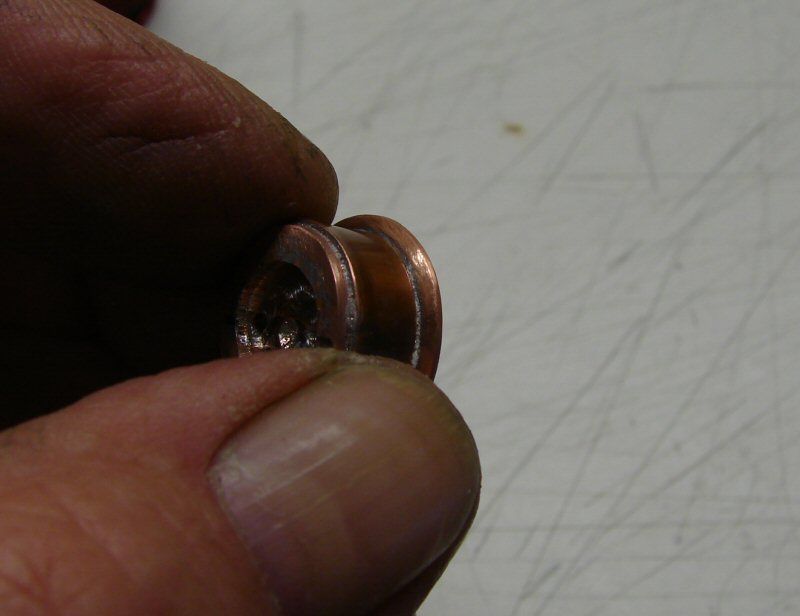
Wired and in place. The negative is bare wire and I just ran some solder on it, so it would run into the hole in the heat sink. Easiest way and it works.
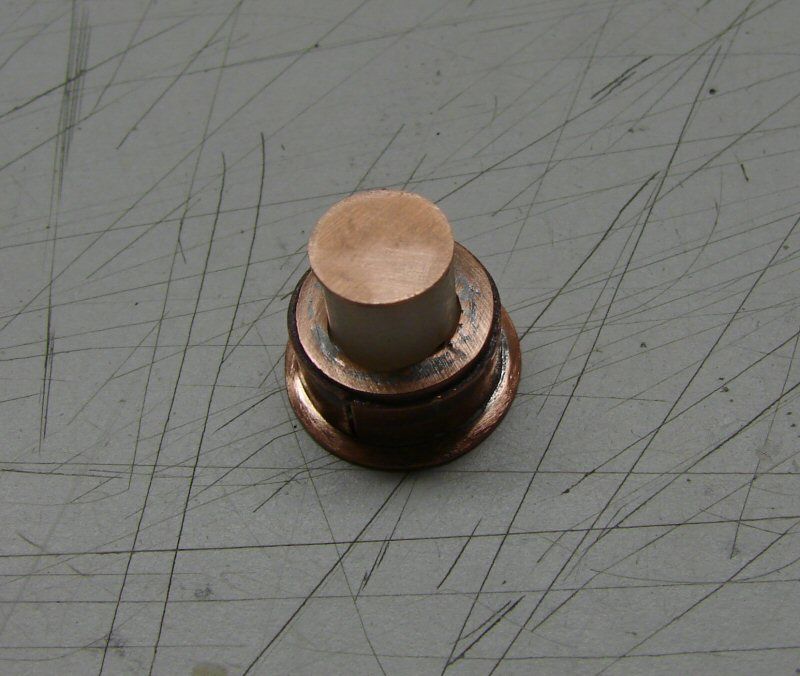
Here's how the other end looks. The center will be positive to the battery and the outer will be negative and will be what touches against the top of the body tube, where I cleaned off the ano. I used Arctic Ceramique where the heat sink sits down in the threads. It fills the gaps (if you push it into the threads well) and will help with heat transfer.

It works! I will do a couple beam shots tonight.
It only takes just a hair of a turn from on to off. It's nice and bright with two alkalines. It can be run with two NiMHs, but it will be a hair dimmer. Just a nice smooth beam and a fairly simple scratch mod.