As this is my 1st mod of the new year, I’m doing a few firsts(for me). This will be my first led reflowed to the sink, first thrower mod, and first dd light.
I noticed while playing with the stock lens from the Utilitech AAA that it was able to project a square die image of an led(the stock round beam is due to the stock led) or the filament image of a Maglite. I have a few spare xre R2’s left over from an old DX buy and had read that they make good throwers so 2+2 = new light!
The lens is held in place by a threaded plastic piece that also sets the stick led just off the focal point of the lens. Using a test rig of an xre in a 20mm star I bit by by shortened this piece until I had an image on the ceiling and used this dimension to size the heat sink.
I ended up recessing the lens into the plastic retainer but this is not necessary. Just cut the led retainer tube off flush and use the threaded ring with a piece of copper to hold the sink against the battery tube.
The extension tube is 1/2” OD flex copper cut to sit on the deanoed end of the battery tube and just clear the step in the head. The disc of the sink is made of 3 layers of flattened copper coupling cut with a 3/4 ” hole saw. After making up the disc and filing it to fit I removed the o-ring from the head, fluxes the 2 pieces laying a bead of solder on the end of the tube, placed them in the head and reflowed them together in the host. This perfectly centered the disc on the tube!
Then I scratched the layout of the xre7090 solder pads(center and negative only) onto the surface if the sink and tinned it. The dremeled off the positive pad and reflowed the led into place. The scratch marks contained the tinning and allowed the led to migrate home. Then drill for the positive wire and finish the pill.
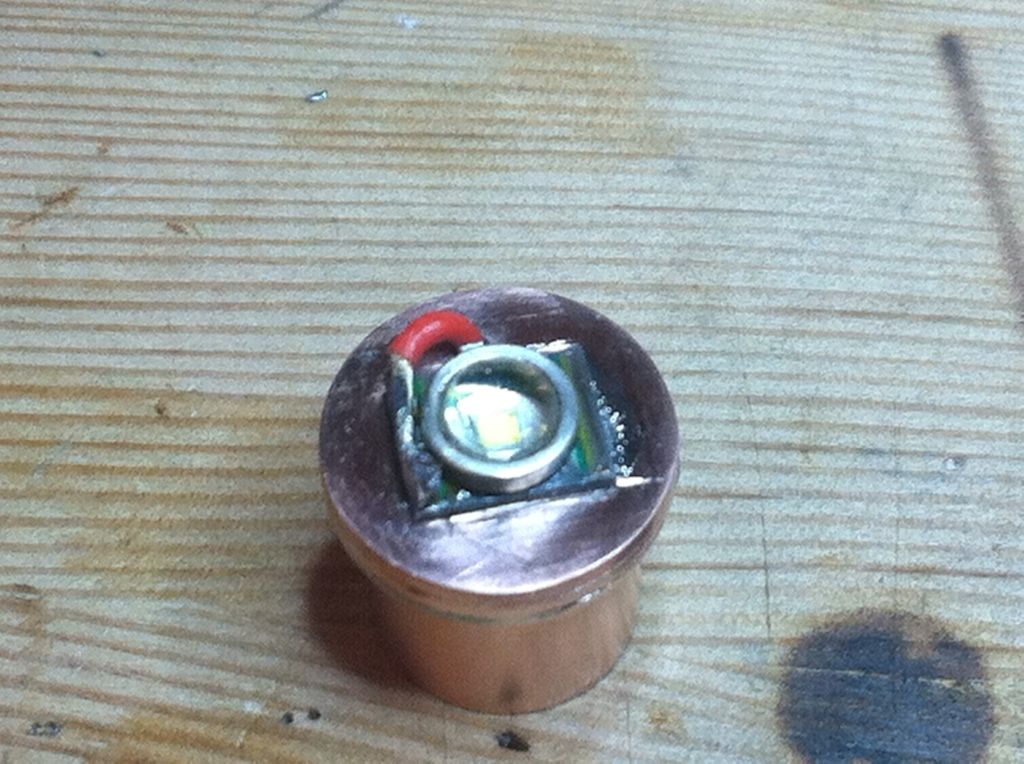
I found that positive wire interfered with the plastic piece and so I cut the offending bit off and used a short piece of 1/2” ridgid pipe to hold the pill in place instead.
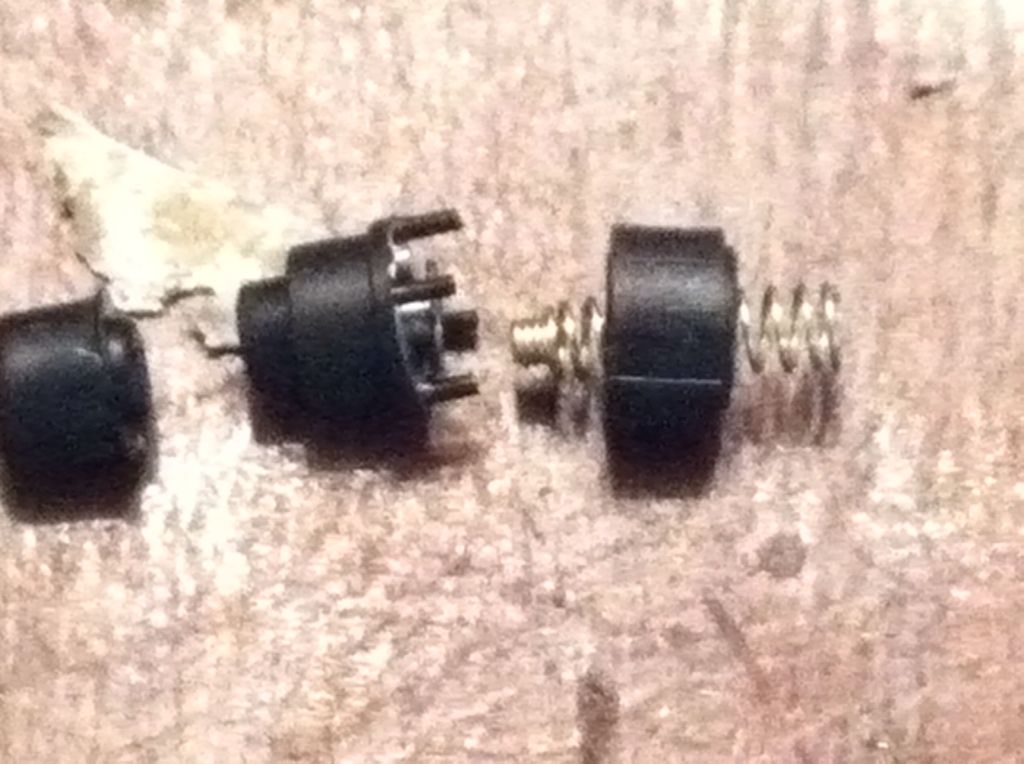
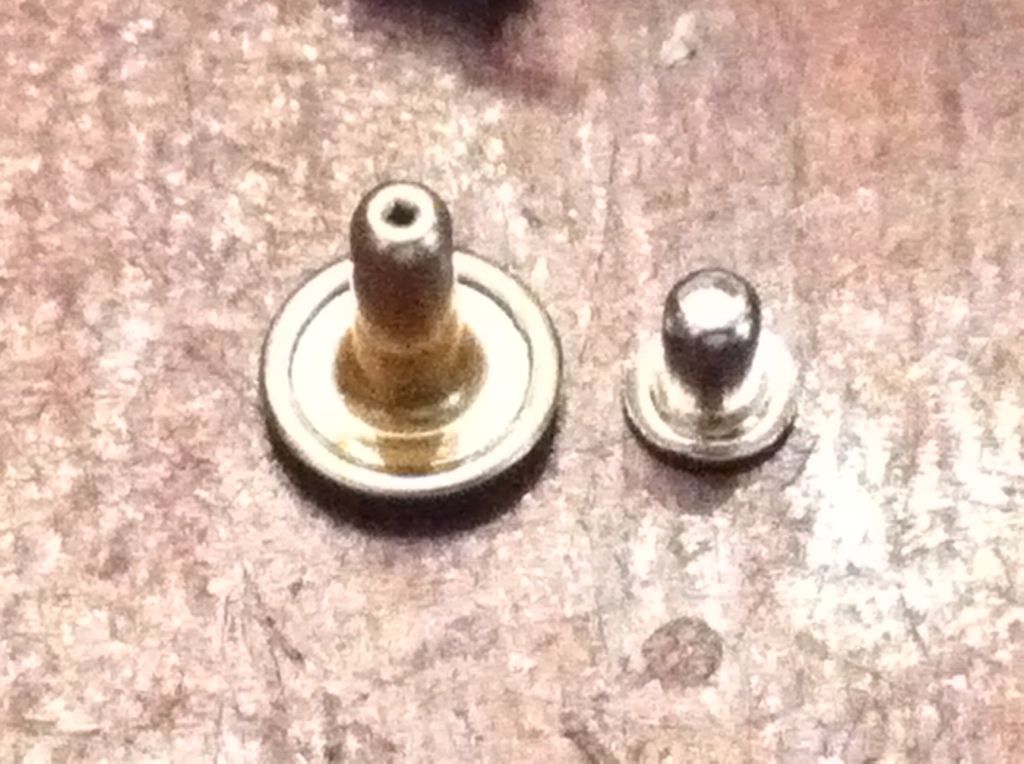
I was measuring .3-.4 ohms resistance in the tail switch and found a brass rivit that could replace a stock part and get me 0.00 on the dmm. A copper rivit, if I can find one would be better as this one is just brass plate.
Some beamshots : control, stock AA Mag, stock Utilitech, and modded thrower Utilitech(1.2A protected UF10440, 2.5A unprotected efest imr 10440)
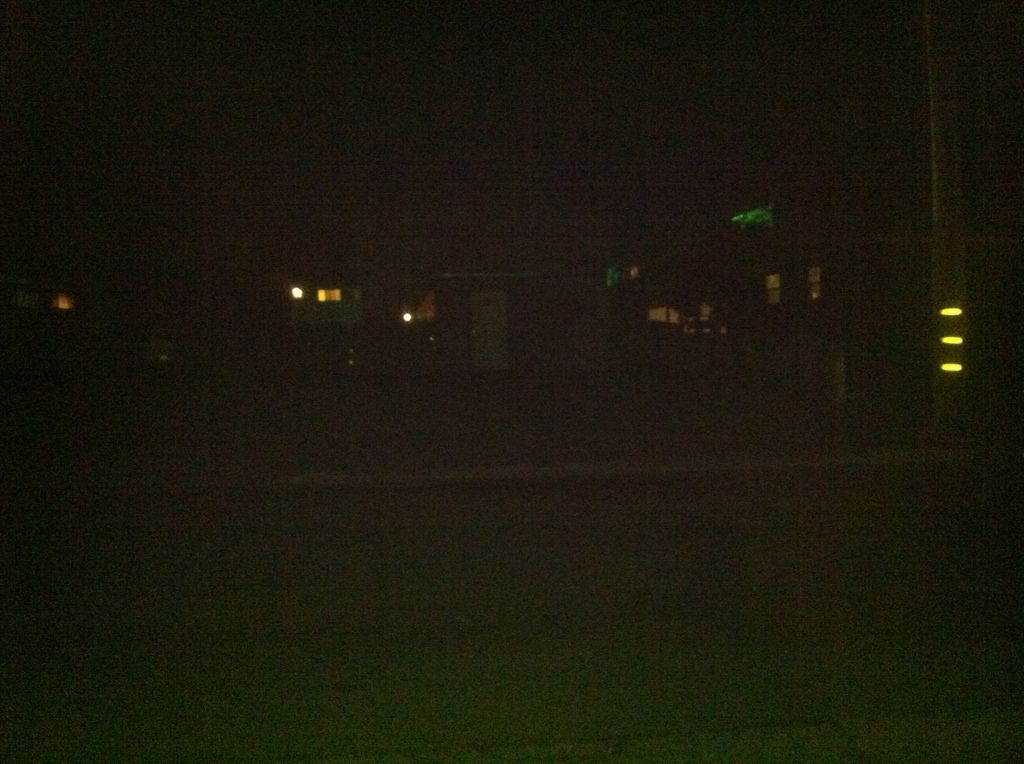
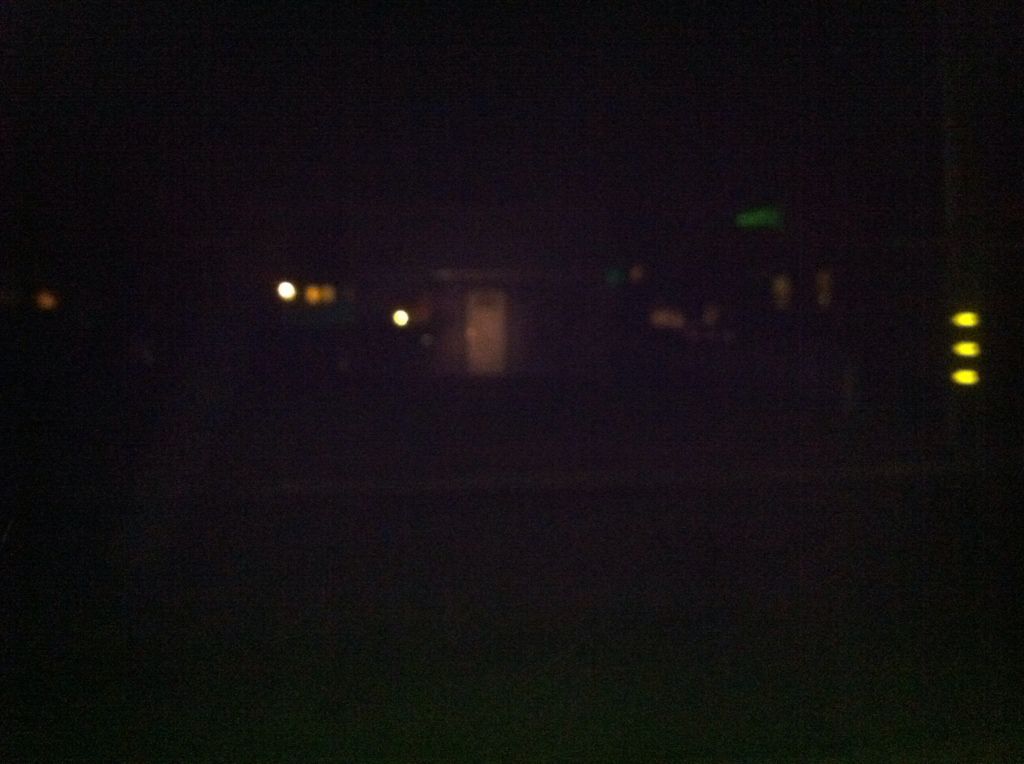

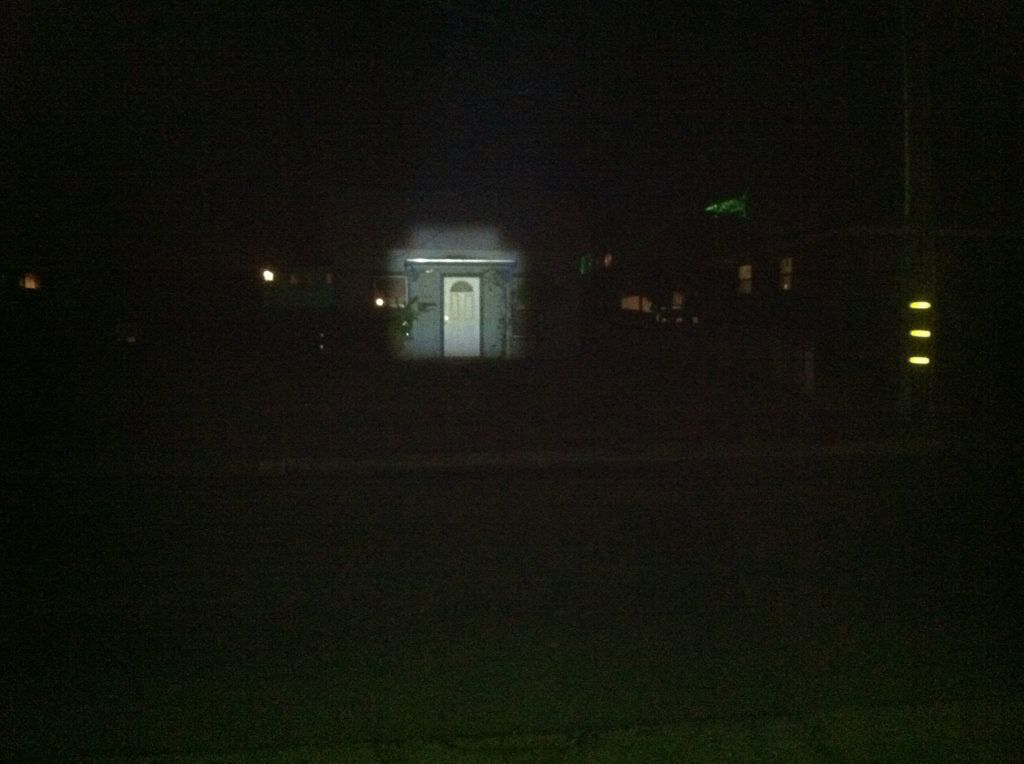
Not the sharpest beam but not bad for a 14.5mm Dia lens at ~90’.
It’s unlikely that I’m getting 2.5 A through the switch but switching to a copper rivet might get closer. Hope you enjoy this.

