Driver install directions:
First remove the old driver. The contact board can be pried out with a pick or knife tip. Unsolder the connections at the emitter star. Unsolder the external antennae wire from the main BT antennae on the driver itself. Pull the external antennae out of the pill and remove the entire old driver.
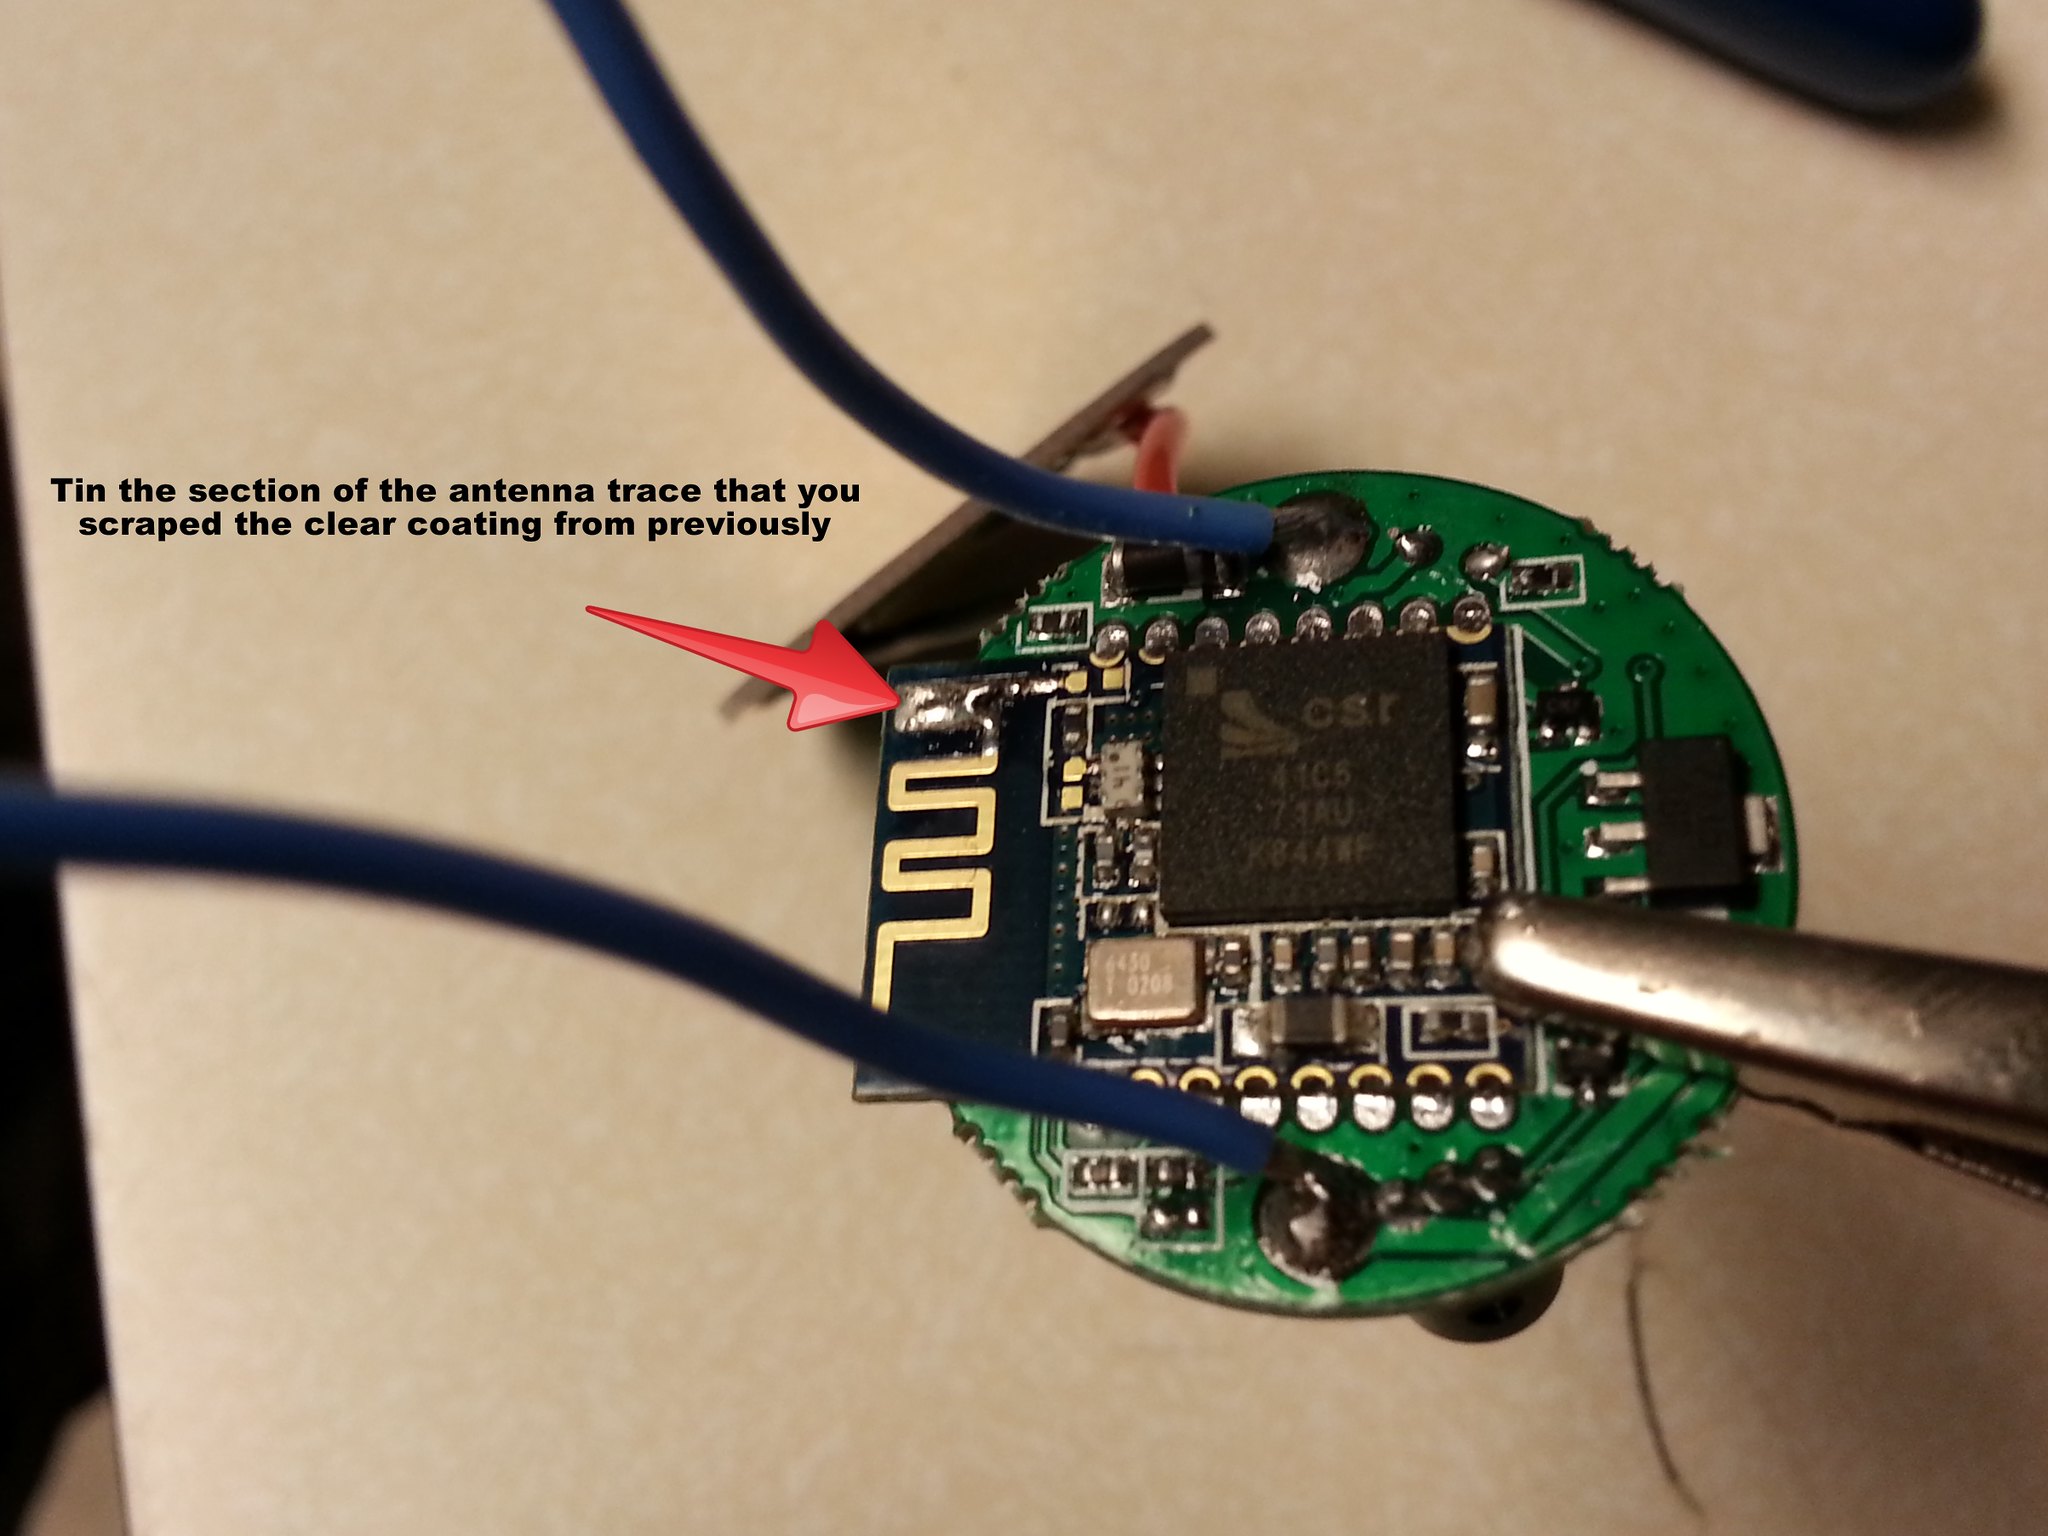
Prepare the new driver for the BT external antennae. First, using an exacto or tip of a sharp knife, scrape the clear coat from a section of the copper trace on the main BT antennae:

Next, pre-tin the area you scraped. This will make it easy to attach the external antennae later.
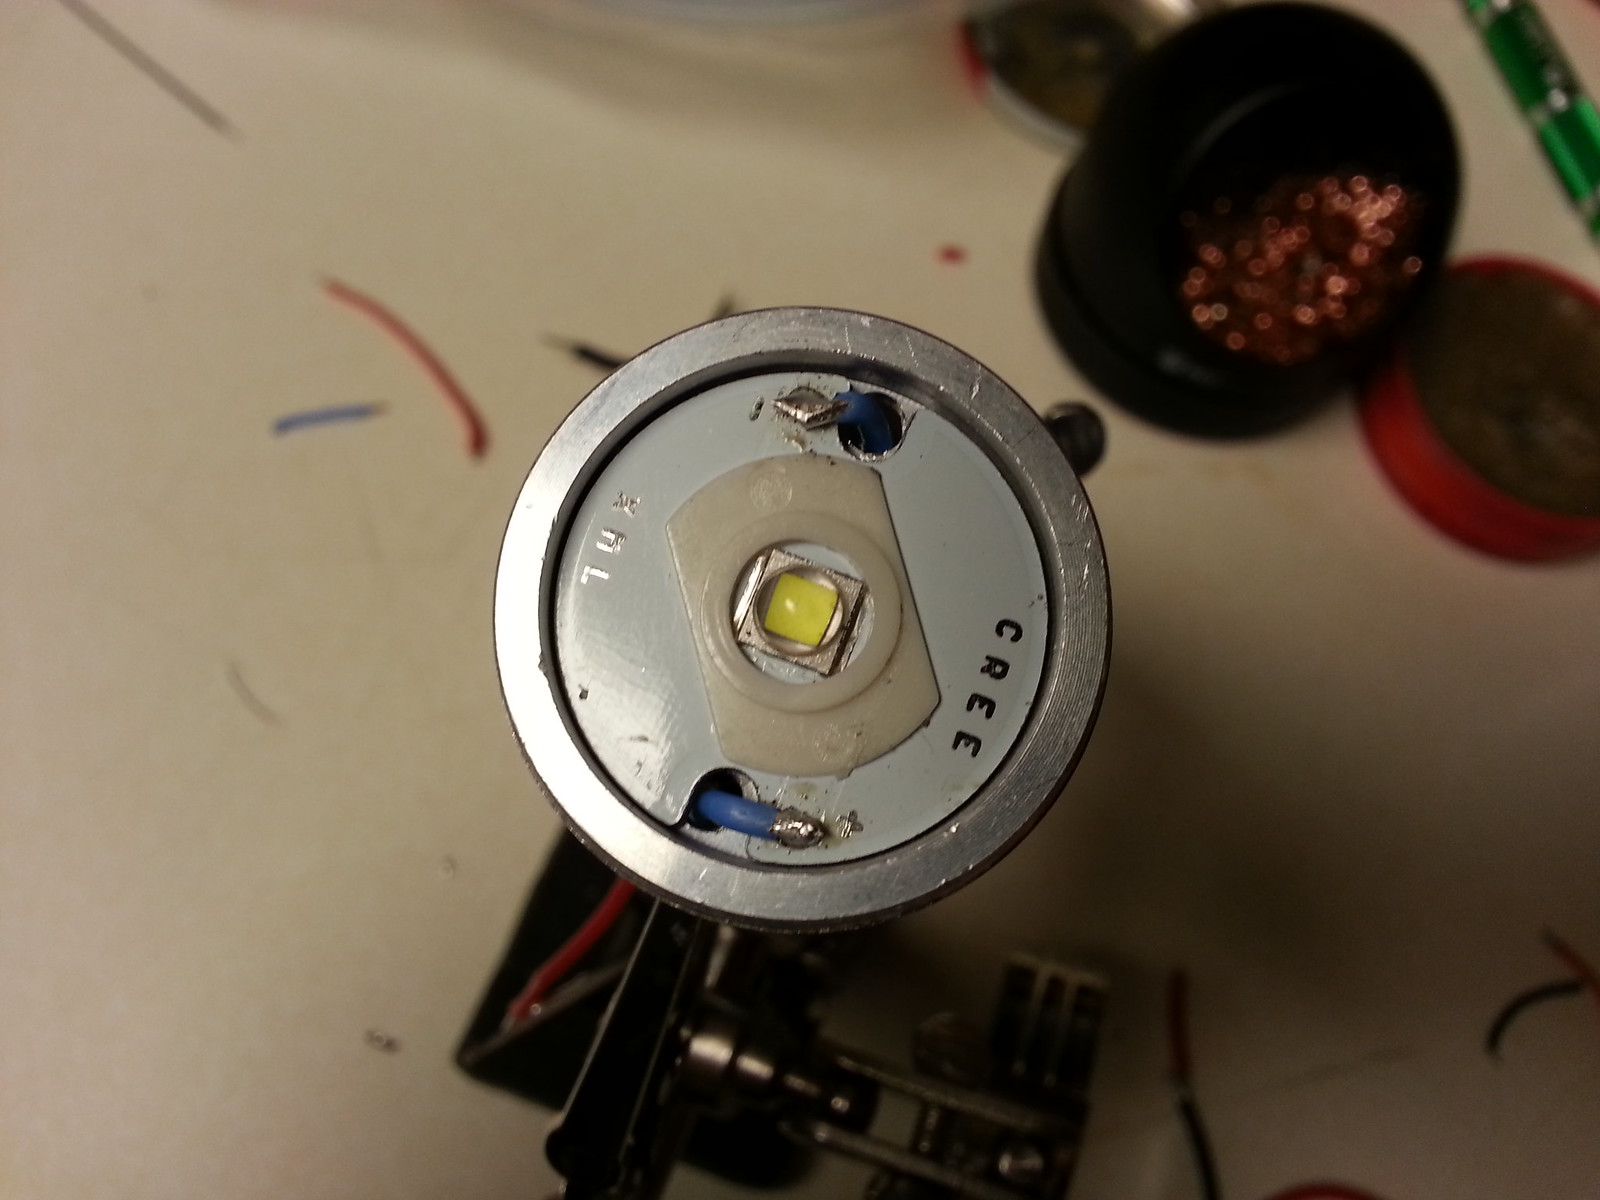
Next insert LED wires through the appropriate holes in the pill and solder the ends to the contact pads of the MCPCB.
From the LED side of the pill, pass the ext antennae wire through one of the wire holes in the pill. Tin the end of the ext antennae wire and solder it to the section of the main antennae that you pre-tinned earlier. Make sure you solder it as shown.

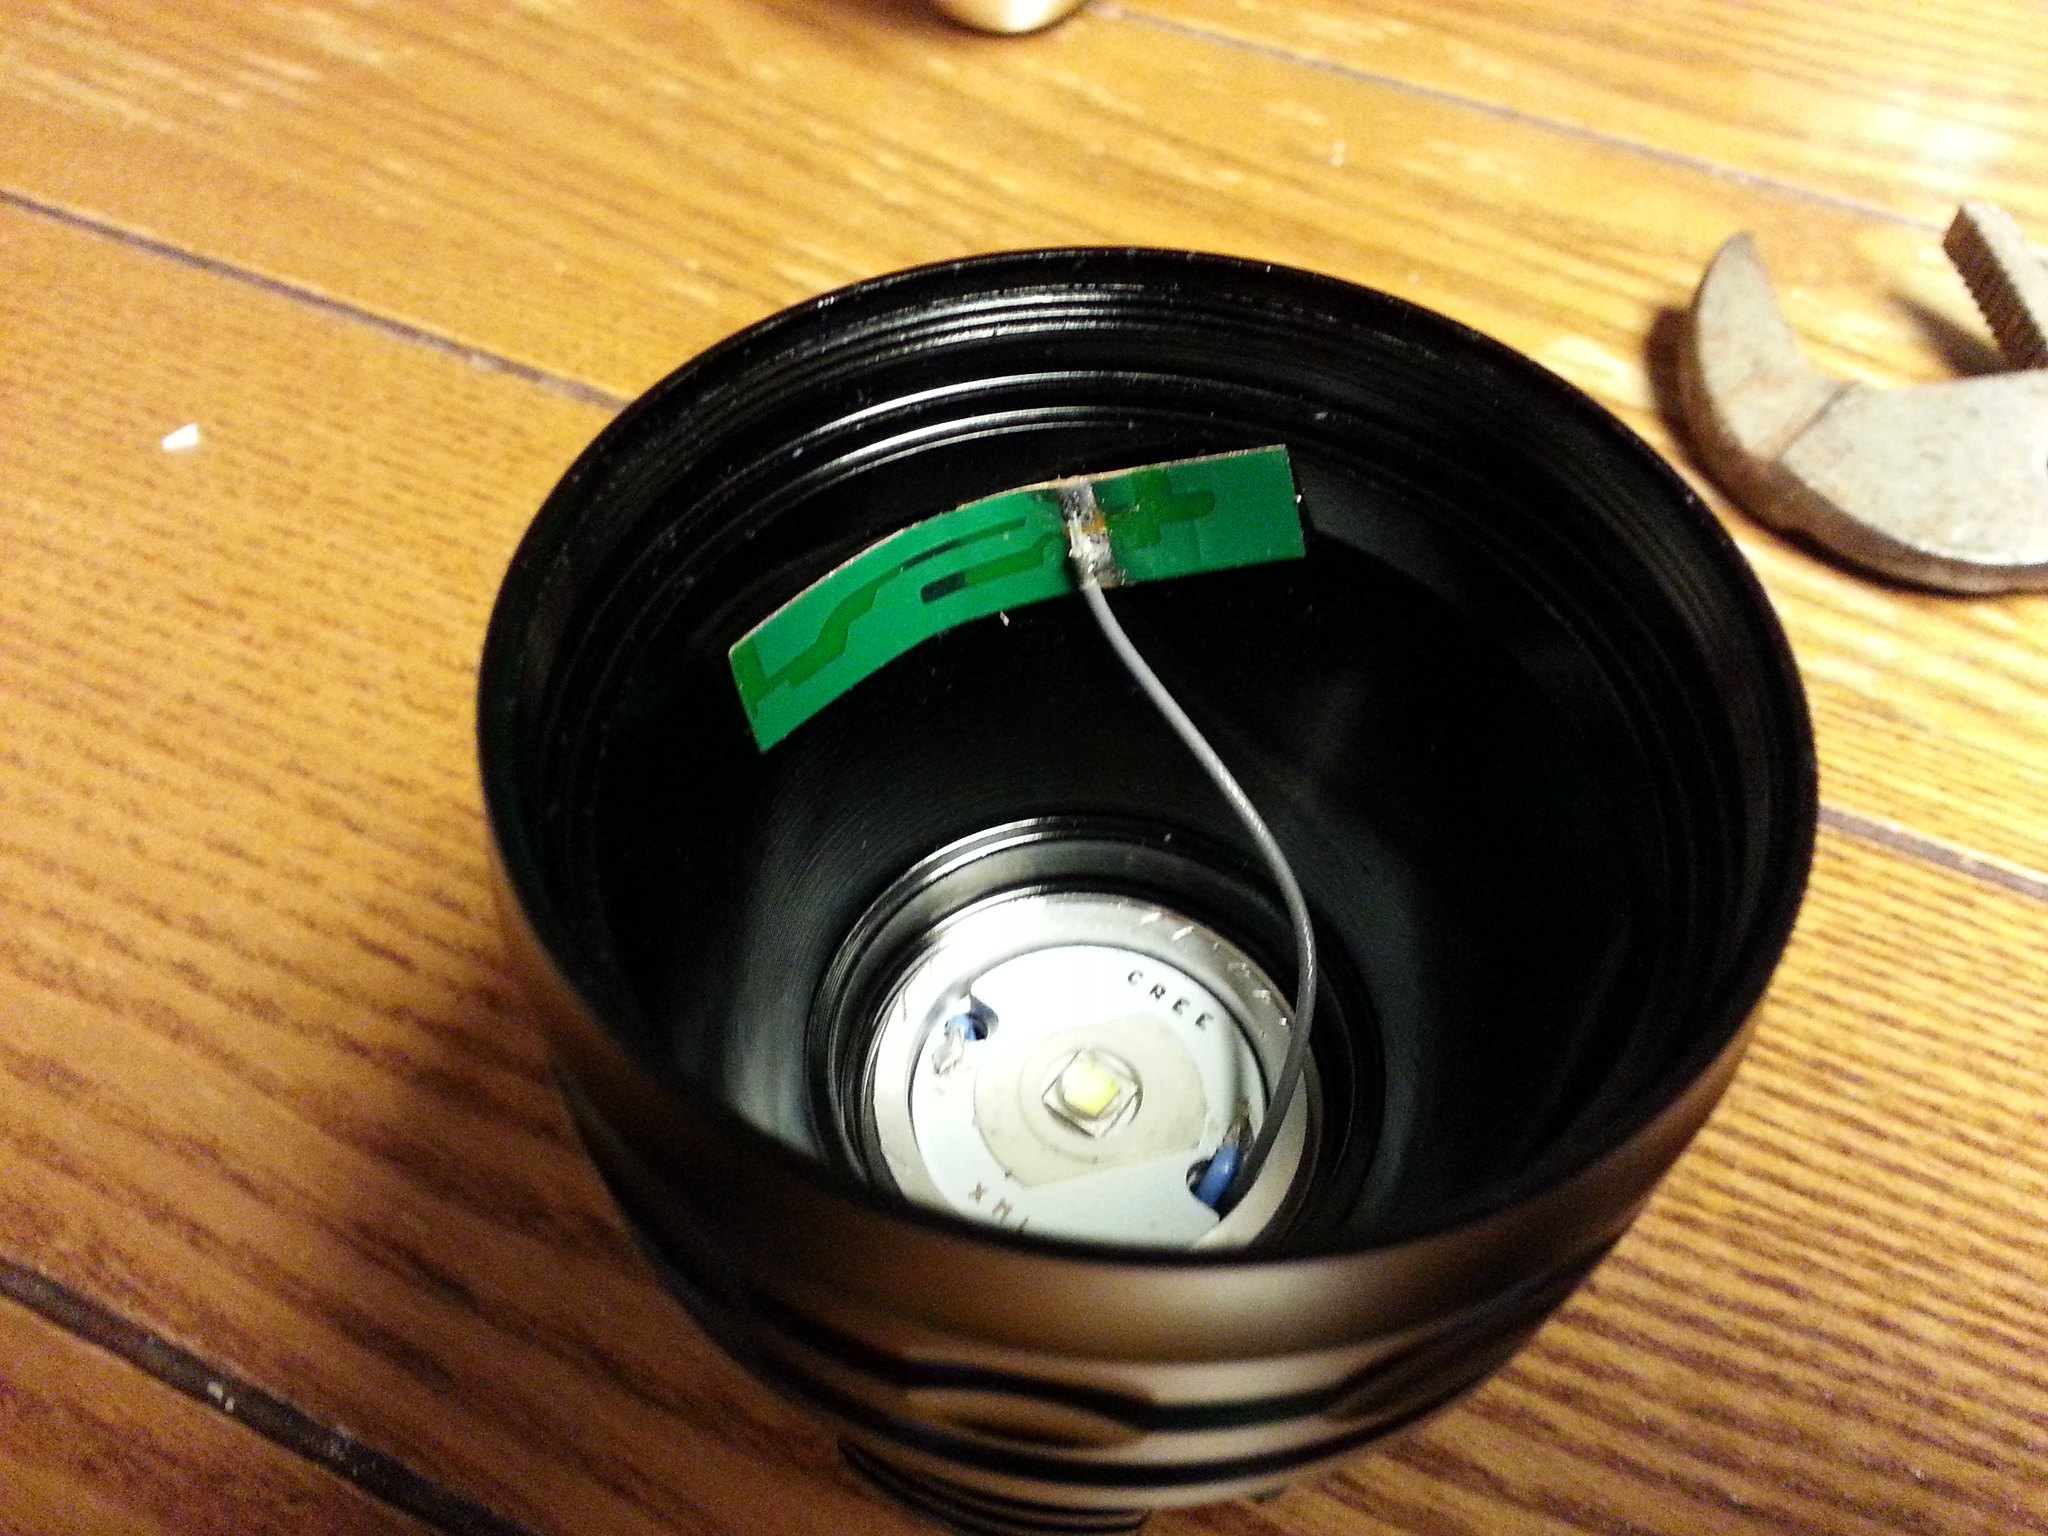
Put the driver into the pill and carefully pull the ext antennae out the front of the pill so the wire does not bind as the driver is inserted into the pill.
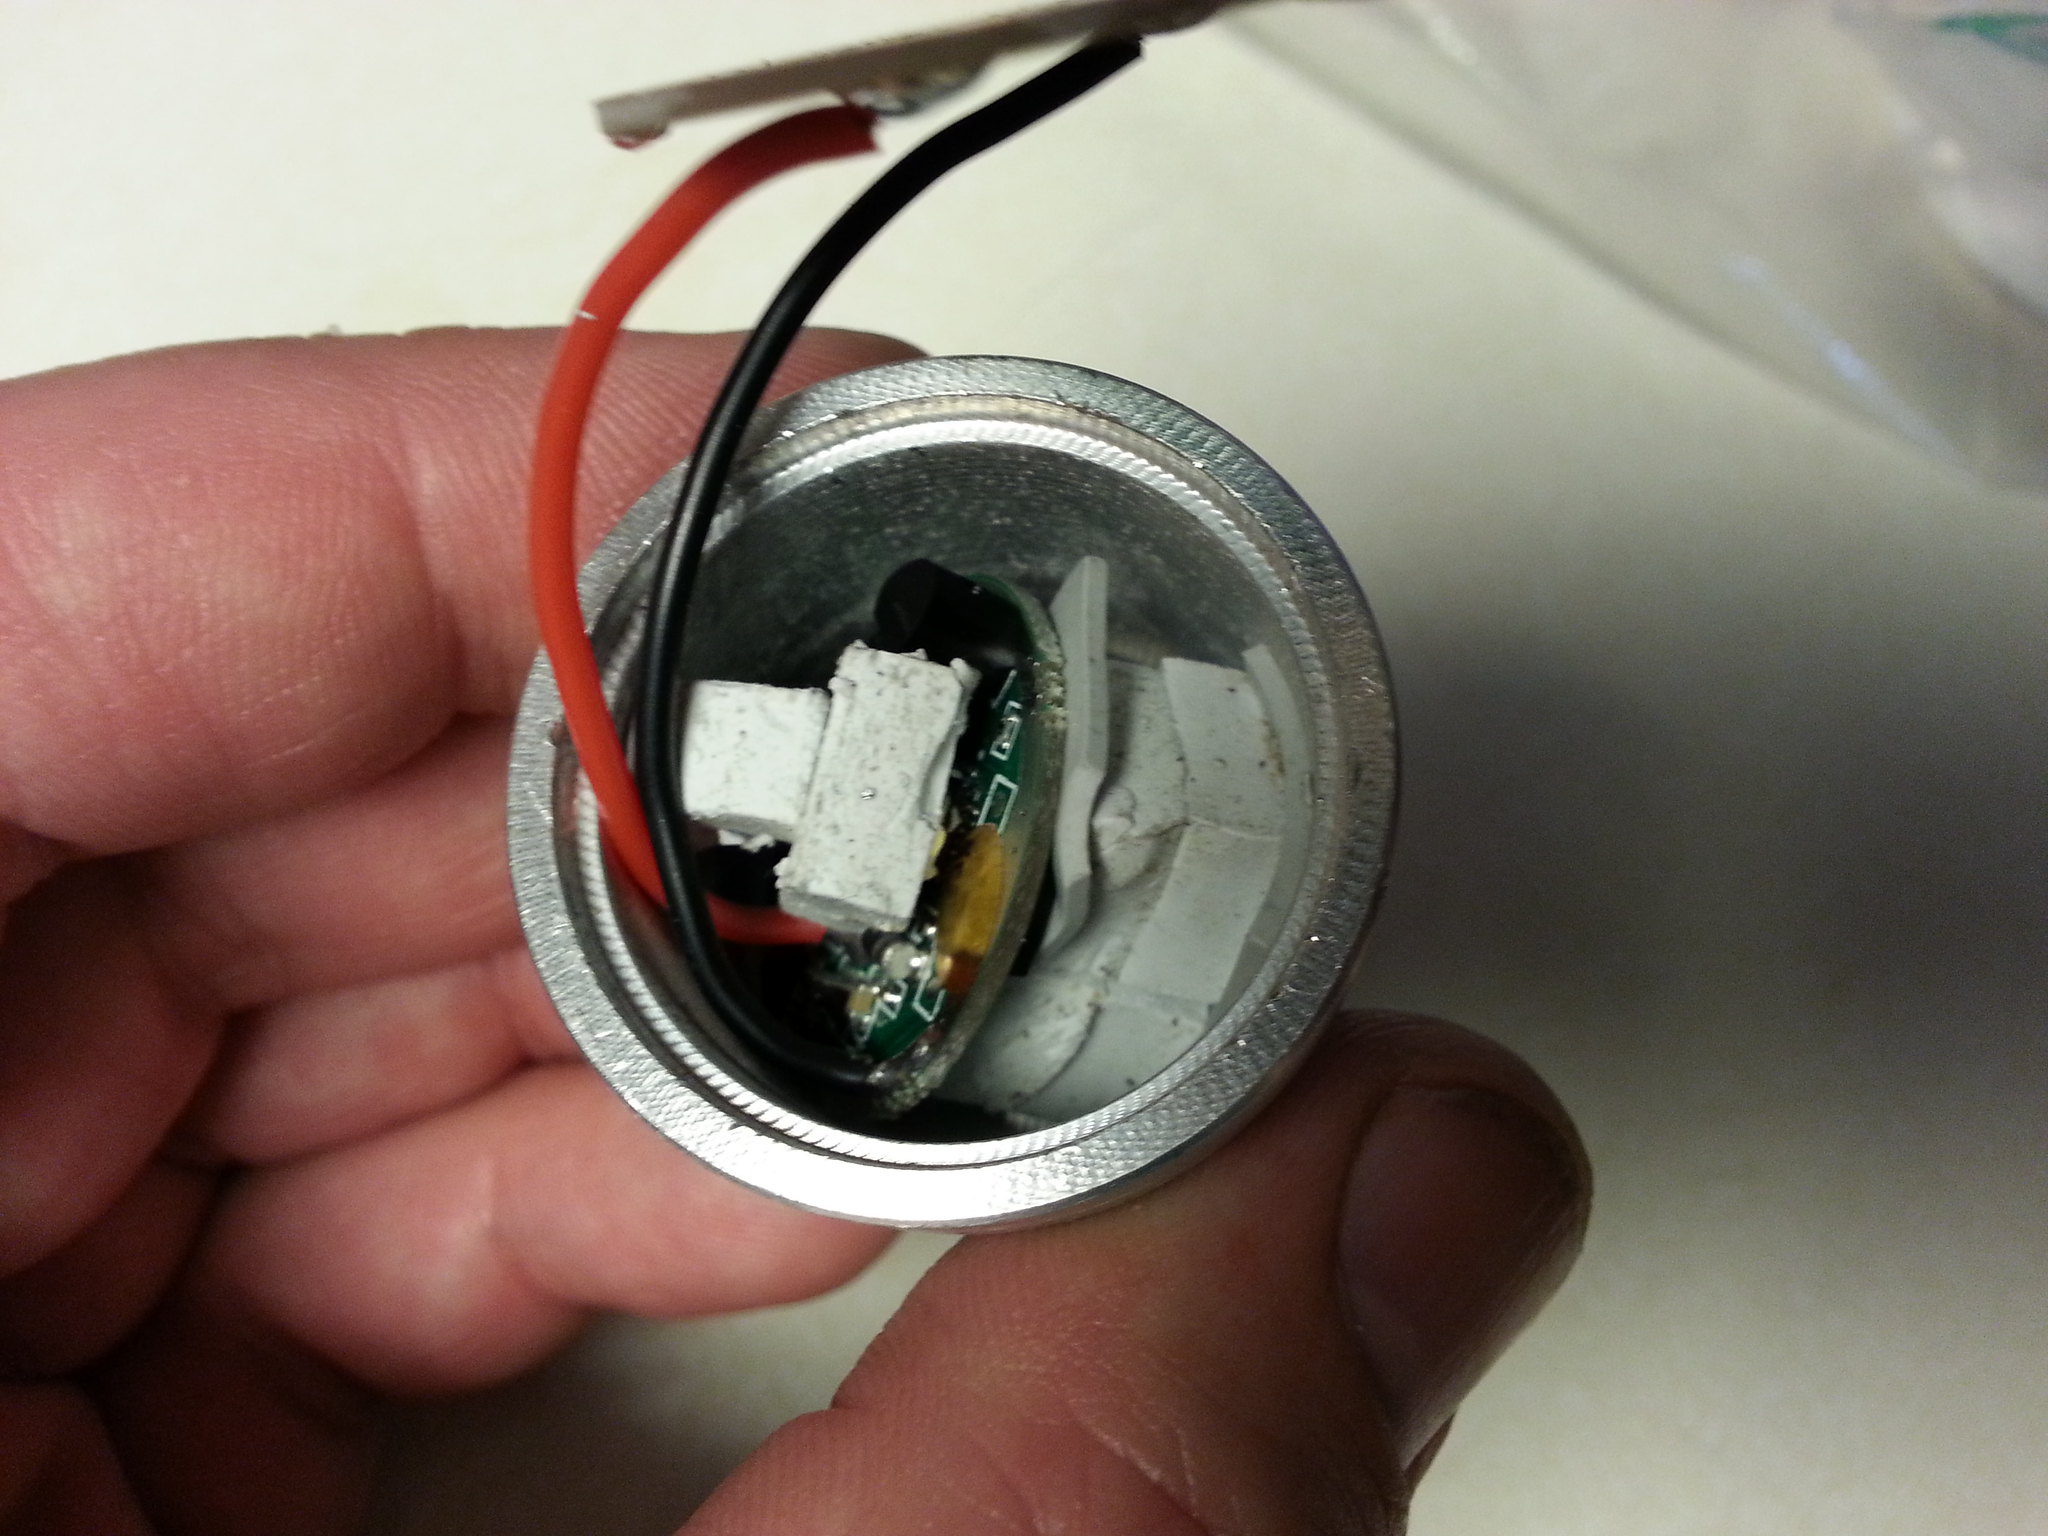
Press the contact board into the recessed groove at the rear of the pill. The contact board will have to be completely pressed in as deep as it will go in order for the solder contact points to press against the base of the recessed edge to complete the ground. If you only press the driver to where it is flush with the pill it will not complete ground and the LED will not light.
I found the the bezel of a UF501/502 is nearly the exact diameter of the driver contact board. I removed the tailcap from one, placed the 501/502 bezel down over the contact board of the Asgard pill and tapped it from the back end until the contact board was fully seated.
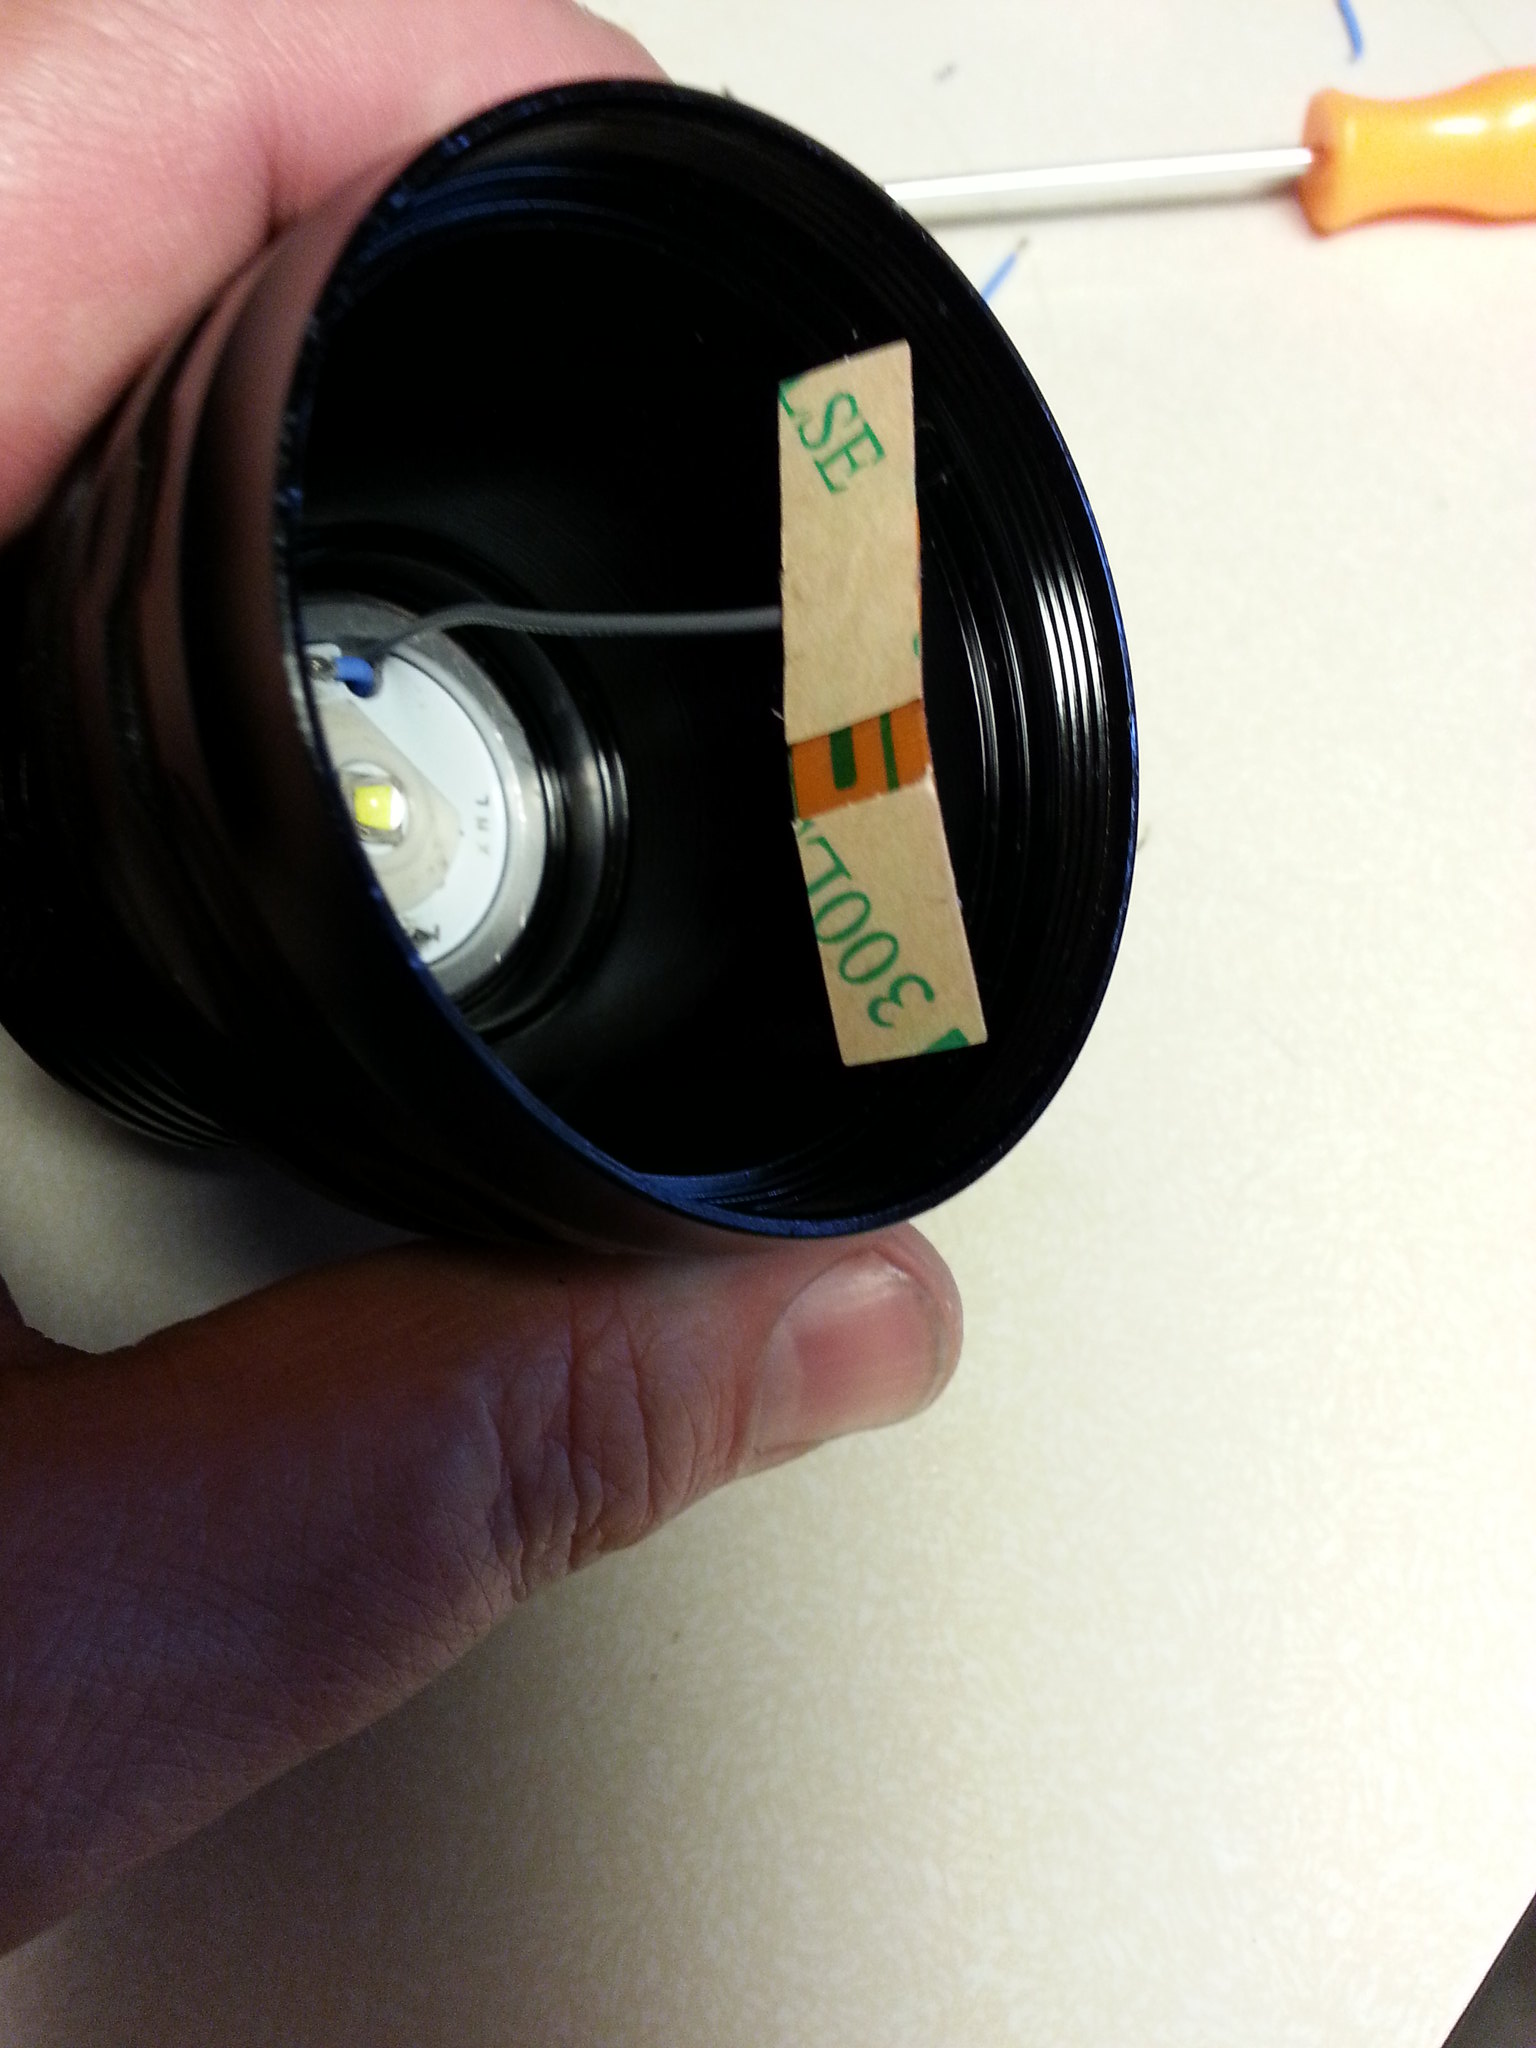
Once the pill is assembled you can thread it back into the head. The ext antennae wire will get in the way of the reflector unless it is closer to the base of the head. I removed a small section of the ext antennae adhesive protection layer so it would stick to the inside of the head long enough for me to insert the reflector and lens and thread the bezel on.
Enjoy your updated driver!