Noctigon Triple XP-G2 on Copper w/pics

I got my Noctigon Triple boards in yesterday, along with 3 XP-G2 R5 2B emitters. So I tried my hand at re-flowing 3-up for the first time. Ball game was on, thought I was paying close attention but ended up putting one of the emitters on SIDEWAYS!!! Shorted out the board, exasperated I re-flowed the board again, pulled the cross emitter and checked the base to make sure everything was clear, put it back on Right and voila! My first Triple XP-G2 board. I tested it on a copper bar with a Panasonic NCR18650PD and got over 10A direct drive! :slight_smile: 2400 lumens from a shorty L2m!! Wow!

That’s too much power, planning a small host, so I’ll use a QLite driver and put the Noctigon on top of a copper heat sink 1 1/8” long x 7/8” diameter to fill the Solarforce L2m host.

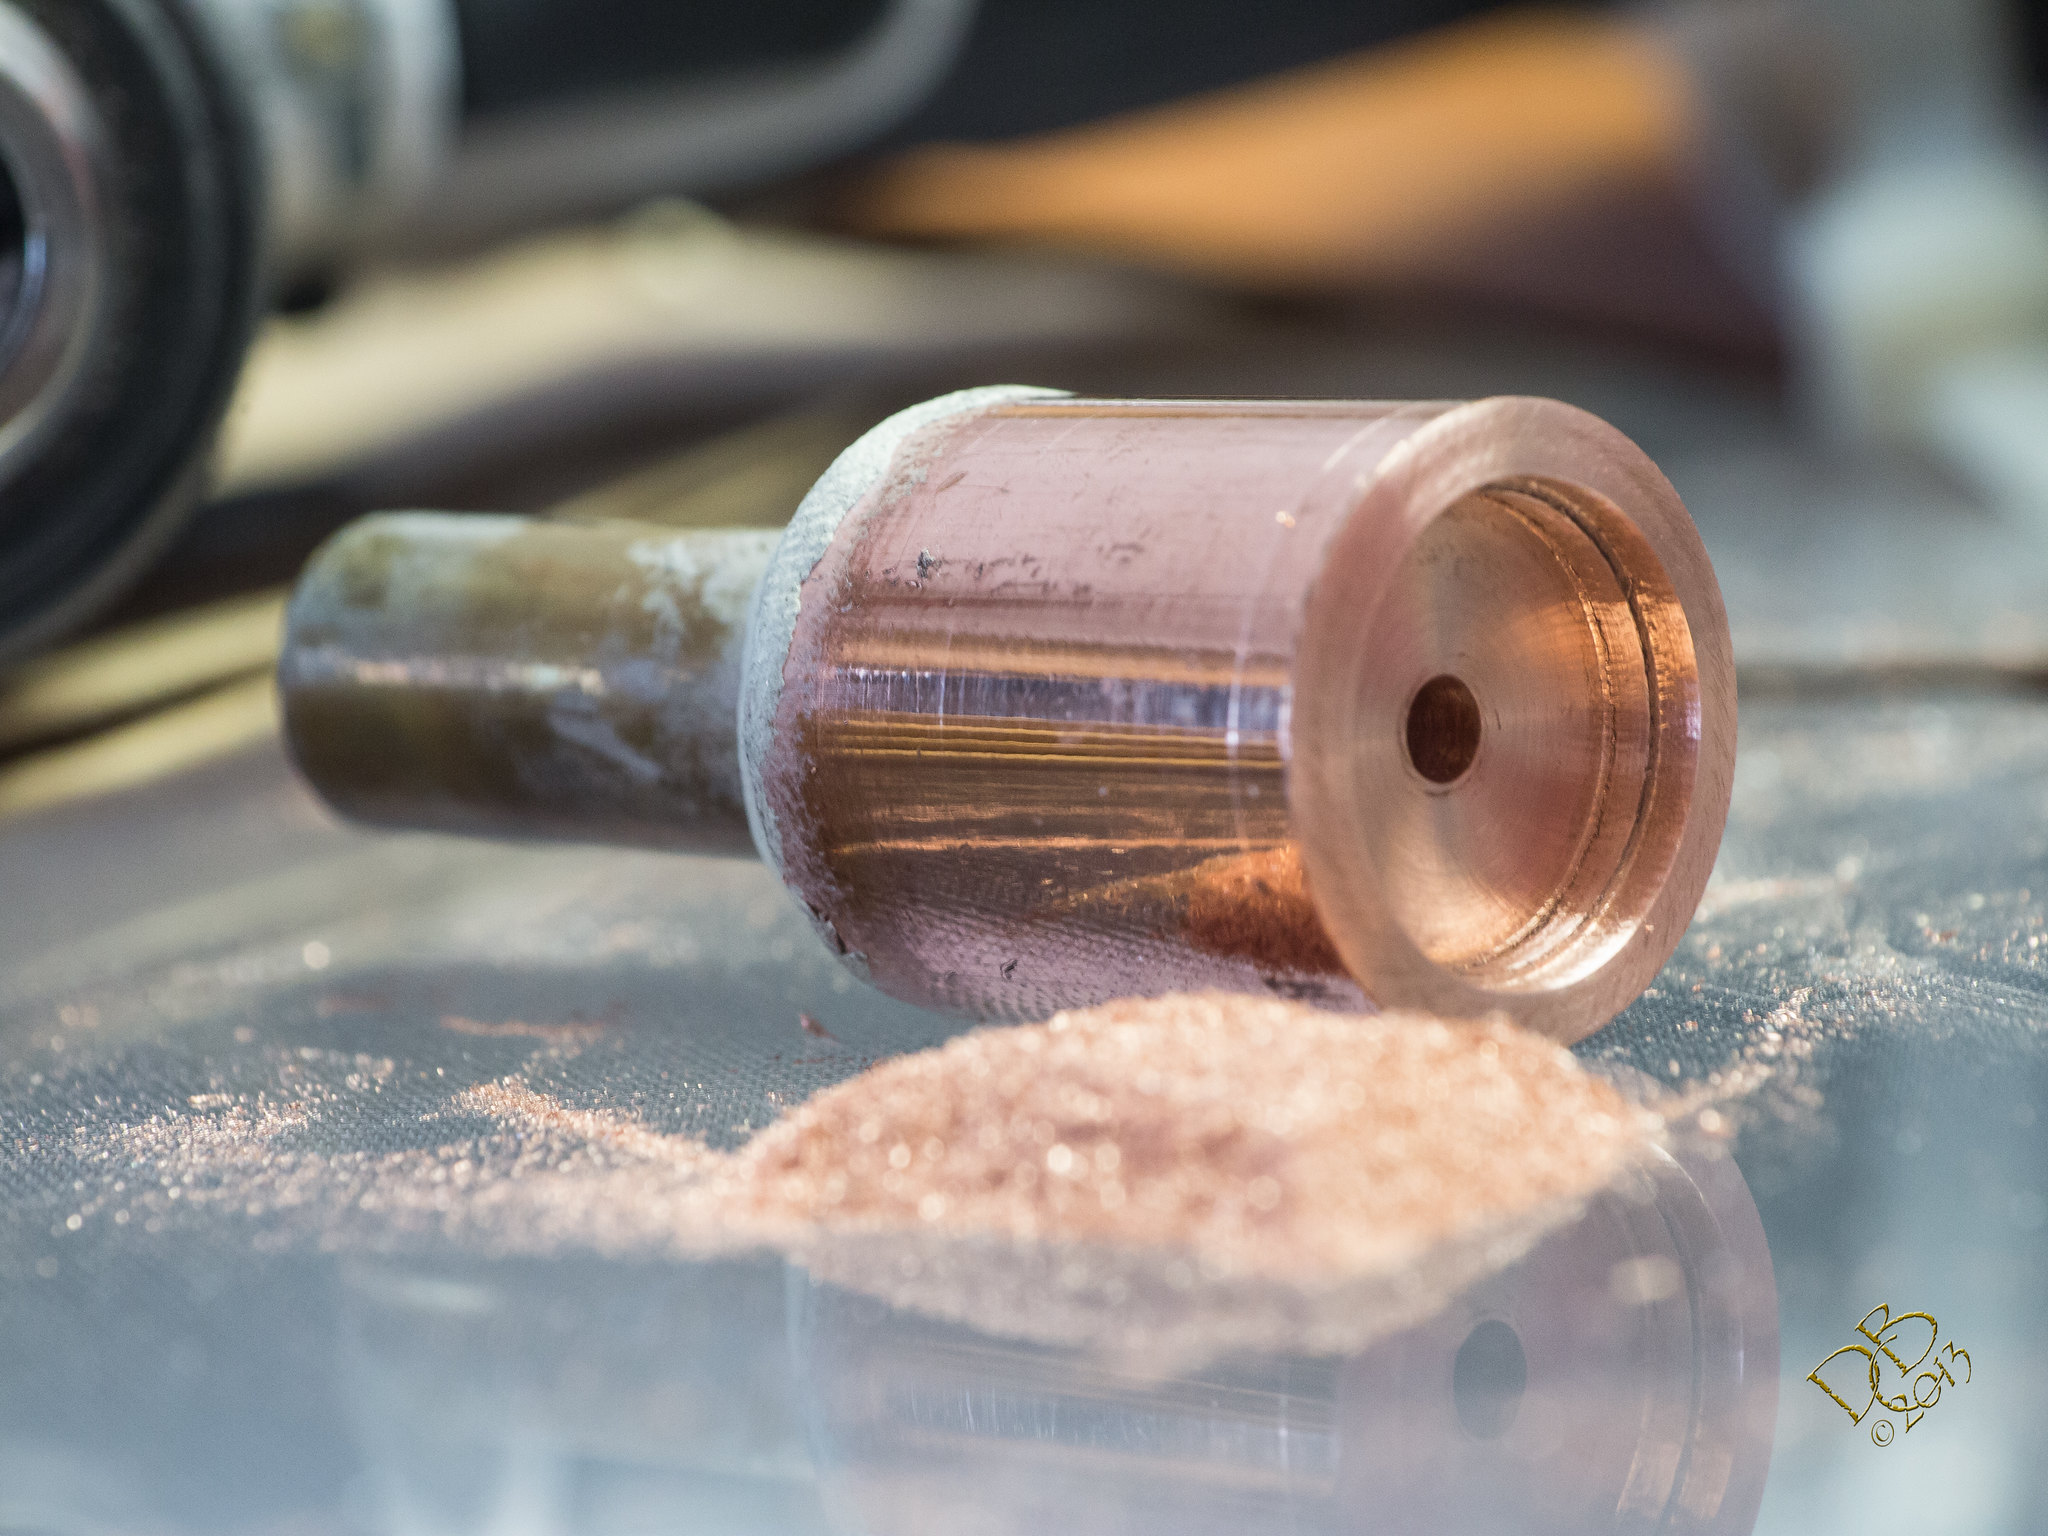
This morning, I set out to create a driver cavity in my copper sink. The piece of copper I have is already JB Welded to a .45 Long Colt cartridge casing, this so I can mount it in my cordless drill and spin it up.

And finished, showing the .45 Long Colt cartridge, yeah yeah I know it’s unorthodox but what’re ya gonna do?

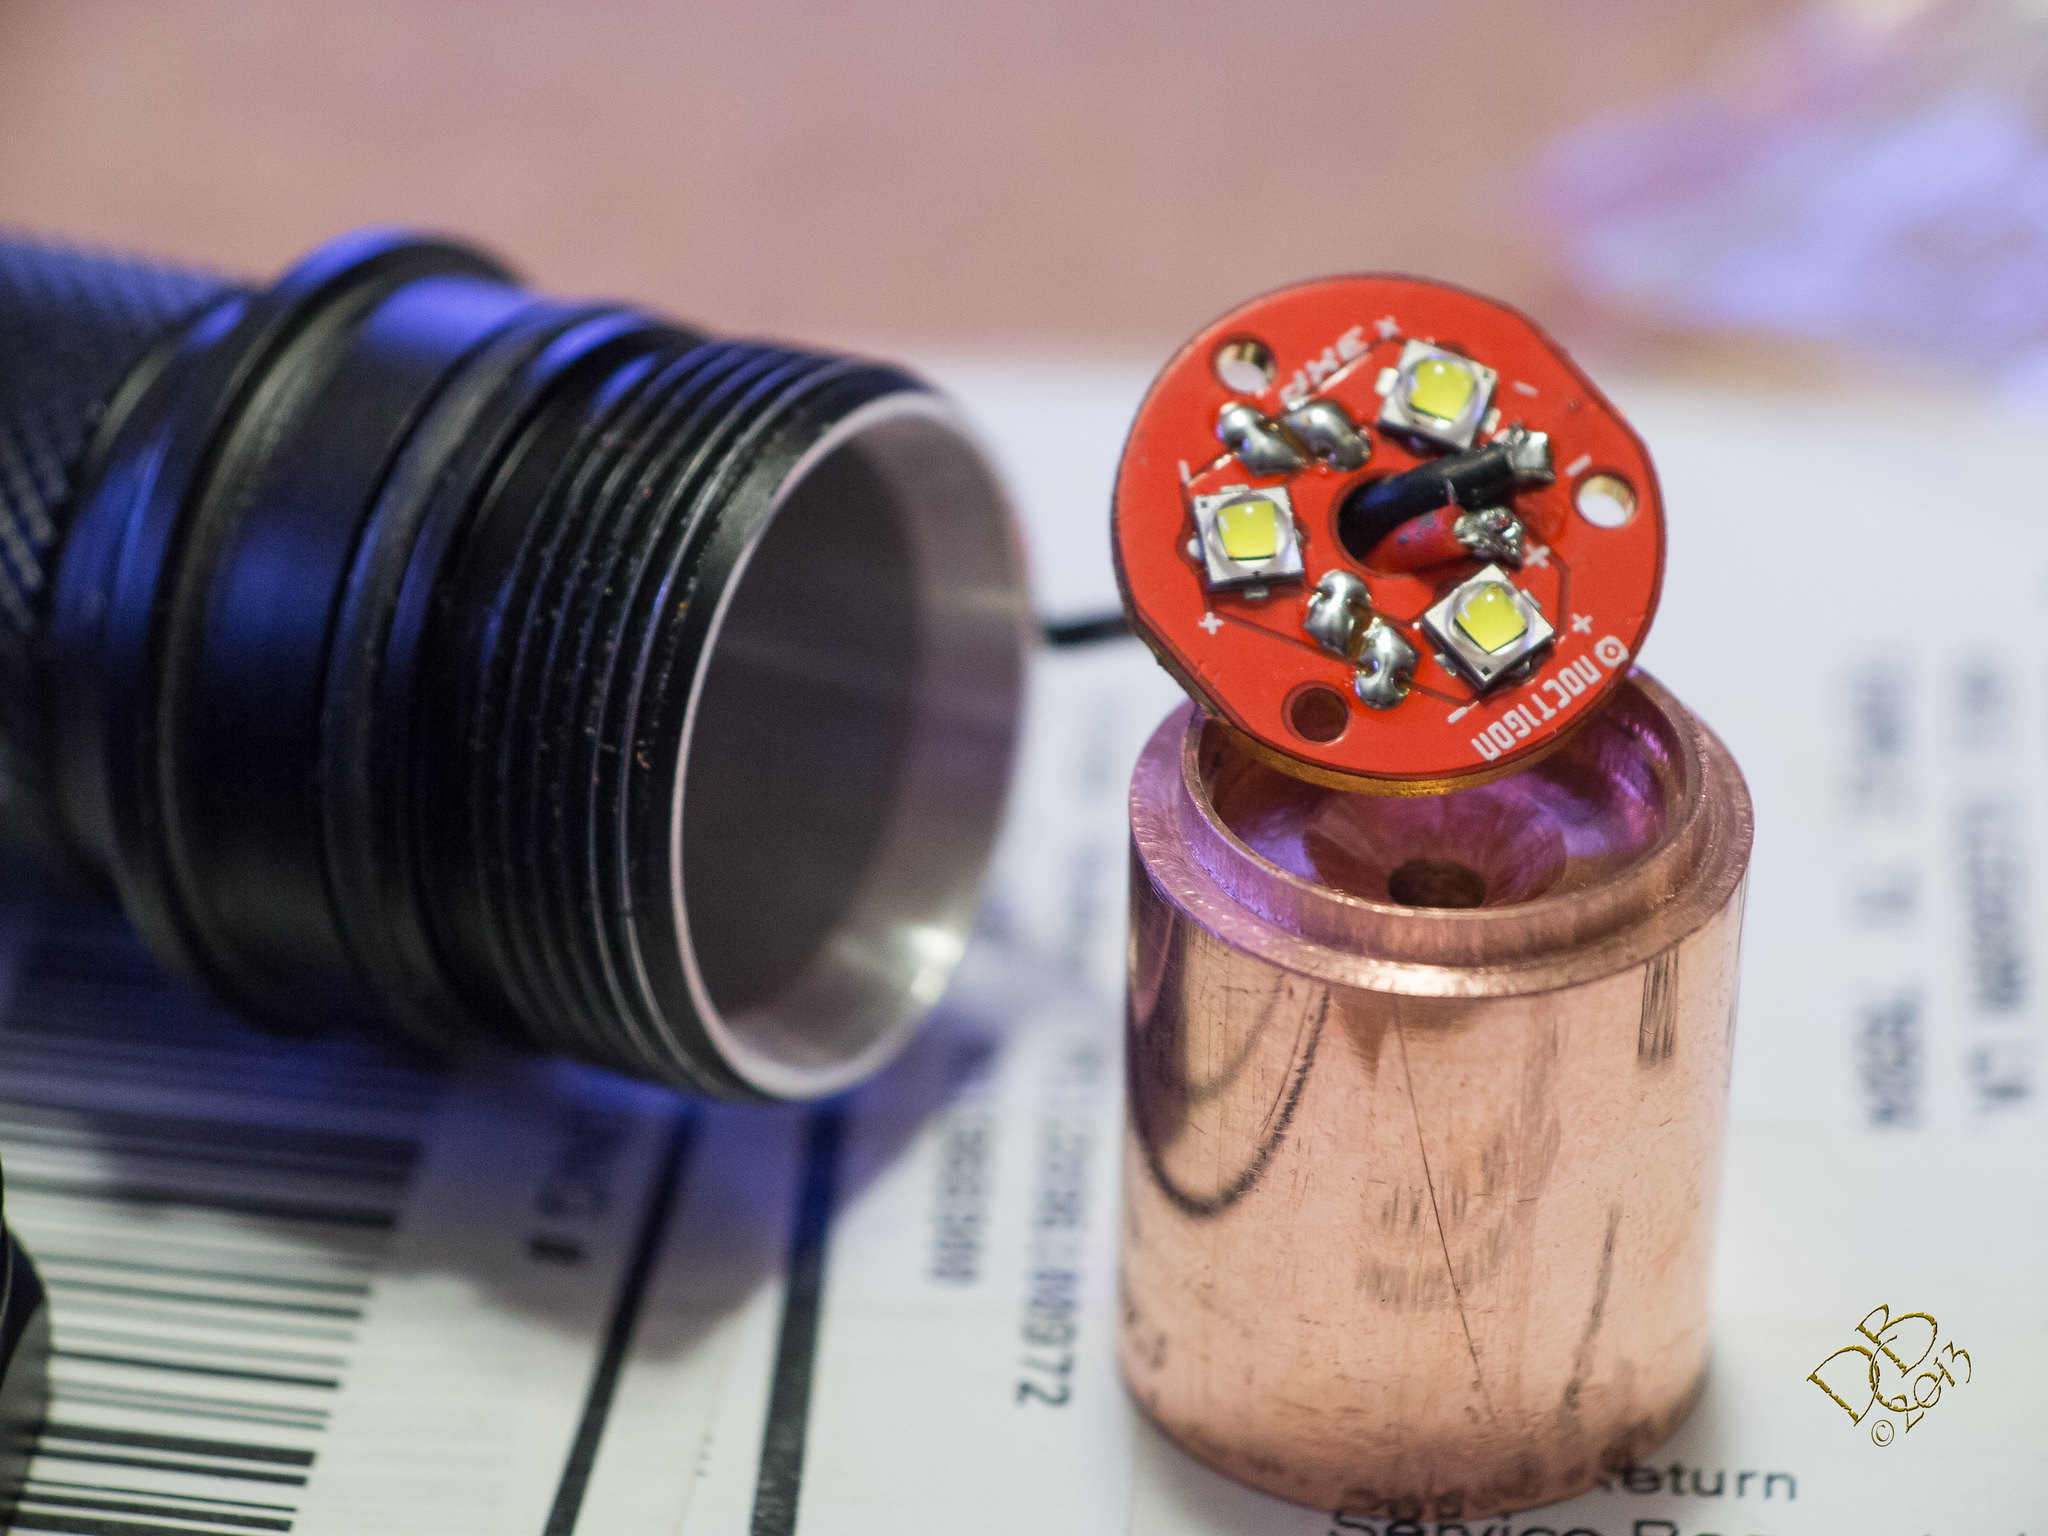
Just thought I was finished. The L2m head wouldn’t go on all the way with the copper seated in the host opening, so I cut a step in the outside of the heat sink to allow it to set 1/8” deeper into the host, pretty much like a P-60 fits.

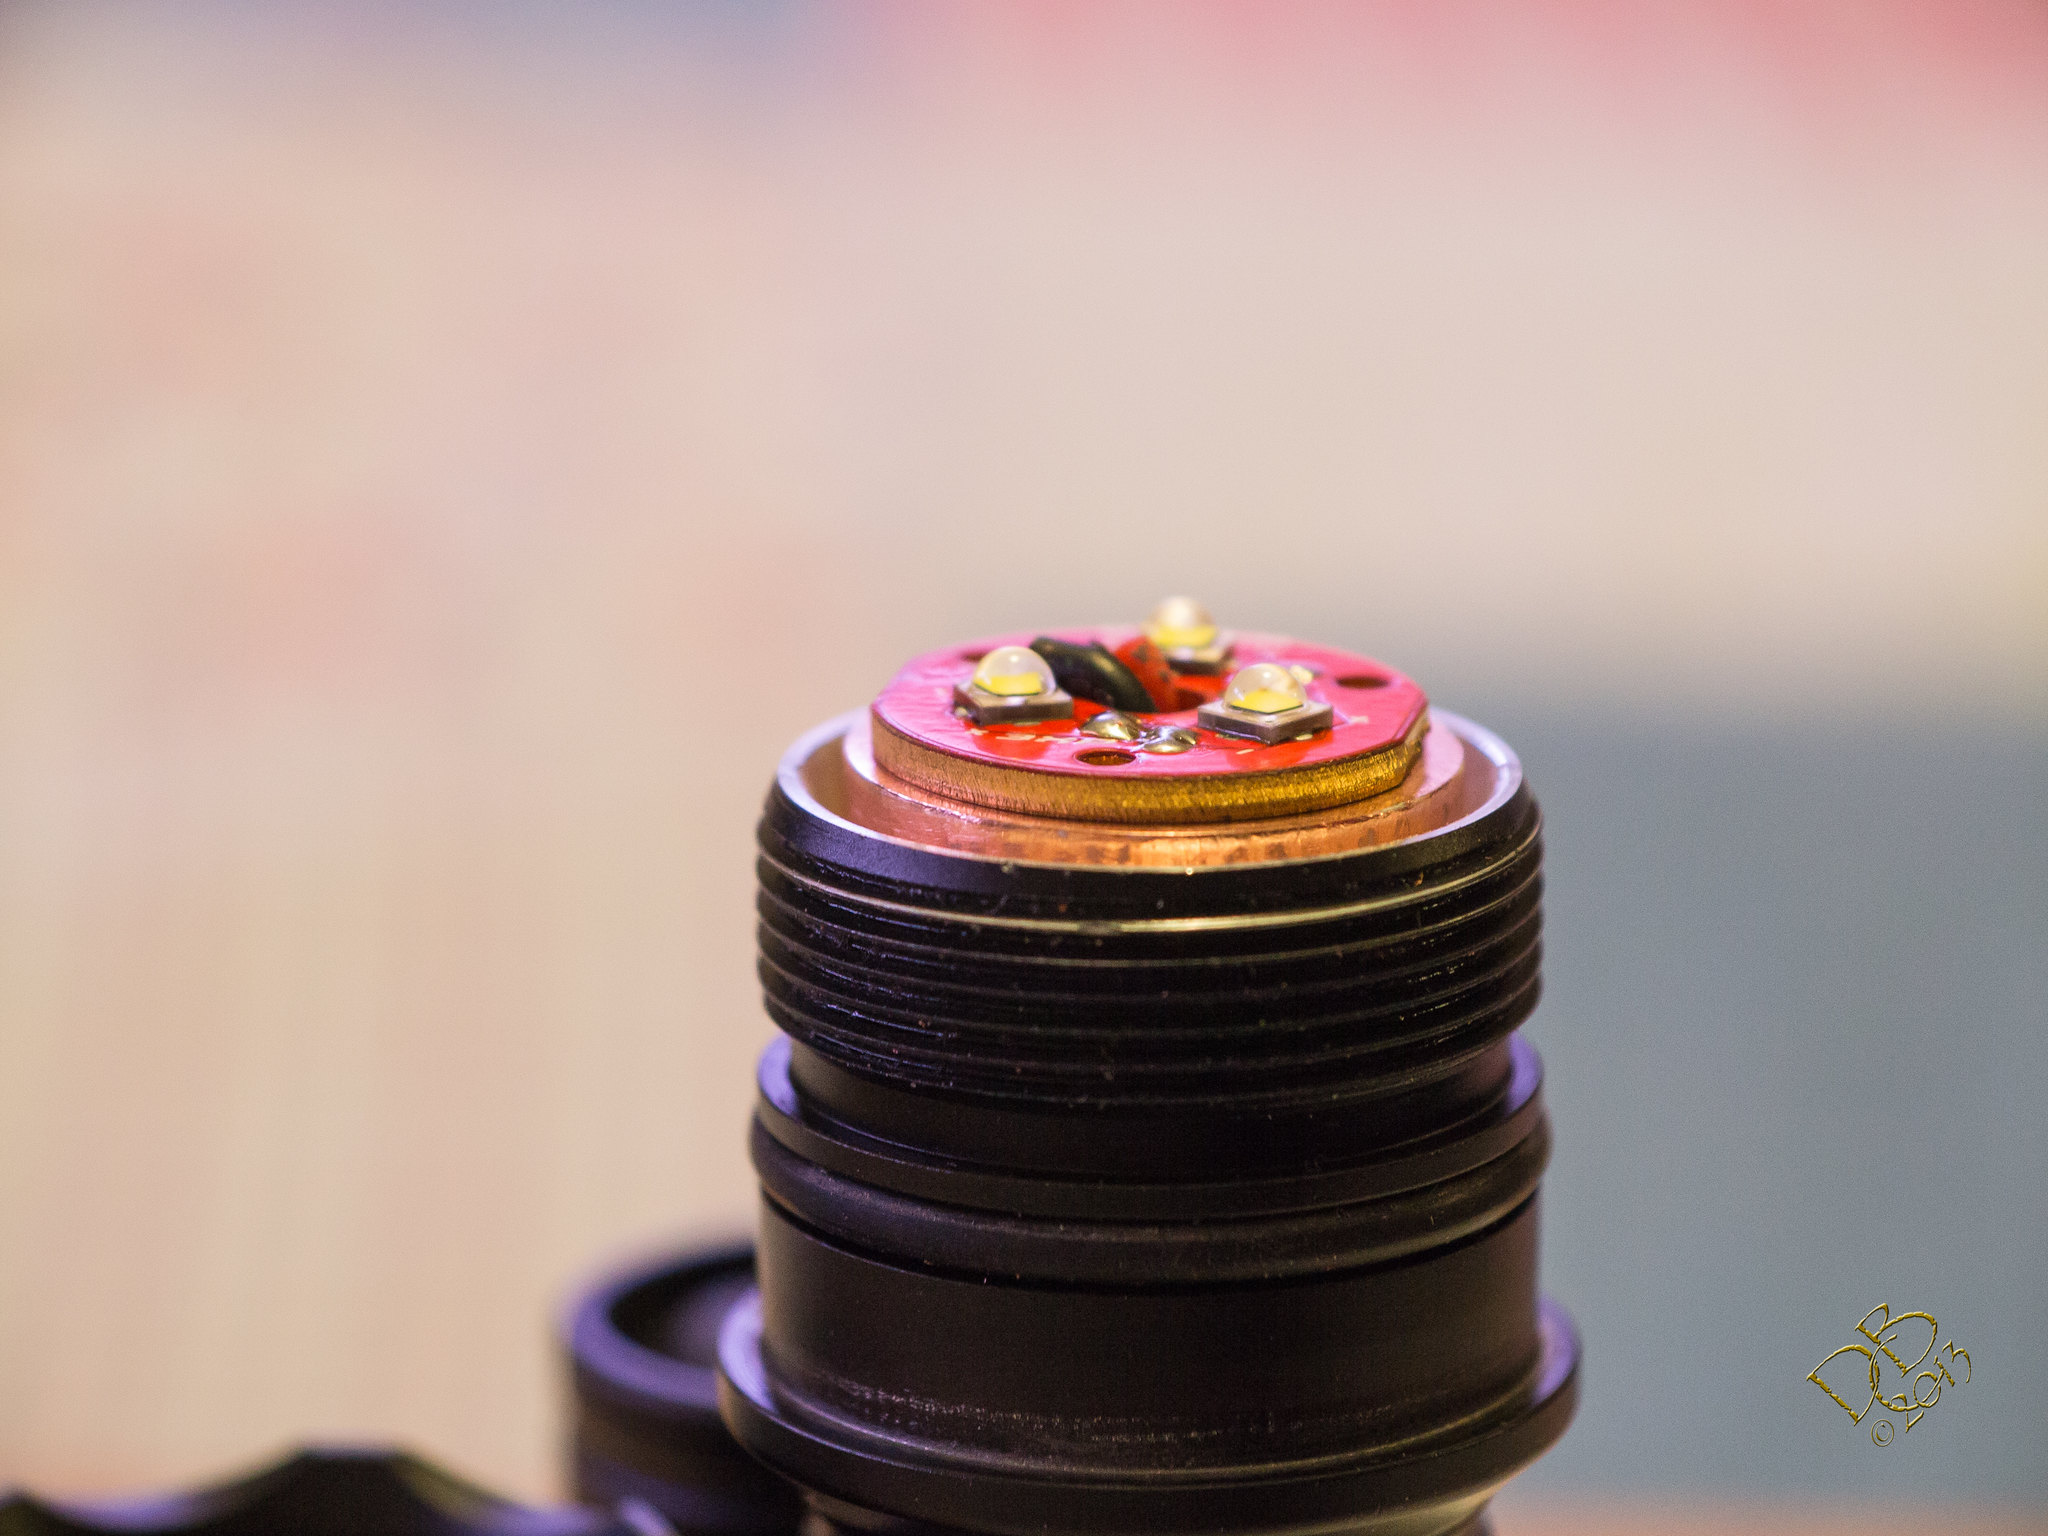
It might be just a bit too tall still, but I’ll go with it

And from the side, you can see that it sits almost flush with the top of the host with the Noctigon and emitter raised

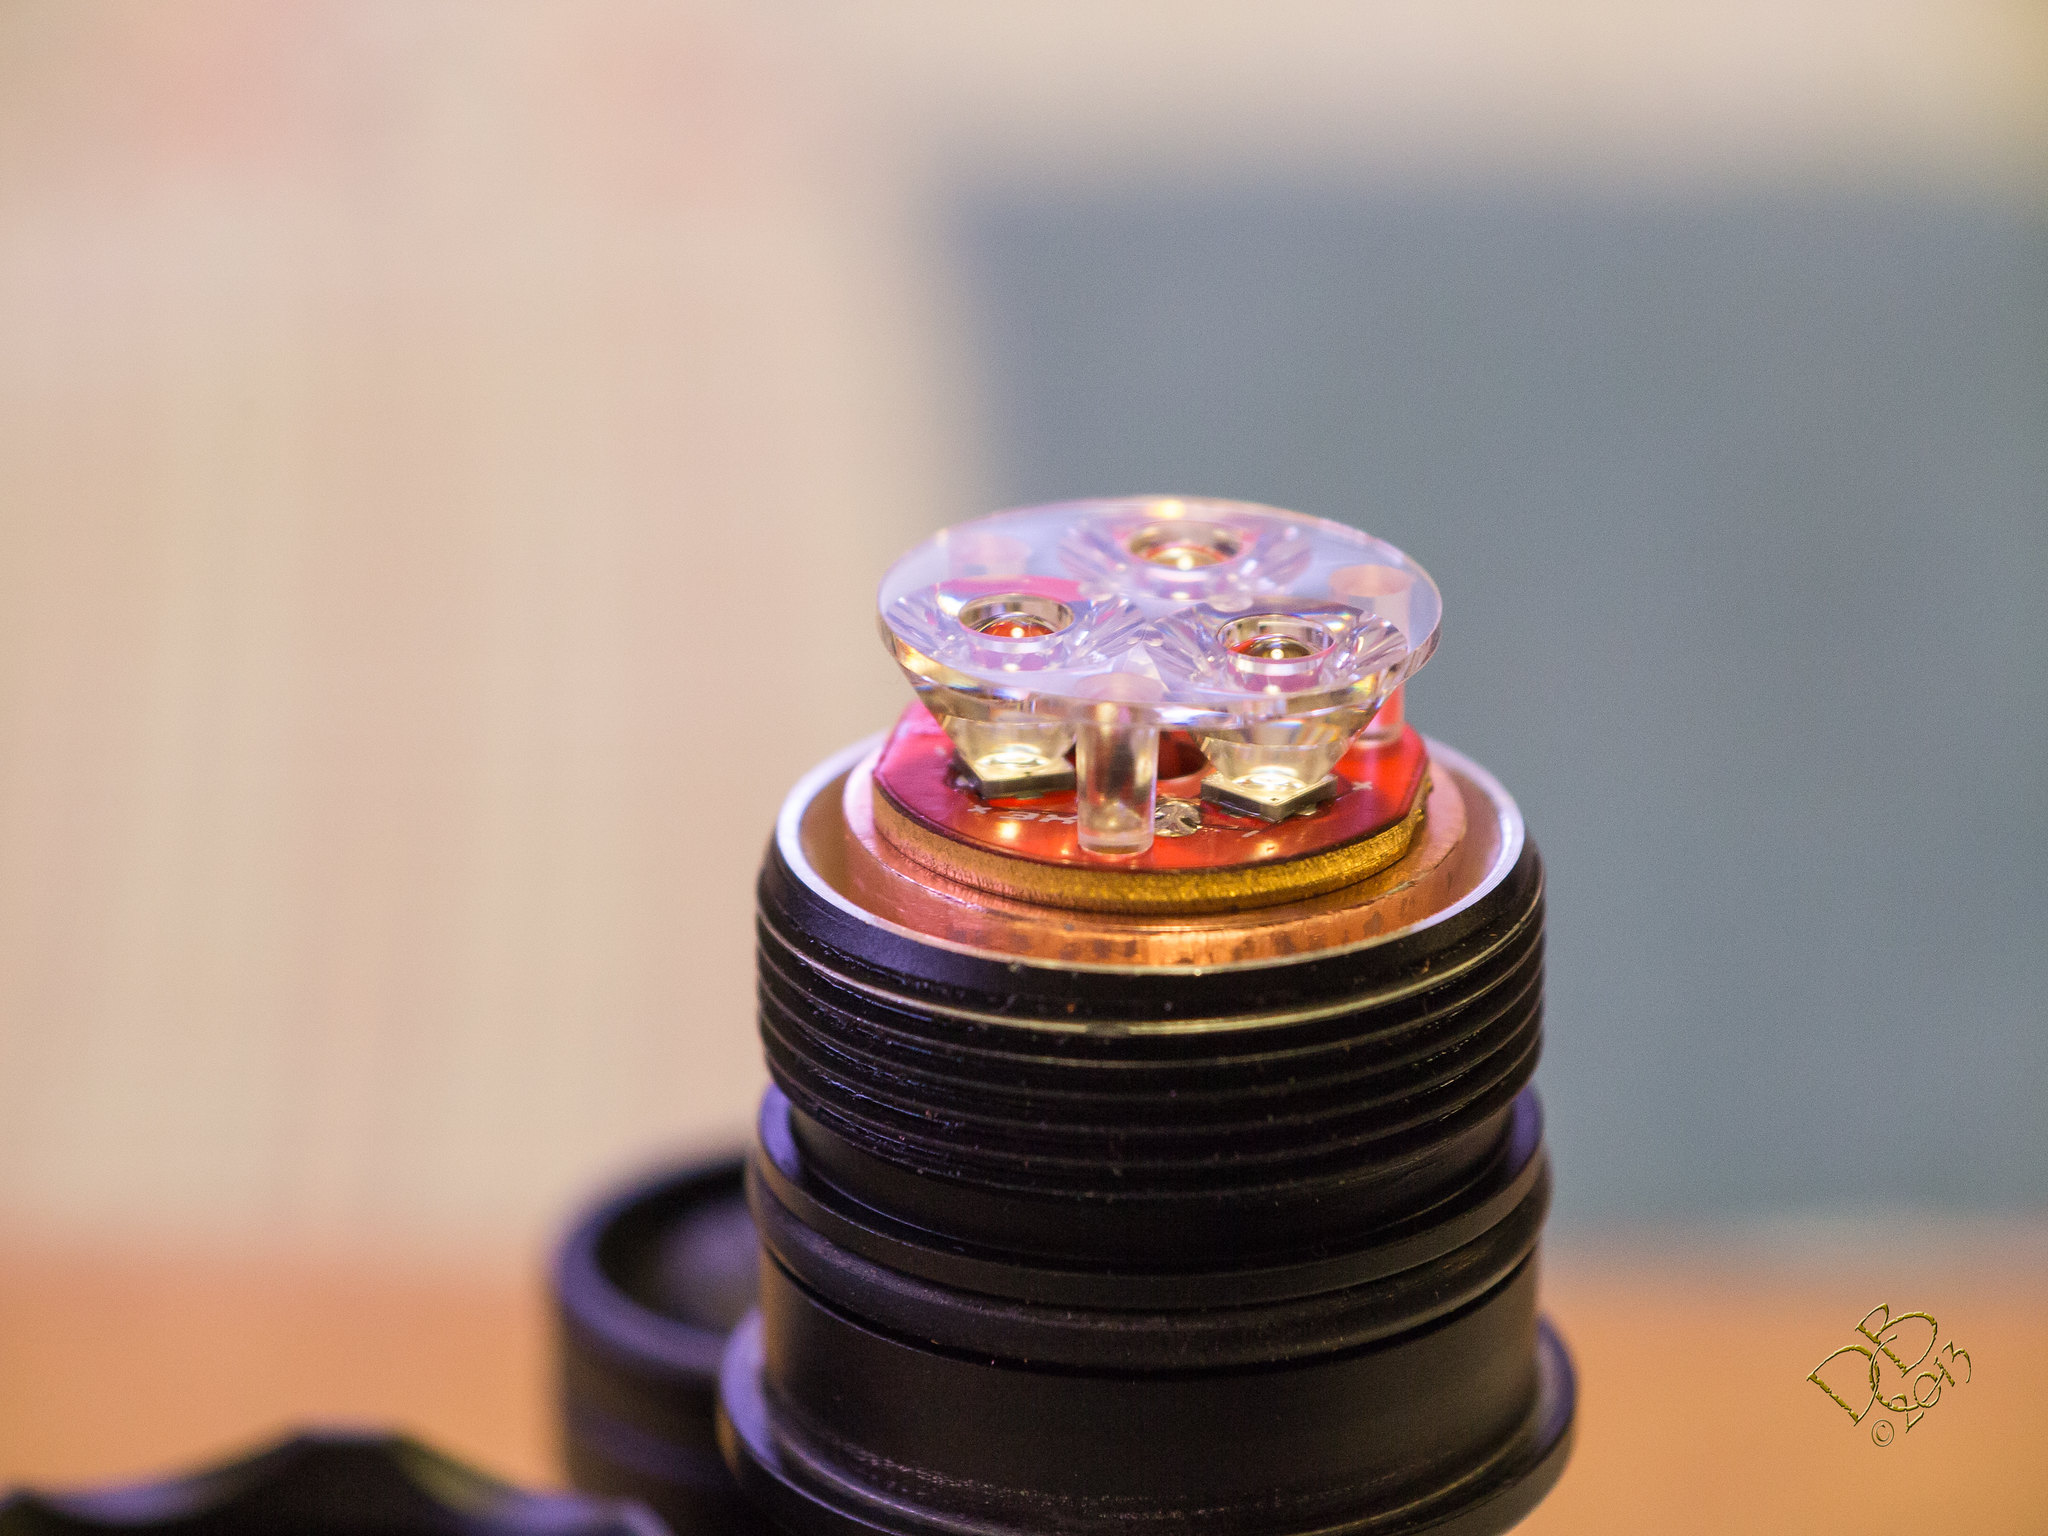
And here it is with the Carclo 10507 clear narrow optics sitting on top

I’m out of drivers, wouldn’t you know it, so I salvaged one that had been in a wreck in the past. Got it working, added one chip to the 3 already stacked and put an AW IMR 18350 cell in the light. 4.08A for some 1300 lumens. Not too bad! :slight_smile:

Except the driver won’t work. Runs for about 3-4 seconds and shuts off. All 3 modes run, but whichever you pick it shuts down in 3-4 seconds. I have some more Q-lites on the way, will probably use a couple more chips than I’m presently running and call it quits at some 1500 lumens. I only made the cut-out in the copper for the 1st course of chips, so if I’m going to add more than 4 it’s gotta be on the outside, never stacked 3 high before but I guess there’s a first time for everything…

Oh, did I mention all the cutting was done with an 1/8” carbide cutting tool in a dremel? :slight_smile:

Nice. :)

Which Dremel tool exactly?

Impressive heat sink work. Great idea to use something like a spent cartridge for it. Lemme see, I think I've got a few dozen 6,5*55 spent shells in the back of the weapon safe... Hmm.

Oh! And nice light too ;-)

I bought this Sears Craftsman Rotary tool back in 91. :slight_smile: It’s done a few things over the years.

Not wanting to wait for the QLites to get here, I put a straight board in it for Direct Drive on the AW IMR18350. No longer fresh, it’s pulling over 7A at startup and settling around 6.4A and then dropping. So some 1800 lumens initially then the battery is falling. I don’t think heat will be an issue as the cell will die as the heat starts to build, this piece of copper soaks up a bunch.

It’s got a fairly tight beam for a triple xpg2, very useable little pocket rocket. On/Off. Old school. :slight_smile:

Edit: One neat thing, the light engine will easily drop into an L2P and run over 10A on a Panny PD. :wink: Not sure what a Samsung 20R would do, afraid to blow my cheap DMM.

Me like! :)

You are using glass lens on top of the TIR right?

Are you sure you want to go back to 4,5A Qlite after playing with it in direct drive?? J)


Very nice looking copper pill and build. Love the improvised lathe.

Wow! Now that is an impressive little light. I would like to see the look on peoples faces when you pull that little canon out. :smiley:

That is some sweet stuff, Dale! I love your improvised lathe idea. :davie:

Thanks JohnnyMac, it’s Justin’s fault. I probably wouldn’t have been doing this kind of stuff if it weren’t for that challenge a little while back. Taught me things are possible, ya just might have to get a little more creative to make it happen.

Might have taken me a few hours, but if I had a lathe I could spend that much time killing copper bar stock easily. :wink:

I need to see a video of this electric drill/Dremel lathe. The work you are doing is amazing.

You created a lathe out of a cordless drill…. wow.

Curious, could you use hand tools to slowly carve it? I don’t have a dremel or a lathe. I wanted to pretty much mirror the mini C8 mod, but I didn’t how/where to acquire a pill like that.

The two fit perfectly! Great job. :party:

Love the Lathe!Smile I don't think you need a real lathe. You would be very dangerous with a real one. Very nice work on that copper.Wink

That’s really awesome, especially without a lathe. I might just try and give this method a go, would definitely open up a lot of possibilities for builds.

It’s funny, when I saw the first pic I double checked the posters name And thought , wow another guy with a lathe!

Yes, those were my thoughts also, I still don't understand the precise set-up, but it is a clever use of the Dremel!

And an impressive build, going to the max, which is the very reason of existence of the Noctigon triple :-)

Thanks, but it’s not as glam as all that! A friend in Aus saw it and used the word Ghetto. That is closer to home. lol

My cordless drill has a belt clip on it, so it has to lay on my left with that clip up. Drill left, chuck facing my right battery away from me. I anchor the drill with my left elbow/forearm, holding it down and firm. I use both hands to hold the rotary tool and take it nice and slow. The 1/8” carbide bit has no flutes on the end, so it will walk and chatter if it’s square to the piece. I hold it at various angles and a good bit of the time I watch the opposite side to monitor the cut, not the tool itself. Start in the middle and work out.

I put a zip-tie around the trigger on the drill, I can either rotate that just a bit to speed it up or pull a click or two on the tie. I try to keep it going as slow as it will consistently turn it against the cut. Usually quite slow, maybe 100 rpm…maybe even less.

I’ve always had a pretty good eye for measurement, able to cut a board square with a skilsaw without a square and like that. Saturday I had the driver measured and my ancient slide caliper locked so I could get the cut-out precise. I got most of the cut-out done, expecting to enlarge it slightly to fit, and it was the perfect size. Just needed to bottom it out a bit.

The bevel cut around the center hole came after the fact, needed some room for the leads to come off the driver to the star. Picked up an almost new 23/32” drill bit and didn’t even mount it in a drill, held the copper and bit by hand and cut the top of the hole out for the wires to have relief room

That center hole saved me, had it been a convention star I would have had trouble adding that outside relief, as it were I threaded a #10 machine screw through the copper, wrapped it with a layer of masking tape, stuck the screw in the drill and again spun it up so I could cut it with the carbide bit in the rotary. Once close it was checked often until it dropped all the way into the light.

Amazingly, it was almost the same level of difficulty cutting the JB Weld to remove the .45 Long Colt cartridge! In spite of the heat the copper held, the epoxy held strong.

I used this same process when making the .50 BMG light, ended up holding that drill down with my left elbow so long I got a burn mark on my arm from the exhaust vents on the drill body. :wink:

What´s the material cost for such a triple Dropin?

Unknown, the short answer is yes.

You can do whatever you put your mind to. I made rings out of surgical titanium by boring a hole in a ti bar, cutting off the “ring” and mounting that on a rubber sanding arbor so I could spin it in my drill. I held the drill in a vise, while using a high speed steel planer blade held in my bare hands to cut the rings shape. This is Titanium mind you! I even cut the “comfort band” relief on the inside.

Made a matched set for myself and my wife, who divorced me about a month after that. Both rings ended up crushed in a vise.

My Aunt has one that I made for her, I’ll see if I can borrow it and get some pics. She wanted a robust high dome on hers, and it’s a small diameter as her hands are very small, a size 4 or 5 if I remember correctly. That made it a bit difficult too, but I managed. This was back in 2000.

Still have that drill (bought in ’91), used it to bore the center hole in the copper while the copper turned in the cordless. That ensured the hole would be concentric. :slight_smile:

I guess it’s a measure of stubborness. I was told I couldn’t work with titanium with home tools. Don’t like being told what I can and cannot do. :wink:

Mr. CG, the total cost is around $30. I think.

$18.50 for the 3 components of the light at solarforceflashlight-sales
$3.60 an inch for .8125” oxygen free copper at onlinemetals.com (plus shipping)
$16.82 for the copper triple board with XP-G2 R5 2B emitters already re-flowed at Intl-Outdoor.com (Edit: I got a bare board and reflowed them myself on the stove top)
Edit: Forgot to add the $2.79 I paid for the Carclo 10507 TIR Triple (paid too much from Mouser)

Already had JB Weld and Arctic Silver Thermal Adhesive, Solder and all the incidentals.

So $38.94 in materials costs plus the shipping at onlinemetals.com which is always high. Plus an 18350 cell.

The host itself can be had in a DIY kit form that has a protruding clicky switch which I do not like for $17.99. I bought the host body by itself for $7.99, a standard head for $3.99 (The knurled T2 head with stainless bezel is really nice on this little light by the way) and a standard recessed clicky tailcap for $6.50 (Again, a crenelated SS tail cap is more and looks awesome on this short light, the 2 pronged model is least likely to do pocket damage) So there will be some options that can run up costs. You can also find a standard host that takes an 18650 for some $12 much of the time.