

Introduction
From the day that this flashlight was listed on Banggood's web site I was lik: "that one, I want that one". It reminded me of one of my first flashlights that I bought FandyFire C108 and I liked that one so much, until I short circuited emitter via reflector and fried the driver.
Manufacturer's specifications are pretty accurate and here is what they say:
Manufacturer's specification |
|
LED type: |
XM-L2 (800 lumens) |
Supported bat.: |
1 x 18650 |
Switch: |
Side - micro switch |
Modes: |
High/Medium/Low + "Stepless adjusted" |
Reflector: |
Aluminum alloy smooth reflective cup |
Body: |
Aluminum/ Color: black (actually more like dark gray) |
Lense: |
Optical glass lenses, thickness: 1.45mm |
Accessories: |
Spare O-rings and lanyard |
Overall dimensions: |
Diameter: 44.4mm (head), 27.35mm (tailcap), |
Supplier: |
|
Price: |
Review sample |
Anyway, after couple weeks of anticipation usual "don't worry my friend everything will be OK" package showed up in my mailbox:

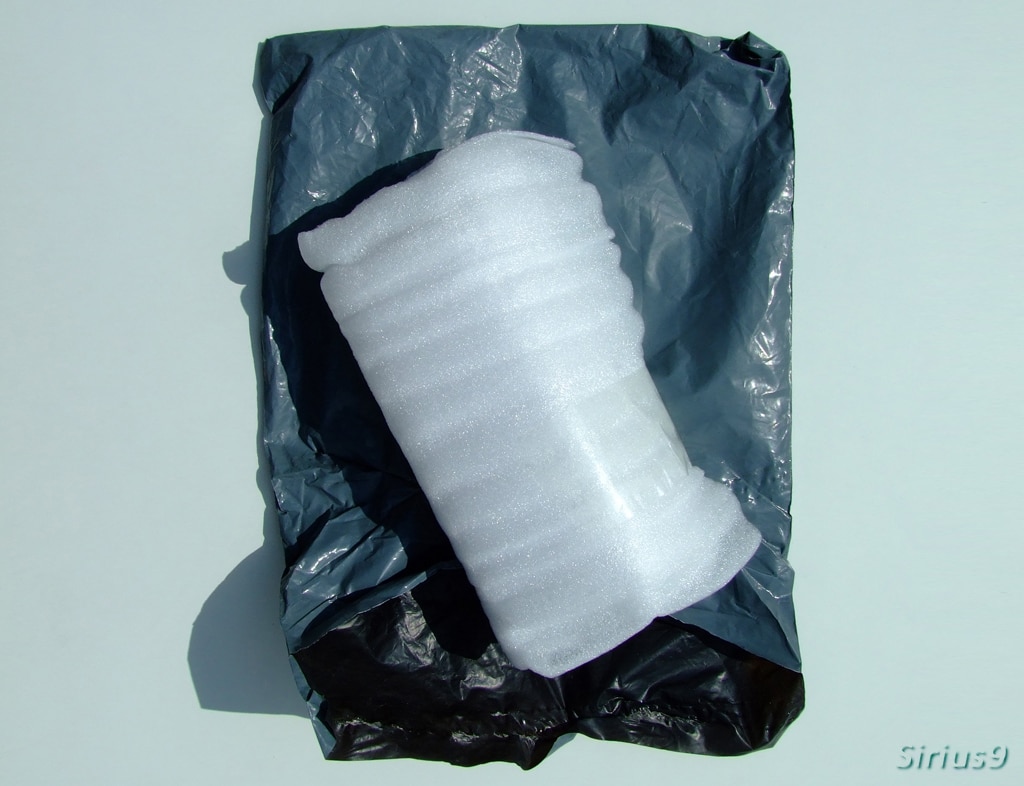
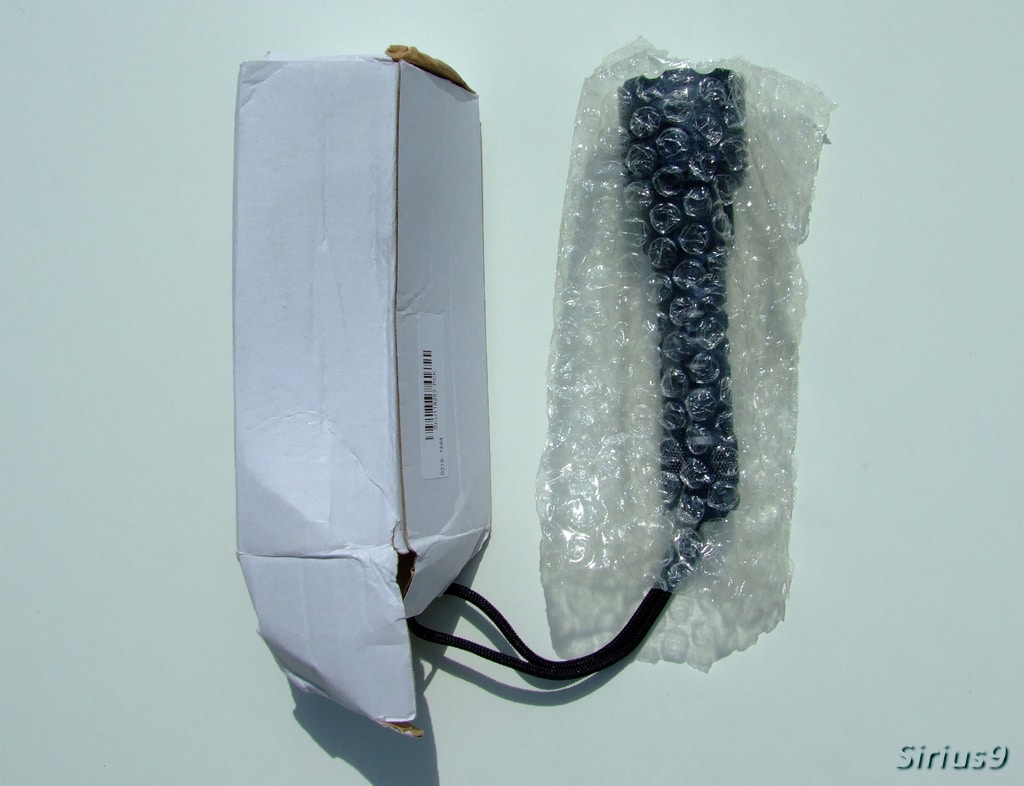
Despite bashed box, packaging material was just sufficient to save the flashlight from any dents and scratches that could occur while in transport. I was actually surprised in how good conditions this light arrived, machining job is excellent, anodisation is, for this price range, flawless, since different parts of the flashlight require different anodizing setups sometimes color mismatch can occur but not this time.
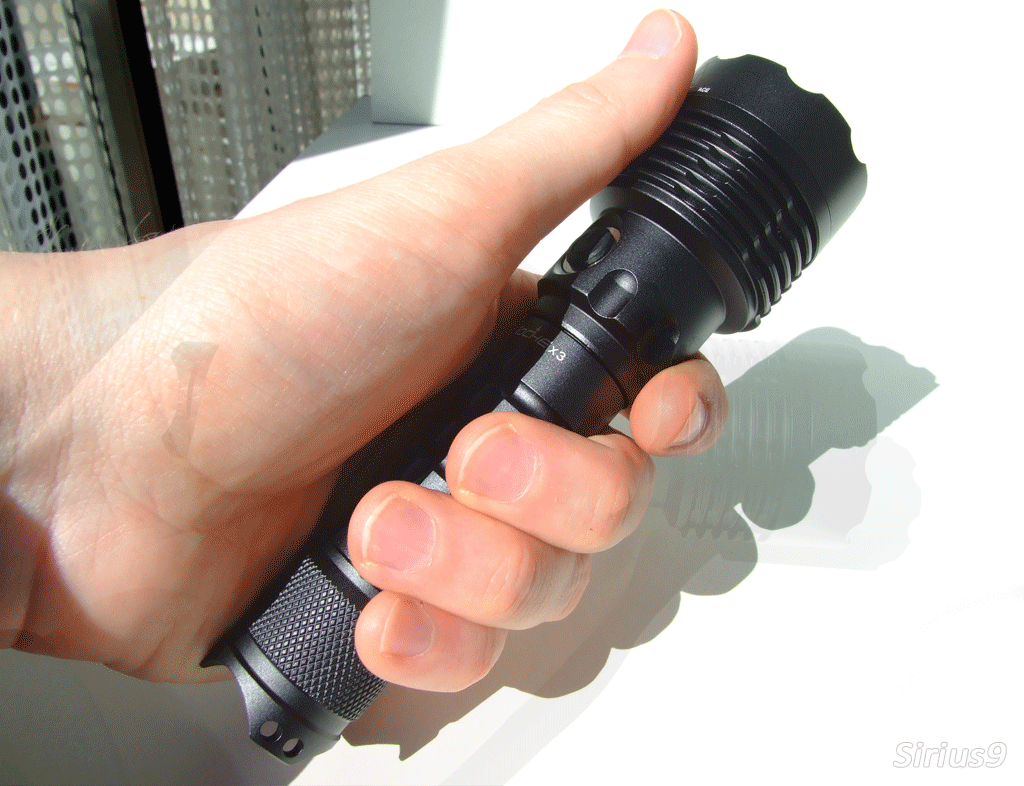
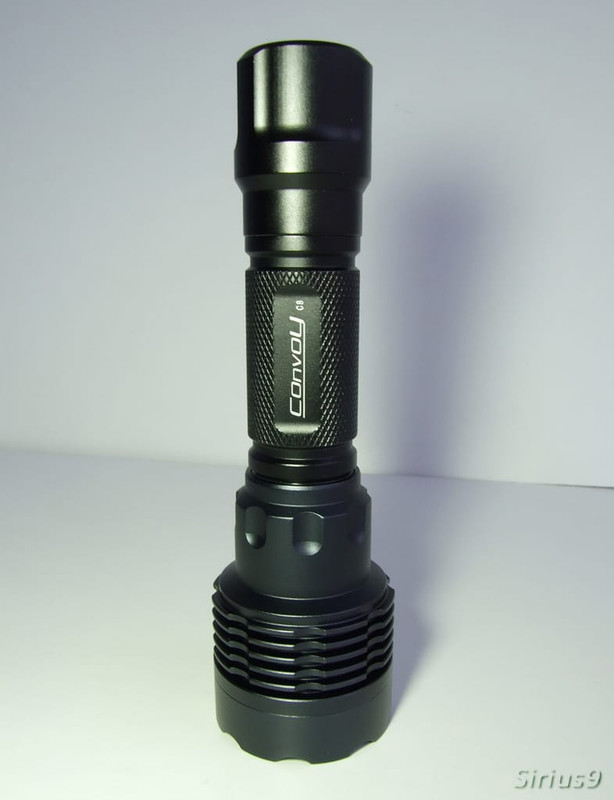
Let's see what else we have here: it fits nicely in medium sized hands, not too big and not too small, overall good hand grip, grooves on the battery tube are fairly deep so, that helps. Fits most pockets also.
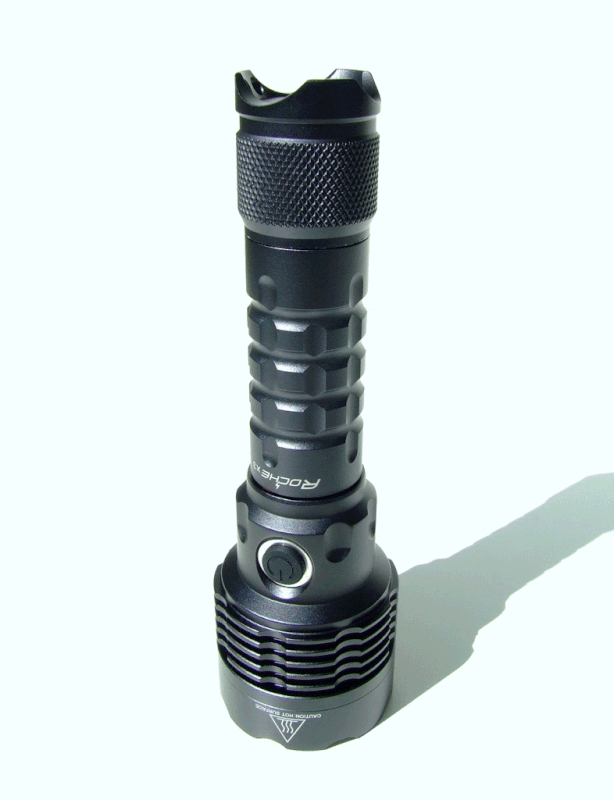
Only visual drawback of this flashlight would be tailcap, I guess that guy that made mine didn't have a good day at work, I presume that this dents were from before of anodisation since there is no exposed aluminum underneath. Knurling on a taicap is pretty smooth, feels nice.
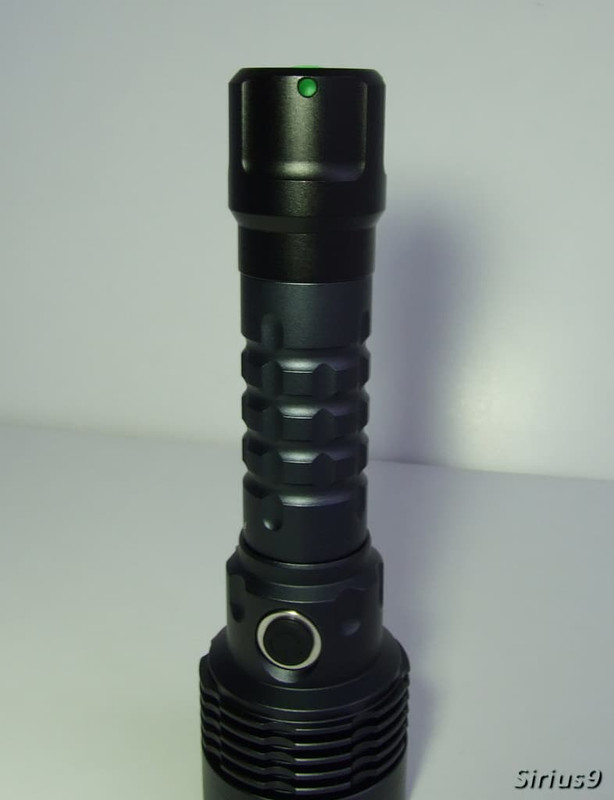
I am not sure why they didn't put regular clicky switch since there is about 14 mm thick material that could be removed from inside of the tailcap. That would add a buck or two to the price and it's not absolutely necessary because you can lockout the light easily and it wouldn't make much difference for the UI, but it would be nice to have it...
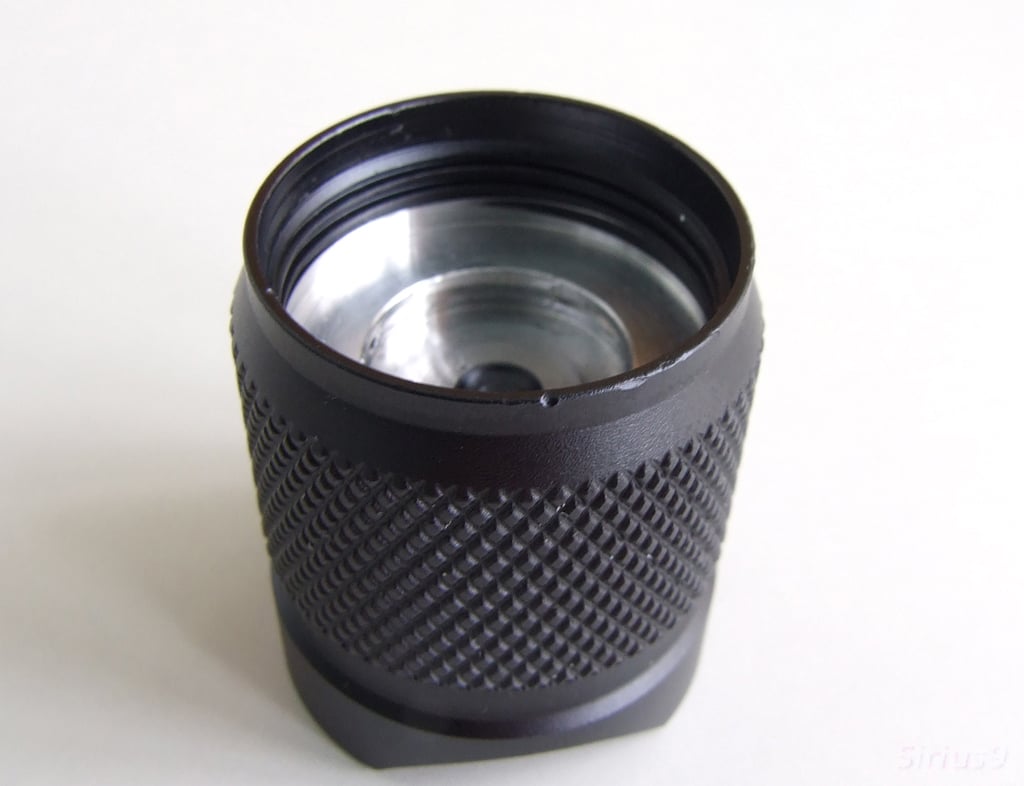

on other hand, tailcap is perfect for tailstandind and it's equipped with humongous spring, which is btw, royal pain in the you-know-where to remove so if you don't have to just leave it be.
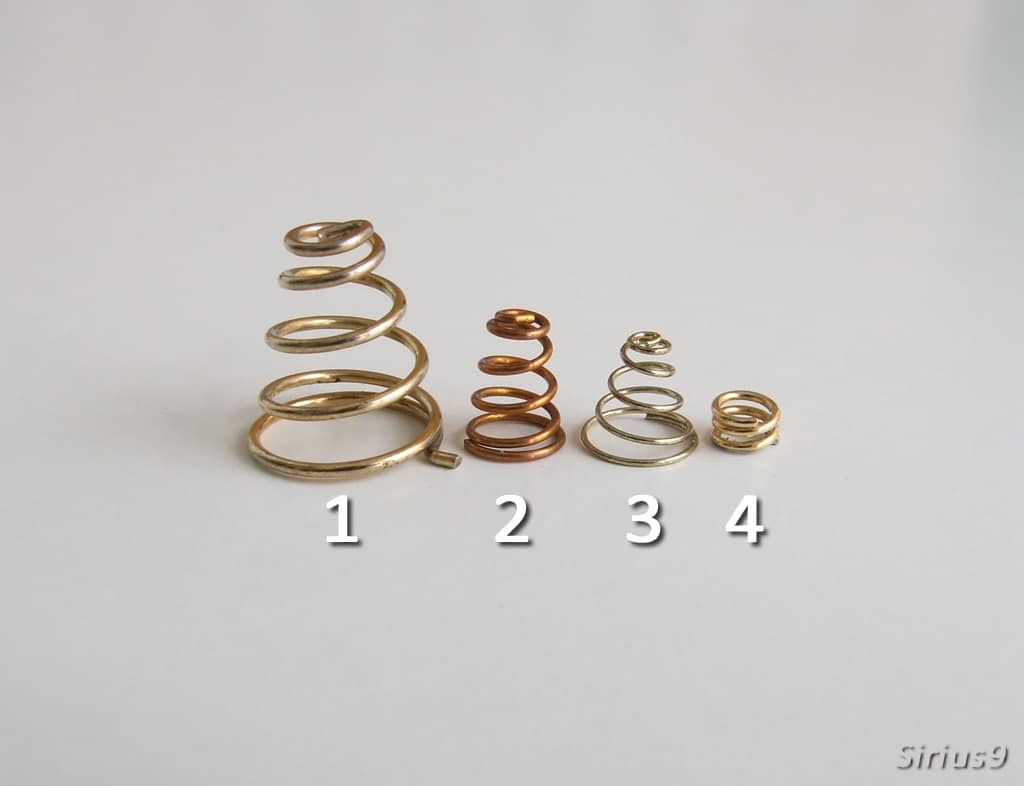
1 - Roche X3; 2 - cheap ordinary spring from FT; 3 - spring from TR-A9-2; 4 - Nanjg 105C spring
As I said, the spring is huge and sturdy, made from 1.00mm thick material, I doubt that you would gain something by adding copper braided wire (goot wick) to it.

All threads are square cut, most of them are anodised too, so you can lockout the flashlight from both ends of the battery tube:

and, of course there is no a single gram of grease anywhere, but that could be a good thing :) you won't have to clean it when disassembling and you can apply your favorite grease, after which screwing and unscrewing operation will feel and sound (it doesn't squeak without the grease but it just sounds nicer with it) much nicer.
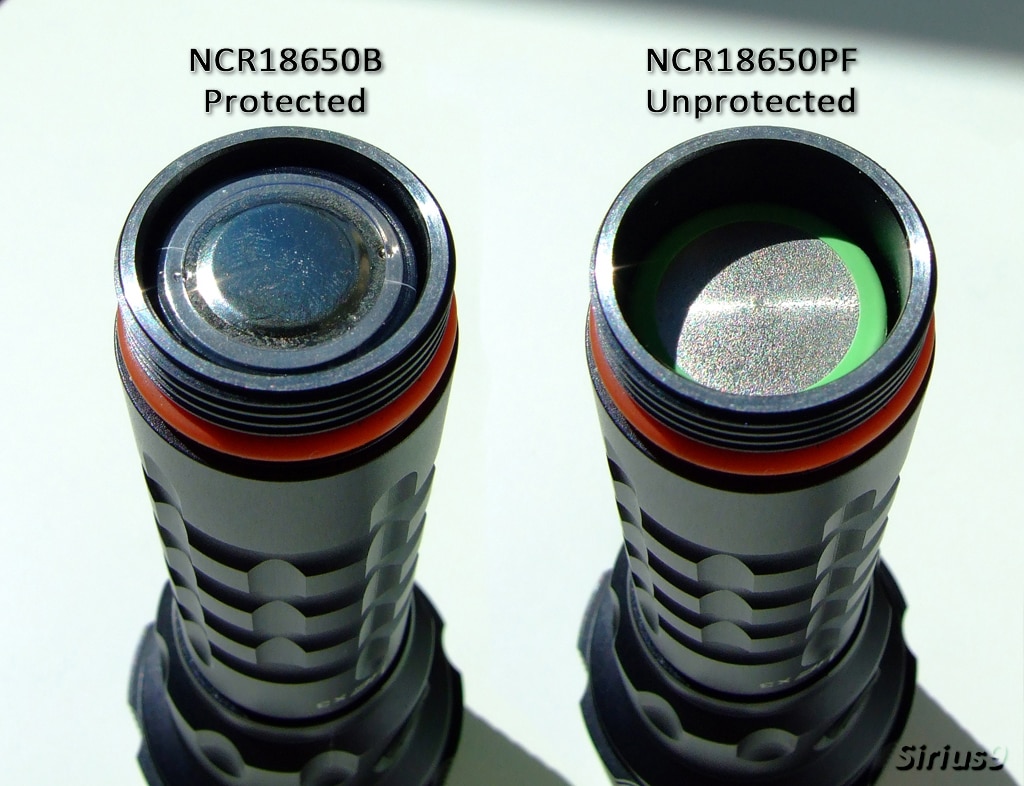
Unprotected batteries will fit nicely but protected ones will be fairly squeezed and Indentation of contact points can occur. (sorry about the fingerprint)
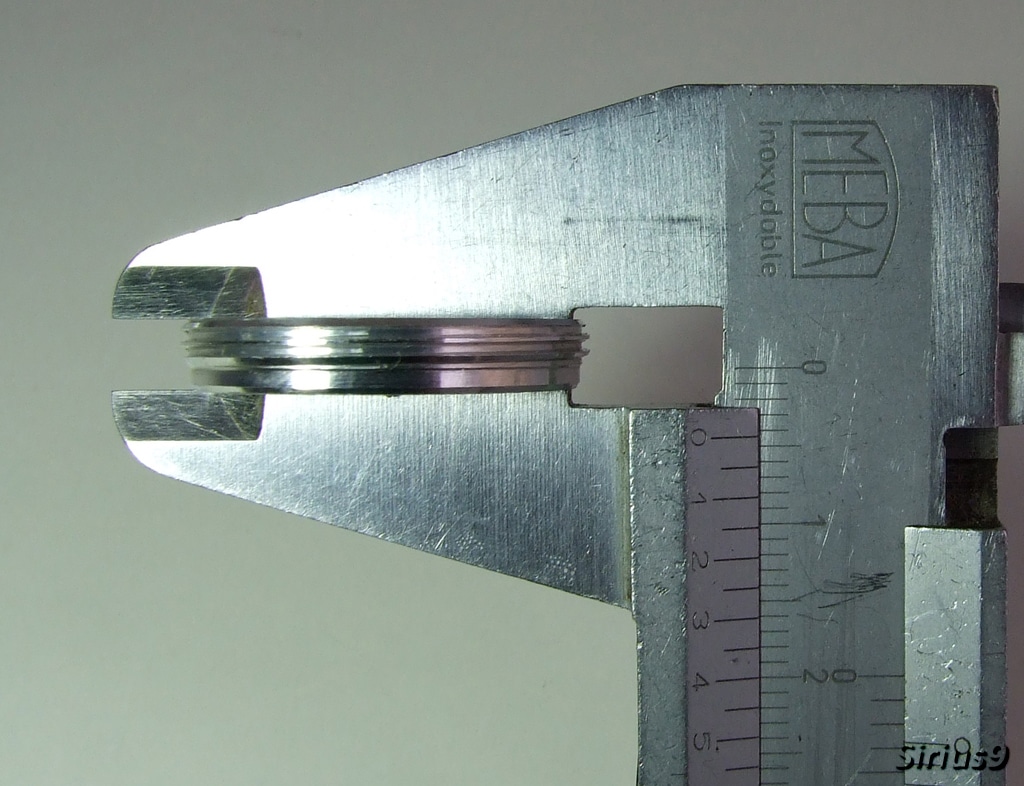
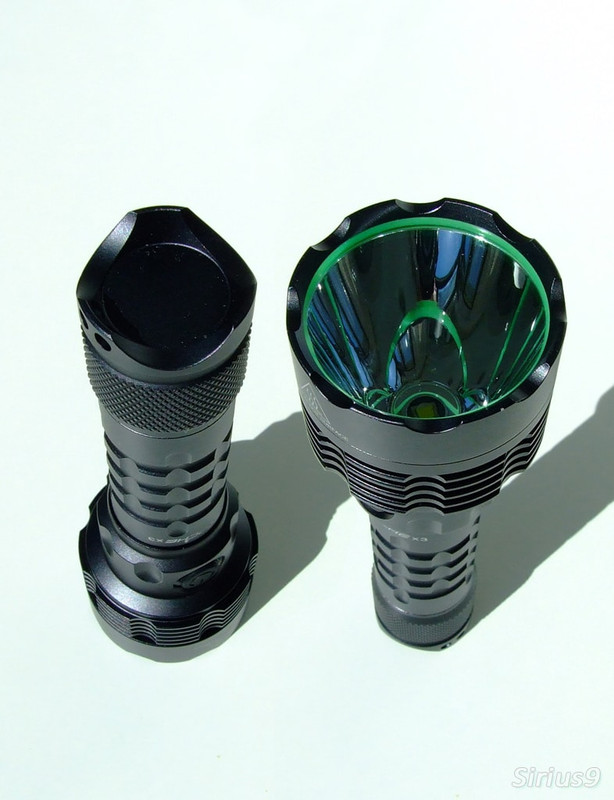
Next: business end compared to Convoy C8 (with Convoy L4 SMO reflector):
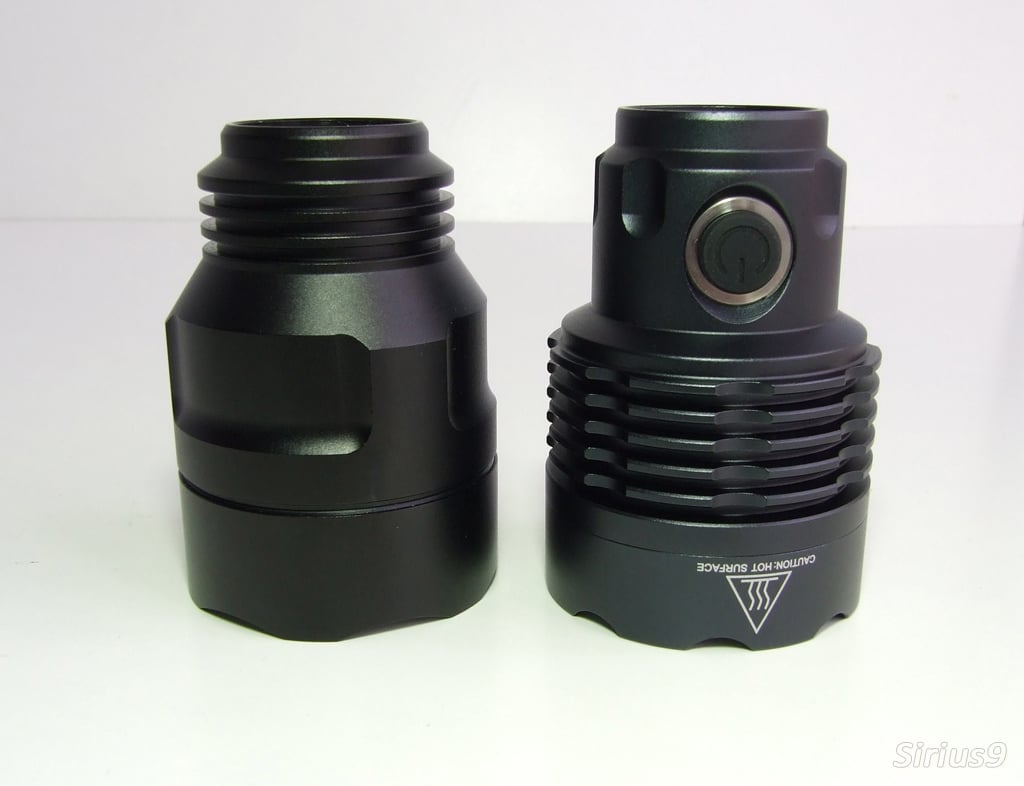
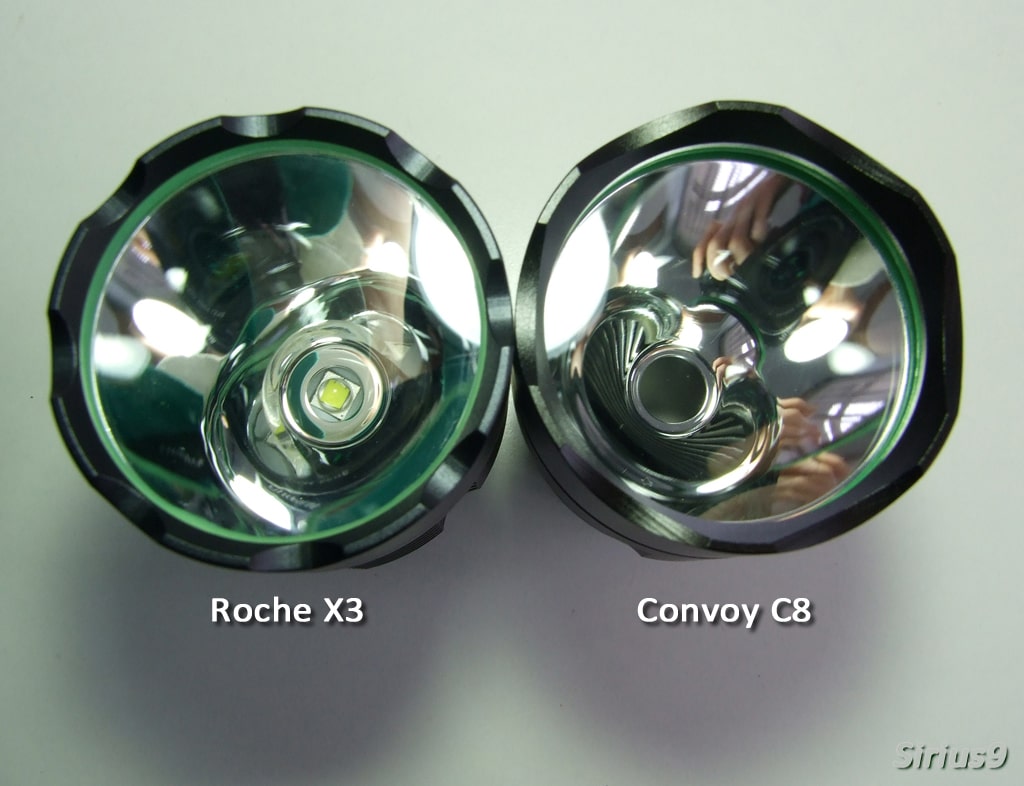

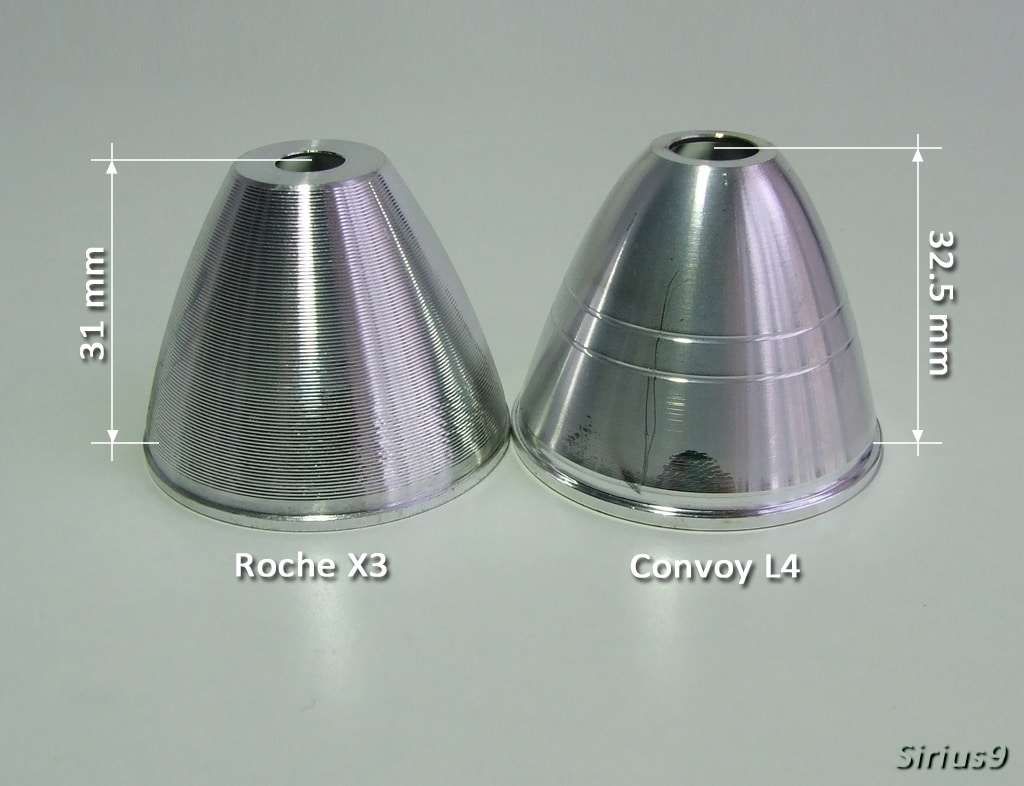
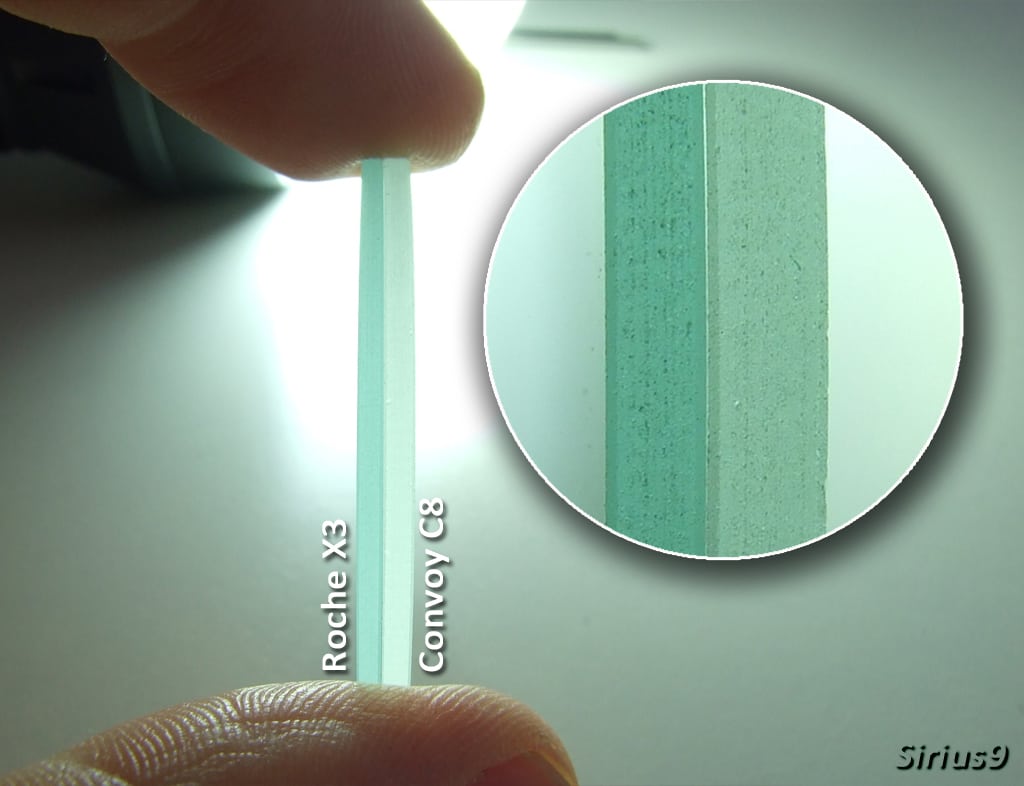
As you can see, Roche X3, Convoy C8 and Convoy L4 are pretty much in the same size range, almost identical, reflector is only 1.5mm shorter and the glass lens is a bit thinner, also no AR coating on it, pity...
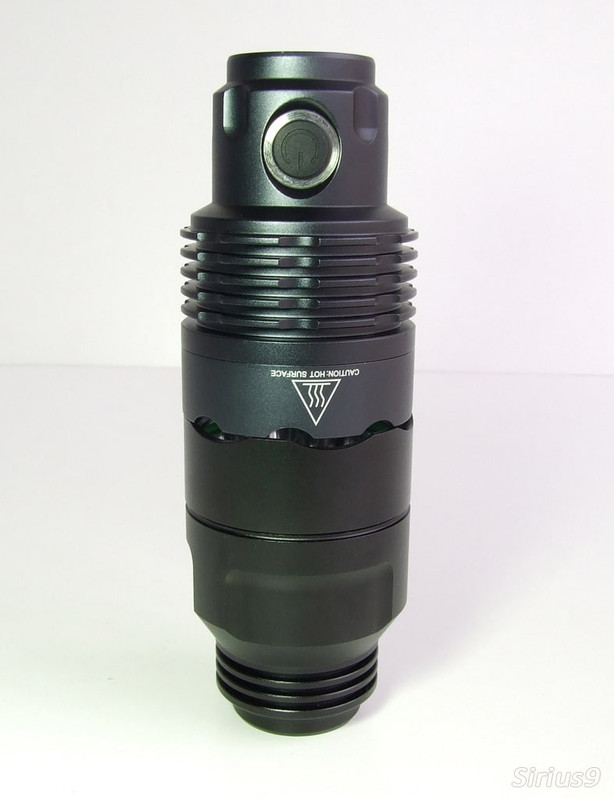
Moving along with disassembly process:
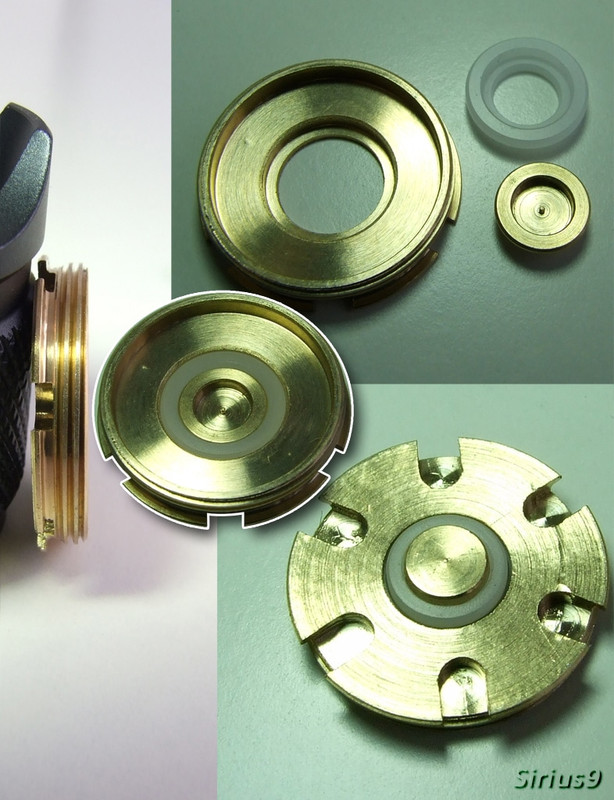
They really did a job on this driver retaining ring, a lot of lathe work, lot of milling for one small part with such a simple function. Don't get me wrong, I like it, looks nice so thanks to whoever made you, but it was a waste of time imo! O, and one important thing, it has a counter thread so, turn clockwise to unscrew.


If/when you start disassembling the driver, pay attention to this little thingy here:
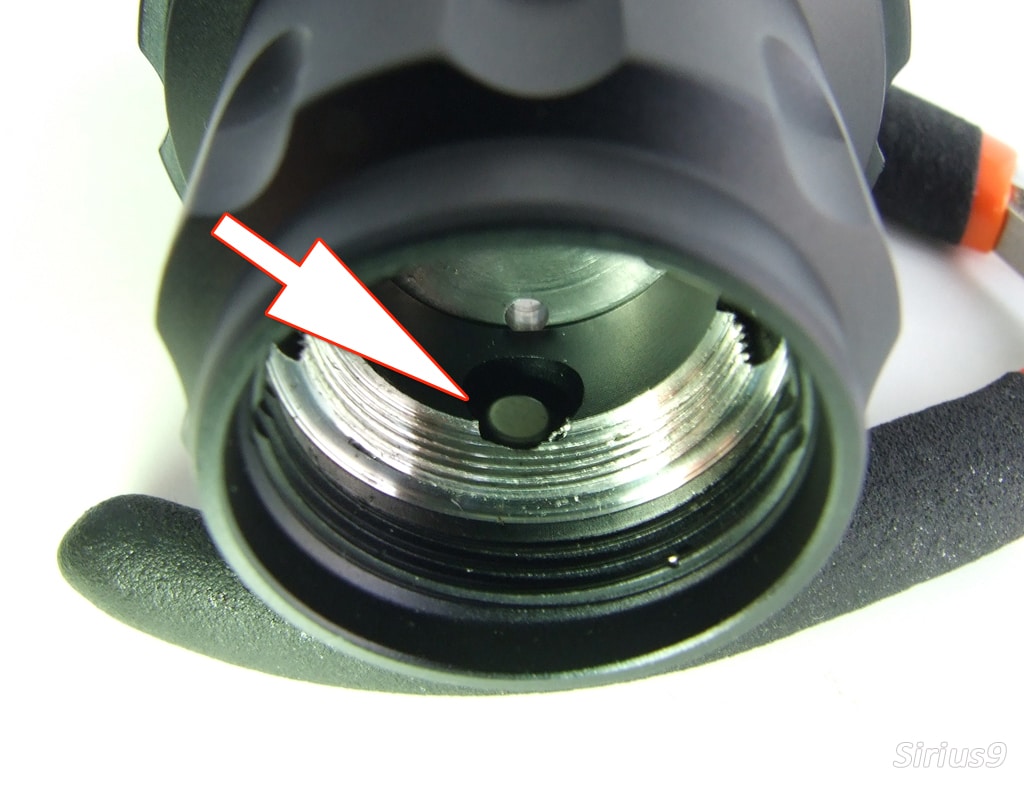
you misplace that and your switch won't work anymore...
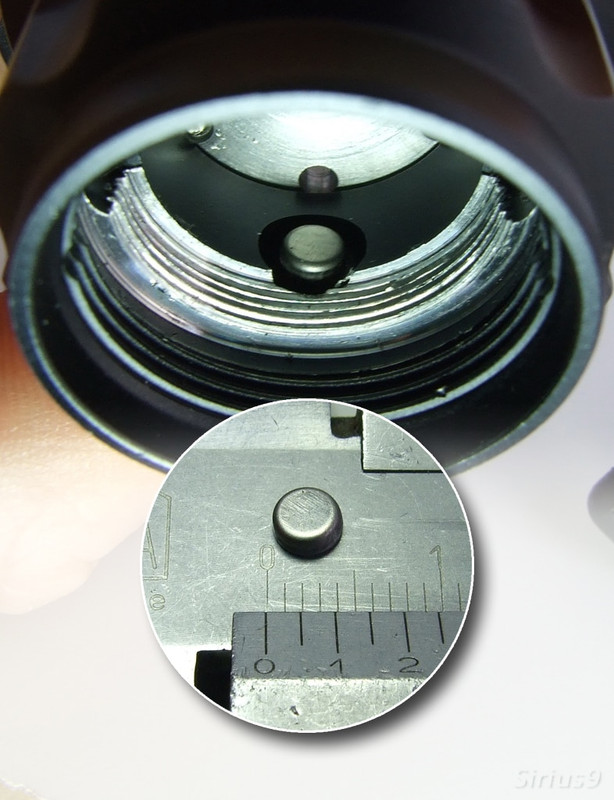
Since switch stem is a little bit shorter than it should be this metal, 1.5mm thick cap is used to make the switch work and it is held in place by the switch which is pushing it against the rubber boot. How fiddly this solution is I am actually surprised that it works with no problems, but it would be best to stuck it to the switch with a litle bit of super glue or fujik thermal adhesive.
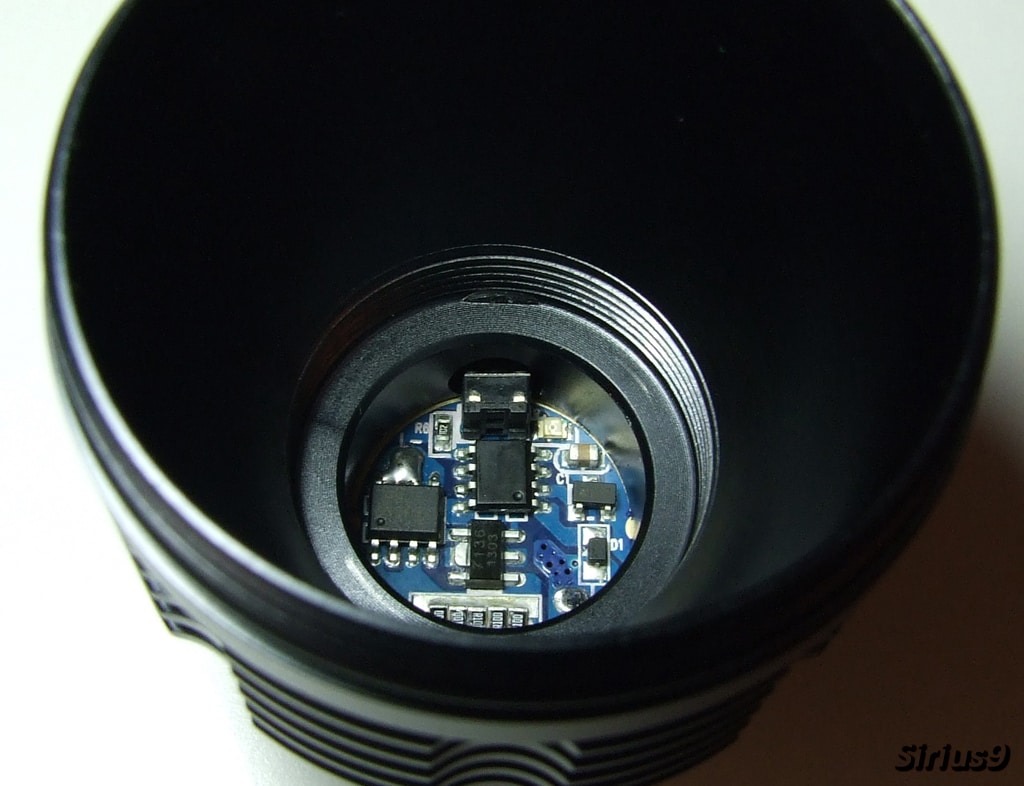
Driver is interesting story also:
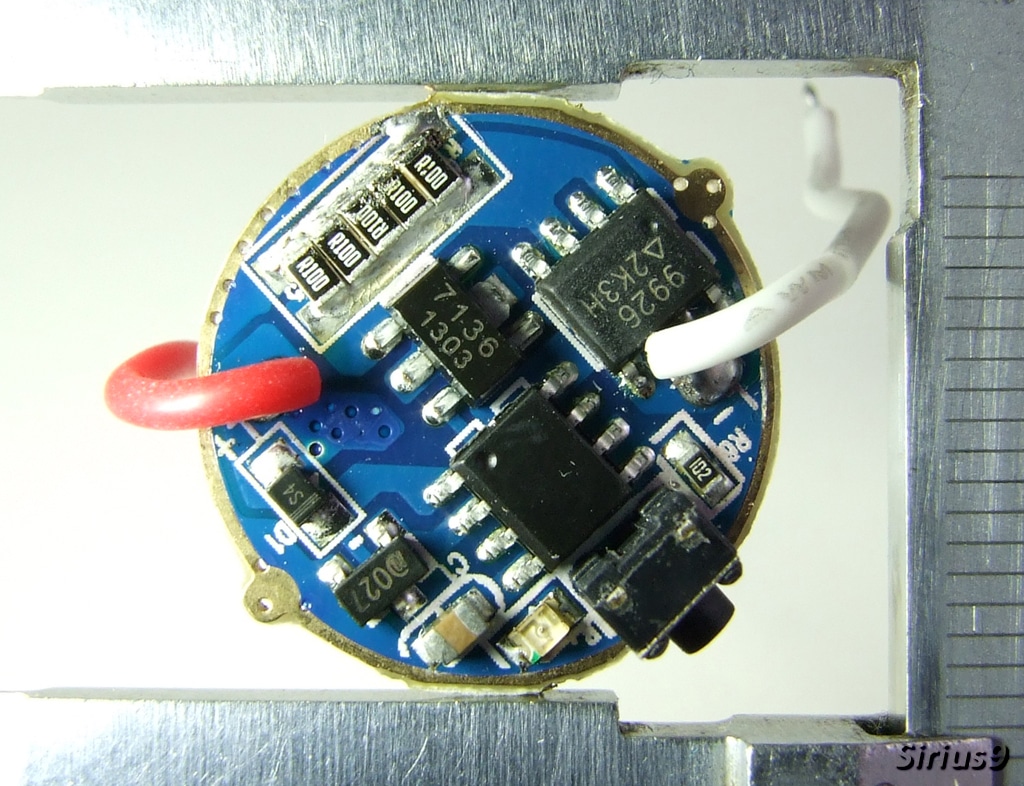
First thing that caught my attention is, of course, the row of R100 (0.1 Ω) resistors. There is 5 of them in parallel. I am no electronic wizard but I am pretty sure that those are current limiting resistors, together they make resistance of 0.02 Ω, adding 2 x R100 would lower the resistance to 0.0142 Ω or +5 x R100 = 0.01 Ω or one could just remove them all and solder a braided wire across the pads  My plan was to find some R100 or R050, R020 resistor and do some testing before I remove them all but I wasn't able to find any.
  (further investigation revealed that Dual N-channel Tranistor marked with 9926 is limited to 5A continuous drain (25A pulsed)... long story short: adding some resistors to lower total resistance would be better solution than short circuit, if you plan to use high drain batteries like NCR18650PF, but I might be totally wrong here).
Short glance at MCU's pins would suggest that this is not our beloved Atmel Attiny13a, probably some PIC F-something...
Second interesting thing about the driver would be this:
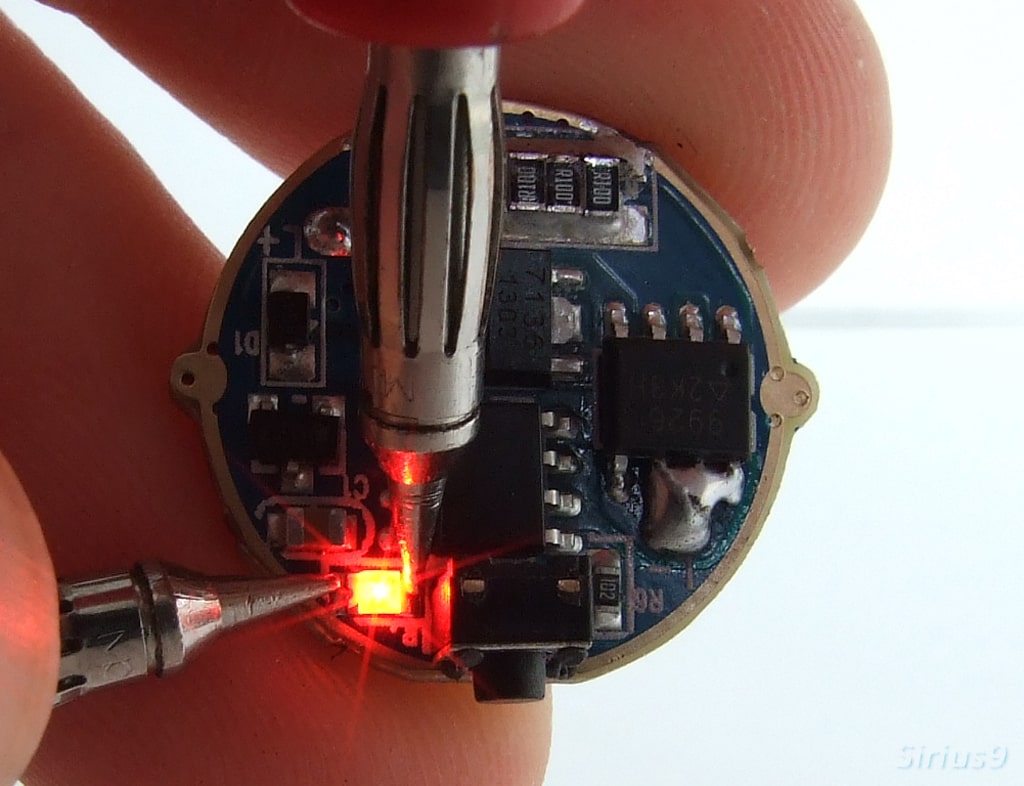
O yeah, it has an indicating red diode  unfortunately brainstorming session of designers for this product did not cover the question: "How are we going to make this visible to the user?" so, the diode is there, maybe it works, maybe not, who knows since you can't see it
Edit: after some testing here is what I concluded: indication red diode will start shining when voltage drops to about 2.95V - 3V (depending in which mode you are), at the same time you will get one short blink (power off) from emitter every 4 seconds telling you that you should charge the battery, short tap will turn flashlight off, but if you forgot or don't notice blinking and leave the light on it will continue to blink to 2.85v after that only red diode will stay on. So, there is a low voltage warning but it does not turn off the flashlight completely. Theoretically, if you leave it like that for too long it could discharge unprotected battery under 2.5V.
User interface
UI is easy to use but it has some "features" that designers didn't think through enough. Press and hold about half the second to power on, after that it's one short tap to progress from high to mid to low and then back to high etc. To power off you just hold the button for about 1 second.
There is a mode memory so the flashlight will power on in the mode from which it was powered off.
But, to make it more interesting there is that thing called "Stepless adjusted mode". No matter in which mode you are (flashlight must be ON) double tap and you will enter to ramping down "mode". Since short tap will be interpreted as "go to next mode" command, driver will, after first tap, switch to next mode (high->mid->min->back to high) and then after second tap it will enter ramping. Driver will start to ramp down from high to low, which takes 9 seconds, after that it will do a short power off cycle (about half the second) and then start ramping again from high. There is no pause when in highest position, no pause or any other indication that you are in lowest position.
Short tap will act as pause meaning that ramping will stop until you do another short tap to continue with ramping. If you execute double-tap you will return to one of the fixed modes (high, mid, low) from which you entered in a ramping mode.
A bit confusing is that sometimes when you enter ramping mode driver will start ramping down immediately and sometimes it will blink once (meaning short power off cicle) and then pause in ramping mode waiting for next command, one short tap in this phase and it will start ramping.
One more thing, ramping mode has its own memory so every time you enter ramping mode it will continue where it left last time with ramping but if you power off the flashlihgt while in ramping mode it will not return to ramping at next power on but to the mode from which you entered ramping...
I can see this as "set your own modes" feature in some of the next incarnations of this driver (something like: enter the mode you want to change, then activate ramping with double click, one short tap to stop when satisfied with light output and then just exit ramping with long press or double click and that would set the light intensity for that particular mode) but for now, I am not sure how useful this is or do I like it at all...
Little bit about the current draw (measured at tailcap with fully charged NCR18650PF and Samsung ICR18650-26FU):
|
High | Mid |
Low |
Roche X3 |
2.52A |
0.82A | 0,21A |
Convoy L4 |
2.94A |
0.81A |
~0.07A |
Unfortunately my multimeter is a bit old and it doesn't have resolution to measure anything below 1 mA so I am not able to tell how much is the parasitic current draw in "OFF" state.
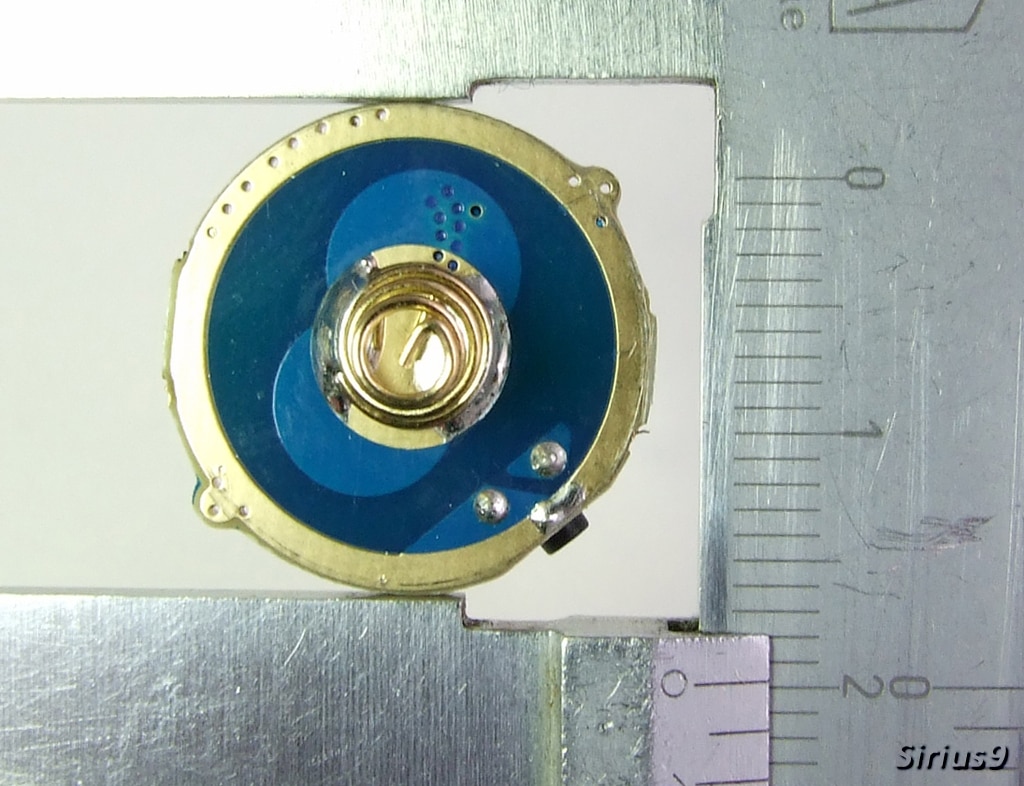
All we have left now is to examine the pill:
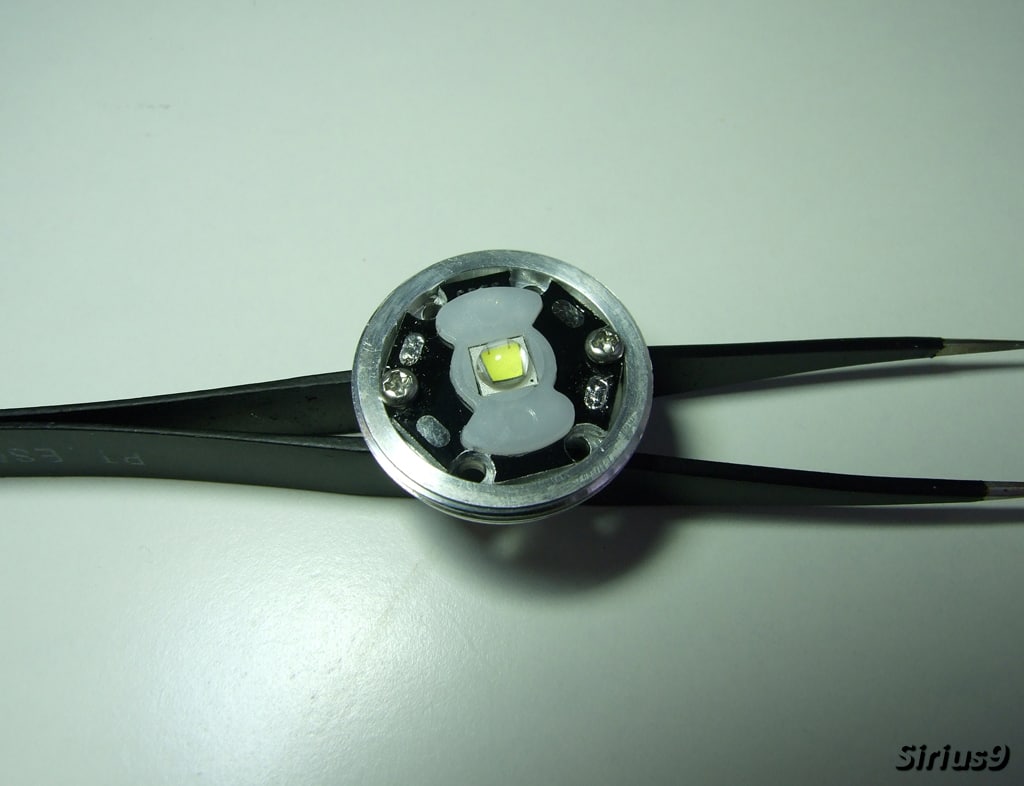
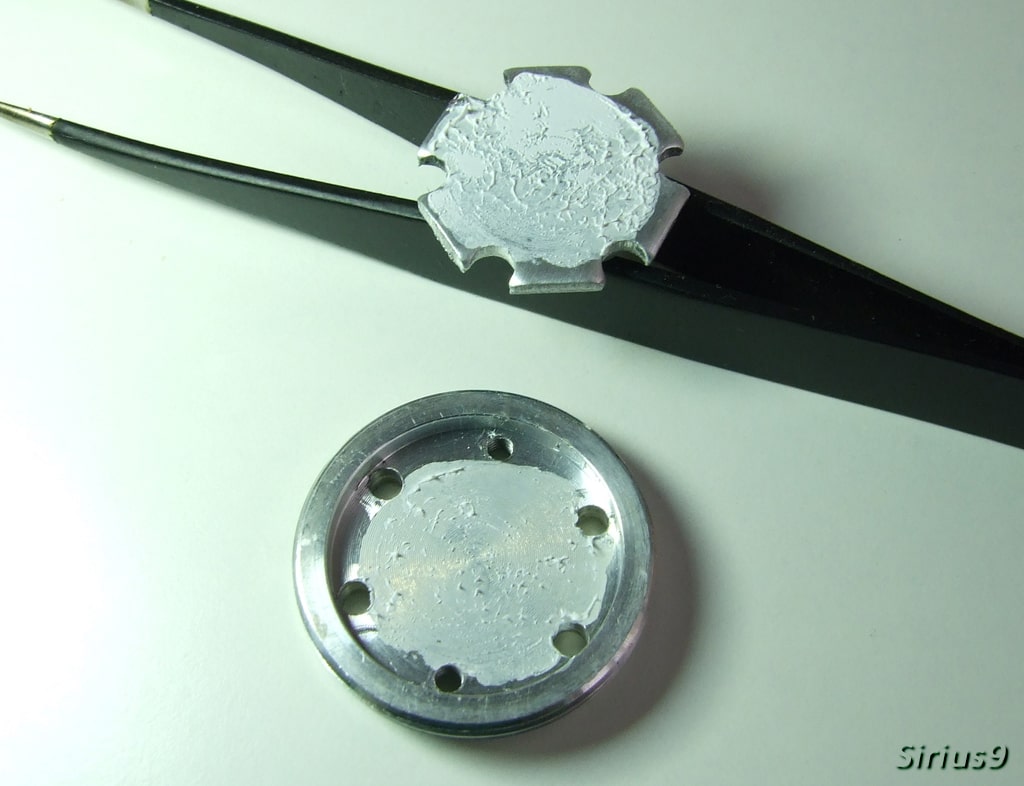
Yeah, no joke, that is it, 4.4 mm of lean and mean aluminum :D (actually a bit less because the star is recessed in it) but it works, after ~10 minutes in high mode even the tailcap is warm to touch but the flashlight is not uncomfortably hot to hold. There could be a 3 or 4 mm more of meat but that is it, I wonder if some thermal grease on threads would make a difference?
Pros:
- Very nice design & finish (sleek look)
- Square cut threads everywhere
- Love the side switch
- Tailstands with lanyard
Cons:
- No AR coated lense
- "Can't see indicating red diode" screw up
So-so:
- Confusing UI, it works ok but it could be better
- Few dents on a tailcap - possibly my sample only
- Really wish if that pill was a bit thicker
Overall impressions
Biggest surprise for me (after I disassemble the flashlight and also considering the price) was actually amount of work that is put into manufacturing this flashlight, they did excelent work on machining the body, deburring it (no sharp edges whatsoever), anodizing, it is clear that there is quite a few steps involved and time devoted to this product, it's pity they didn't devote a bit more time to planning and product development phase, using clear/plastic ring around the button would make that red indicating diode visible, also there is plenty of space in the tailcap to incorporate tailcap switch, that would be nice bonus, using that small metal, possibly problematic, riser/spacer for the switch could be avoided by using switch with longer stem...
Other than that I would say this is definitely a flashlight worth the money, big thumbs up from me :)
Couple more pictures (right mouse click on the picture that you want to see bigger -> "View Image" in firefox or "Open image in new tab" in Chrome):

Big thanks to Banggood for supplying me with this nice flashlight.


