Note: 12/5/2014 - My New Revised Setup is in Post#13.
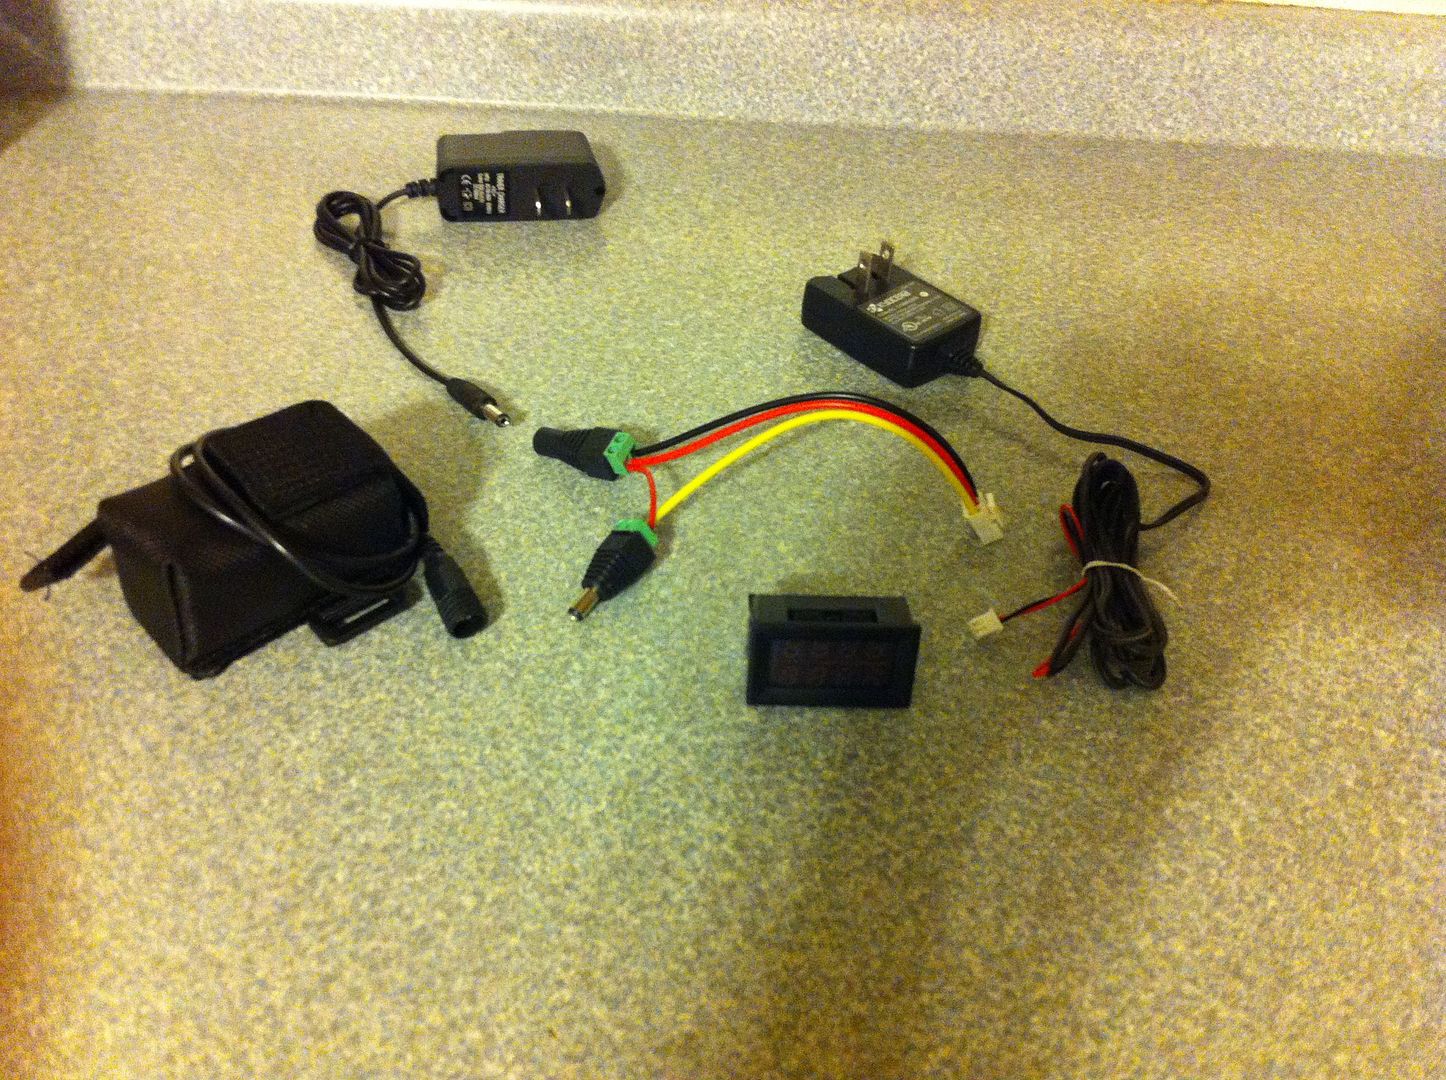
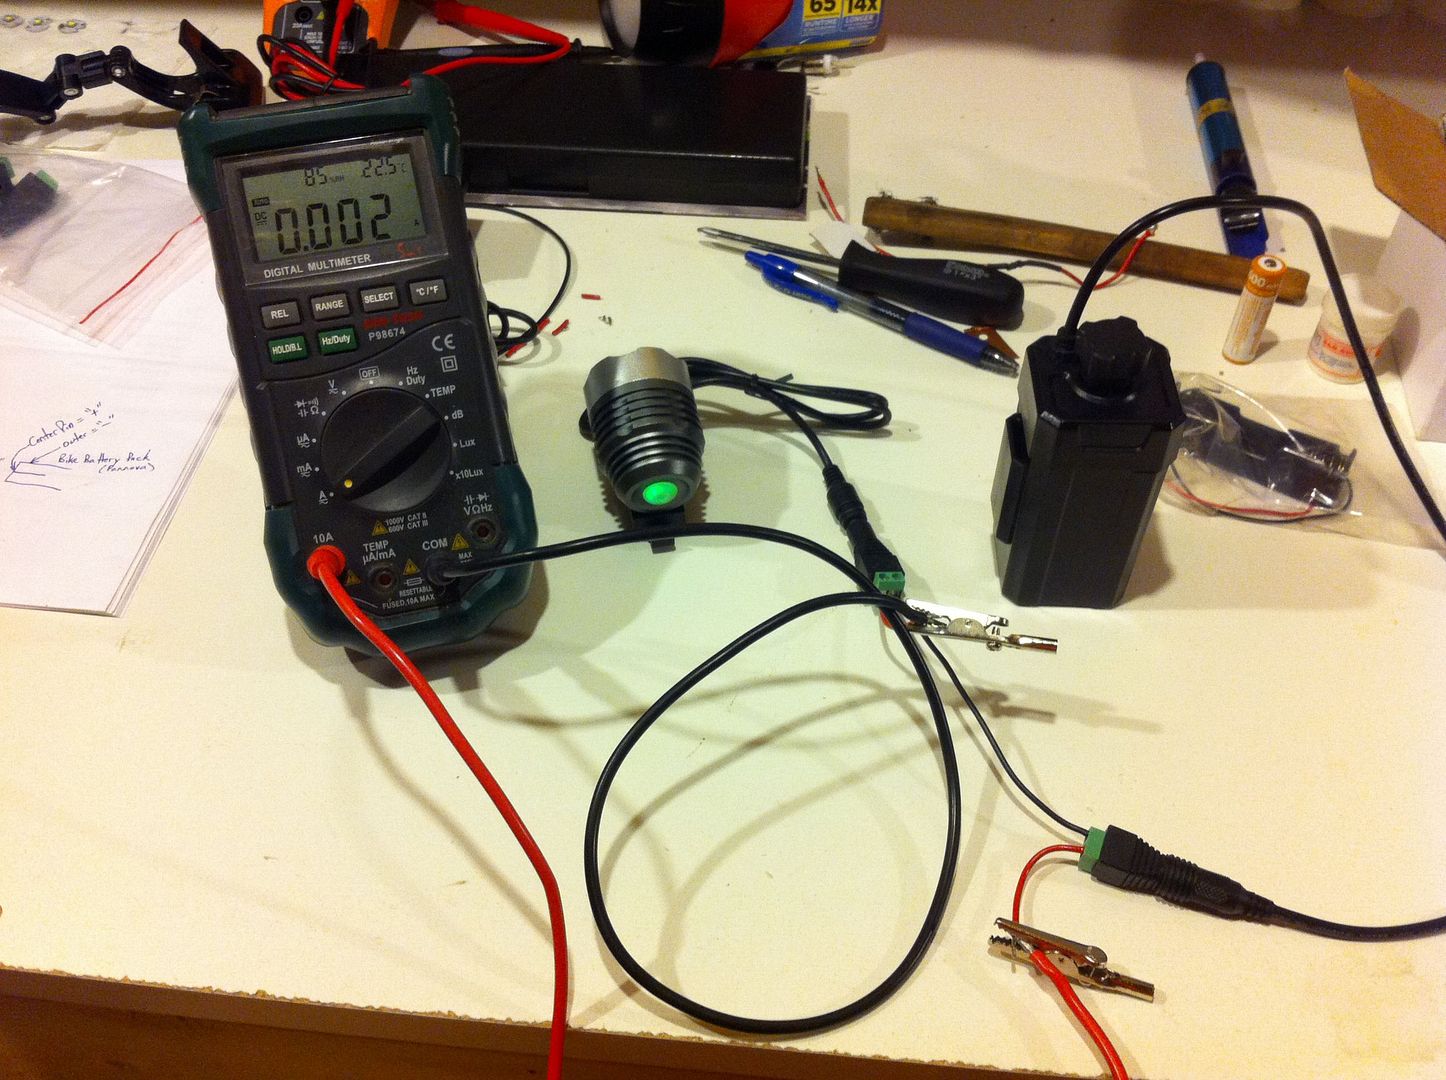
I wanted a way to measure the current pulled from a battery pack of bike lights, did some ebay searching for power connectors, stumbled on these for CCTV use, and came up with this idea:
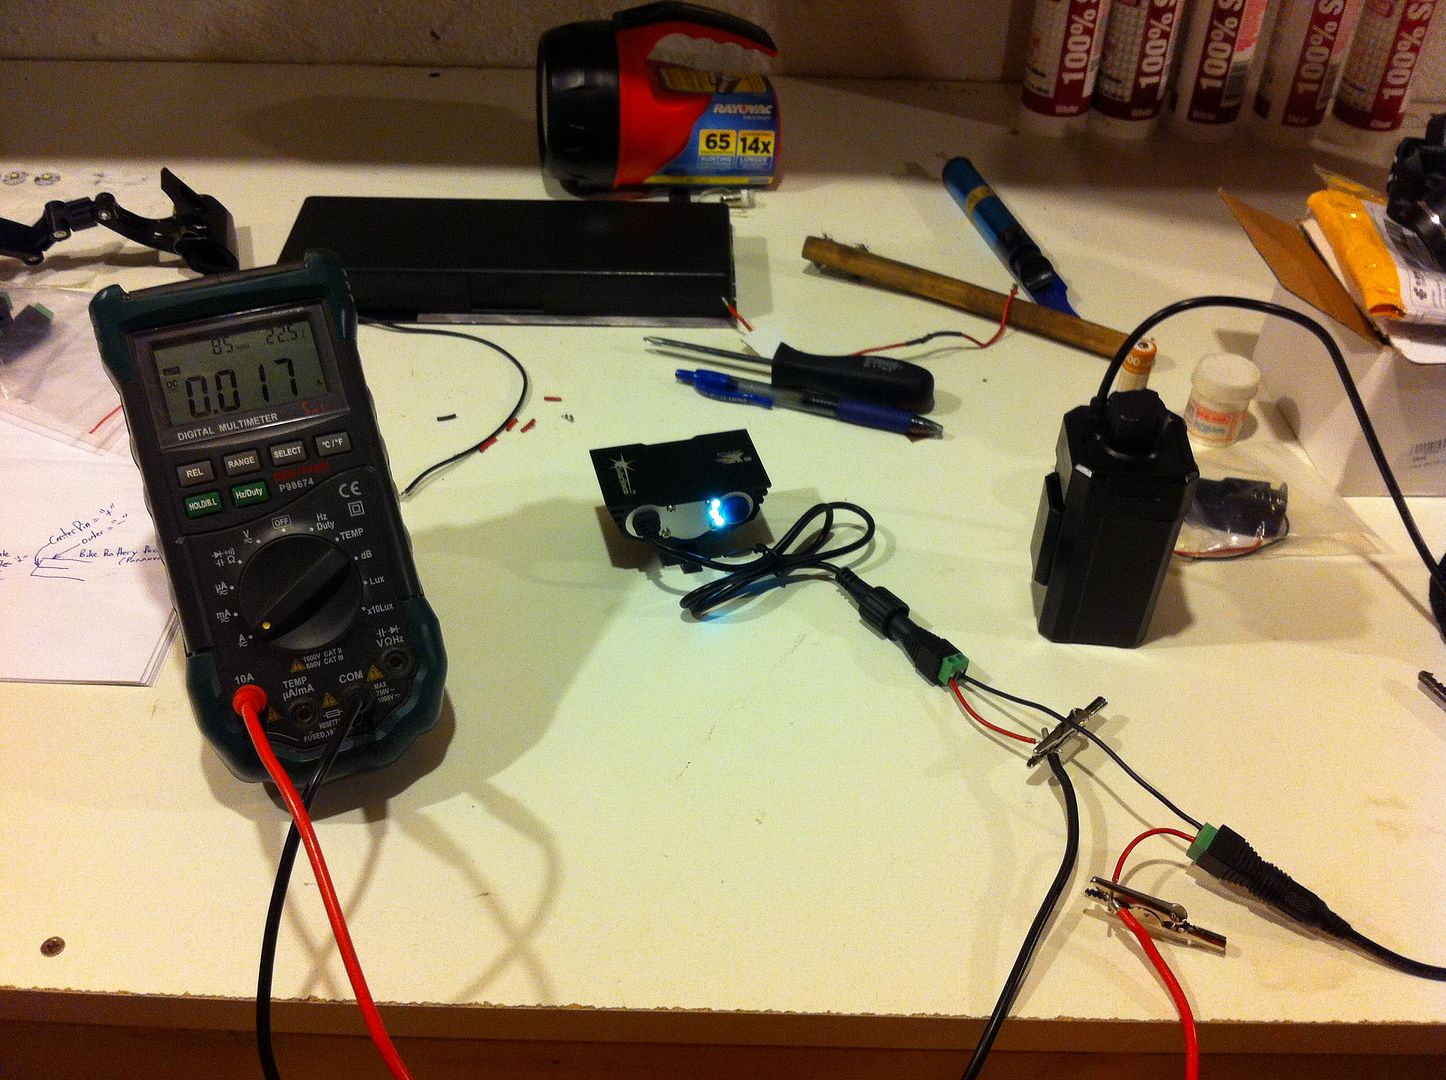
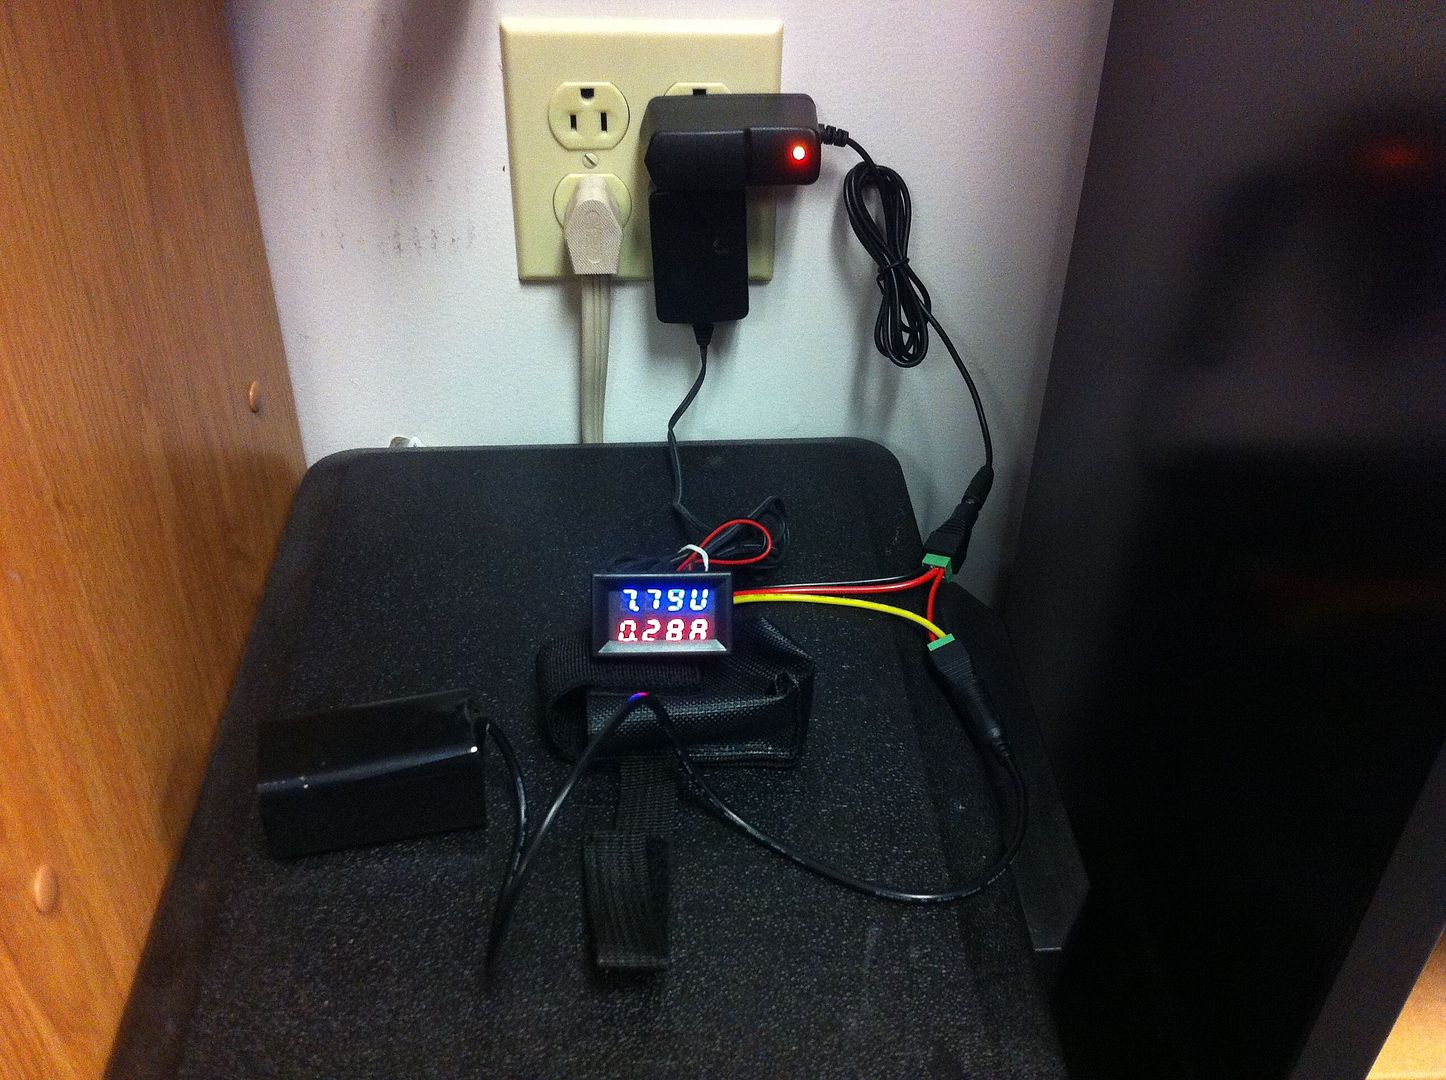
That photo above is showing the current pulled when the light is off. I then just simply use the switch to toggle modes:
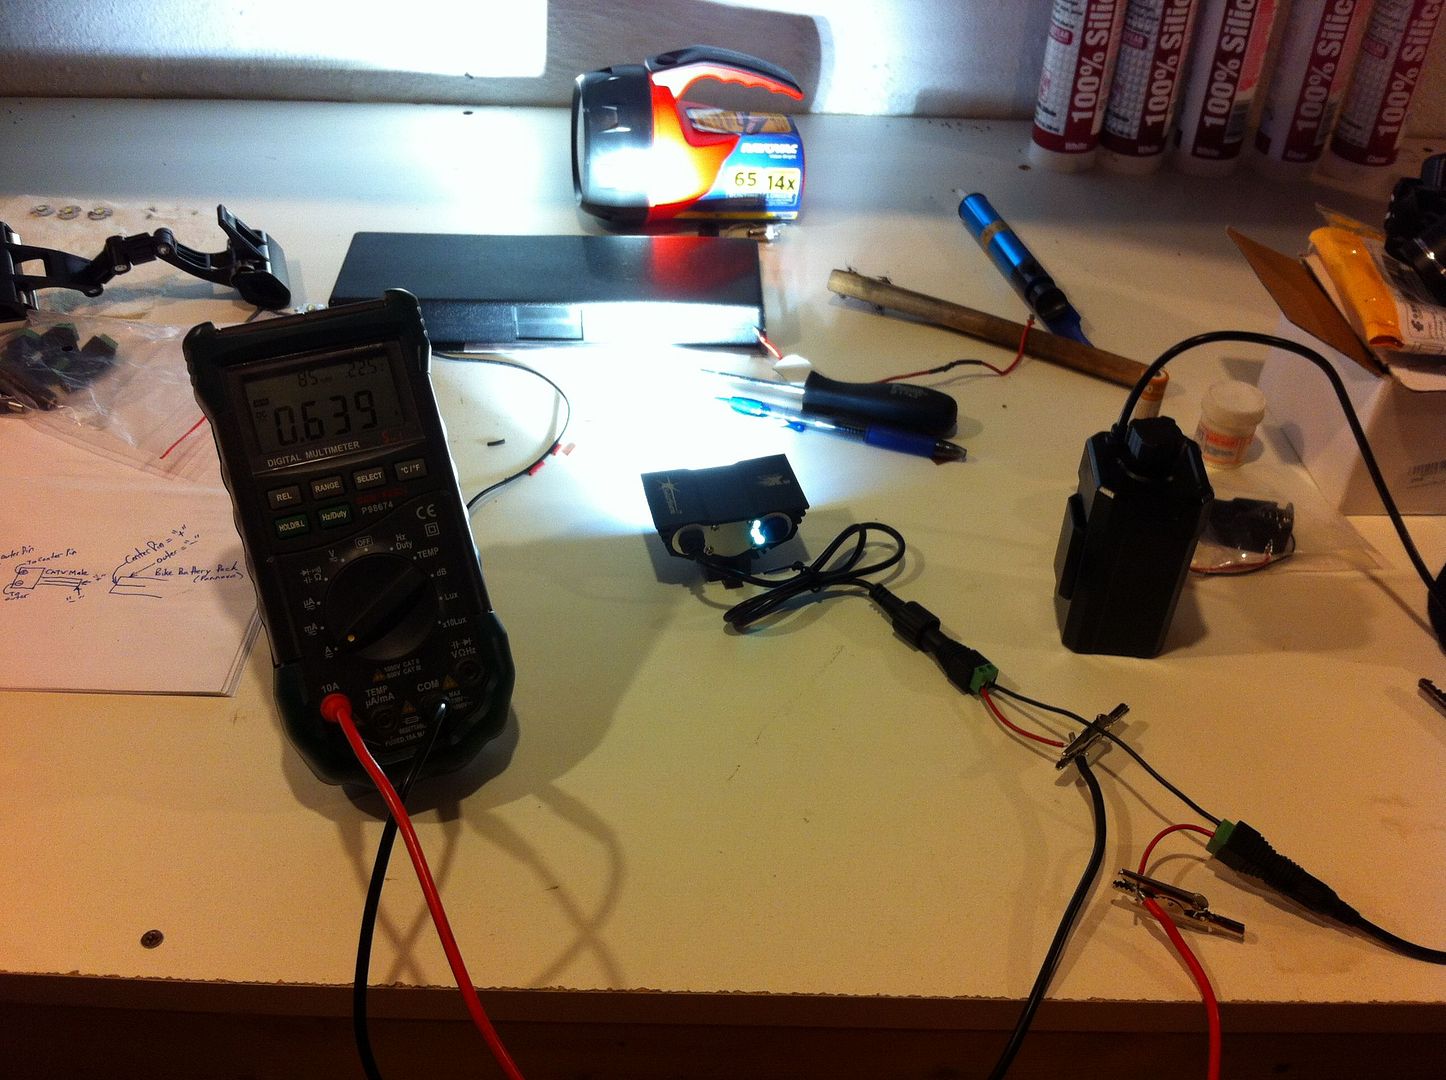
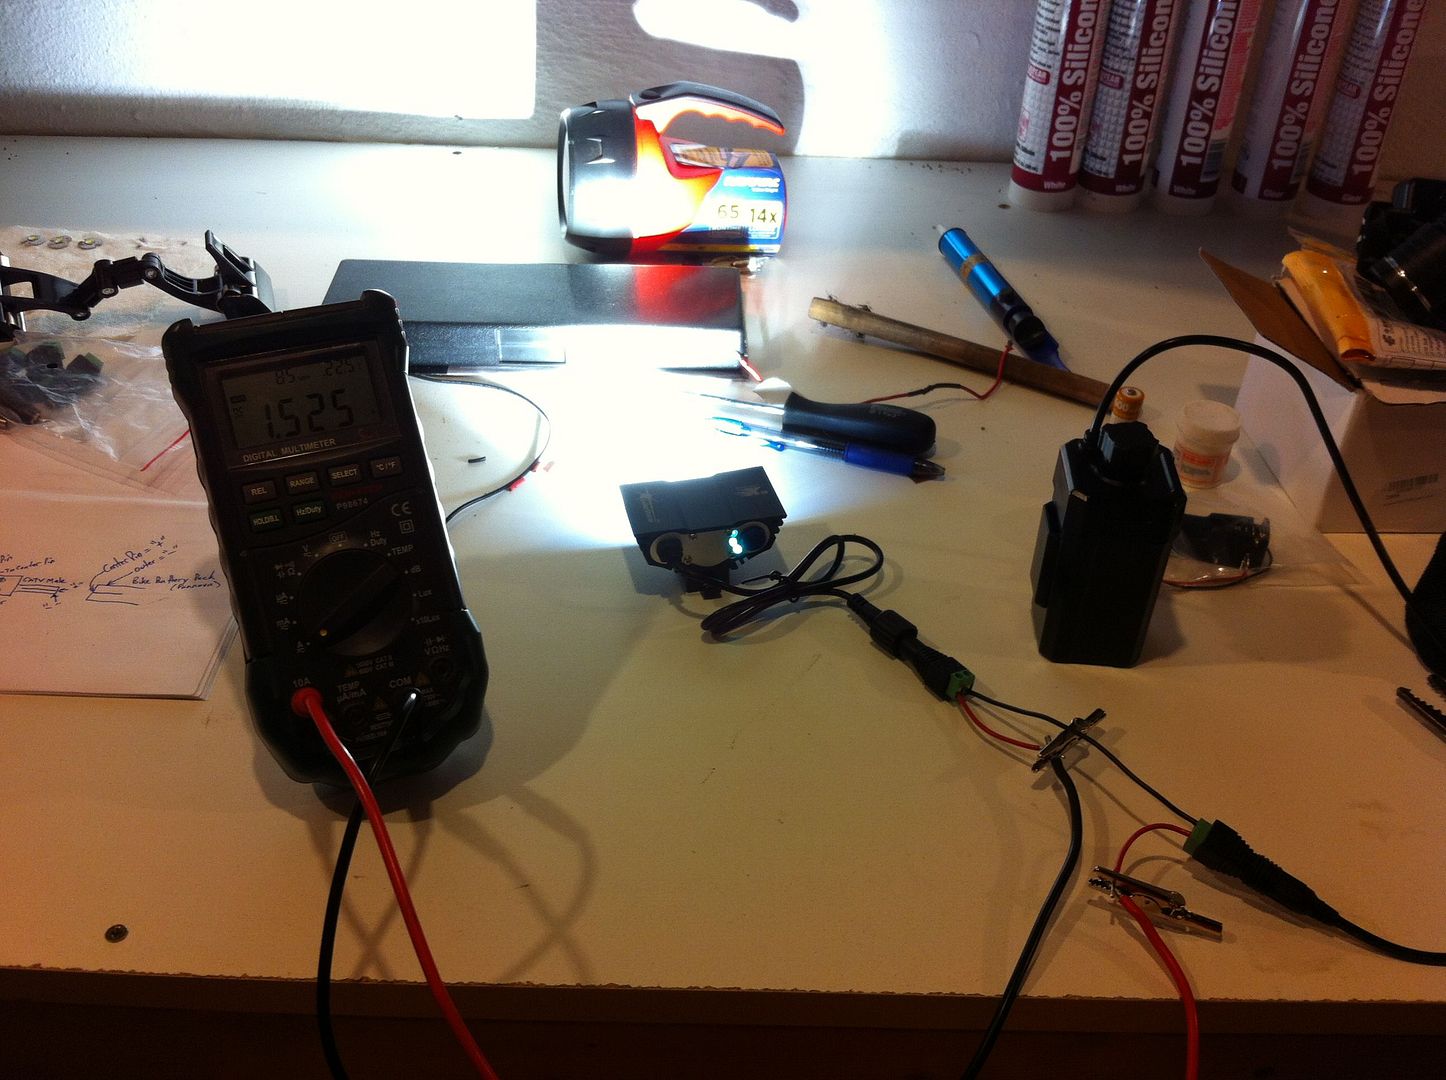

Levels are approx. 25%, 60%, & 100%. The above light is my SolarStorm X3. Here is a typical MagicShine 808E (XM-L) Clone:
Above is "off".
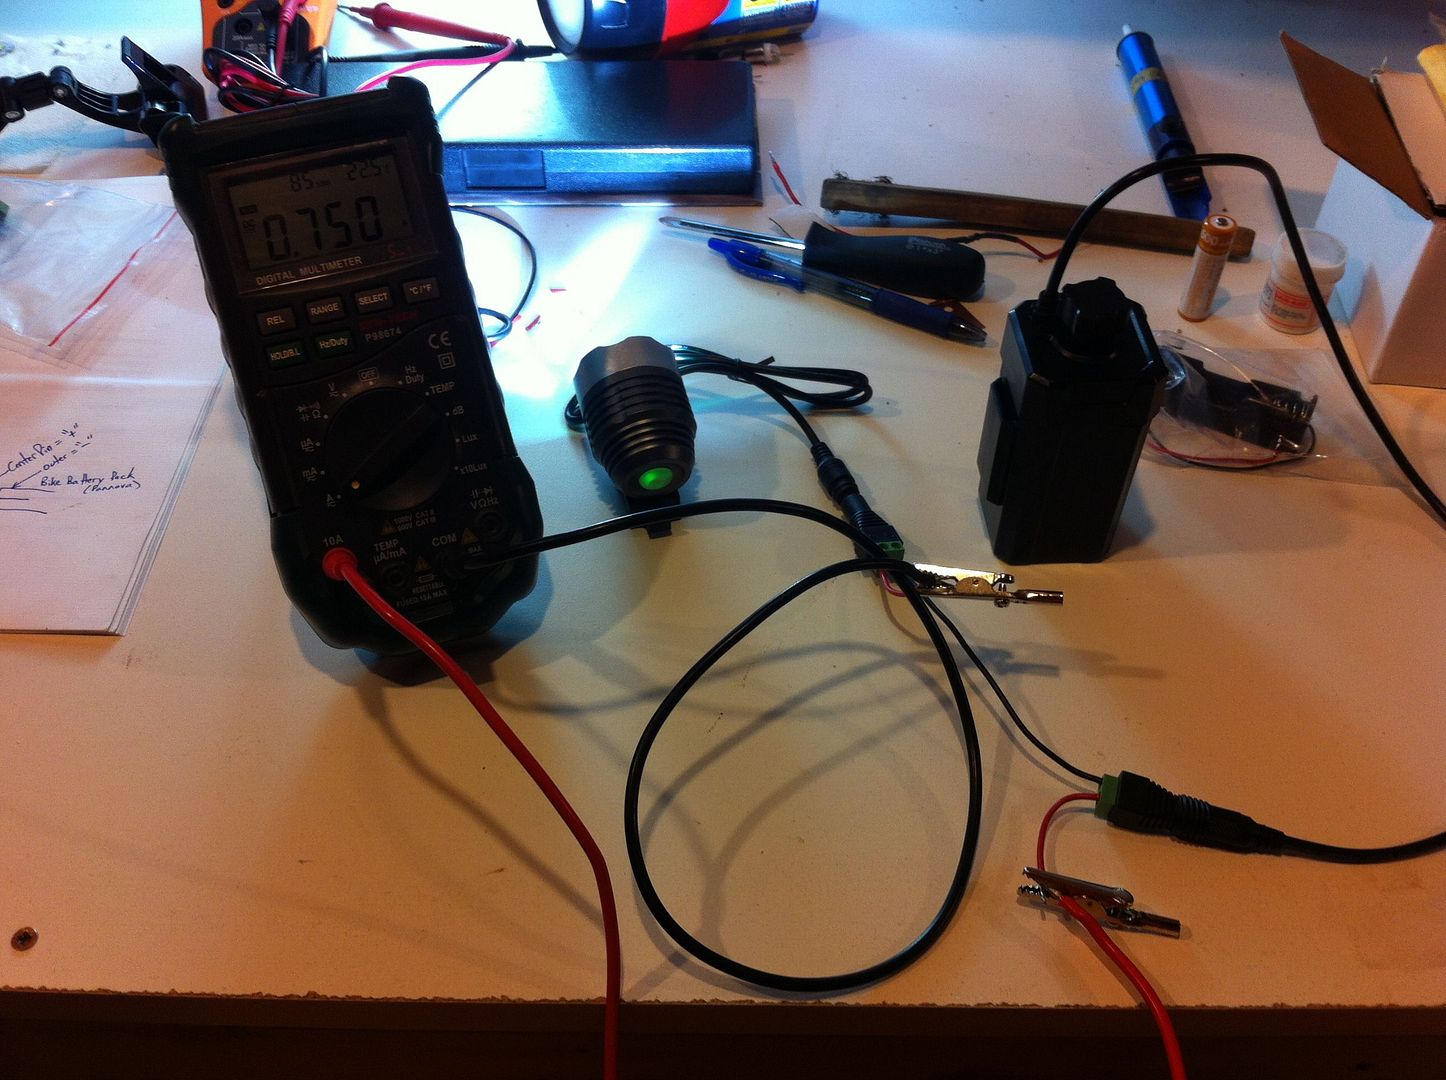
High.
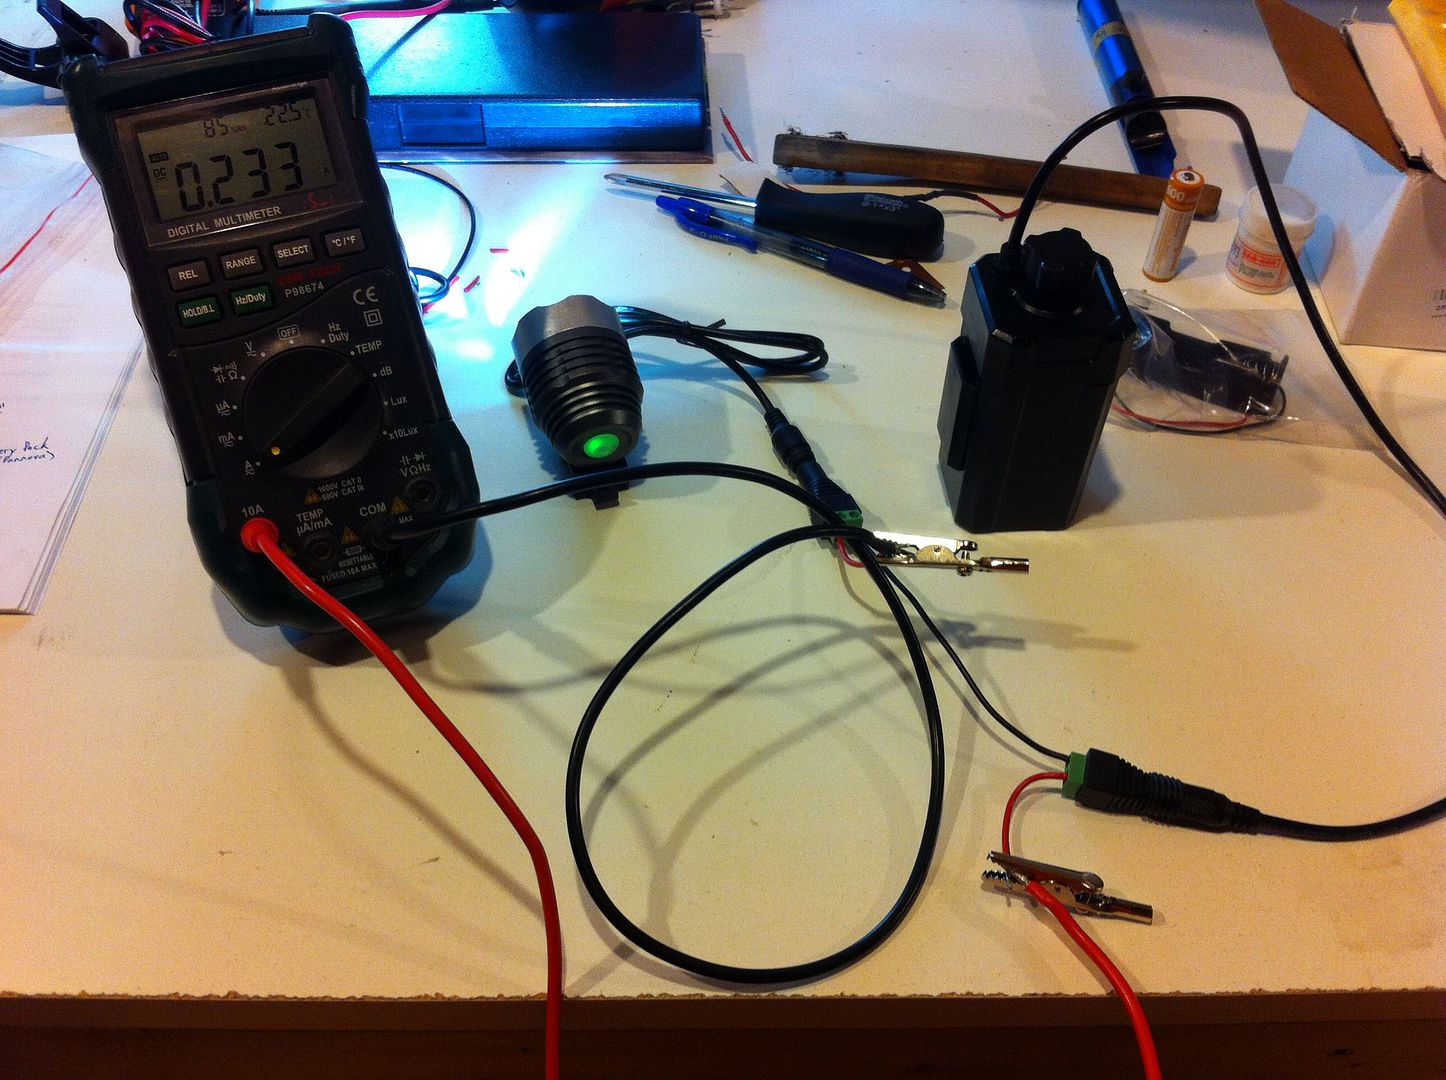
Low.
As you can see, this one isn't driven very hard!
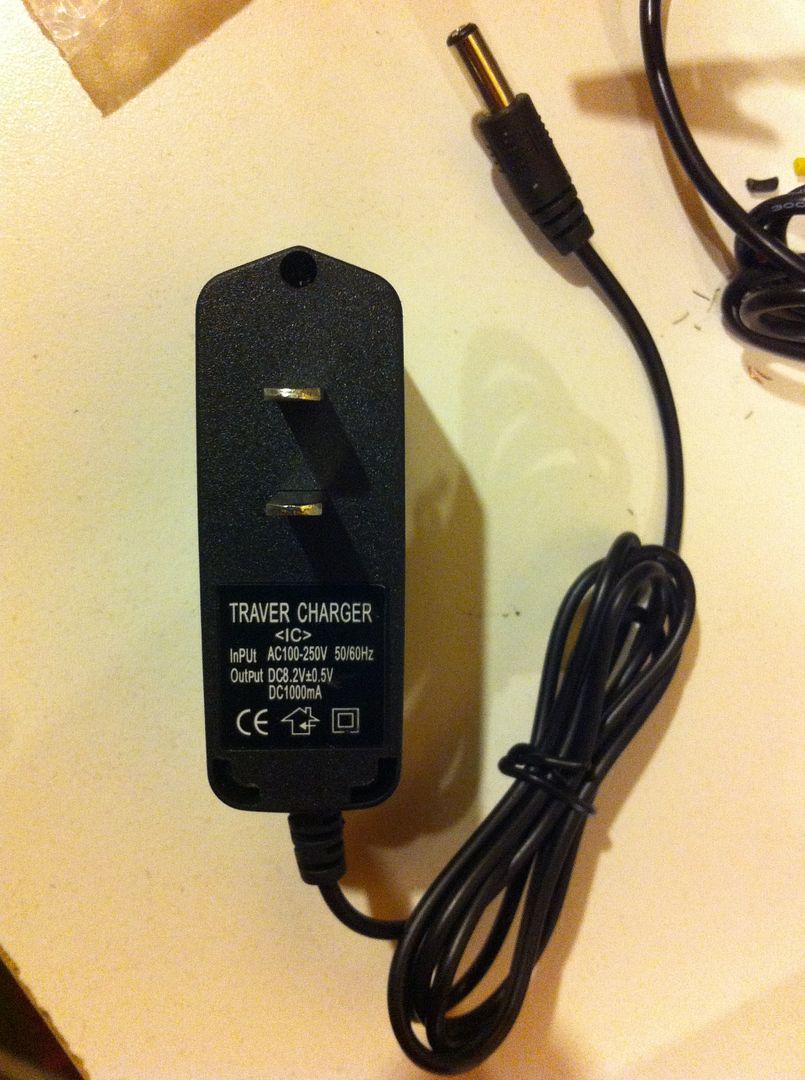
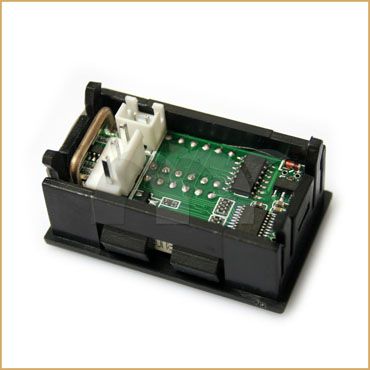
A few pics of the connectors:
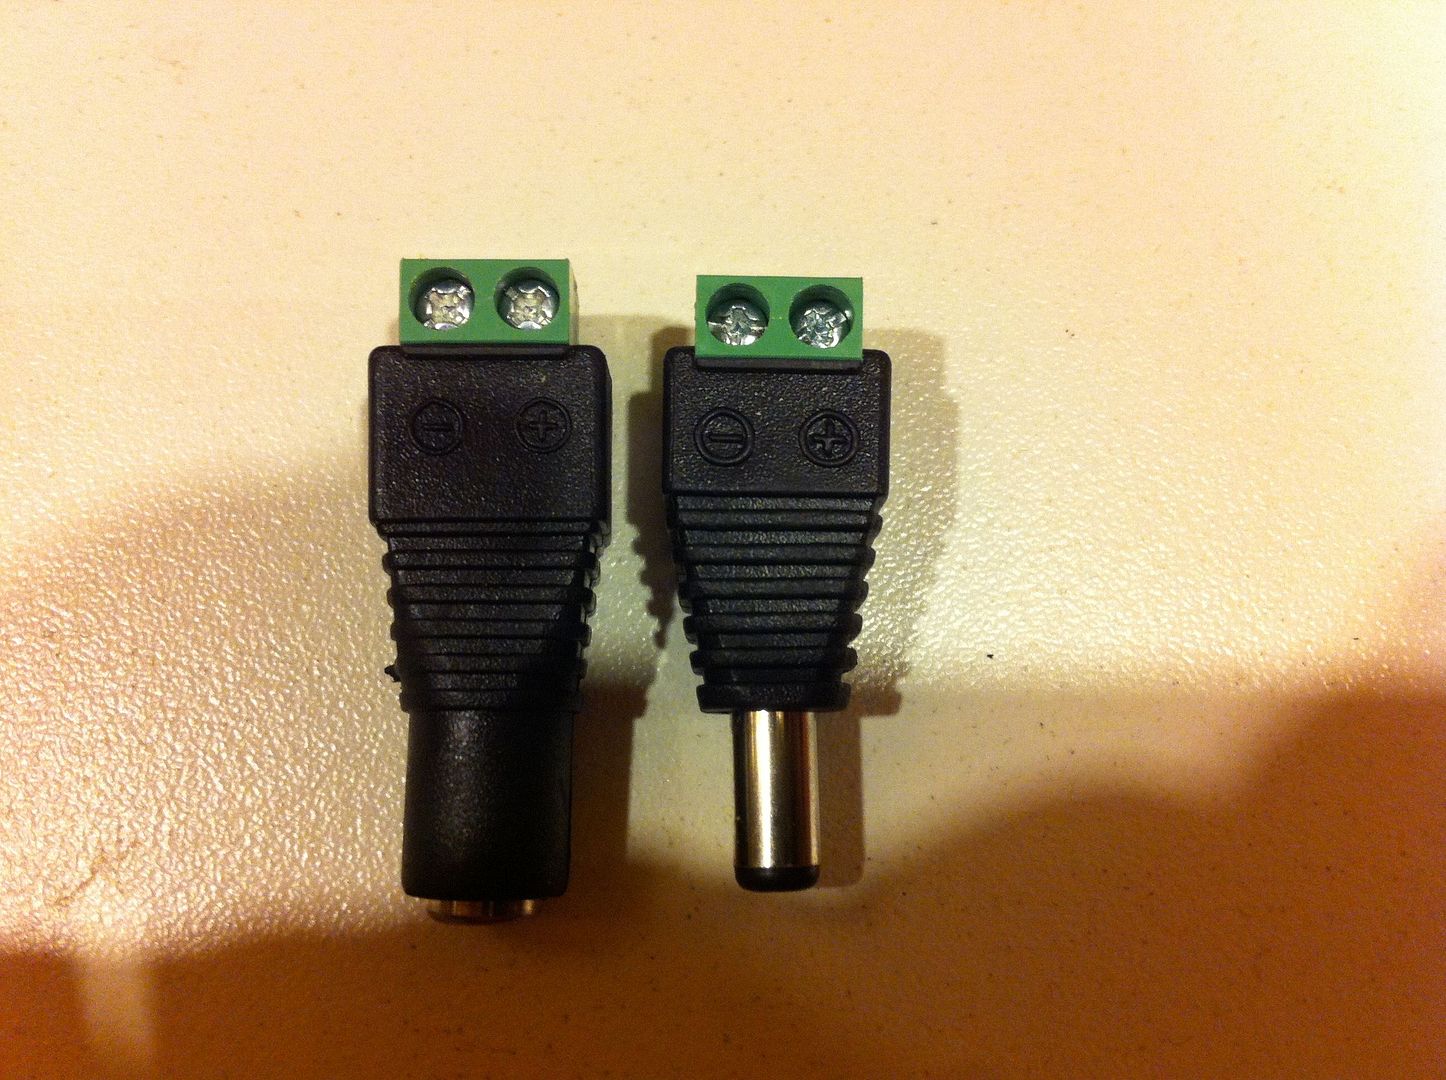
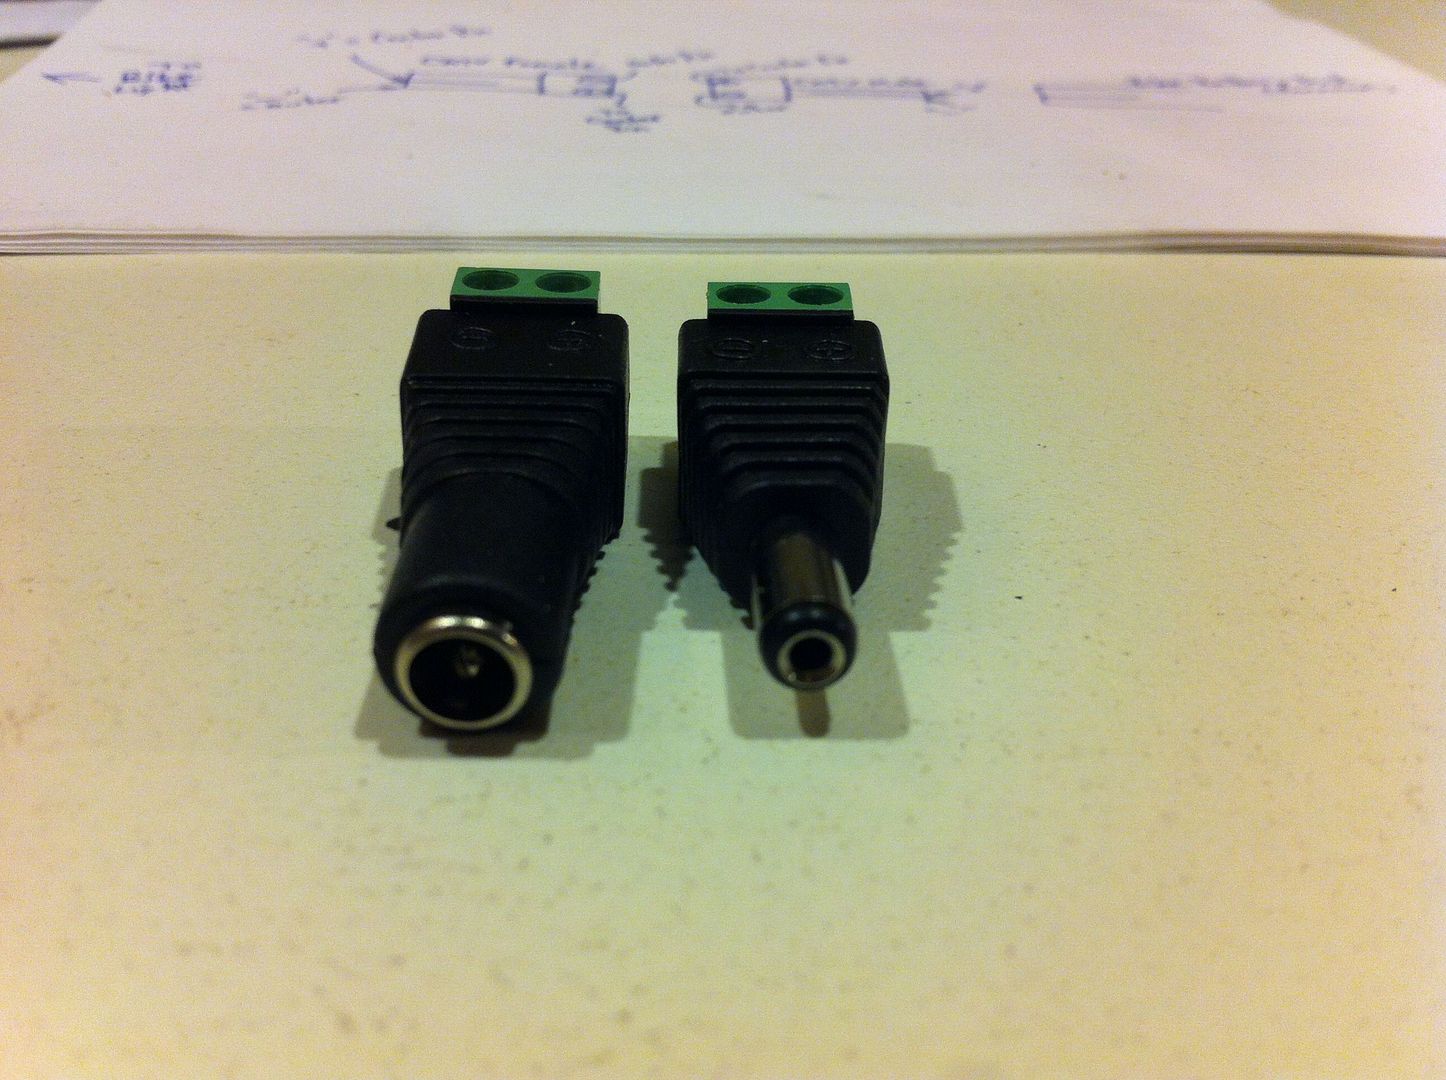
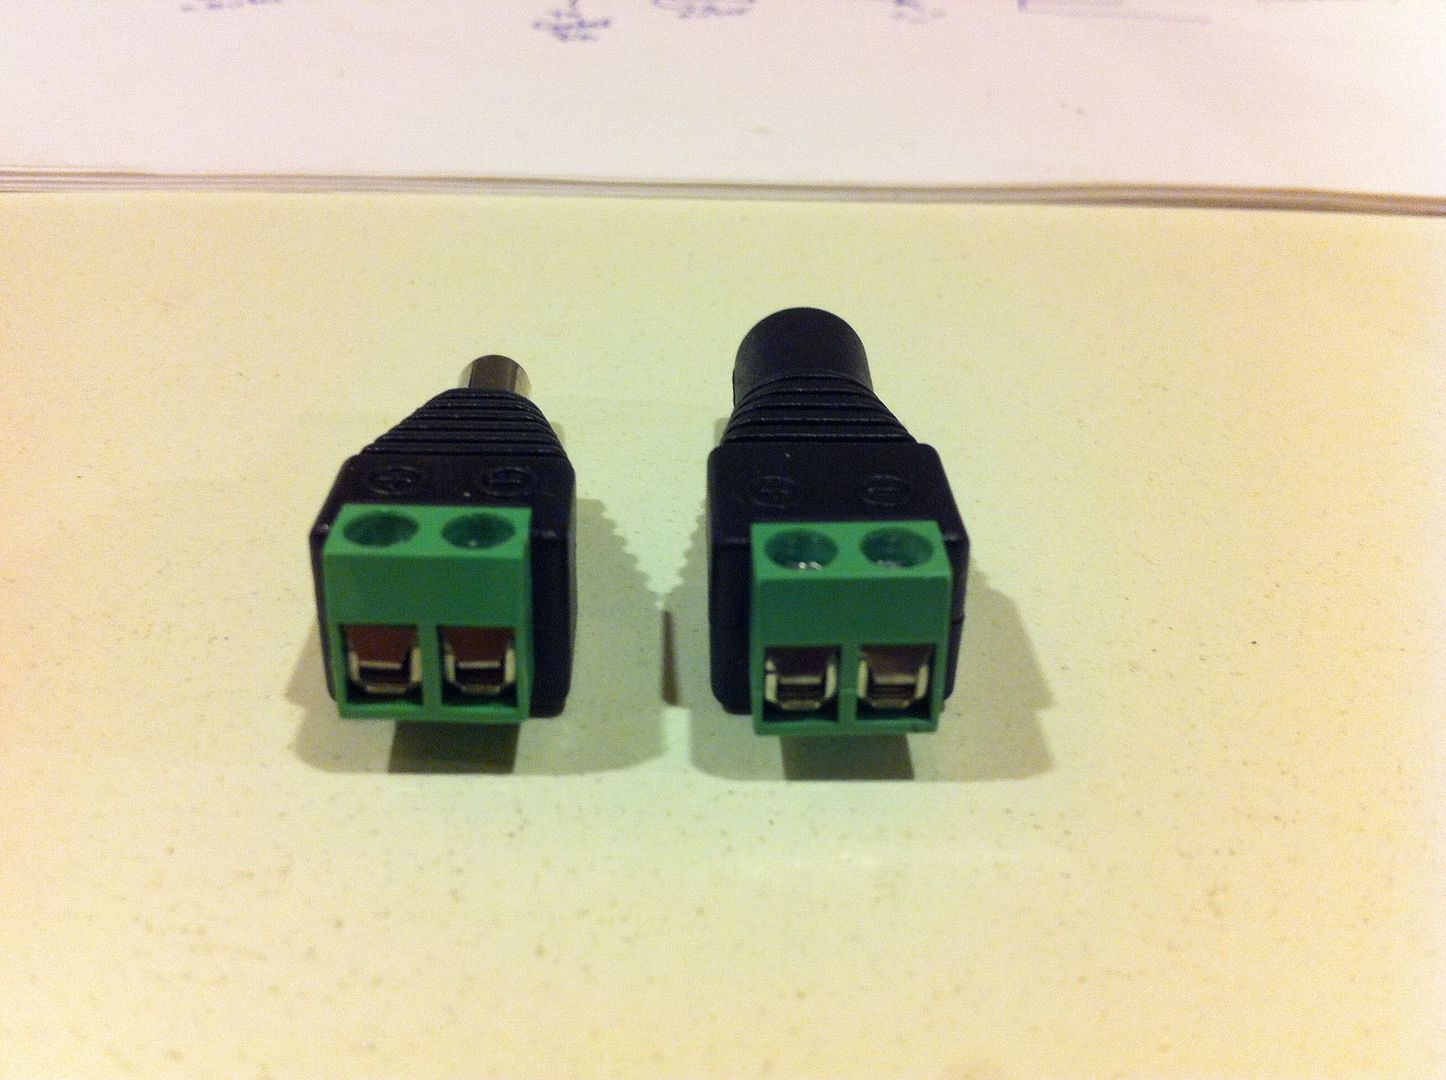
I used my DMM to verify the connections ran "+" and "-" the same way the bike battery pack did (which is center pin "+").
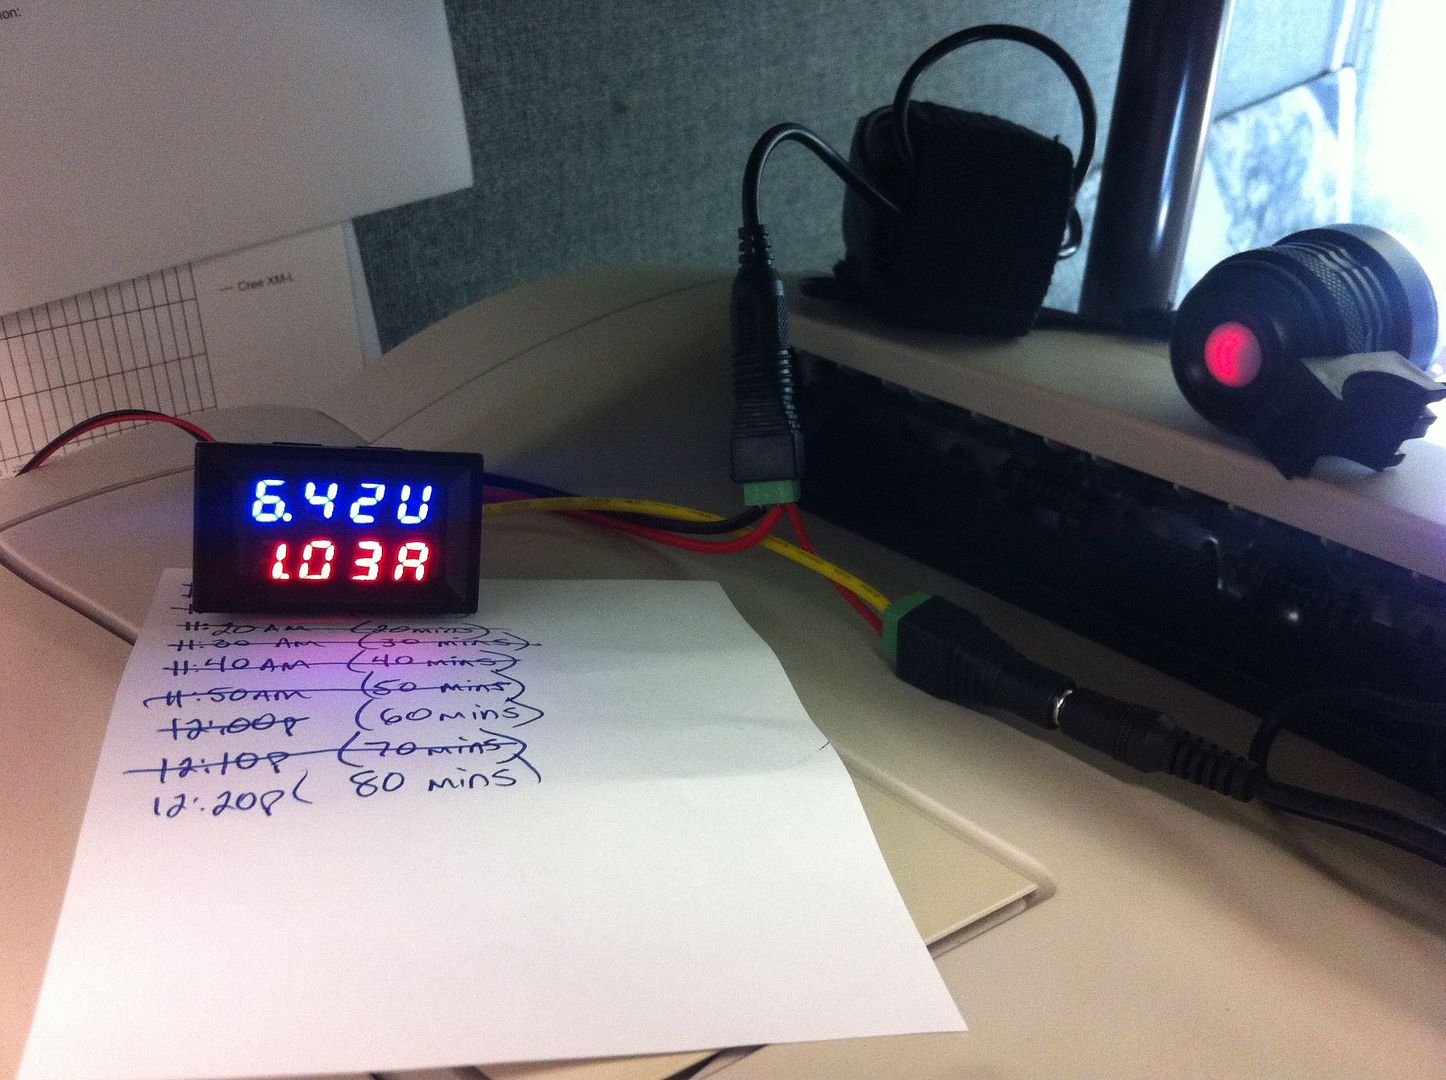
I'm a bit concerned about the runtime I'd get on the SSX3. I will have to take a ride with it and see if low is enough light to ride comfortably (rails-to-trails type trails). My buddy and I are planning what we call a "suicide run" which is to ride the 184.5 mile C&O Canal Towpath bike trail from Cumberland, MD to Washington D.C. in less than 24 hours (it's been done before by others, but few have posts on the web about their trips). You only have to average about 11MPH in order to complete the trip in 18 hours (few very quick stops though). This trip is now one on my bucketlist. The ride will of course require good lighting as even during the summer we will have quite a bit of riding in the dark. Most of the trail is wooded too and full of ruts, roots, branches here and there, etc. . . We were supposed to do the ride this summer, but life got too busy. I wasn't even prepared with my lighting yet. Another area I am working on is mounts. I am trying out some of the Chinese GoPro clone stuff. I've accumulated a bunch of parts, but haven't tested any yet.
I love finding real world uses for lights and not just keeping them all as "shelf queens". I enjoy finding a light for a purpose rather than a purpose for a light.
-Garry