Its a light since its inception that I as well as a lot of others lusted over without ever purchasing one. The more members here that raved and modded their lights the more the lust grew
The mods performed to them were endless with the likes of Tom E even building up a Super Shocker as a prize in the OL comp this year. Richard of RMM fame seemed to have a tear recently when he announced that he had just built up his last Super Shocker and did so want not to sell it. I gather there is some lucky owner out there now.
I relented recently when Ric had a runout on the last of his shockers and purchased the last one he had. This was a non runner not having a driver in it. I had plans for this light. A triple MTG-2 using a Taskled H6Flex driver.
After studying djozz's MTG-2 current/voltage graph for a week it was all go. The stars aligned and the green light lit. For something to do I decided to do some current/voltage tests of my own. Would you believe it if I said djozz's figures were all wrong. It took me another two weeks and more emails and PM's to work out that djozz's figures and mine were nearly identical. Sorry djozz. For some unexplainable reason I was reading the Lumen line as something it wasn't. All of a sudden I was at a red light before I had started. More emails and one to George himself, Mr Taskled, I came to the conclusion three x MTG-2 was not going to happen for now. The maximum voltage of the driver is twenty one volts. Five lithium batteries. Six batteries would do the job but the driver would shrivel up if driven by this. 18650 batteries were not an option as I wanted run time so had decided on 32650's from the start.
This was to be a super quick build with the driver fitted and a battery tube made up I'd have a super hot working light. The day arrived when a large box arrived with my light inside. After stripping the light in about twenty seconds flat I felt a little flat myself. How thick was that led shelf? I looked again in case I saw wrong. No. It took about another 20 seconds to decide to build a light around the reflector, lens and bezel. Not even that went to plan. Lets just say that this light only uses the lens and reflector from the original shocker.
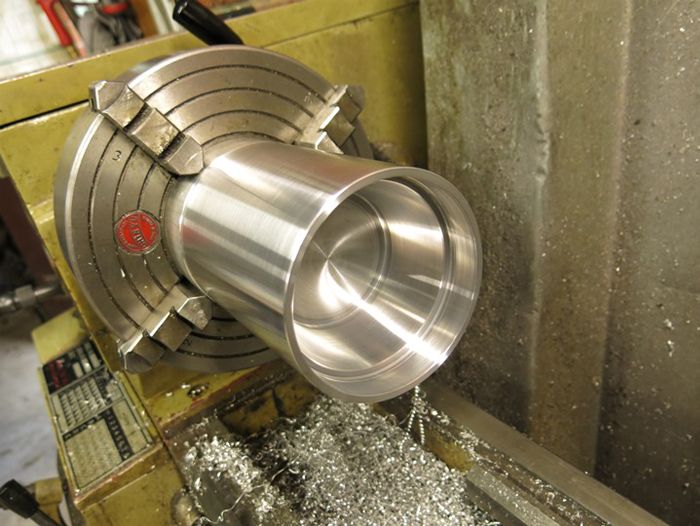
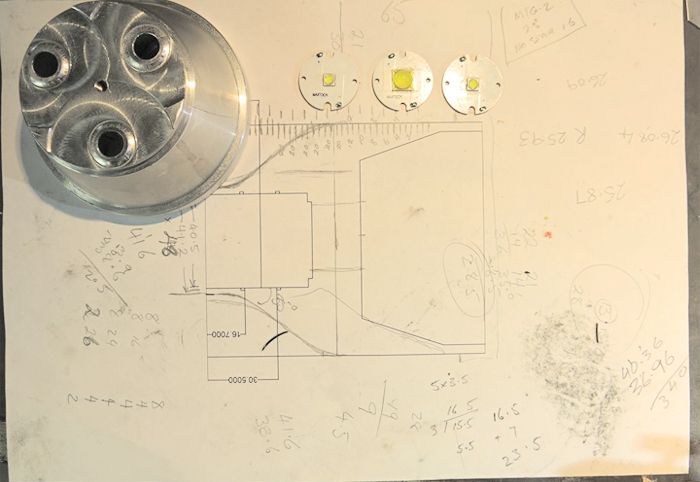
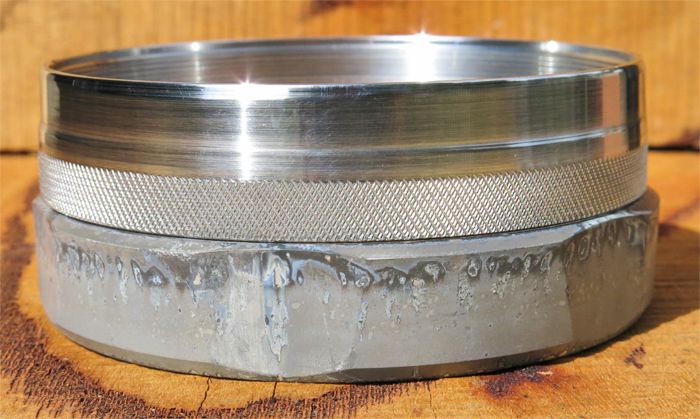
Onto the light. A large lump of 100mm diameter x 150mm long aluminium bar was purchased and the insides of the light drawn up on Draftsight.
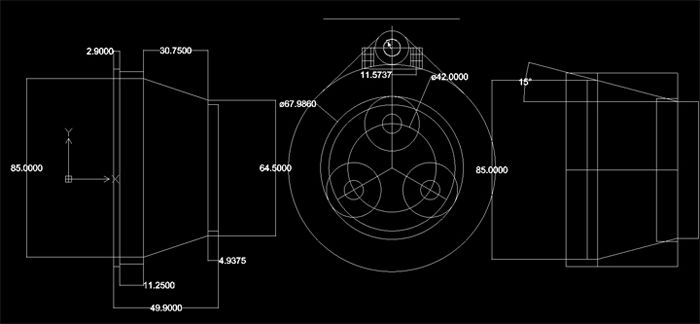
The Shocker reflector compared to my C83 (OL comp build light which still puts a smile on the wifes face when turned on high). The shockers individual reflectors are a lot deeper and larger in diameter compared to the C8 reflectors alongside the chunk of ally used to machine the head.

With just a slight bit of intrepidation the reflector was bolted as best as possible to the rotary table for machining of the base for clearance of the wiring.The first pass was with a 6mm ball nose cutter.
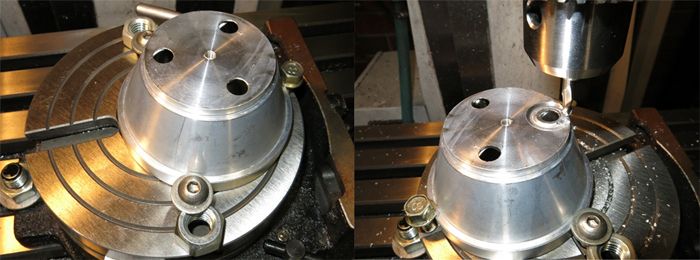
This was followed by a 19mm end mill. The drill bit was used to center the reflector on the rotary table.
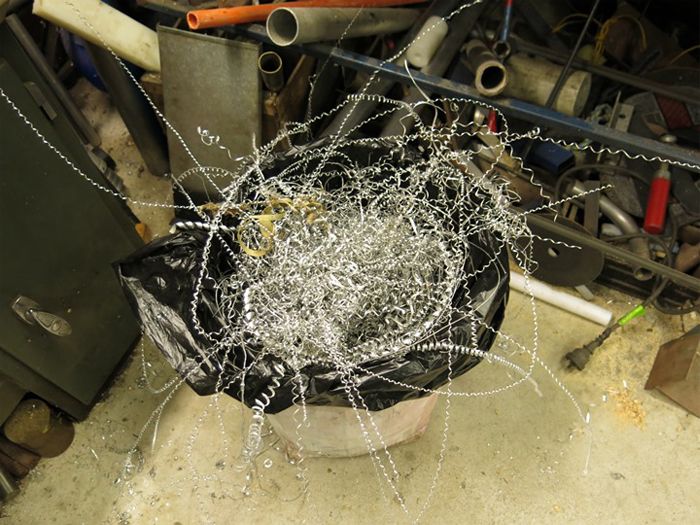
The start of a lot of machining, gritting teeth, slipping belts and chatter.
The first part machined was the hole for the reflector to sit in.
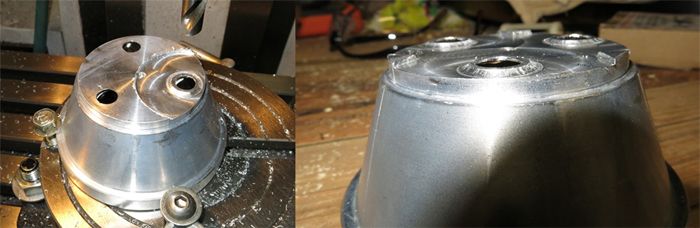
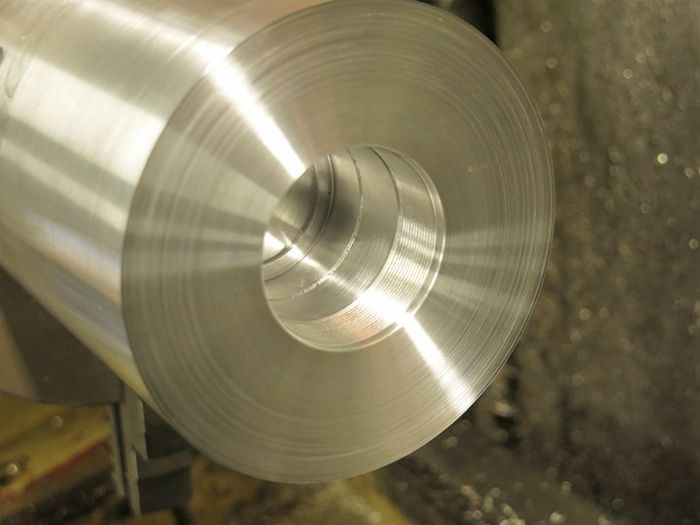
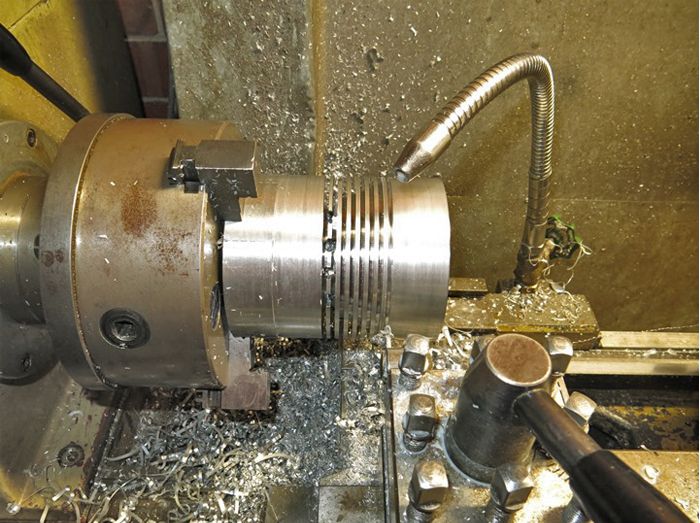
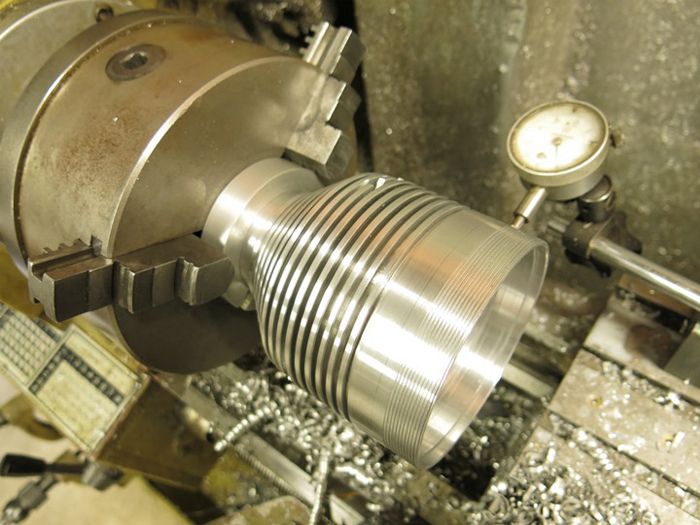
The piece was then turned around in the chuck and the driver hole, thread for the battery tube and circlip grooves were machined.
By this time a lot of this had been skillfully made.
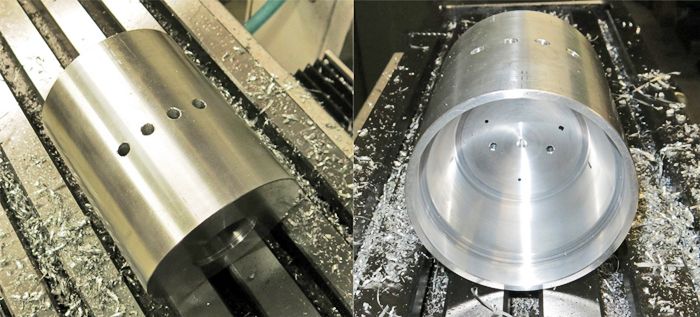
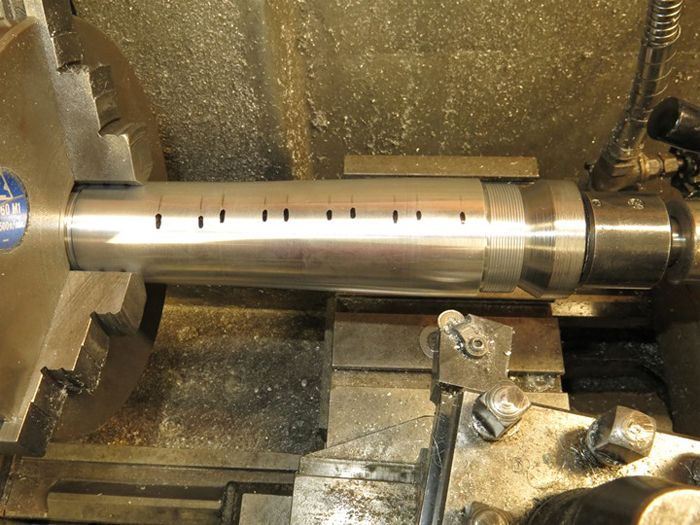
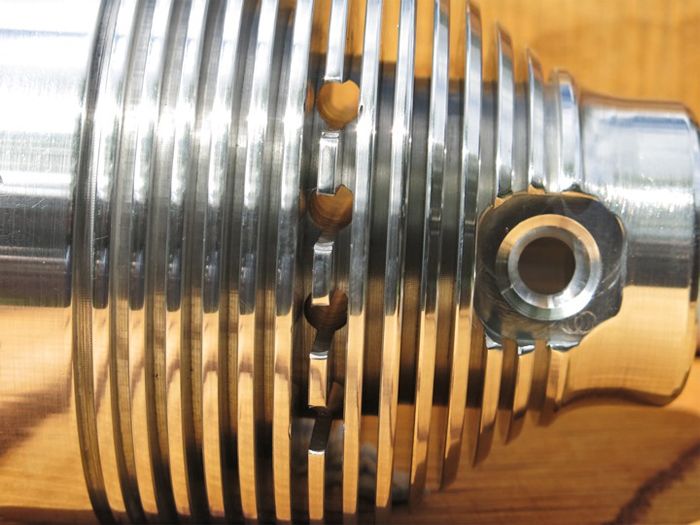
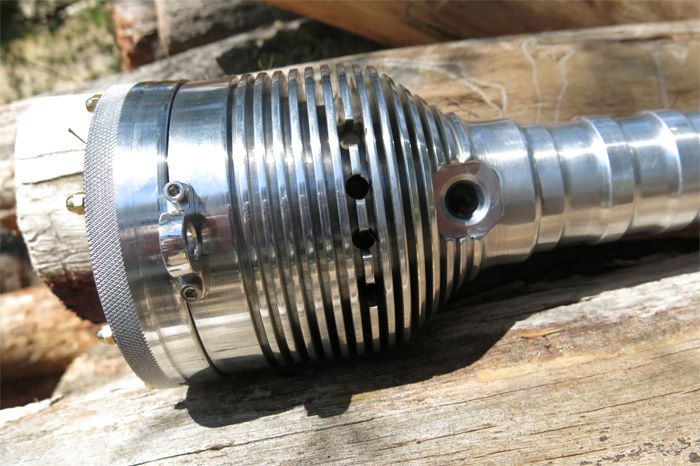
How to cool a light with 3 leds running at over 6 amps? Lots of fins for a start and a series of (non) scientifically designed 7.5mm vent holes drilled through the center of the led shelf which is 20mm thick. These through holes had to clear the wiring holes for the leds. These holes were drilled previously to the vent holes to make sure that this happened. I have patented this cooling feature so if there are any companies out there that want to copy this feel free but my solicitors will be onto anyone not paying me royalties quicker than Greased Lightning chewing away at the anodizing on a cheap light.
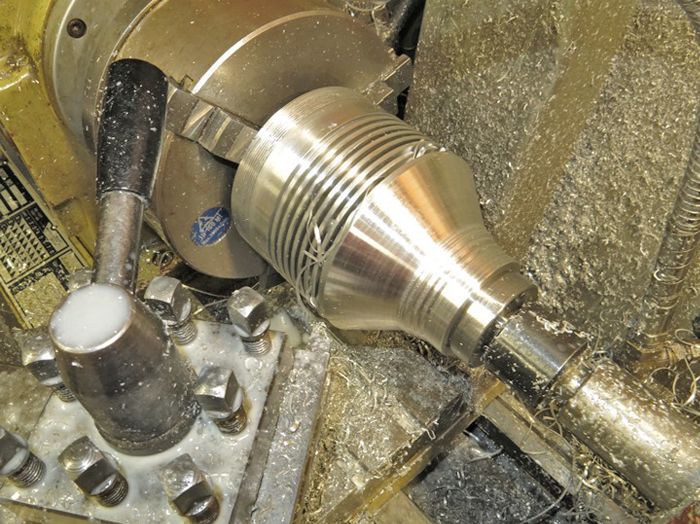
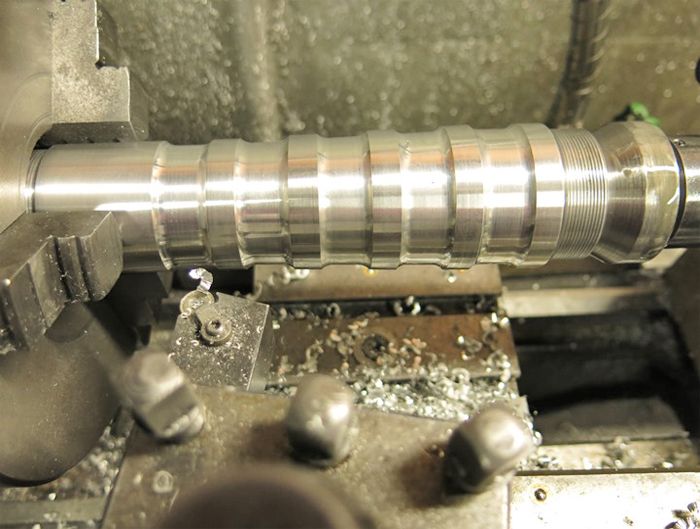
The cooling fins were next. Chatter and belt slipping ruled at this stage. Fortunately everything came through unscathed.
Again the head was turned around to profile the switch side of the head.
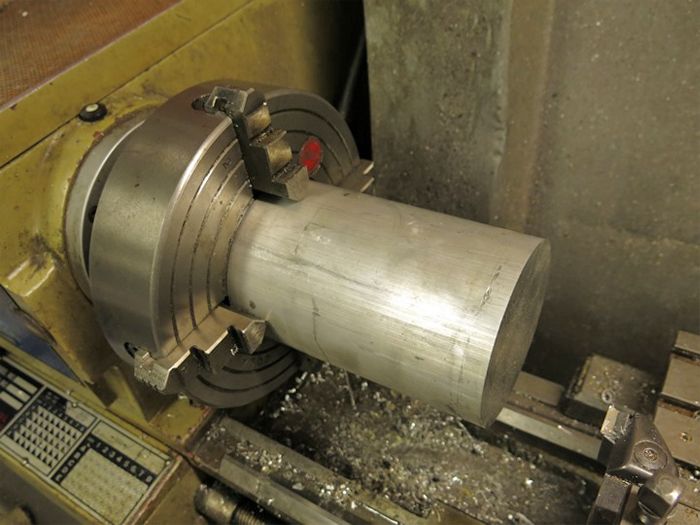
The battery tubes were made from two pieces of aluminium that were kicking around. The length overall will be to short for the five 32650 batteries but how l get around this will be revealed later. This is the first tube. Profiling was left as the last thing to machine. The head had at this stage also had the thread for the Shocker bezel machined which is screwed onto the head here.
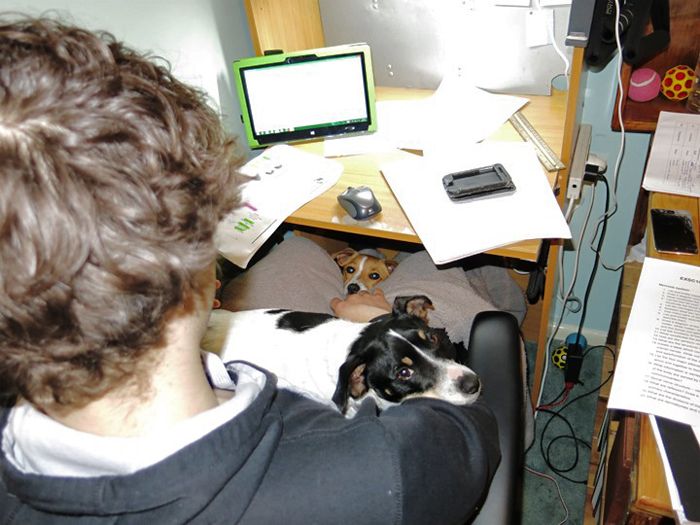
By this stage I had sacked my two assistants as for some reason they preferred to hang around here rather than help out in the shed with a deranged old fool.
The 4mm momentary switch mounted to a BLF Oshpark board wired up to the driver and fitted into the nylon block that will be encapsulated by two circlips. The positive spring fitted into the side of the block on a 16mm board sitting in a stepped hole.

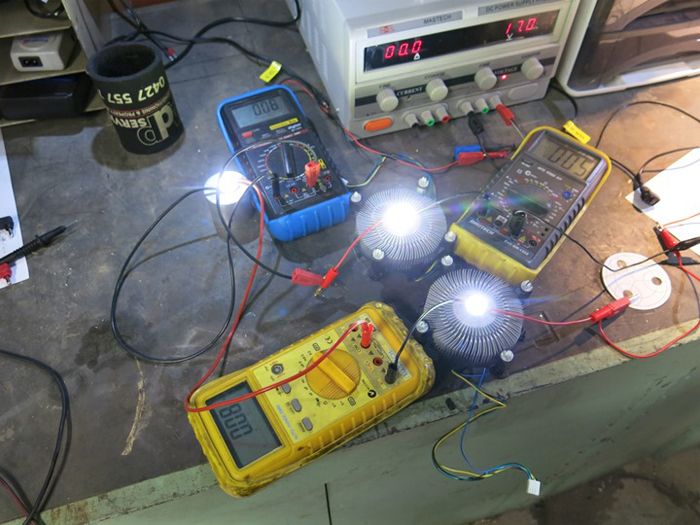
Testing three leds in series on the test bench to make sure it will all work. Dont ask me how but for some reason it does all work at this point.
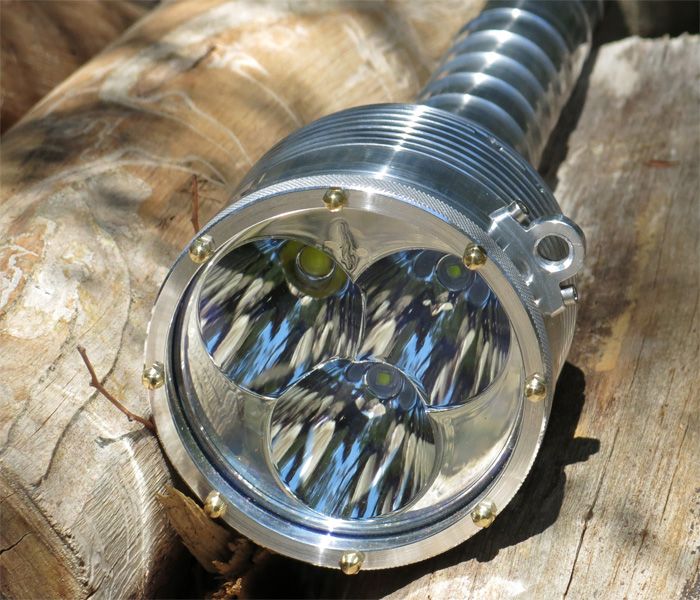
My planning for the look of the head was all steam ahead with the help of an extremely cheap 2H grey lead scientific pencil with the 3 leds being used in this build. Two x XML-2 U3 2C leds and one MTG-2 5000k P0 led all being on 26mm stars.
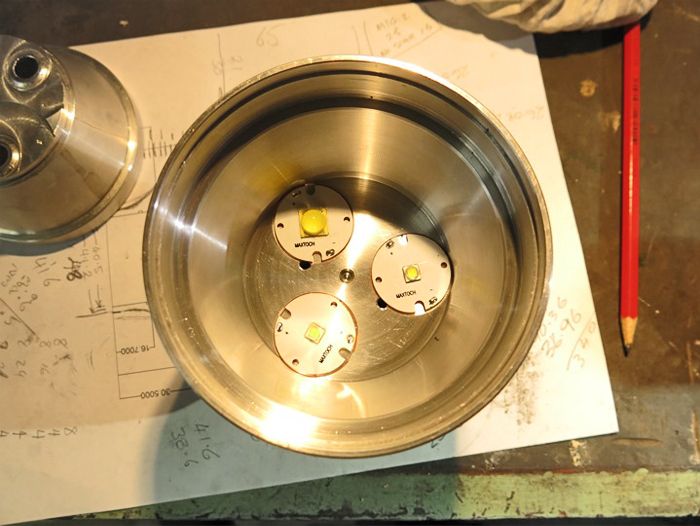
The leds testing out their soon to be home. The only complaint from them was the time taken to build the light. This was not my fault but the fault of the slacker assistance's that had been sacked previously. Work then proceeded at a remarkedly slow rate after that event. The stars are sitting in 1mm deep spot faces.
The second battery tube was made and the light compared size wise to my C83 which runs on four x 32650's.
I was not happy with the look of the standard Shocker bezel on my light so the decision was made to make a new one. To get a smoother look the thread for the shocker bezel was machined of which left a step for the new bezel to screw up against so there would not be a gap showing. This is a shot of the head with a split bush slipped over the head at the battery tube end to prevent damage from the chuck jaws.
Half way through this update on the build. Will I get it posted tonight? I thought I'd have it up last night.
The first battery tube after it has had the outer diameter profiled and marked out for the groovy grooves for a good grasp not that I have a grasp on whats going on.
The grooves have been grooved.
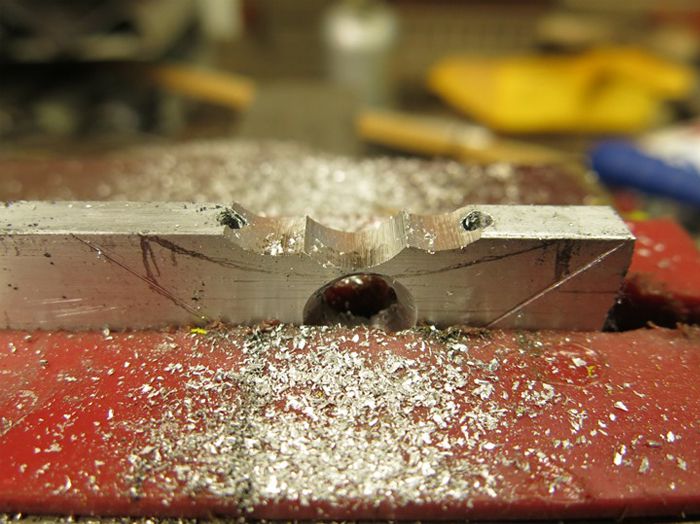
Where's OL when you need some file work done? This was supposed to be the bracket that would screw onto the head for the shoulder sling. There's no pocket clip or lanyard on this light. The reason for the lack of lanyard is I dont have any anchor rope handy. Unfortunately OL never did turn up and this work of art ended up in the bin.
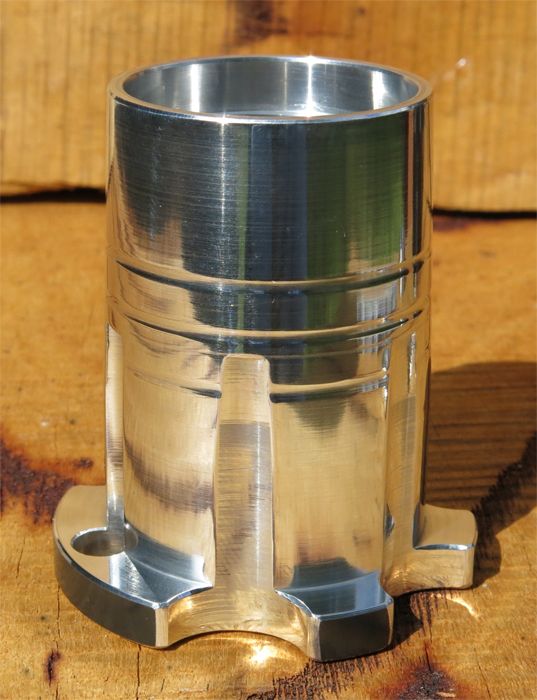
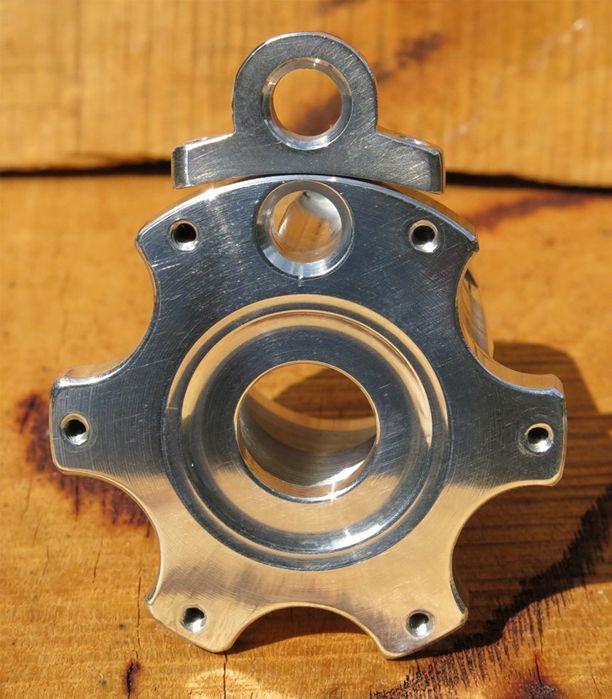
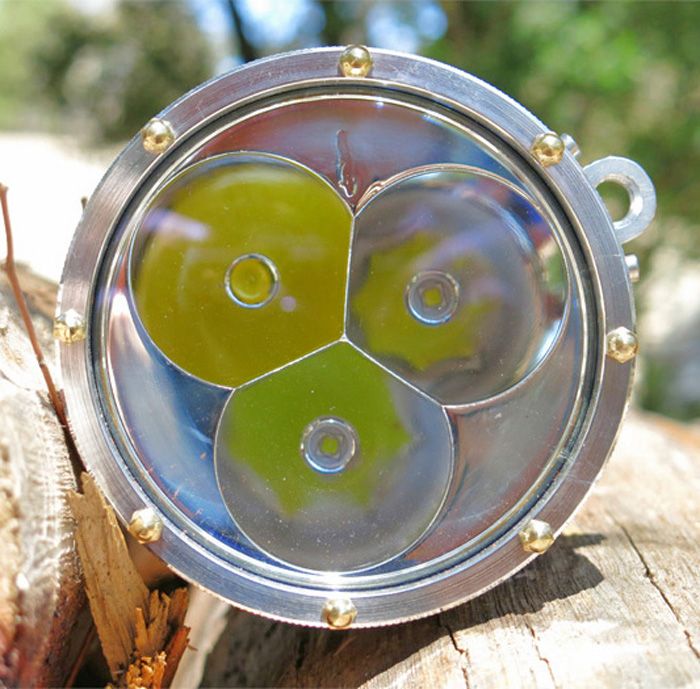
The finished working part of the head showing the homes for the leds. The two holes at the top are 3mm threads for the cap screws holding the bracket on for the shoulder strap.
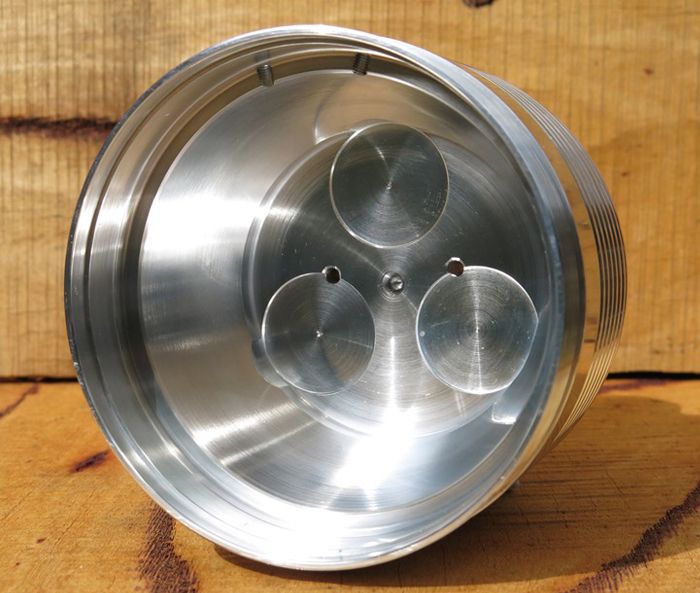
The vent holes which have been calculated to keep the head at 10 degrees below ambient temperature with 3 leds running at 6 amps. The deepest fins are 21mm in depth.
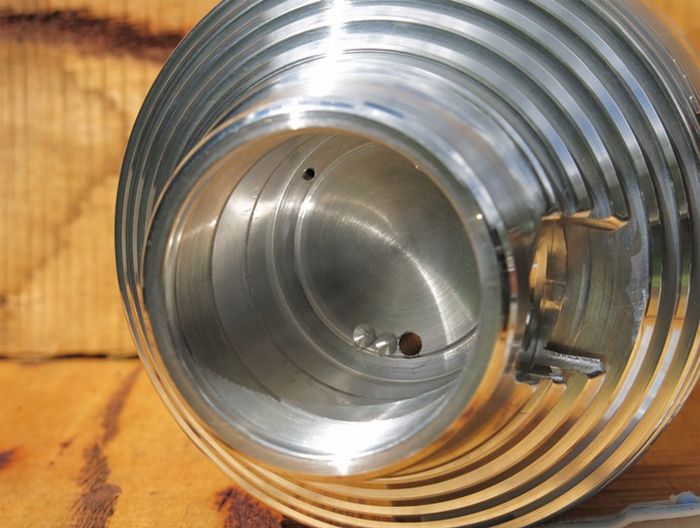
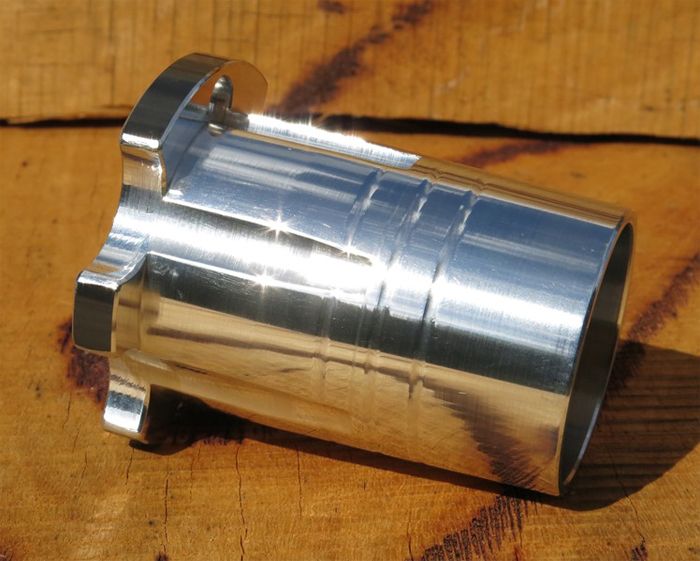
The driver end of the light awaiting assembly (just like my wife waiting for me to do some work around the house instead of building lights). The shallow spot drilled holes are to make sure the back of the driver where the wires are soldered do not short. The small 2mm tapped hole at the top is for the copper earth tab soldered to the driver to bolt to.
Two upstanding battery tubes of society. Styling may be plain but it works as shown by the C83.
After a hard day of trial fitting a lie down was deemed to be a good idea.
To get around the battery tubes being to short the tailcap was made longer to accommodate. An anti roll feature was machined into the end of the tailcap along with a hole for the shoulder strap clip.
Not quite the end but the end of the tailcap with the MK 2 bracket for the head.
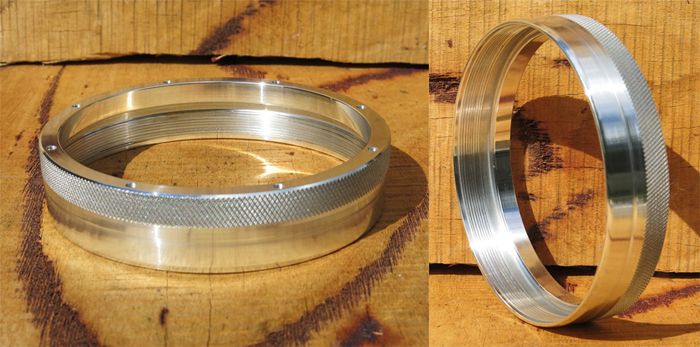
The bezel that replaced the Shocker bezel.
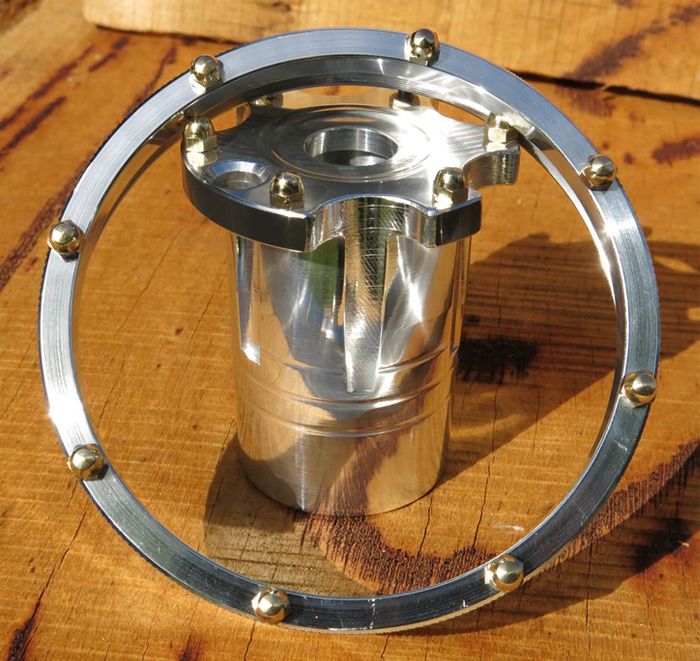
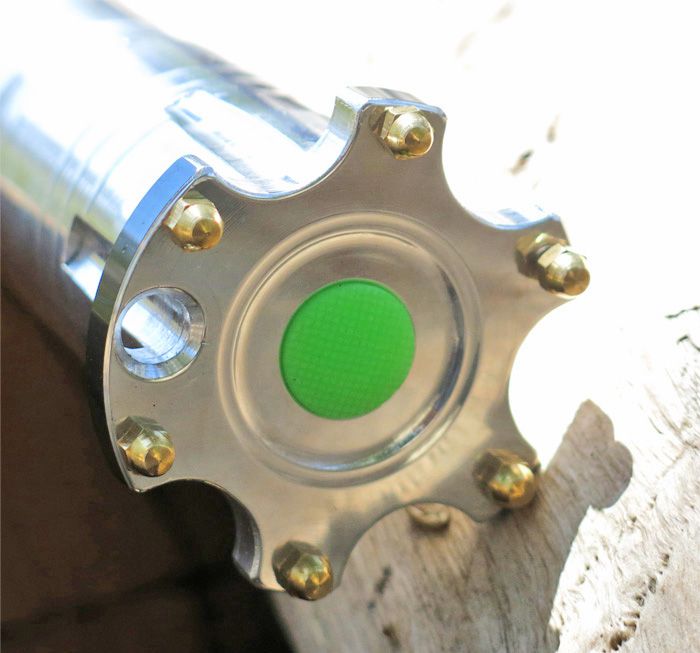
Nothing but the best for the tailcap switch which is only used for a lockout of the electronic switch. The Tofty switch will have no problem handling the current draw sitting alongside its threaded retainer.
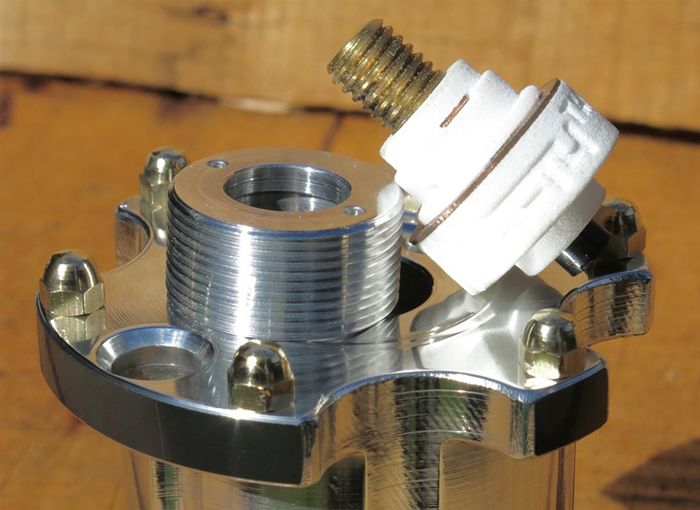
3mm domed bass nuts were added for tail standing, preventing damage to the bezel and maybe just to add a bit of bling.
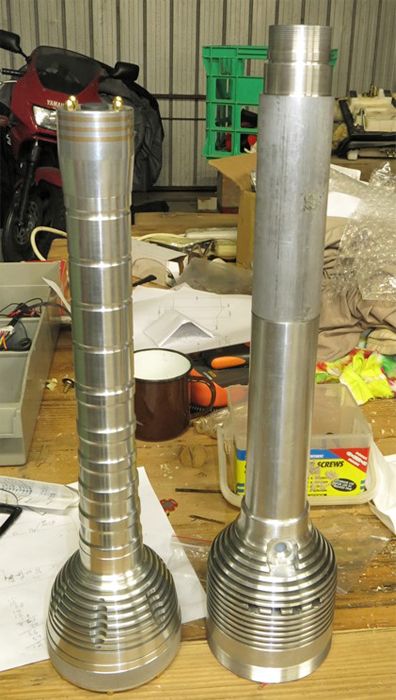
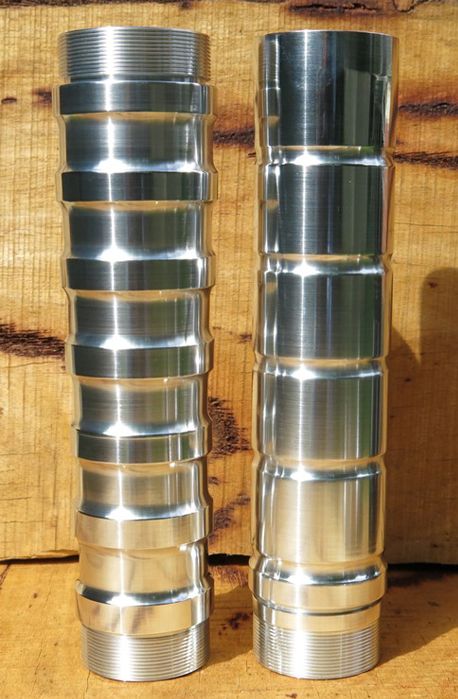
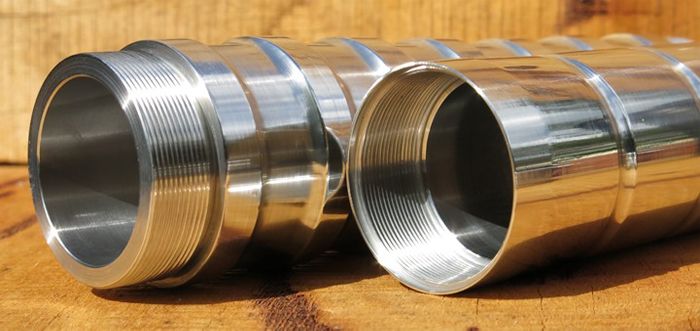
The next few shots are just a comparison of the custom parts against the standard shocker parts. Firstly the battery tubes.
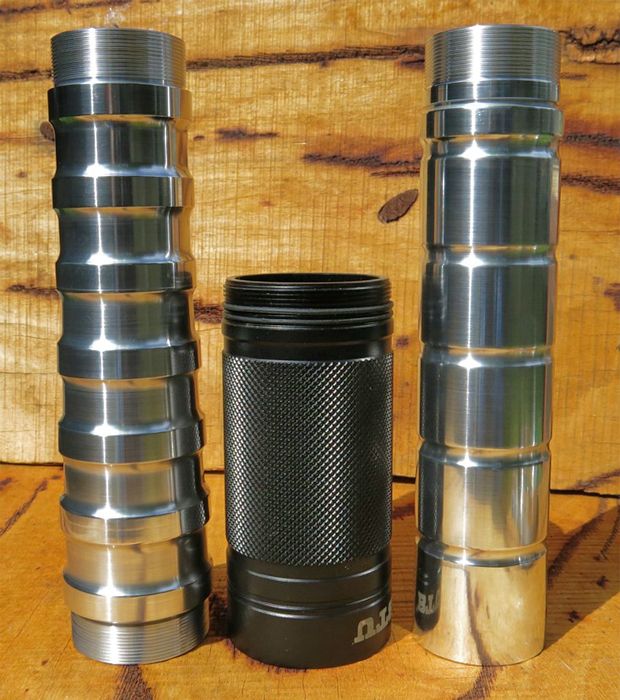
Secondly the heads. Just a wee bit different.
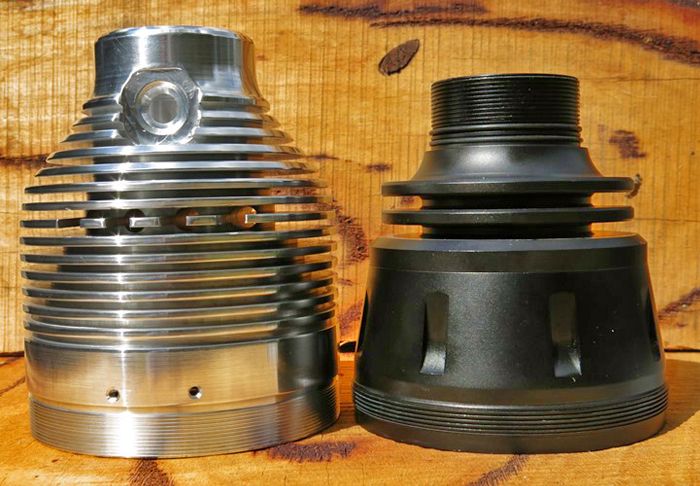
And finally the bezels.
I will update again when l get it all together. Batteries were ordered a month ago and I expect them to turn up when 18650 batteries have a higher capacity than the 32650's on order.
Update 4.11.14.
The batteries arrived a week ago along with the XML-2 U3 1A and MTG-2 Q0 5000k leds. These were attached to 26mm copper stars. The final current decided on was 5 amps per led with low voltage cut out on 14 volts from the 5 32650 protected batteries and high temp warning 70 degrees. Light output remains constant until the total battery voltage reaches 16.4 volts from its maximum 21 volts.
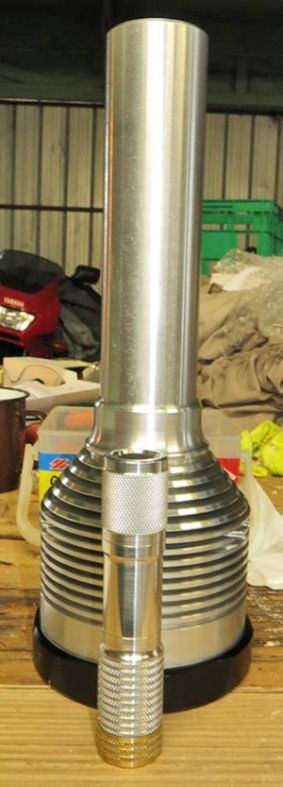
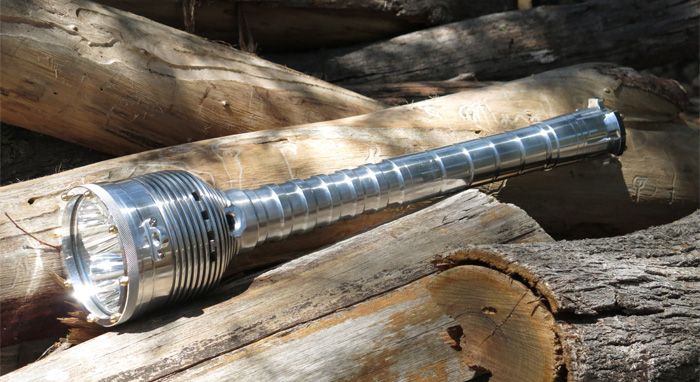
Assembled pictures.
I had black tailcap rubbers ordered. This is what turned up.
I will have to do some run time tests with a fan blowing through the cooling holes and 90 degree from the holes.
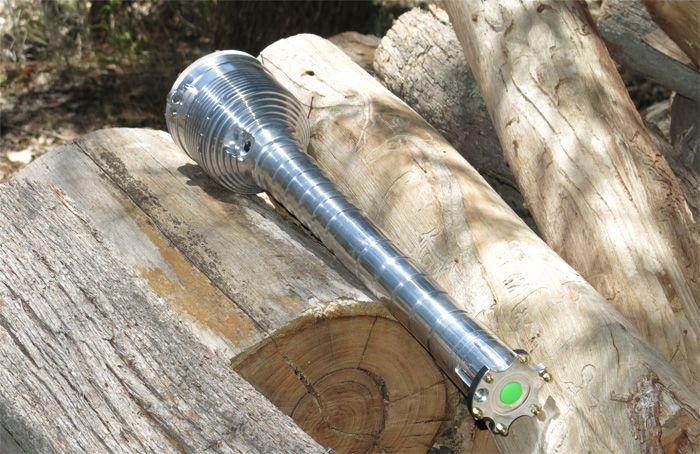
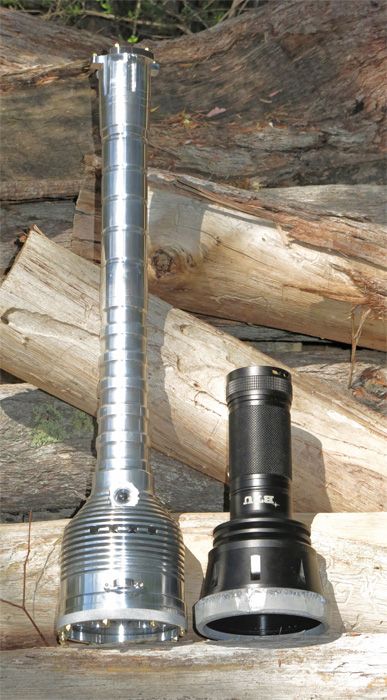
And a shot with the donor light the reflector came from. A 3 x 1865 light to a 5 x 32650 light. I can only imagine the standard shocker being front heavy as the reflector weighs a fair bit. In the XMTG Shocker (yes it has been named) its perfectly balanced holding the light as it was designed behind the head. This was more dumb luck than anything else.
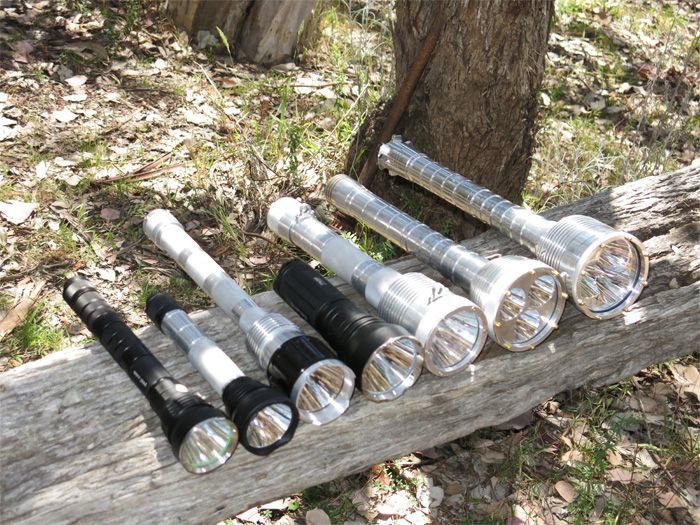
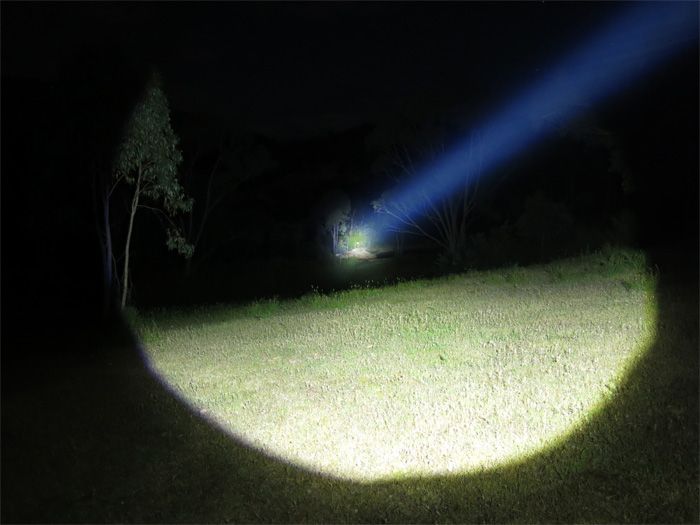
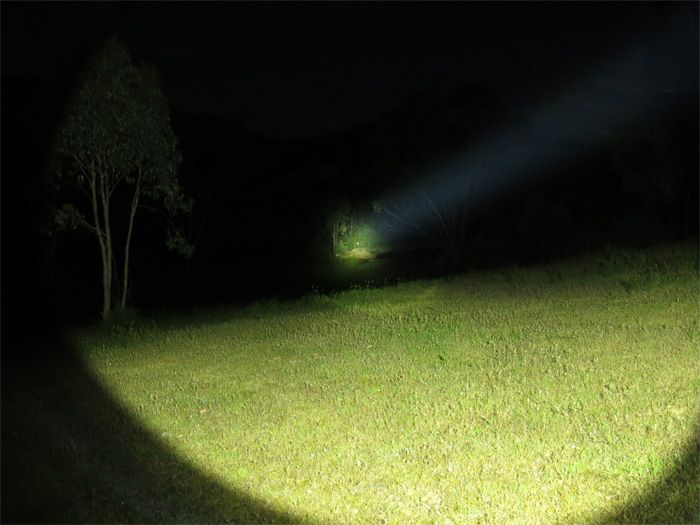
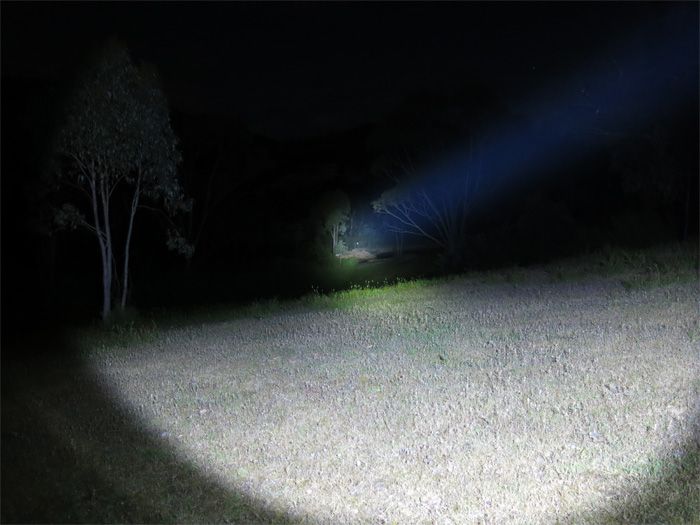
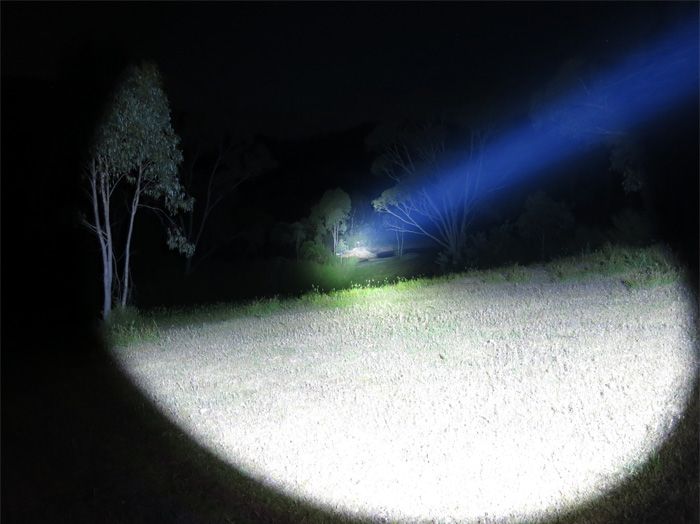
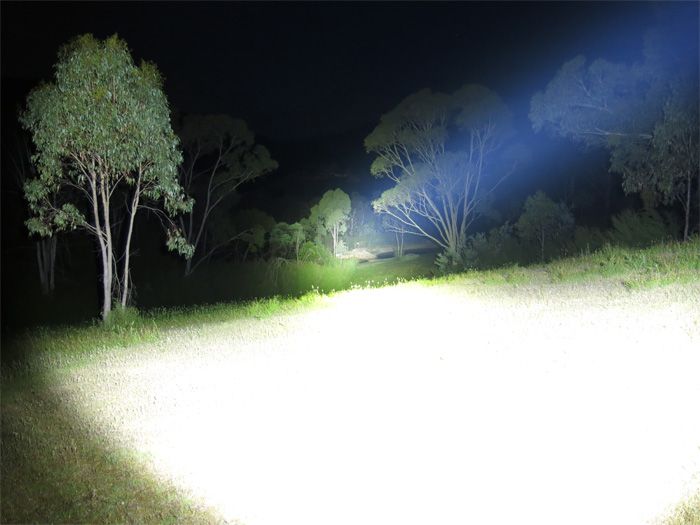
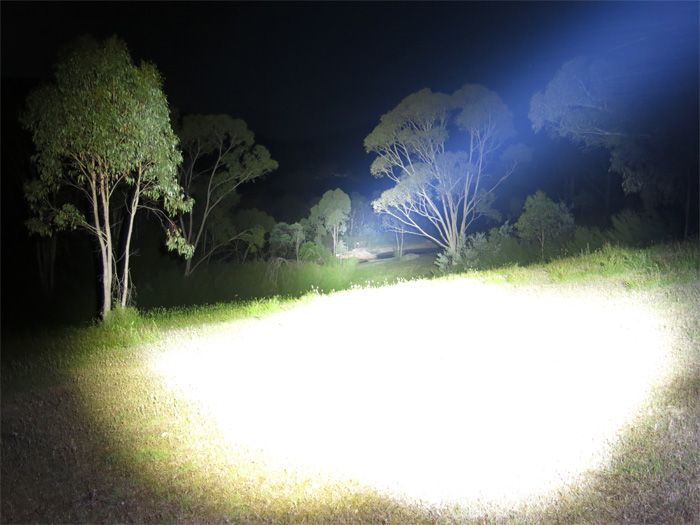
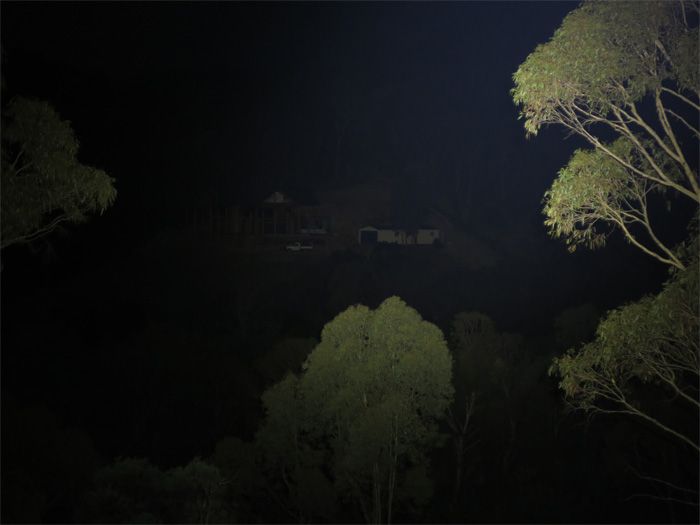
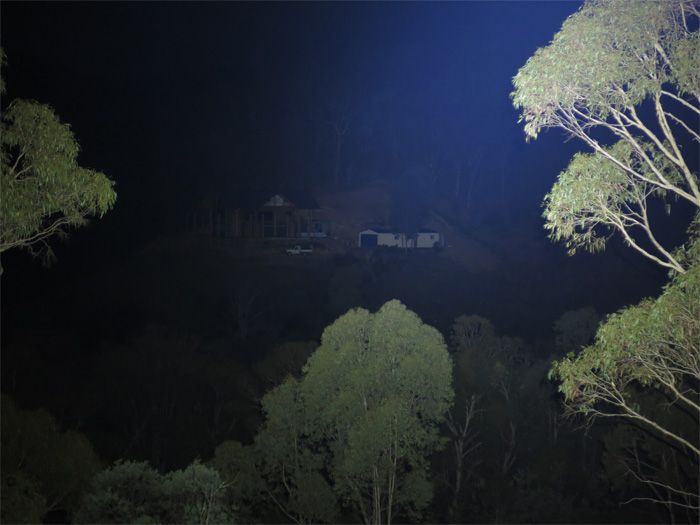
I've had a chance to get some night shots with a few other lights. The close shots are at 150 meters to the white bucket you can barely see and the long distance shots are about 520 meters to the buildings. I'll have to explain myself to the owner a little better next time I use his house as an aiming point.
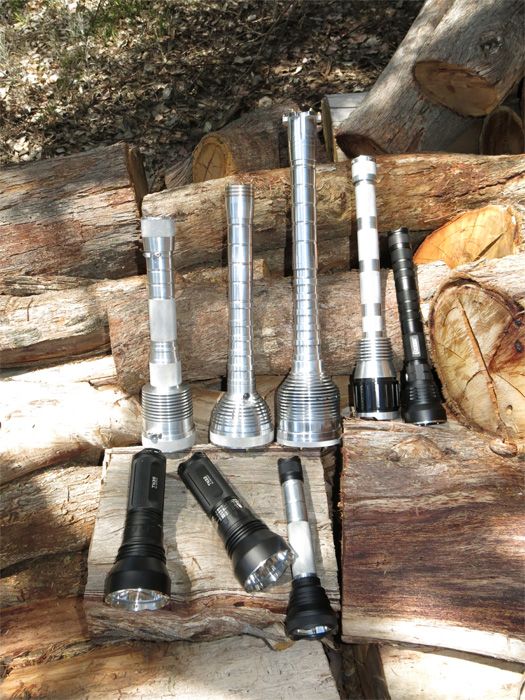
Left to right. Yezl Y3, HD2010, DST, TN35/32, Monster light, C83, XMTG Shocker.
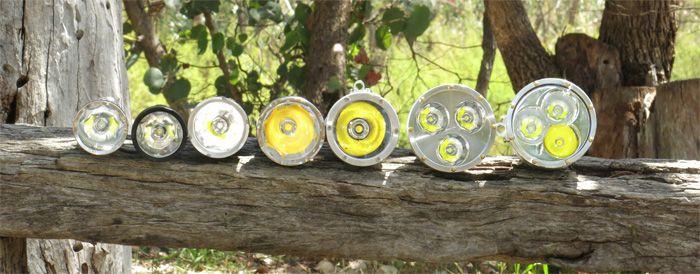
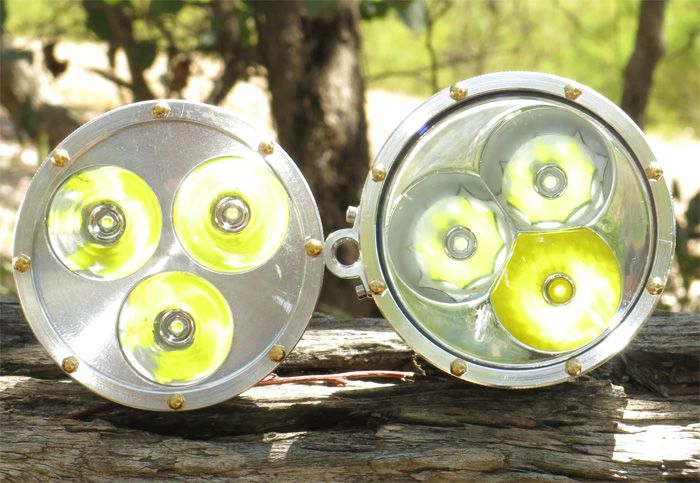
And if anyone ever wondered what a C8 reflector looked like compared to the shocker.
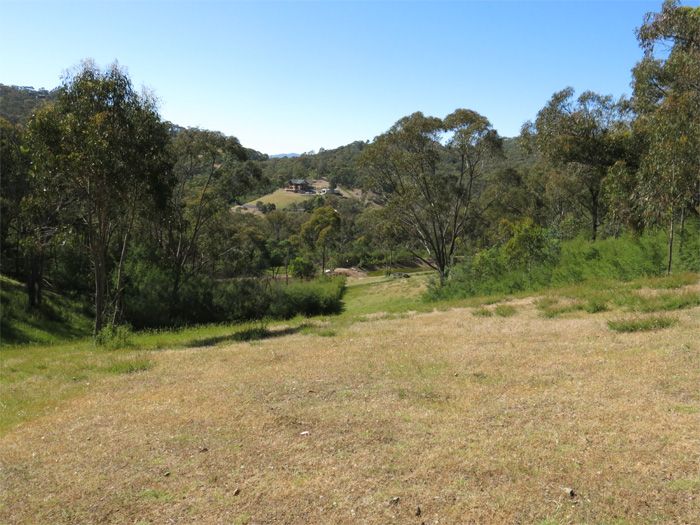
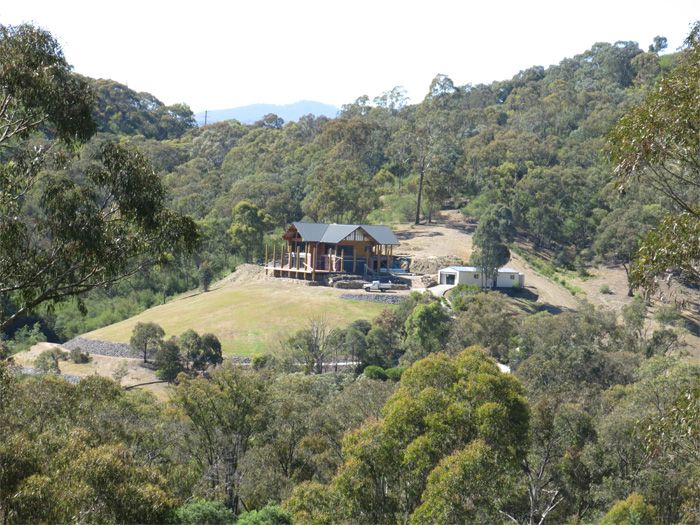
Day shot 150 metres.
DST Dedomed 5 amp.
Yezl Y3 Dedomed.
Yezl Y3 standard.
HD2010 5 amps.
Monster light.
TN35.
TN32.
C83.
XMTG Shocker.
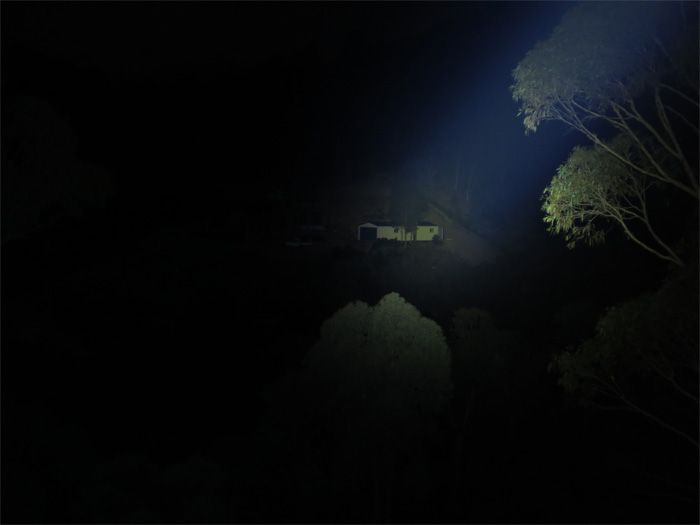
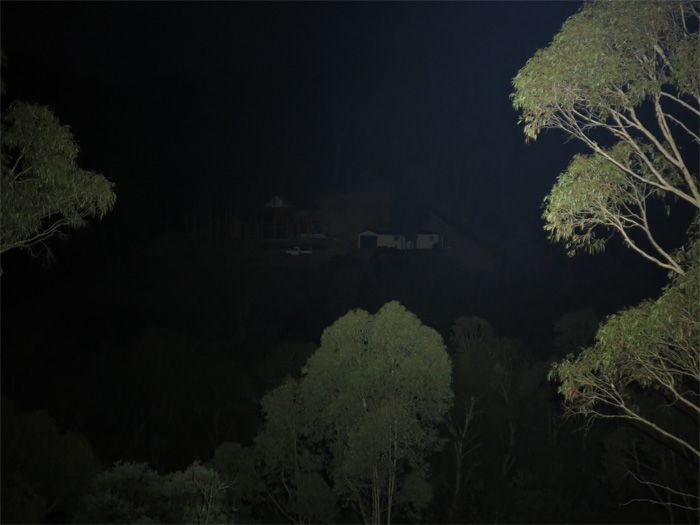
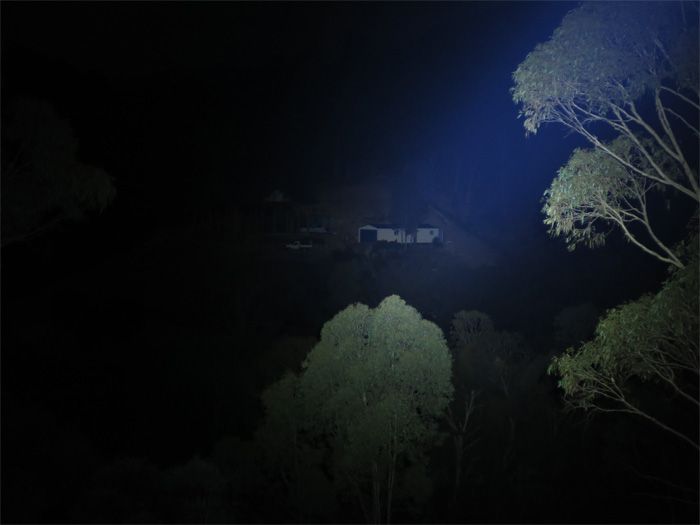
520 Metre beam shots.
Day shot.
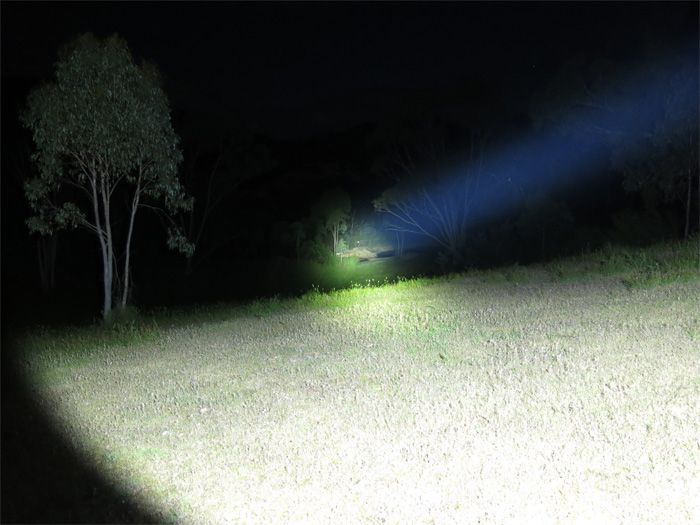
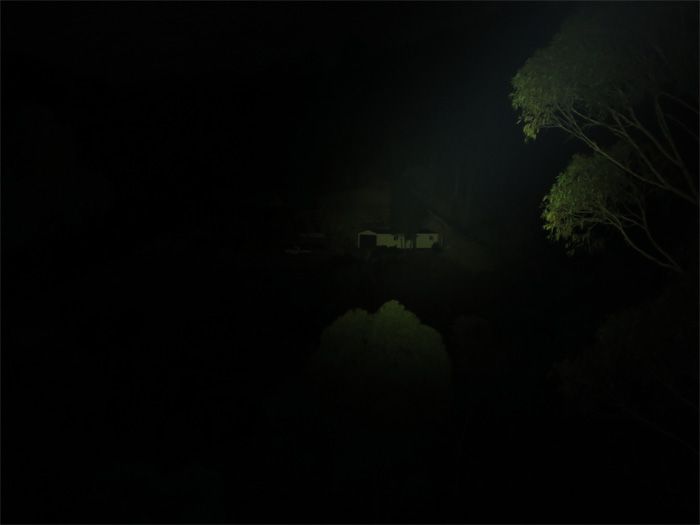
DST Dedomed 5 amp.
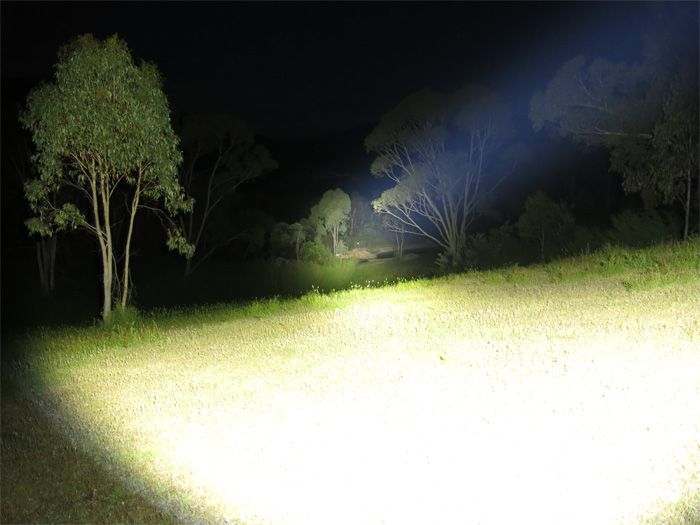
Yezl Y3 dedomed.
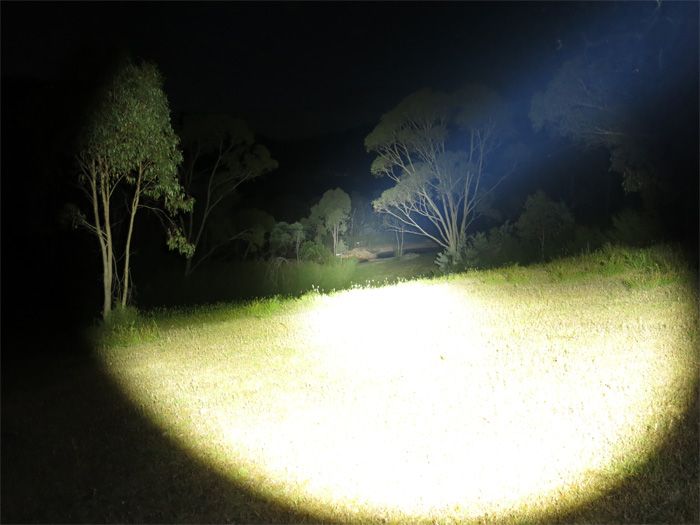
Yezl Y3 standard.
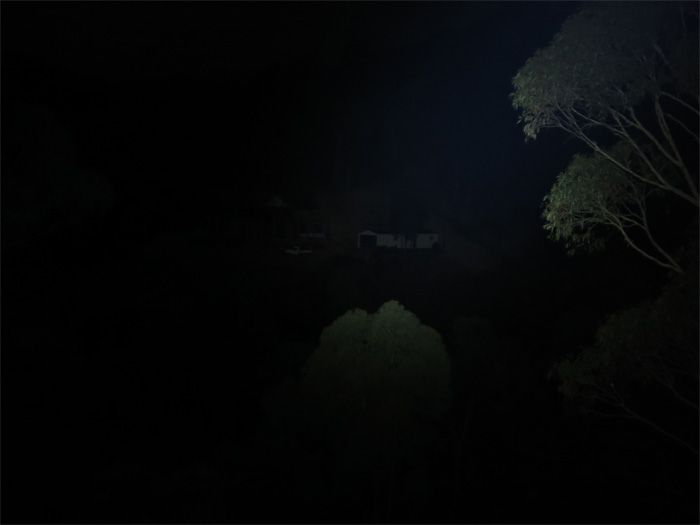
HD2010 5 amps.
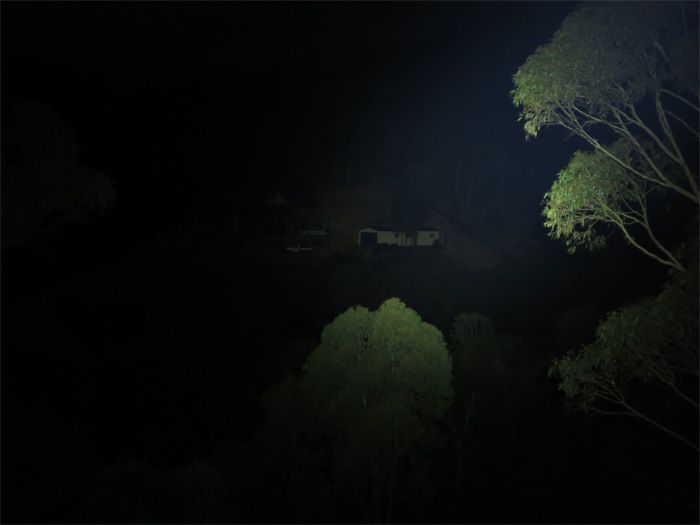
Tn35.
TN32.
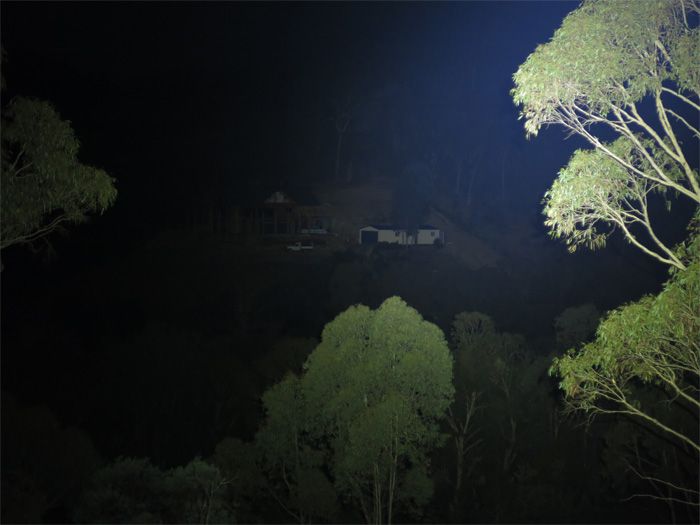
XMTG Shocker.
Thanks for reading.