Just documinting my DIY direct thermal path

hello all

I know Work like this has been covered before, but i just wanted to document it, no talk pics will tell .

Drilled a hole in the LED MCPCB

machined the copper chunk

Cut down and drilled holes for the wires

and press fit here we go

ready

that’s it hope you like it

I like it :-) Thanks for sharing!

well done!

I had that in mind one night, but that lack of a lathe….

Looks good! Thanks for posting.

Did you use a parting tool to separate it? I’d like to know about that if you want to tell.

Nice effort. Did it all light up ok?

Well done. They are tough as hell to get just right!

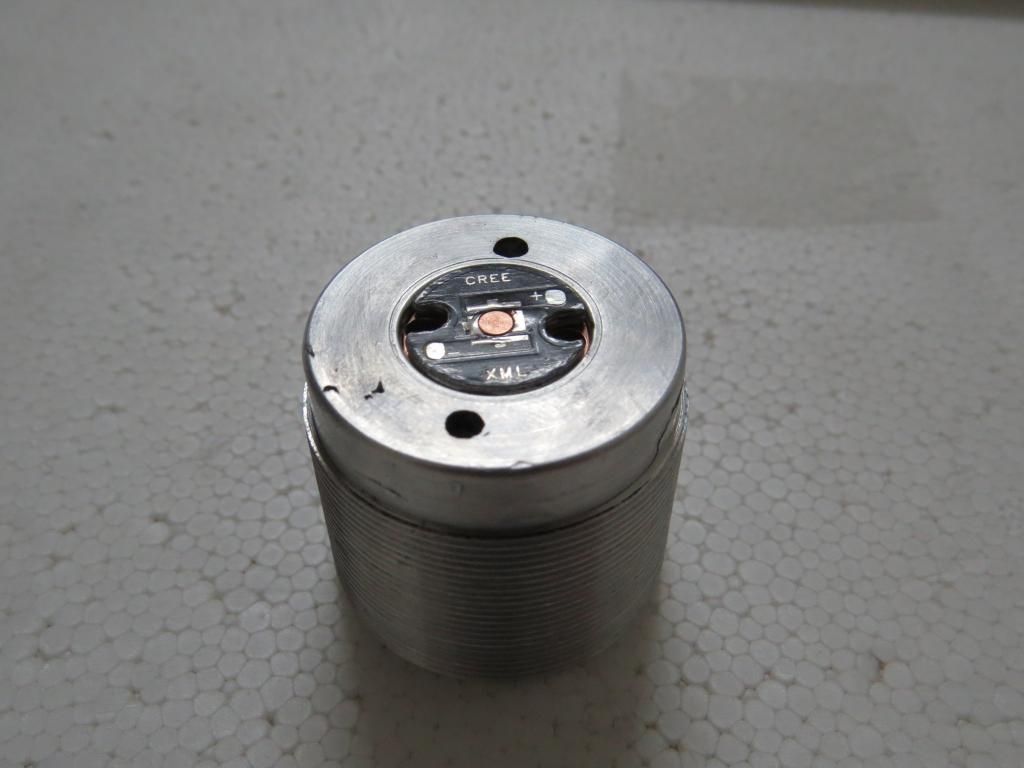
And talk well those pictures do. Very impressive. I take the lazy route. Drill a hole and press in a copper wire. That is proper one piece direct, true direct path. You, Sir gamezawy are a flashlight god in my book. We need an "I'm not worthy bow" smiley like the folks at LPF have.

Wow…it’s a stinkpad with a HUGE thermal mass behind the star…NICE!

yes i did but i had to machine some more copper under it then i cut it then i had to sand the base and polished it

but you may show me the parting tool you are asking about it

and thanks every one for encouraging me like this :8) i am just trying to payback anything for this lovely forum that i have learned almost everything about flashlights

Payback is good.

yeah i mounted a XM-L2 3b on it and it works like a charm

This is the kind of thing I am referring to: Parting – Mini-lathe.com

Wish I had access to a lathe.

Very neat, well done!

I thought you would just use the whole copper chuck as the flashlight pill without separating the piece out though. :stuck_out_tongue:

yes it is

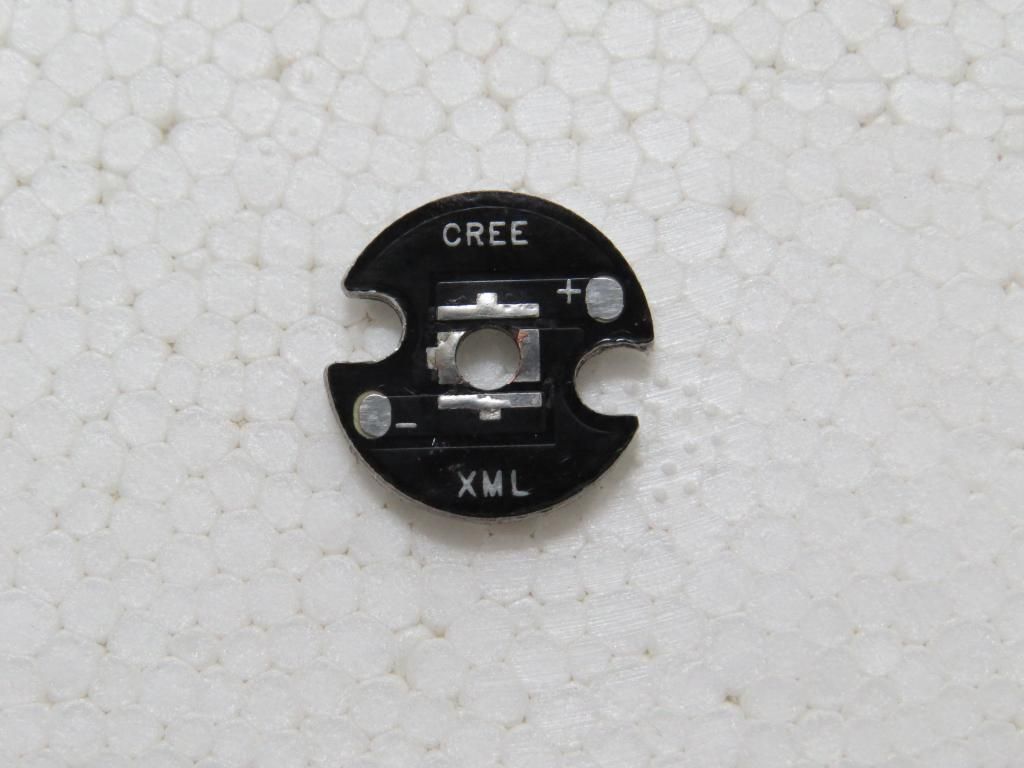
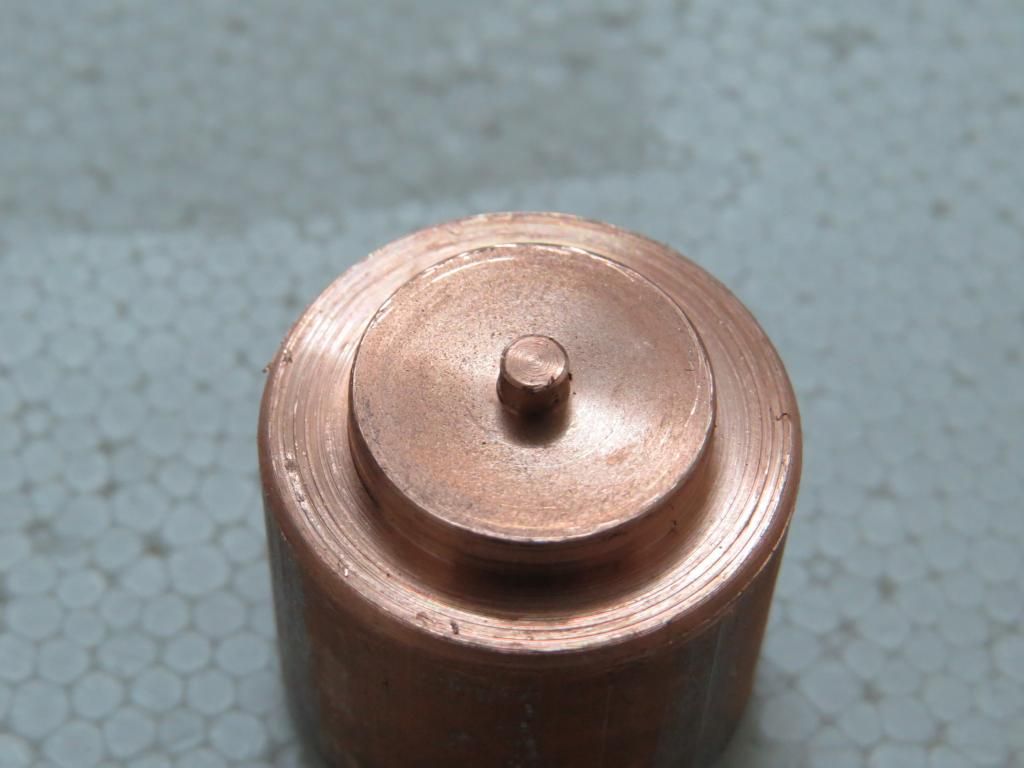
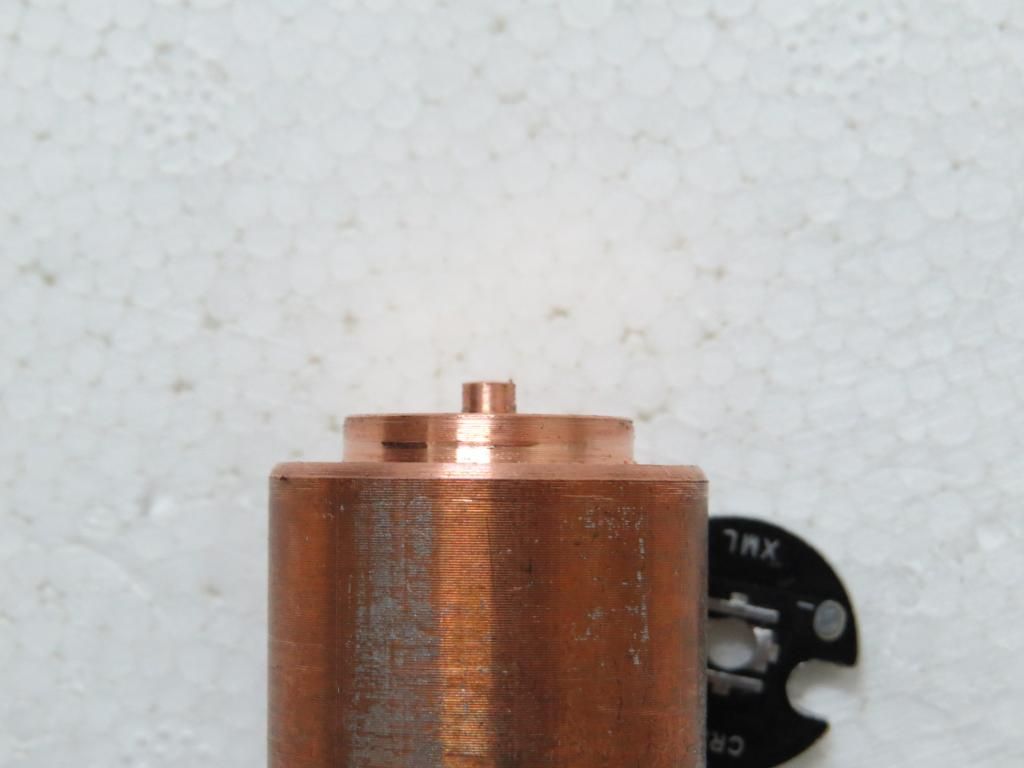
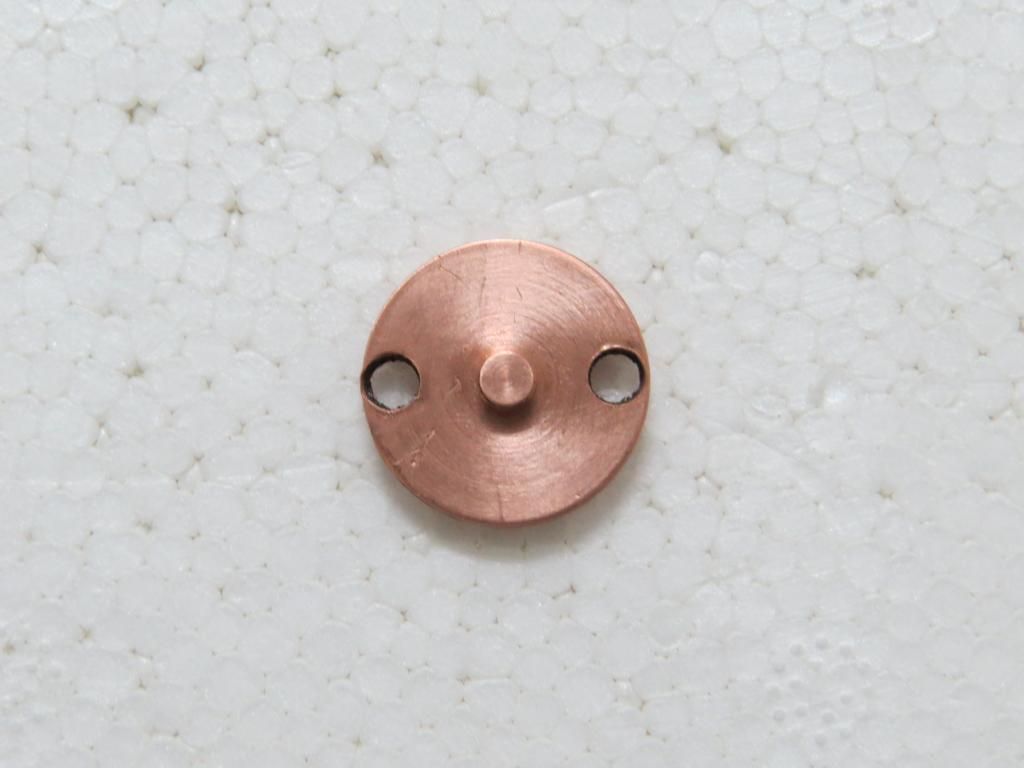
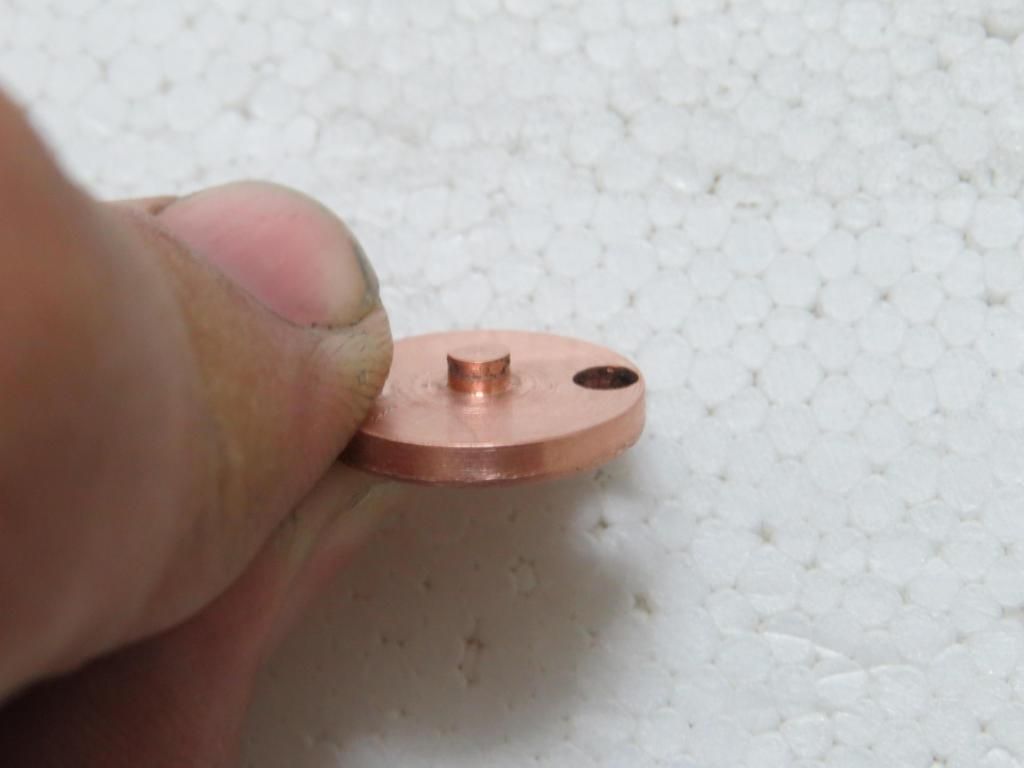
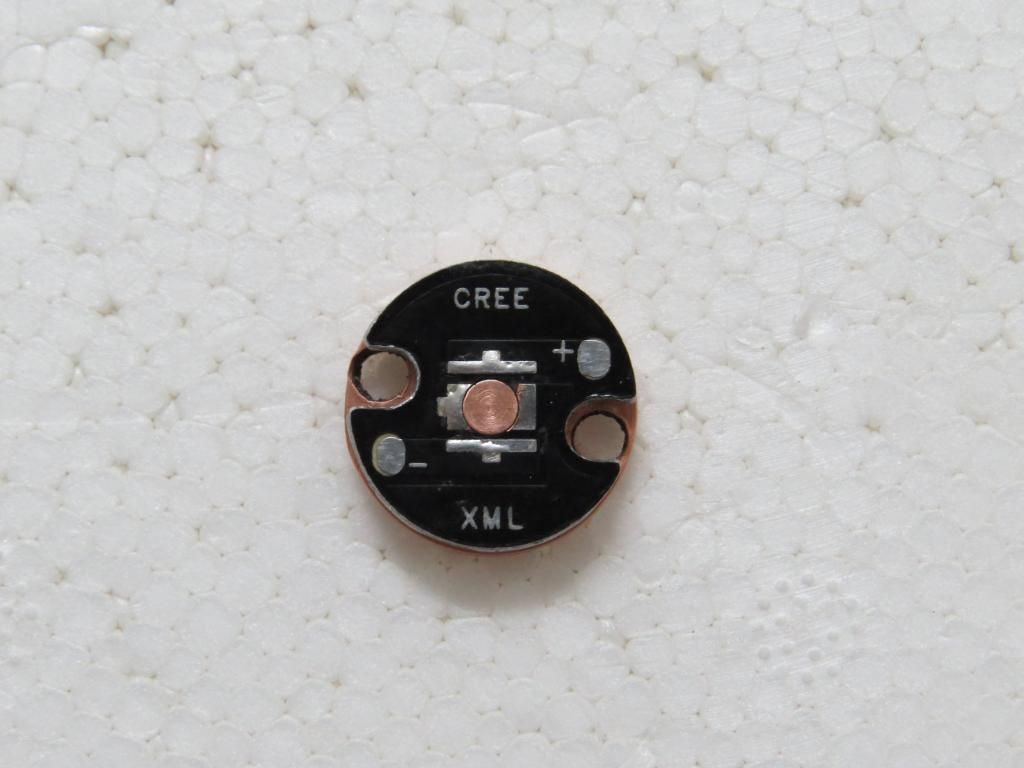
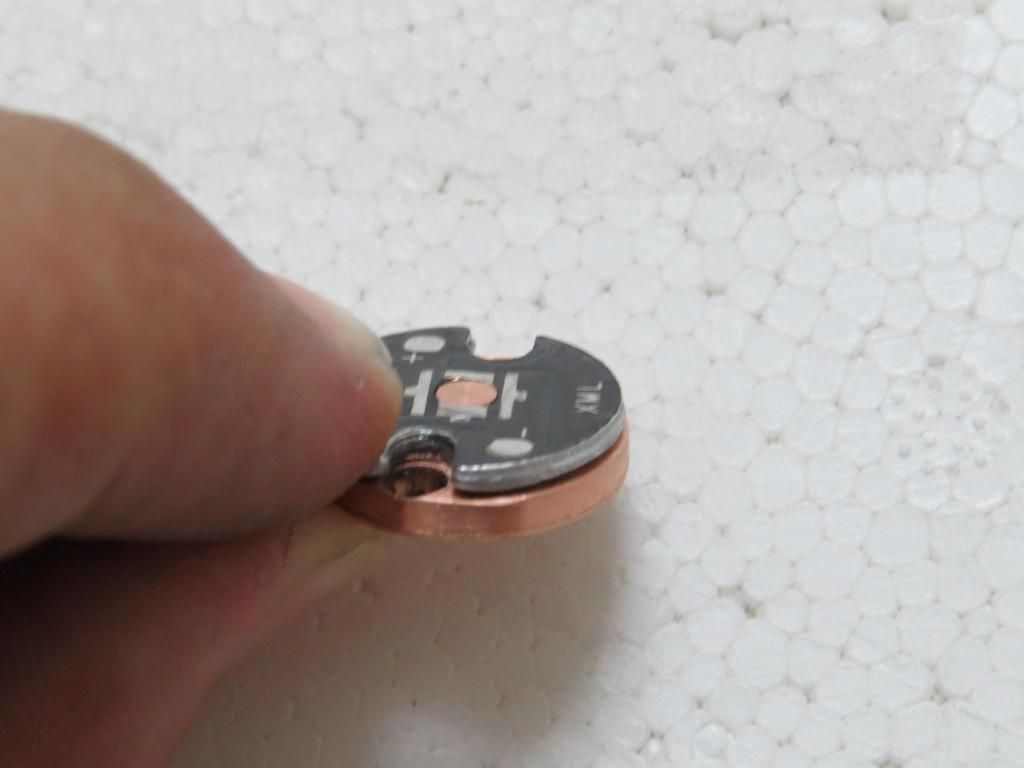
this is what i did this chunk of copper is still like it is in the pic and yes i kept it to use it as a flashlight pill i may use it with color XML ,so i just used it in the pics sequence :wink: the one combined with the MCPCB is another one

How is this not standard on all lights ? :slight_smile:

And all that thread to transfer heat onwards!