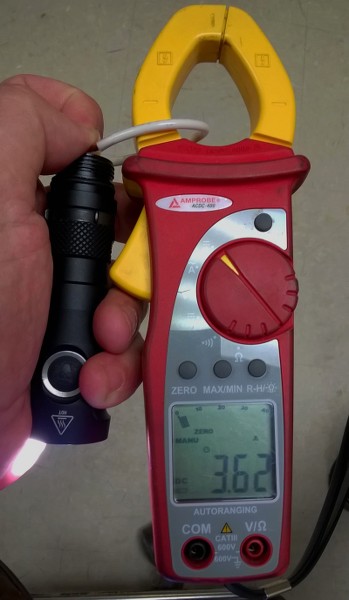
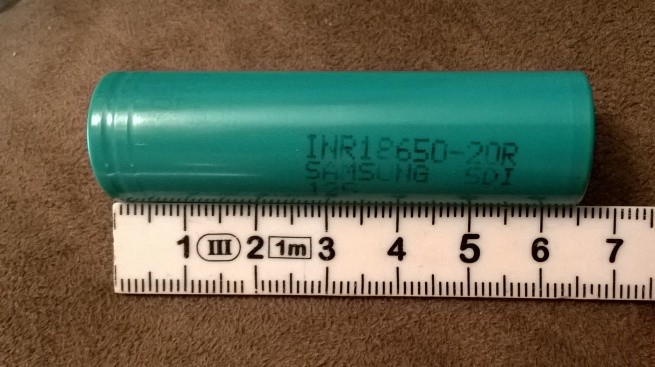
EDIT checked levels with a clamp on meter. Turbo on top level is 3.68 Amps after 30 seconds with a freshly charged Samsung –20R 18650… Not too shabby…
Moonlight- 4ma
Low1 40maLow2 80ma_Low3 120ma
Med1 260maMed2 320ma_Med3 500ma
High1 850maHigh2 1000ma__High3 1300ma
Turbo1 1750ma_Turbo2 2500ma_Turbo3 3600+ma
Direct drive Turbo is also 3.6+ amps, so you would only benefit from that level if you had turbo set to another level. Something else I discovered, when you set the levels in PRO mode and go back to Simple UI, the modes you set stay in the simple UI as well… This is nice as you could detune the light, so to speak, and only have an upper limit on turbo of 1.75A for loaning the light out. Still quite a bit of light at 1.75A, so good for most loaner needs.
This pic was after testing the modes, so the battery was down more, but it held this for the 40-50 seconds it took to fumble my phone out and call up the camera and take the pic one handed… my palm was getting warm to say the least…
I charged the battery using the internal charger and the clamp on ammeter said it was 490ma for a charging current. The charge is complete and there is no trickle charge, at least none I could read with my Fluke or Ammeter (down to +/- .0005 resolution on the Fluke), so it looks to be a good charging circuit. I will get beam shots up soon and my XP-L U6 7A3 came in from RMM’s shop today (ordered Saturday, three days ago, as always, Thanks Richard!) so I should have it modded by the end of the week to a warm white and will test the board to see if it is DTP.
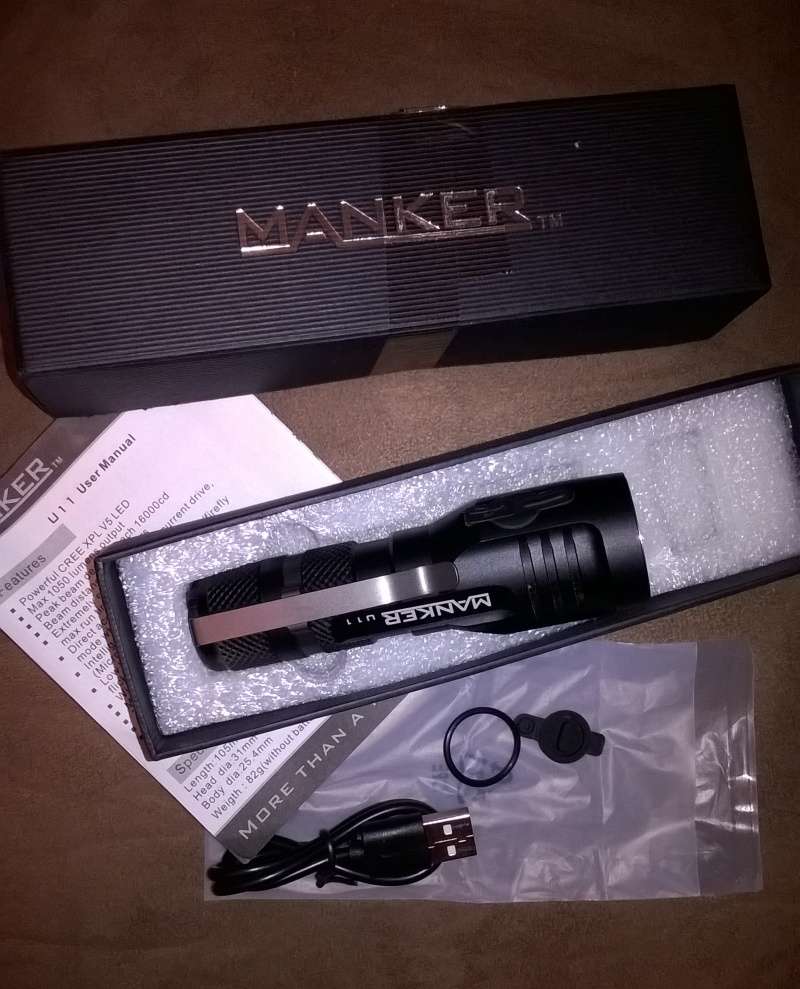
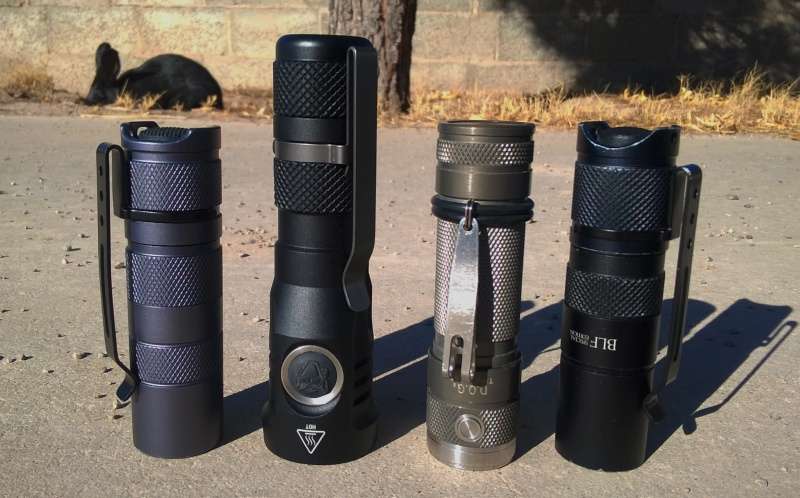
I received a Manker Quinlan U11 from Neal at Banggood for a review a couple of weeks ago. I have been carrying the light pretty much daily to get used to it. Below is my (as usual) long winded review of this full featured 18650 flashlight.
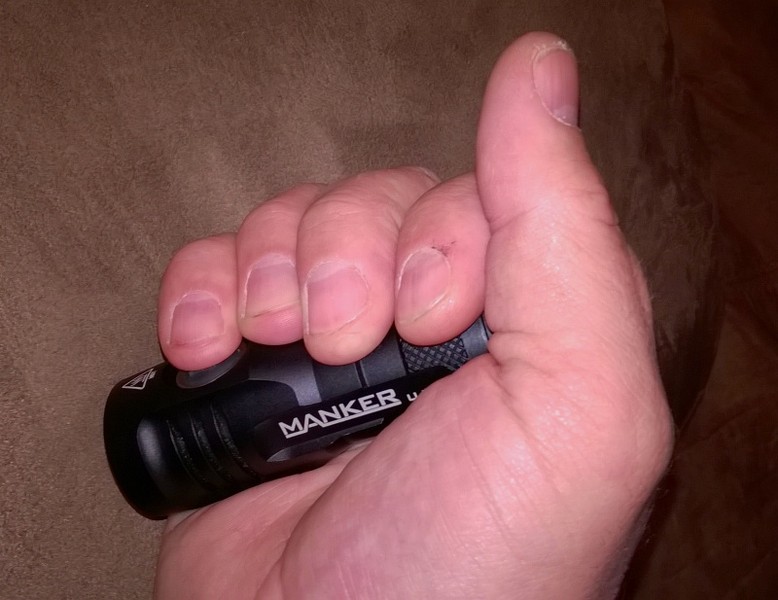
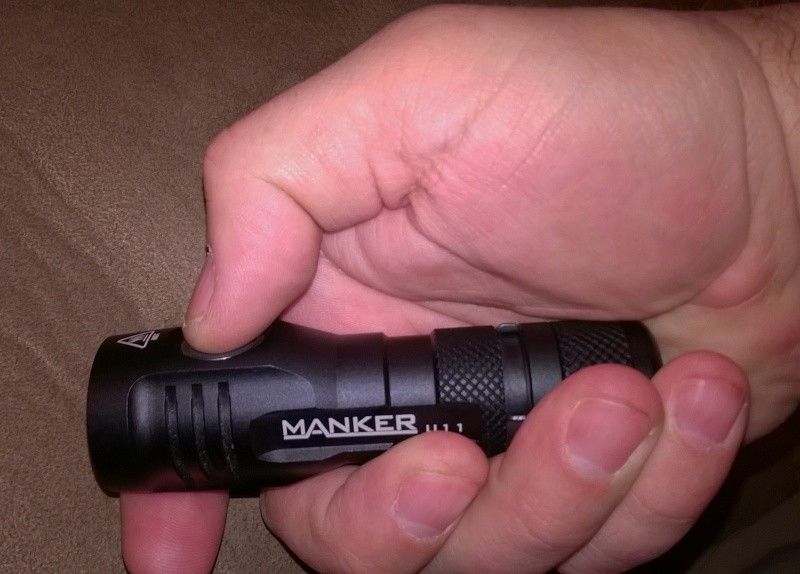
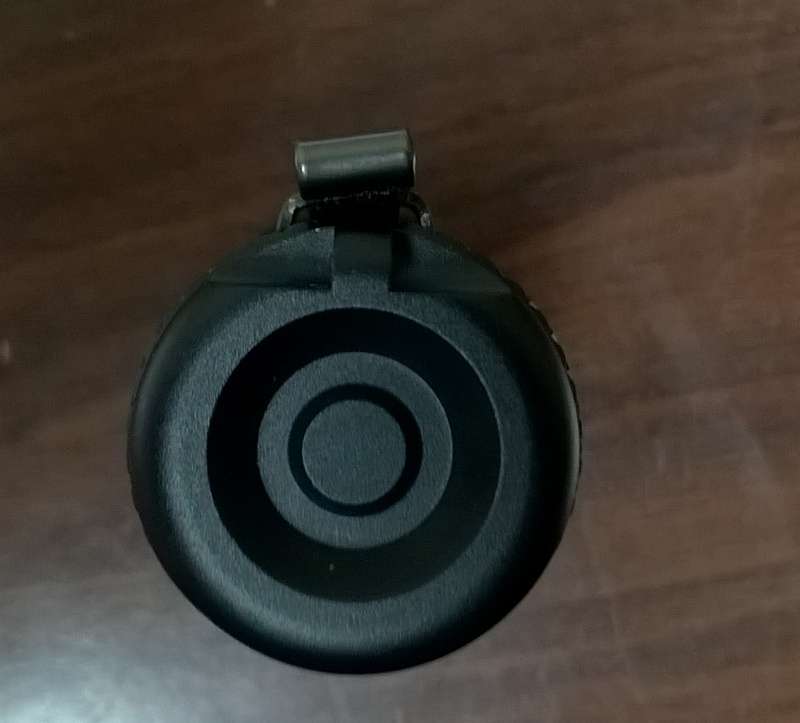
This light has some WOW factor when first picking it up. The size is small for an 18650 light, the head is not round the entire way back, but just past the bezel becomes a double keyhole and fits into the hand very well. This positions your thumb on top of the switch and makes for a very comfortable smaller light. I have large hands and this fits very ergonomically into my hand in a use position holding with the light for walking or other general uses. Even in a reverse grip (light coming out of the outside edge of the hand) the Eswitch is positioned under my pinky finger and quite usable like this, though I tend to try and activate the non existent tail switch this way…
The battery tube is about 69mm deep when front spring is compressed.

The machining is impressive and the only fault with the machining I have seen is there are a couple of sharper edges on the light. The edges would not normally be an issue, but they are also great places for the clip to slide into and hold well. So with the clip gripping your pants pocket against the sharper edges, you may get some wear on your pants from the light. The good news is that these positions are only in two locations on the light, and may not even be a problem, depending on if you leave the clip in either longitudinal groove on the body or use it in another position. An 1/8 turn rotation in either direction still makes for a strong clip and no chance for wear. The other plus is that in these possible wear positions, the clip grips very well, so it is a wash on if this is actually an issue, or if I am nitpicking.
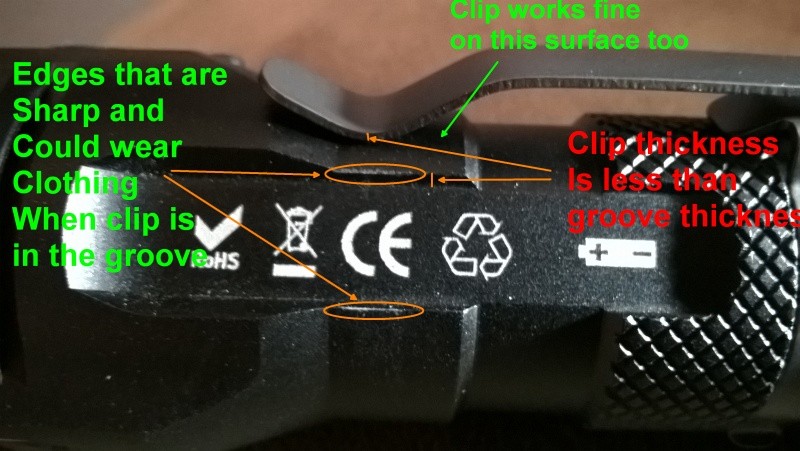
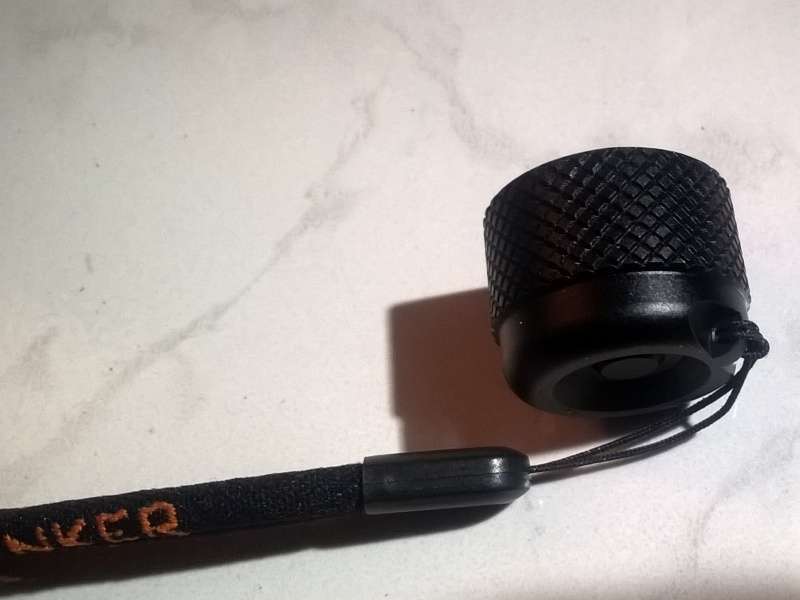
I am not, however, nitpicking on the clip. It is the same one as found on the BLF A6 and while a fine clip for a $20 light, on a light three times as much, they need to pick up their game. The new convoy clip that is half the price is twice as good, though on this light rides a little loose for my taste. The original clip that came with this light was bent and deformed. Luckily, I had another and replaced it for carry. I know Banggood would send you another clip no problem, but it should not have left the factory in the first place with this clip like it was. The rest of this light is so good, and then the add on clip detracts from the whole light. The lanyard that comes with this light does make a nice option though. A light this size is small enough to drop into your pocket and with a lanyard looped out of the pocket, makes for an easy to retrieve light. This is the first light I have actually lanyard carried and it stayed and retrieved well using this method. It seems to be just the right proportions to do this. So the clip is not the end of this light.

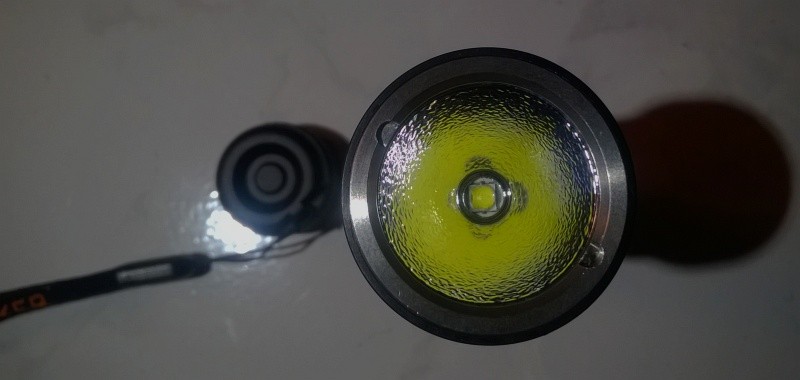
This is an impressive smaller light for a full 18650 battery, not much bigger than an S2+ 18350 sized light. Built in charging makes it a very convenient light for travel, you just need a USB cable, and one is included with the light (along with an extra USB cover). My current favorite small 18650 light is the DQG Tiny III 18650, this one is not much bigger and eliminates the need to carry a charger. For absolute smallest size, the DQG takes it, but sometimes a small increase in size nets you some significant gains. The gains the Manker U11 has over the DQG are more levels and a built in charger with a better beam shape from the Orange Peel reflector. Plus a hidden strobe and other signal levels (beacon, SOS, battery check) which the DQG does not have. I actually used some DC fix on my DQG TIR lens to get a more diffuse pattern. The reflector in the U11 has more useful spill than the DQG did, so no need for diffuser film on the U11.

The U11 has a true moon mode, with a total of five levels up to turbo (Moon-Low-Med-High-Turbo) on the simple UI. It also has the option of selecting the advanced UI, depending on what you want. Advanced UI lets you set levels 2-5 (low through turbo, everything but moon mode) to one of three sub-levels for each of the regular levels. The stock mode with the five levels is very well separated, you get a noticeable increase in light between the modes. The advanced UI also has more signal levels than the simple UI.
In addition to the stock five levels, the simple UI has three flashy modes, Strobe, “Breath flash” and SOS. The strobe is a tactical 10-12hz and about as good as my favorite strobe, the one in Dr Jones Guppydrv. The strobe is accessible from off with a double click, which can be useful as well. Breath flash is a pulsing blue light under the eswitch, it looks just like the light is charging… No real idea what it is for, but it could come in handy in a tent or camper. However I would have just wanted a steady light, a pulsing one would drive me a bit nuts, so I do not really see a use for this mode. The SOS is an actual dot-dot-dot dash-dash-dash dot-dot-dot with about three seconds in between SOS’s. If you need it, it is there, and no one will be scratching their heads and wondering what OSO means…
The “PRO” mode (advanced UI) has the ability to set the levels of low, medium, high and turbo. This can be one of the three sub levels the light displays during while in the set mode. The sub-level modes are pretty well spaced, so there is some real selection of the levels. The light steps up from whatever the current setting is for the sub-level through the top sub-level and then cycles again from the lowest. You press the button when it is at the sub-level you want (this sets the sub-level), and it goes to the next level and starts cycling the sub-level there until you repeat the process and are complete with all the levels. If you just want to set one level with a different sub-level, the light does not start cycling the sub-levels for about 2-3 seconds, so you can just click to the level you want to reset and reset that one without having to do all of them…. The hidden blinky modes here are the same as above for the first three, but then adds a Beacon mode (flash once per second, full power) a “direct current TURBO”, a battery check (four blinks full, 25% per blink) then onto the set level modes for the low, medium, high, turbo in that order.
To get into the PRO mode from the simple UI, with the light off, just press and HOLD the button for 10 seconds. The light will come on and then blink when the ten seconds is up. Two blinks means you are in PRO mode, then release the switch. To reverse, do the same, you will only have one blink when going to simple UI. From off, a quick click gets you moonlight mode. Further quick clicking cycles you up in the levels. Also from off, a 0.5 second press takes you to the last level you had the light when you turned it off, for example high, or turbo. You can have direct from off access to turbo, you just have to turn it off in turbo… A double click from off or any mode goes to strobe, this can be handy too. To get out of strobe and go back to the previous level, just double click again. A single click will cycle you through the blinky modes.
Overall, the UI is very good. The problem with electronic switch UI’s, they are all different. Part of the reason I wanted to carry this for a couple of weeks before doing the review was due to the different UI from my DQG and other Eswitch lights. I would tend to double click this and go to strobe, so I had to get used to it. There is no reversing, but that is really not an issue as most of us are used to not having reversing, until Toykeeper worked her magic and did the BLF A6 firmware. On this light with only five modes, that are pretty well spaced, it takes only a second and a half or so to cycle through, so not a big deal. Within a week the UI was second nature, and the unique feel this light has compared to my others made it easy to remember which light I was using by feel.
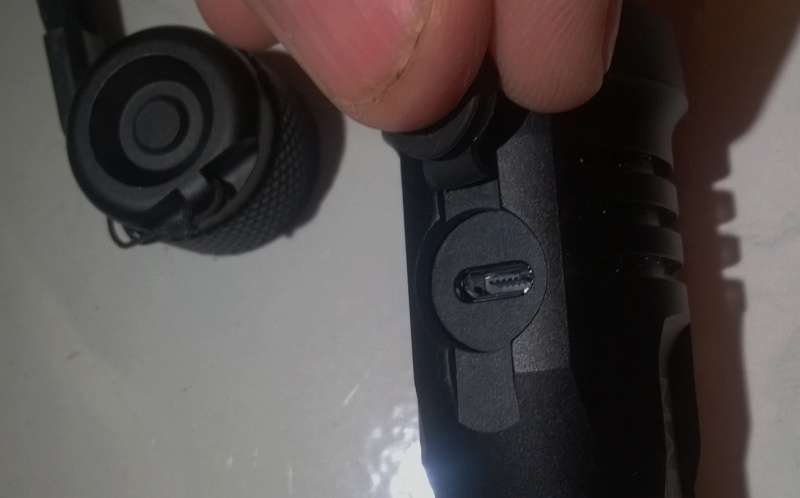
The charging seems to work very well, I was getting a charge current of about 380ma when I checked it with my fat leads on the multimeter. It did charge my 2000mah Samsung –20R in just under four hours from showing low battery on the light (light in switch starts to pulse), so I suspect it is closer to a 500ma charger. The battery was at 4.19V after resting about 30 minutes. I pulled the battery when I noticed the charge indicator had said finished. When the battery is in the light and you plug in the charging cord (any micro USB, I tried several) the switch light starts to pulse. It is just like the “breath flash” on the blinky sub menu in the UI. When the light is steady on, the charge is finished. The other thing the charging allows you to do is turn the light on while connected, this can come in handy for limited light needs when the battery is down. Over all, pretty nice if this is going to be your travel light, no need for spares and you can use your light if you need while charging.
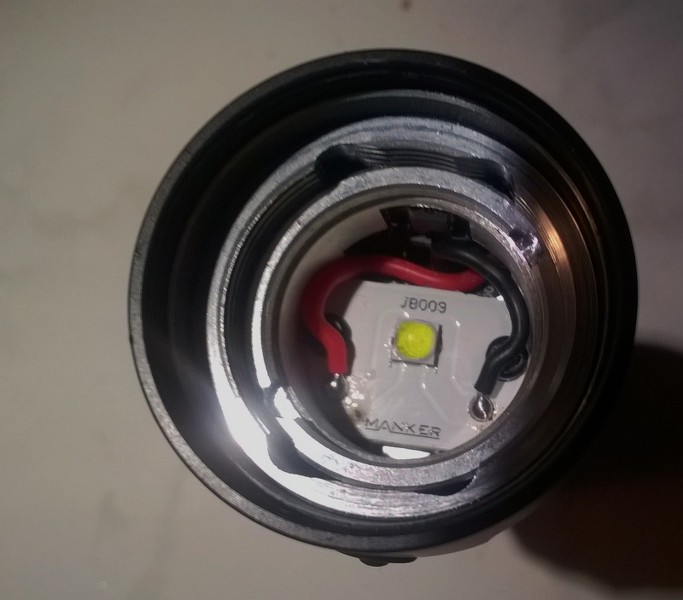
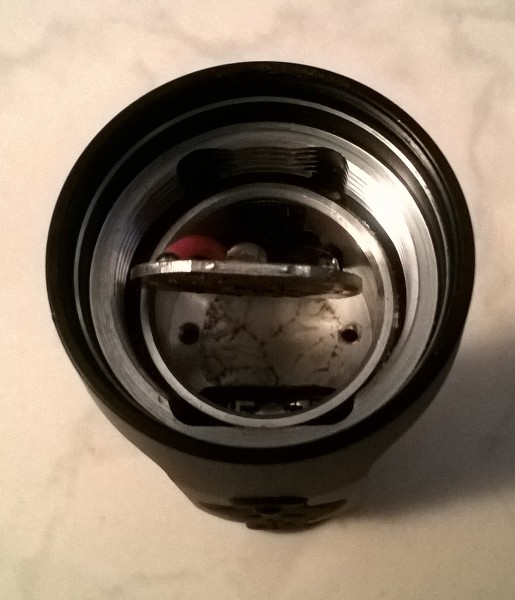
As far as modability of this light, it has potential. Someone like member Firelight2 will come along and make us all jealous of his quad XHP35, dual 18350 build one day, but for us more middle of the road modders, this light still offers options. Spring bypasses are not one of the options, but Manker seems to have pretty good gold plated springs in both ends, so it is not worth the trouble to figure out how to do this with this light. You have to take the entire driver out to get the front spring bypassed, unless you can do it from the back of the battery tube. The tailcap has the dual springs like the T01 and this helps a lot as well, so I am not sweating the inability to do spring bypass on this light. The ability to change the LED to a tint you like is available here. The board is unique and D shaped, but it is fairly easy to get out and not glued in. You will have to reflow the bare LED onto this board, but a 20mm noctigon may fit as well, I will report further when I get it apart this week or next for an emitter swap. I have a 6A XPL on the way that I will swap into this, during the swap I will check the board to see if it is DTP. The hard part of doing more than an emitter swap is the Eswitch. I have no idea how to remove the switch, but if you can, then the rest of the light is at your mercy. I am hoping a better modder than I am will figure it out for those that want to do this. I am good with the stock UI and driver, they seem to be plenty for me.

In conclusion, this light is big enough and has enough features to keep most of us happy. It is bright enough to keep your inner lumen addict happy, and has enough modes with good spacing to be usable in a variety of settings. It has the potential to let you swap out your emitter for a tint you like if you want, and is small enough to be a true EDC. The fact that my wife liked the feel of it enough to sit down and learn the UI means that I will most likely have to buy one for myself, but it will be a good purchase as a travel light, what with no charger needing to be carried… Plus the fact a non flashlight person like her would go “hmmmm, this feels really good, how do you use it?” says good things about the design.
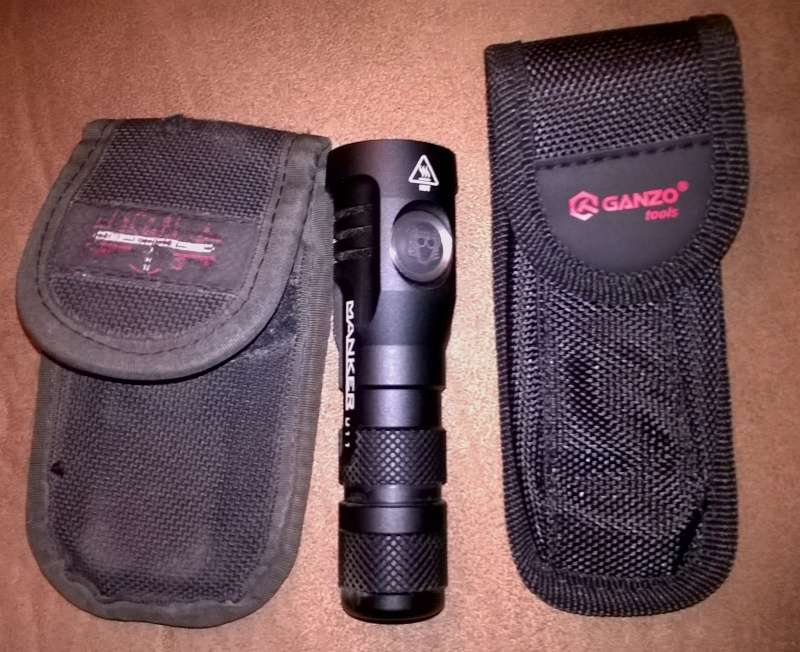
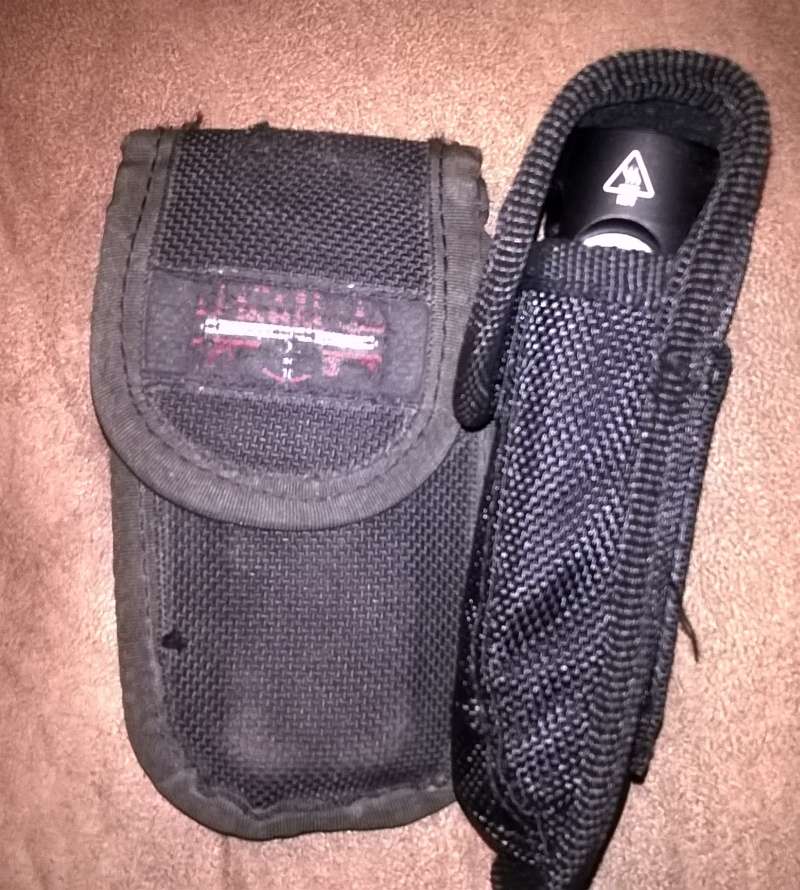
I would rate this light a buy, even with the clip lottery you may have to play. There are other options for carry with the lanyard and the size of this light makes it a good option for an old knife sheath, it is small enough to fit in one for belt carry.
Here an old Leatherman Wave sheath and a Ganzo tool Sheath show how small the light is.

EDIT: Beamshot gif below. Please note the washout of the jug with both the U11 and the D80 on turbo, even more so than the BLF A6. The tight hotspot is good, but the spill from the OP reflector still has plenty of good light. The DQG Tiny III has diffusion film (Thanks BOAZ!) on the TIR to make it a flooder. The colors are as close as I could get on one setting for all lights, but are still not exactly what I see. The U11 is not that blue, the D80 not that yellow, the 3D A6 is about right…. One shutter speed for all exposures means that on turbo, there is a little over exposure. You can still see the jug in real life…
Just for fun, I swapped the V5 1A XPL for a U6 7A3 XPL tonight. The board is not DTP, but a 16mm Noctigon can drop in, or you could file a little on a 20mm Noctigon to get a perfect fit. Centering will be an issue, so keep an eye on that. I just reused the original board and may do the Noctigon later.
In the GIF Below, the MED and HIGH on the 7A had my hand partly obscuring the spill. My camera battery is charging, so this is just to give you an idea. Even a “downgrade” to a U6 XPL is still a bunch of light out of this little guy.

Code available for this light, PM me if interested
